Grasshopper file: TOMÁS_ALMEIDA
F I N A L T U T O R I A L
First Step – Shape
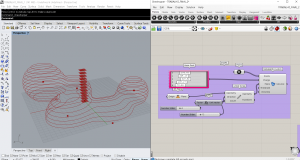
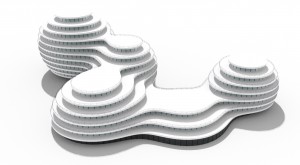
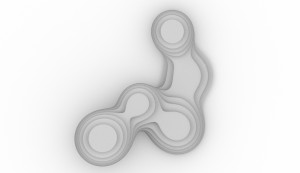
I used Metaball to find the shape I was looking for my design.
Set the points and used Gene Pool to define the volume of each point I set.
This comand (Gene Pool) alows to manipulate the shape and get an infinity of possibilities.
Of course this volume will only be seen after I set more planes wich I did using
Linear Array, setting an XY plane to define the geometry I wanted as base,
then the direction which was the Unit Z and finally the Number slider with the
amount of levels I was looking for. Because I was going to need the lines that
define the shape, I conected the metaball to a curve wich is going to be used to
do the rest of the details of the building.
Second Step – Slabs
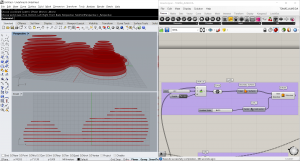
Using ShiftList, ading the value and a Boolean Toggle (negative) I deleted the curves
didn’t want from the list, wich in this case was the groundfloor curves on which I didn’t
entend to create slabs. After that, I used Bondary Surfaces to transforme into
surfaces what before were just curves. Then Extrude the surfaces to
give thickness and create the slabs, setting a direction (unit Z) and a value.
Third Step – window frames
Again with Shift List I separated the curves because the ground floor
needed to have a different source to extrude both windows and window frames.
when we add a value it deletes from the list from the last to the first curve, so I needed
to create to different one where in the list input would be Reversed.
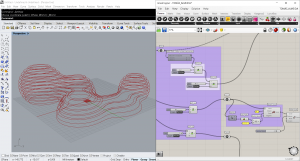
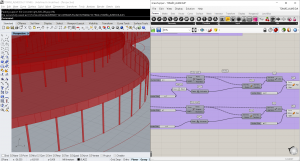
To define the window frames I used Offset to set the position for both windows
and window frames. But as the offset sometimes fails to create a full polyline,
I used Rebuild Curve so there wouldn’t be any small segments wich can make the
offset no to work. After that I Used a Divide Length to create points, with 3
meters of distance (Length) from each other on every curve of wich level I chose,
connected to a line that to define the end I used Move to send those points created
3 meters down. After that transform them into Pipes.
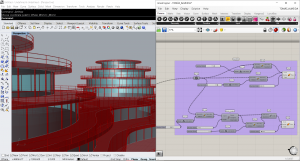
Fourth Step – Glass
Still coming from the Offset created, I Extrude them 3 meters down,
that’s why I applied a negative to the value. Only the ground level was
extruded up instead because it had a different source in order to separate this
floor and create a path under the building, after this using Custom Preview
and setting a color I got the window appearance.
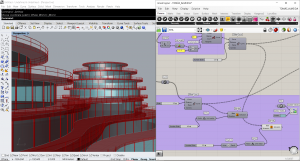
Fifth Step – Guards
Again using Shift List I separated which levels I wanted to have guards.
After that I move up the curves to create the horizontal guards,
setting again the Unit Z and attributing a value. And then
transforme this curves in pipes. To do the structure of this guards,
the vertical ones, I had to move the curves 1 meter high so they
start above the slab, then used the Devide Length to create points
in the curves, this time with 9 meters of distance from each other.
Then I move the points 1 meter high and unify them with a line,
and then transforme into Pipe.
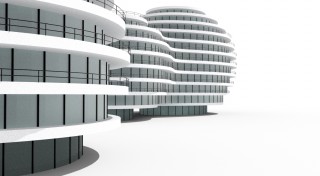
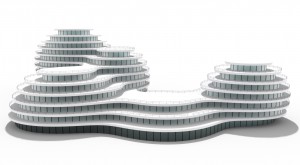
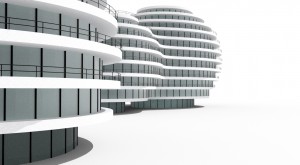
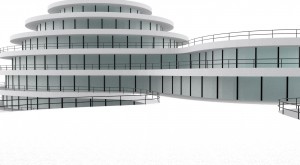
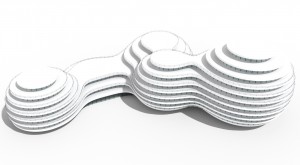
This way I create this building with potential for large equipment such as
malls, hotels, corporate offices. With an organic form where the heights
flow along the building.
T O M Á S A L M E I D A
