This is a floating bar located in Prague, Czech Republic.
The components are designed to be printed in 3D, the blocks, the tables, and the furniture. All components are made from recycled plastic, which is beneficial for giving old plastic a new use, also, with the help of 3D printing technologies the production processes are more efficient. |

The concept, since the bar needs to float on the water, started with the form of water lilies. The floor, lilies and tables are the equivalent to aquatic flowers.
The pattern on the blocks was based on the M. C. Escher method, generated from Grasshopper with the Parakeet plugin.
The tables (flowers), also generated from grasshopper, are revolved hexagons.
FLOOR
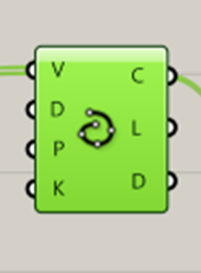
- We are going to need the Prakeet plugin for the design of the floor.
- We will add one point and then in the rhinoceros we will set one point.

3. Then we will define the form of the curve we want to design with. In this case I chose 3 points and then create a line with an interpolate points module.
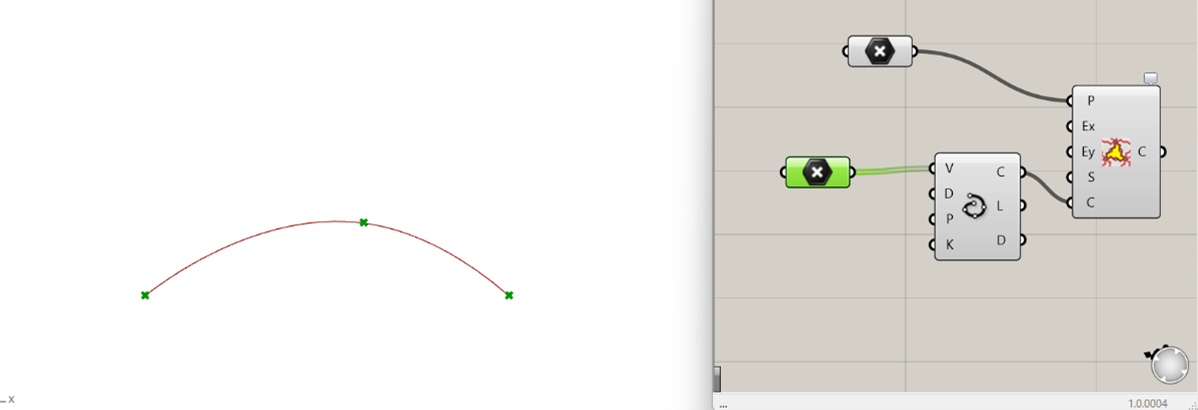
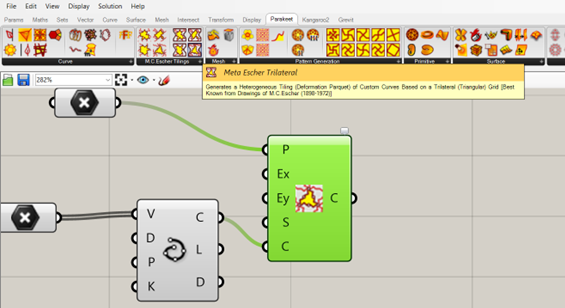
4. We will go to the parakeet tab and select the following type of pattern.
5. The result is the following and as you can see the results vary a lot and there’s infinite possibilities according to the form of the curve you end up using.

FLOOR WITH VARIANT
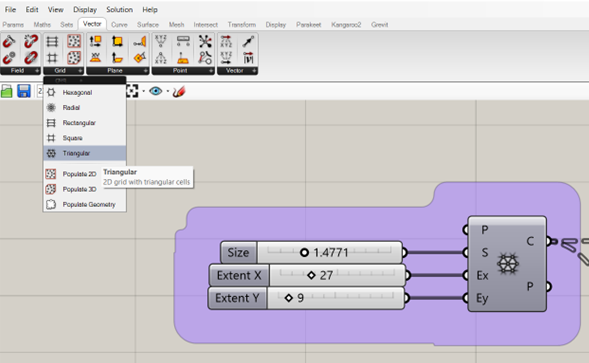
- For this variant we will start with a default grid that can be found on the vector tab in grasshopper.
With 3 sliders you can determine size and extent in X & Y axis.
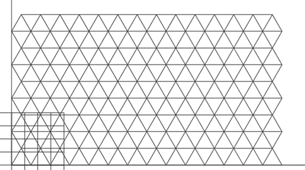
2. Then we will find the center of each cell and proceed to decompose it with a deconstruct point component.
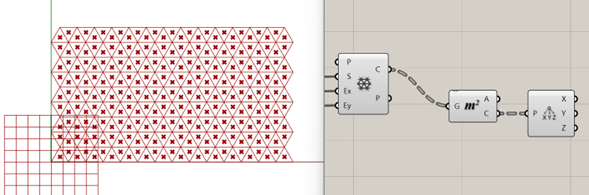
3. Then we will proceed to select a pattern generation in the parakeet plugin tab. For this one I chose the Pattern Genotype P. The result will be a pattern that will change in the X direction. The problem is that the x parameter is too high, so we will need to ReMap it. 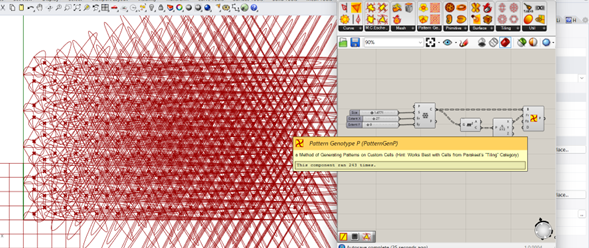
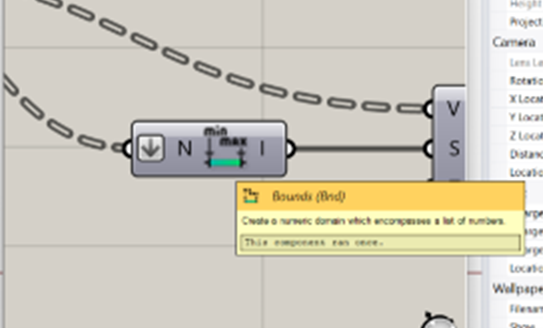
4. We will use Bounds component, flatten, which will allow us to have all the X coordinates in a list number that will be translated into a domain.
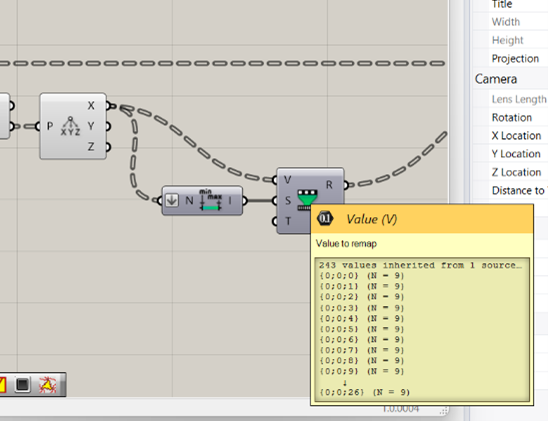
5. The next step will be to use the ReMap component. Which will be connected on the left side to the x coordinates and to the bounds component.


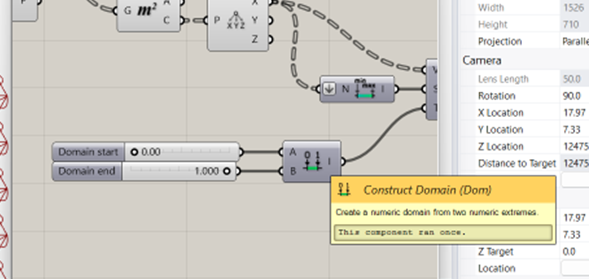
6. Now, we would like to control the rotation factor that we are using in the pattern to be able to make 3D printed pieces and to not have overlapping curves in the design.
We will add a construct domain with two sliders to be able to have a domain from 0 to 1.
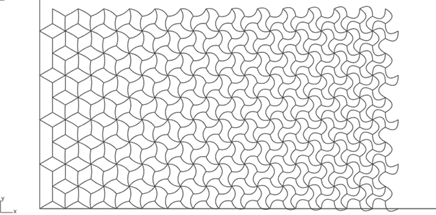
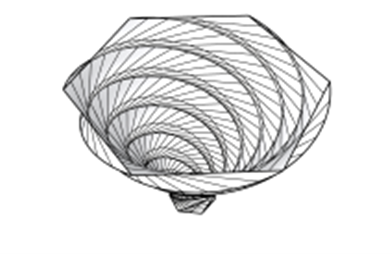
7. Final product

TABLES
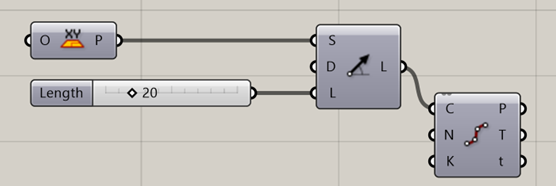
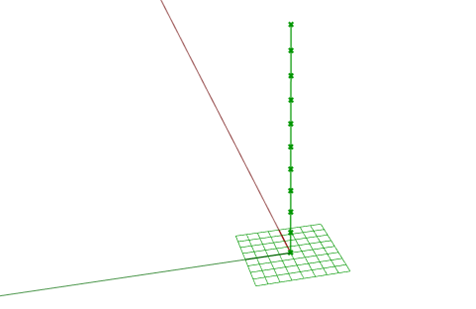
- First step is starting by an XY plane with an SDL line (which could be described as a vector) divided gives the opportunity to adjust the height of the table.
2. Second, we need to select a polygon component and the number of sides we want with a slider.
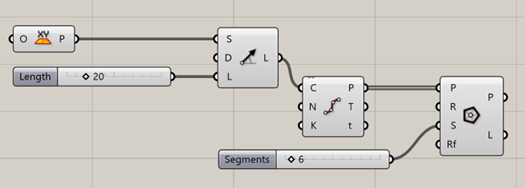
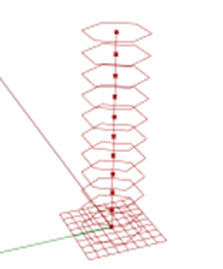
3. The parameterization of the form that the polygons will have. Plus, the number of divisions that the form will have and the overall wideness of the figure. The Range component creates a list of numbers in between two values.
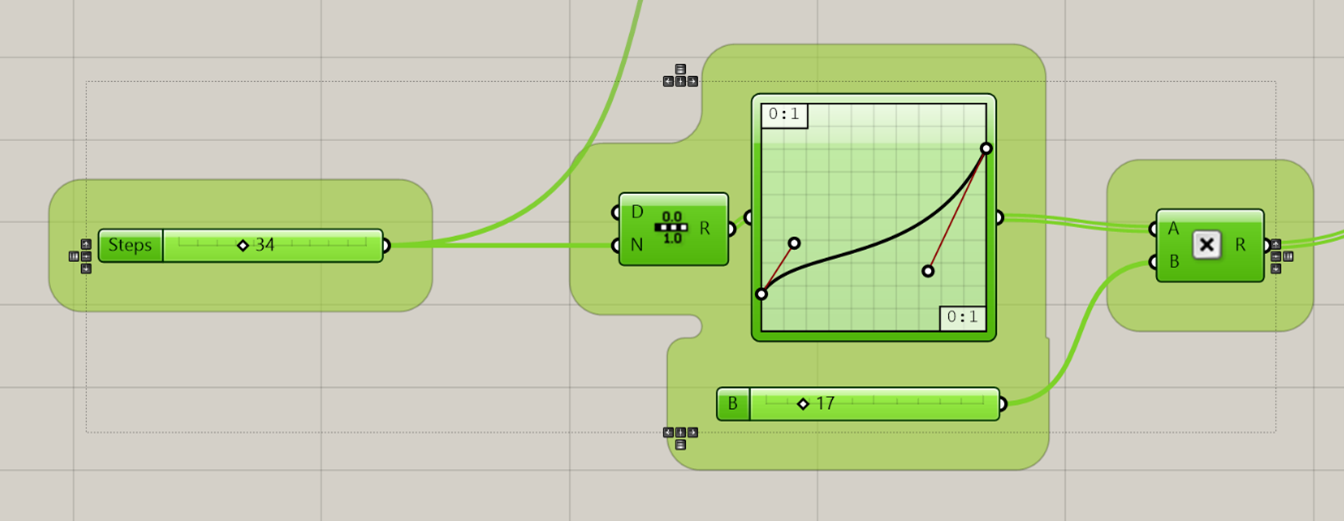
5. Then we have a multiplication component that multiplies AxB which in this case are respectively the result of the graph and a slider that controls the radius of the polygons.
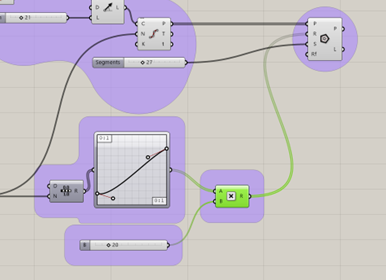
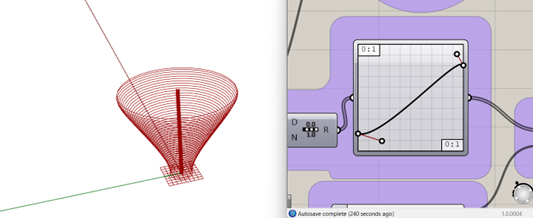
6. The final step would be the rotation of the polygons. First, we start with the series component. The count is connected to the number of divisions in the axis, and the step controls the rotation of the polygons with a slider. The result relates to a rotation component.
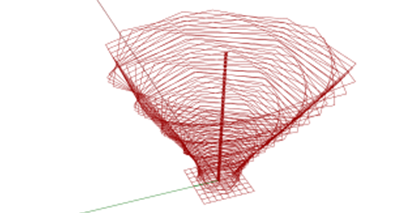
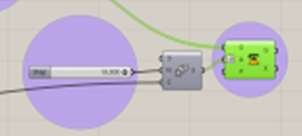
7. At the moment of lofting the polygons you can notice that the last top polygon doesn’t rotates all the way. Therefore, in the count in the series component will need an expression.
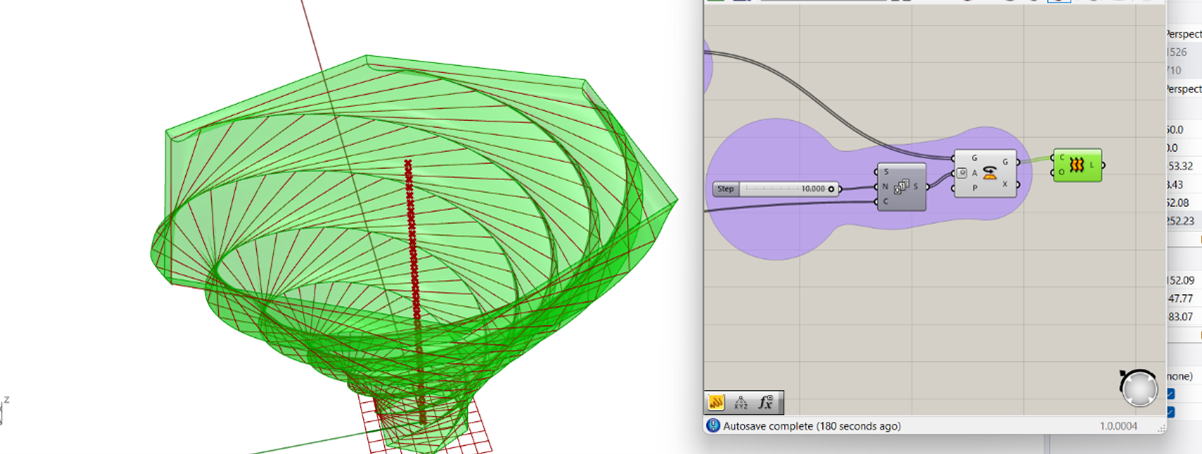
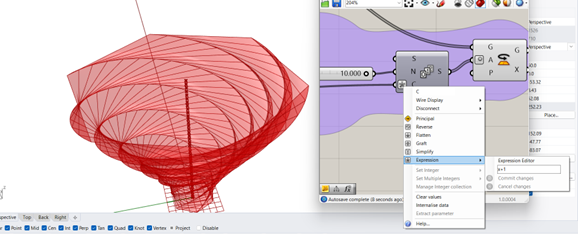
8. Will add the expression x+1 so that the last polygon can form part of the series.
Link for parakeet
https://www.food4rhino.com/en/app/parakeet