The goal is to make a very versatile model of a pen so that I can try out many different shapes and sizes. Grasshopper will be a helpful designing assistant. Grasshopper will be used to test many different varieties of a pen. Each different parameter of a pen can be visually checked by the user of the grasshopper. The person can this way determines what he or she likes or find aesthetically pleasing about the pen.
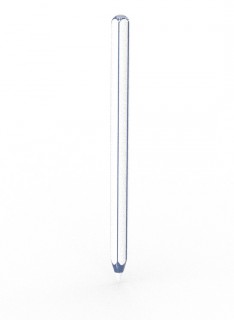
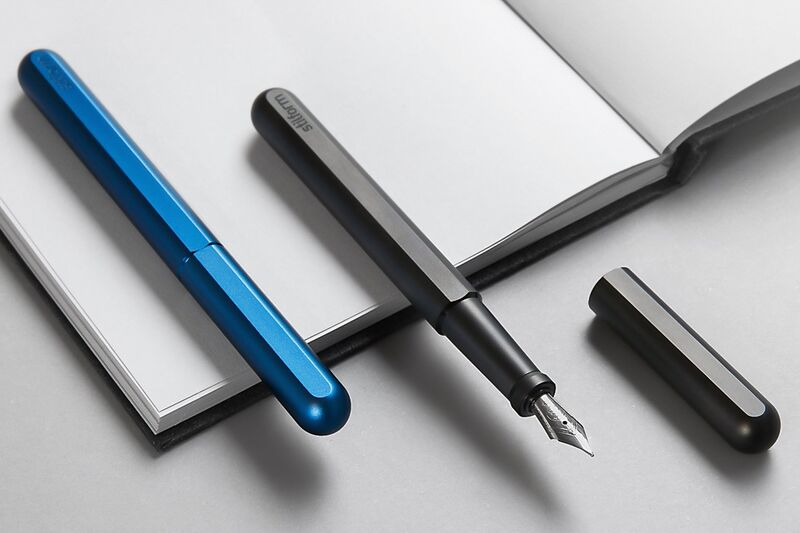
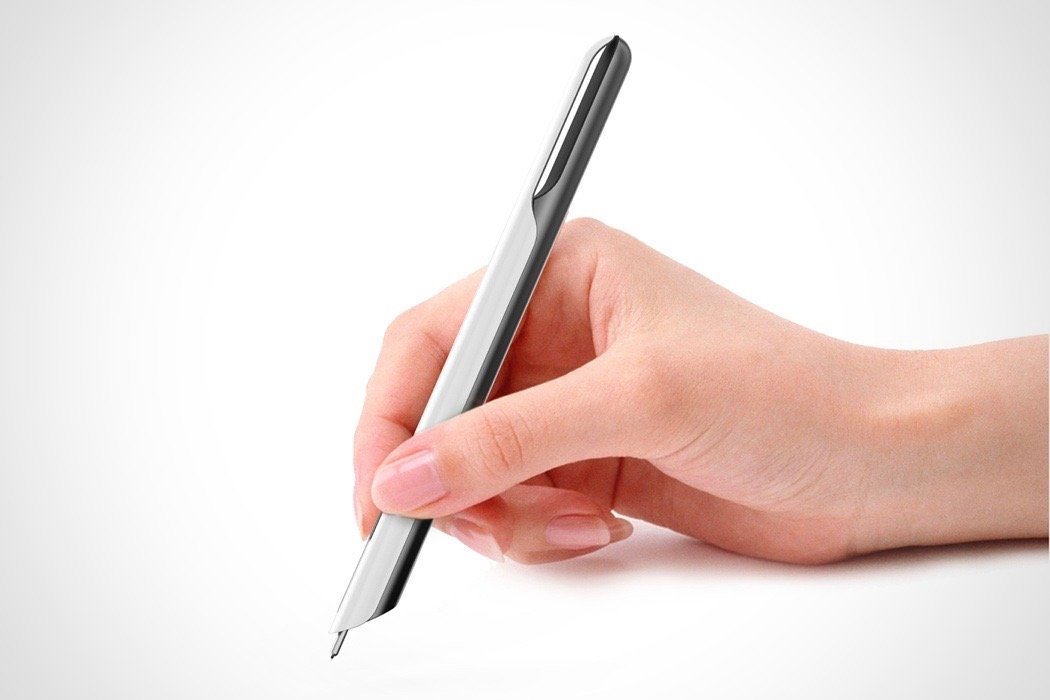
Inspiration
Full script
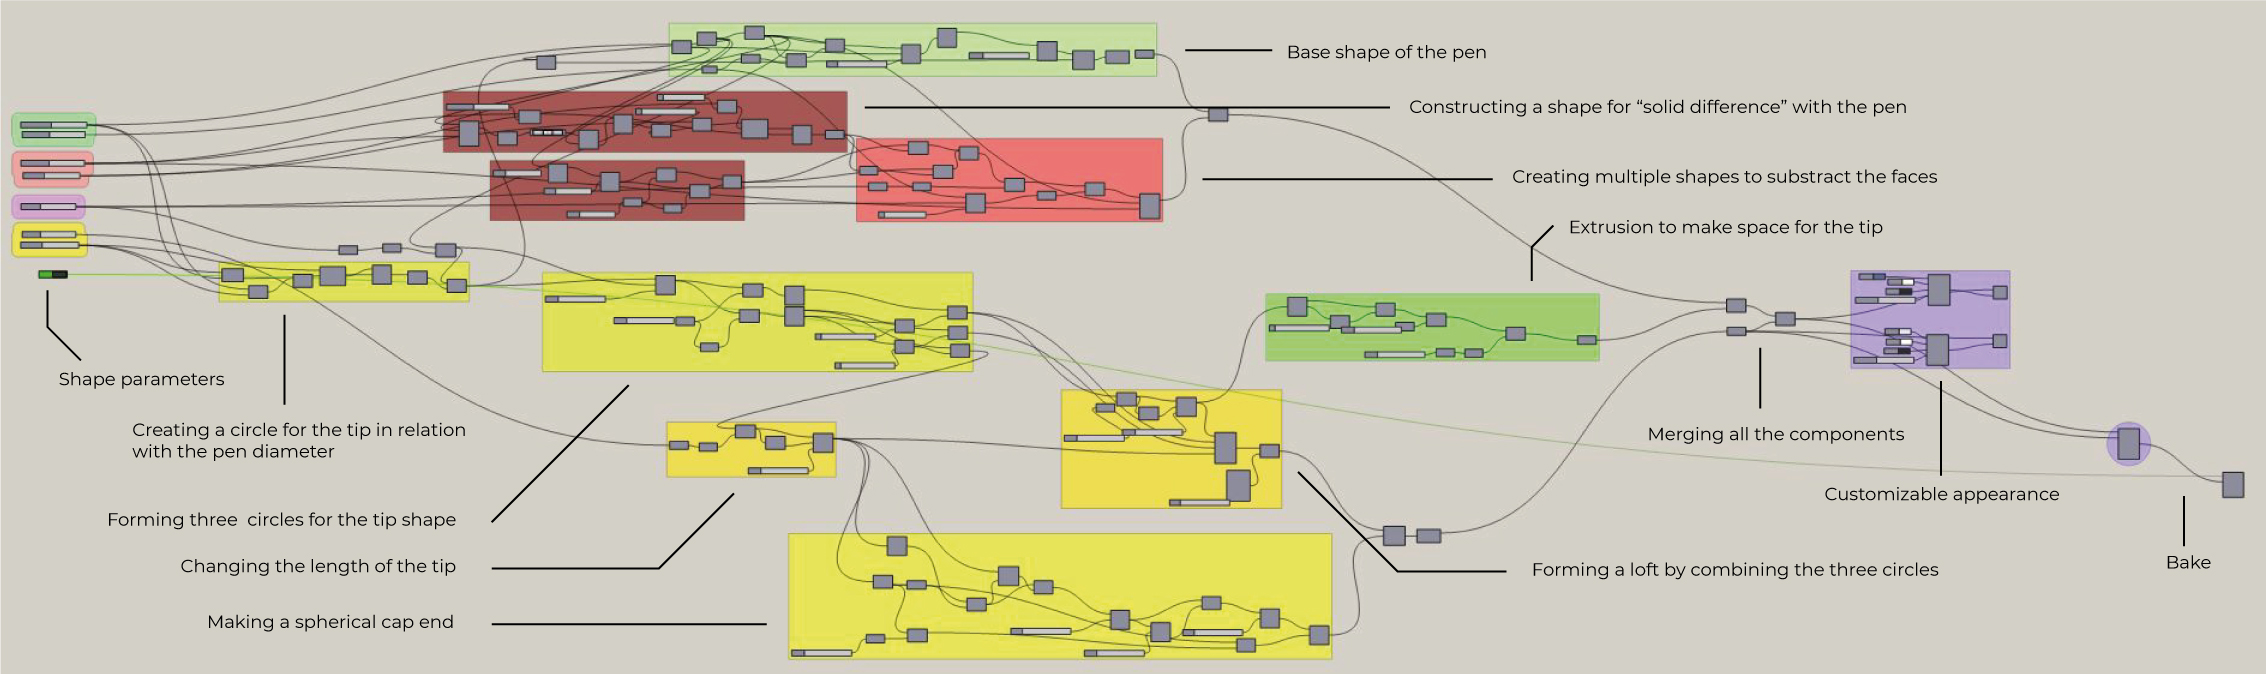
Step 1 | Creating the base pen shape
First we should create the base of the pen.
- To do this we first need an a “pipe” base. To do this we should make a round surface and construct two points. One from the original point and one connected to a number slider to decide on the length of the pen. The line an round surface are use to make a pipe shape with two caps.
- Next we brep the shape we got and get the shape of the tip from a different location of Grasshopper. (We’ll get there later) These shapes are merged together and the parts of the Brep are connected.
- To finish the shape it will end with a cap hole.

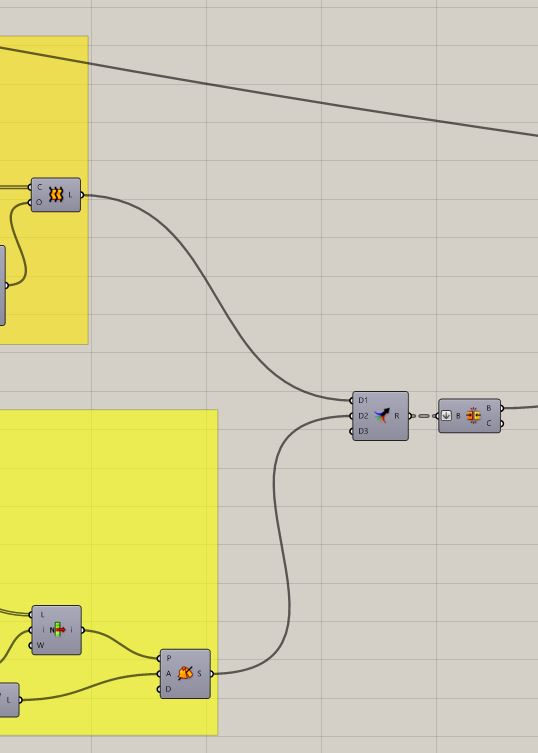
Step 2 | Putting face on the pen shape
Important to know beforehand is that in this step we create shapes that will eventually be “subtracted” from the base pen shape. This is done with the component Solid Difference.
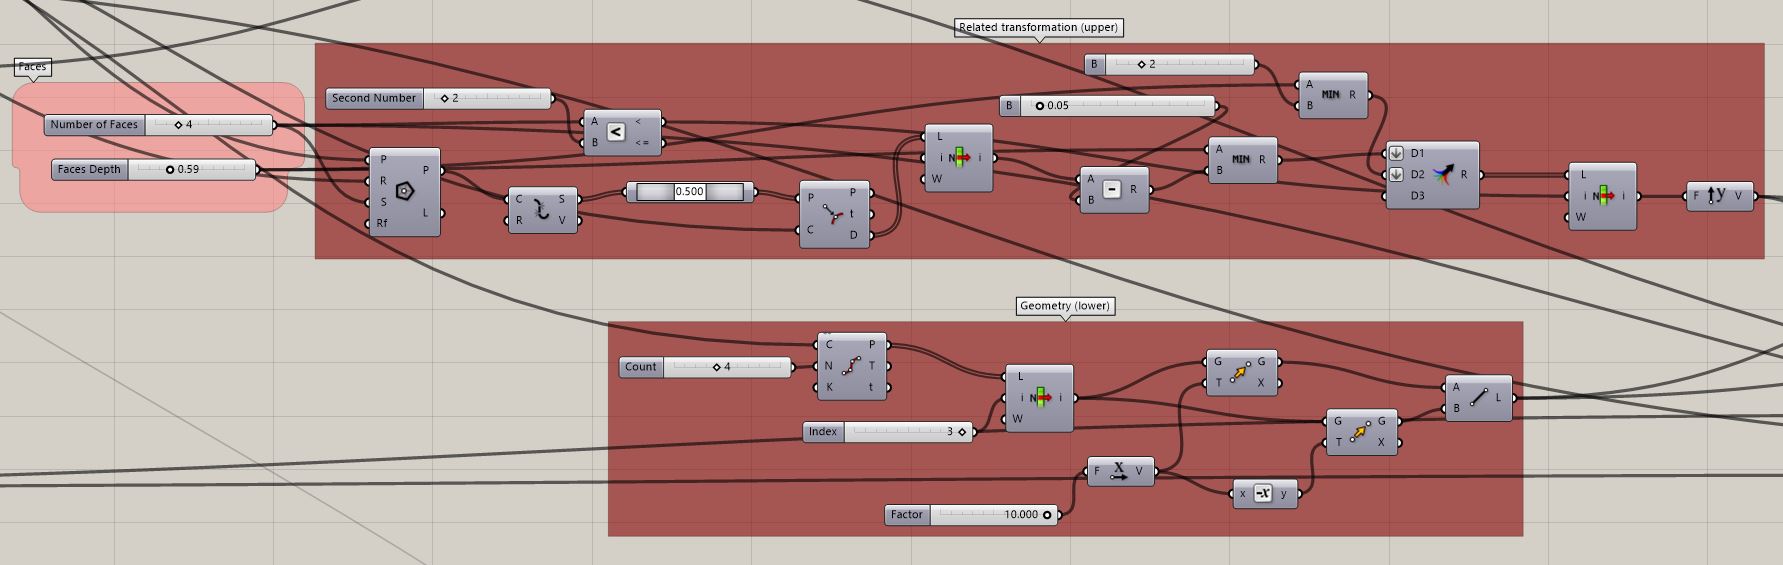
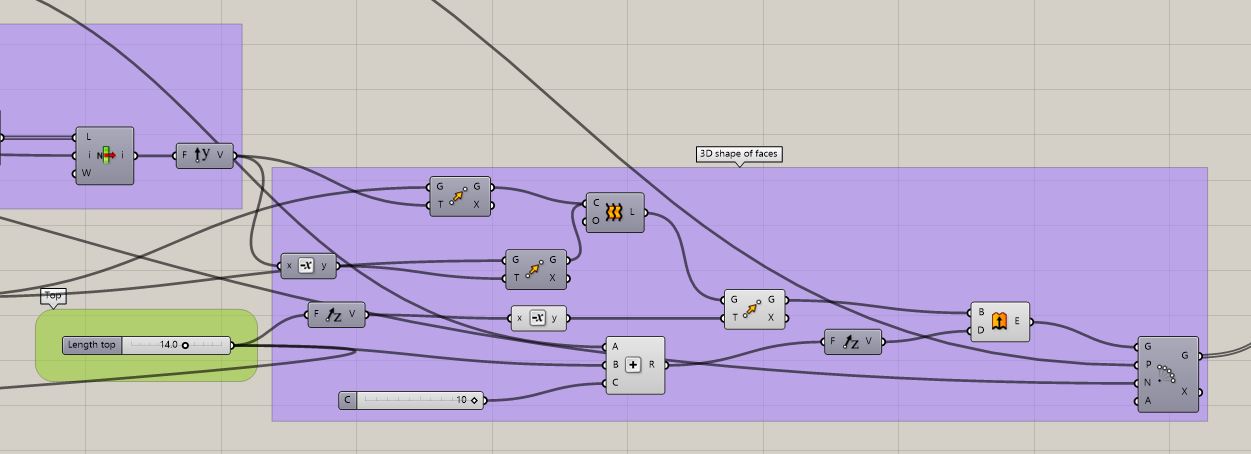
It is important to now that the thickness (depth of face in endresult) of the base shape should be related to the amount of faces. The upper part of this step takes care of that. With the help of “list item” and “minimum” a relatable nummer comes out of it. This number will be used in the “move” component as the transformation of the geometry.
The lower part is of this step is how we get the geometry. The circle from “Step 1: base pen” is divided. With list item a point is chosen where a line can be drawn which is perpendicular to the circle shape. To draw this line two points related to this “itemlist point” are placed. One positive and one negative, making them mirror each other. Between these points a line is drawn. This Line is the geometry we need to put the upper and lower part together.

The line is being transformed with the relative number from the upper part. Once again negative and positive to mirror eachother. The two lines form into a loft. This Loft is then extruded to make a rectangular box shape. The lengte can be changed with the “length top” slider. This makes sure you can change the length of the top.
This shape then runs through a polar array making the shape duplicate itself in an angle.
Now to put step 1 and 2 together with “solid Difference” to create the pen base shape with faces.
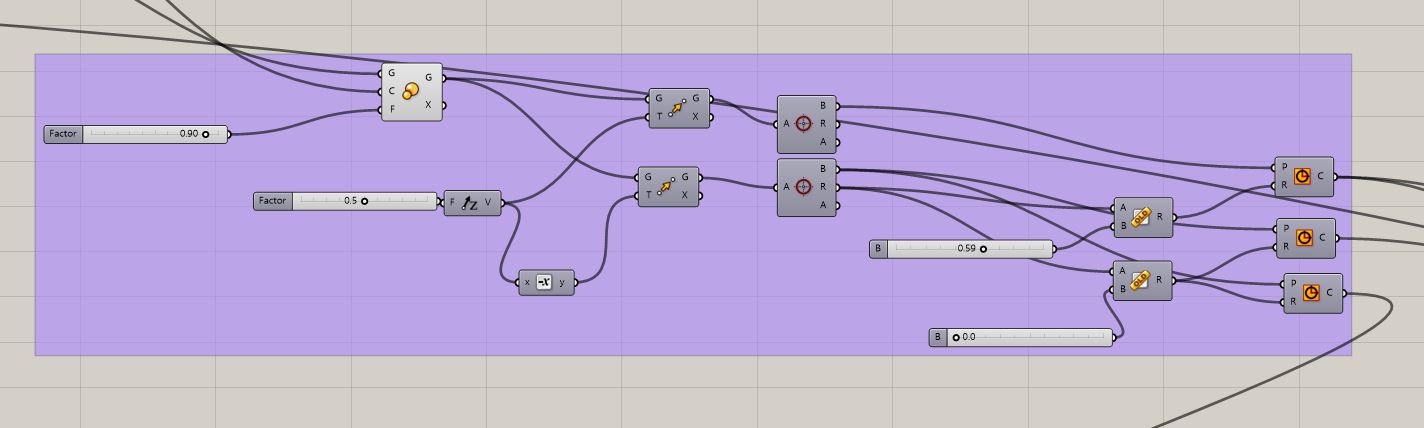
Step 3 | Adding tip to base pen
This approach is a bit similar to what we did before. Yet again we are using “solid difference” to cut away part of the shape. Then after that we can insert a custom shape of the tip into the base pen shape.
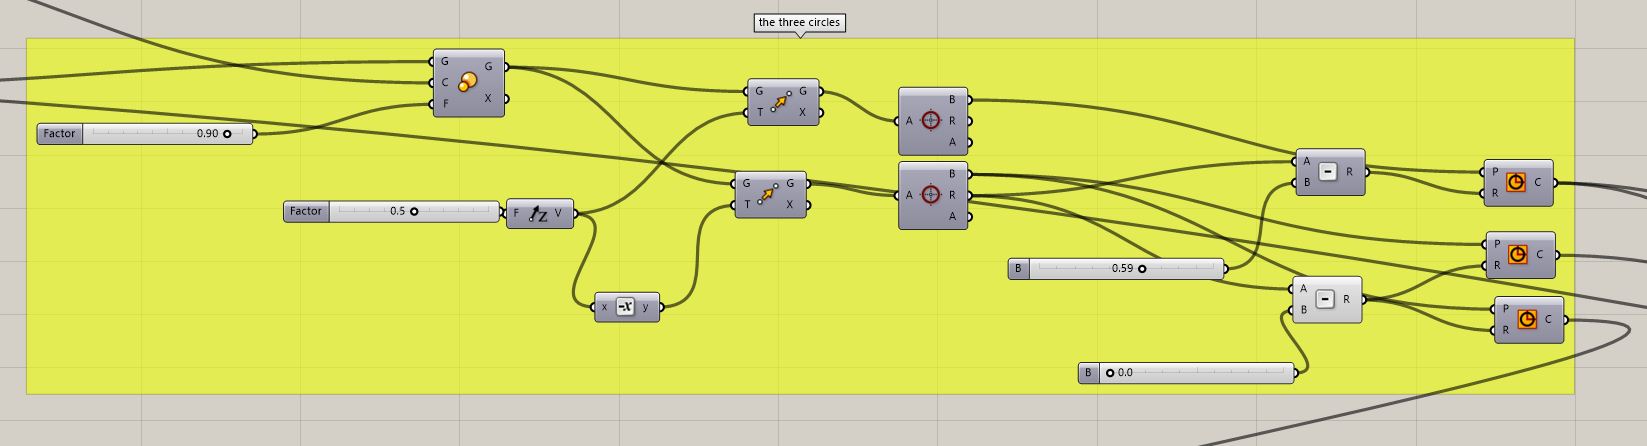
We’ll start with making a editable diameter. The diameter of the tip and the diameter of the pen base have to be related to each other to make it smoothly editable. That’s why both the “diameter pen base” slider and the “diameter tip” slider are involved.
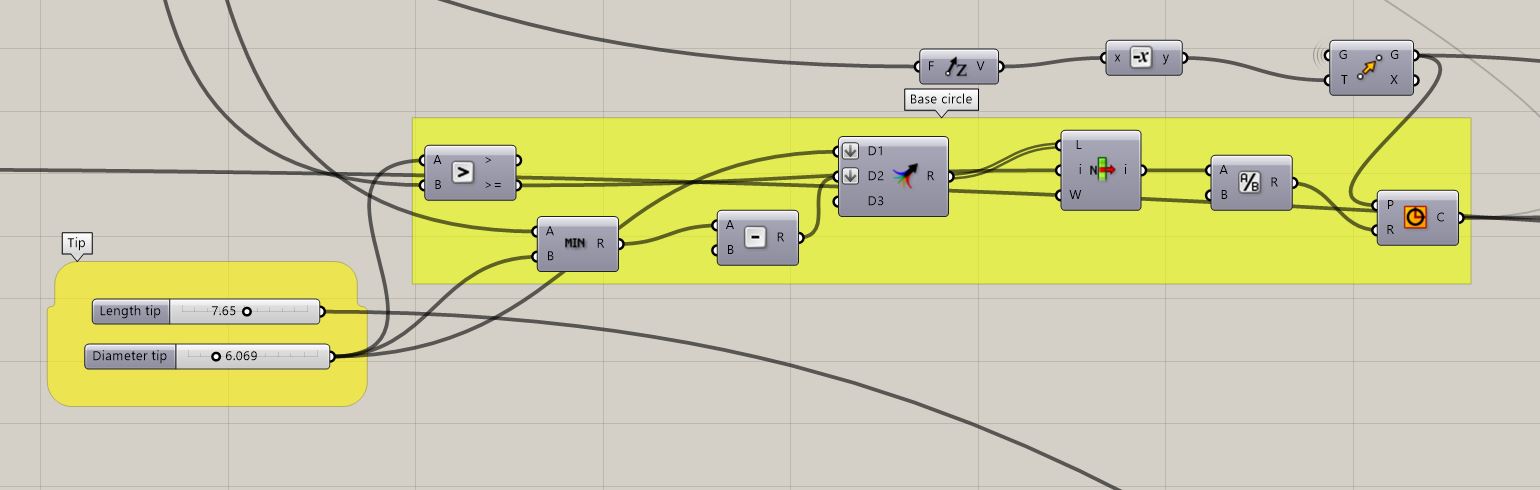
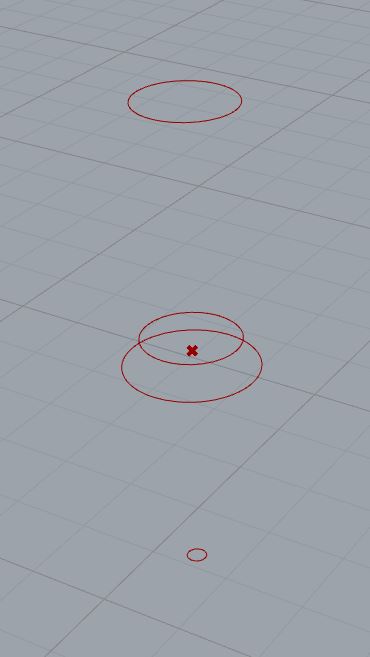
We use this circle to extract three different shaped circles. With the use of move and scale we place the circles in such a way that if you “loft” them. It forms the shape of the tip. In the picture you can see the four circles merging into the loft. All these four circles are related to the diameter sliders so you can change them accordingly.
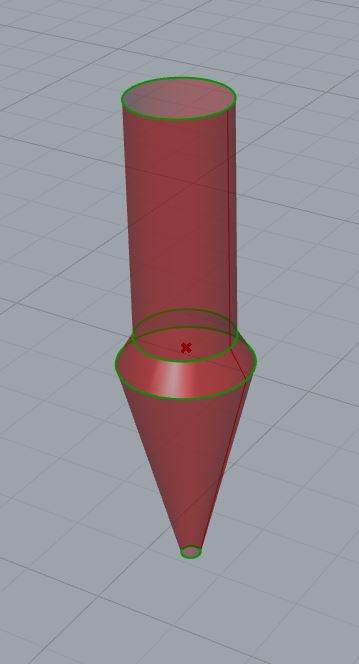
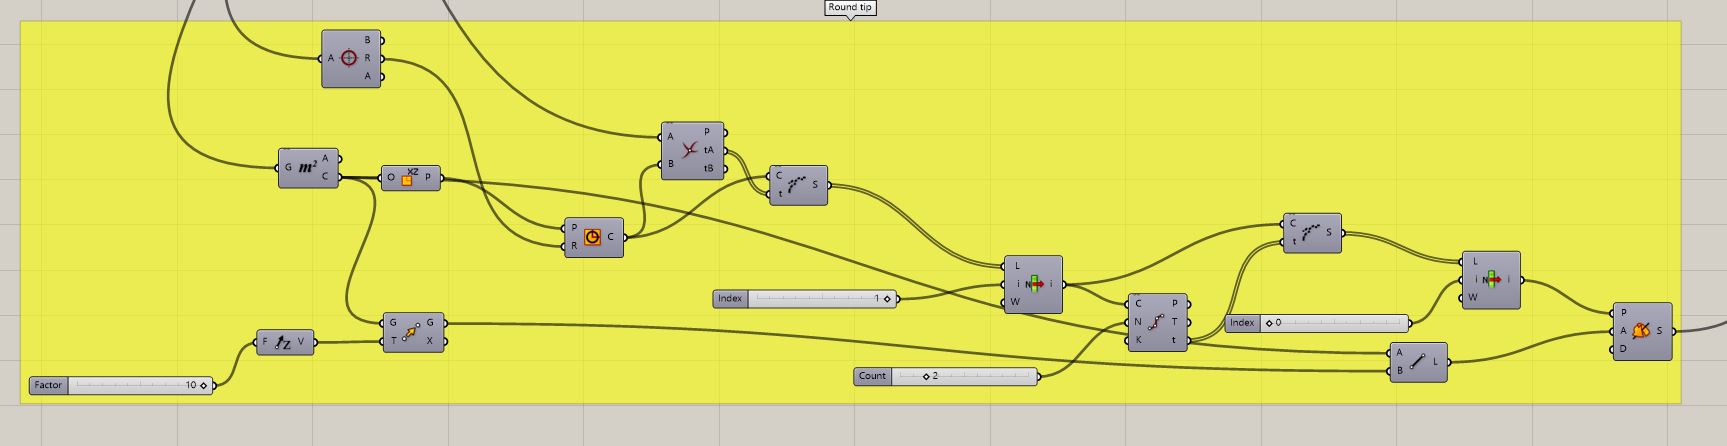
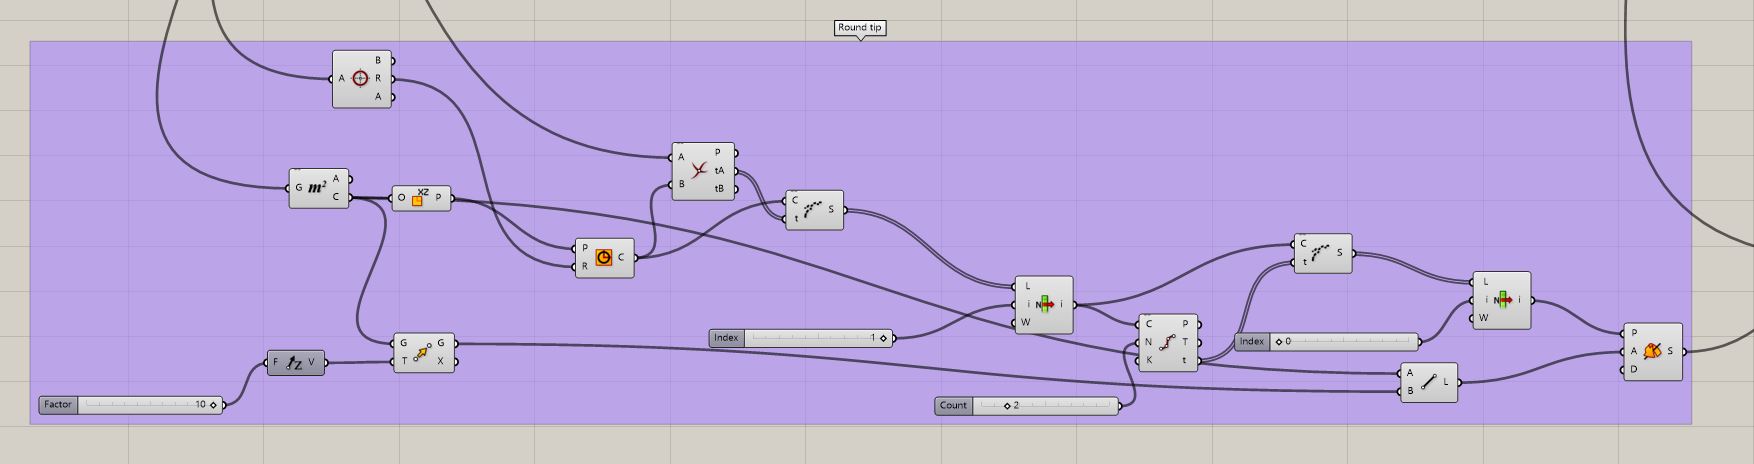
What is a tip without a actual tip. So on the end of the tipshape should be some sort of round cap.
This was actually a very hard one for me and very frustrating. It is a very small detail with a lot of work. I got most of the “code” from the internet and I’m still a bit unsure how it really works.
How I understand it is that i first draw a circle. You break the circle in point and with list item we eventually pick two point that catch just on quarter of the circle. This 1/4 circle is then being formed into a bowl shape by revoluting across the middle axis (centre line).
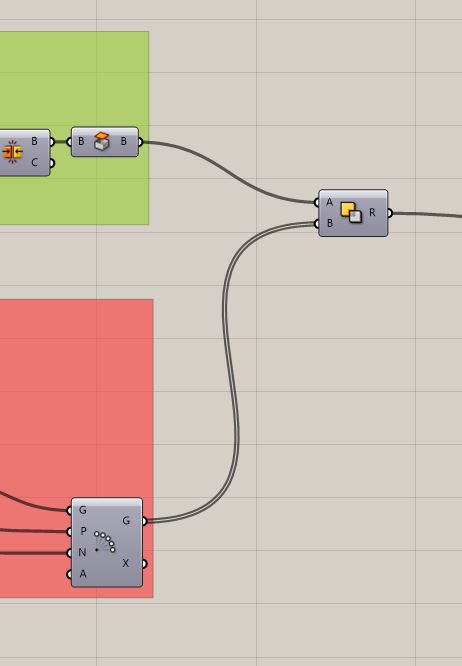
After creating this spherical tip it’s time to actually attach it to the tip. This is done with merge.
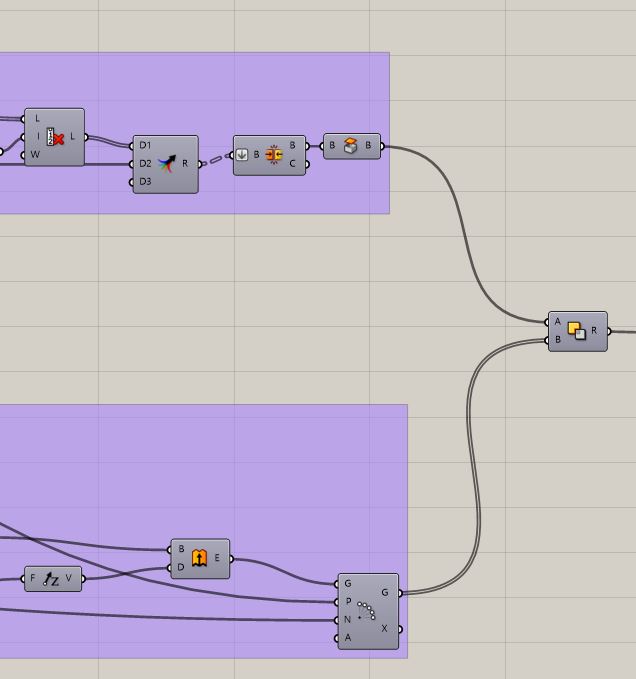
Step 4 | Put everything together
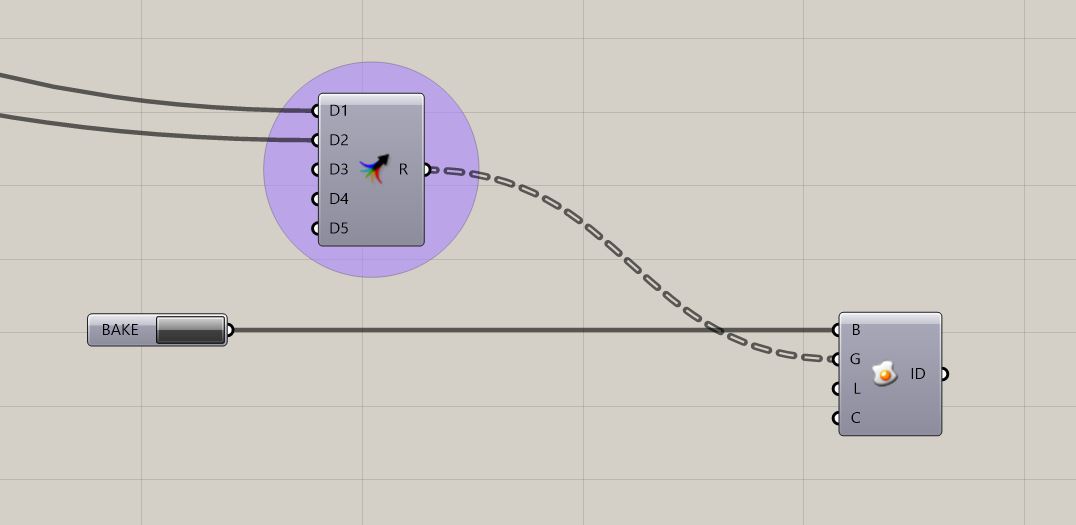
after merging all the shapes together both the pen and the tip get a different material preview to easily keep them apart. This is also the point where you can change the Materials for aesthetic choices.

Step 5 | Get cooking!
Now you have all the sliders working and you can start experimenting with the different parameters!
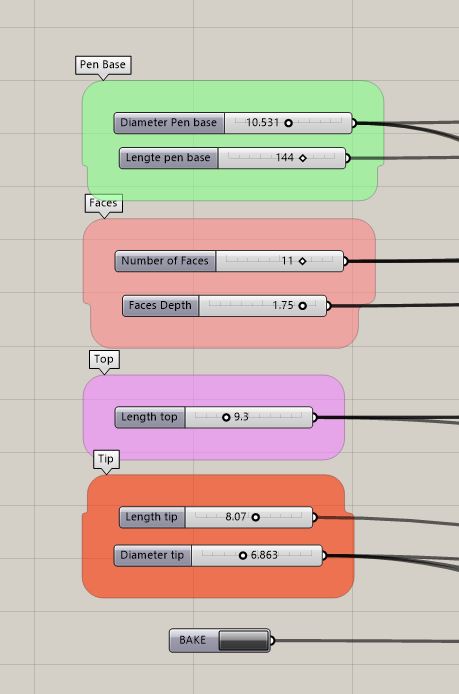
The last option is to bake the shape you just made. This way you get an actual 3D object which you can use for a 3D printer or other ideas.
Pen designs
Using the slider different results for the pen can be made.
This Screencapture shows the process a little bit.
The Sliders result in a big variety of shapes. Here you can see some examples of the Pen shapes that can be made. 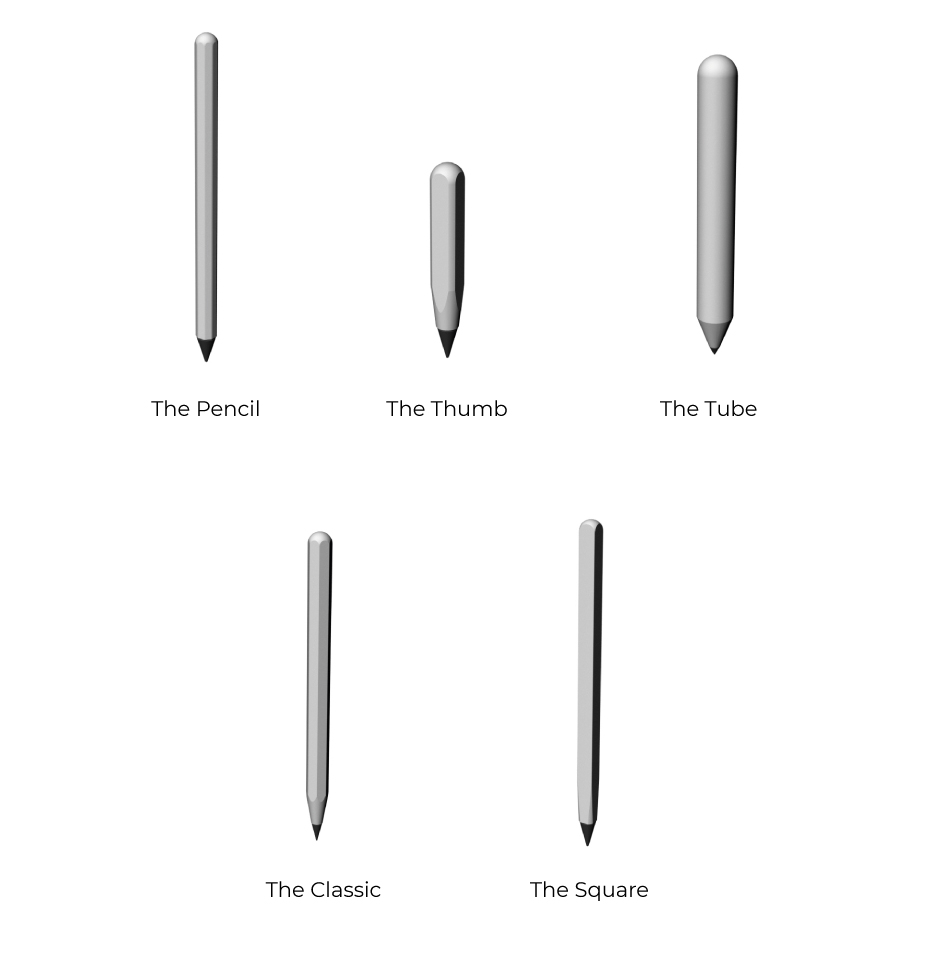
Grasshopper File