CAD 4 – Scripting-Maria Petsani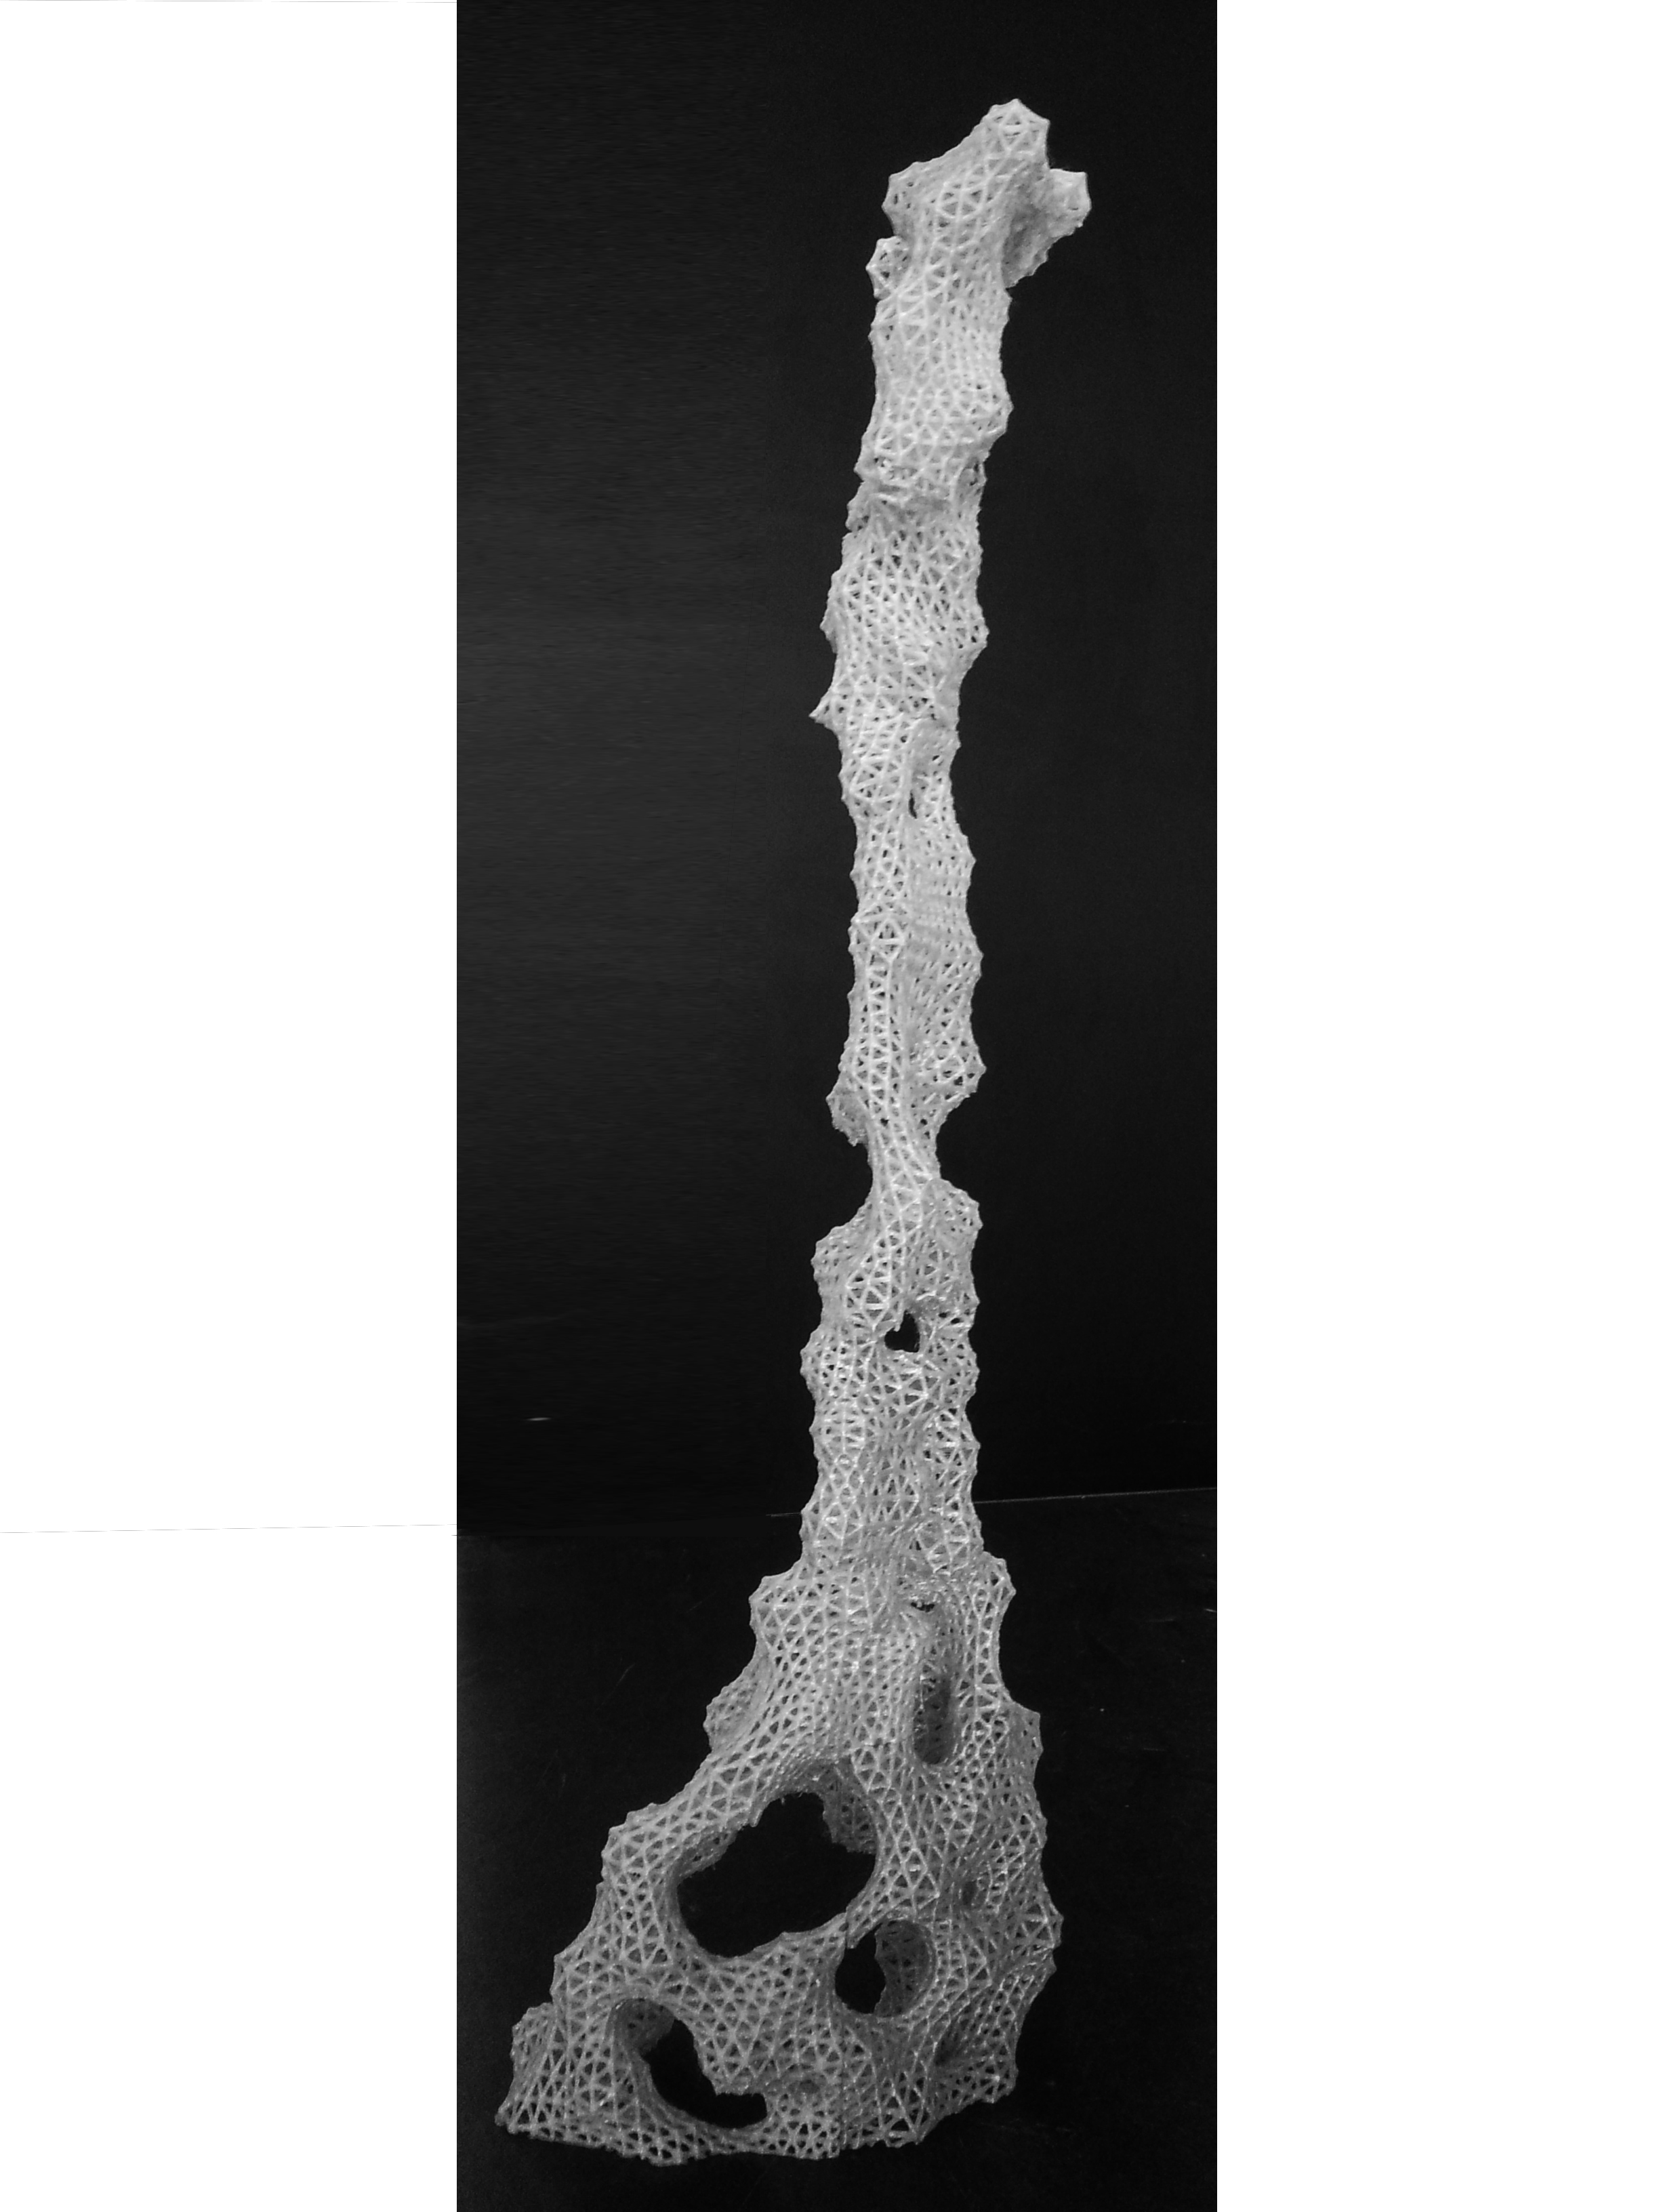
CAD 4 – Scripting
Lecturer:
Simon Prokop
prokosim@gmail.com
Student:
Petsani Maria
mariape18@hotmail.gr
COCOON
The script emerges as a solution to the designing intentions of the designing studio Join-it. The courses of the Cad 4 lab really helped to understand the logic of grasshopper and computational design and use this tools to the designing process.
PROBLEM TO SOLVE
The problem I was trying to solve was to create a complicated sculpture which could be manufactured in real only by a 3D printer. A curved structure is one of the shapes that satisfy this aim. The script help me to create an intense complexity, which is hard to be created by human minds due to the increased numerical processes.
WORKING PROCESS – SCRIPTING
I wanted to create a group of curves, which would be used for the cocoon. I would create the group of lines from a surface from the UV lines.
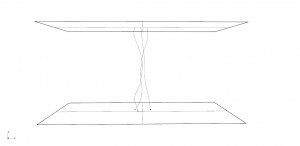
Image 1 _ lines – rules for the loft- creation of a surface

Image 2 _ surface-UV lines – curves for the cocoon
For the cocoon script I need as an input – curves. I use the curves I created to the script.
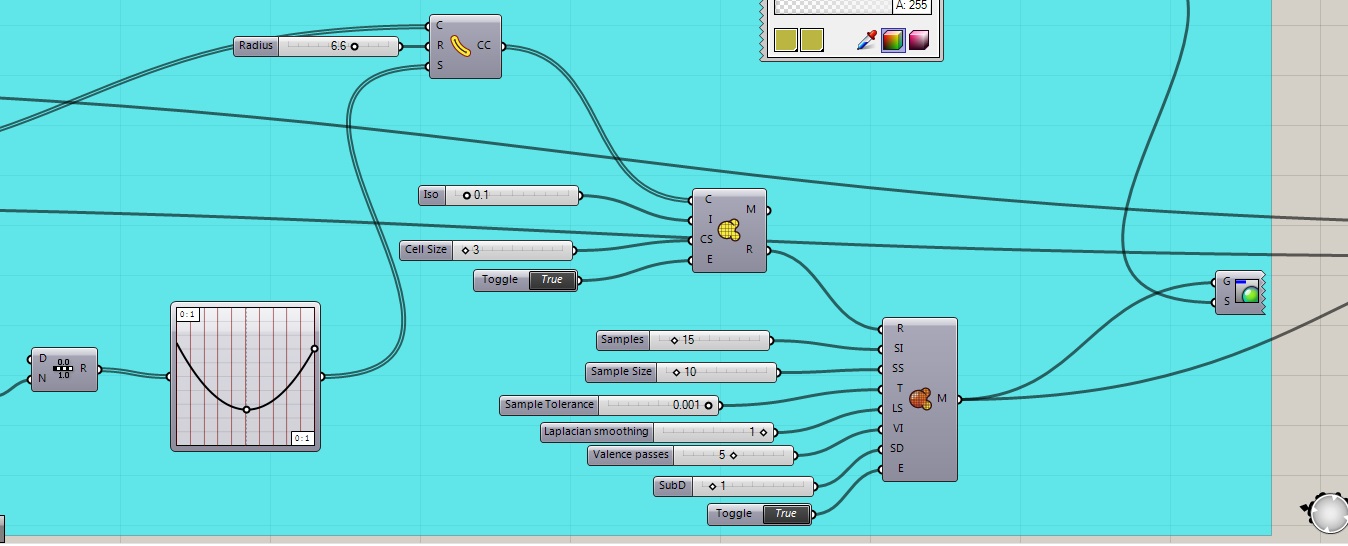
Image 3 _Scripting Cocoon
A difficulty, which appears at this point of the procedure, was the scale. In order to be able to see the cocoon in the curves I had to try many differs numbers in the radius of the cocoon.
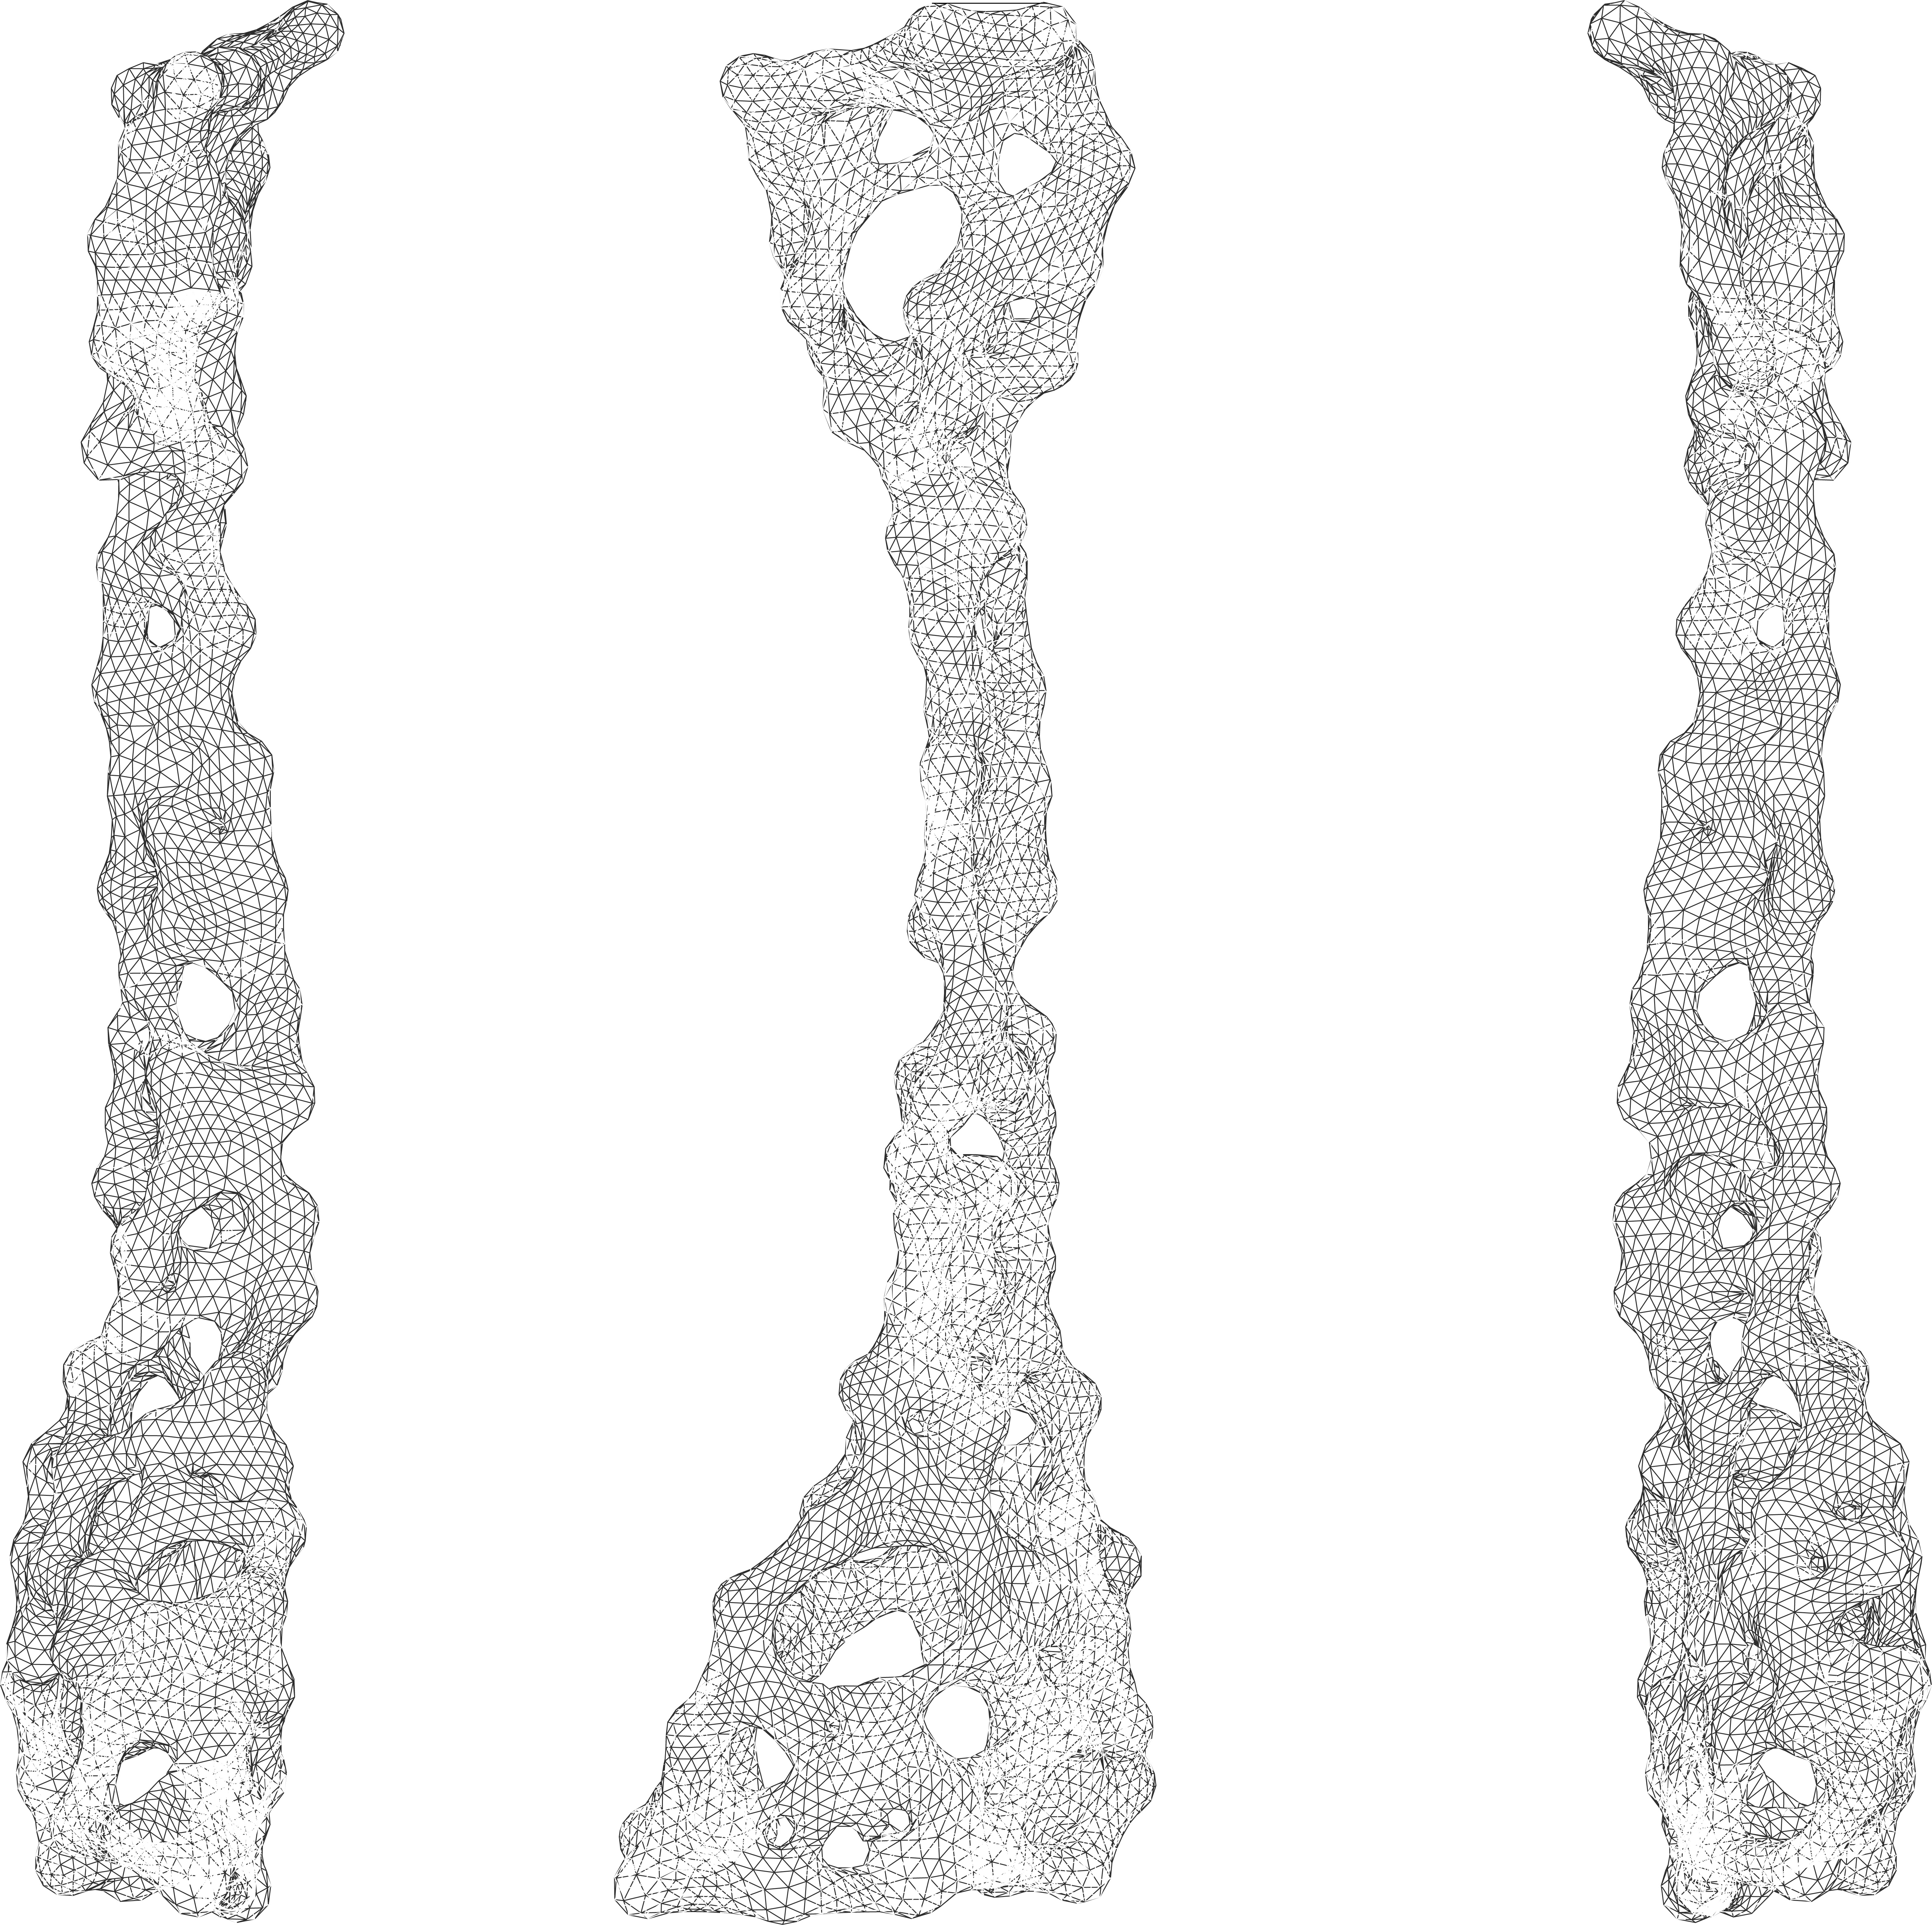
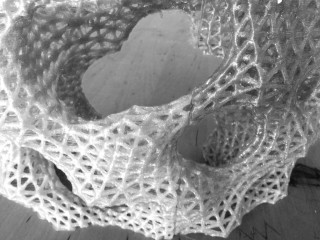
Image 4 _ first cocoon
In order to achieve even more complexity to the project, I will use the curves of the mesh of the cocoon, for a next cocoon.
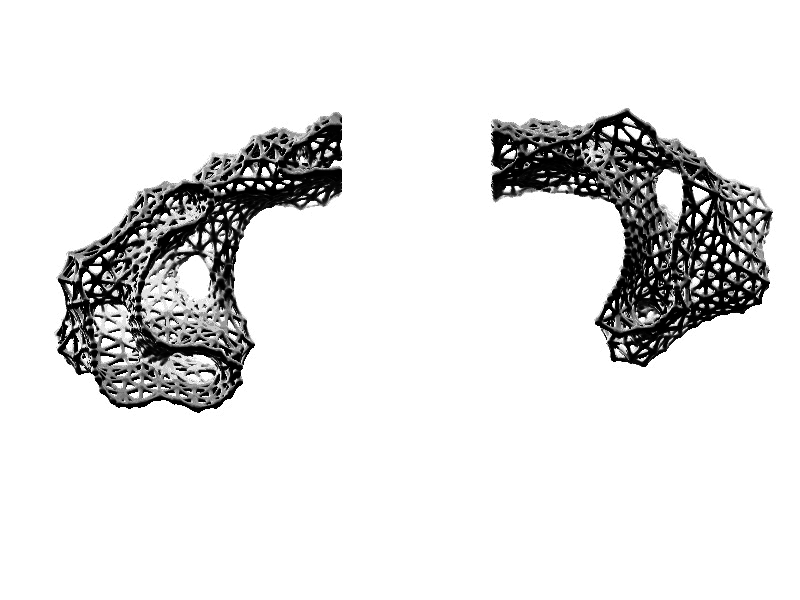
Image 5 _the second cocoon _curves are from the mesh of the previous cocoon
LIMITS
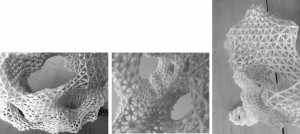
The number of the curves is big, in order to make it easier for the computer to calculate, I split the sculpture to pieces.

Image 6_the sculpure in pieces
For the second cocoon I use the same script with the add of a scale process, before and after the cocoon part, in order to avoid the research of the right radius of the cocoon.

Image 7_scale_before and after the second cocoon

Image 8_scale before the cocoon
PLUG IN
I used the Plug in of Cocoon in grasshopper.Thanks to David Stasiuk
( dave@provingground.io )
EXLANATION LINK
http://www.bespokegeometry.com/2015/07/22/cocoon/