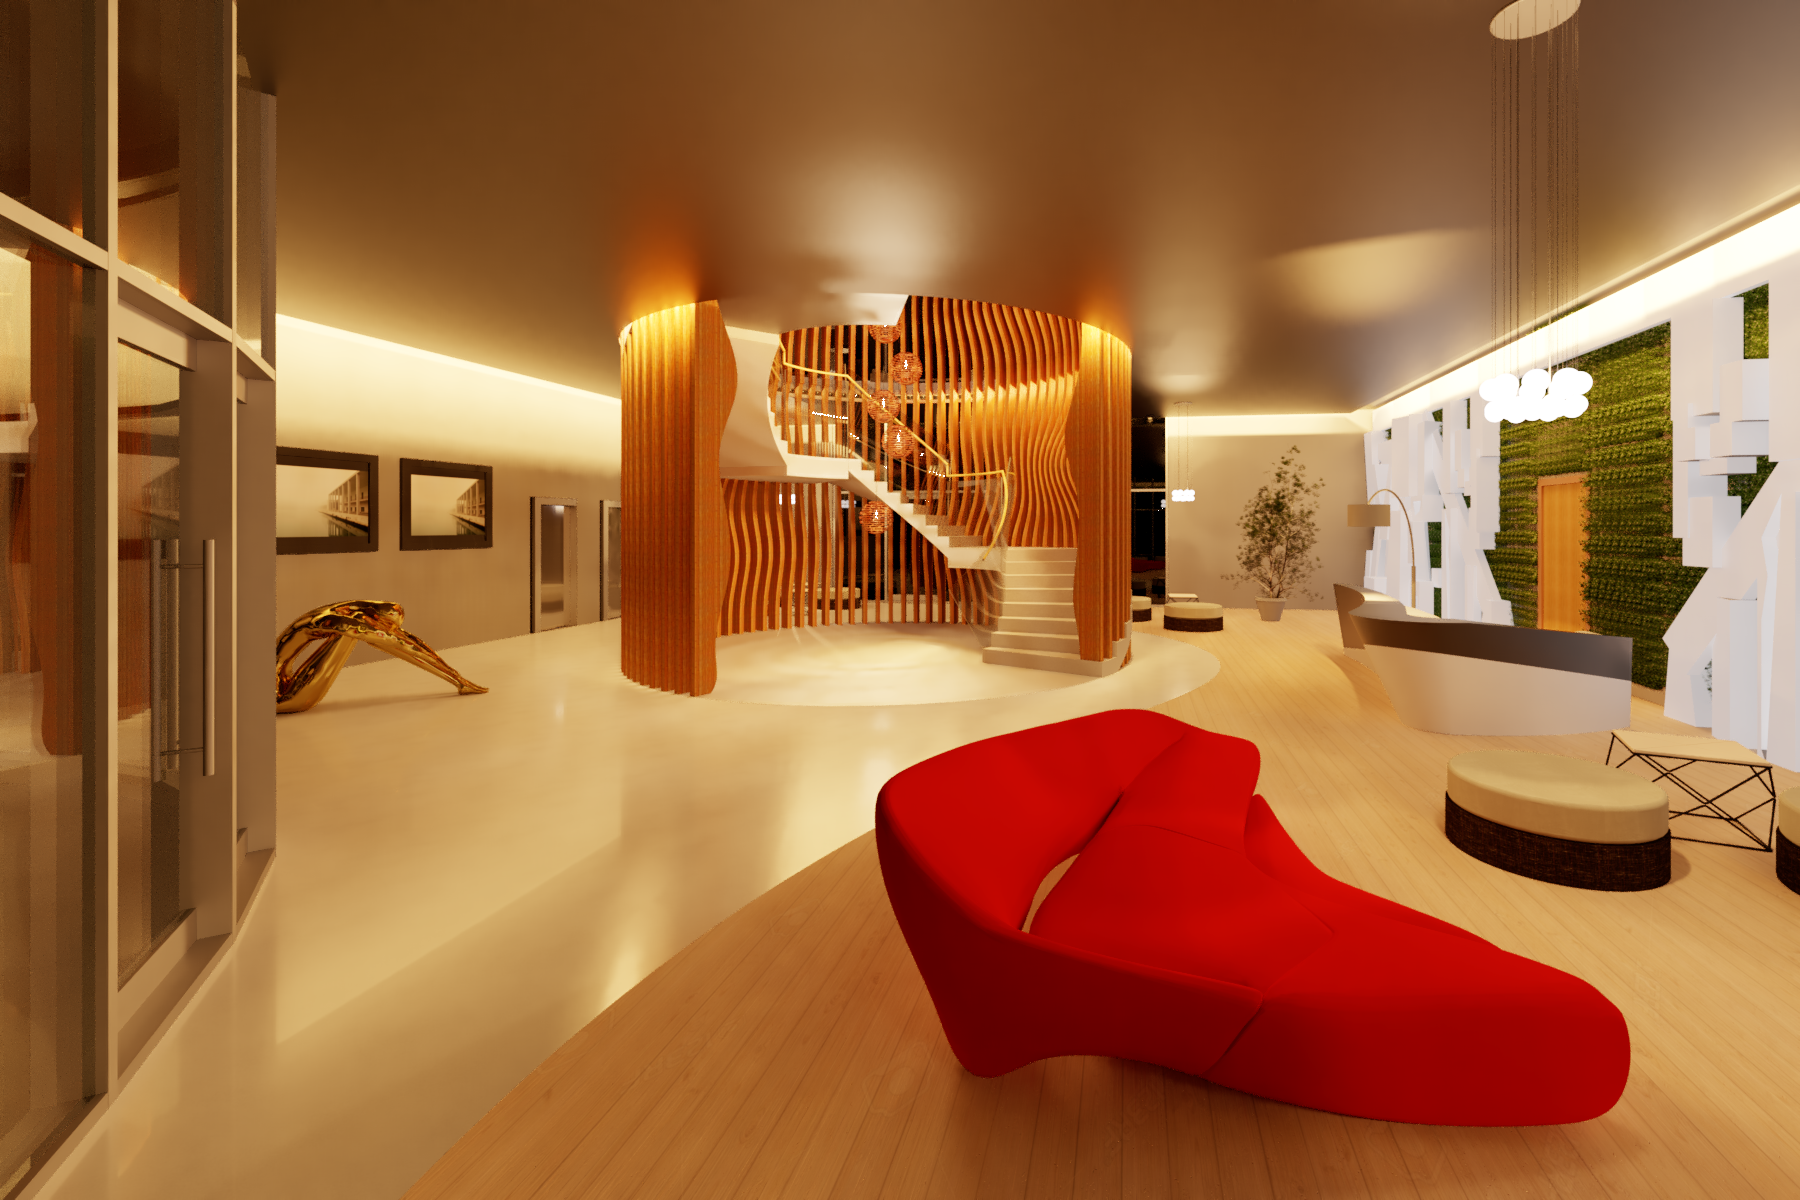
This tutorial is presenting a sculped wall along the stairs that I used in the interior design project.
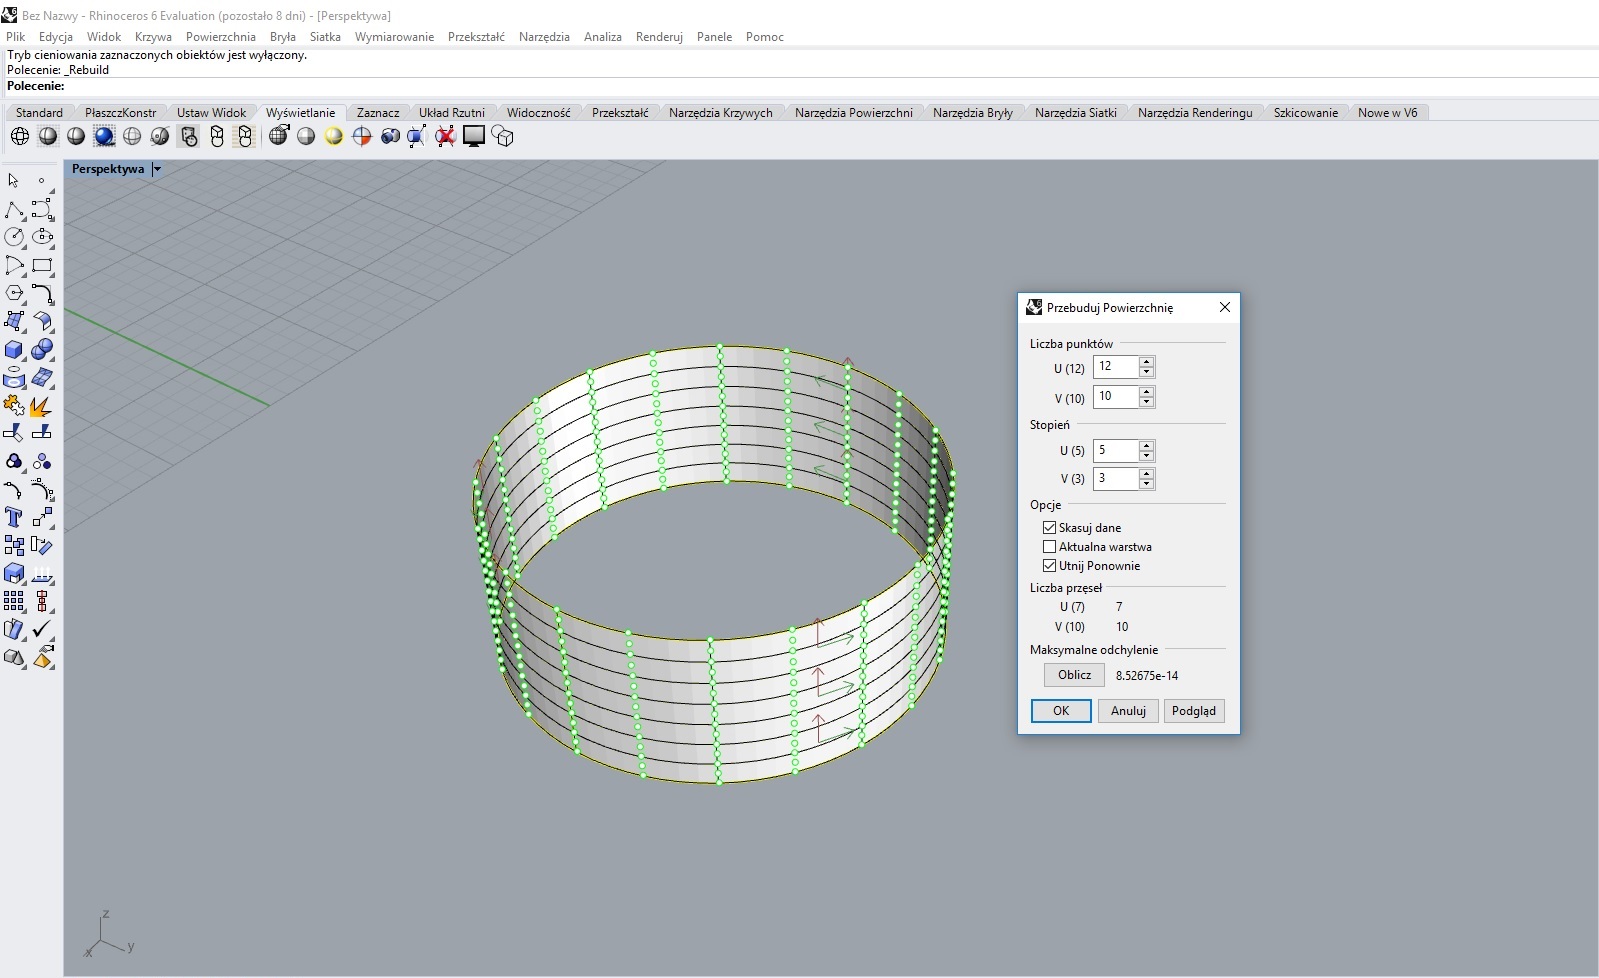
To start with, I draw a basic mass in Rhino using cylinder and rebuilding the surface with control points. Then I could achieve the smoth shape that I wanted. It will be also editable in the future

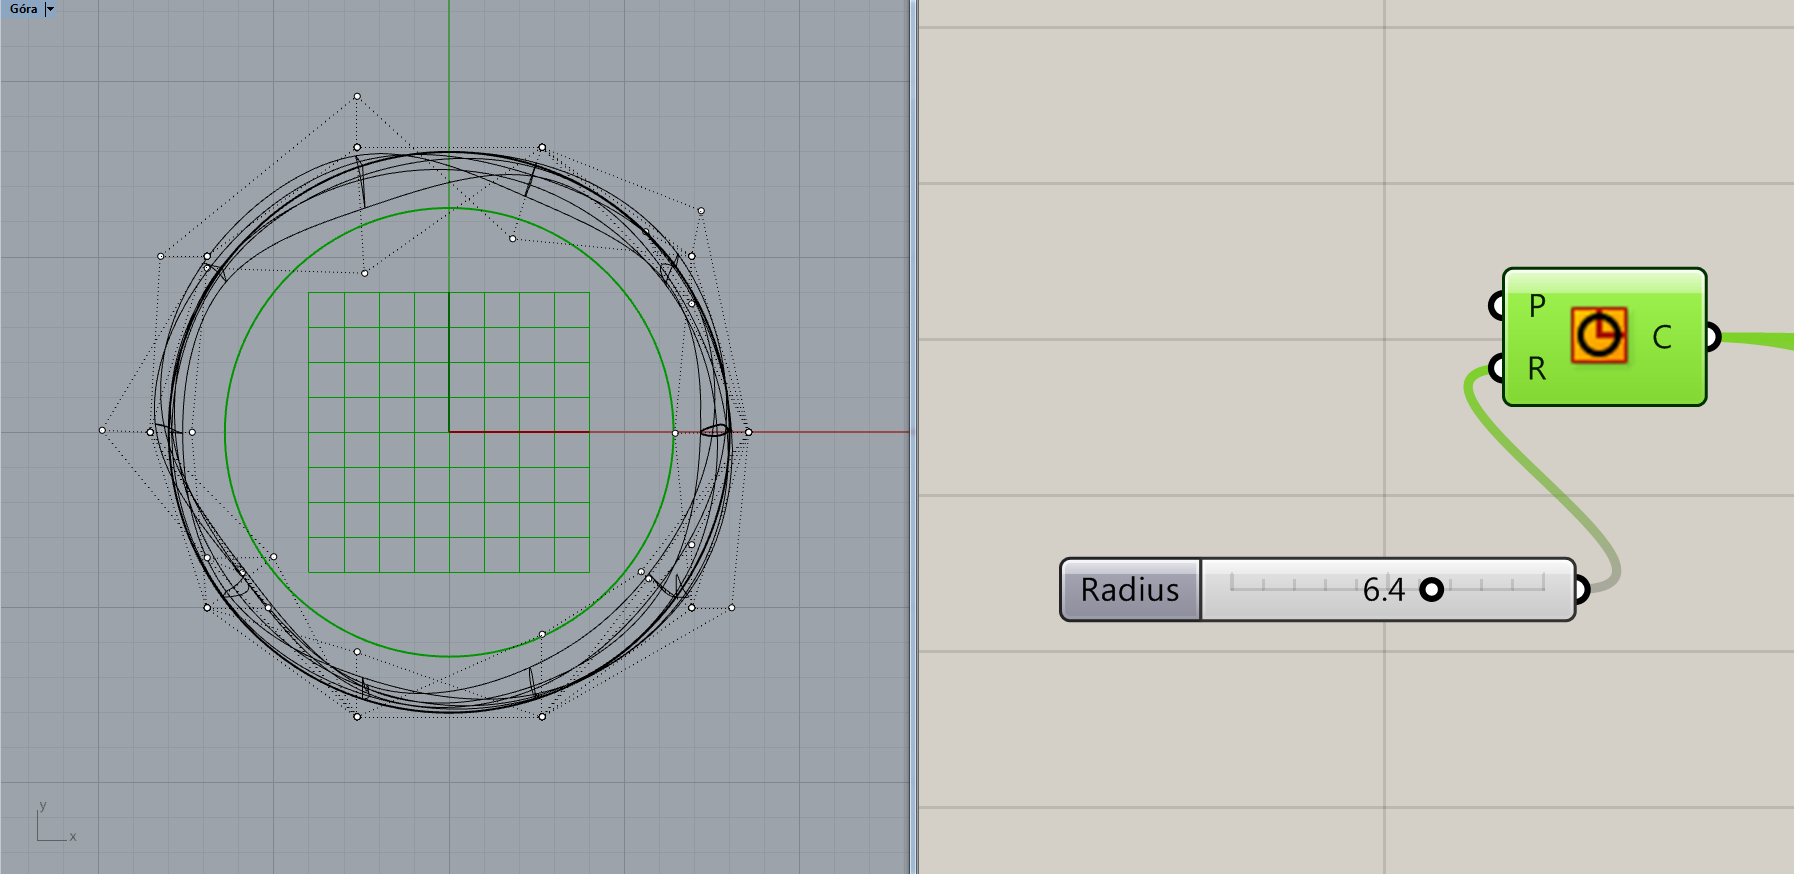
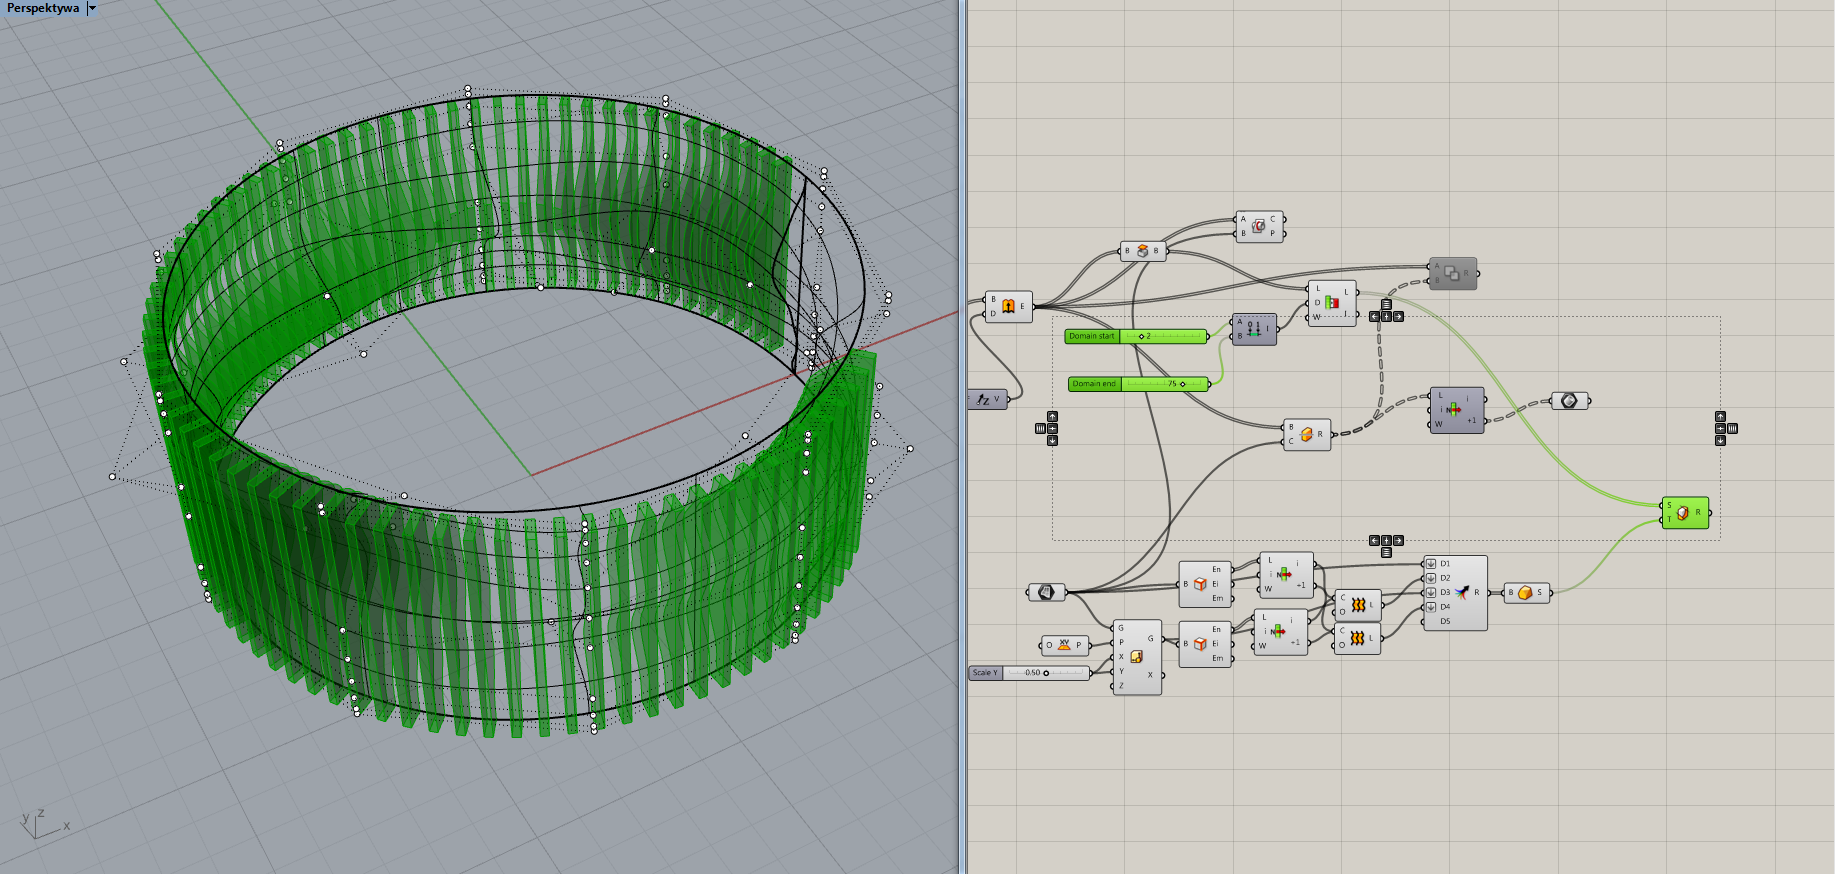
In grasshopper I started with creating the basic profiles along the target stairs, so what I needed to do is draw circle alongside I would put my rectangular-based profiles.
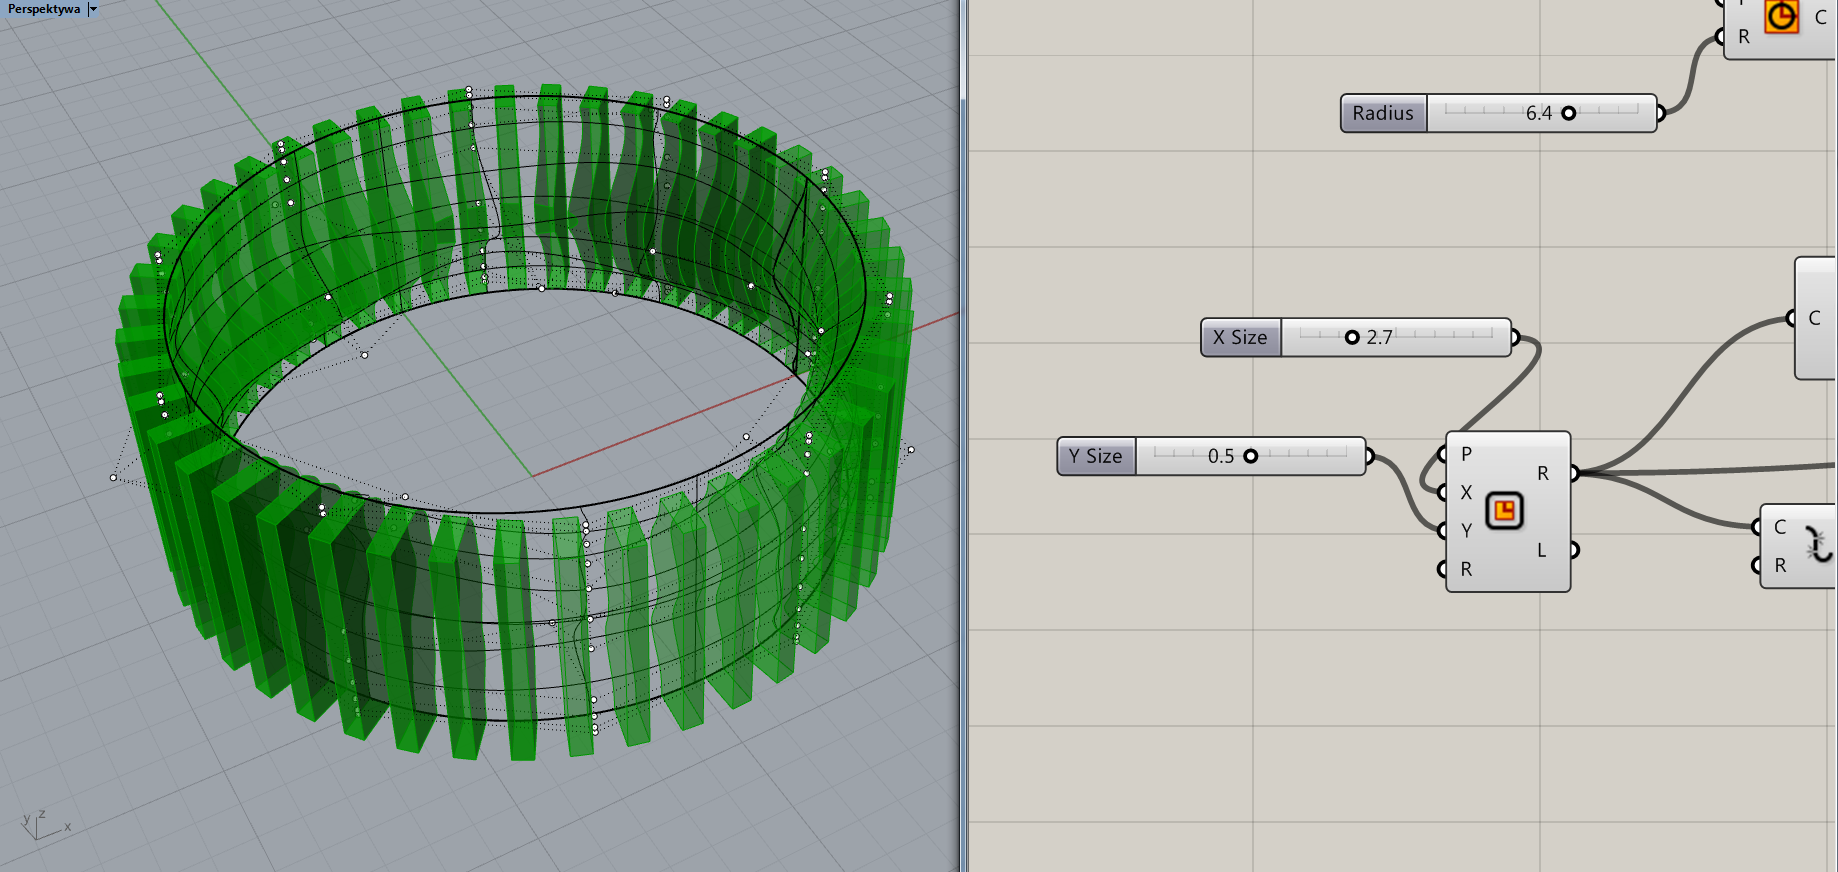
Then creating rectangle of specific dimensions
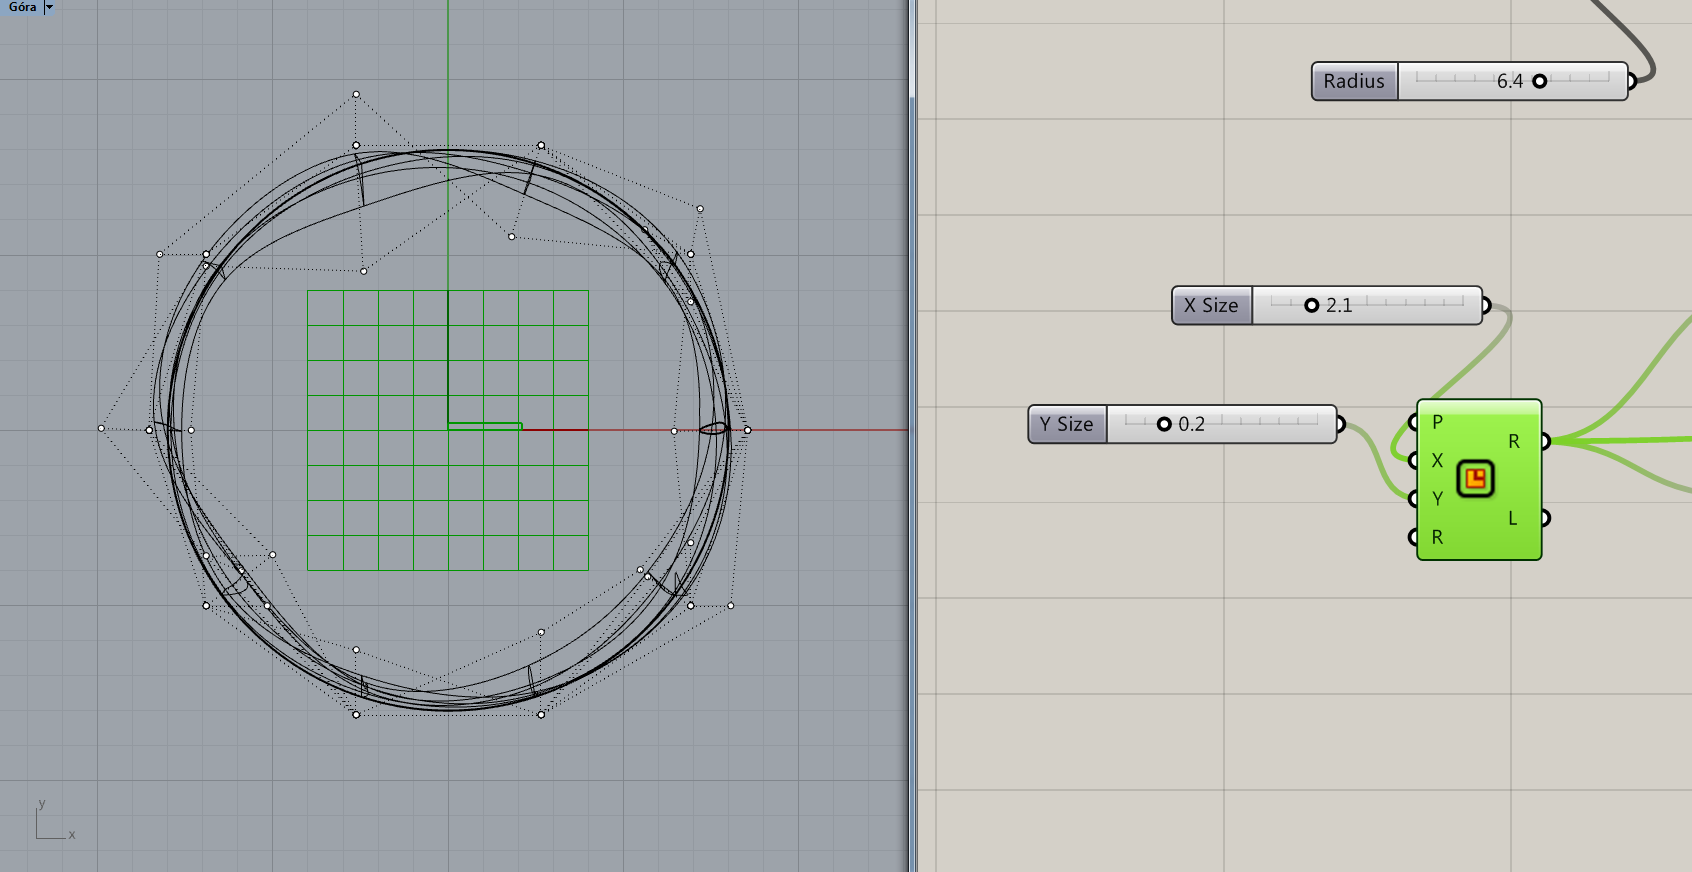
I had to extract chosen point from this shape


to use it as reference and defining the origin plane for moving it to the right place on the circle.
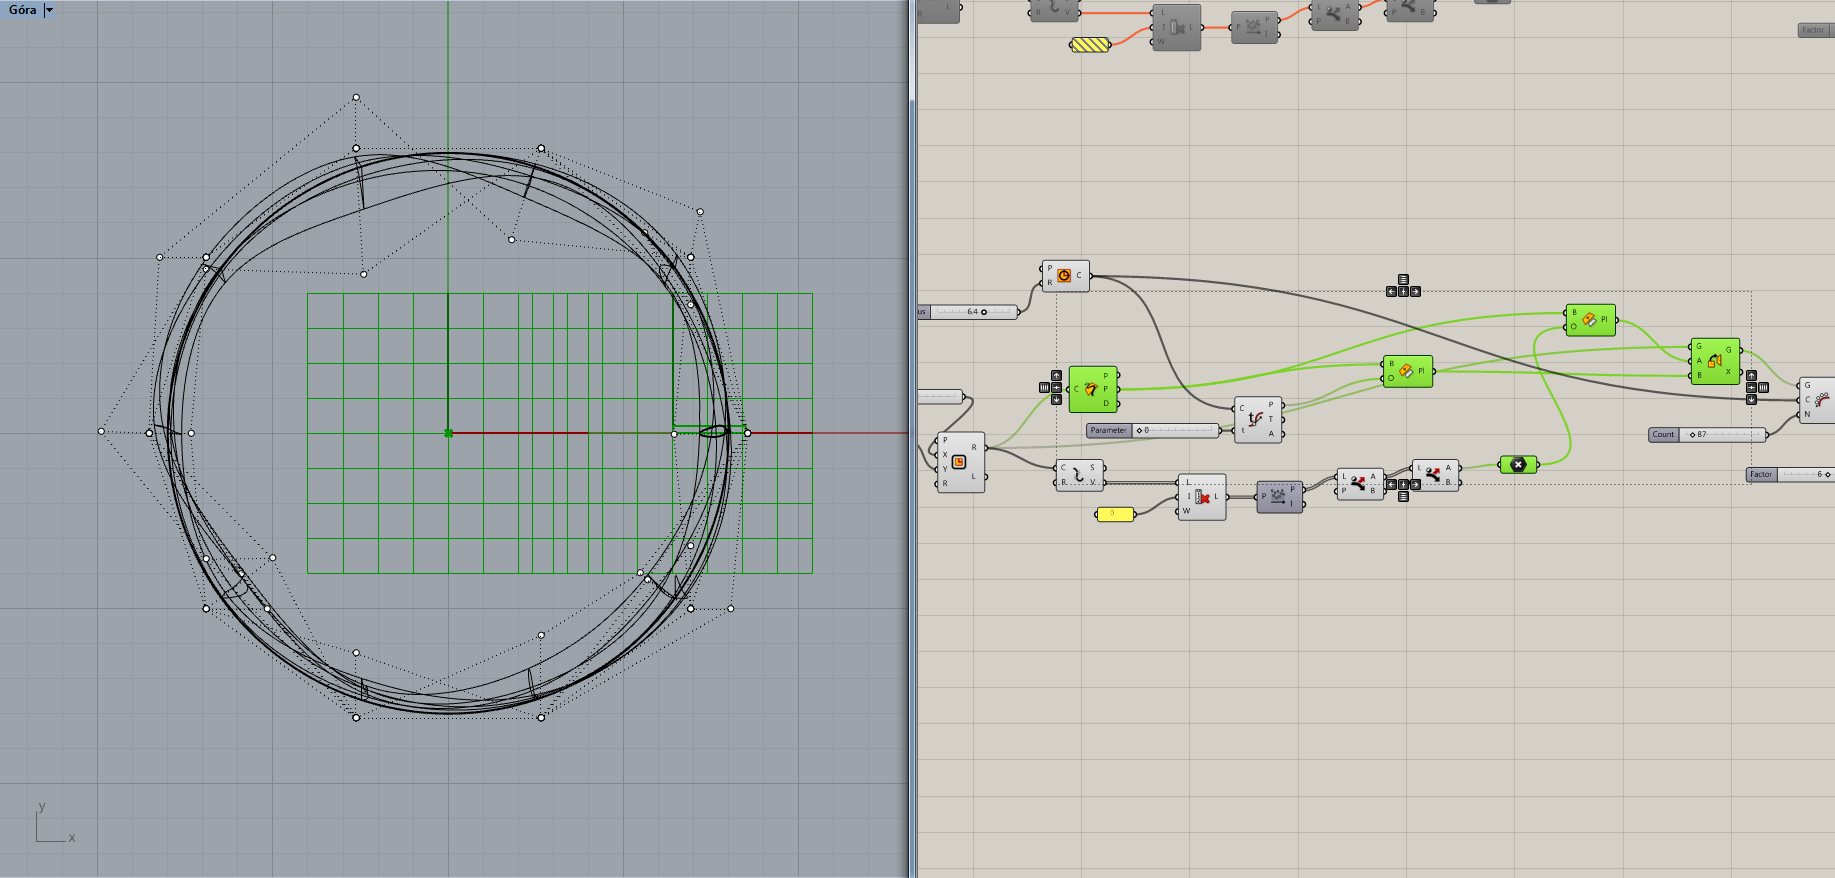
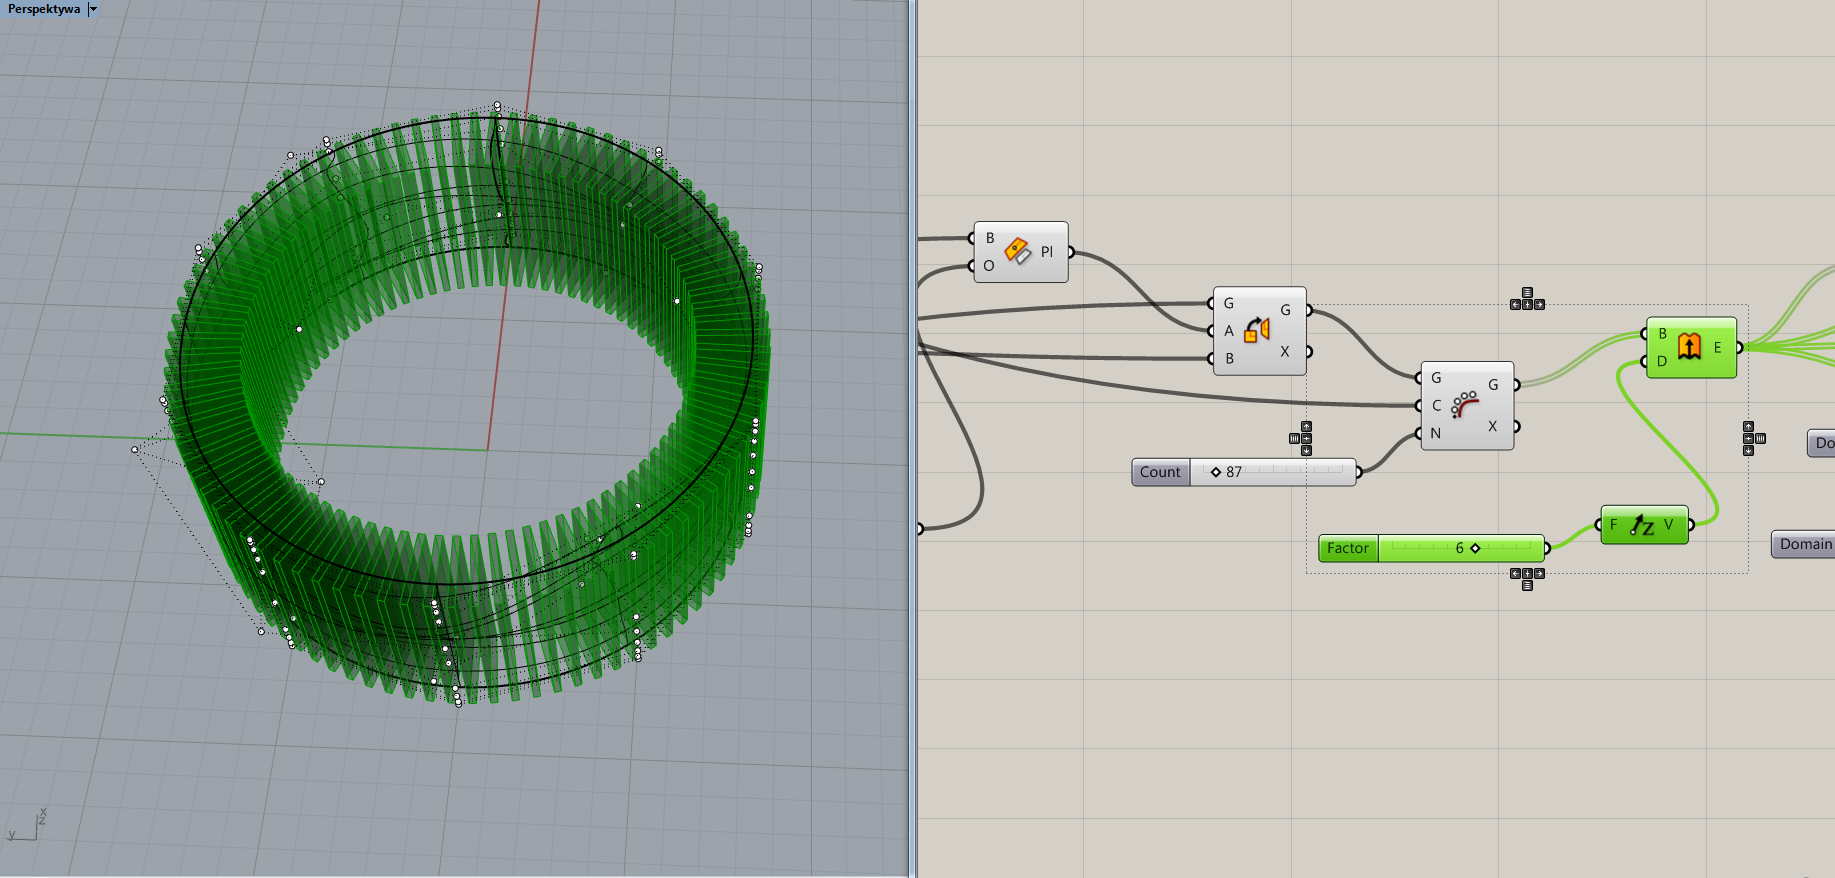
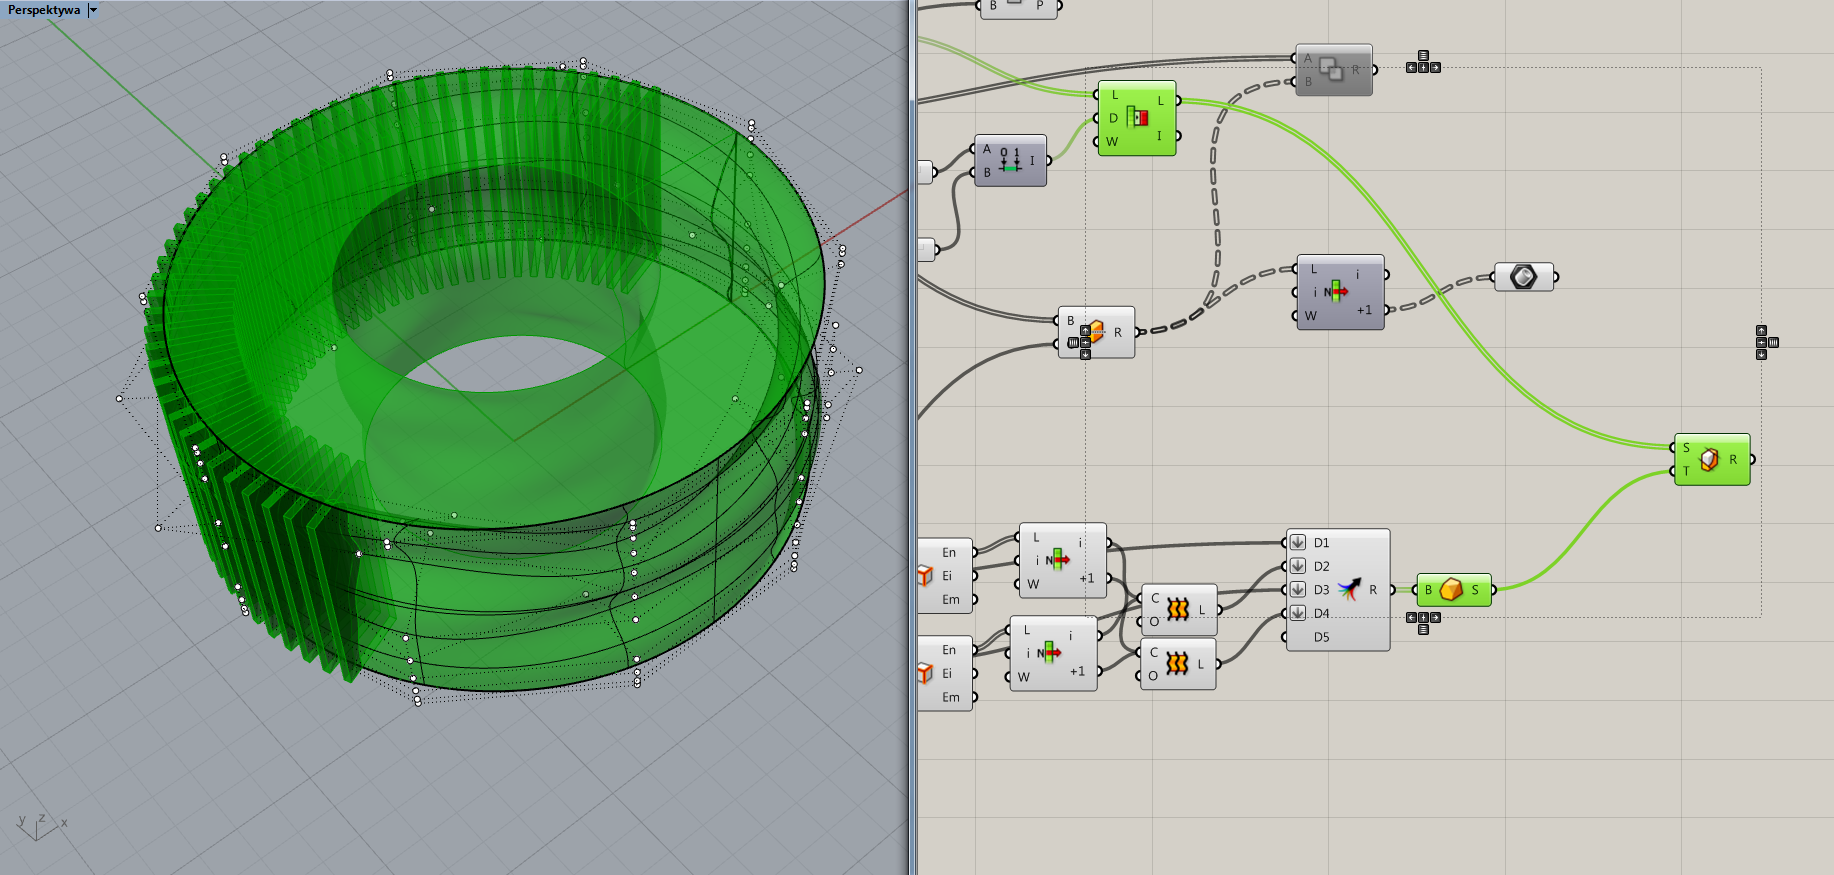
Then I could array this shape along the circle and make an extrusion.

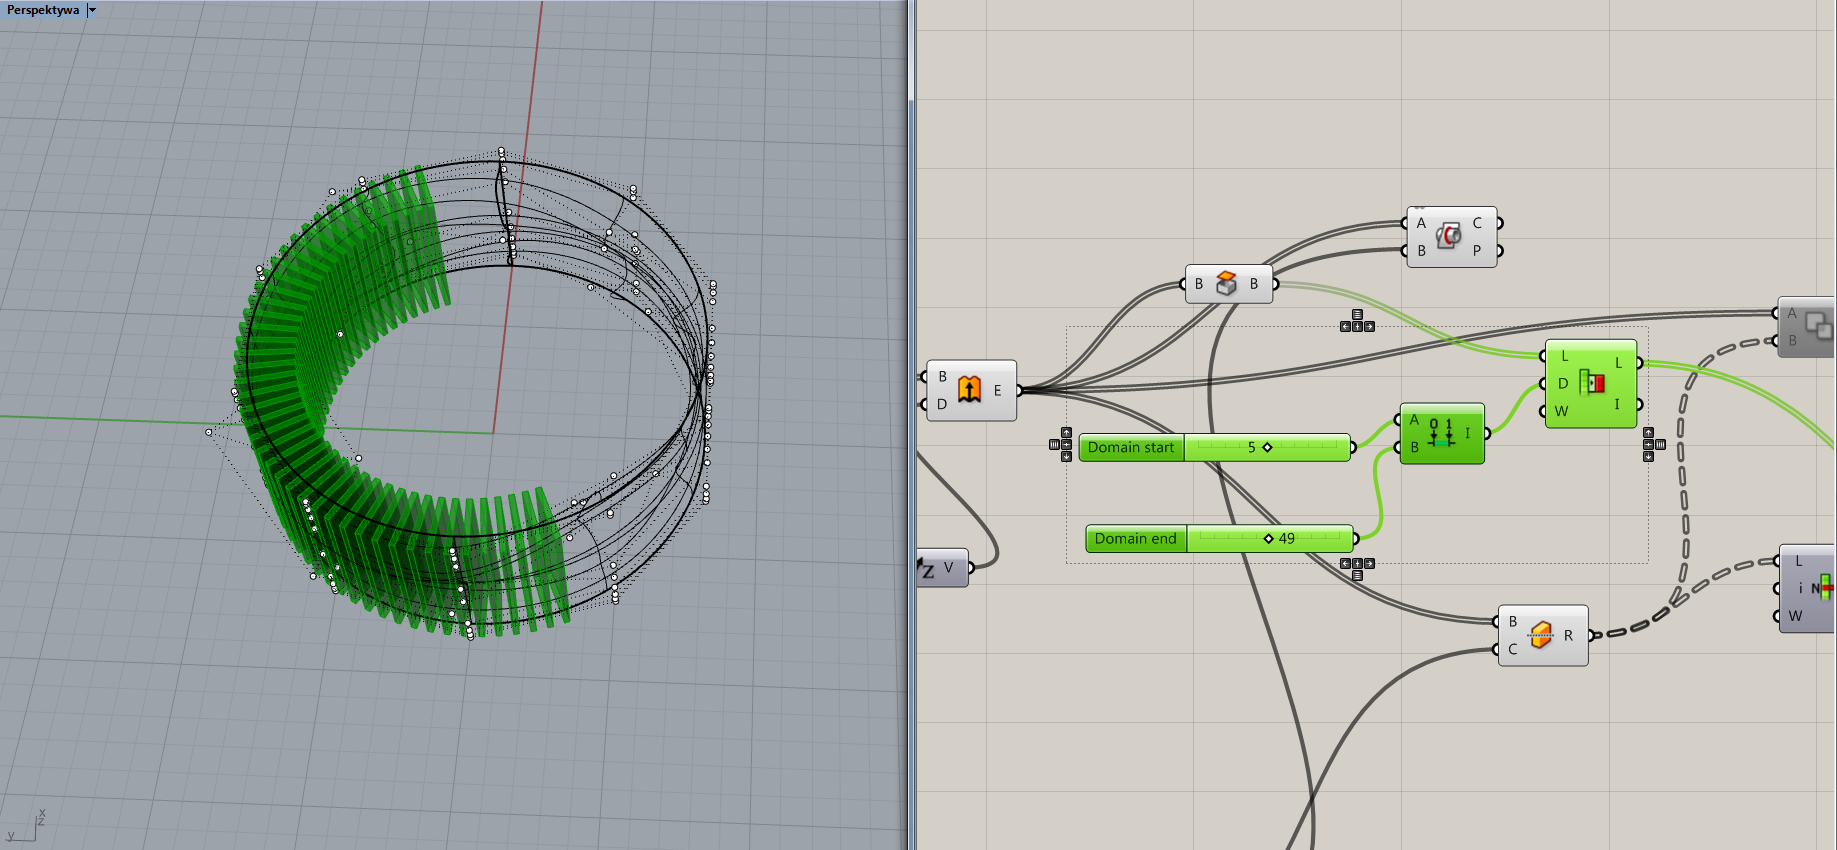
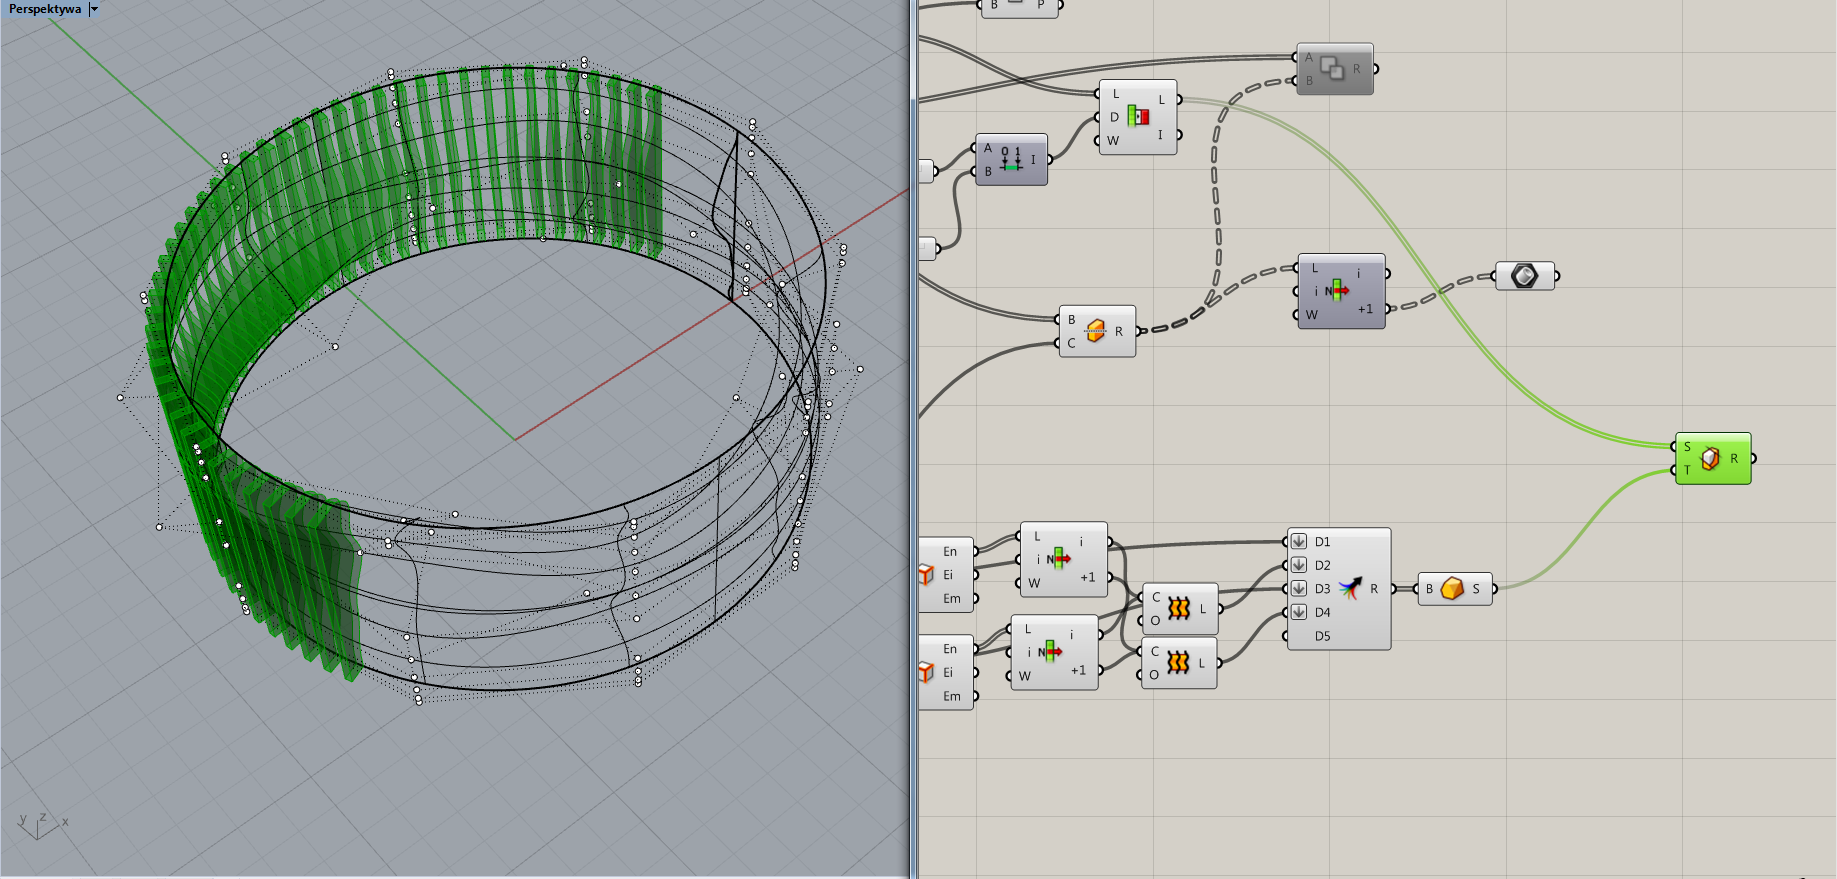
By Sub List I created the opening in the close structure.
In order to use the basic mass shape that I created in Rhino I had to scale it
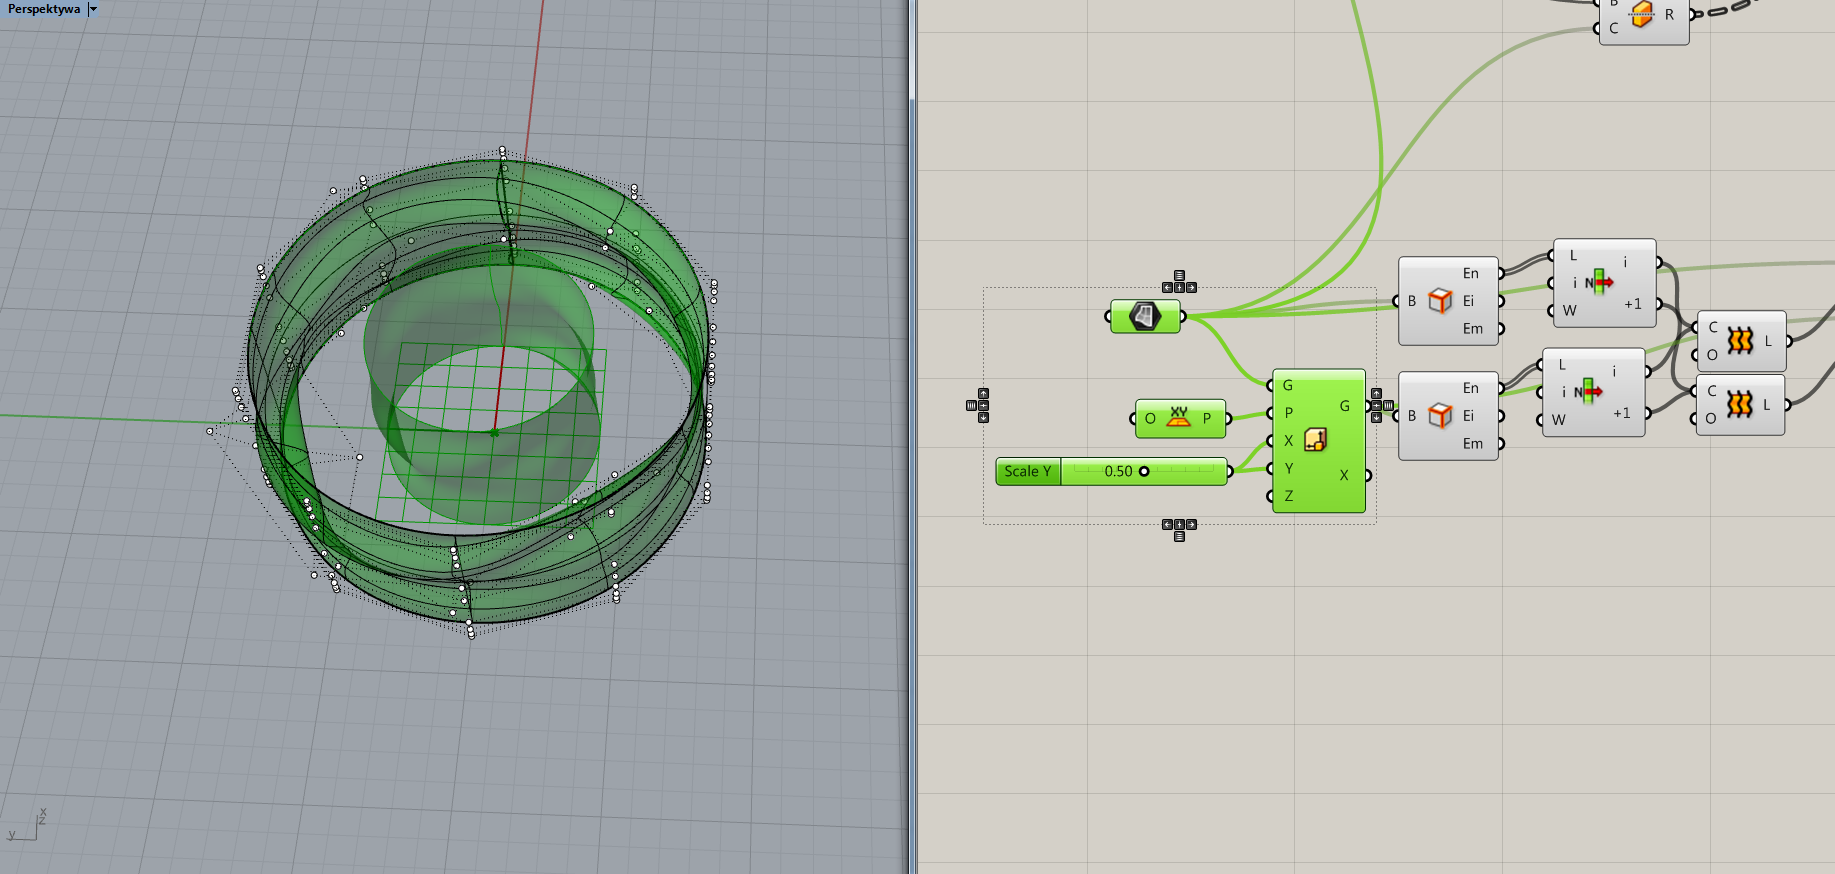
and create a close brep
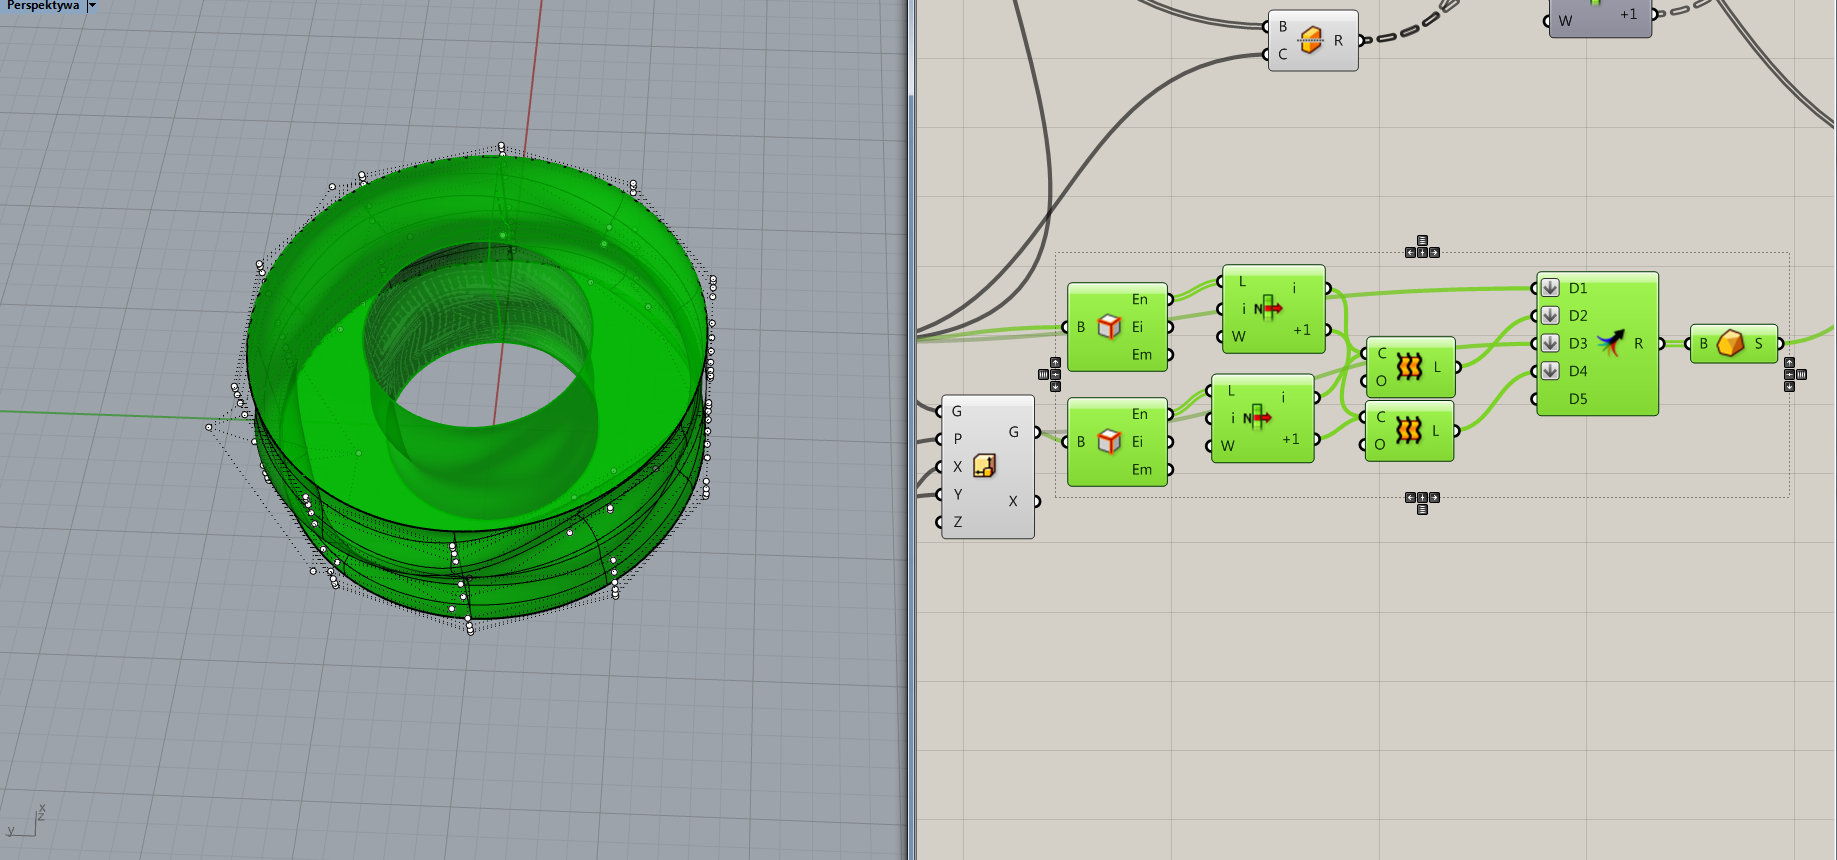
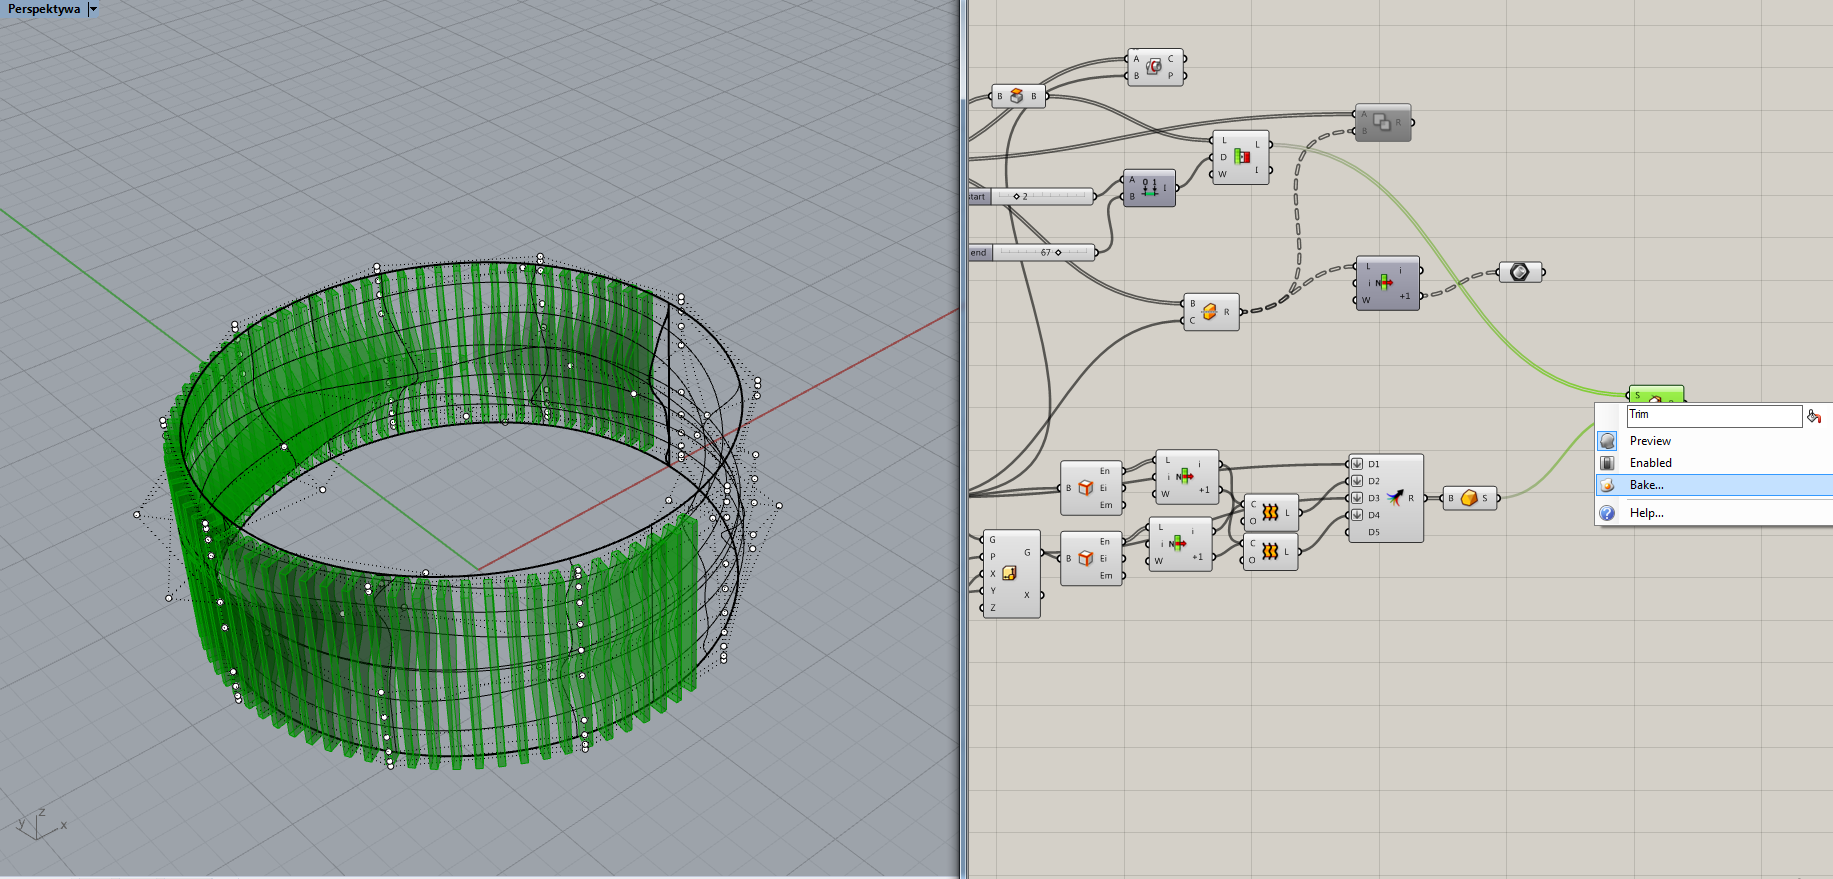
to substract it from created profiles in order to receive desired sculped-shape of the wall surounding the stairs.
I can easily change the initial shape by manipulating control points in Rhino


changing the numbers of profiles in grasshopper using domain
and going back to the dimensions of the basic rectangulars alongside circle I can also try changing the wanted outcome.
Final model we can bake and export to (in my case) Revit Architecture as a ACIS file format.