Scope: My initial idea was to create the Championship Ring for NBA season 2021. I am an avid fan of basketball since young. I have been an active player as well as fan of the NBA sports. The significance of the championship ring is the effort, hard work and dedication put in by the players in the team.
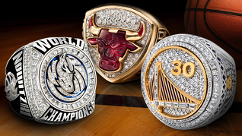
Here are some images of past championship rings:
As I was preparing to work on the design of the ring, there are several details to be included on the ring. The champion team’s name, team’s logo, year and player’s name. The rings will be given to all the players, coaches and members of executive front office. That is a lot of work to do individually, hence I thought of doing a customizable ring. It could open to a big market from designer to manufacturer.
Goal: To create a customizable and user-friendly script for ring designer.
Files:
Grasshopper – Ring
Rhino – KianCheow_Ring
Steps:
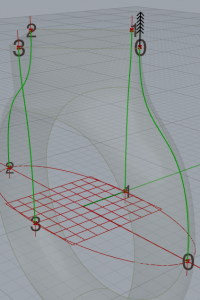
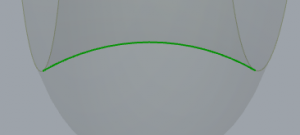
Decide the shape for the surface of the ring.
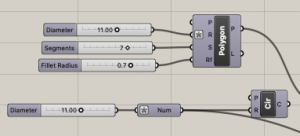
Next, create two points to indicate the height of the surface to the center of the ring.
Using MOVE function, we connect the surface of the ring to the indicated height intended.
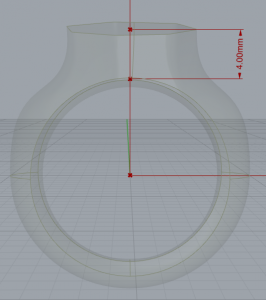
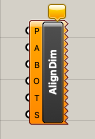
We can display the measurement using Aligned Dimensions.
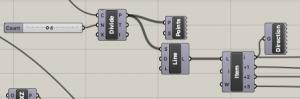
Connect Plane to the P, 2points to A and B and good to have a slider connecting to O for the offset of distance from center.
Using divide function, splitting the top surface into equal parts so that we can combine it with ring subsequently.
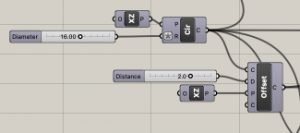
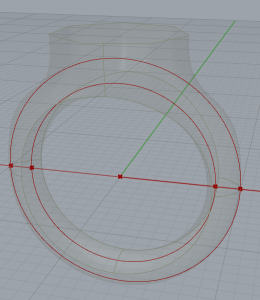
Create the inner circle and outer circle in the XZ plane.
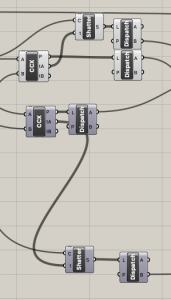
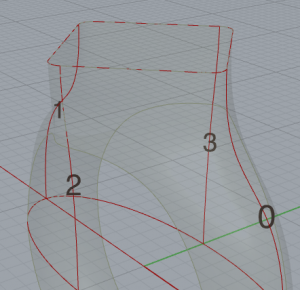
Here comes the confusing part, where I used Curve/Curve intersect and Dispatch functions to get the points of intersection between two curves and combined into one circle. I used another function, Shatter, to split the circle into both side as the expansion on the top and bottom of the ring will be different. More explanation later on.
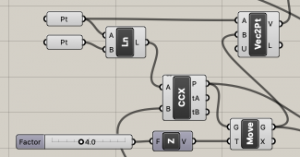
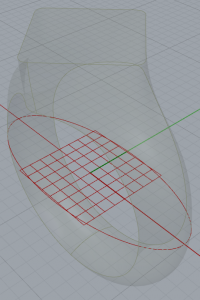
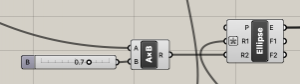
Creating an Ellipse at the center of the ring to adjust the thickness.
Similarly, using divide function, split the Ellipse into 4 equal segments to be combined with the surface of the ring.
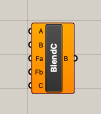
Using the BlendCurve function, I then combined the 4 points together. BlendCurve function plays a customizable role here as well. I can connect a slider to the Fa and Fb to adjust the bulge. Another slider to decide the continuity of the curve.
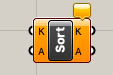
After the merge, it is creating a surface. The order of the points does not flow in a circular motion. I got stuck here for quite a while. By using the sort list function, I was able to recreate the sequence of the number according to what I want.
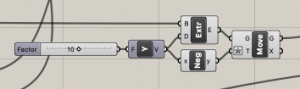
Simple Extrusion of the inner circle of the ring. Used the Negative function to obtain both sides.
Using Brep/Brep intersection, we can attain the intersection between the extrusion and the surface. Subsequently using SurfaceSplit to retain the surface that we needed.
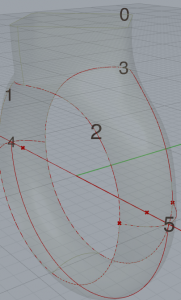
By using Edges function, I split the top portion of the ring into different parts.
Using edges 4 and 5, I can create the bottom portion of the ring easily.
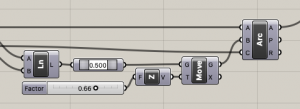
For aesthetic and comfort purpose, I have decided to create an arc on the inner ring.
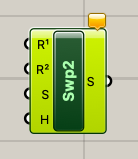
I then used the Sweep2 function to combine the arc together with the internal loop of the ring to create a surface.
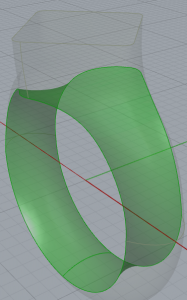
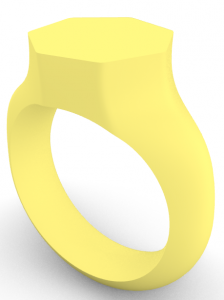
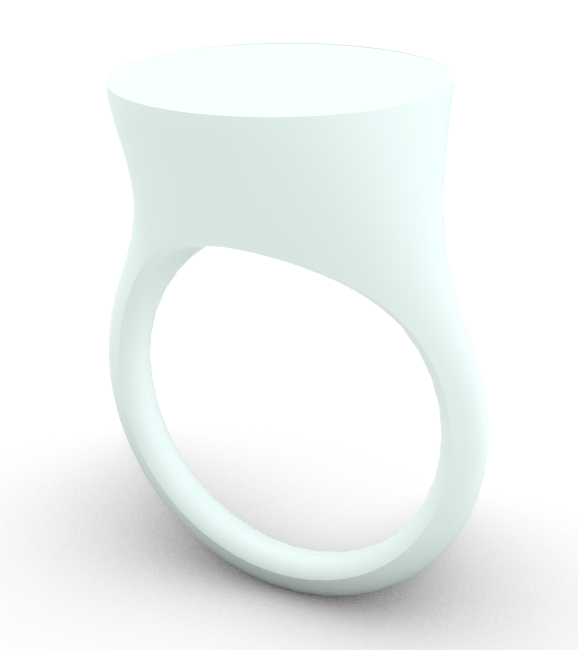
And tadahhh… Here is the final result of the whole ring.
Conclusion: This is just phase 1 of the work that I have done. There can be improvement to the project in terms of the design on the surface of the ring. Simplify the script. Overall I am satisfied with my work.
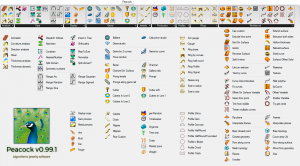
After consulting with Simon, I found out that there is a plug-in on Food4Rhino named Peacock. It has so many more components which can simplify the design of jewelry actually. I will continue my work with the combination of Peacock to improve my current design and present it more user-friendly.
Below is the whole list of components which are available on Peacock.