

Through this tutorial, we are building a small house / flat which can be defined as discrete architecture.
INSPIRATION
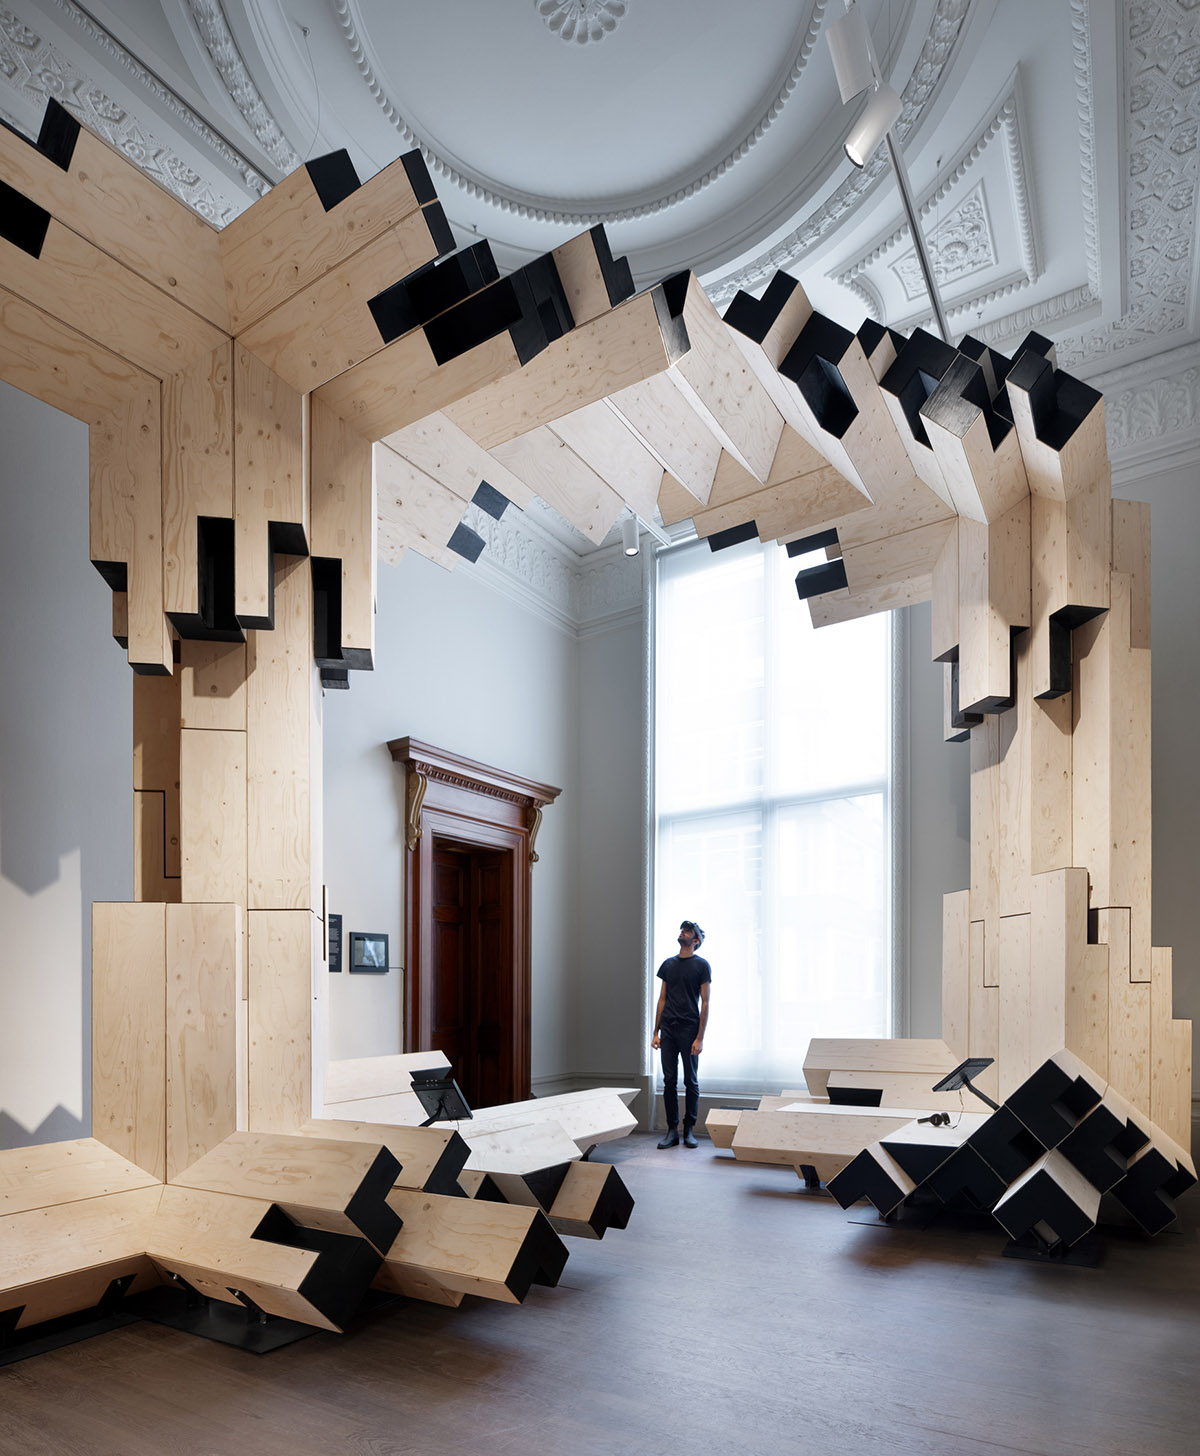
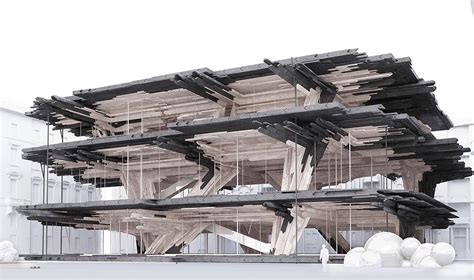
This type of architecture consists of a base part which is repeated. The end is not about a particular shape but more about the organization of the parts. As a source of inspiration, we can look at Gilles Retsin’s work :
On Grasshopper, we will use the “Wasp” plugin, created by Andrea Rossi (https://www.food4rhino.com/en/app/wasp).
BASIC PARTS
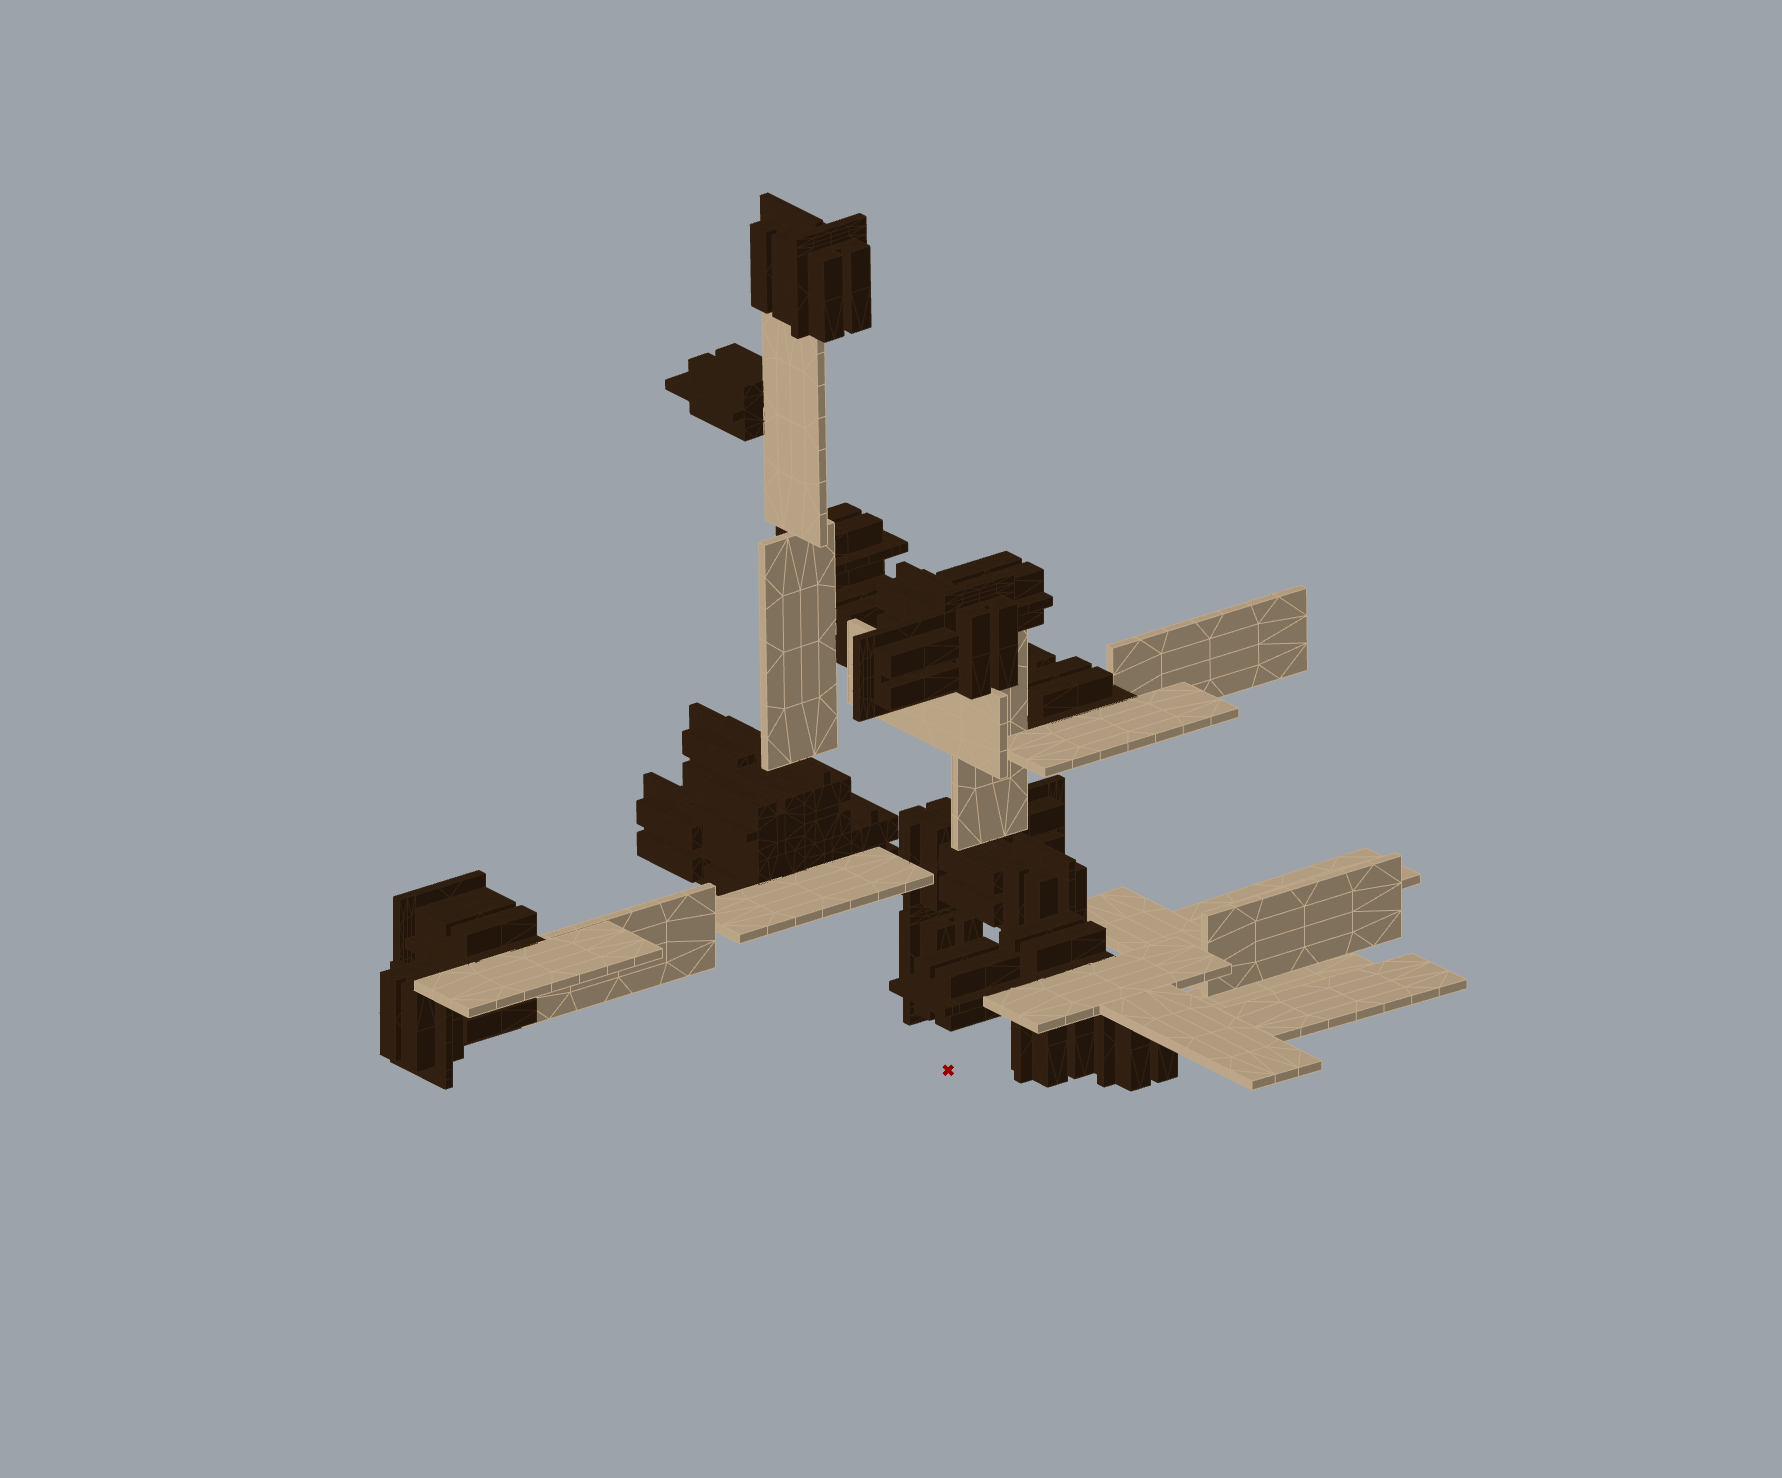
The first step is about creating the basic parts. For this tutorial, we will be using two parts symbolizing a part of a beam and a board.
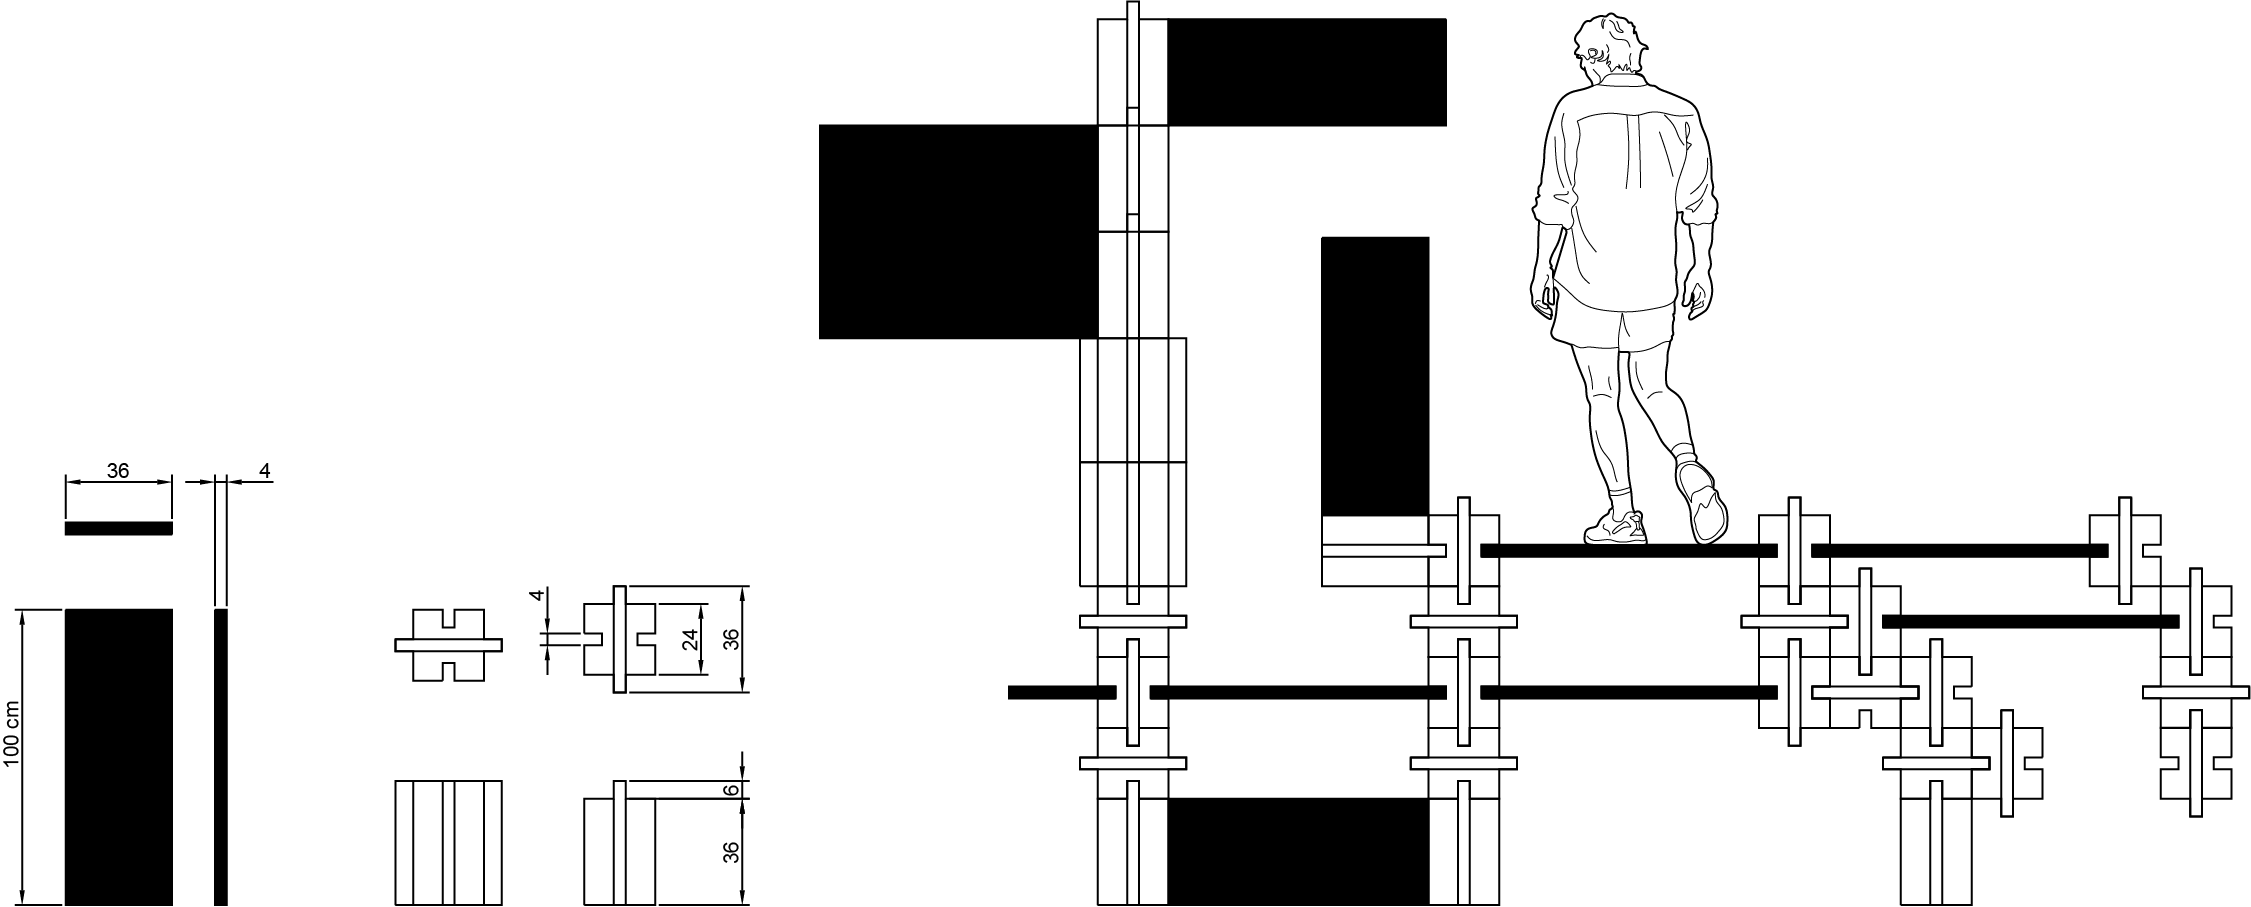
Board
If we start with the board, we first need to place four points which are placed in the center of the faces. Then, we will add lines starting from these points and going to one edge of each surface. It is important to always respect the order of creation of the points. To make it more visible, you can use Point List.
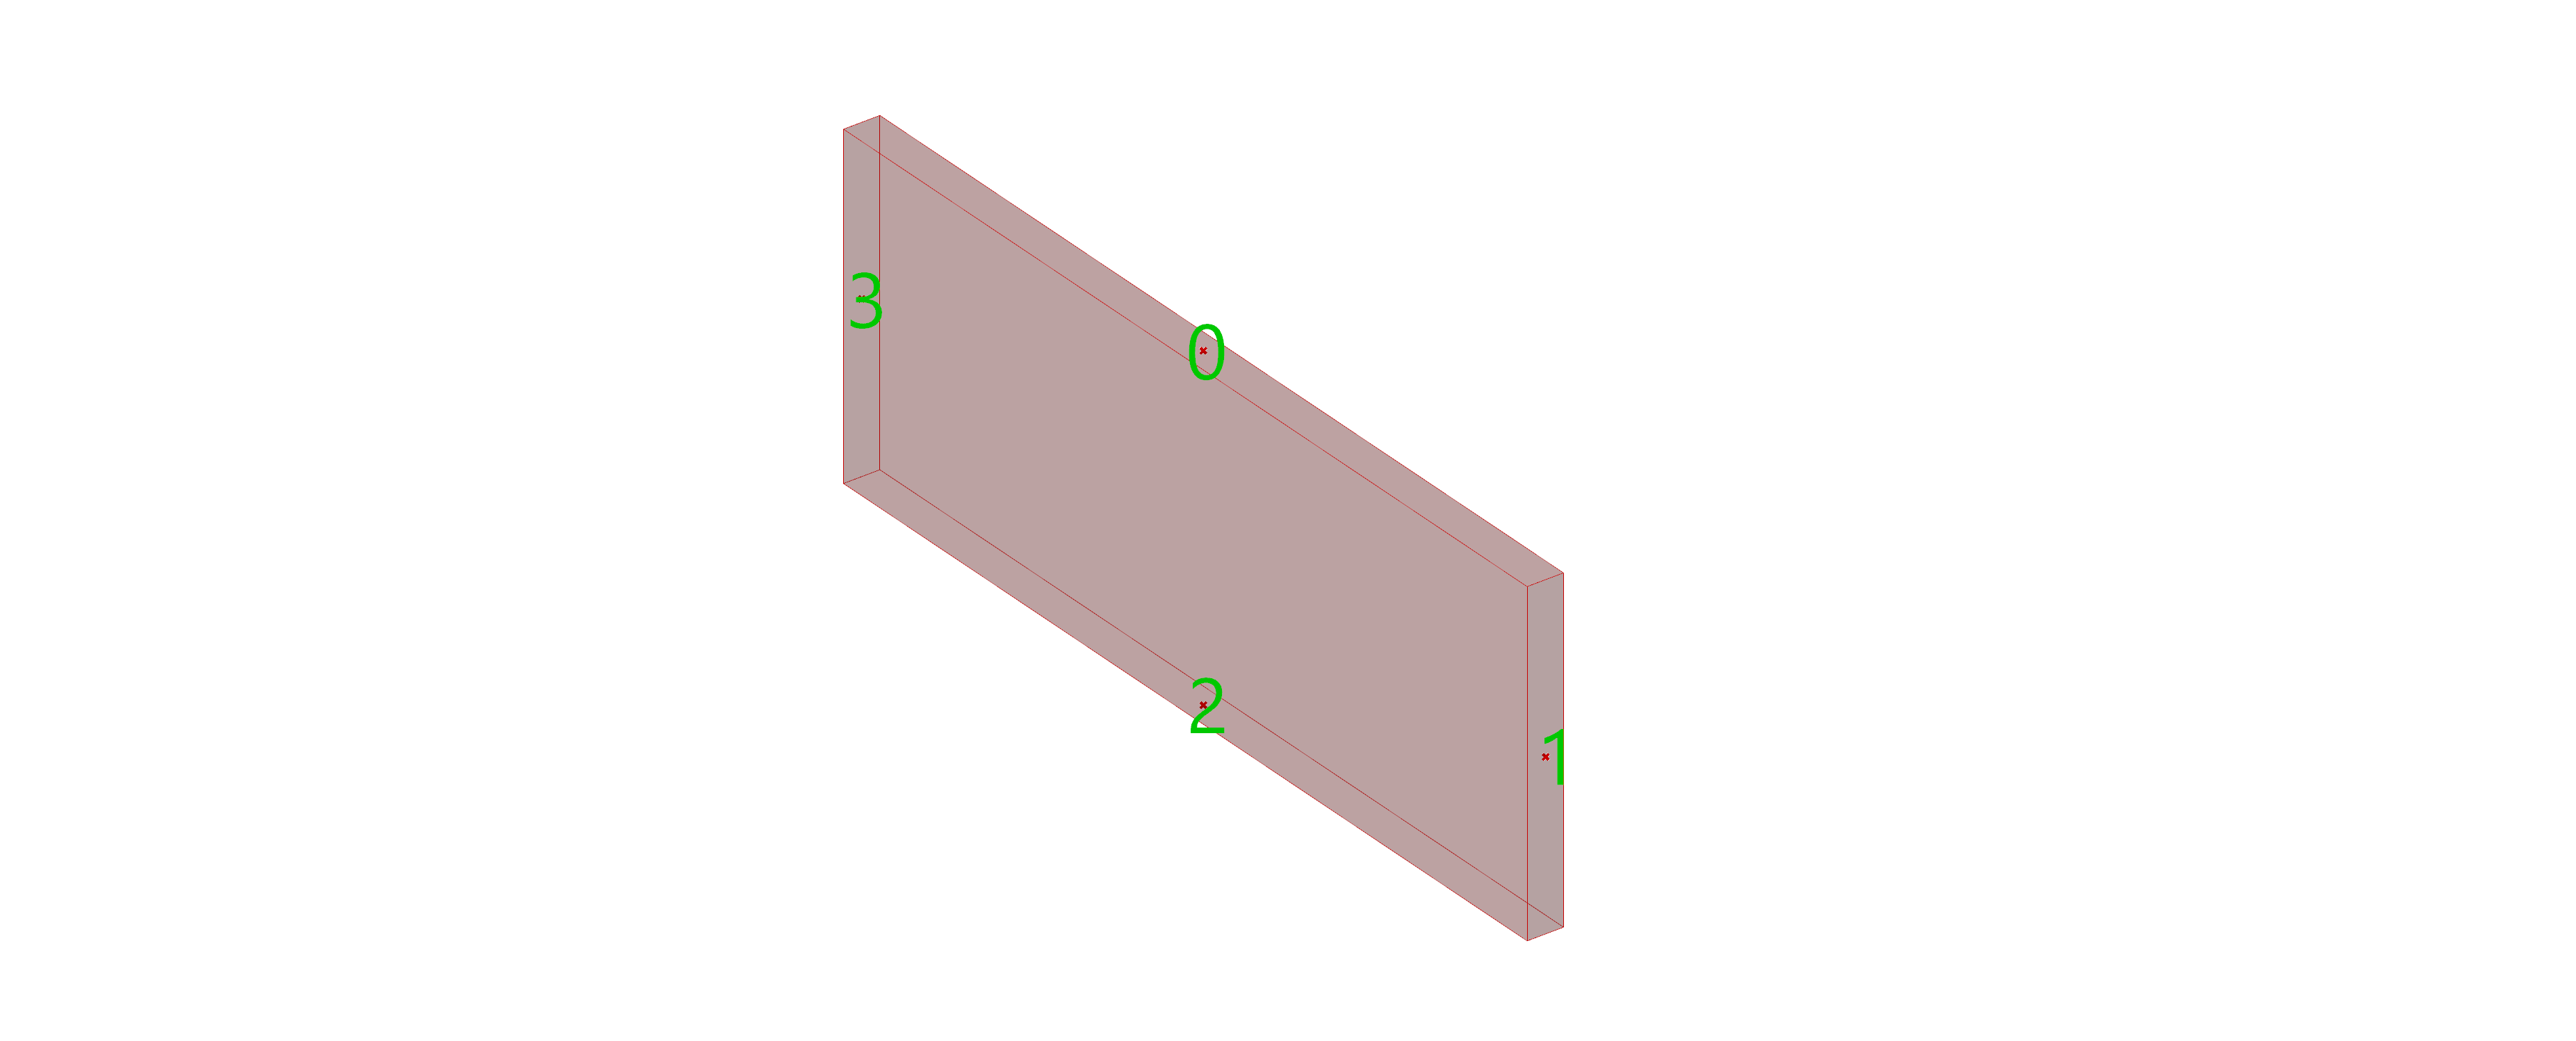
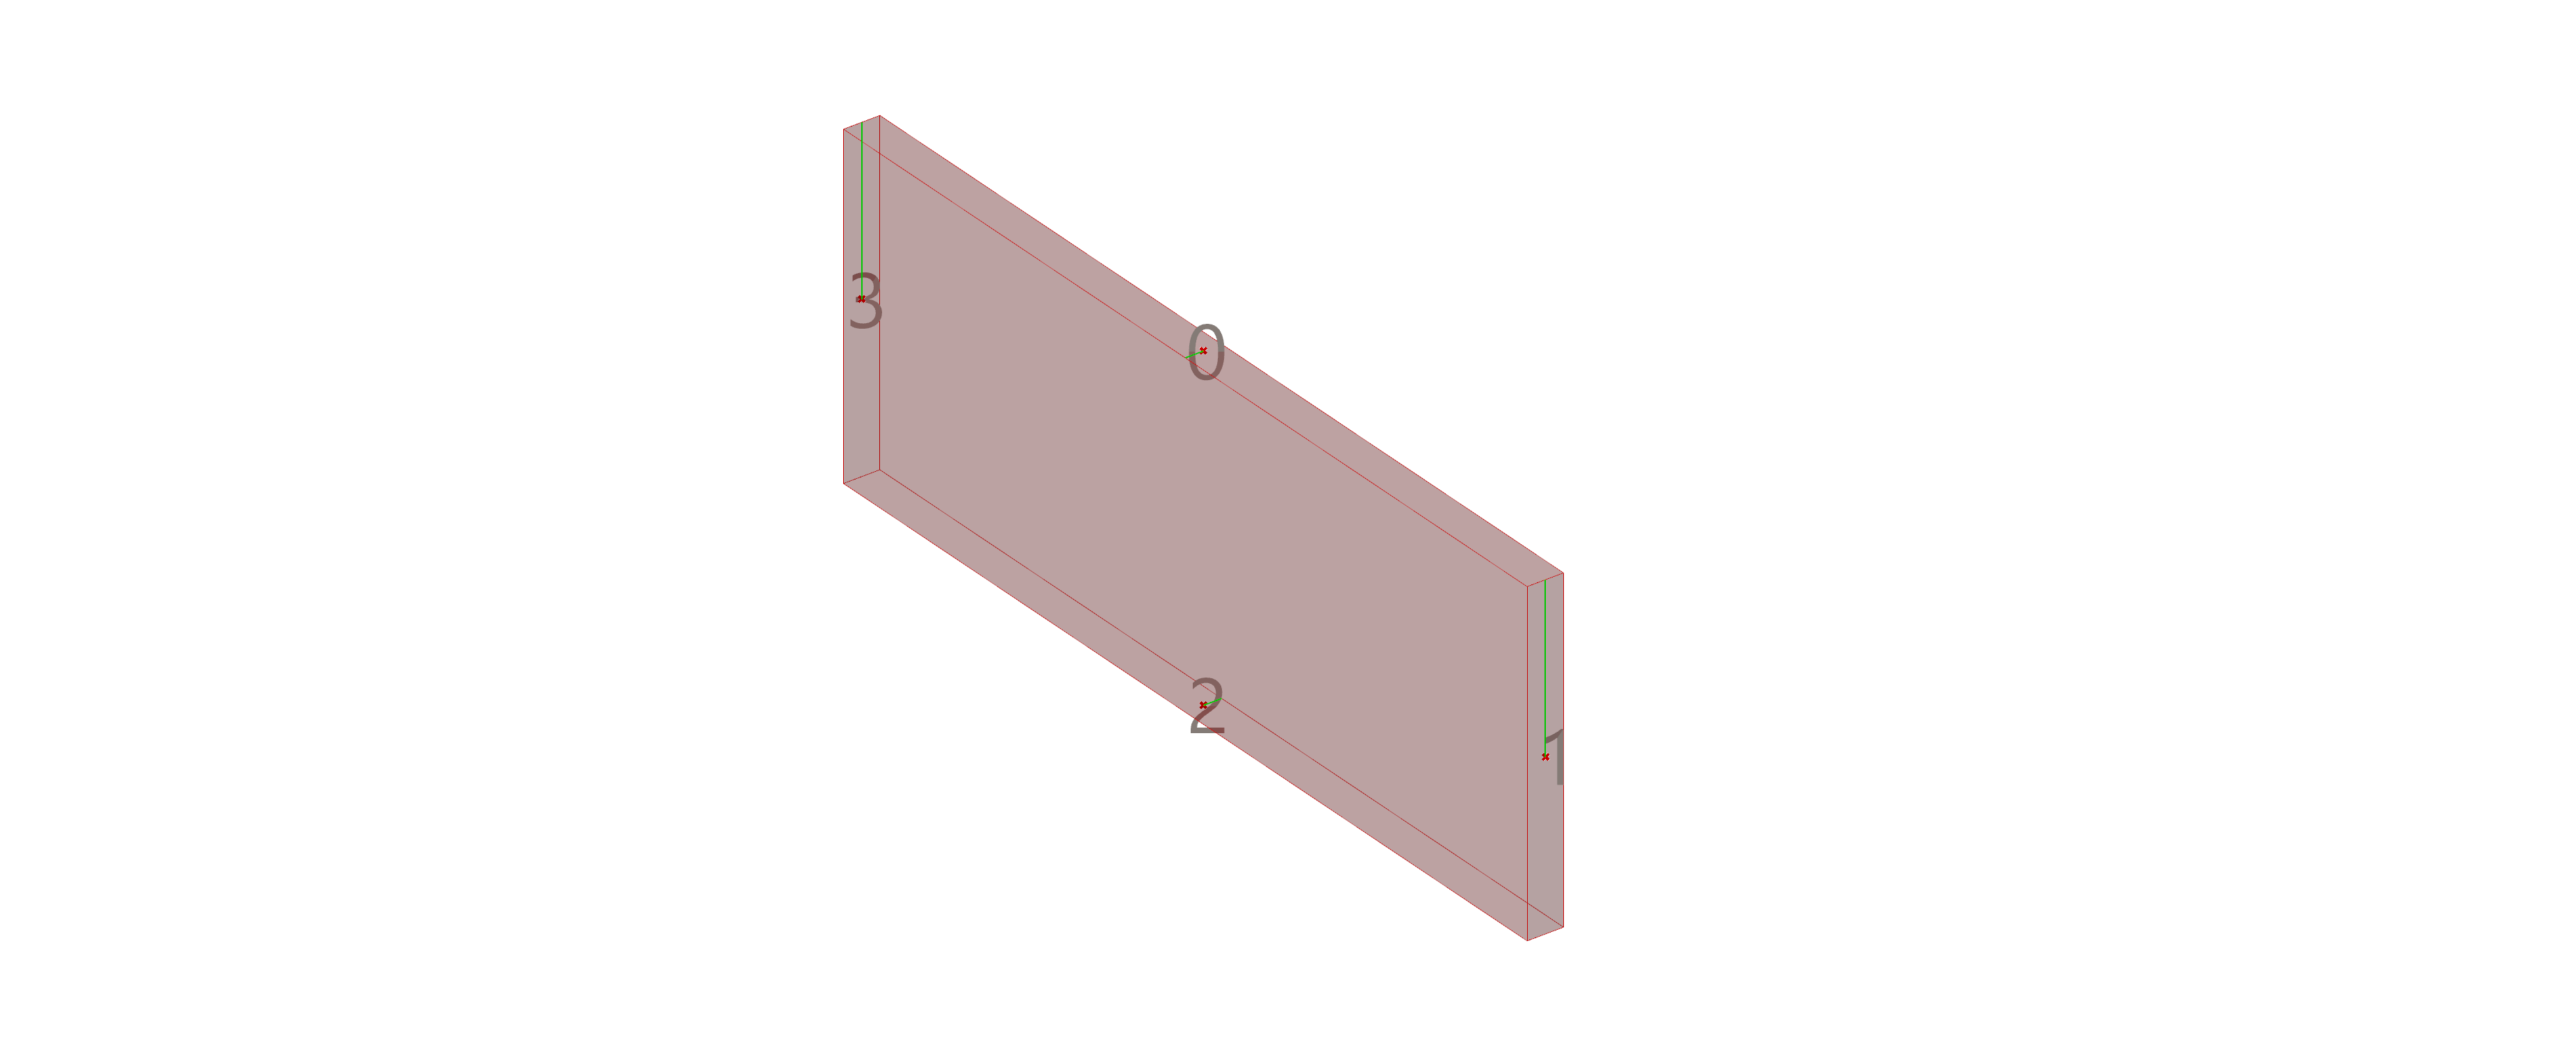
Finally, we can go to Grasshopper and set the geometry of the board. Then we will separate it into two parts so that the bottom part can stick to a top part. To do that, we will set multiple points : 0 and 1 for the top and 2 and 3 for the bottom. Same for the lines, using set multiple curves.
Beam
Then, we can do the same thing with the second part which is a bit more complex. We will have to place the points 0, 1 and 2 for the top part and 3, 4 and 5 for the bottom. Same for the lines.


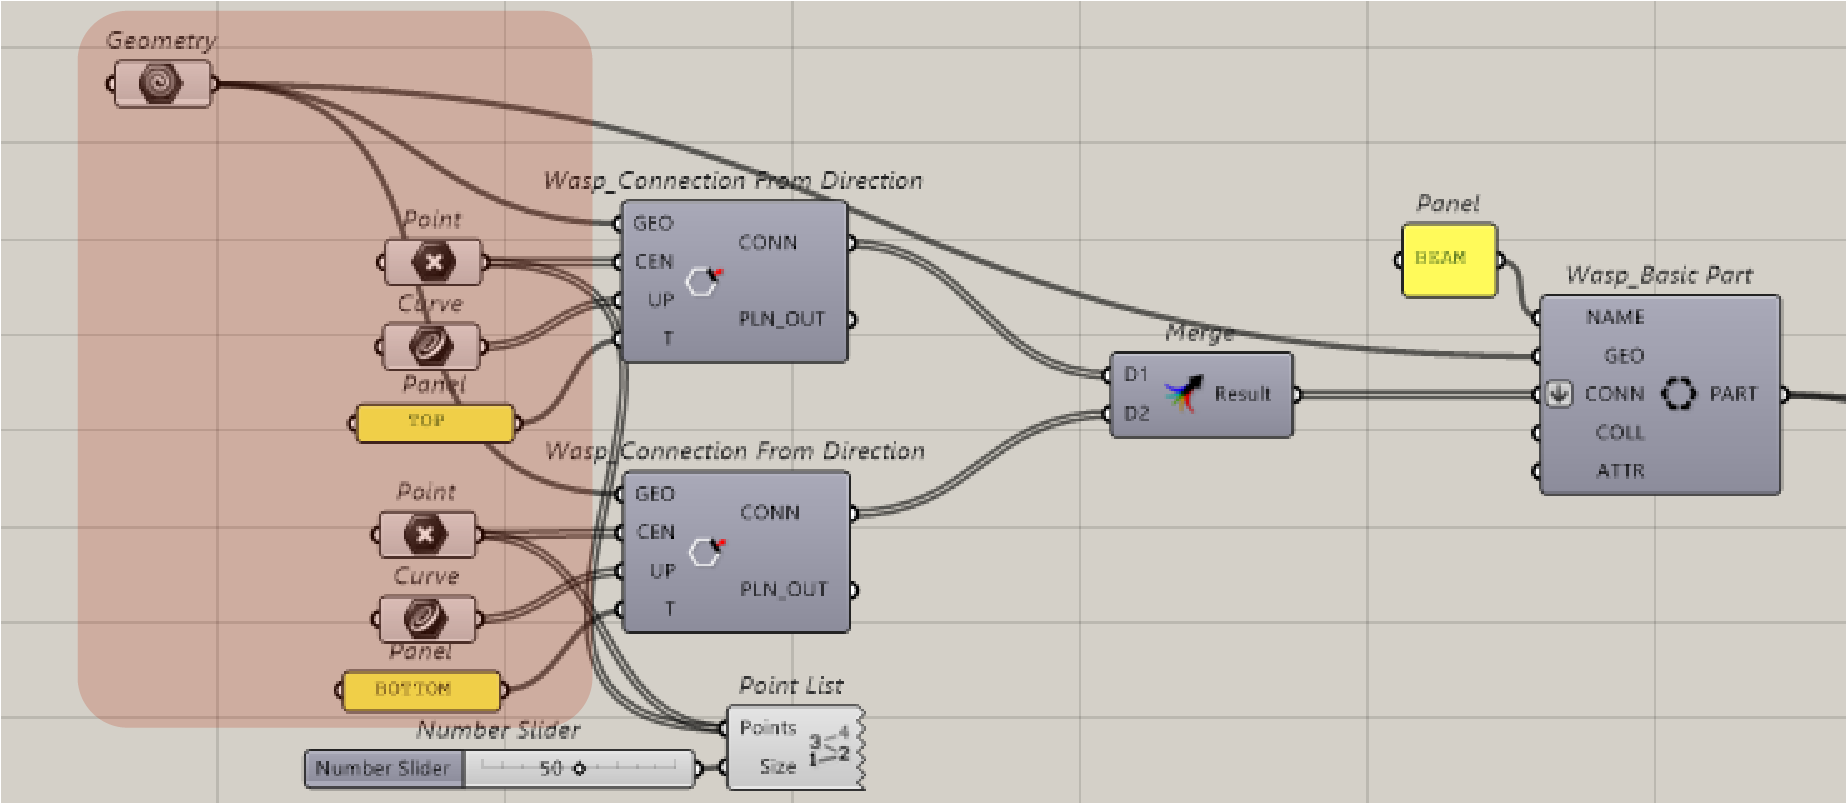
Now, we can use a Wasp component called Wasp_Connection from Direction which will create the connection of the part according to the center points and lines we made. We only need to connect in this order the geometry, point and finally curve components to it. We can finally name this connection type : TOP and BOTTOM by creating a panel.

Once we have merged the two connections, we can use another Wasp component which will be the basic part of the design : BEAM and BOARD. We only need to connect the geometry and the connection, and add the name of the part.
STOCHASTIC AGGREGATION
Rules
Now that we have the two basic parts, we can merge them together and start working on the aggregation of these parts. To do that, we will need the component called Wasp_Stochastic Aggregation, that is to say, by using a stochastic process. It means that the parts will be selected and placed randomly. However, since we created top and bottom parts for each basic part, we will create a rule which the aggregation will have to follow. To create this rule, we will need the Wasp_Rules Generator component to which we connect the merge of the basic parts to PART. Finally, we will create the rule in a panel, writing the name of the first part followed by “>” and the name of the second part, and connect it to GR. If we want, we can connect the result to a panel to see the number of rules it created. Finally, we will connect it the the RULES of the Wasp_Stochastic Aggregation.
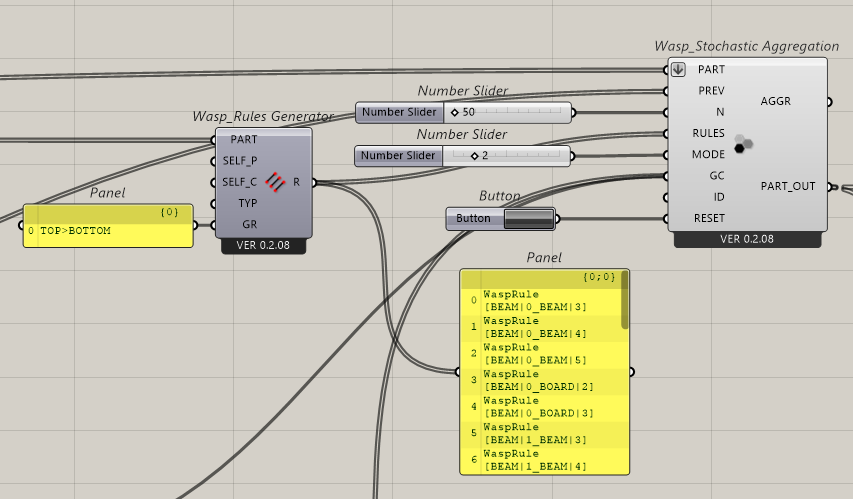
To make the Wasp_Stochastic Aggregation work, we need to add a number slider to N so that we can choose the number of parts to be aggregated. Finally, we connect a button to RESET the aggregation.
Visualization
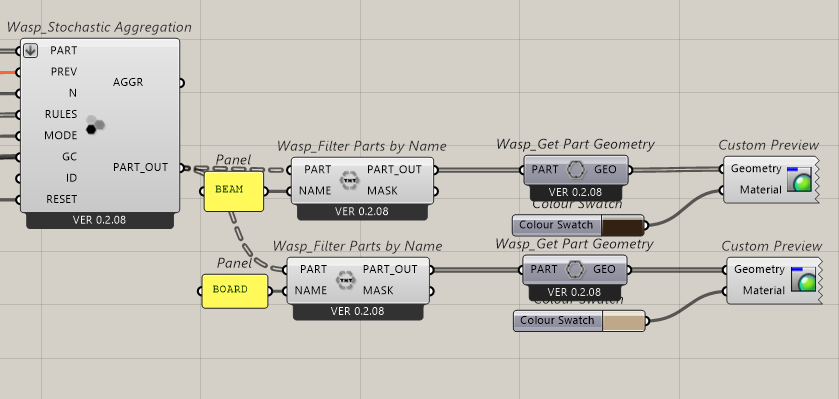
To be able to see the aggregation, we will need two Wasp_Filter Parts by Name to distinguish the two basic parts according to their name, which we can write in a panel and connect it to the component. We can now connect it to Wasp_Get Part Geometry to see the aggregation of each part. Finally, with a custom preview, we can choose a color for each part’s aggregation.
Slab
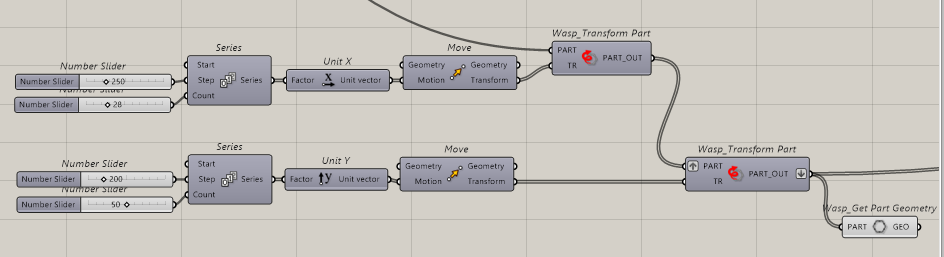
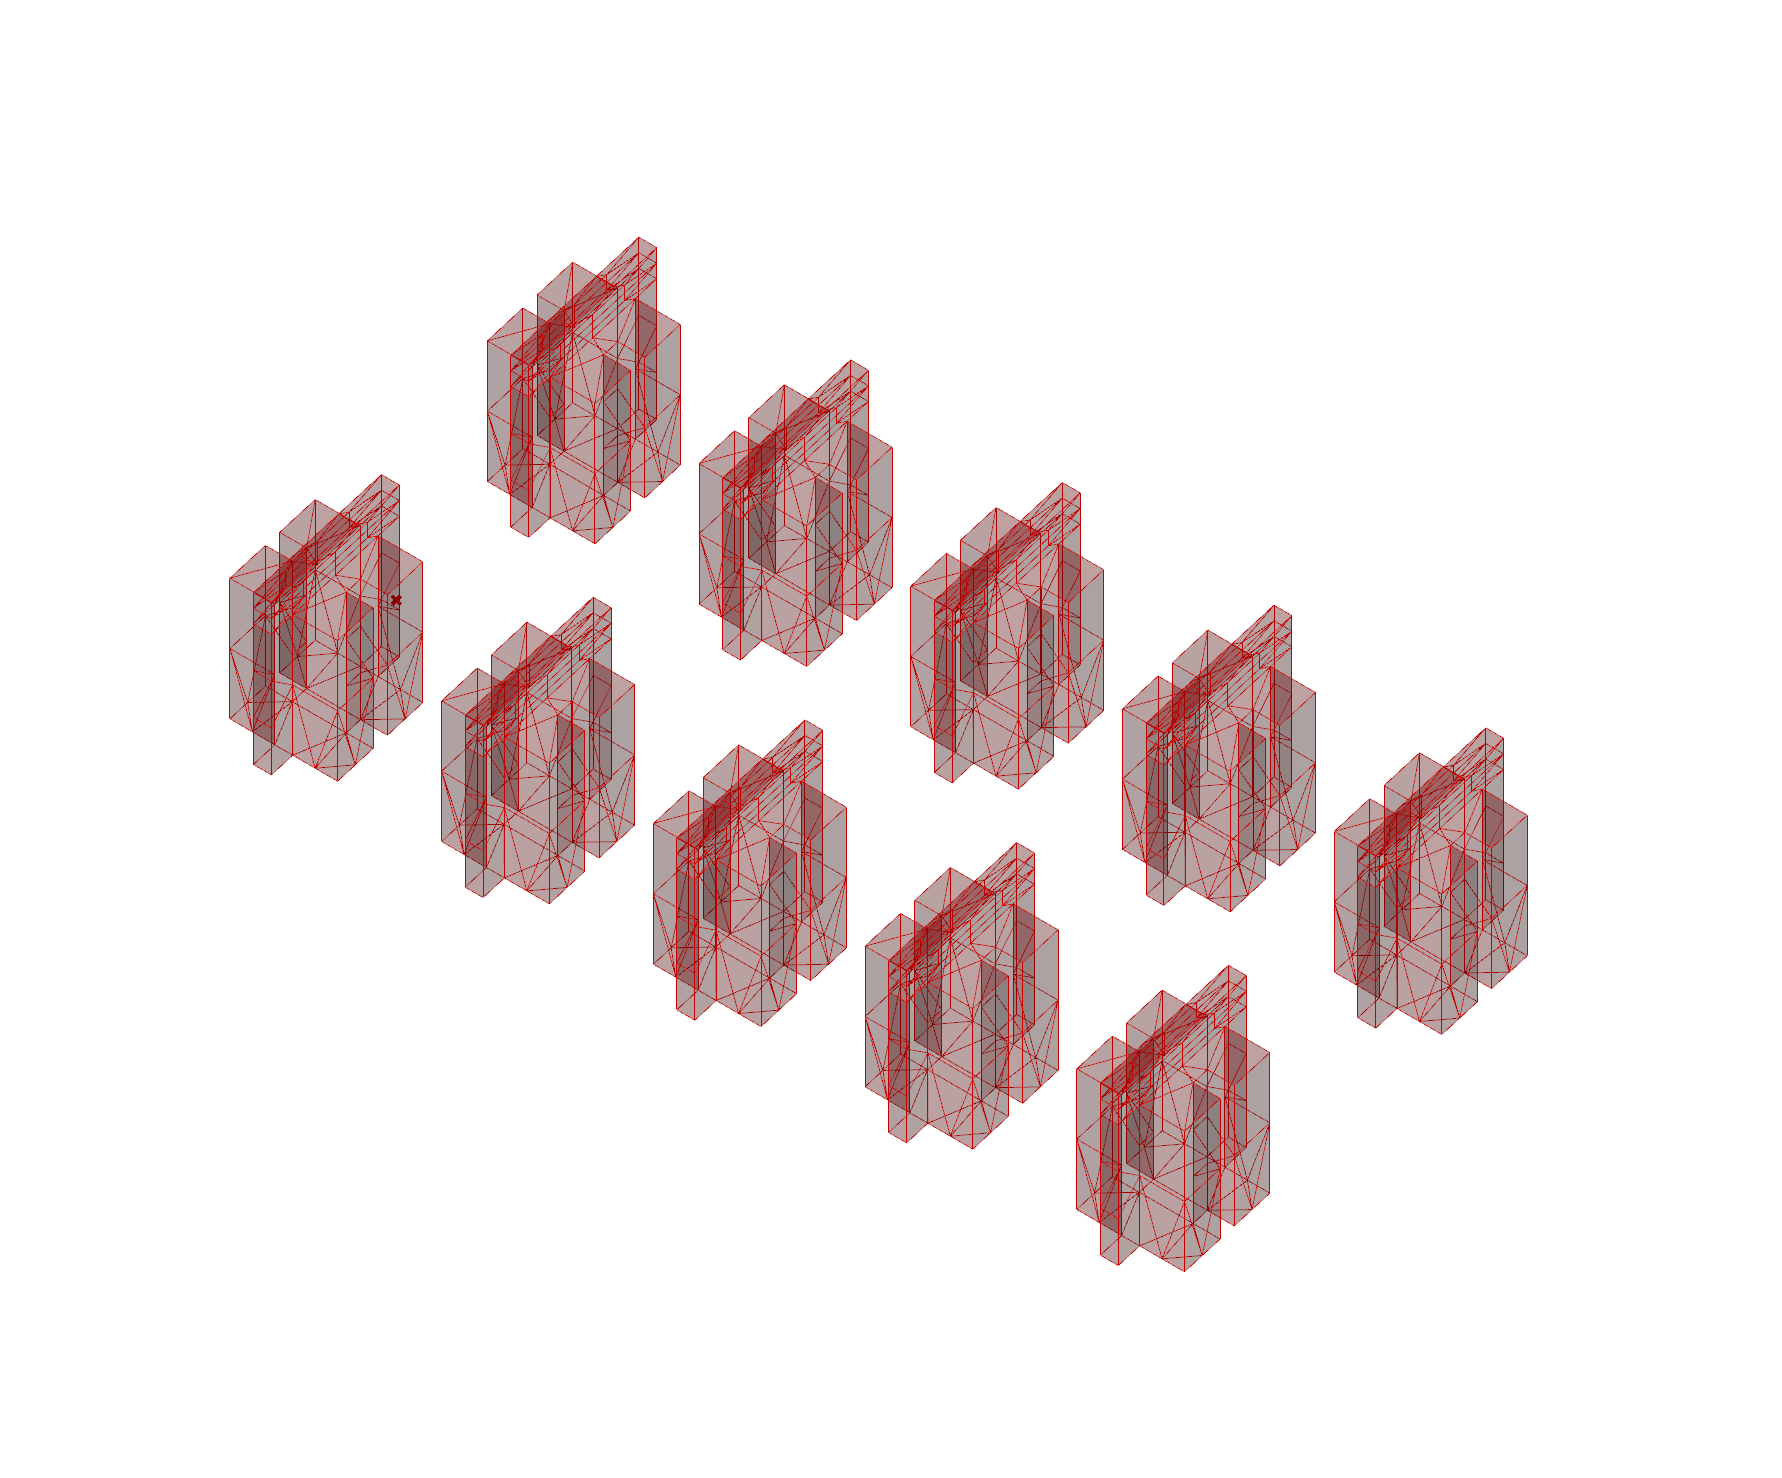
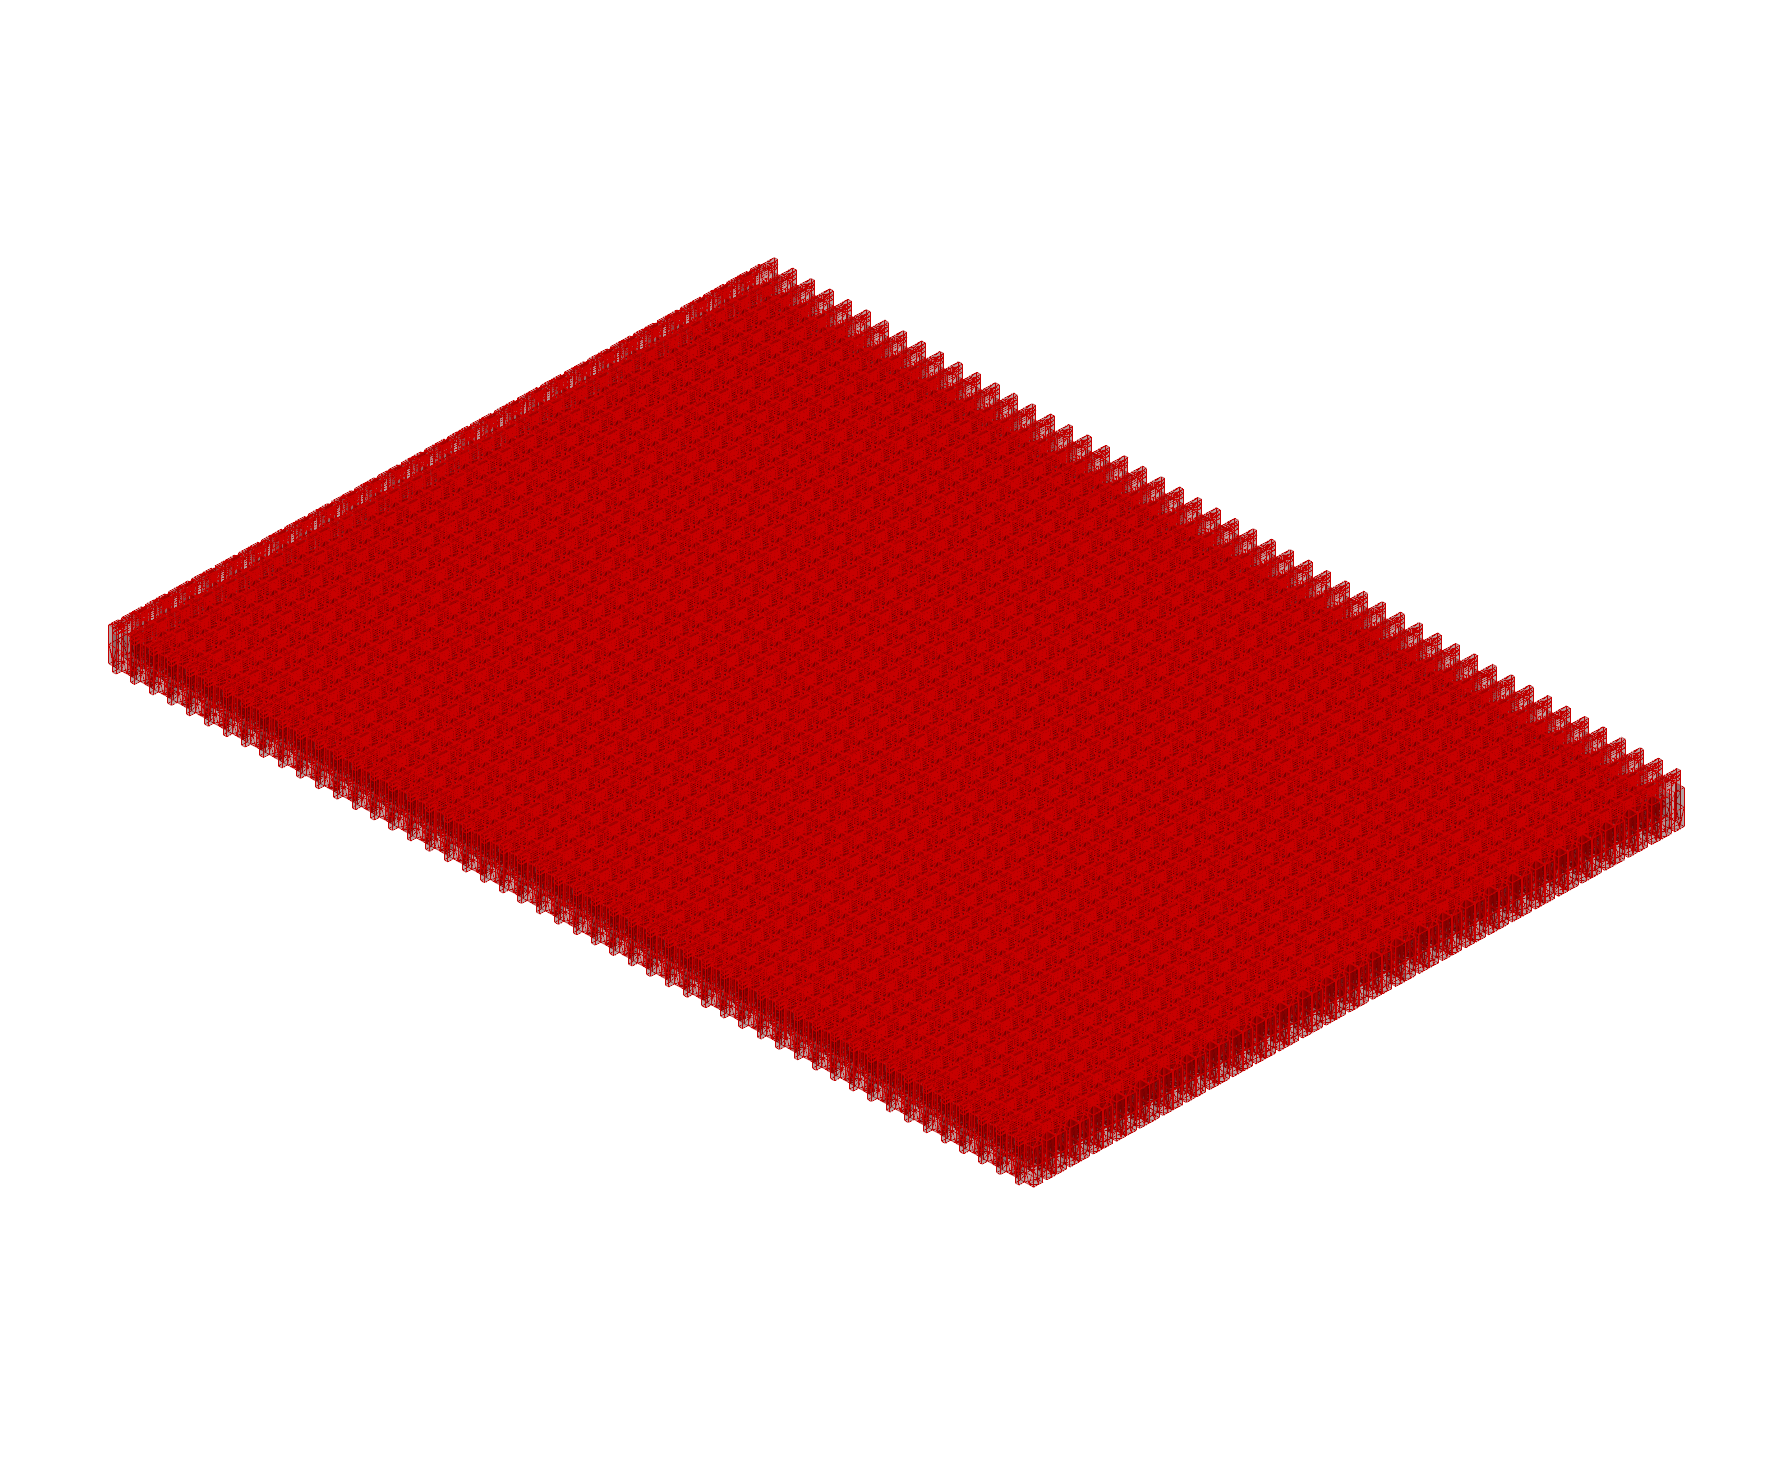
Now that we have an aggregation, we can create a slab on which the aggregation starts. To make it, we will need Wasp_Transform Part component and connect the Beam Part to its PART. First we want to move it in the X direction, using the Move component. Then, with the Series component, we can select the number of time it is repeated and the distance between them. We can do the same in the Y direction with a second Wasp_Transform Part component, to have a surface. Finally we connect it to the PREV of the stochastic aggregation.
Constraints
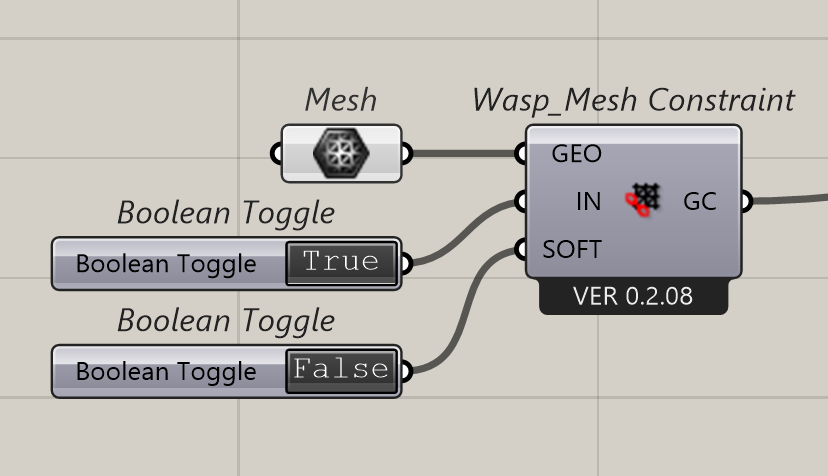
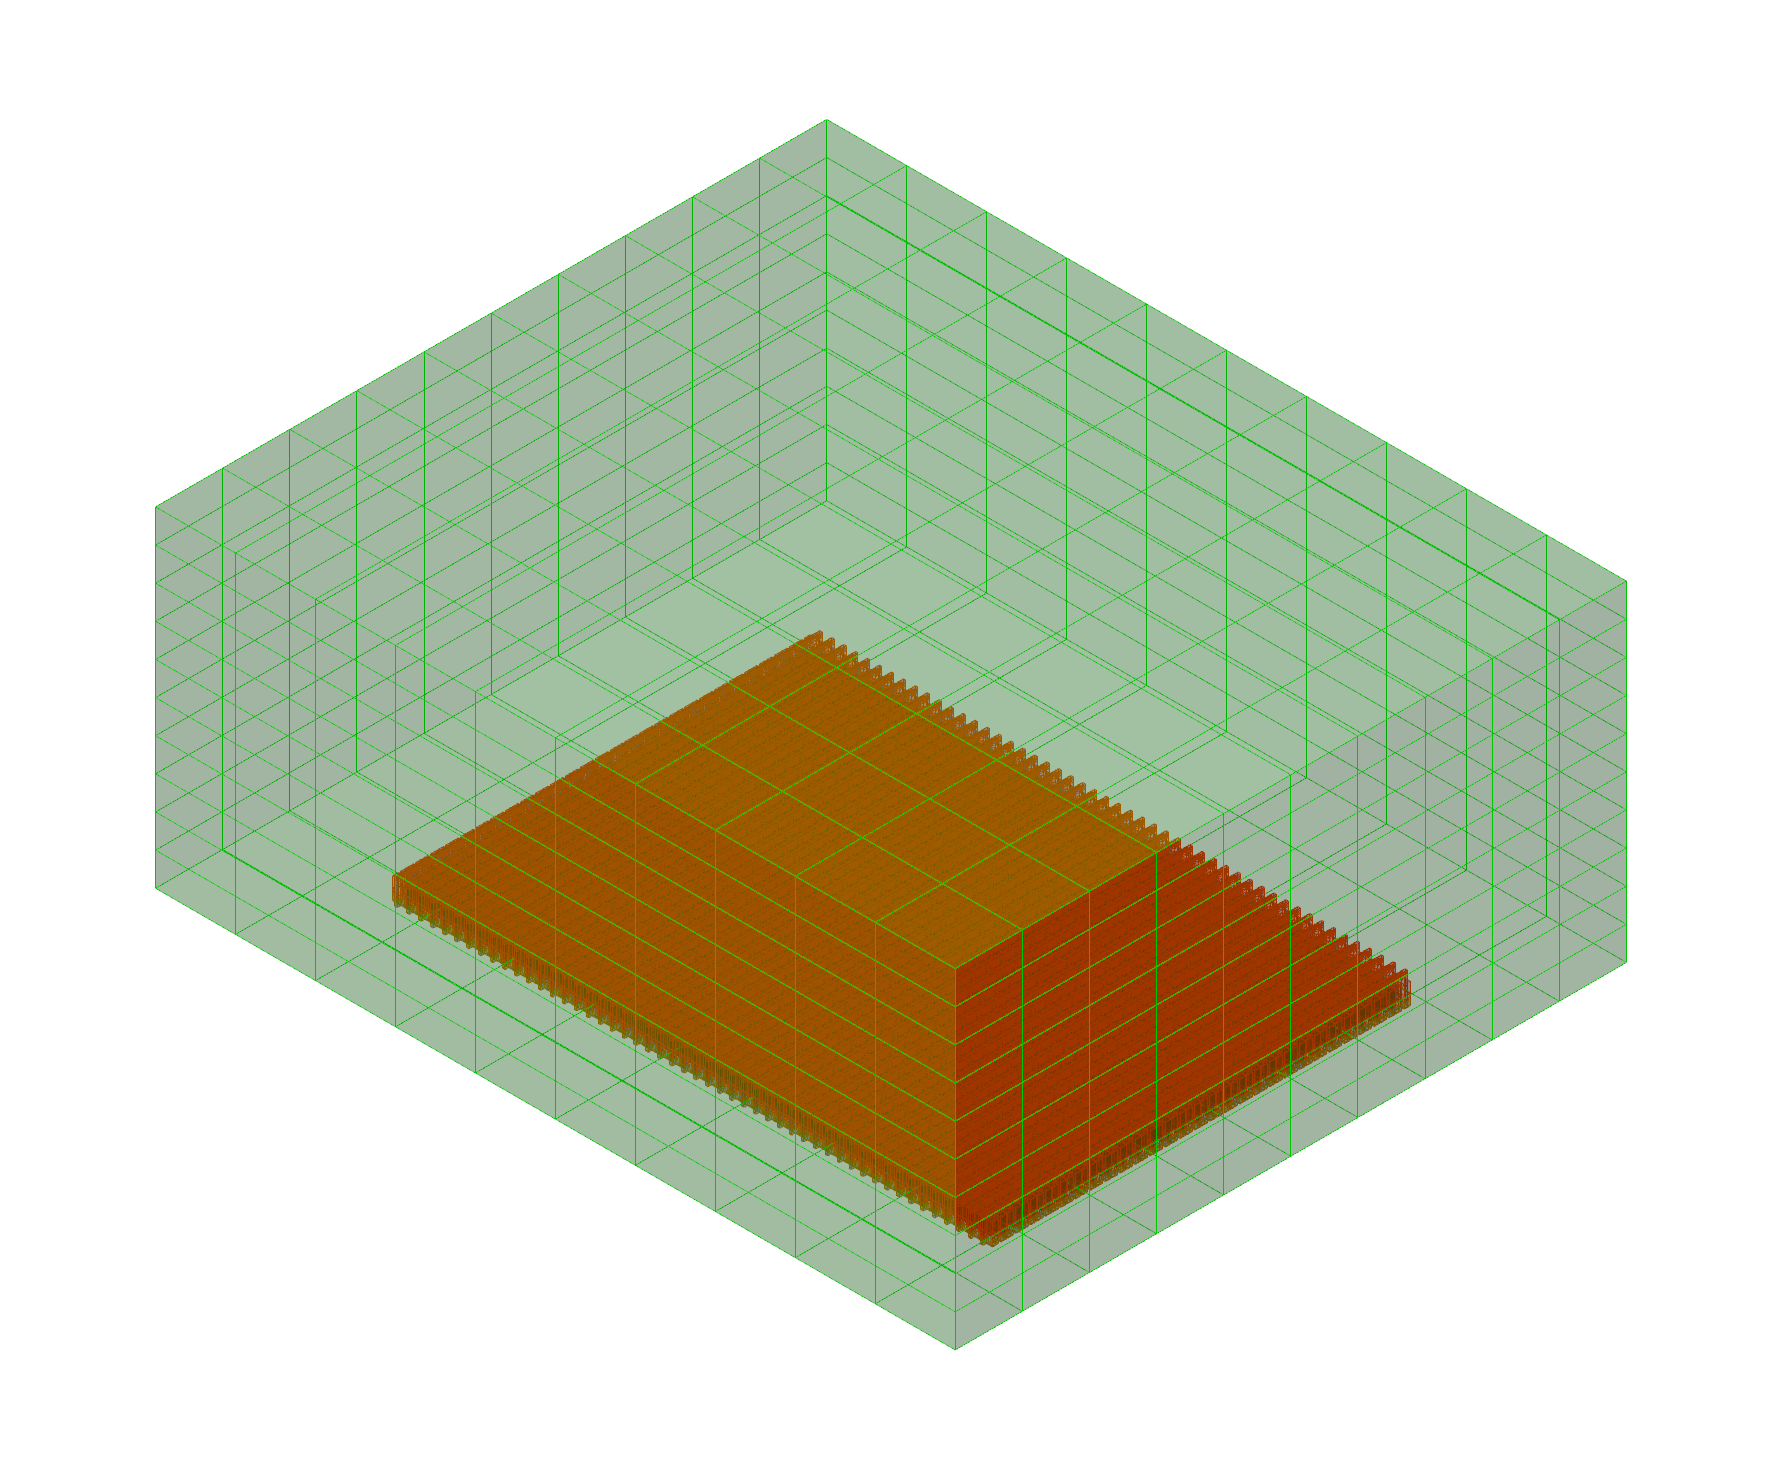
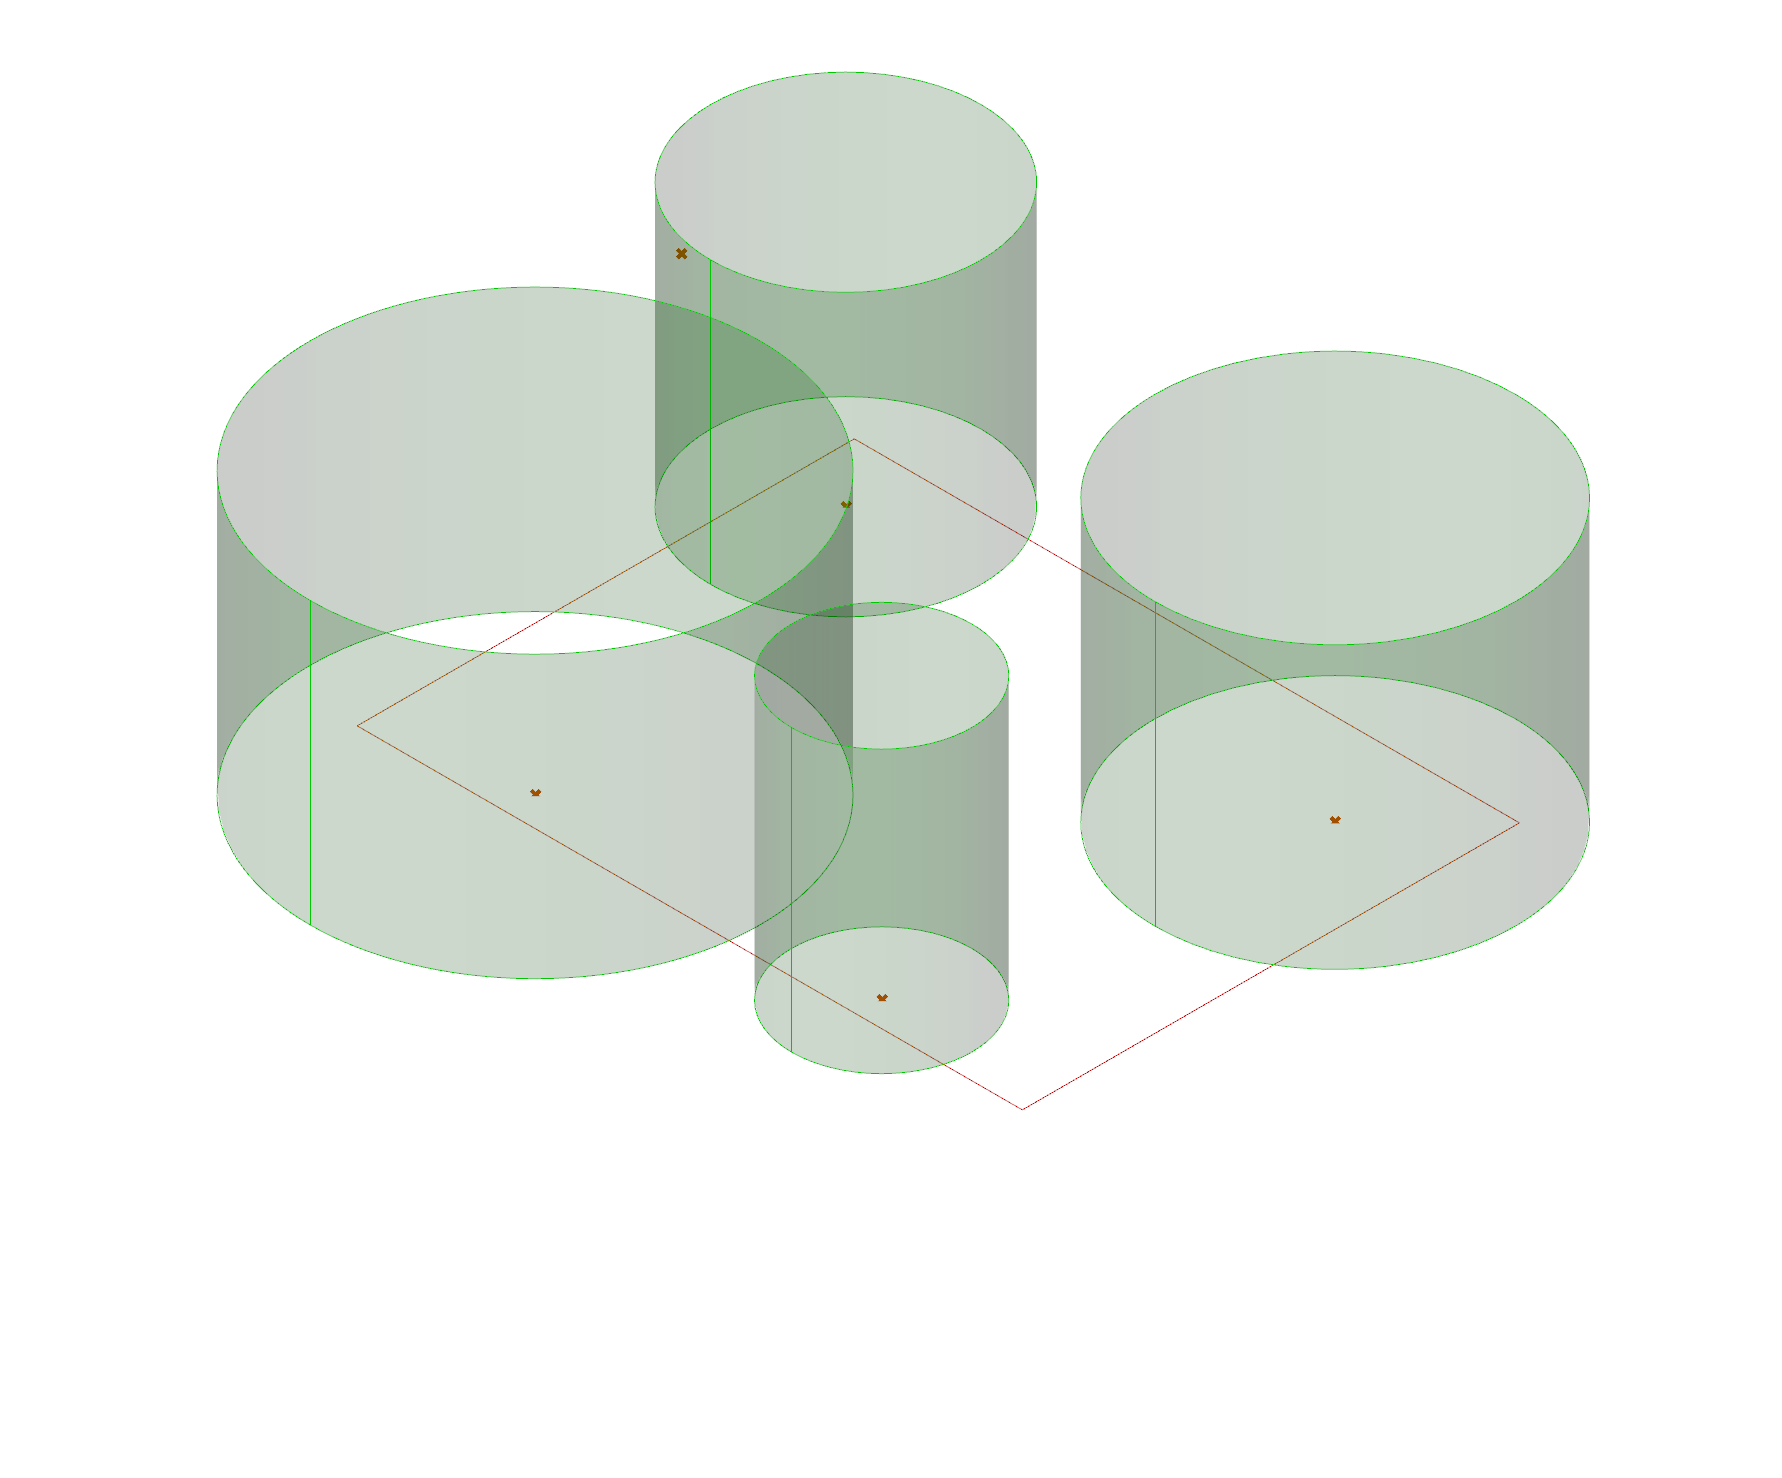
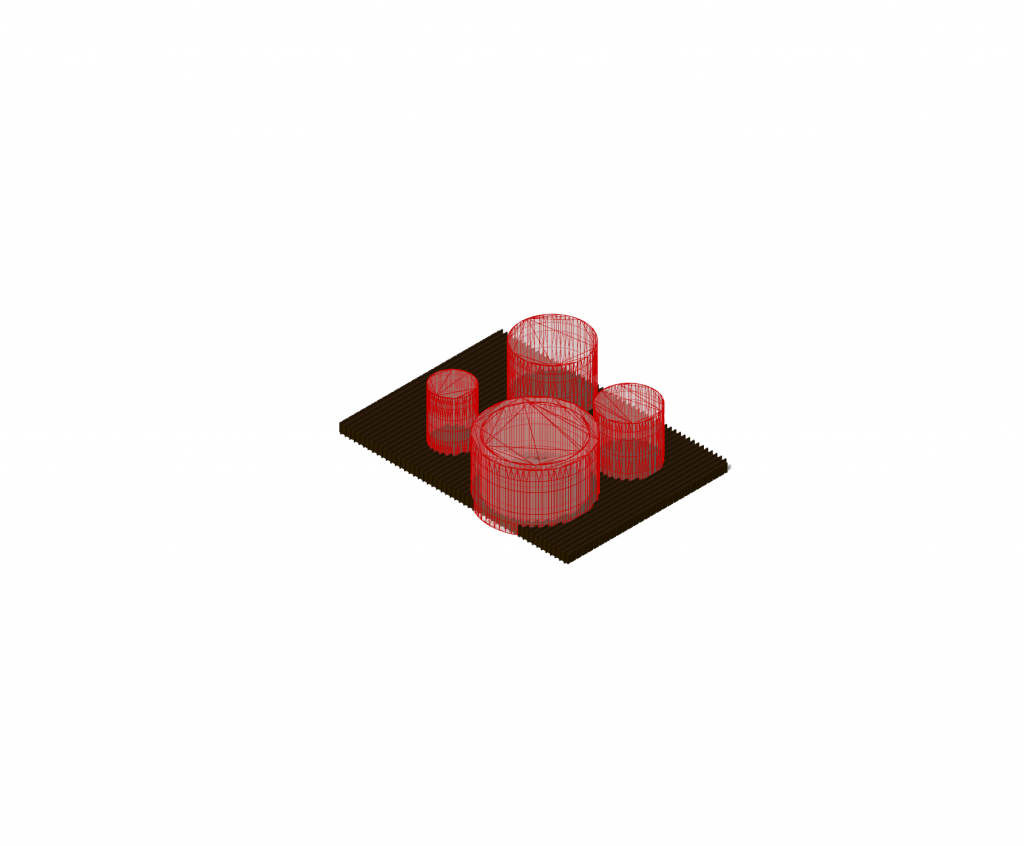
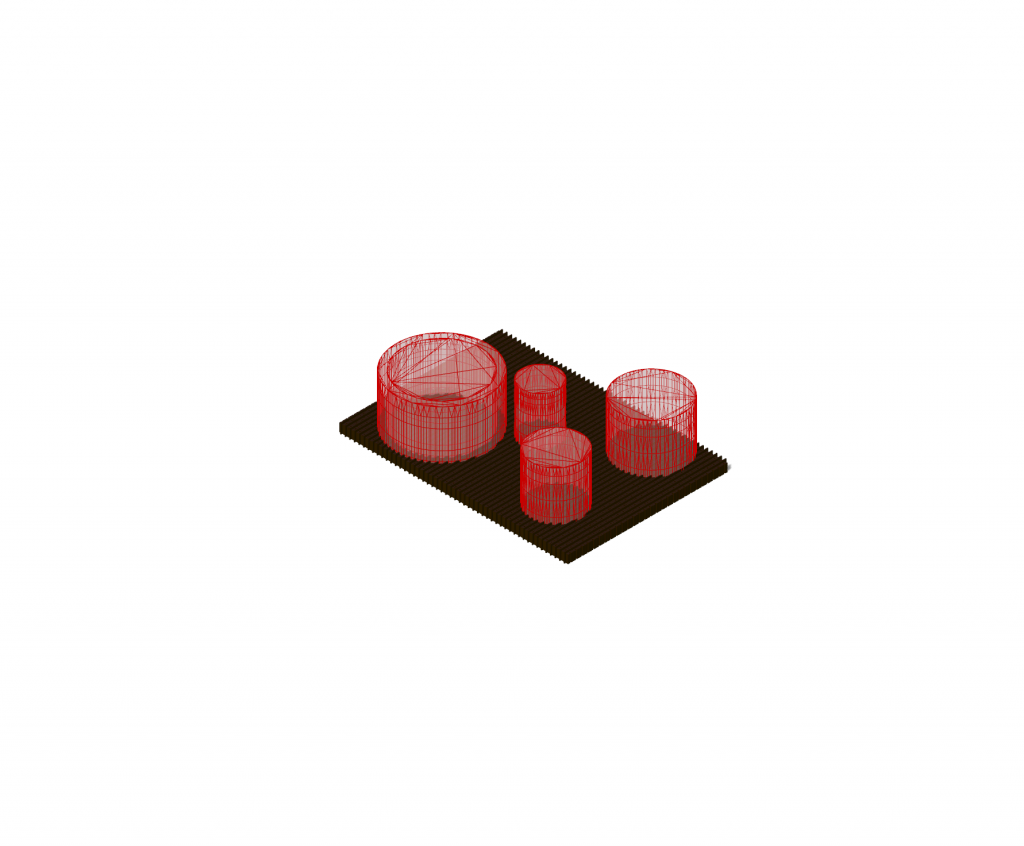
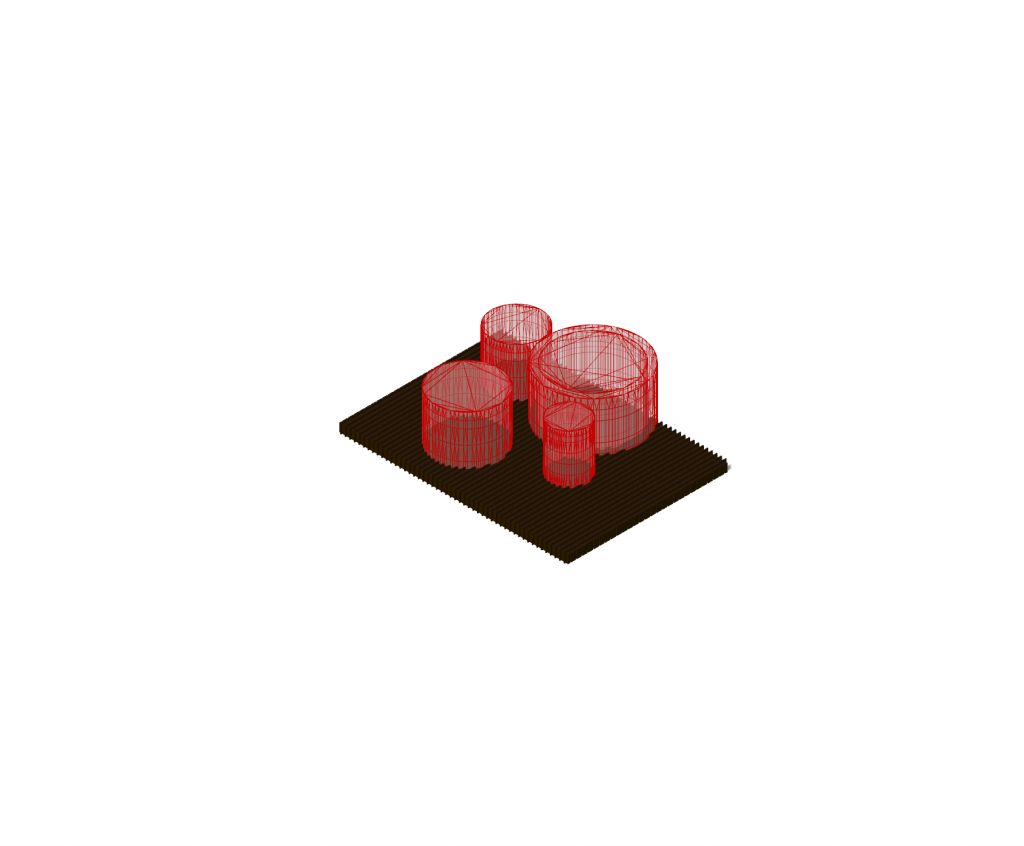
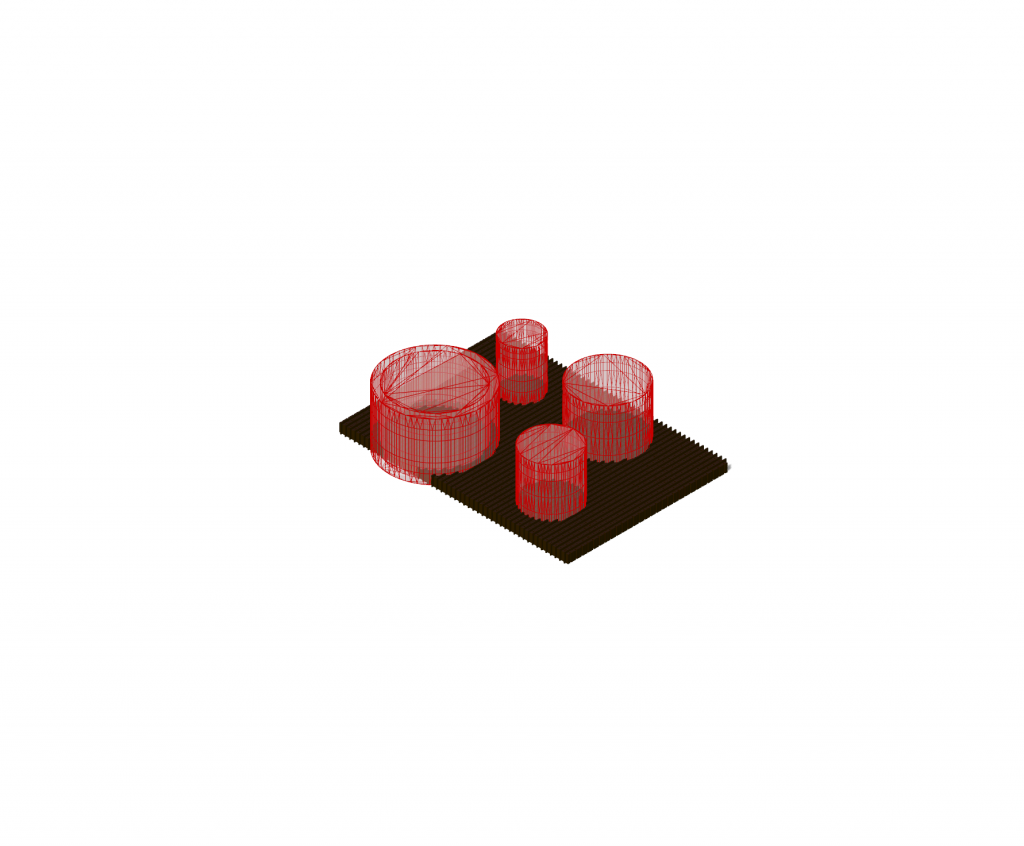
The final part will be about making constraints for the aggregation. The first one we will create is a mesh box which will constraint the aggregation inside of it. We can create it on Rhino and connect it to a Wasp_Mesh Constraint component. We will then need Boolean toggles. The first one is set to TRUE because we want the aggregation to be IN the mesh. The second can be set to FALSE if we want the aggregation to strictly stop before the limits of the box.
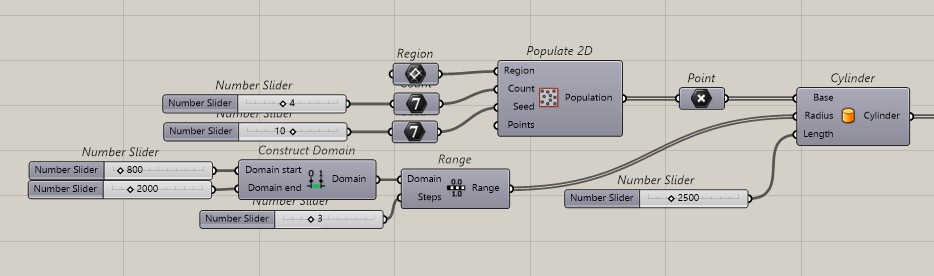
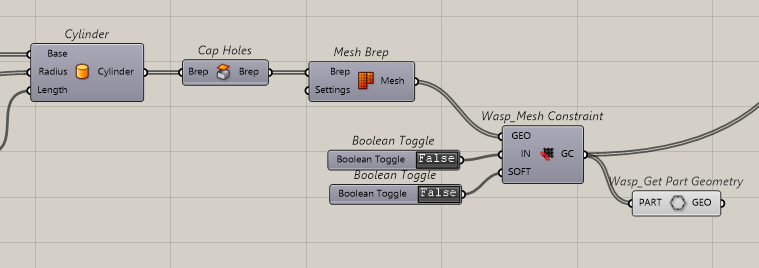
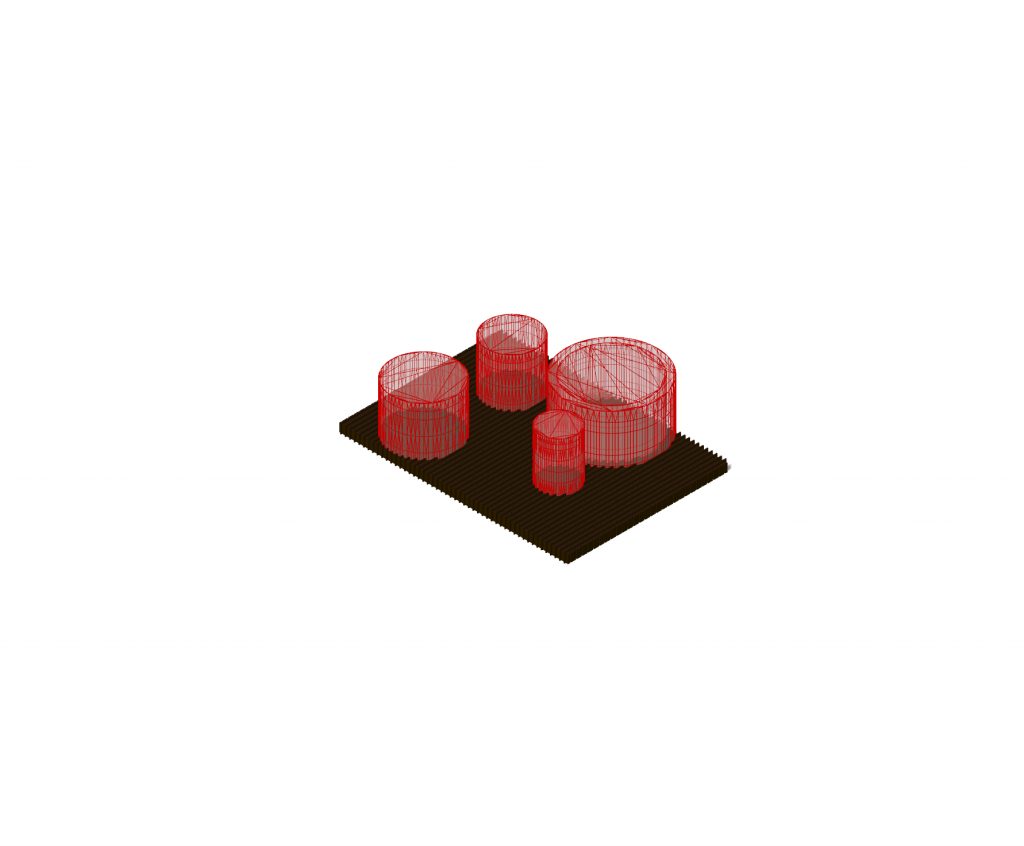
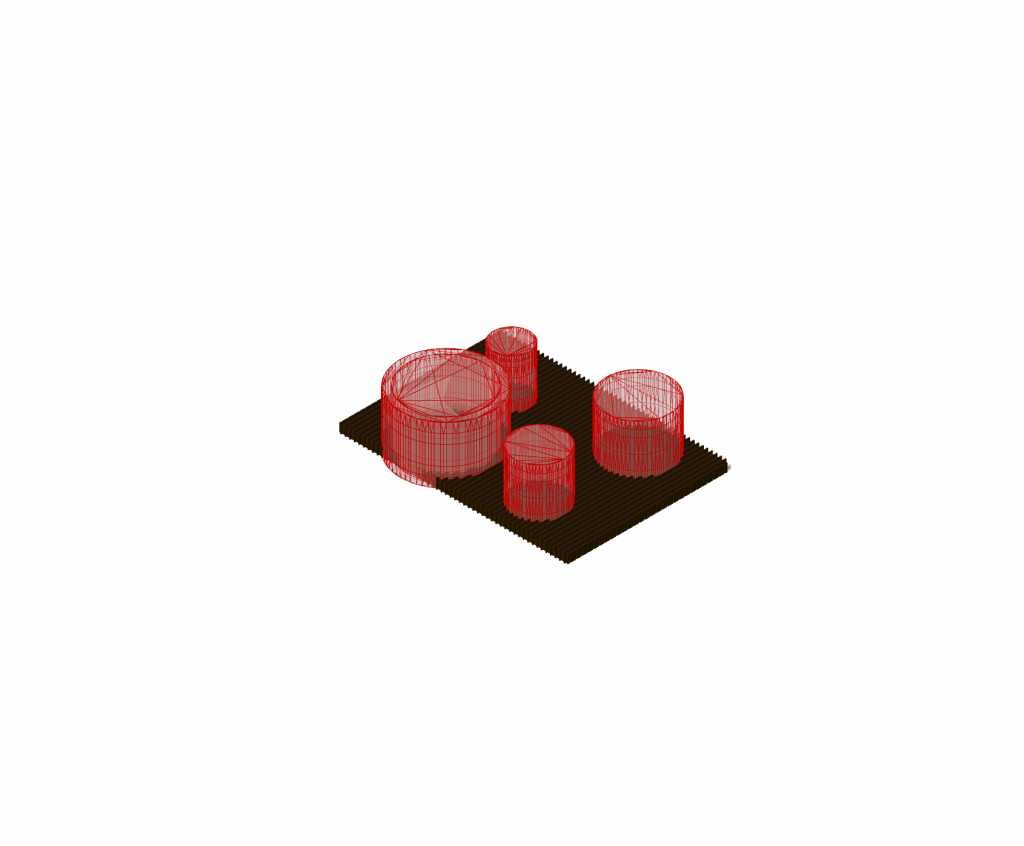
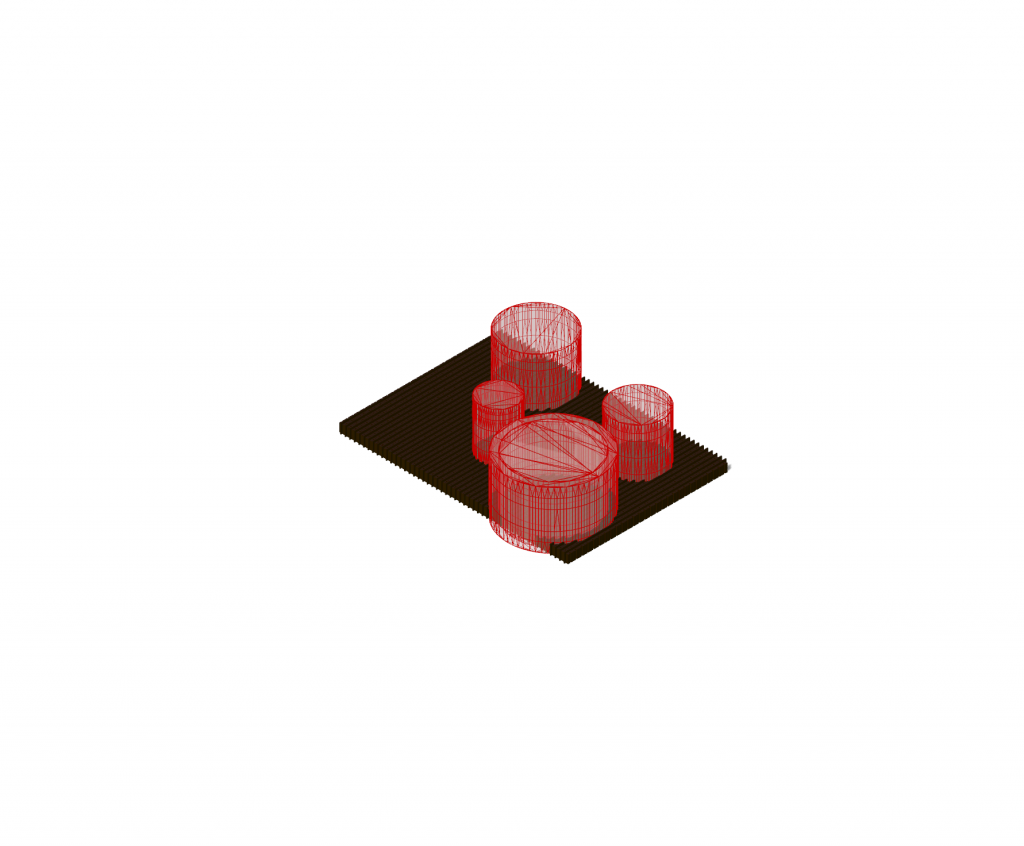
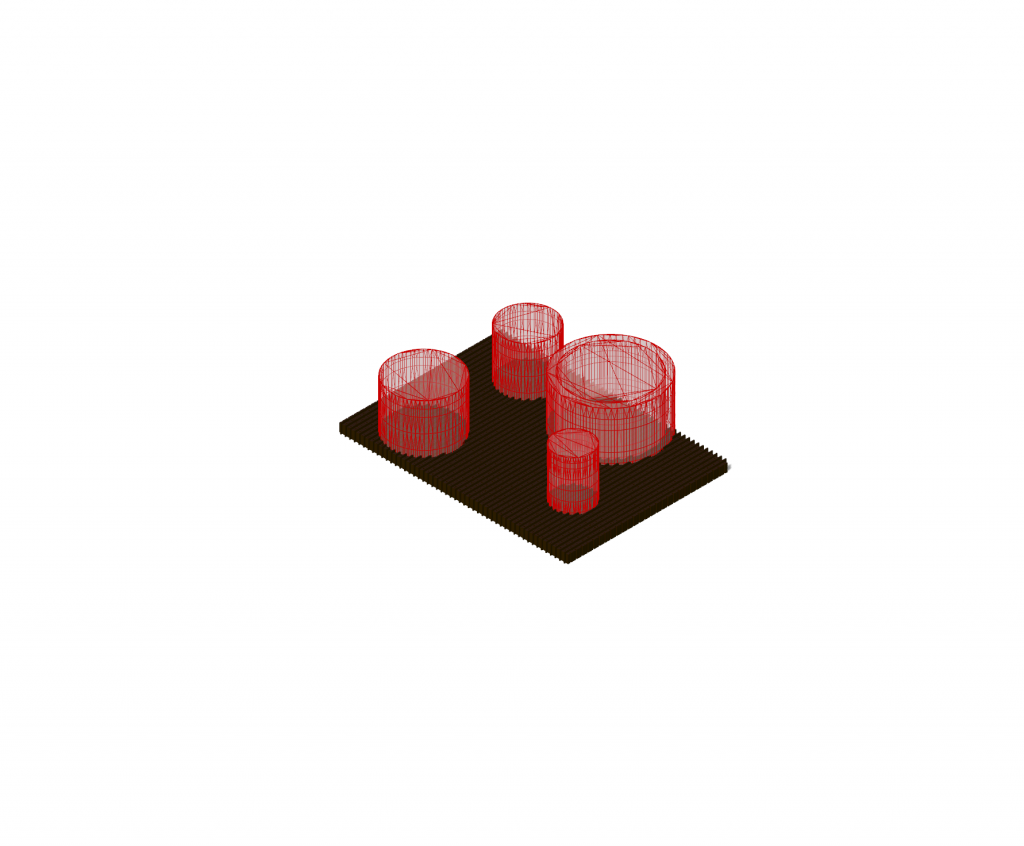
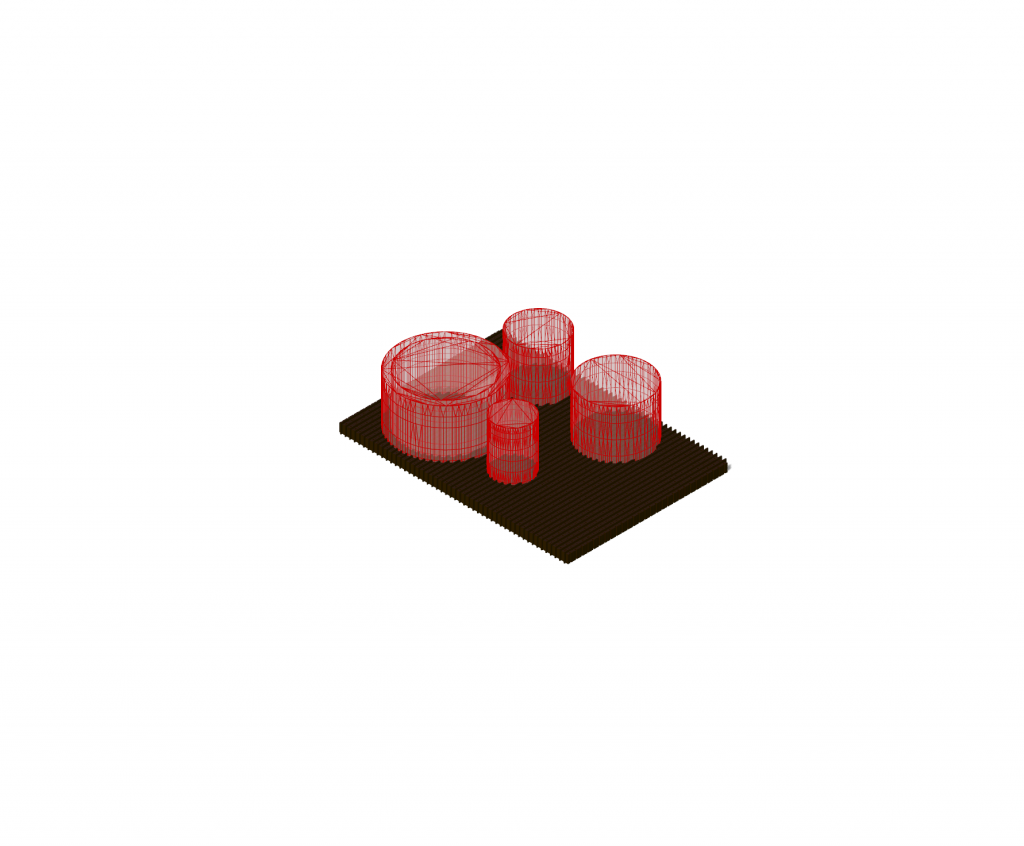
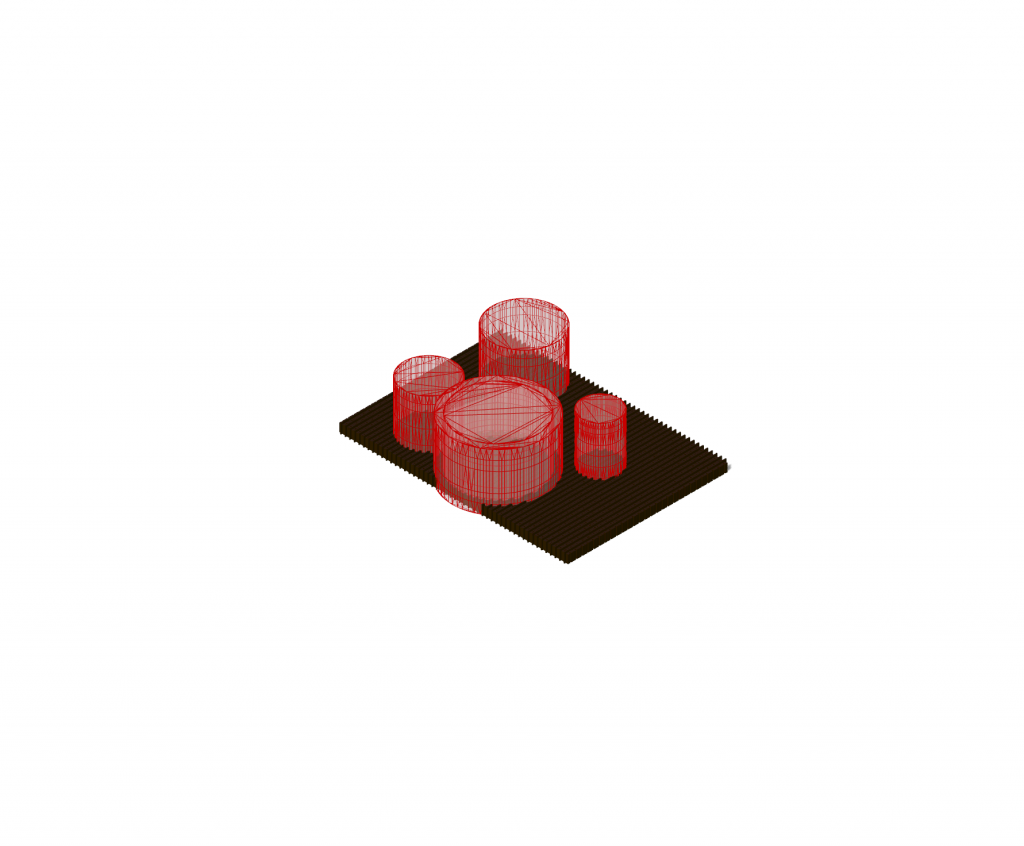
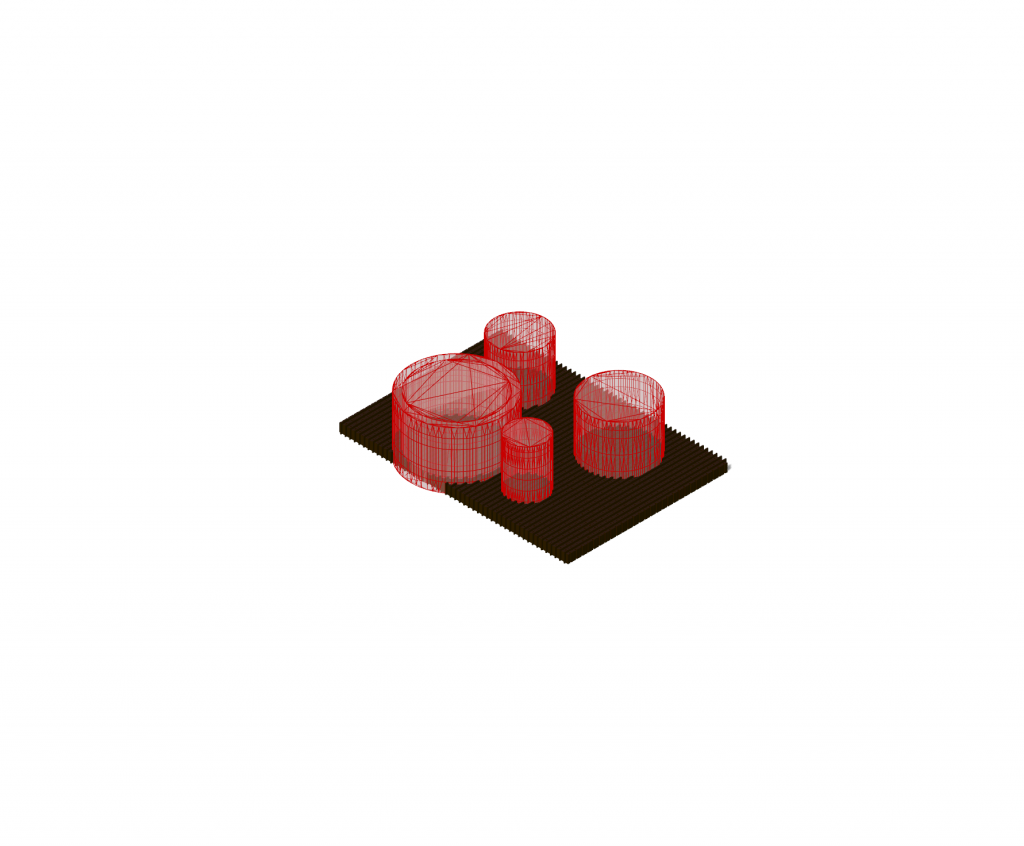
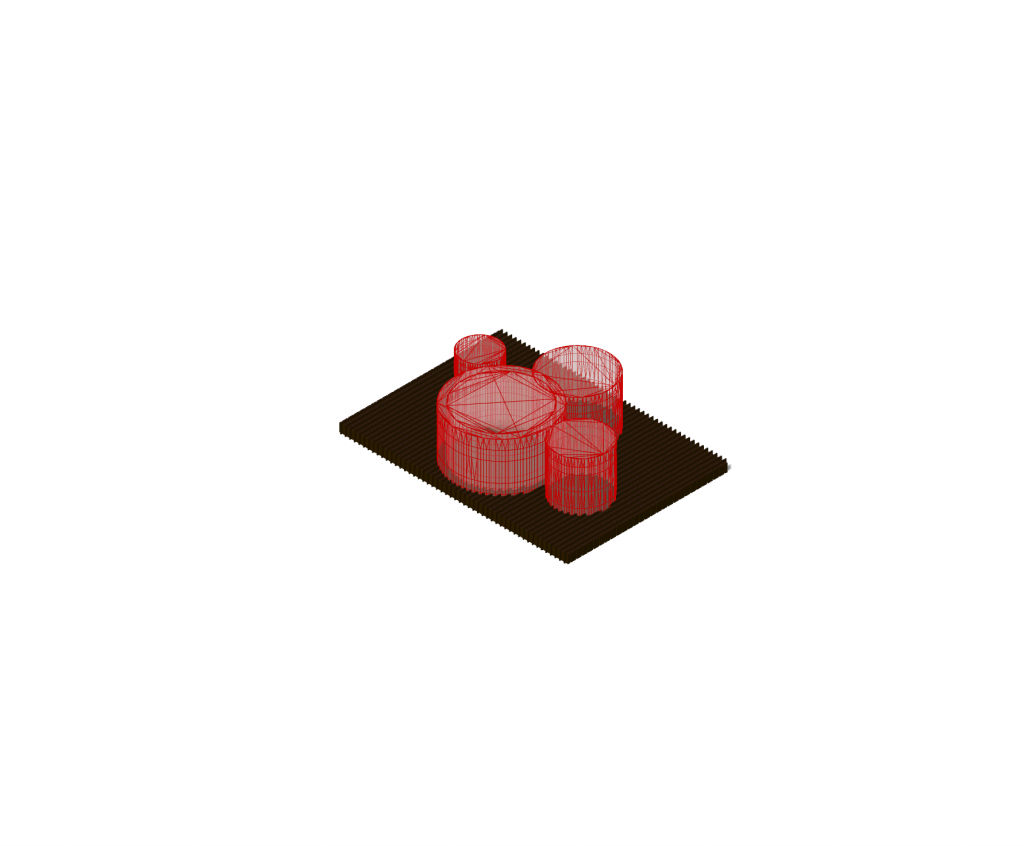
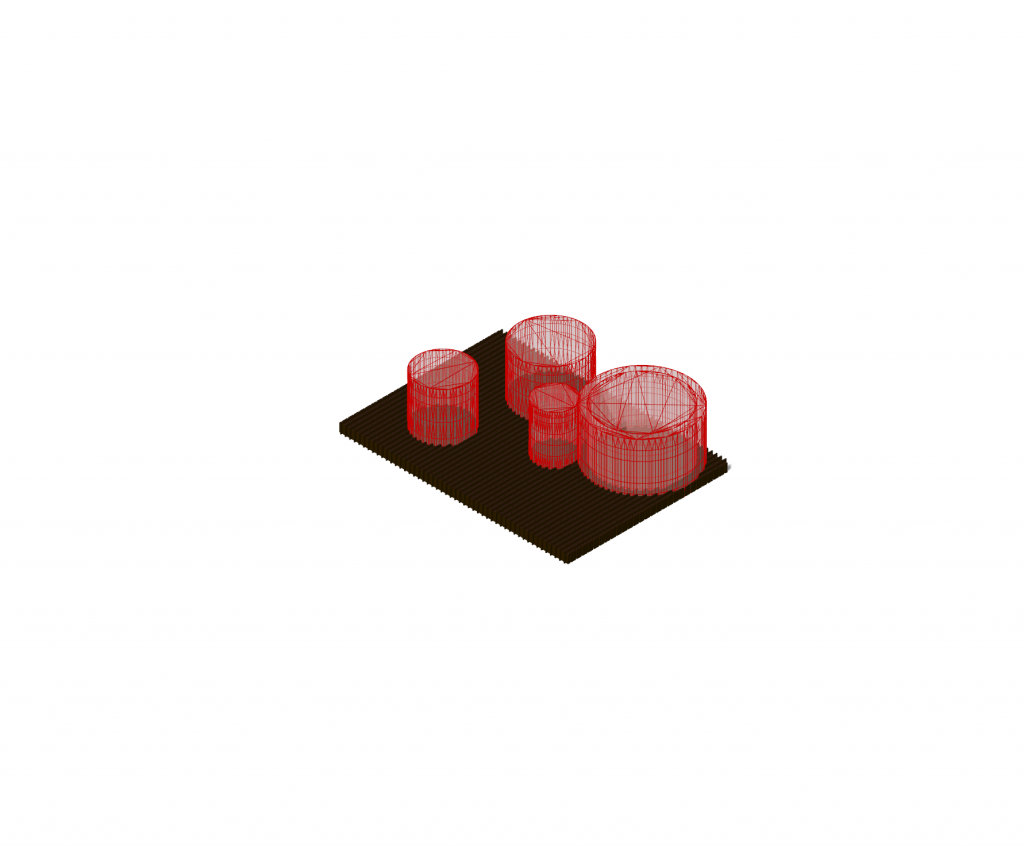
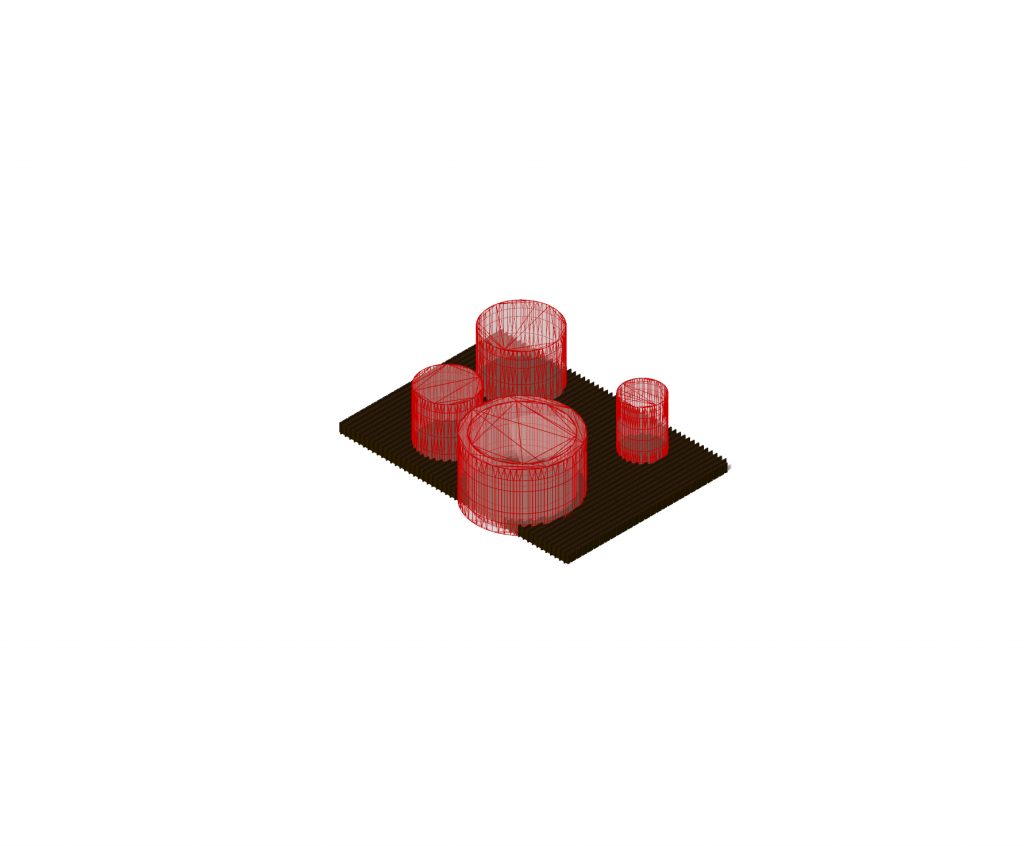
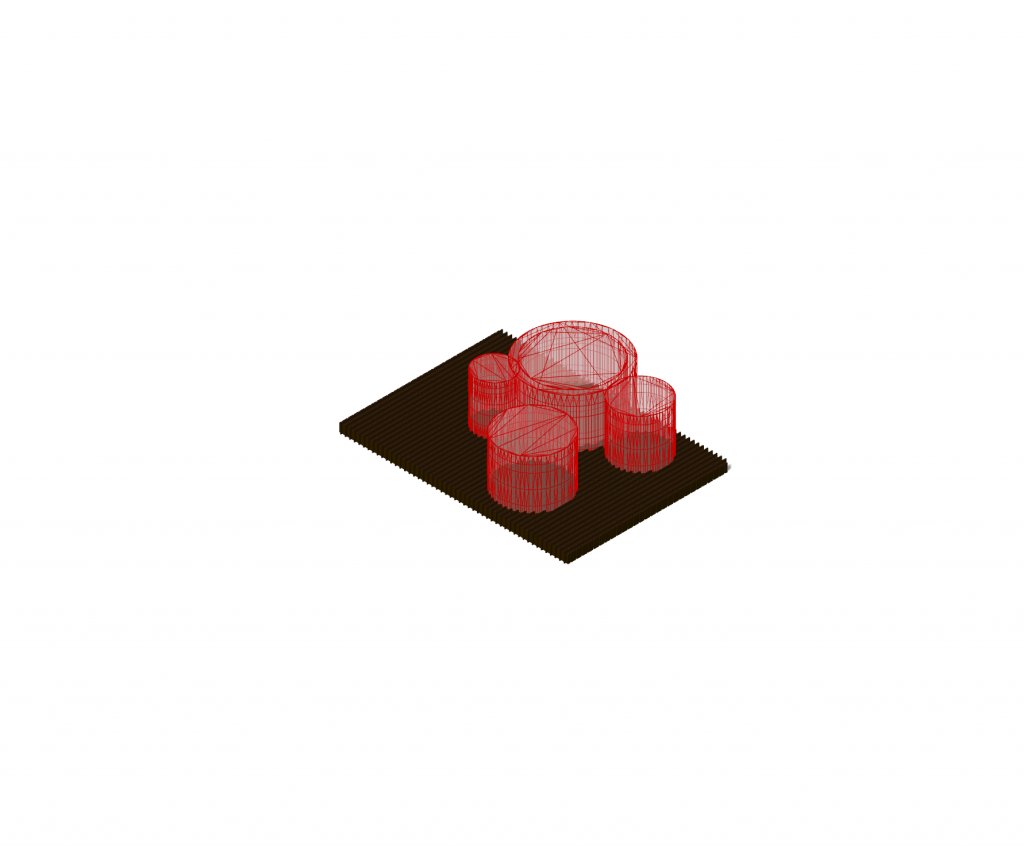
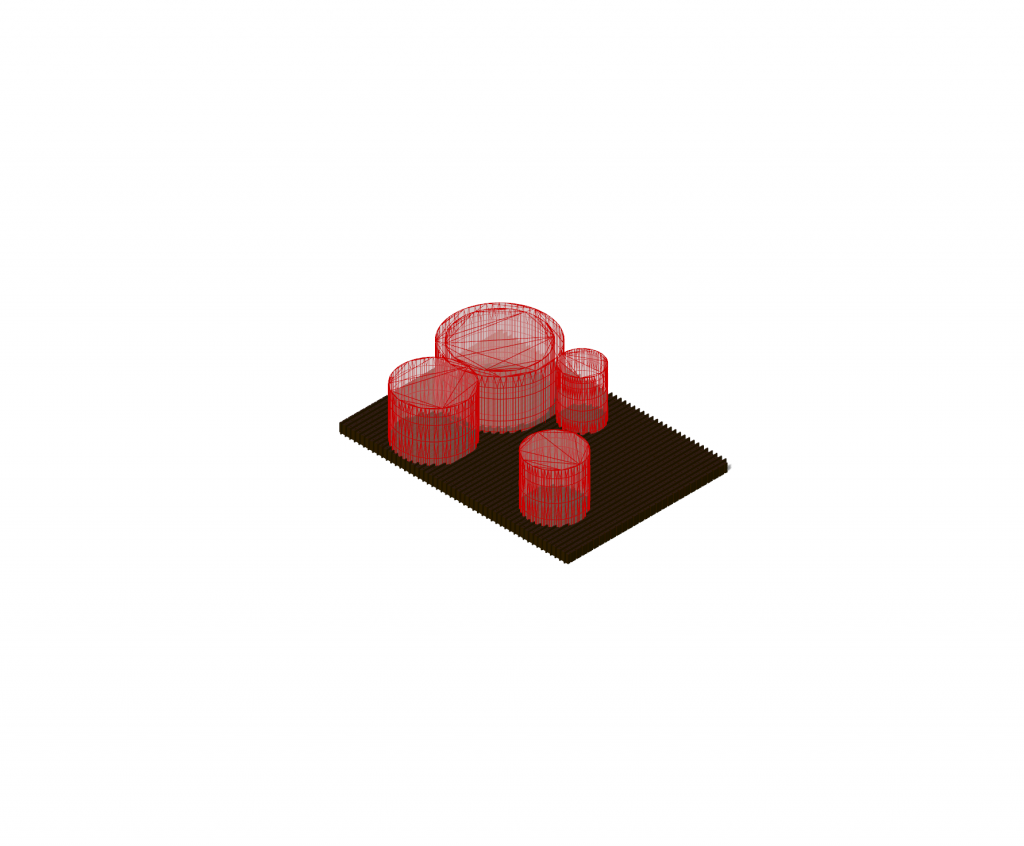
The second constraint we are creating are cylinders representing the rooms of the flat. We will use Populate 2D to have them placed randomly. The region of it needs to be slightly smaller than the slab so that the cylinders stay inside the surface. Now, we can easily choose the number of rooms, their width and height. However, the Wasp_Mesh Constraint component only works with mesh. So the cylinder needs to be added Cap Holes and then turned into a Mesh. Now, we can choose the aggregation to grow outside of them with a Boolean Toggle.
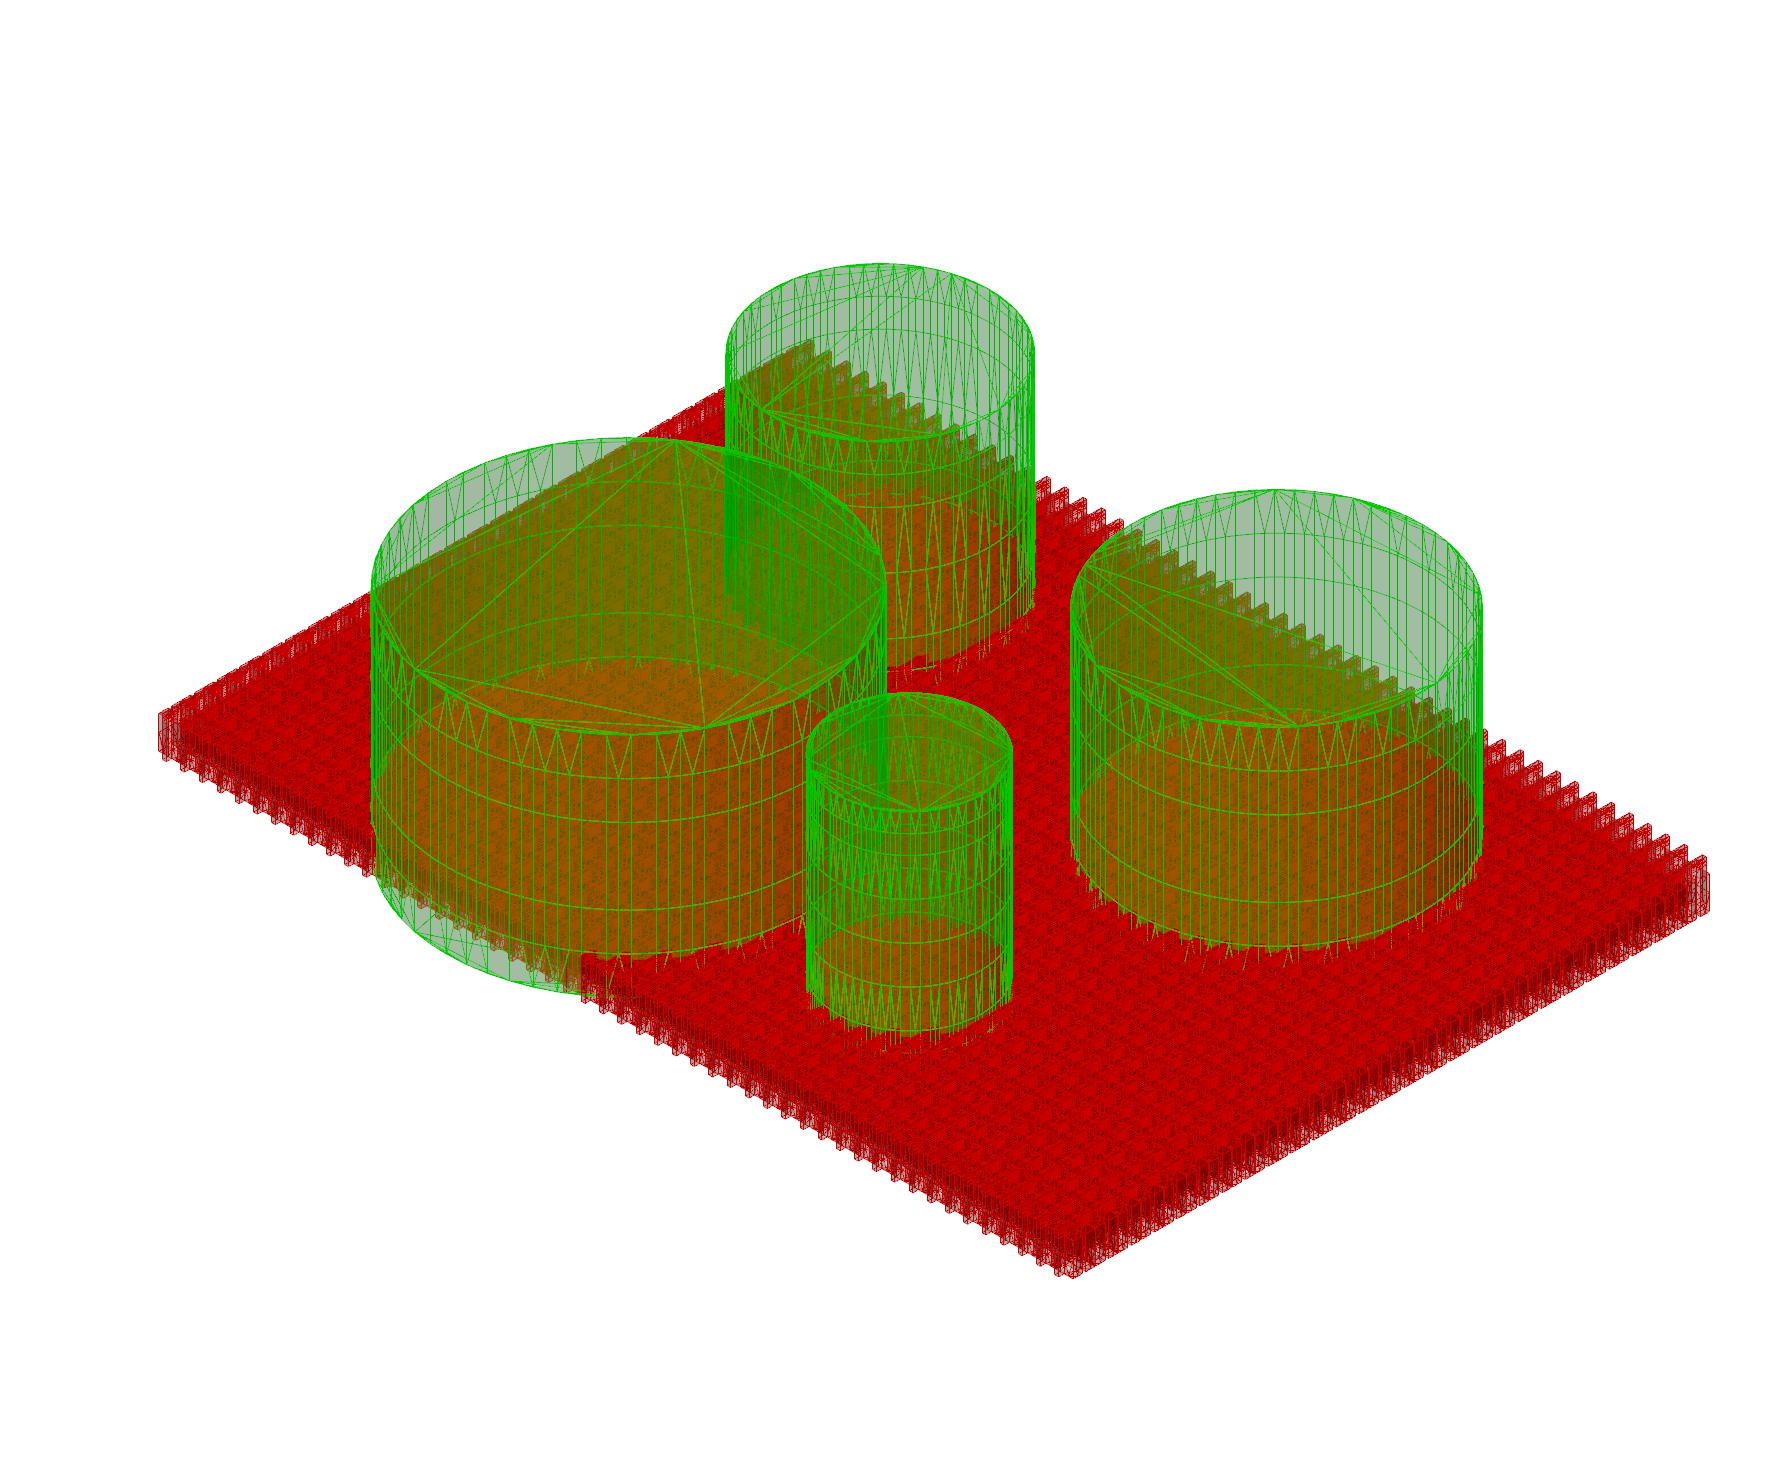
The final step is to connect the two constraints to the stochastic aggregation. We will have to set a slider to 2 so that the Global Constraint Mode is activated.
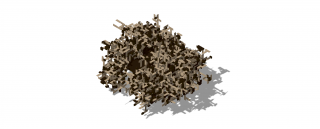
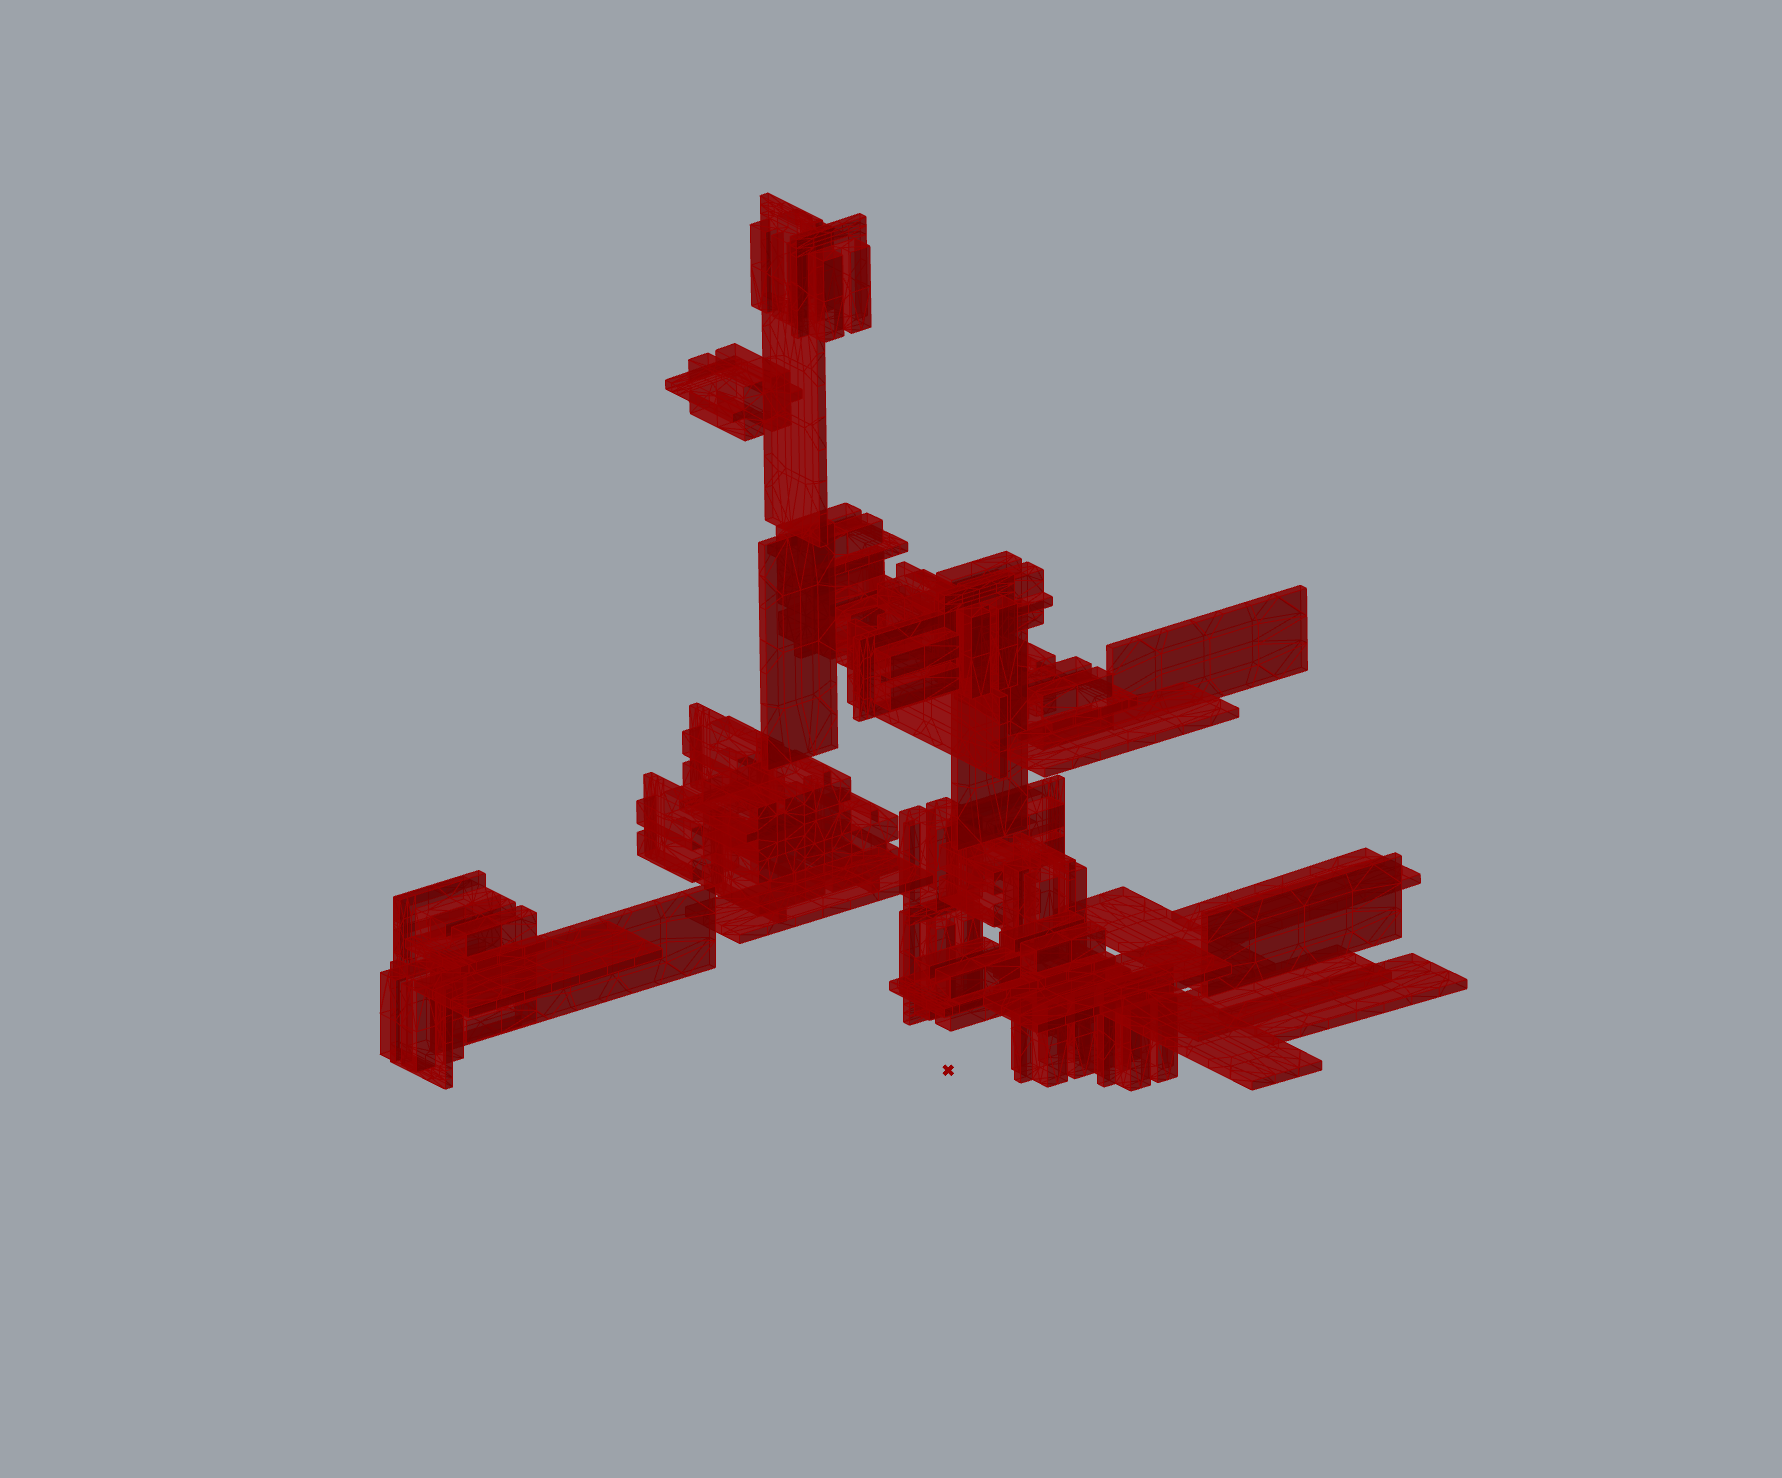
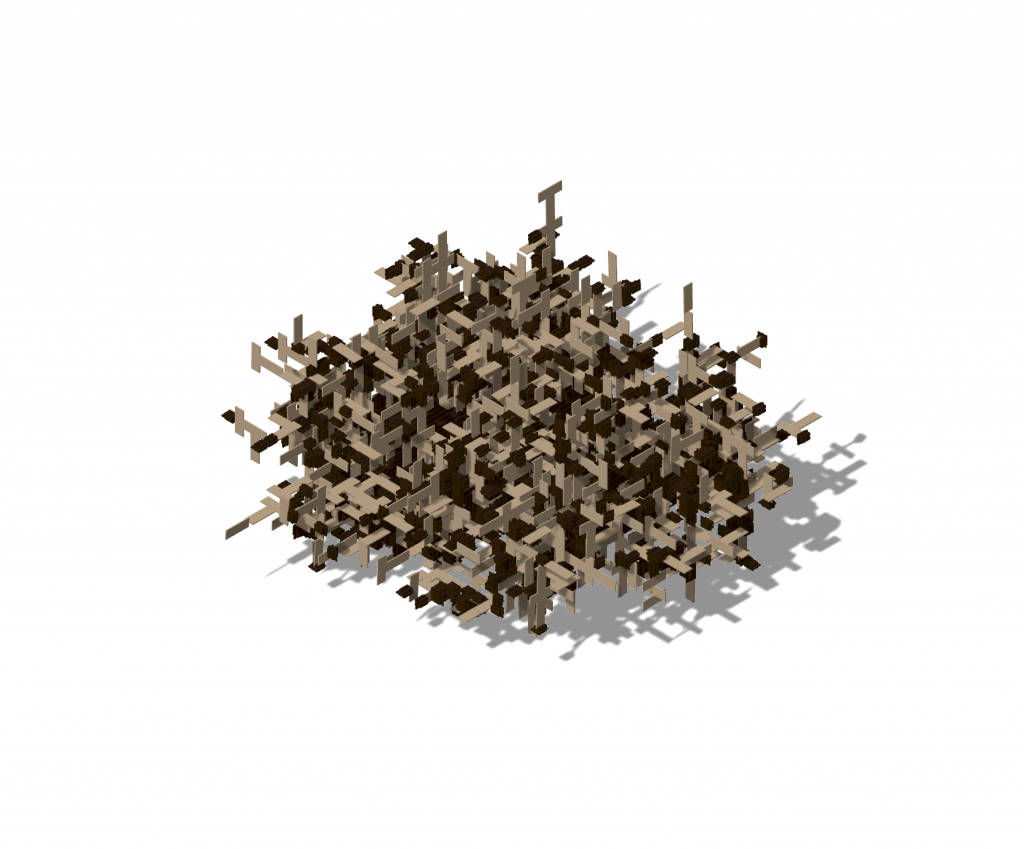
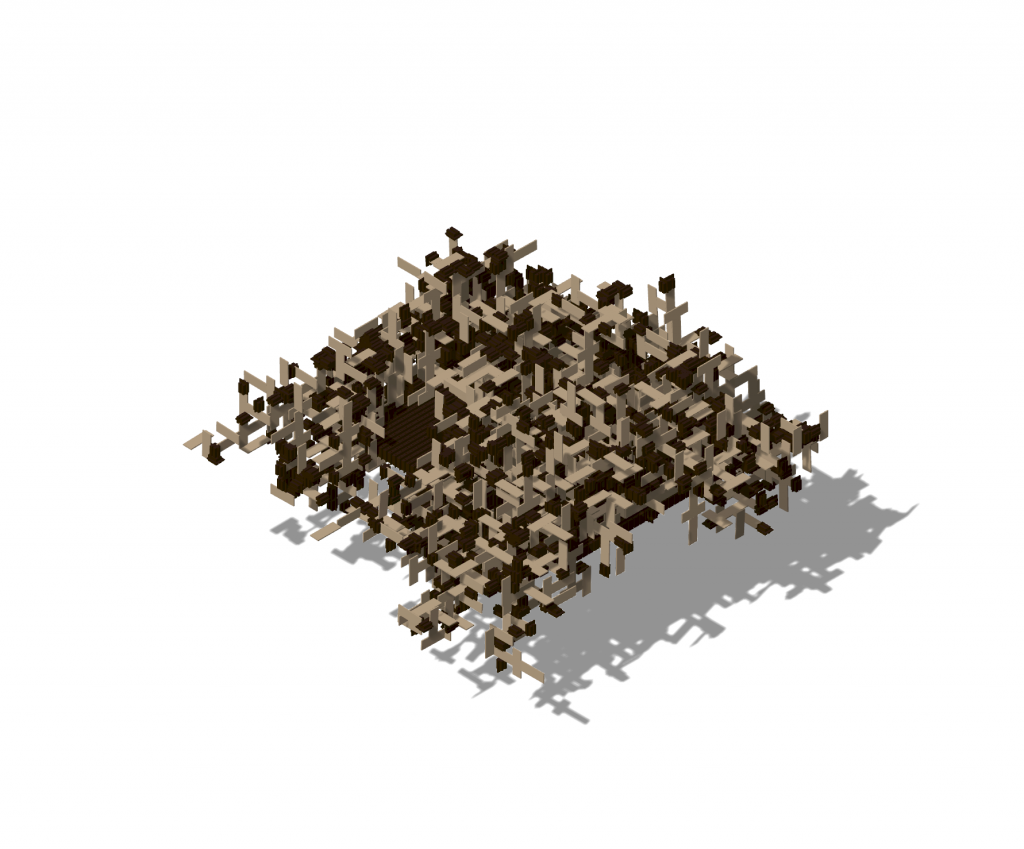
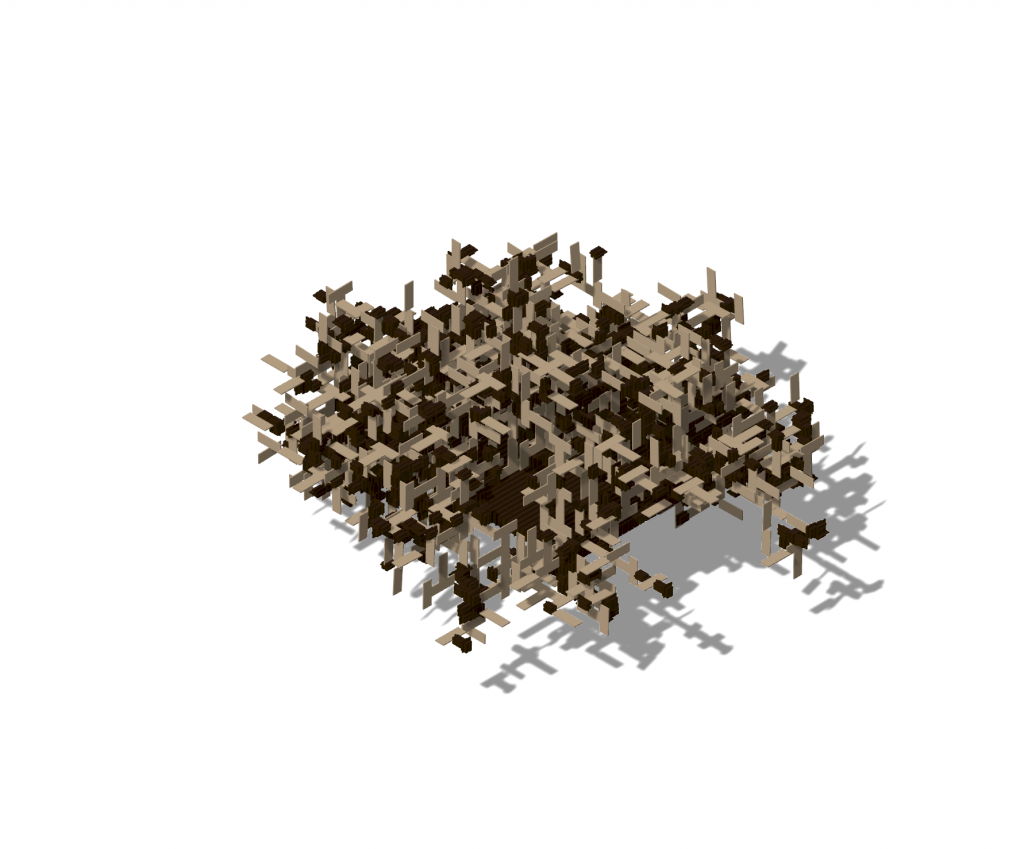
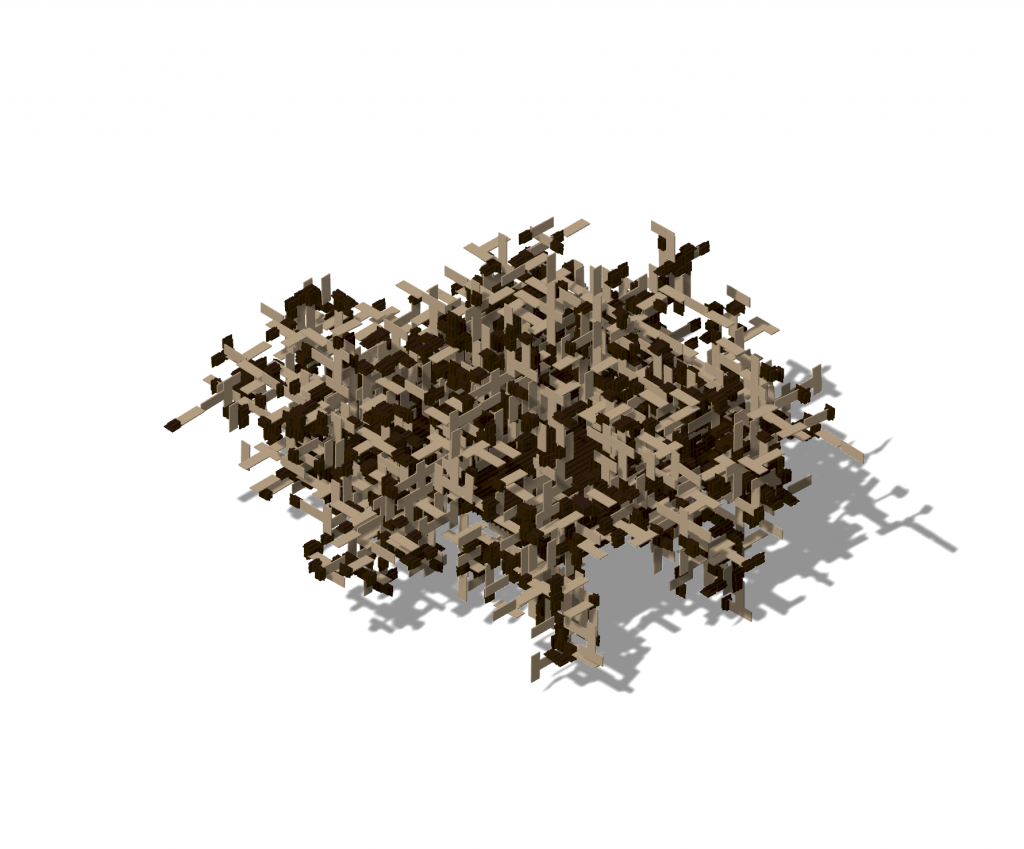
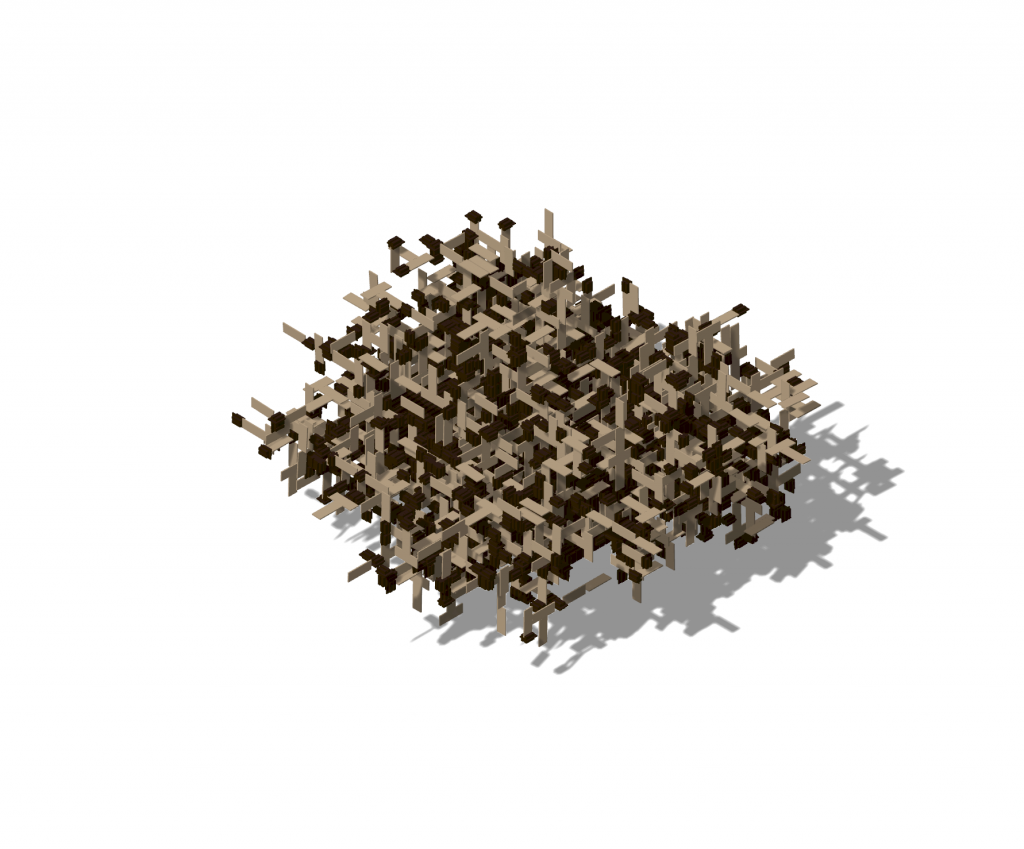
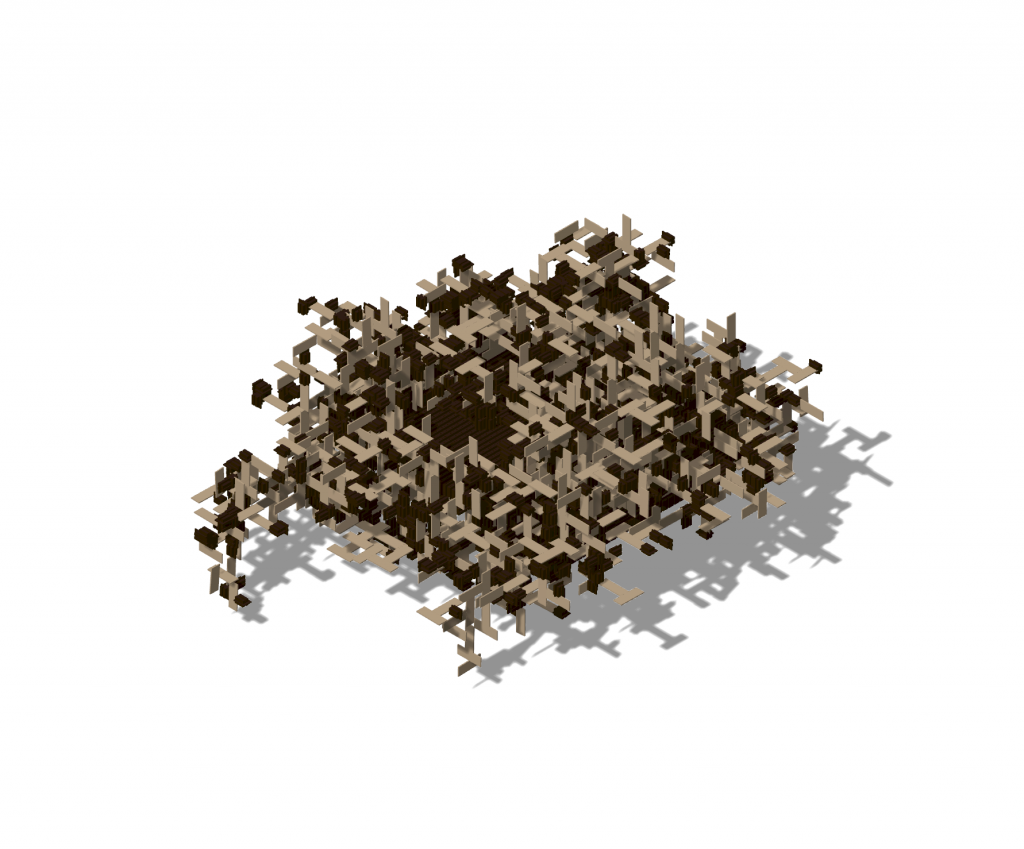
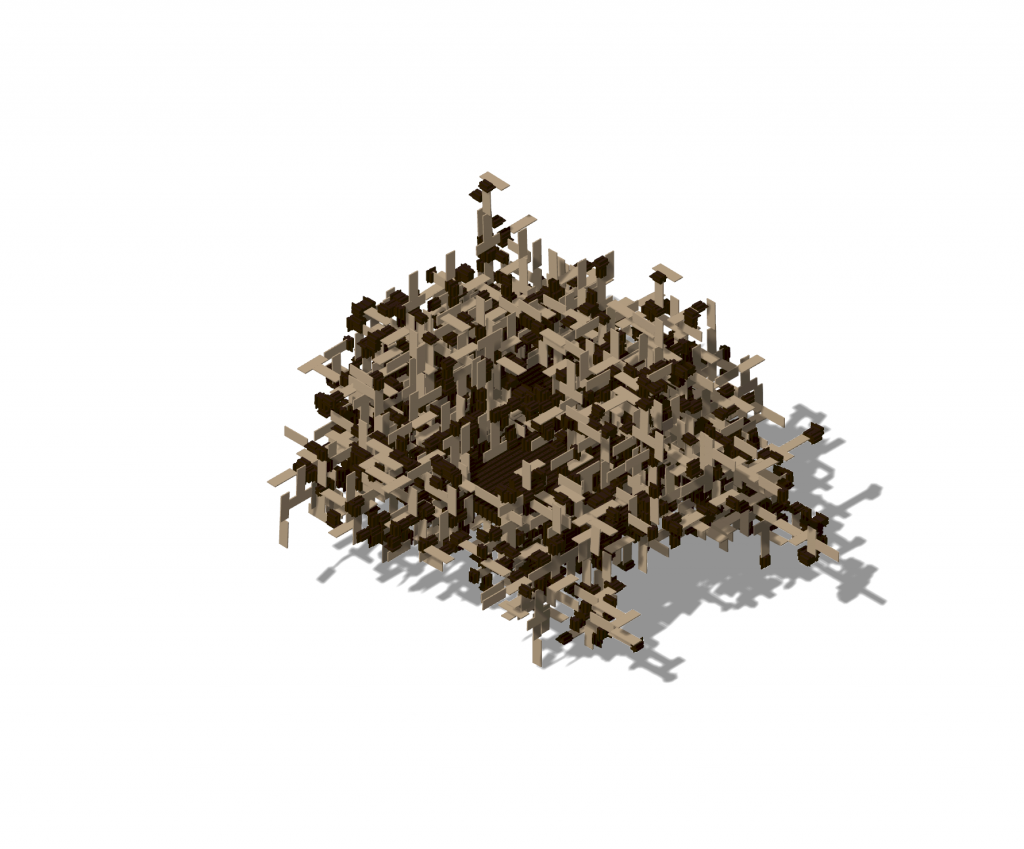
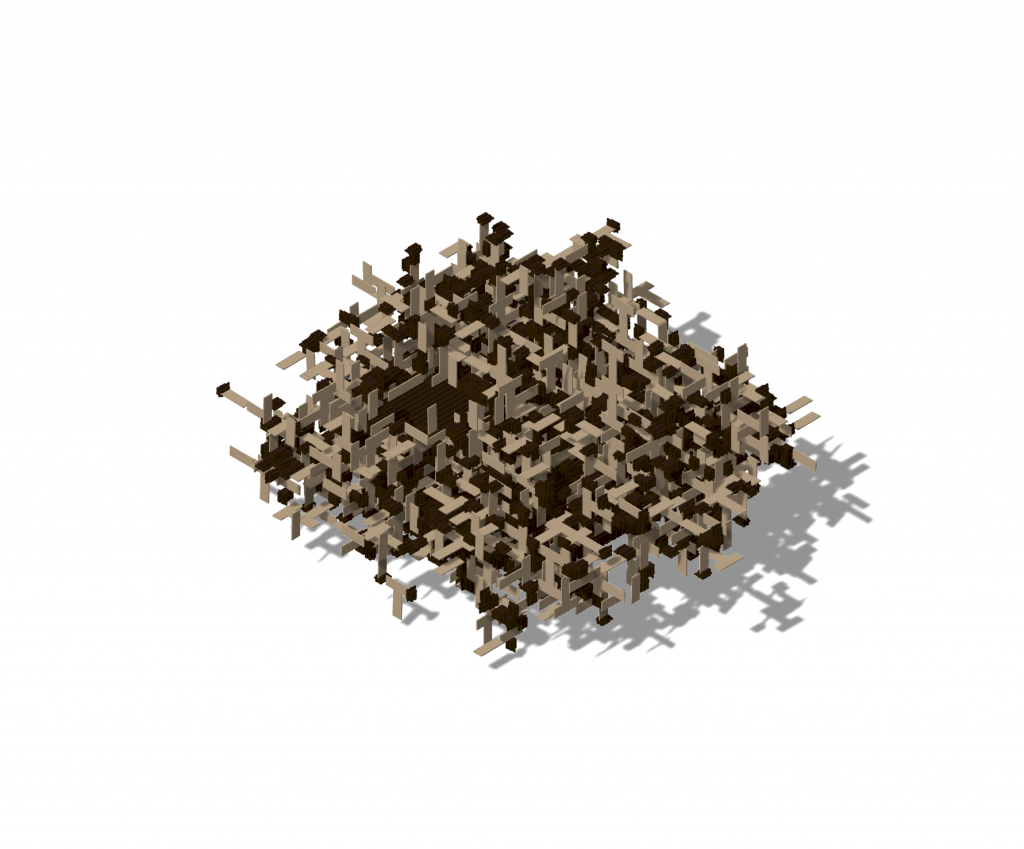
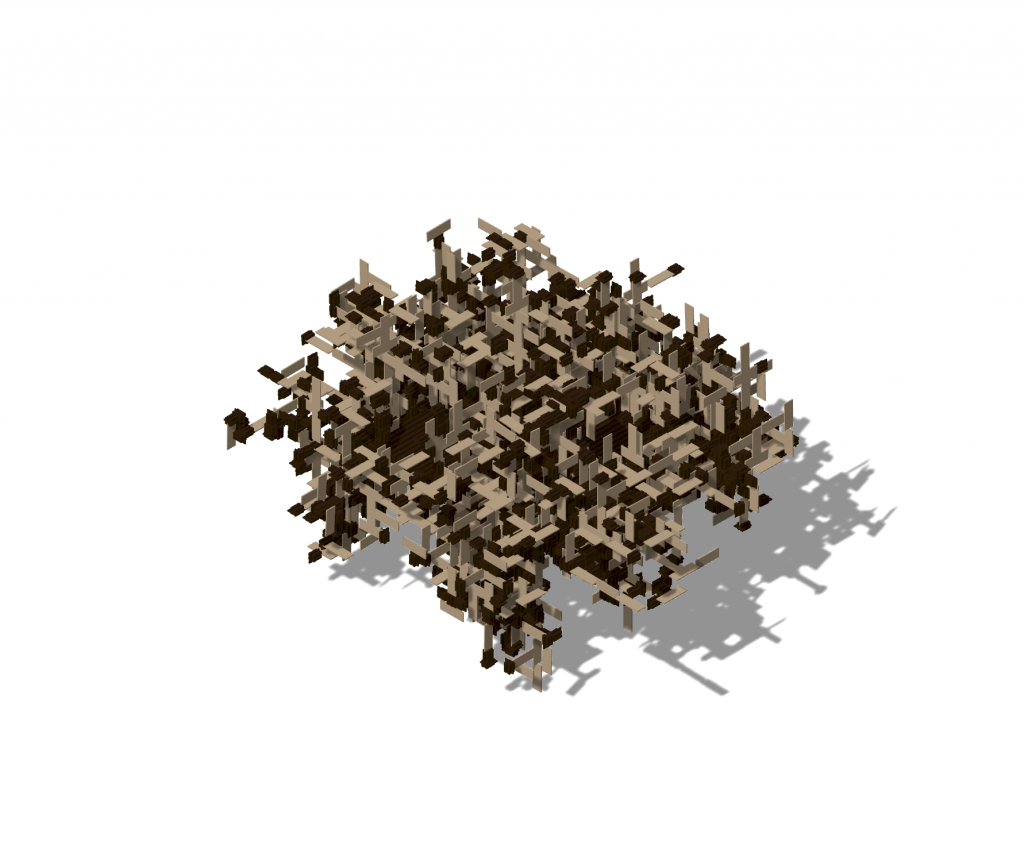
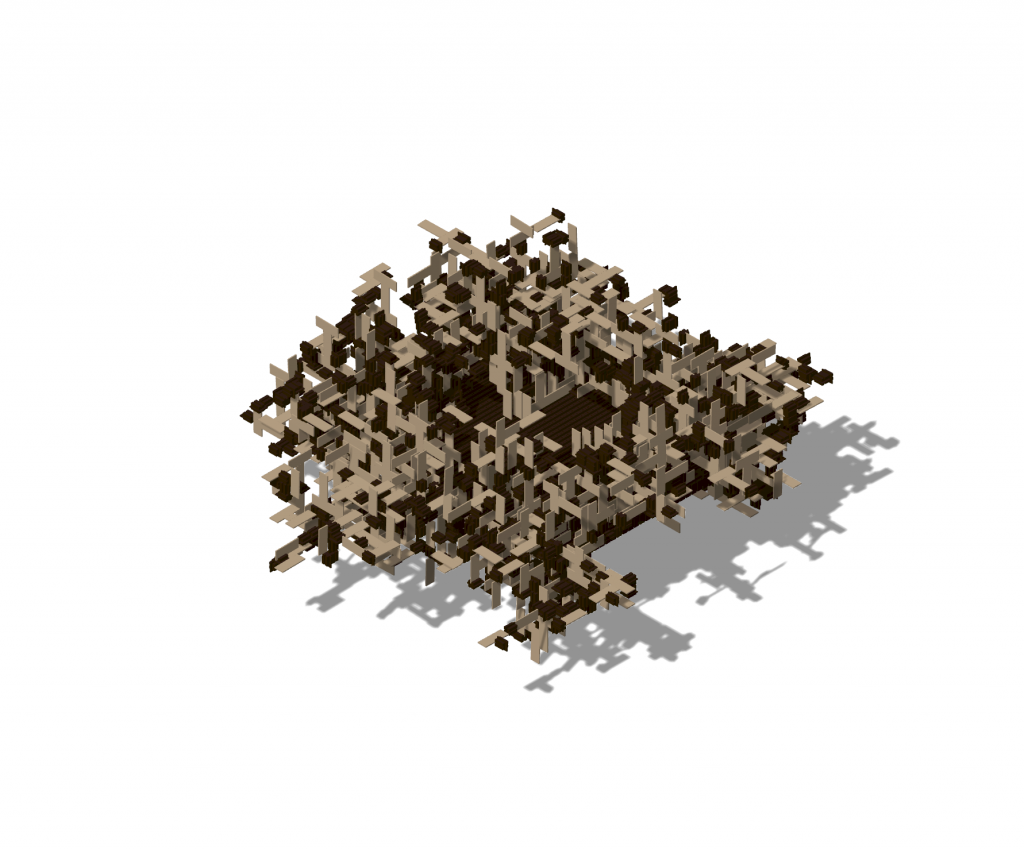
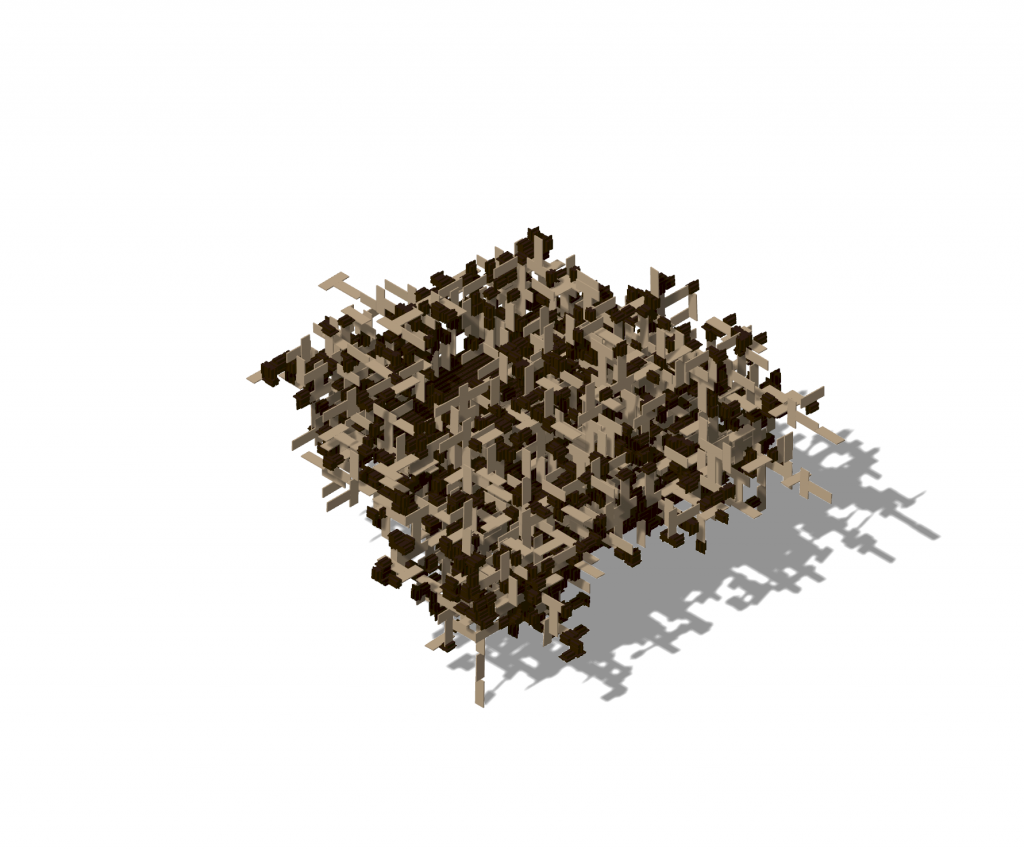
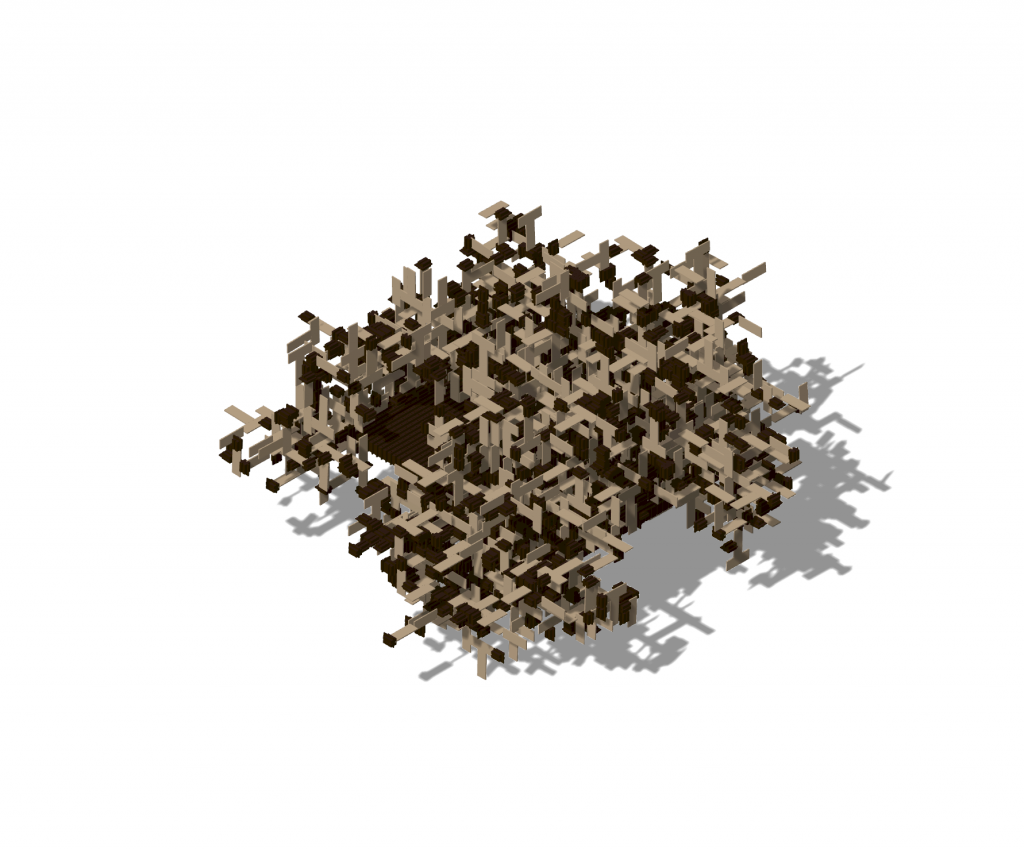
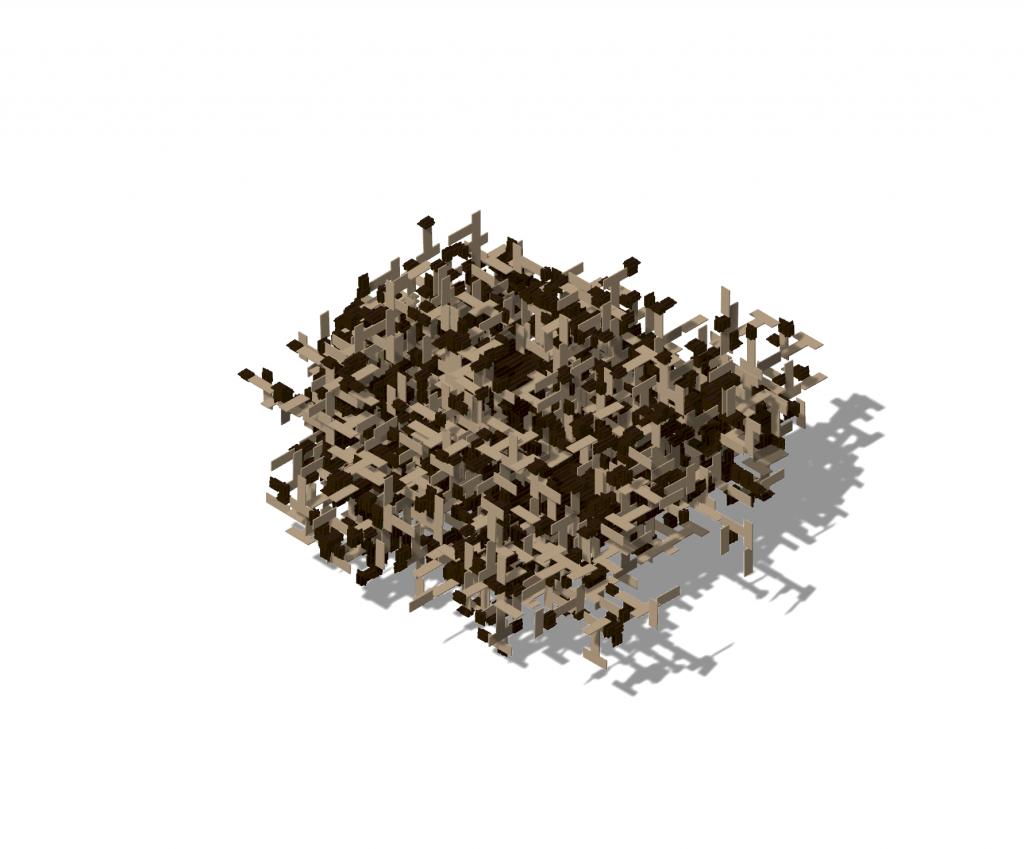
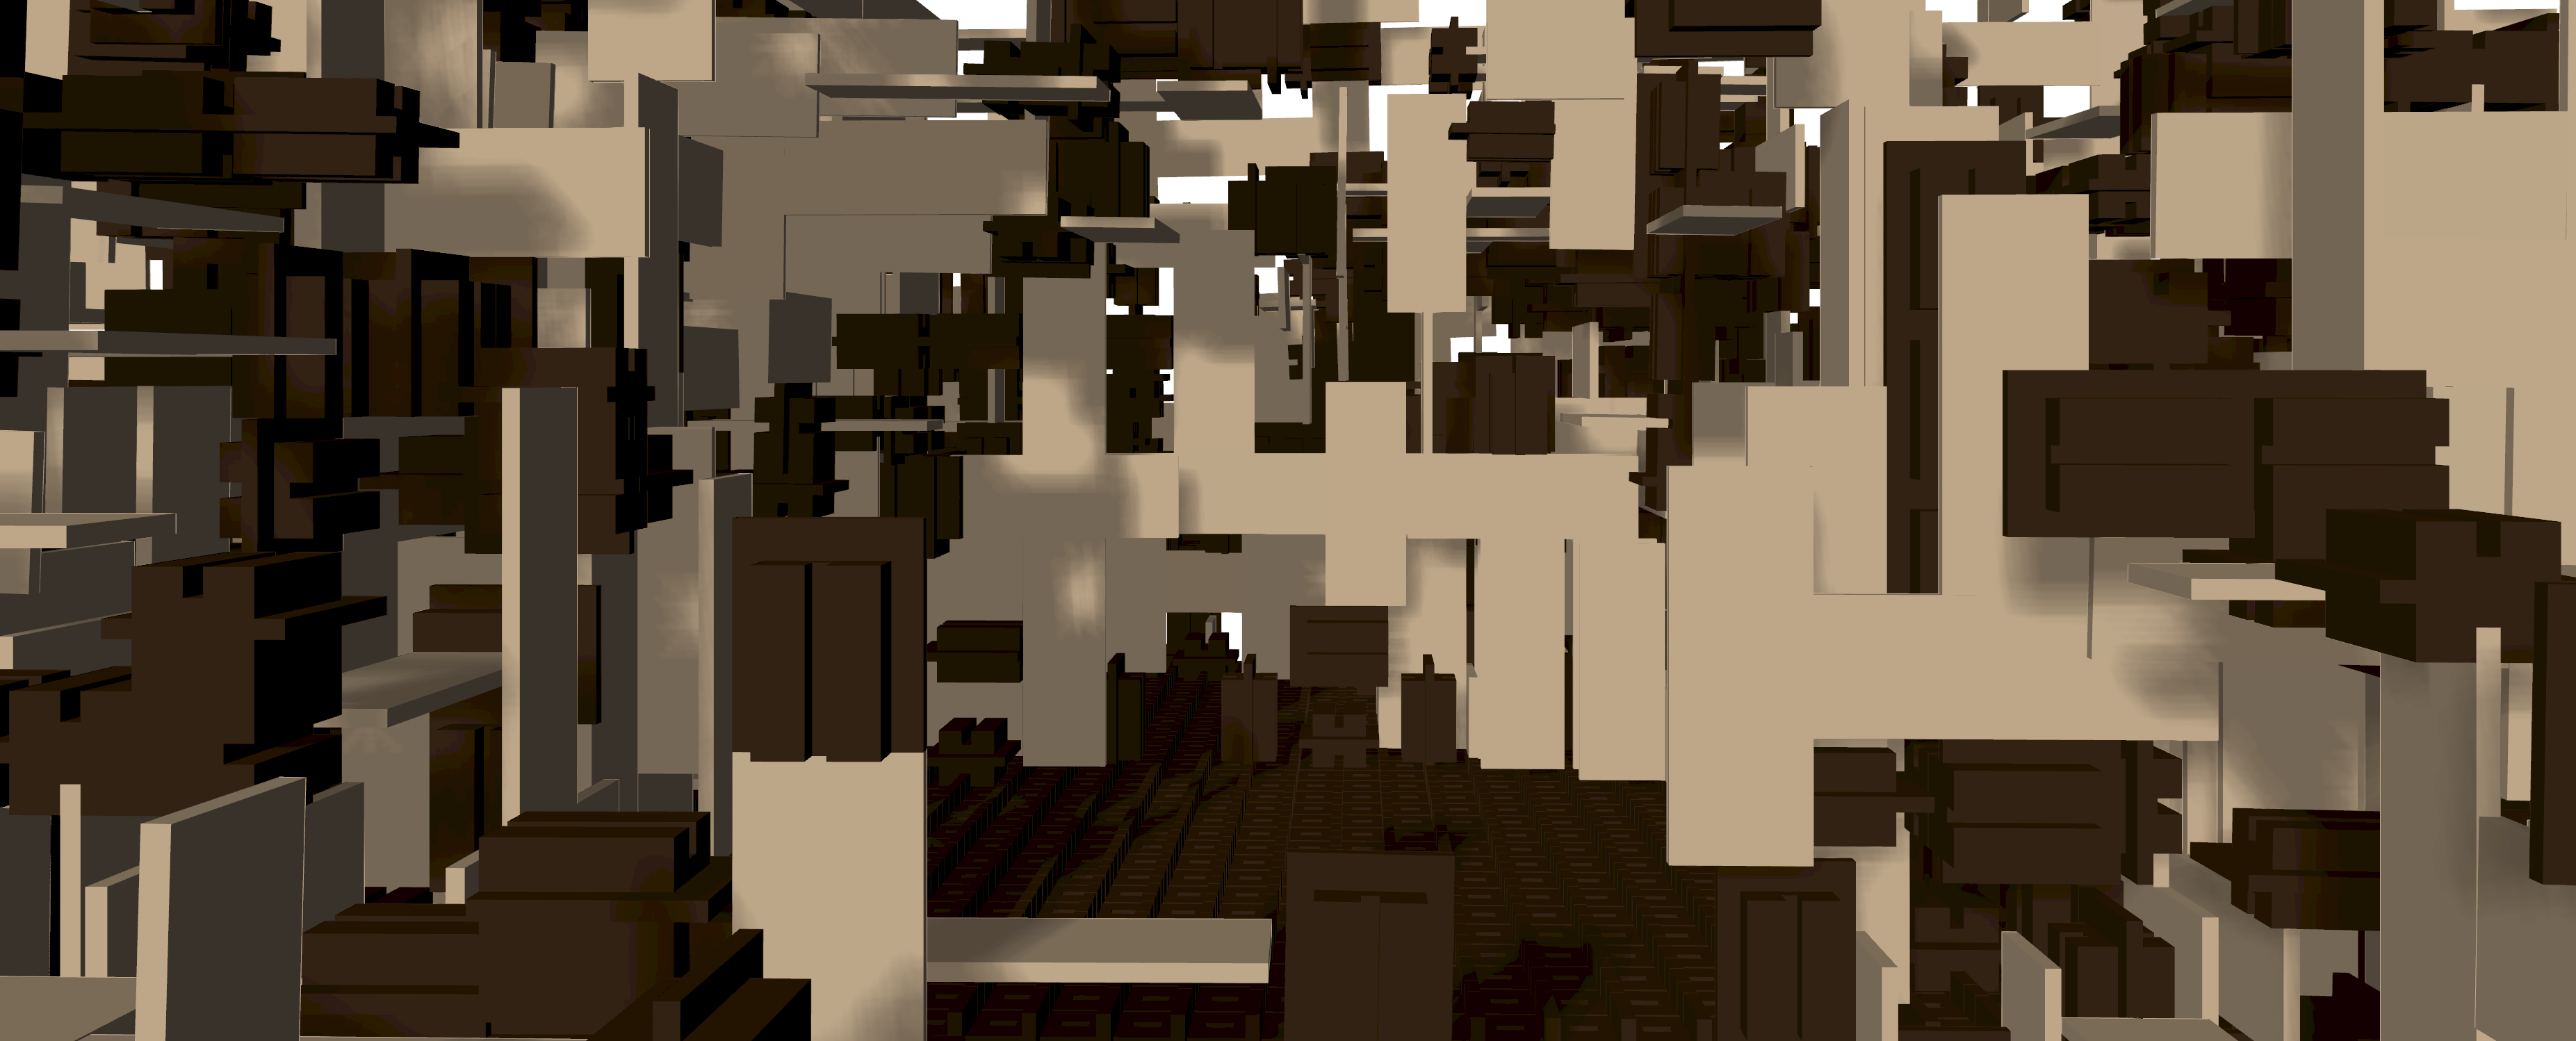
aggregation : 50 parts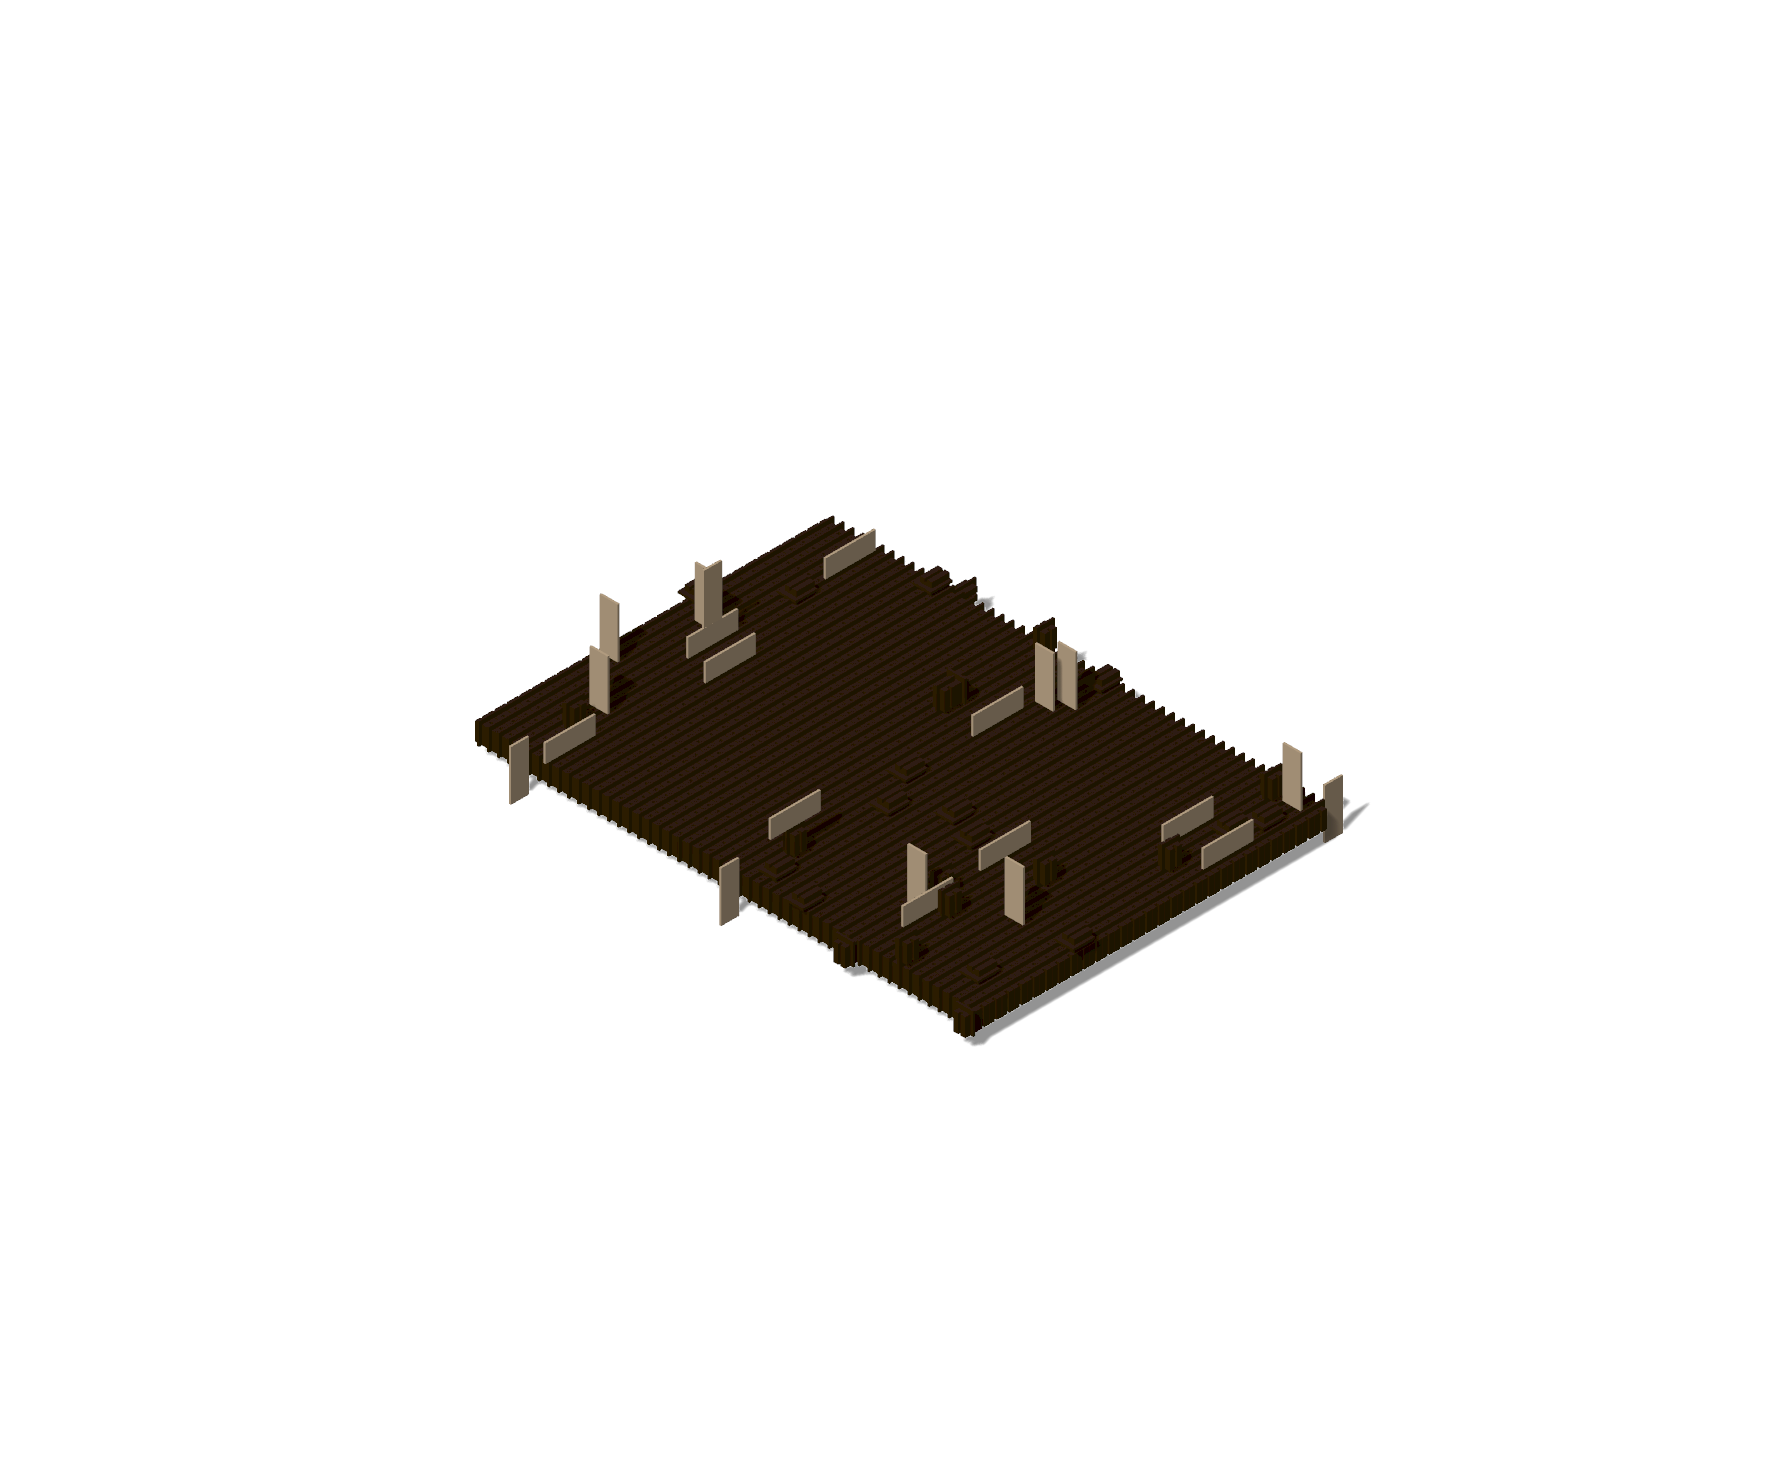
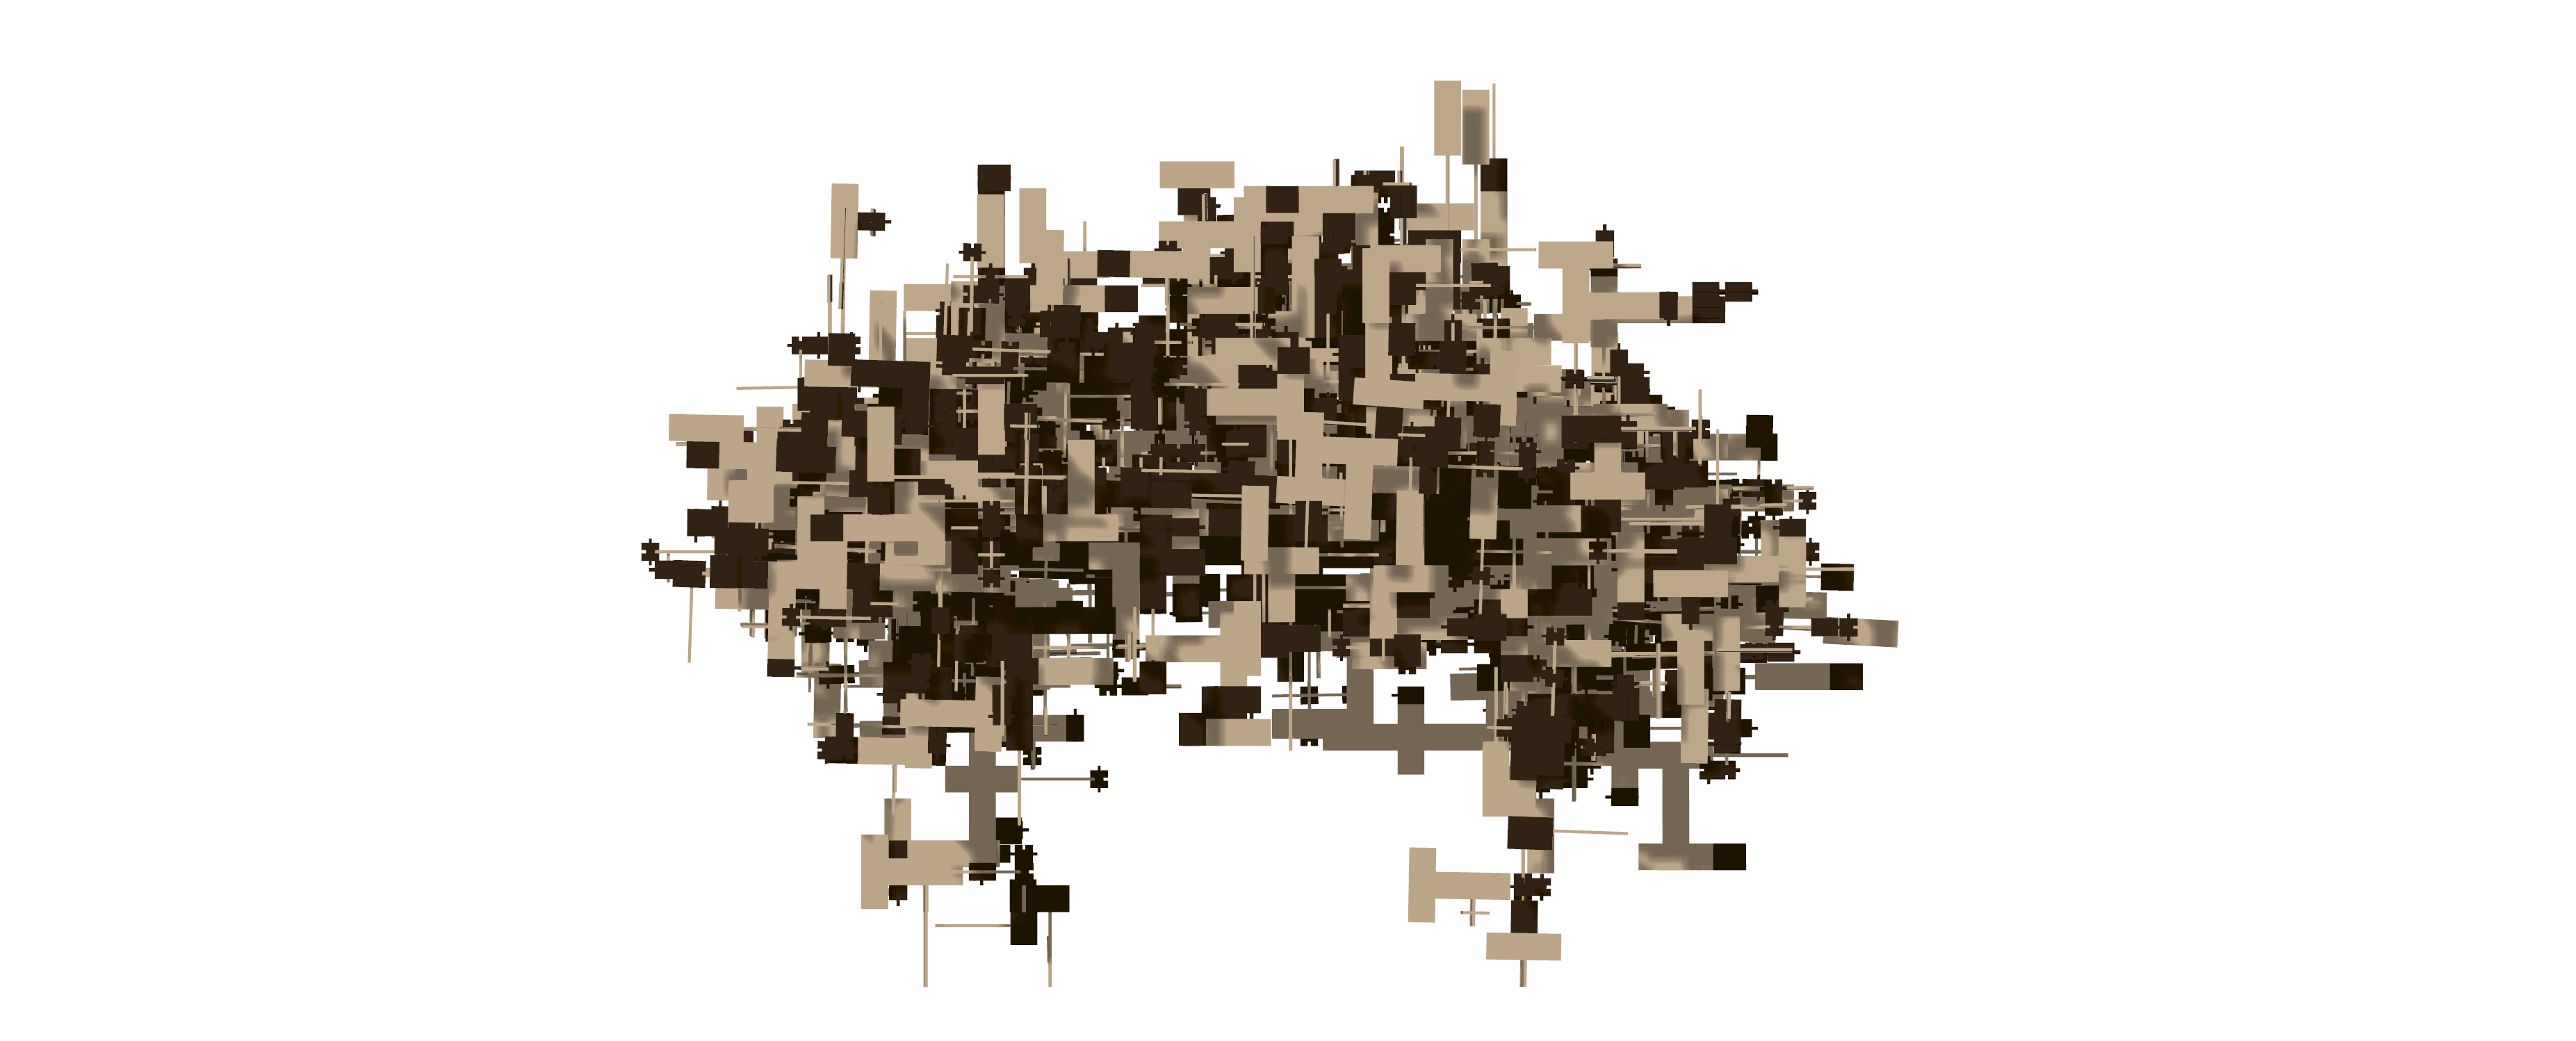
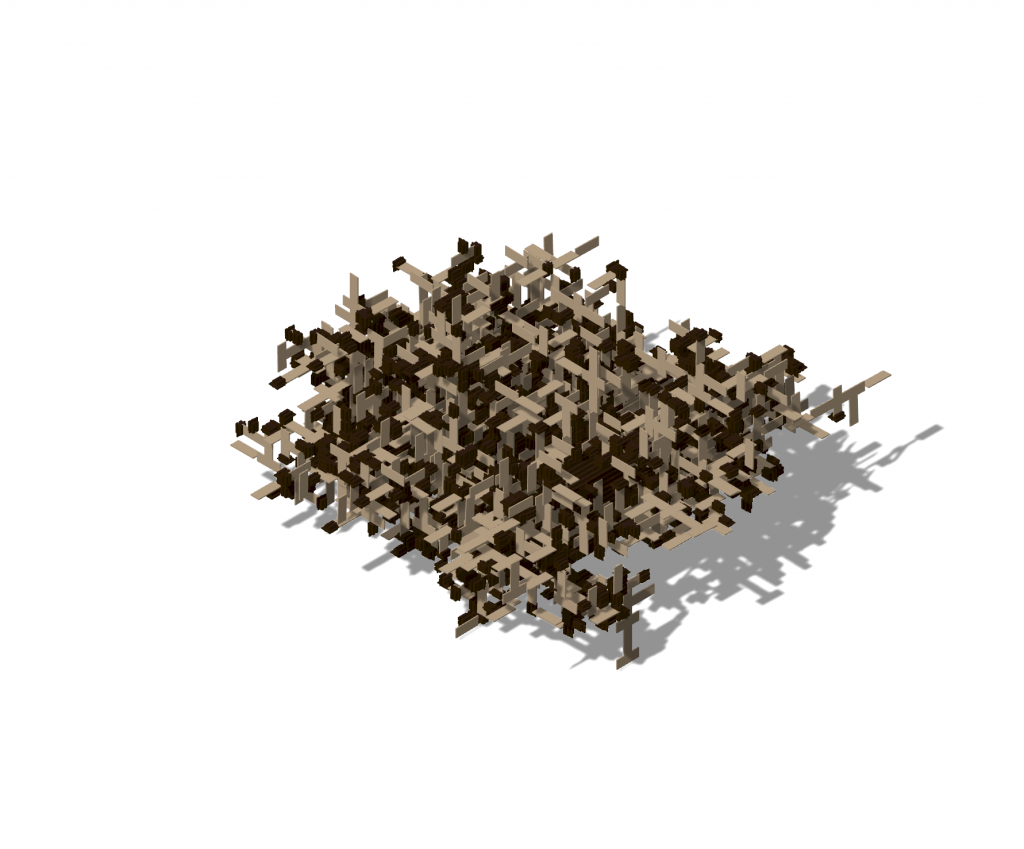
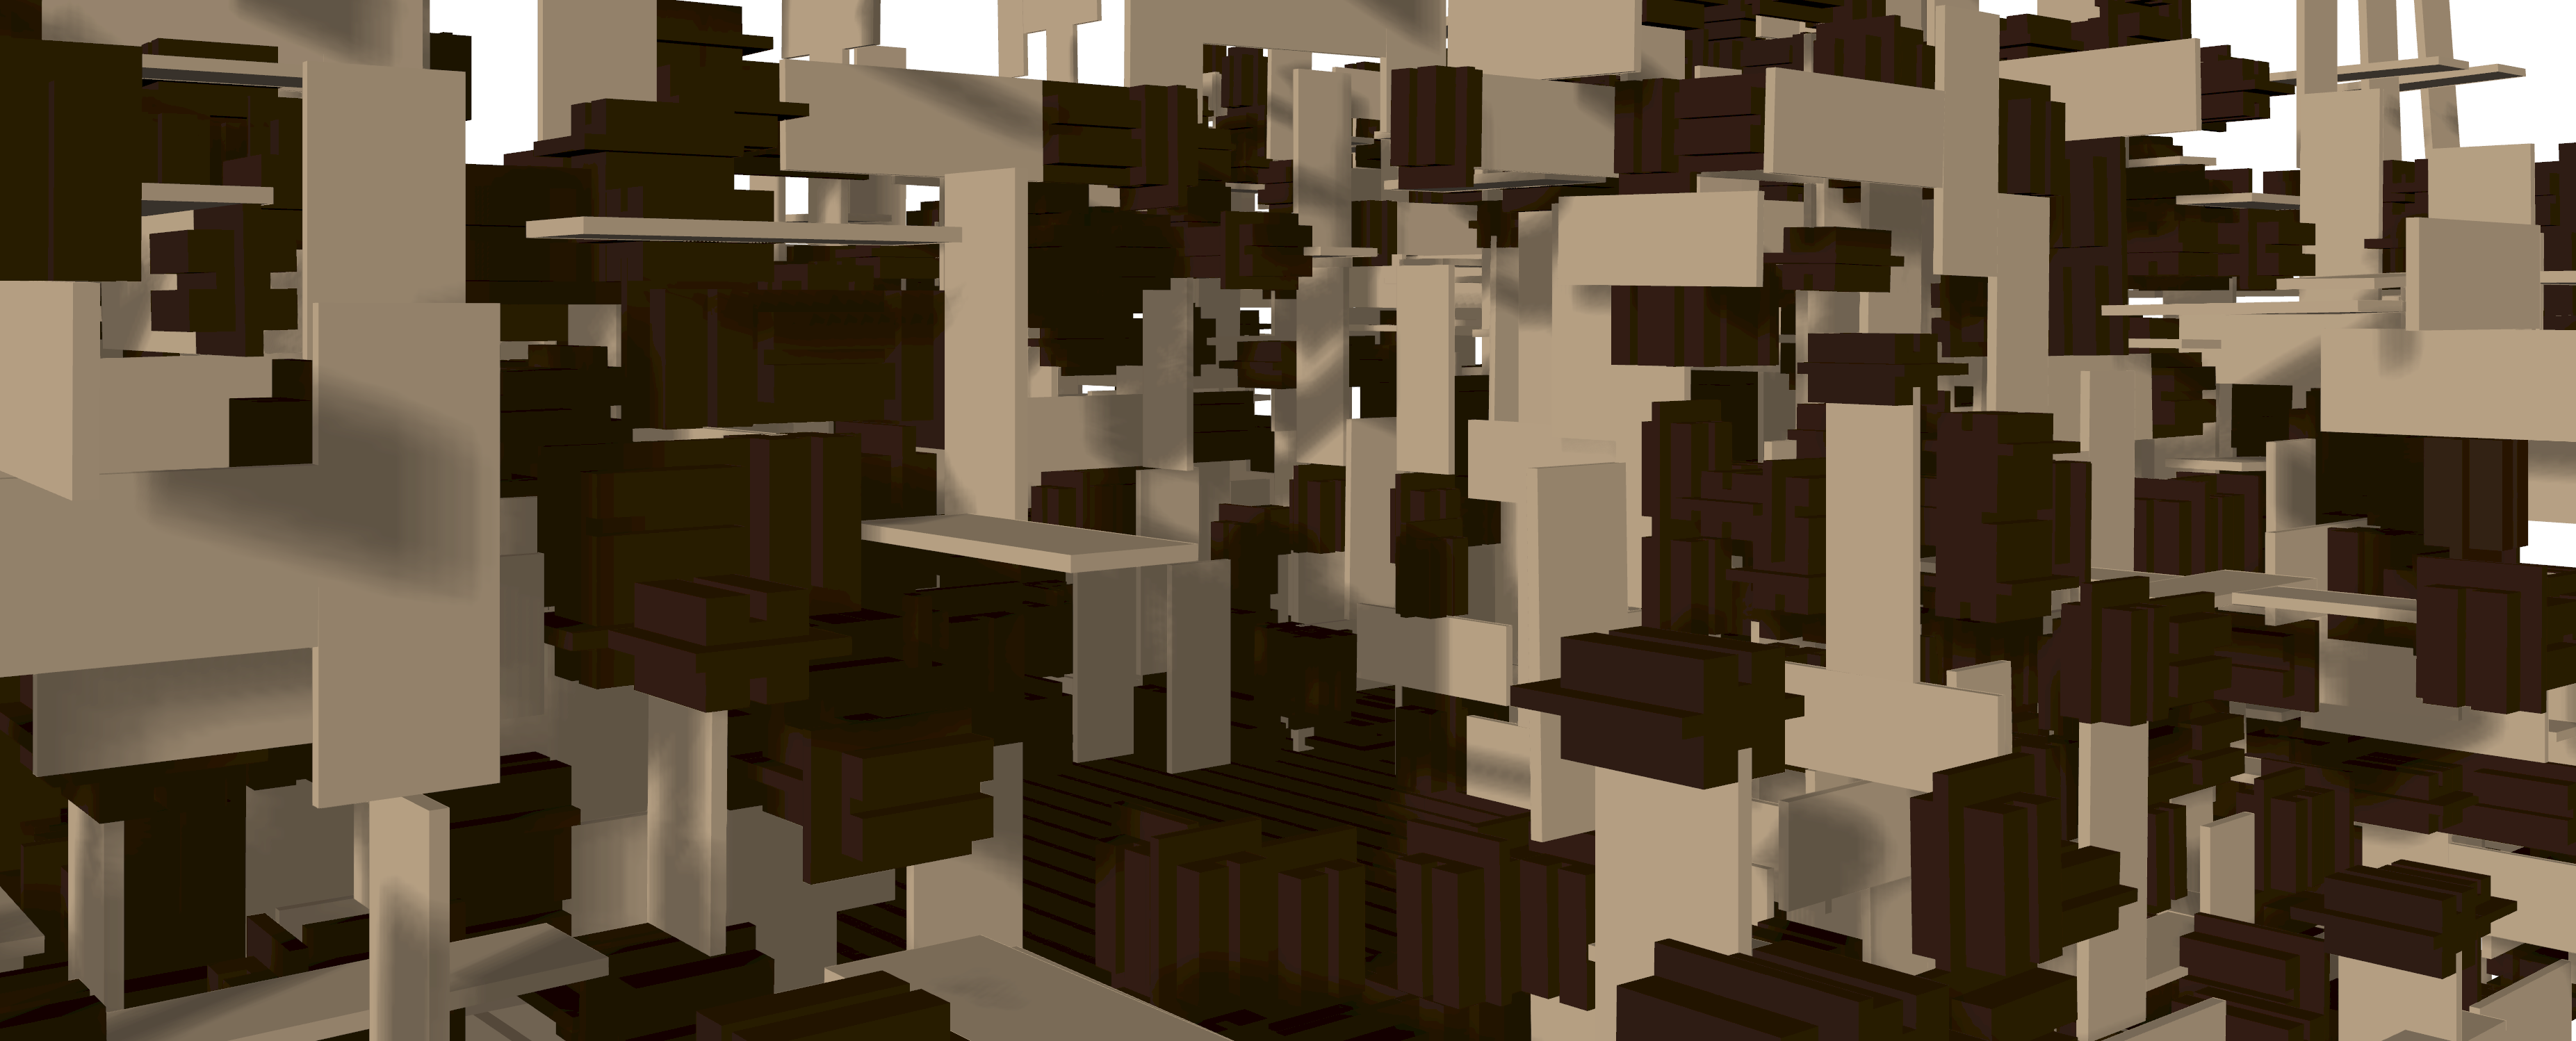
aggregation : 500 parts
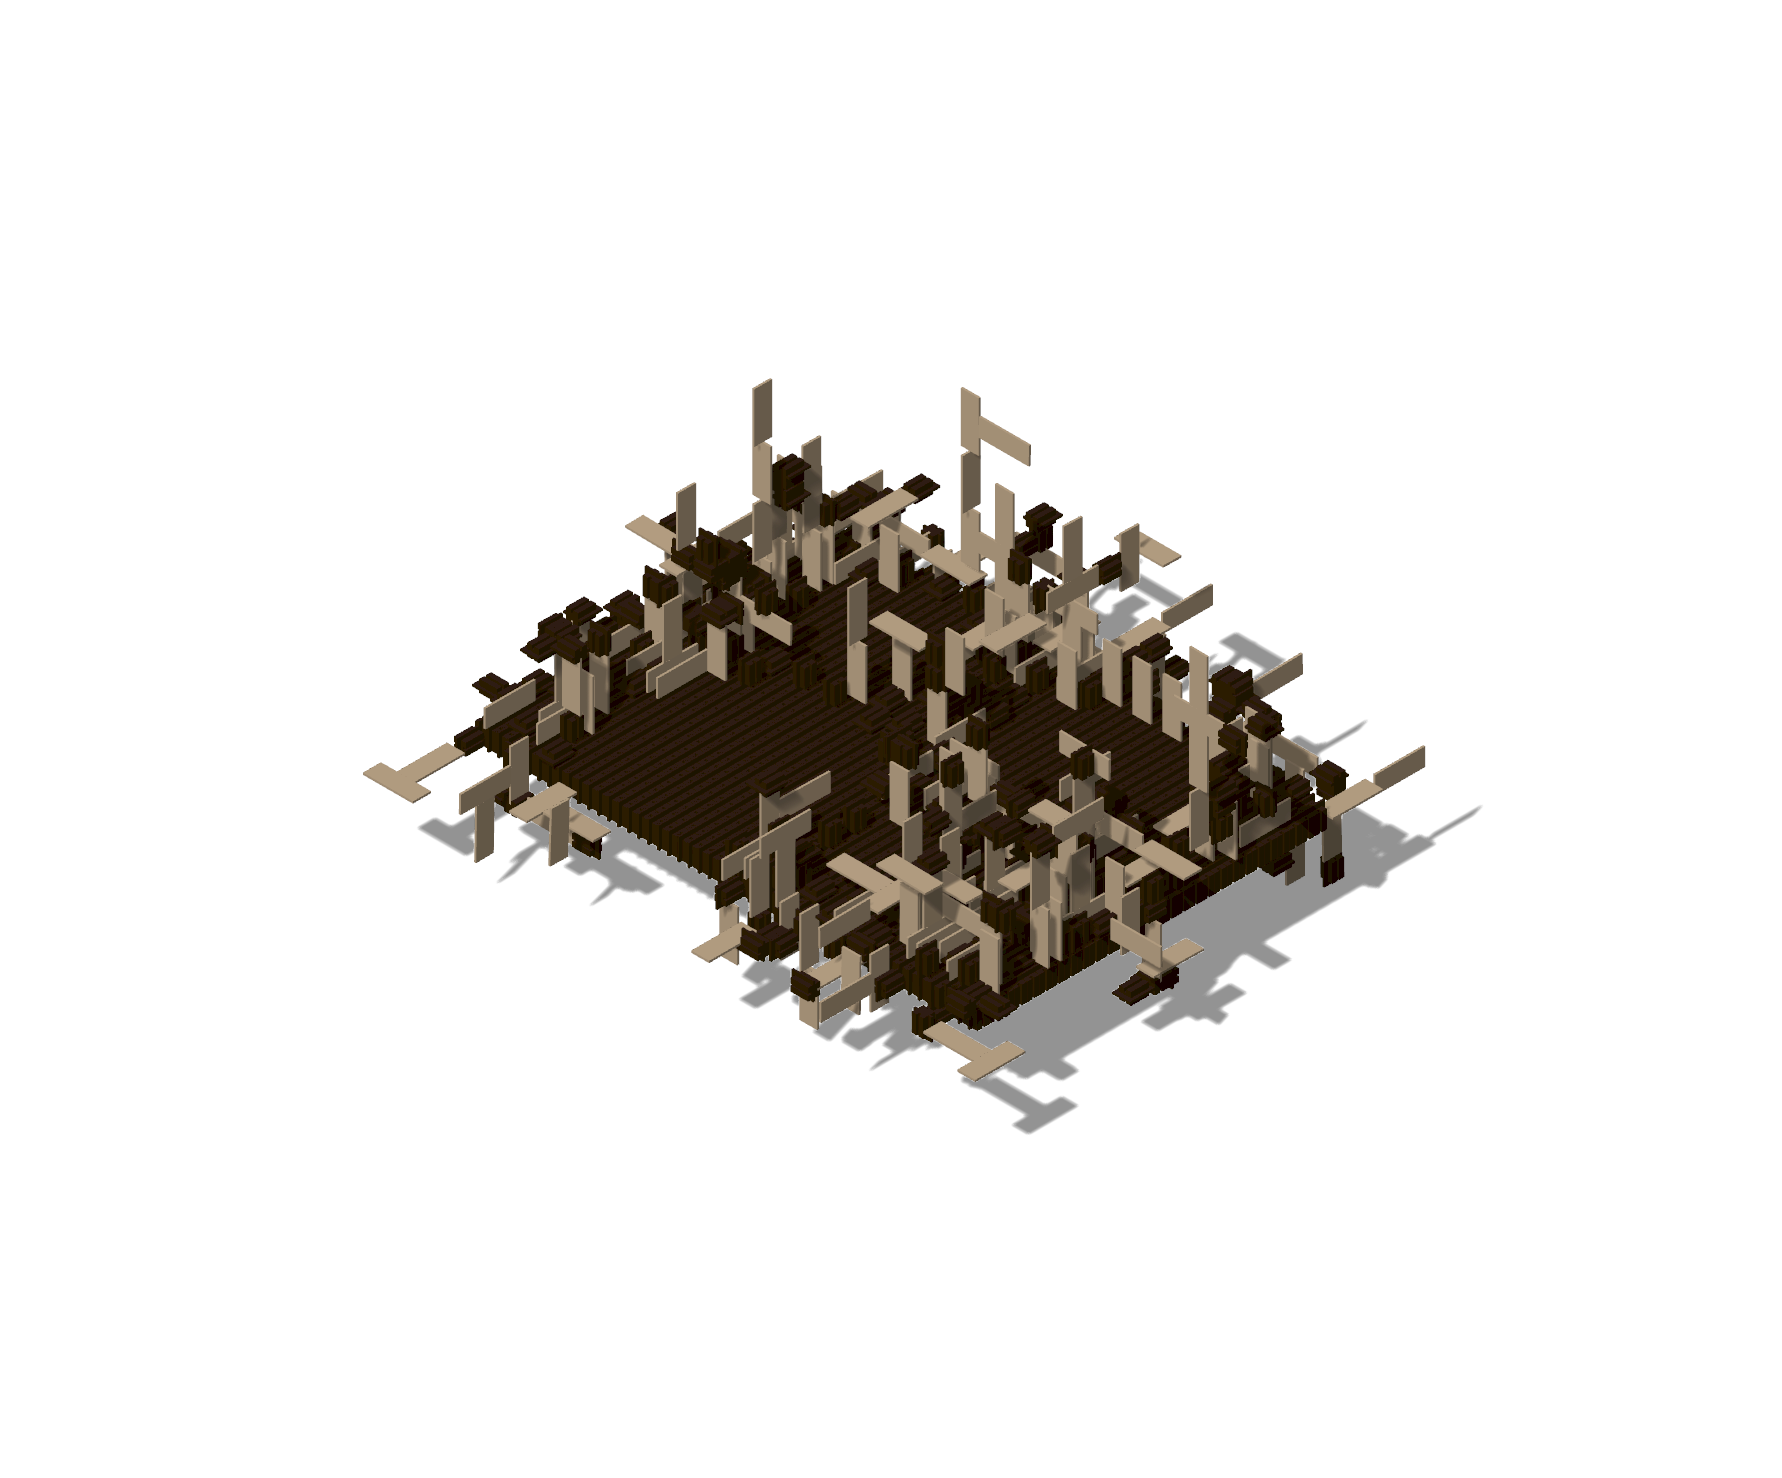
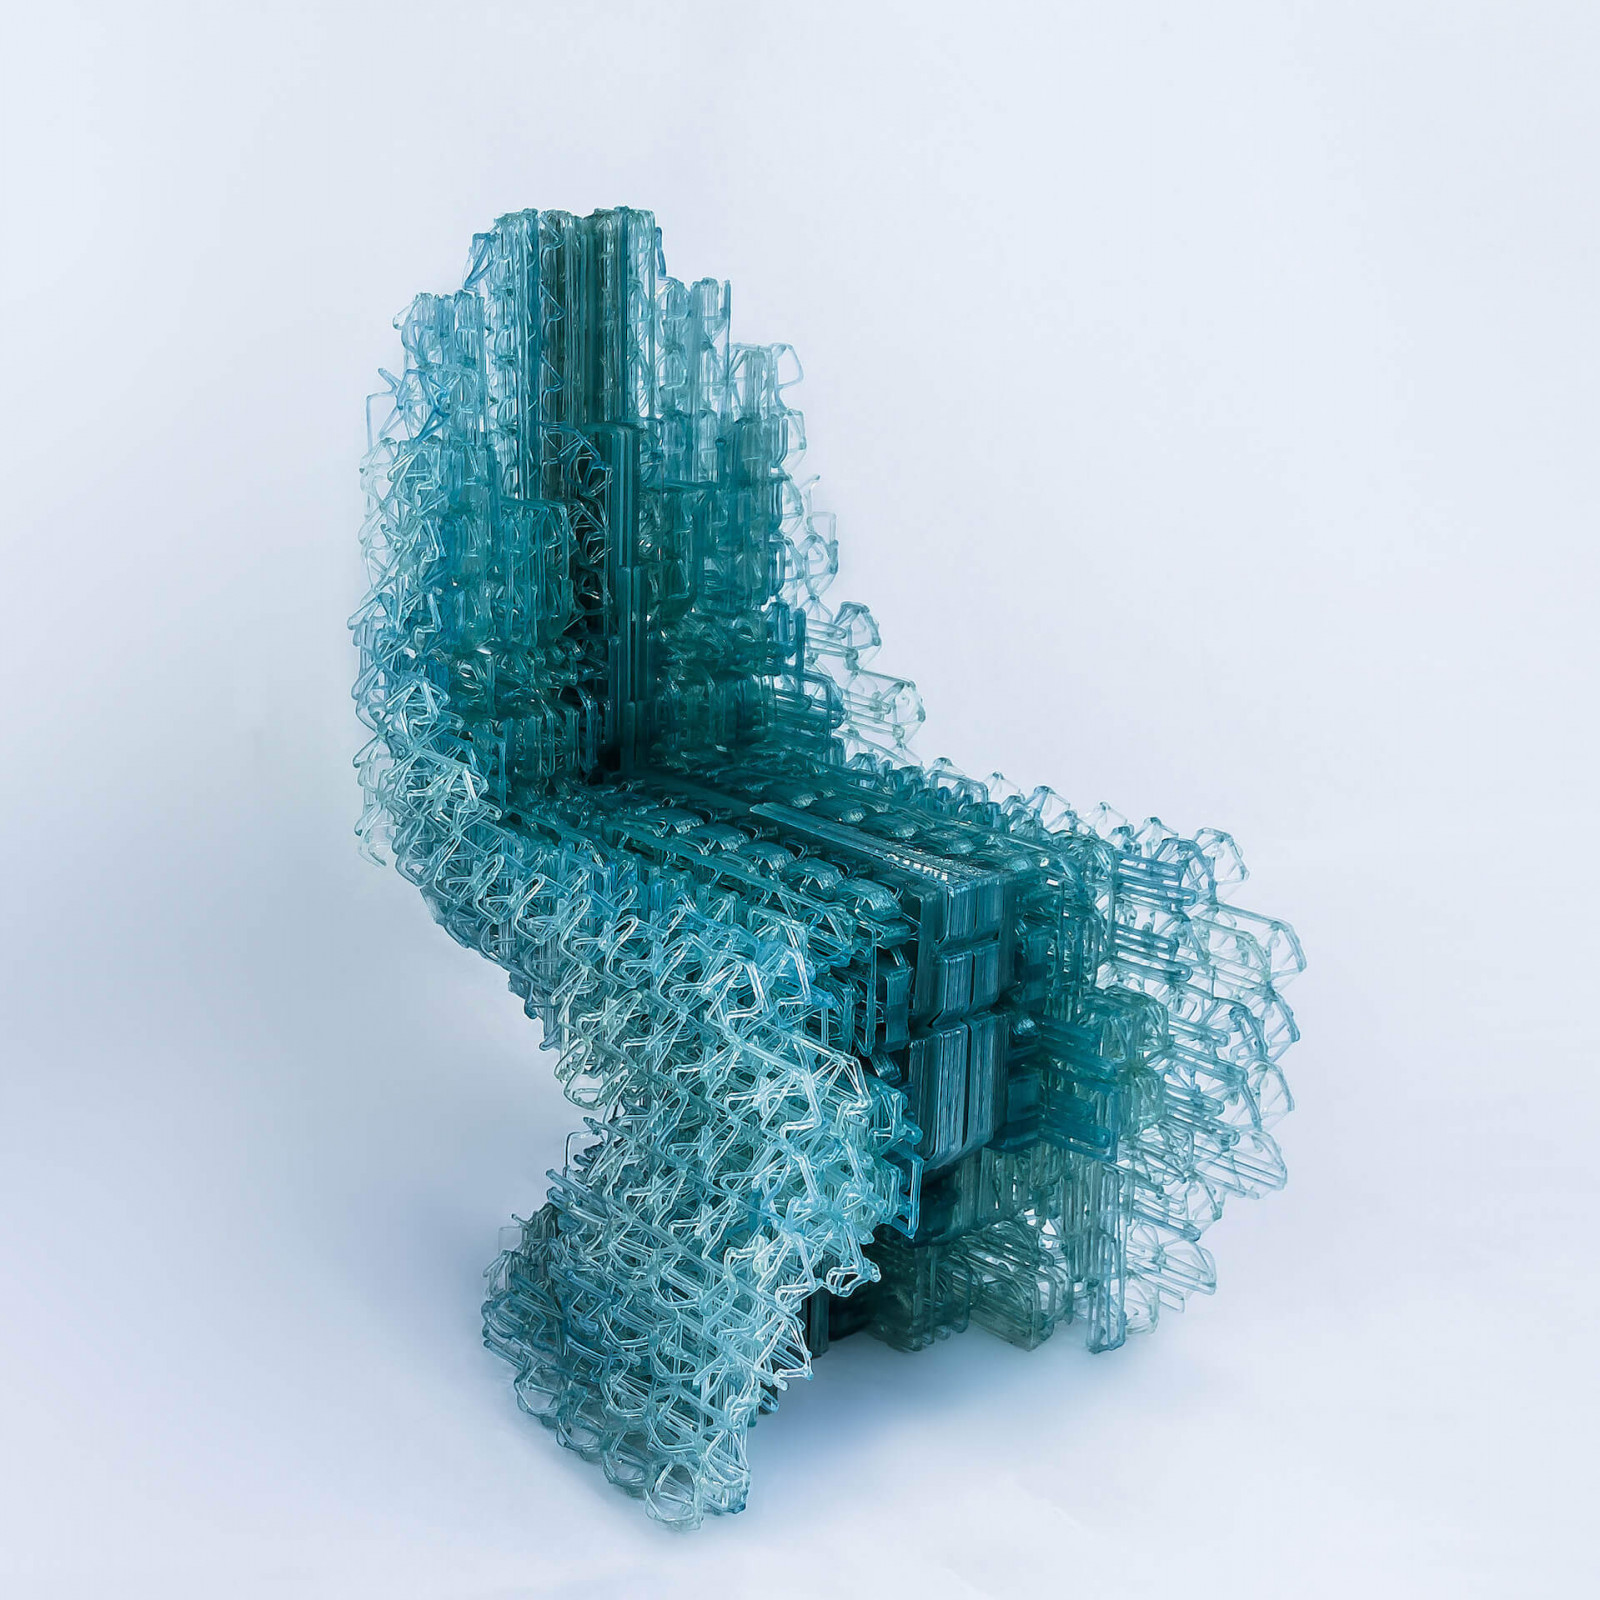
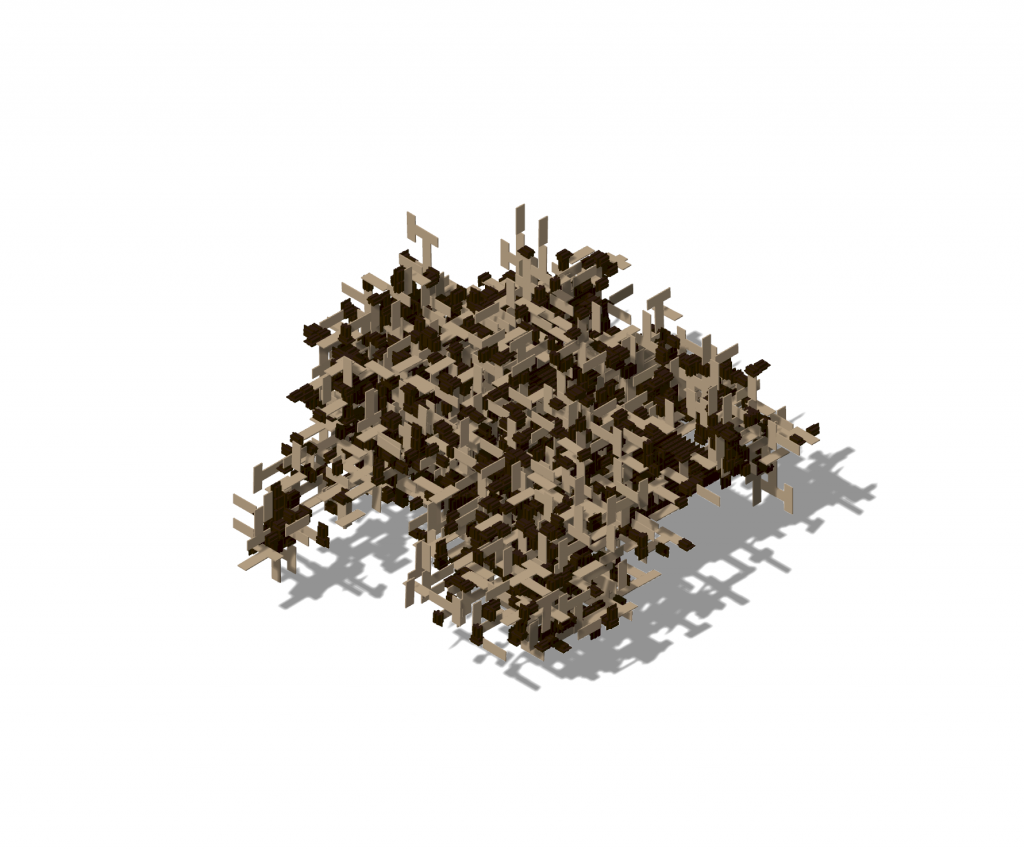
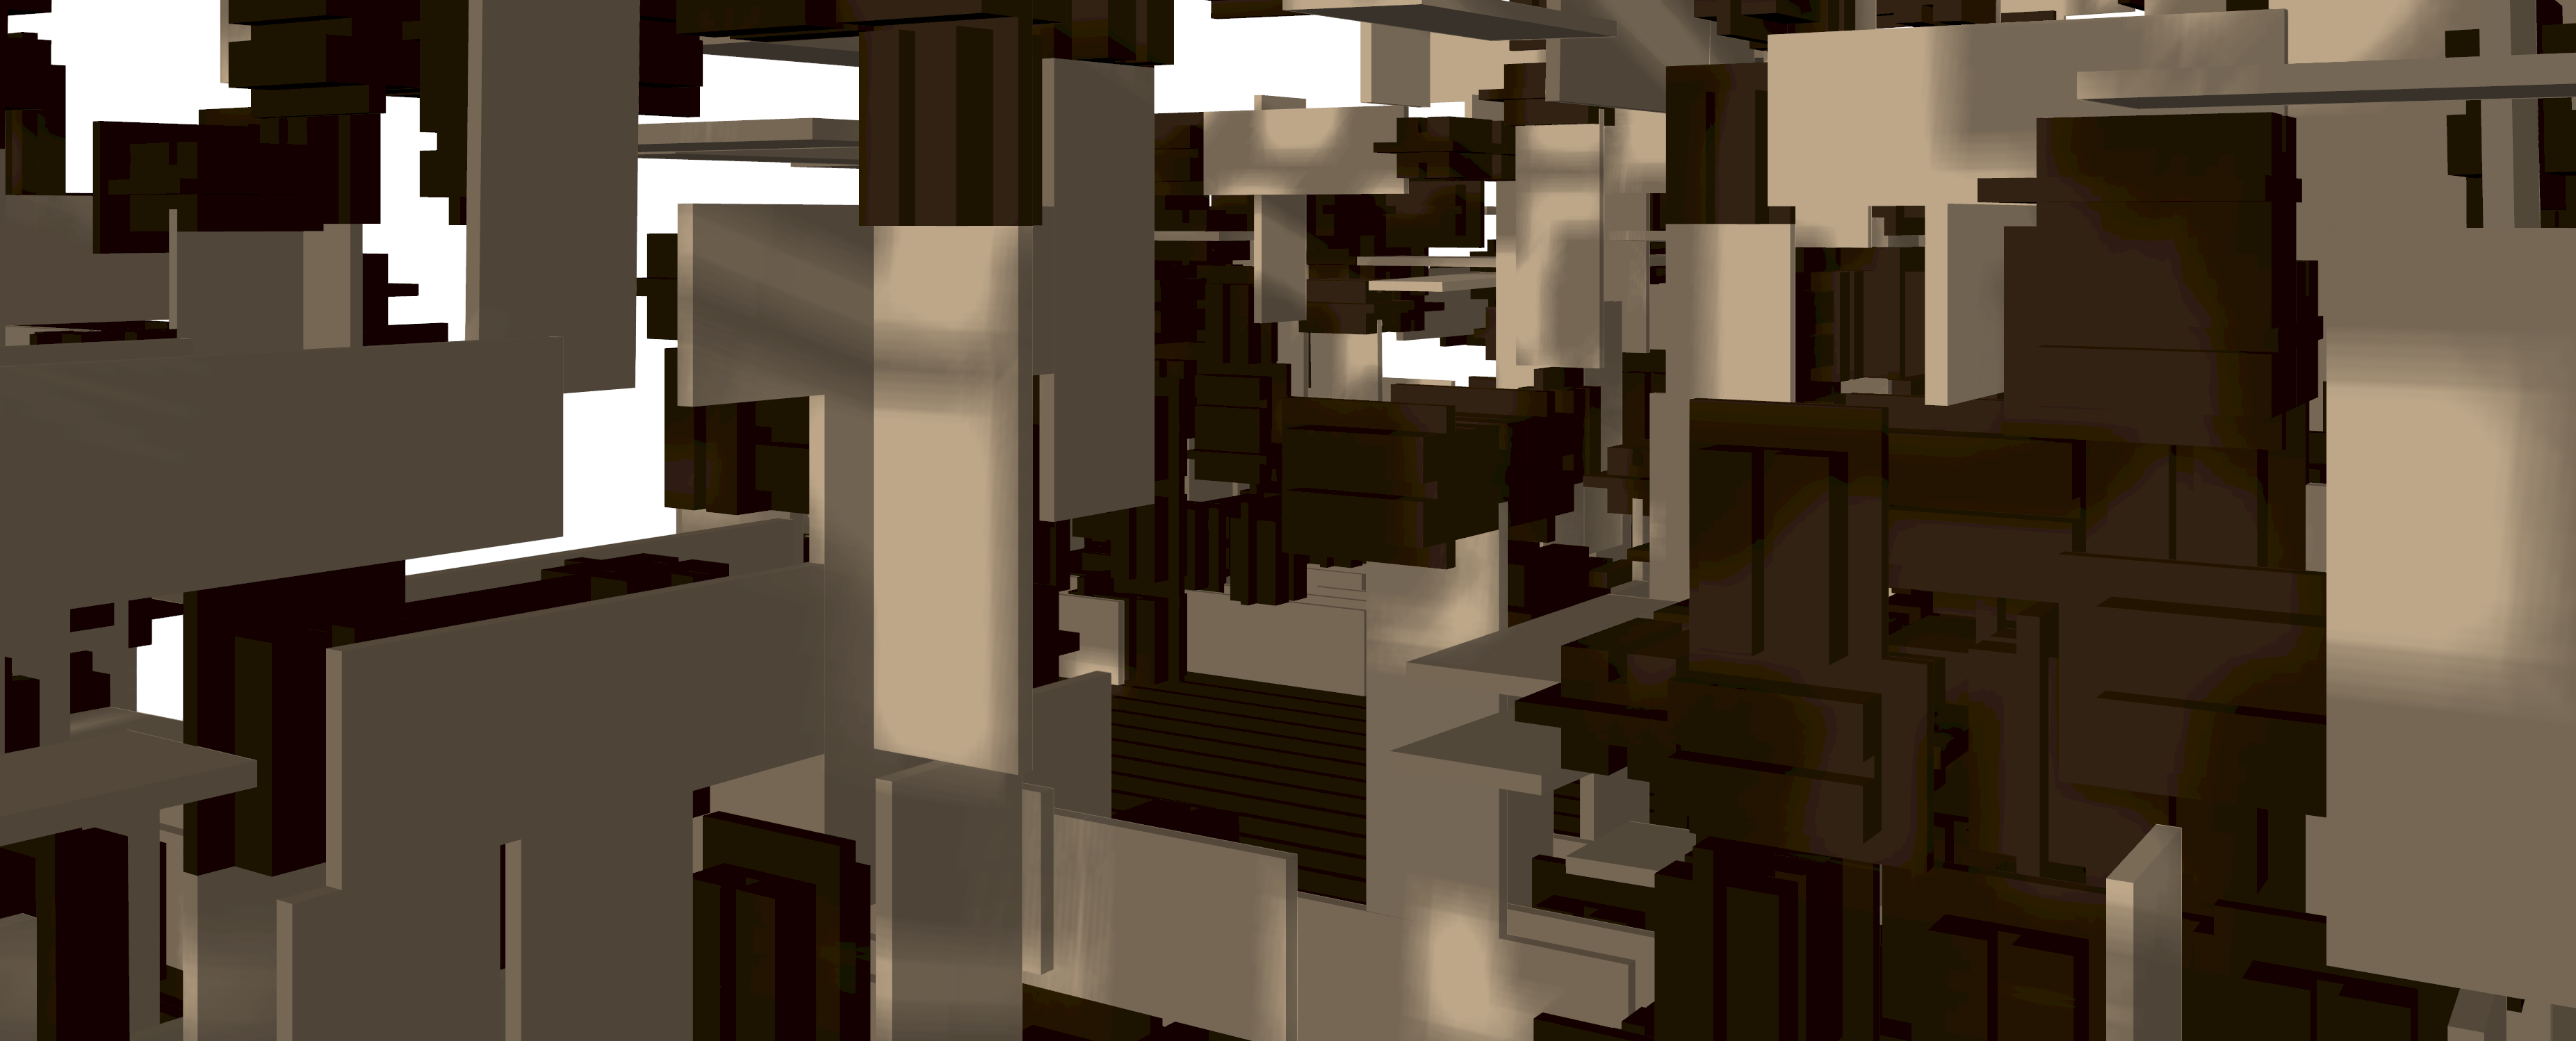
aggregation : 1000 parts

Finally, we can reset the button to be able to see the aggregation.


GRASSHOPPER CODE : Code-Discrete_architecture-Alice_Feuvrier
RHINO PARTS : Rhino-Discrete_architecture-Alice_Feuvrier
Thank you