Ear cuffs are accessories that fit on the outer part of the ear, usually without need for any piercings. The part that wraps around the cartilage is usually shaped like a ring, while more intricate designs may include extensions from a few of these rings. Another type of ear cuff hooks around the ear instead. For this tutorial, I have come up with 2 designs, one for each of the two types:
- Simple ear cuff
- Elaborate ear cuff
Simple ear cuff
For starters, we will begin with a very simple design utilising the Loft function. Firstly, a circle is generated on the XZ plane with PFrames generated around the whole circumference.

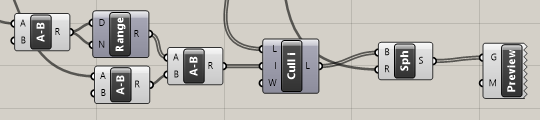
We generate Polygons on the PFrames with accompanying number sliders for easy customisation. Then we add the Loft function to join the polygons together and create the basic shape of the ear cuff.

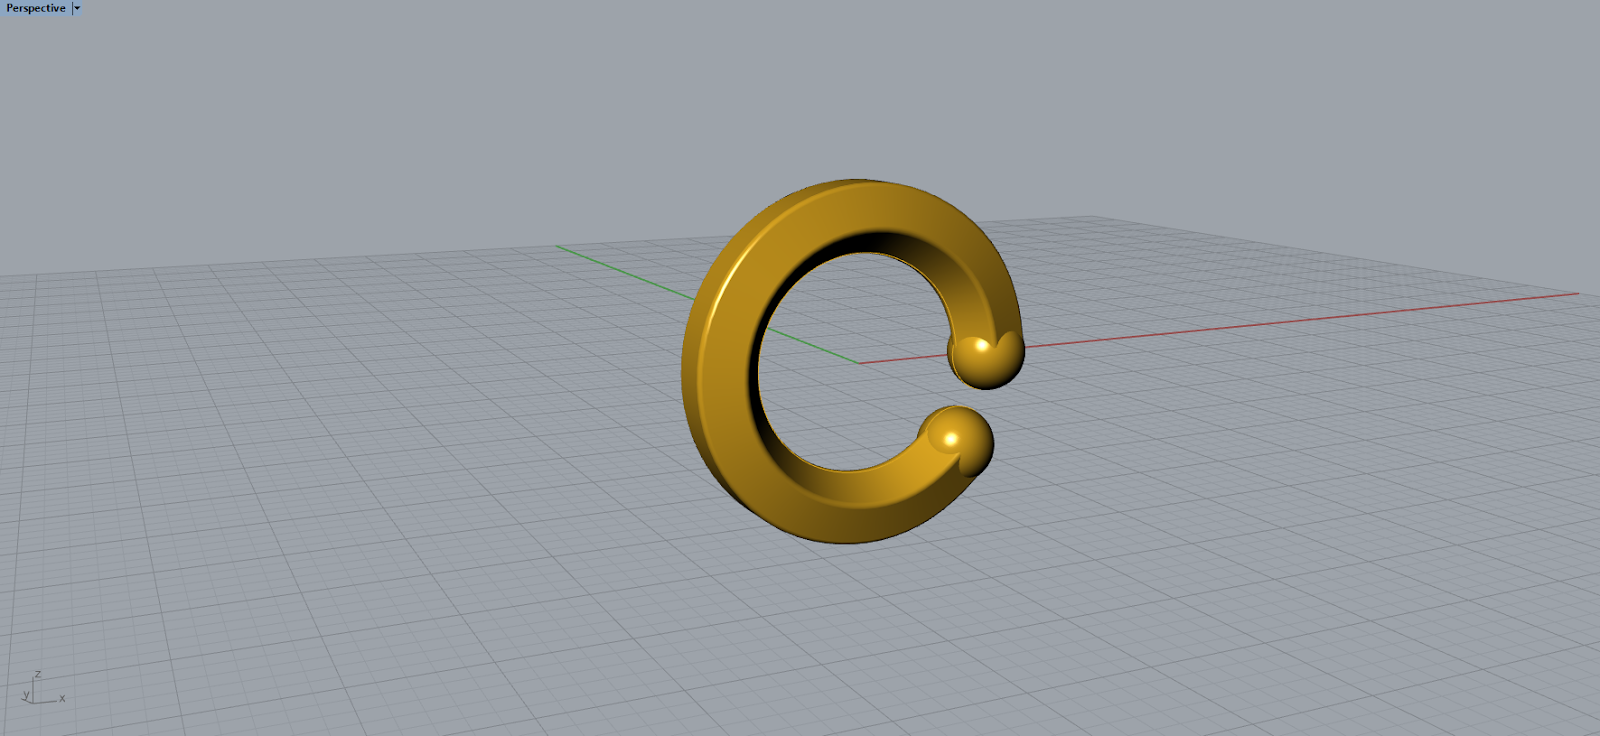
As you can see, the loft is not a closed loop, which is what we want, but the current solid is not a closed shape. We can add 2 spheres at the ends to close it off, which is seen commonly in ear cuffs. To do this, we need to isolate the coordinates of the 2 PFrames at the End Points and create a Sphere at those points. The radius of the spheres will correspond to the radius of the polygons.
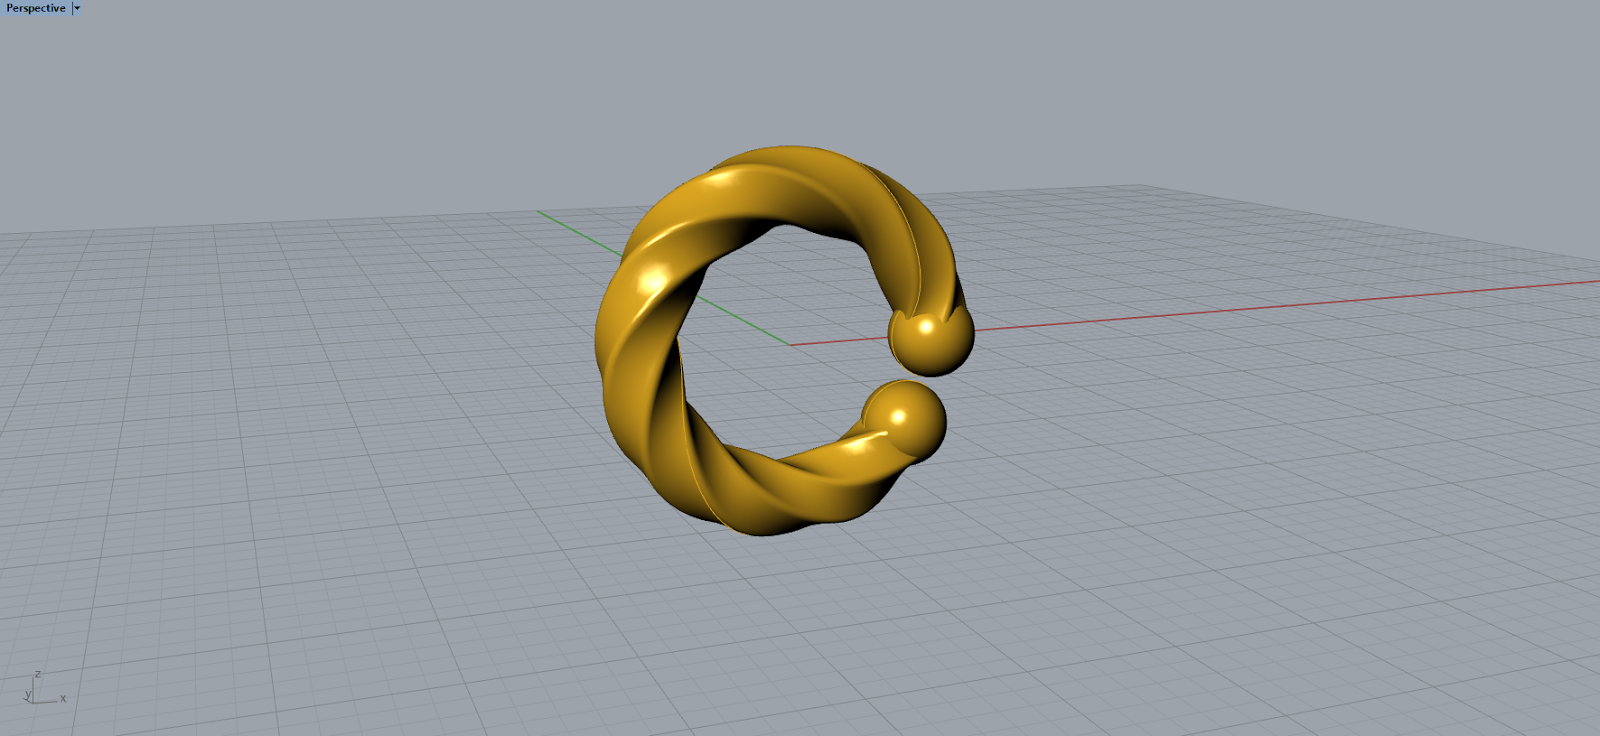
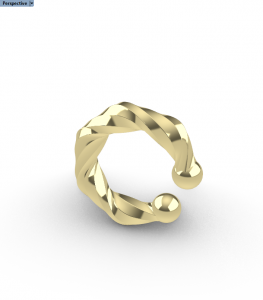
Let’s level up the design further by creating a helical structure for the ear cuff. We do this by Rotating the polygons created from the PFrames.

This is the result.

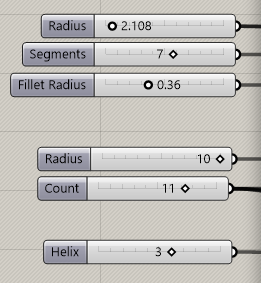
Using the number sliders, we are able to customise various parameters such as the number of sides, radius of the polygons, the twist of the helix.

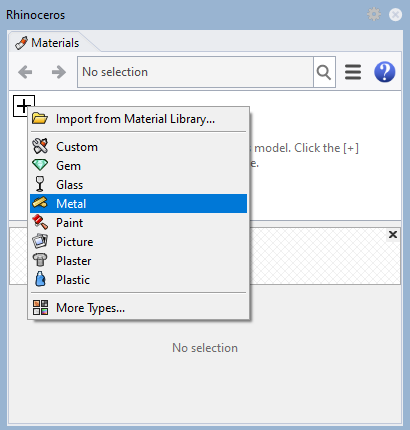
To render the accessory in a material, we will first have to add it into the materials list in Rhino. To do this, we open up the Materials window in Rhino and add a new material to it.
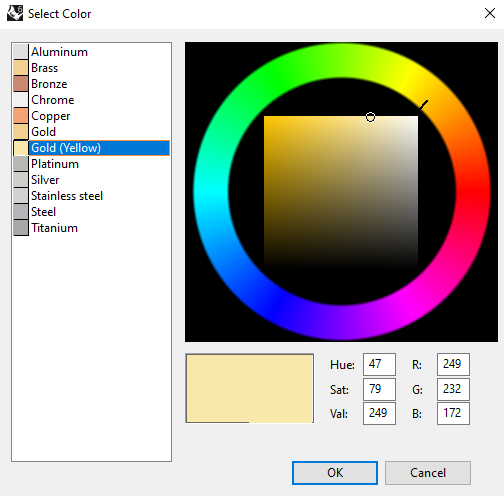
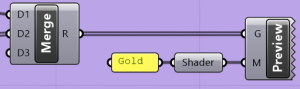
I named the material ‘Gold’ and used ‘Gold (Yellow)’ as the color. Then simply connect the Loft and Sphere to the Custom Preview.
This is the result after rendering:
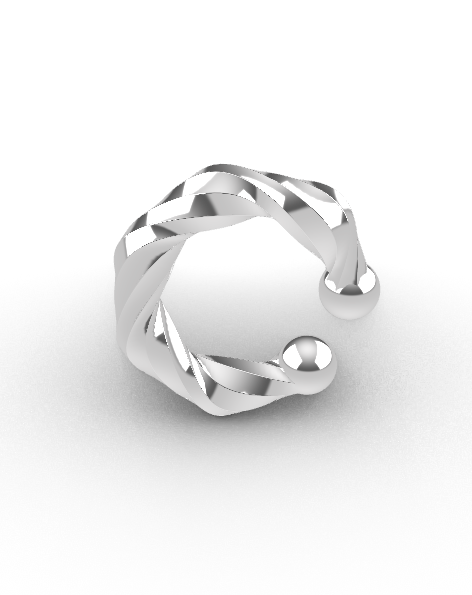
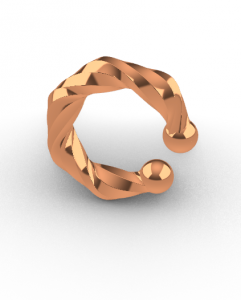
You can experiment with other materials as well, I used Chrome and Copper, as seen below.

Elaborate ear cuff
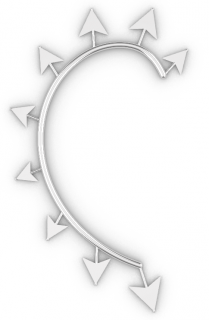
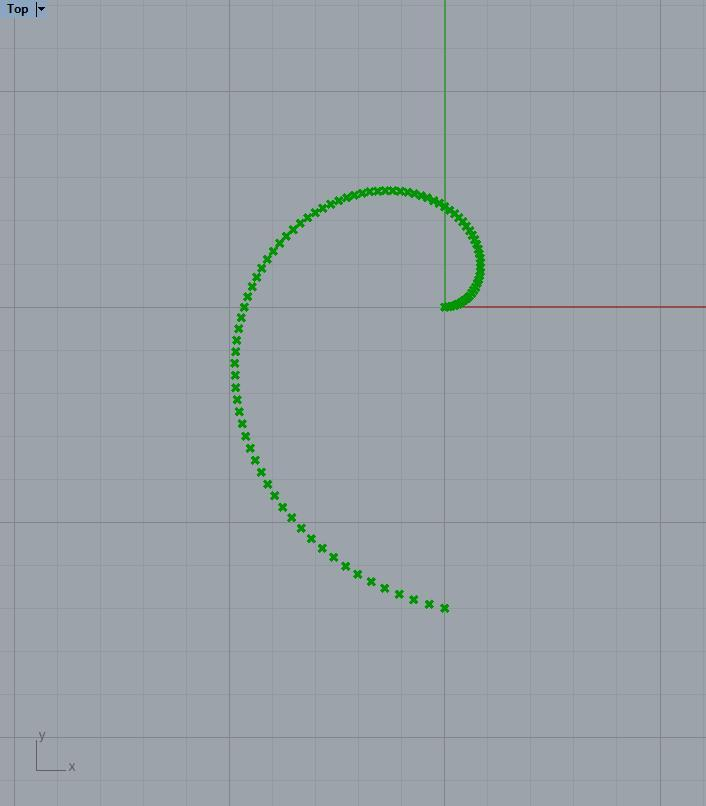
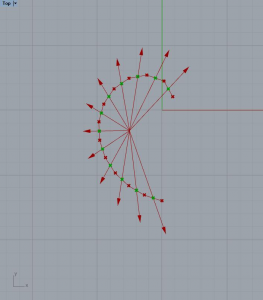
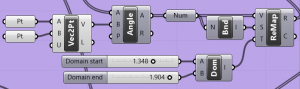
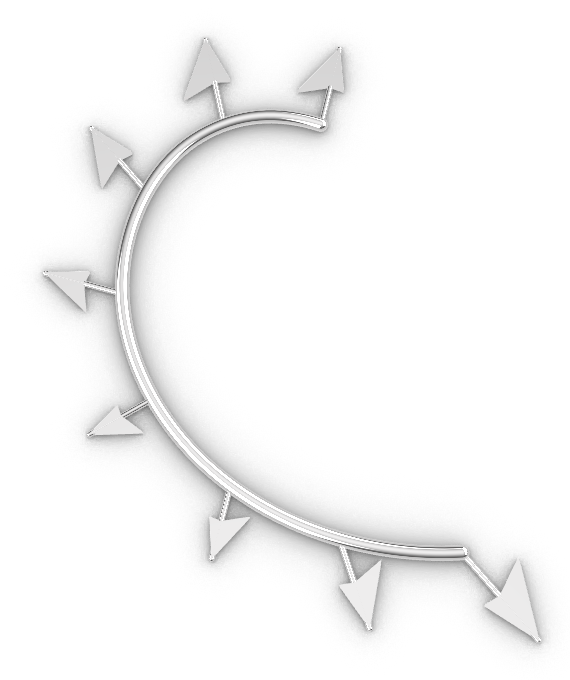
To create the C-shaped frame for the ear cuff, we first got a Series of points and gave it an increasing angle of rotation. The result is this:

Next, we can move on to creating vectors for the ‘feathers’ protruding from the frame. We Divide the curve, create a Polyline from the points, and then Explode the polylines. Then we use Evaluate Curve to find the midpoint of the lines and this is where the vector will pass through. Then we use Vector 2Pt to create this vector from the center point of the C-frame.
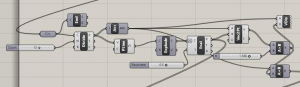
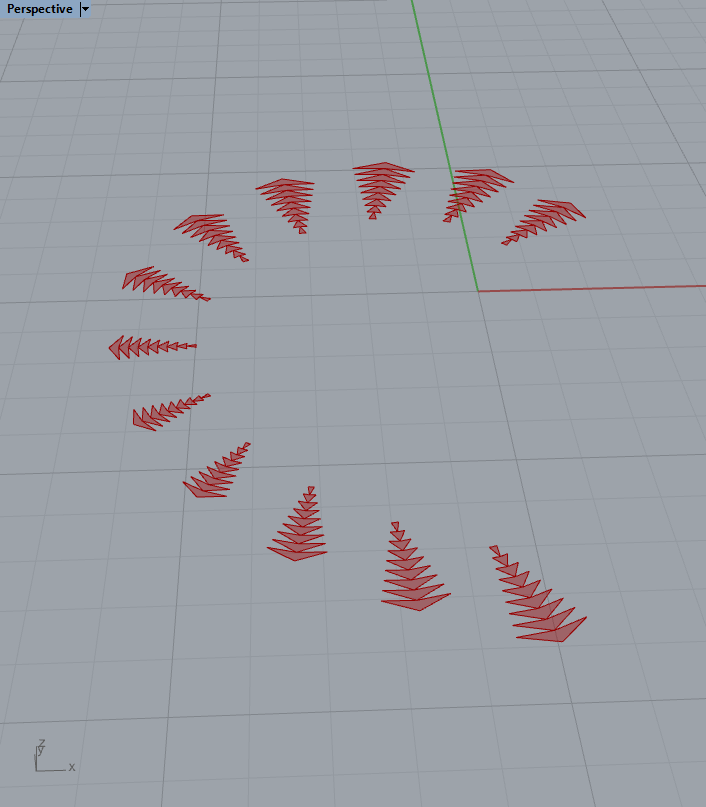
We then rotate the lines created from the vectors to create the pattern below, and then using a combination of Divide Curve and Weave, we are able to create a polyline for the extensions from the C-frame
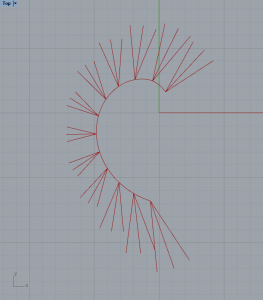

To allow ourselves to customise the length of the extensions, we Remap the values for the original vectors using another 2-point vector.
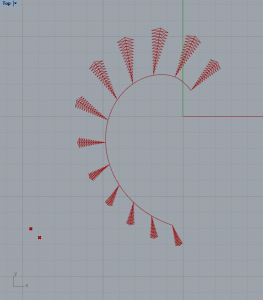
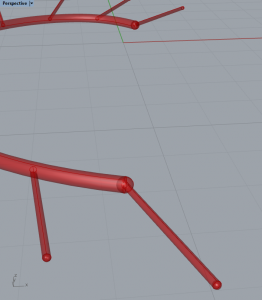
Now that we have all the components needed, we can begin to create the model in 3D. For the C-frame and the base of the extension, we Loft the PFrames.
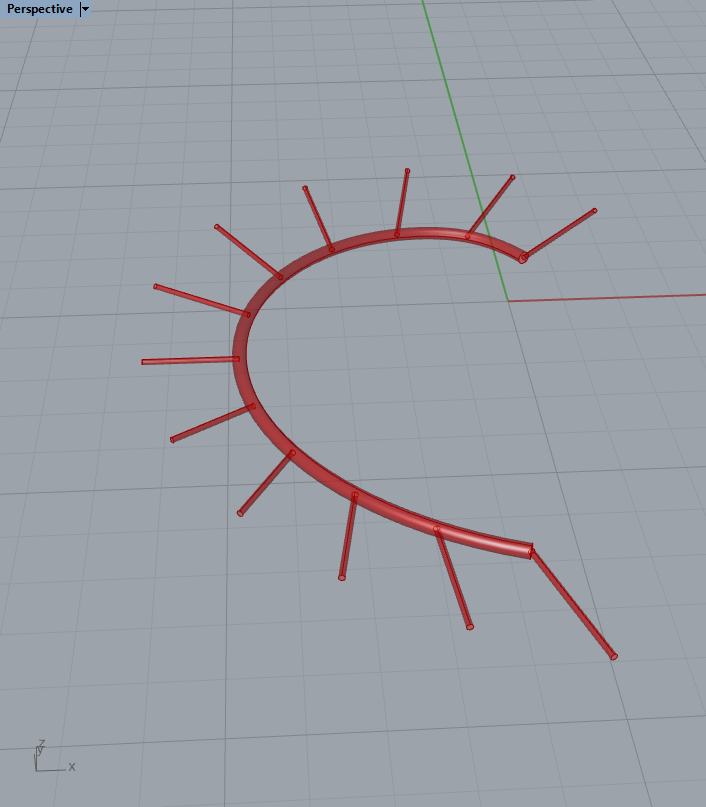
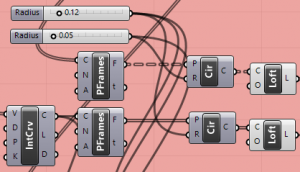
For the weaved triangles coming out from the extensions, we first have to create triangular surfaces using Boundary Surfaces. We then Extrude it in both directions along the Z axis.
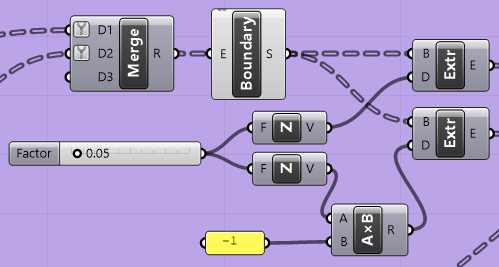
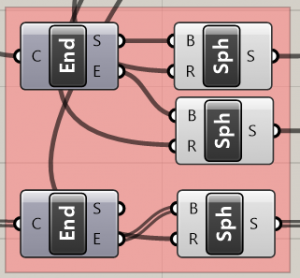
Then we smoothen the gaps and holes by placing a sphere at the start/end points.
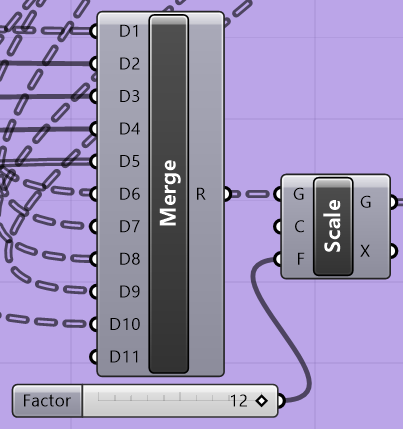
By merging all the components, we can make it easy to render using Custom Preview. Adding a Scale function will allow us to scale it to whatever size we want with just one slider.
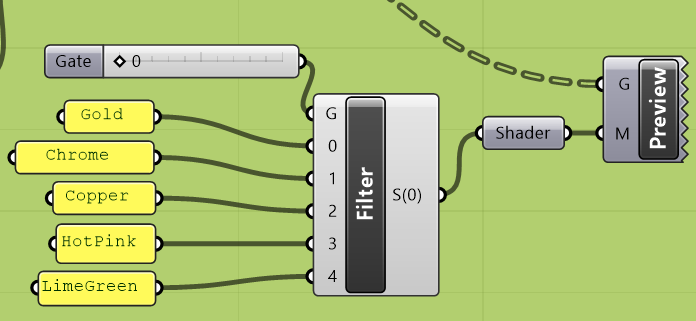
I also added several other materials into a Stream Filter so that the preview could be changed with a number slider instead of having to reconnect the materials to the shader.
This is the result after rendering.

I played around with the parameters to experiment with other designs.

I think this is quite pretty. Simply silver.
Version 1 (19 June):
Rhino6: ear cuffs
Grasshopper: ear cuffs
Version 2 (20th July):
Rhino6: ear cuffs revised
Grasshopper: ear cuffs revised
Version 3 (23th July):
Grasshopper: ear cuffs revised2