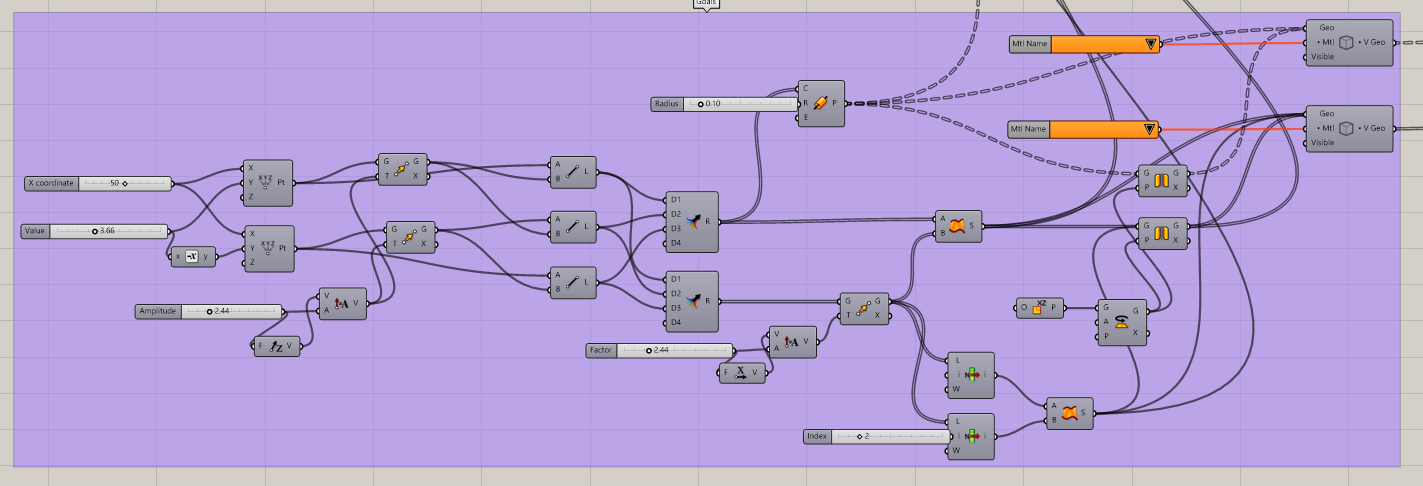
Stadium in grasshopper: not that easy!
And with improvements done after the tutorial during my free-time :

Done with V-Ray + Rhino 6 + Grasshopper
1.Starting forms
First, I’m using Rectangle with a certain ration which is corresponding to the dimensions of UEFA stadium. It’s the outline of the football pitch. From this form, I’m making the outside line corresponding to the boundary of the stadium. I’m using Ellipse to do that.
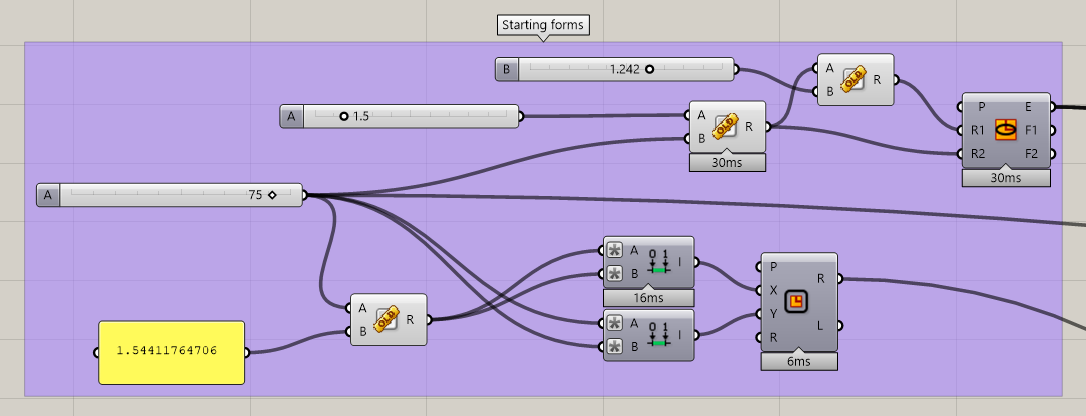
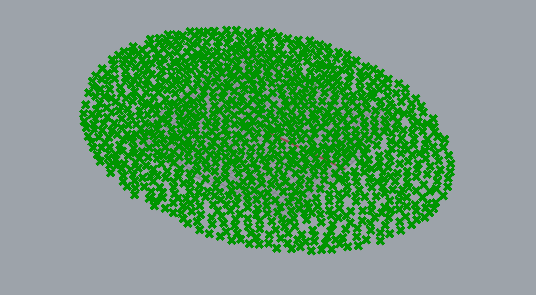
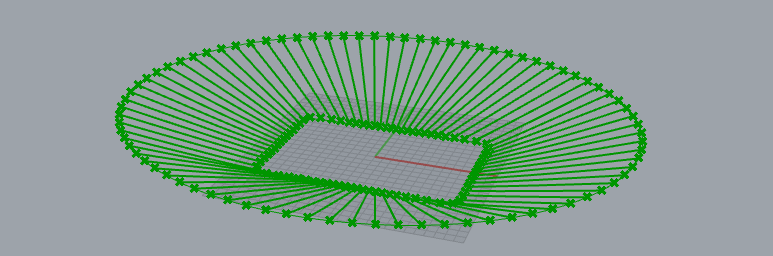
From this I take the Boundary of the curve to use it after for populating the columns.

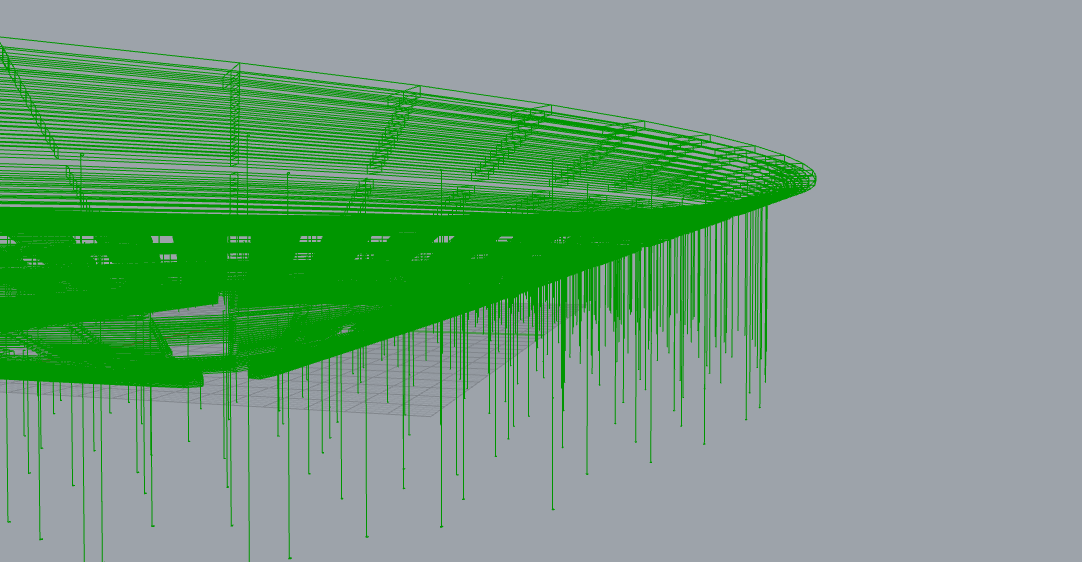
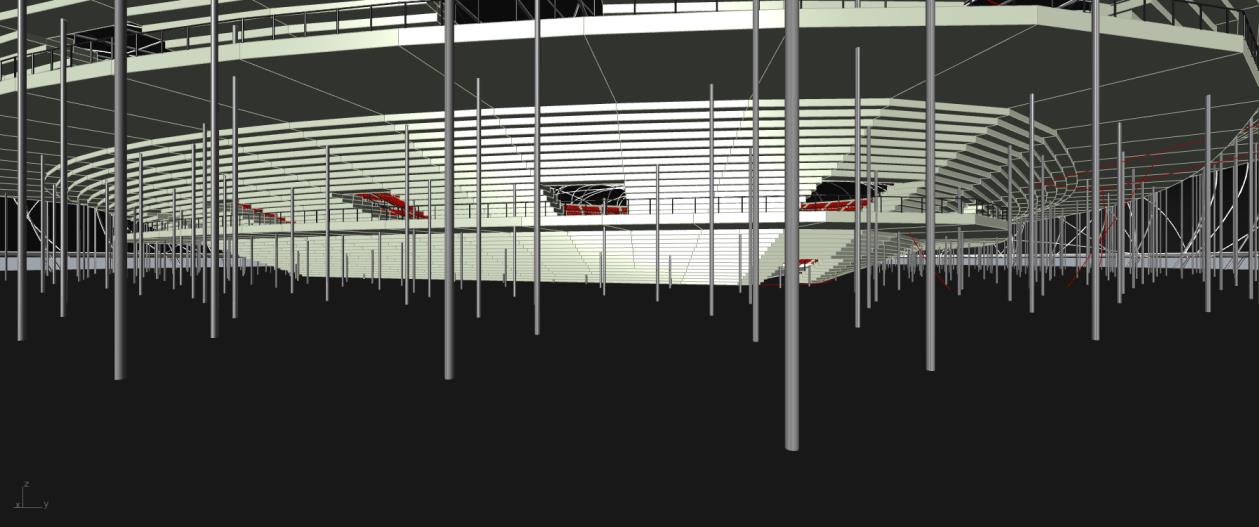
2.Columns
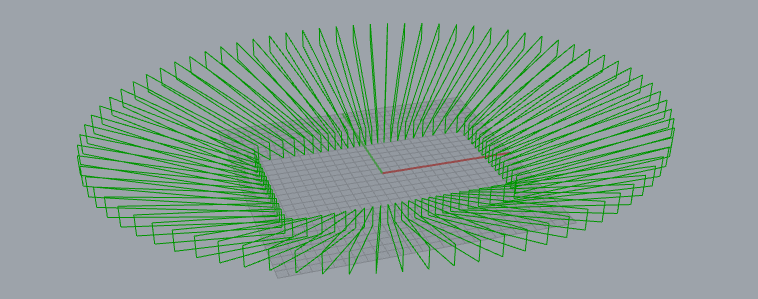
First, I use Populate with a slider of 1000 pieces, but the problem here is that I don’t want column on the pitch, you can understand why. So I have to create a Containment for knowing which one are inside the region of the pitch and use Cull Pattern.
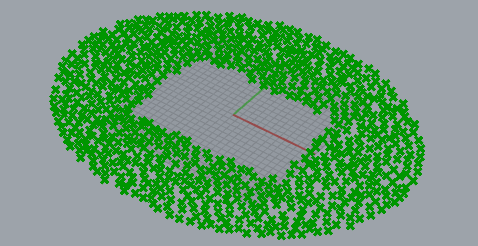
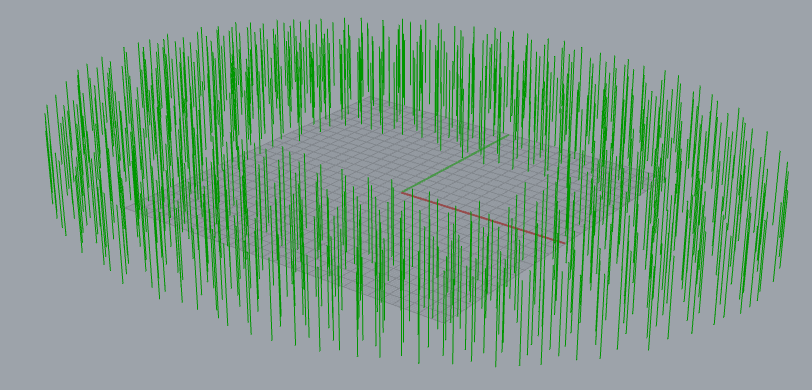
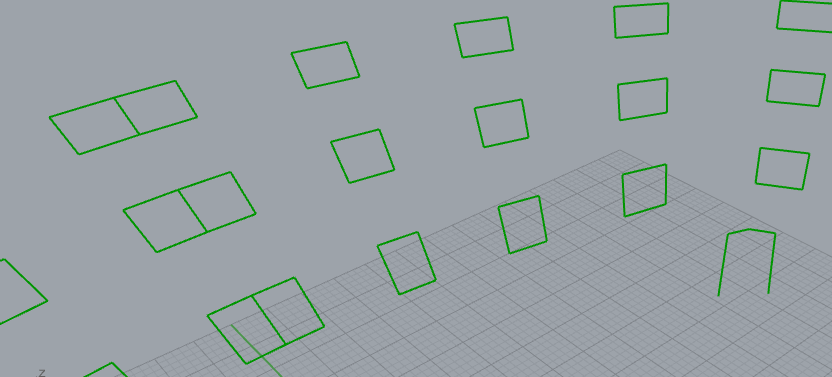
There are also a lot of operations related to the creation of slabs by using the Extrude component like this one:

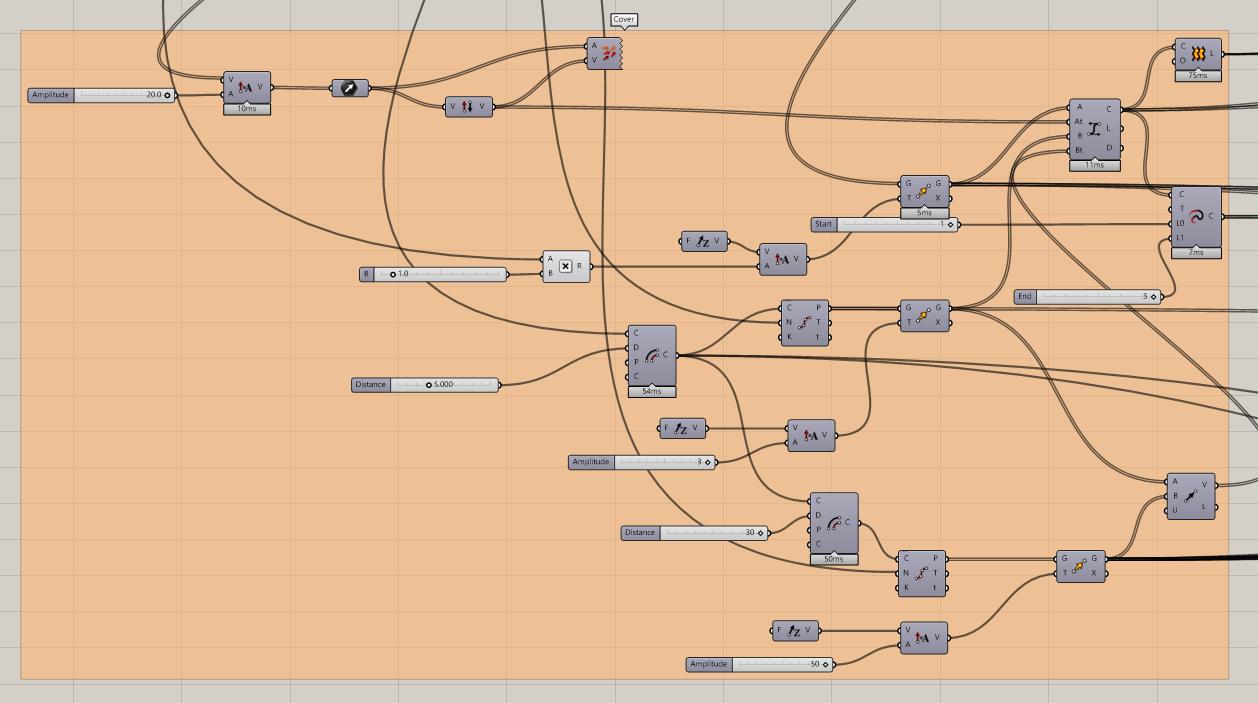
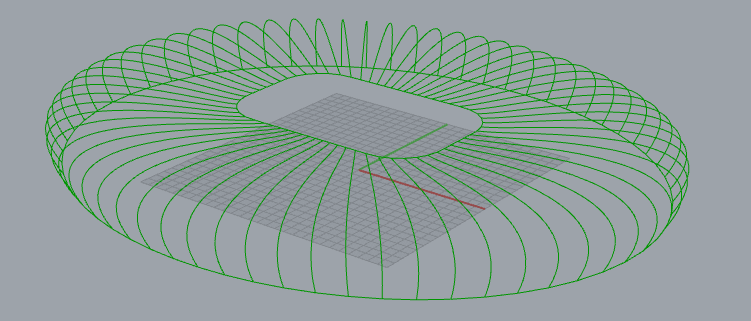
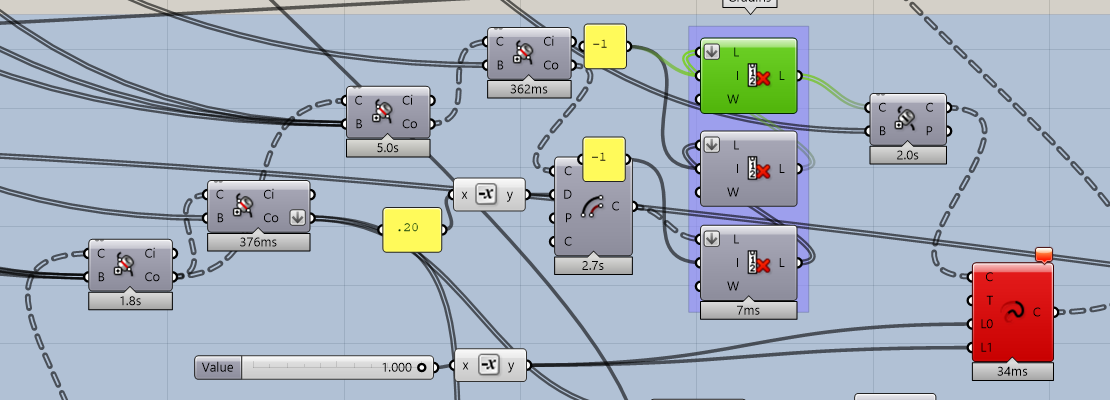
3.Cover
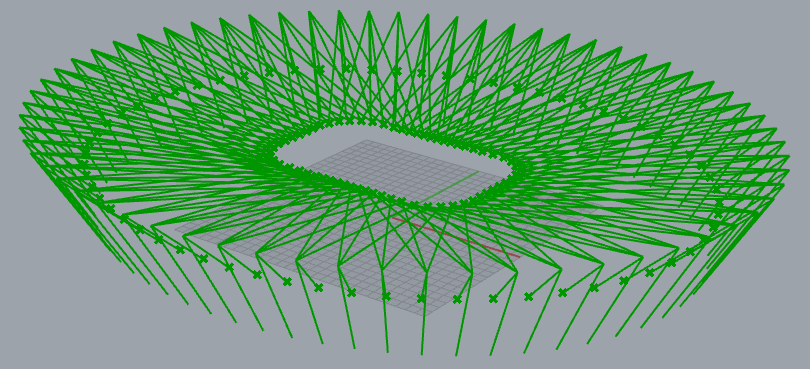
So this is one of the most important part: the cover. I use a lot Outline with Move for making the point moving and create some vectors used after in the Bezier Span used after as edges to do the Loft. And also those curves can be longer with Extend Curves and used to make the structure after with the Pipe component.
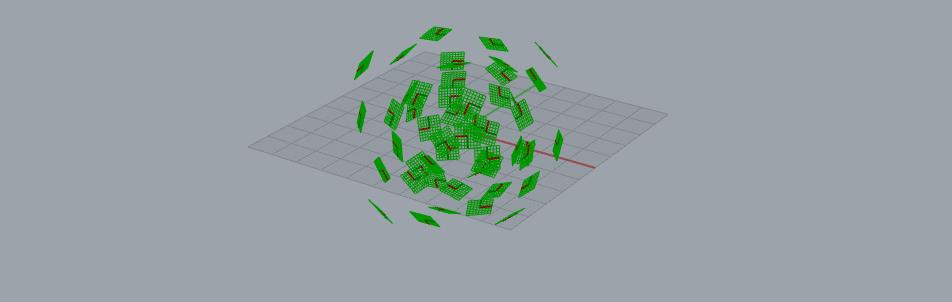
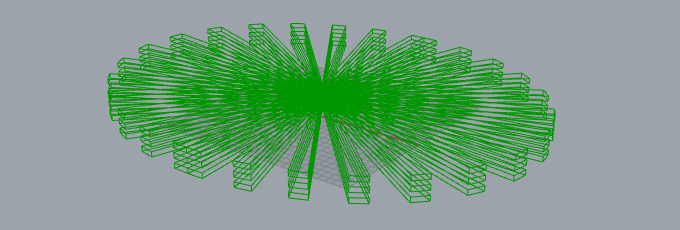
4.Stripes
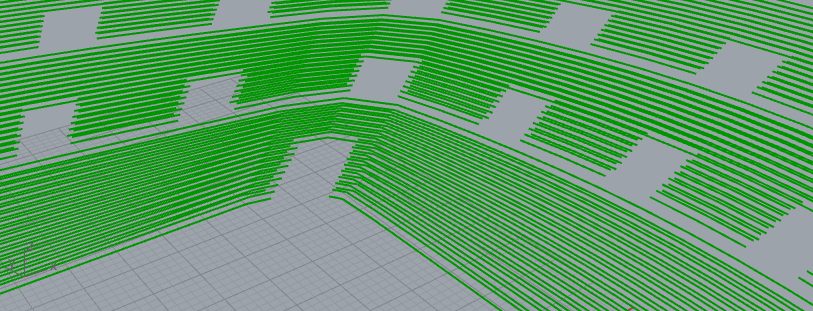
After have creating the surface with Loft, I created stripes into it. First of all, you have to create a sphere which is used to Populate 3D it with around fifty points. Those one will be used to create vectors used as normal for Plane Normal. Those planes will be used as cutter for Brep | Plane component which cut the Brep with the plane and give a curve used after with Pipes to do the alternative structure.

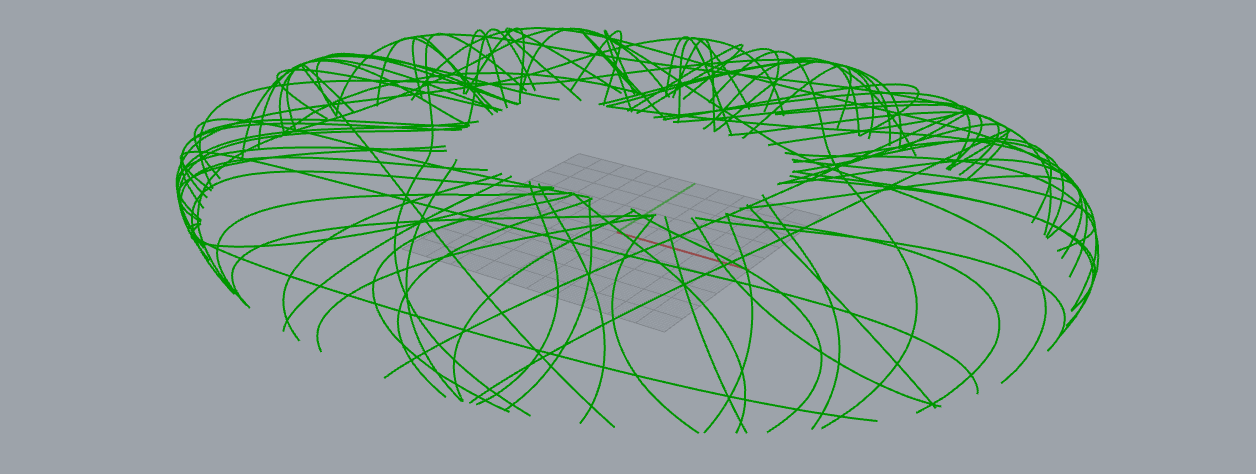
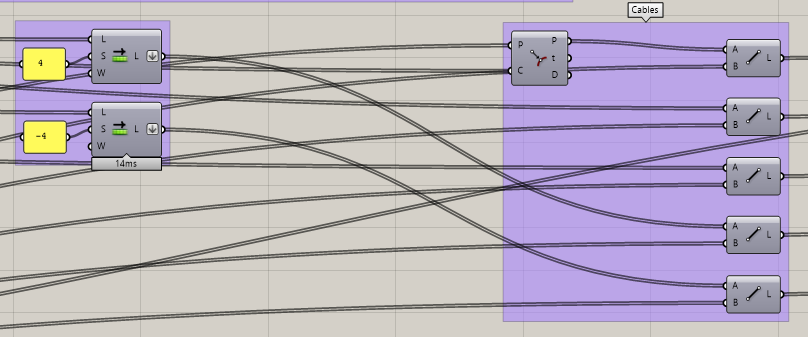
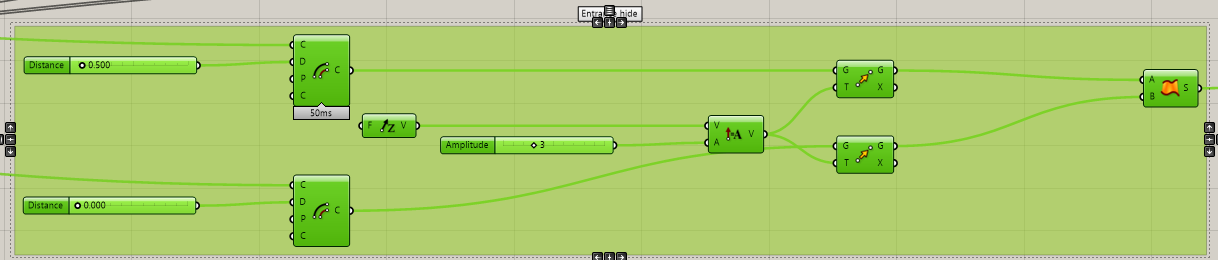
5.Cables
After that, we will use again the points from cover making to create some cables, and use Shift List to connect some of them with a pattern. Also, I’m creating a line with Curve Closest Point component. All of those have volume after with Pipe again.
I have also this Ruled Surface used as panels for the public entrance of the stadium.
6.Vomitories
Now the hardest part that cause me a lot of trouble, because I don’t want to use plug-in for doing the benches and the vomitories. First of all, I cut the ellipse surface with Surface Split. I used after Sub List to take the quarter of faces. For the symmetry of vomitories, I do a Mirror two times.
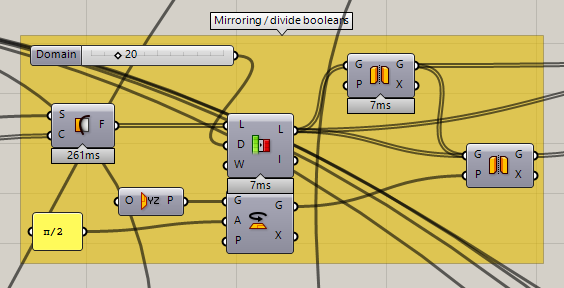


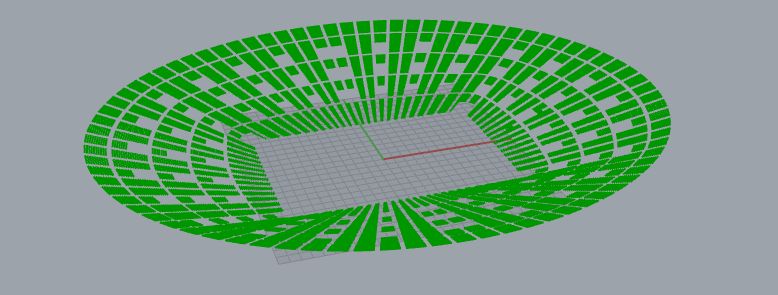
So now, I will chose which surfaces will be used to dig the vomitories into the bench. It’s time for Dispatch tools. I make a pattern that take one every 3 faces. And I Move them three time and Extrude. We will see later what the purpose of those extrusions are.

7.Benches
This part is all about the creation of the benches and put points for the seats.
Let’s go deeper into that maze. First the point of this is creating the tilted surface that is the base of the benches. Another line creation with Bezier Span. And after that, Loft to create a Brep.

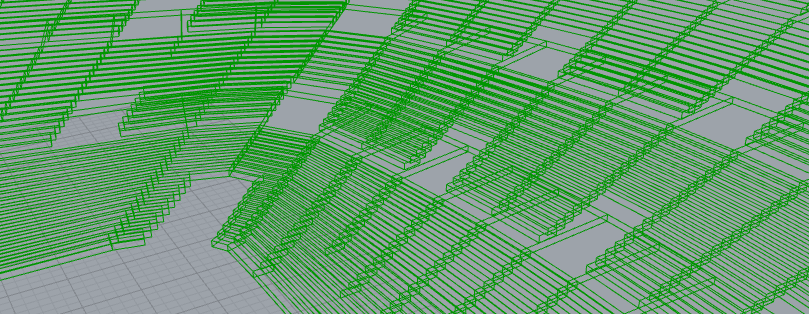
So this is the moment that I created XY Planes and Dispatch some of them and the plot here is to cut the previous Brep with those planes. Now we have some curves.


Now it’s the moment that we will use the extrusions previously done for the vomitories. By using Trim with Breps that will cut the curves with the extrusions as you can see there.
After some operations like that with other Breps, I delete some curves that are not good for me with Cull Index.
But now I will Split with Breps the curves with those surfaces to makes corridors and allow access to the seats for the peoples to the stratums.
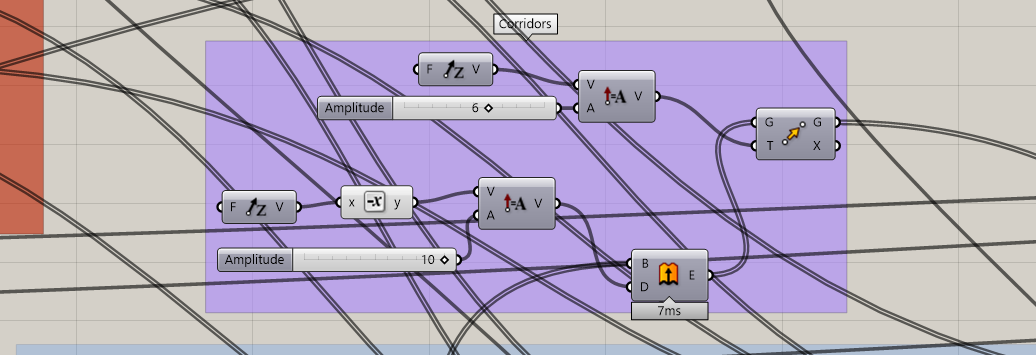
So now we have small segments.
I will use Extend Curve but in negative way, that’s with the component is red, because some of the segments are smaller than the value that we want to reduce.
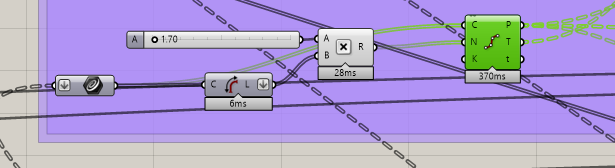
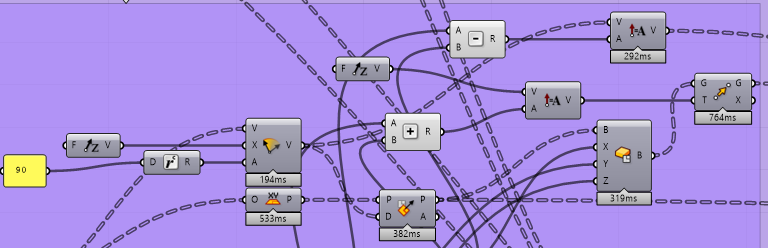
8.Seats
But after that, we have to create the points used to put the center of the seats. So this is the big group for seat, let’s go another time deeper.
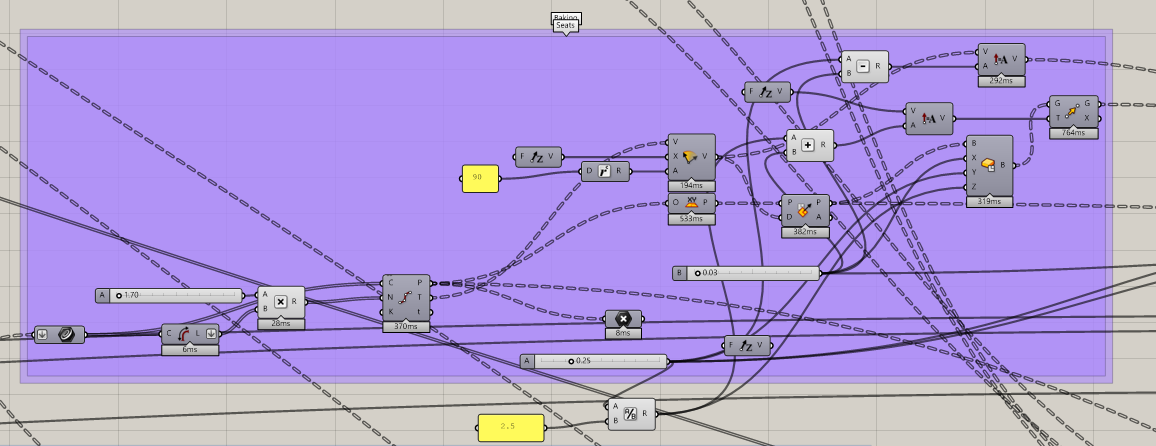
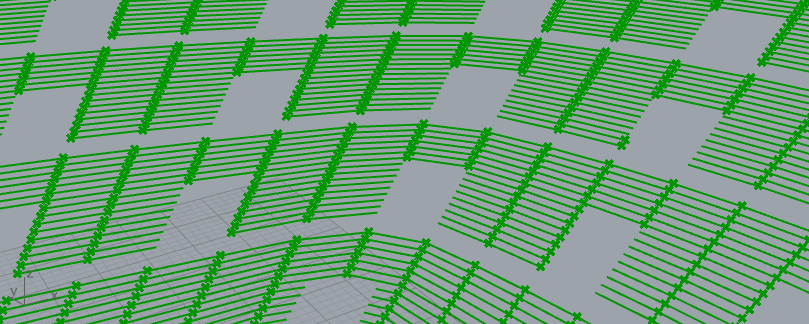
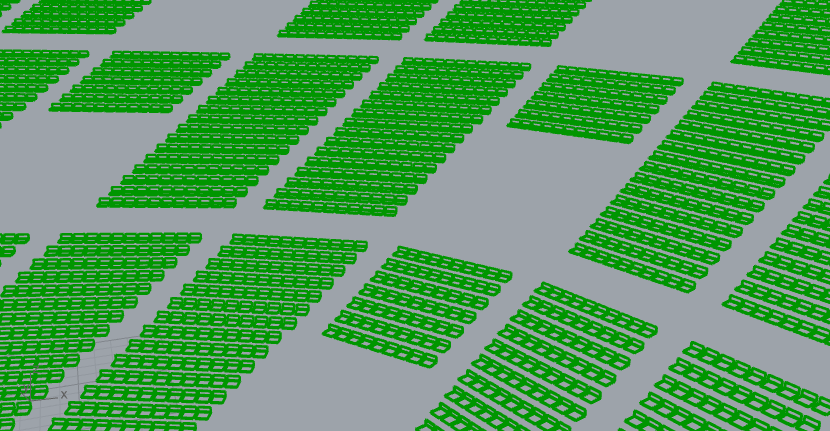
So I used Divide Curve with Length parameter to distribute the points in a good way, with same distance between them.
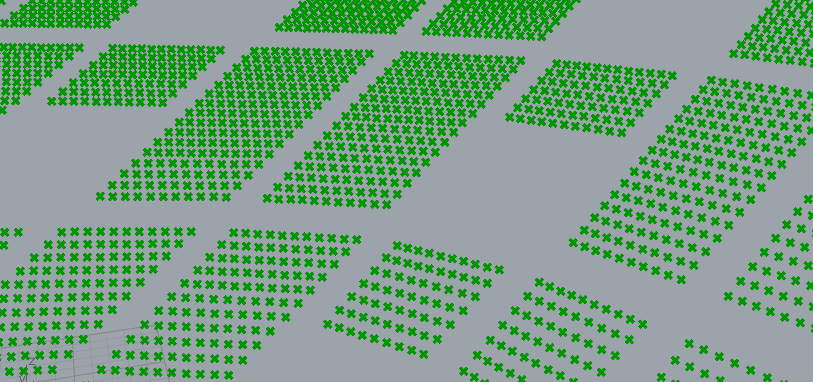
After putting the points, we are creating some XY Plane with the origin on them. And we rotate them with Align Plane. The direction is the rotation of the Tangents with Rotate as 90° as parameter. From this point I can create Center Box with plane as Base.
9.Benches structure
But there is another thing to do after that. For the moment the seats are not supported by anything. So I will use previous curves from the bench cutting. I Merge them to avoid some Loft problems.
This is what I obtain after that. Just need to Extrude after.

10.Accesses
Previously, I dispatched some of the cuts from the planes, to make the stories where the vomitories are. Same system, Offset curve, Merge them, Loft…

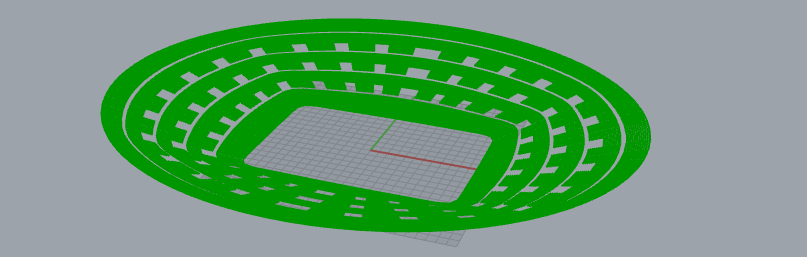
So this is what we obtained for now for the benches.
11.Fences
For the fences, because it needs some security in that project, use the same principle with Length and Divide Curve. A lot of steps are necessary to match the sticks of the fences to the bench surface. Because it’s need to be aligned with it. I used Brep | Brep to extract the curves for the vomitories.
Let’s add Pipe:
Now, we got that:
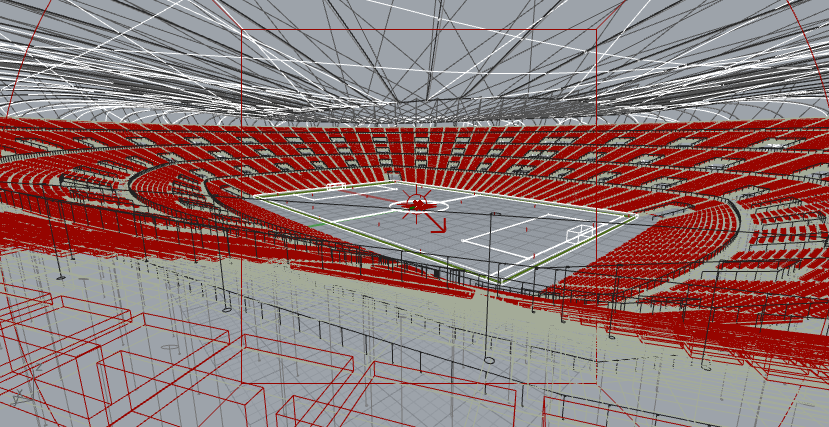
12.Columns cutting
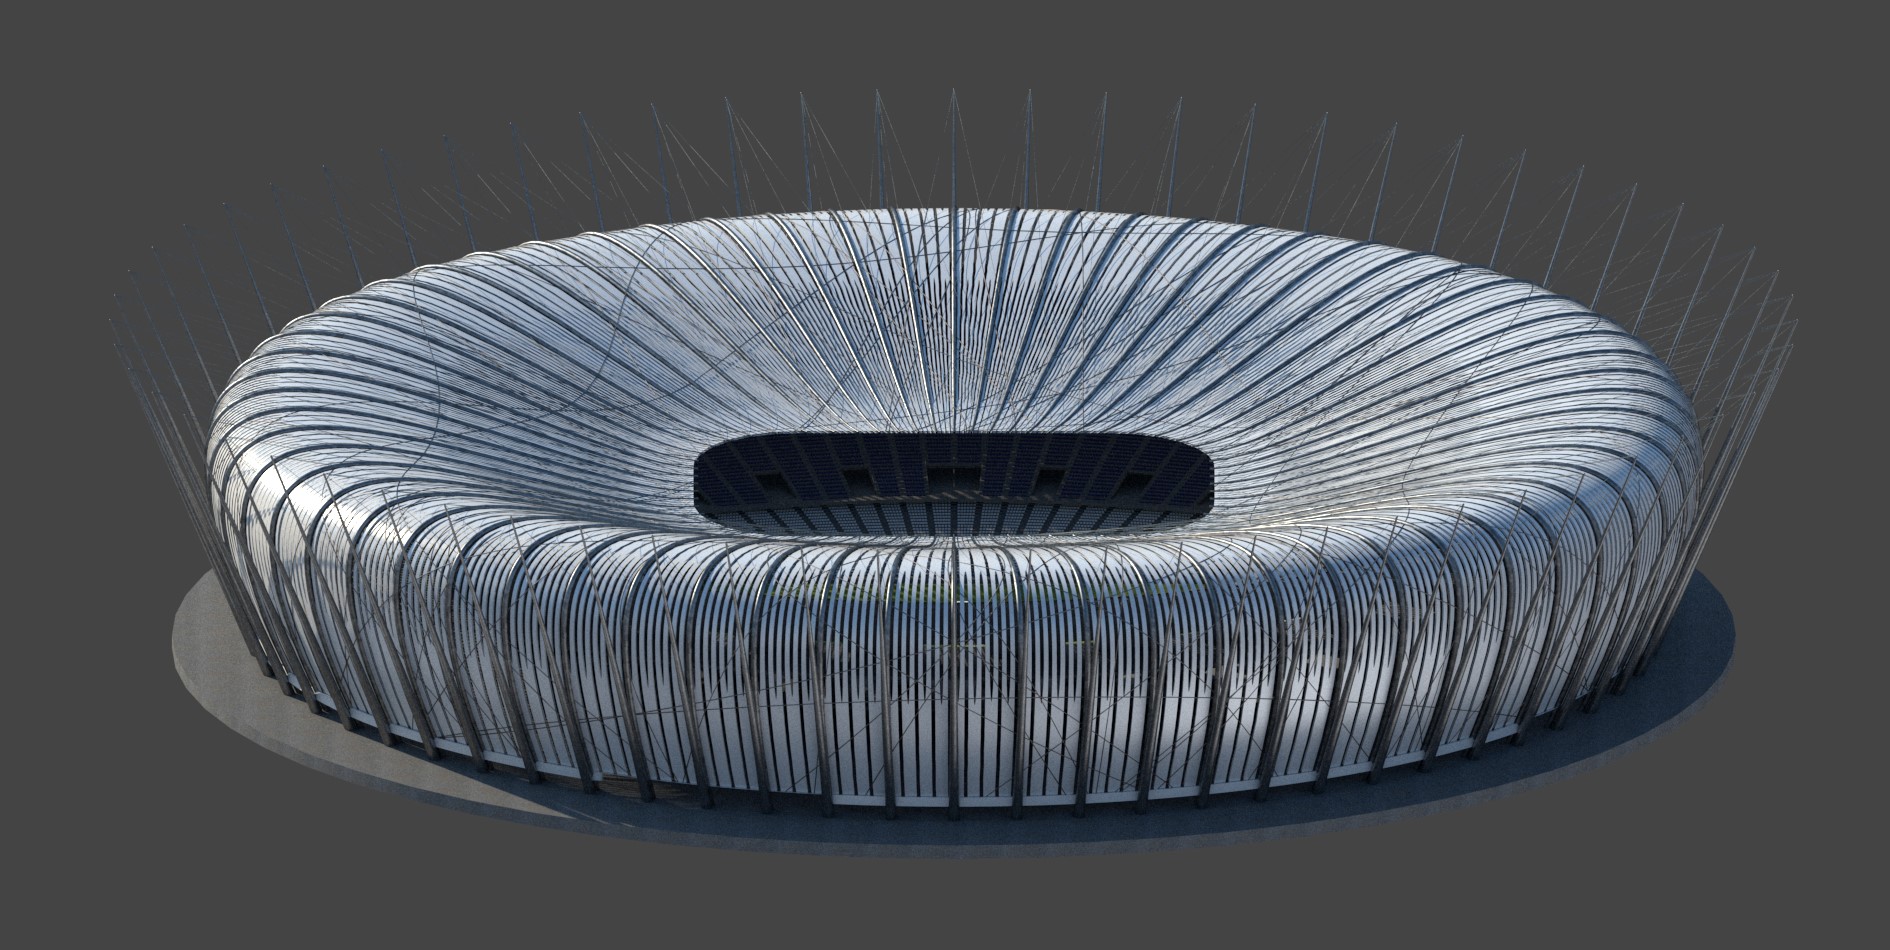
Last thing that I want to talk about is the Boolean Operation with Solid Difference which permit to cut the columns which exceeded the tribune.
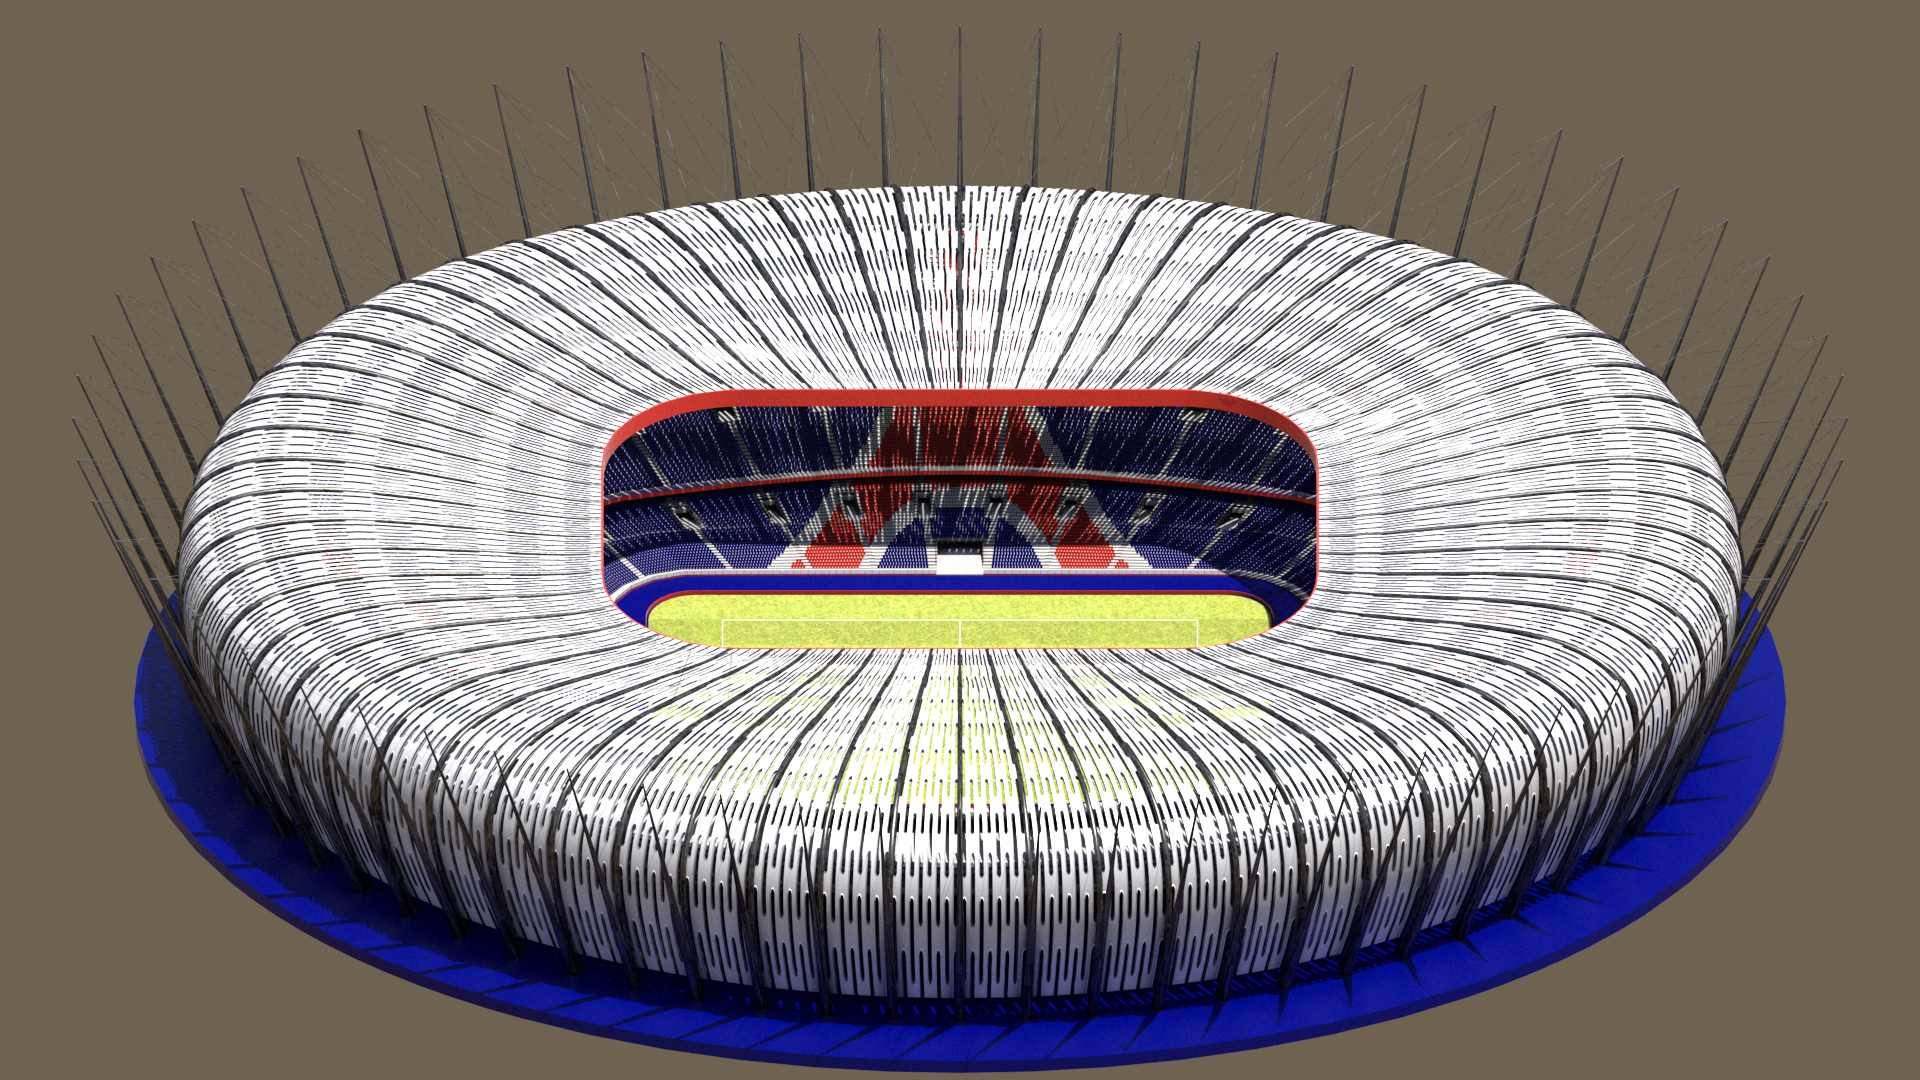
This is the final project with everything. I used some Custom Preview to reach that view.
13.Viewport

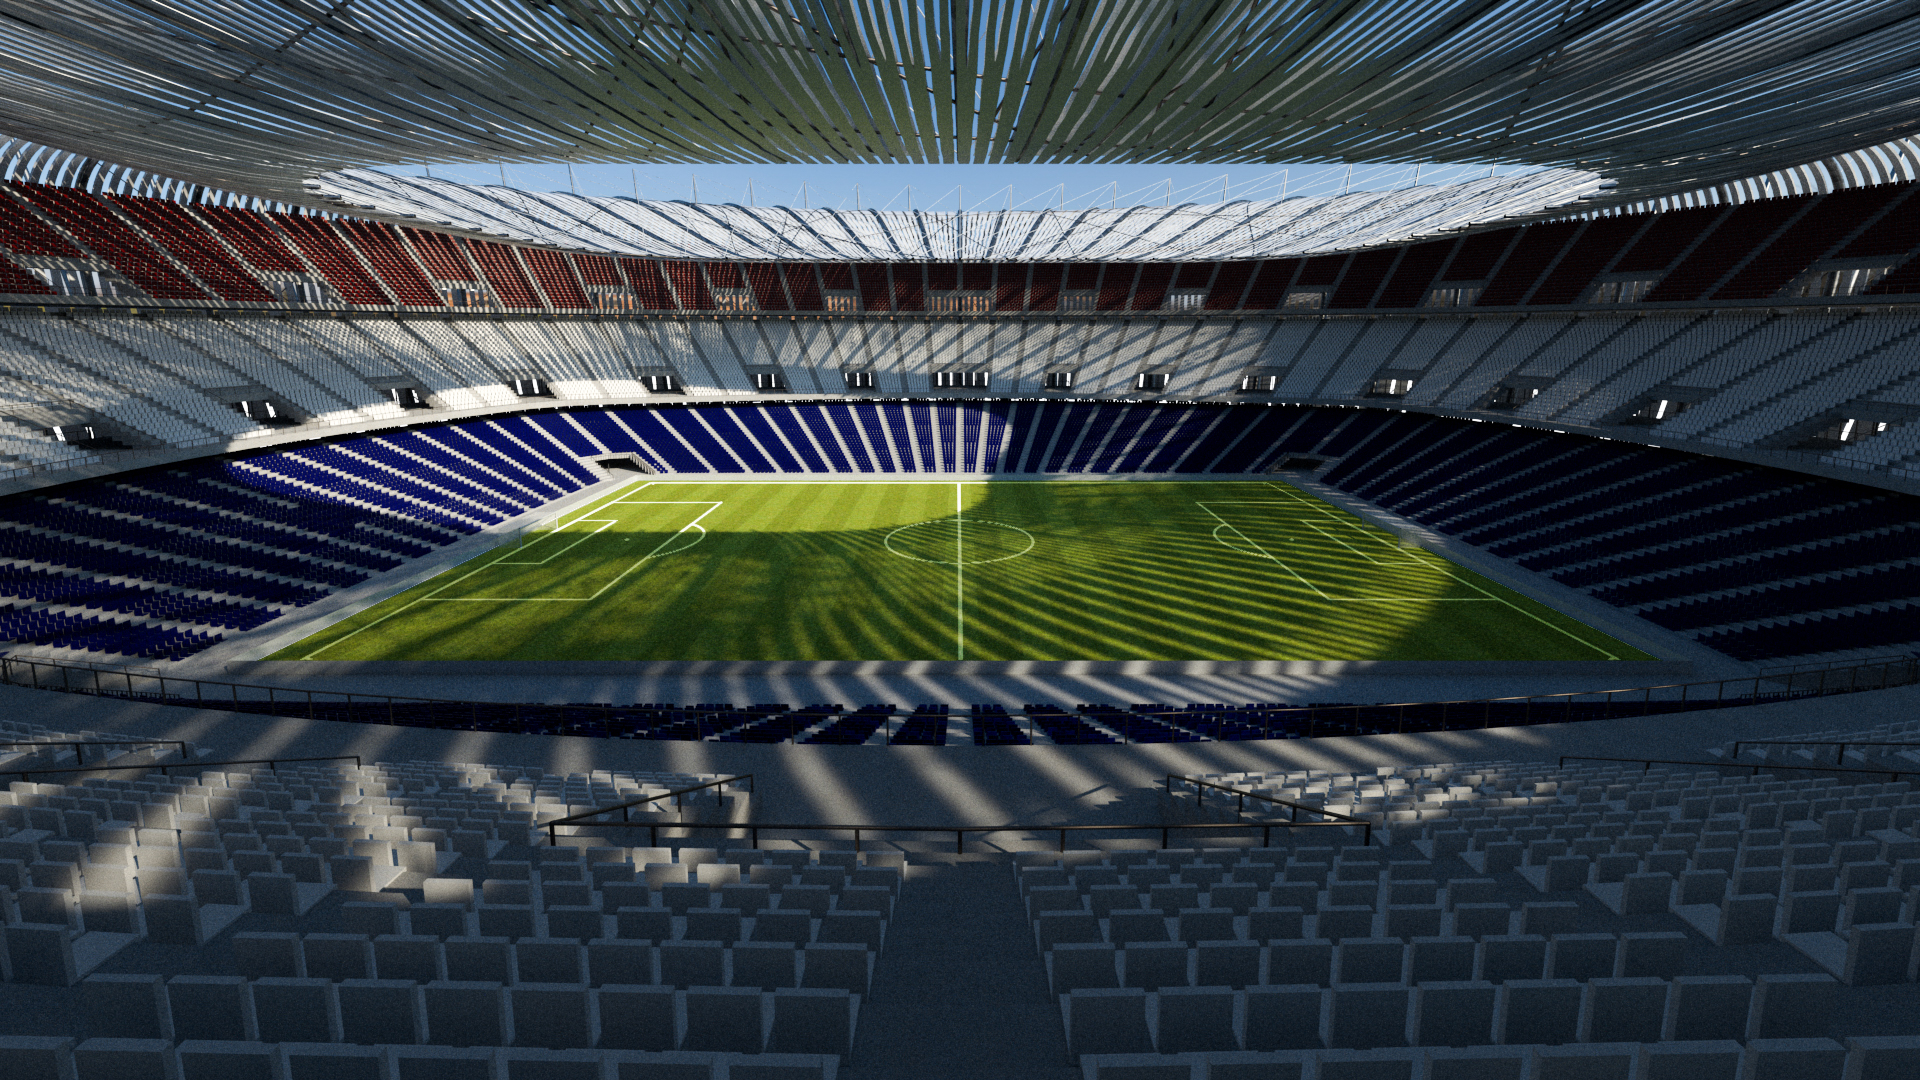
I used V-Ray camera in Grasshopper and make something that allows you to look from a seat at the center of the field. You just need to choose the number of the seat and look through camera.
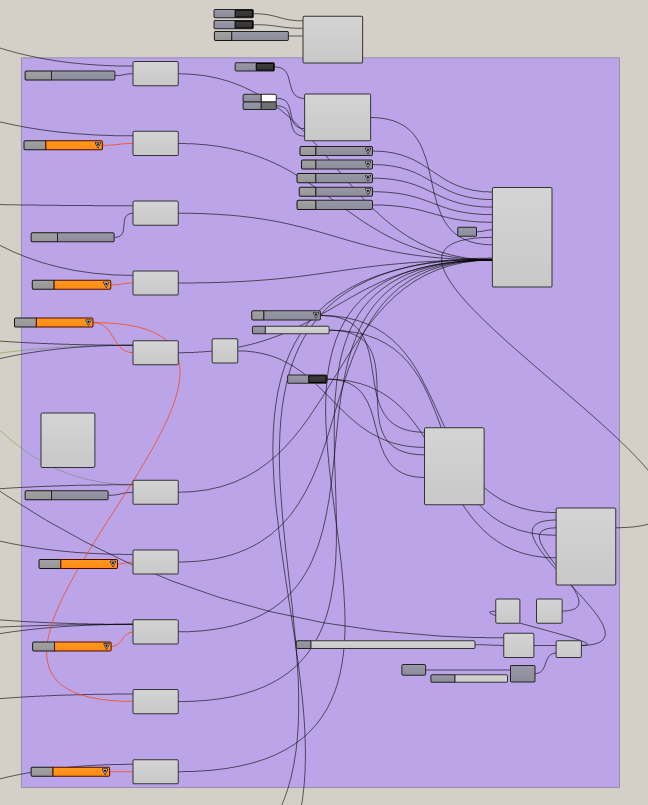
14.Problems with RAM

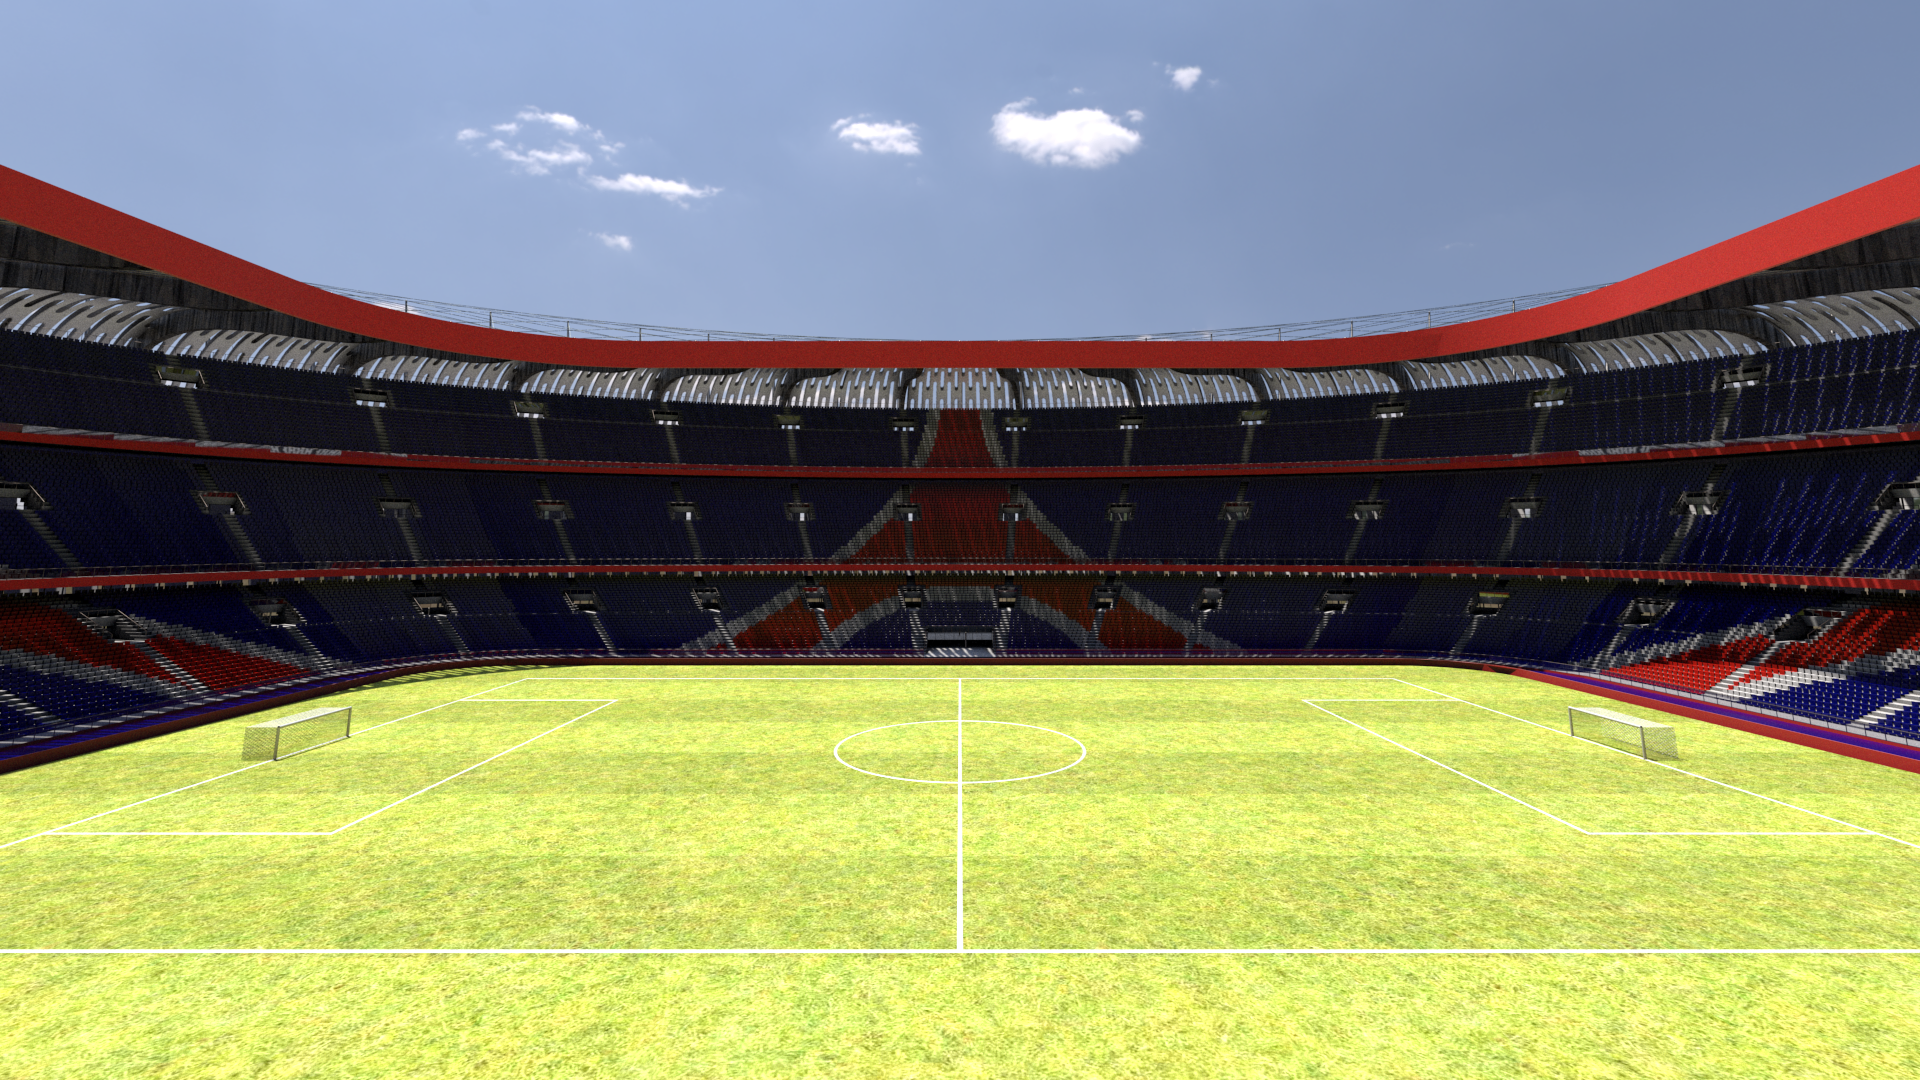
V-Ray is very powerful, but unfortunately, I can’t even make a render because my 16GB limit of RAM make the render crash my computer with a BSOD. The only one time it didn’t crash was this one, but it doesn’t represent my last work.
A lot of parameters and it can’t work because of the hardware, this is the V-Ray plug-in map:
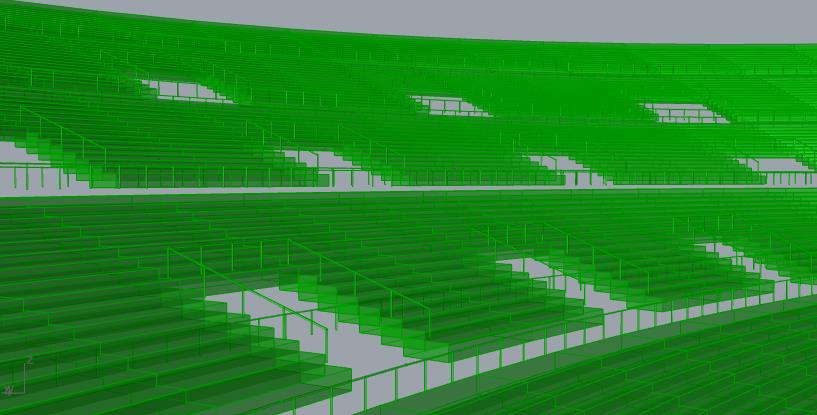
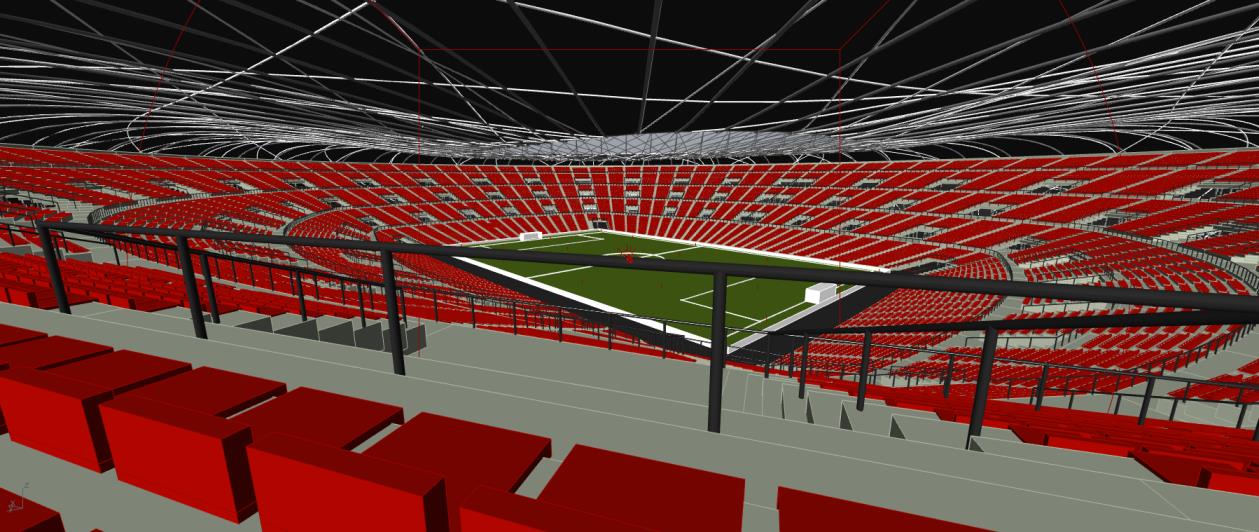
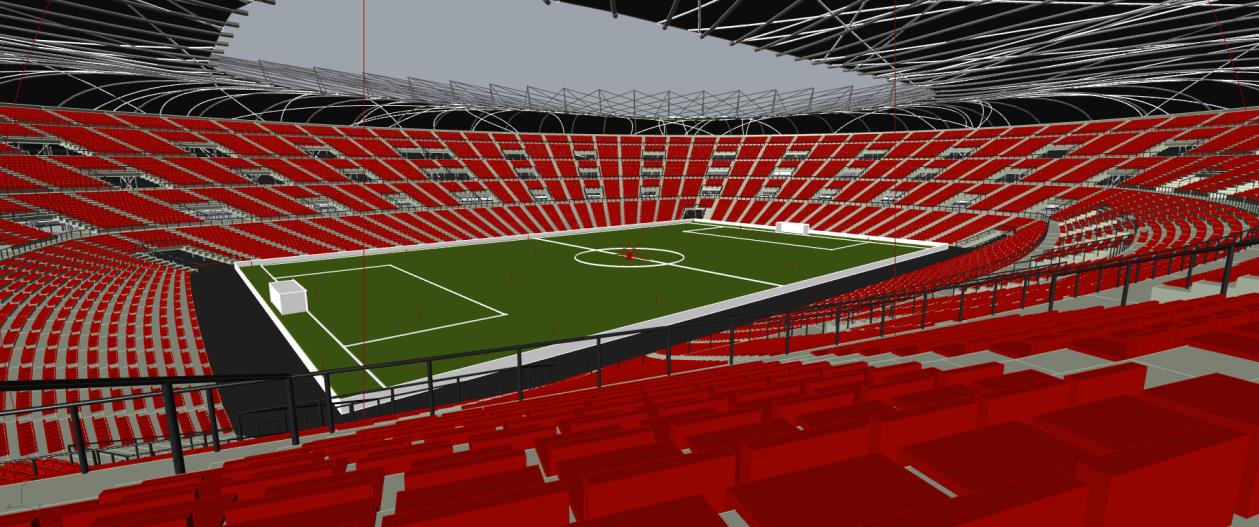
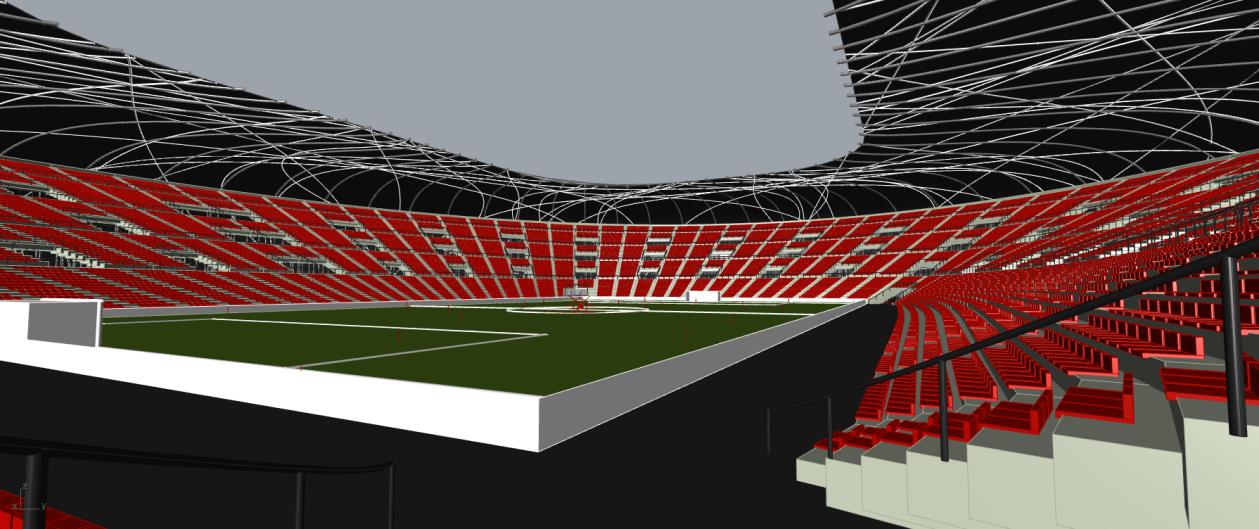
15.Final images plus rendering
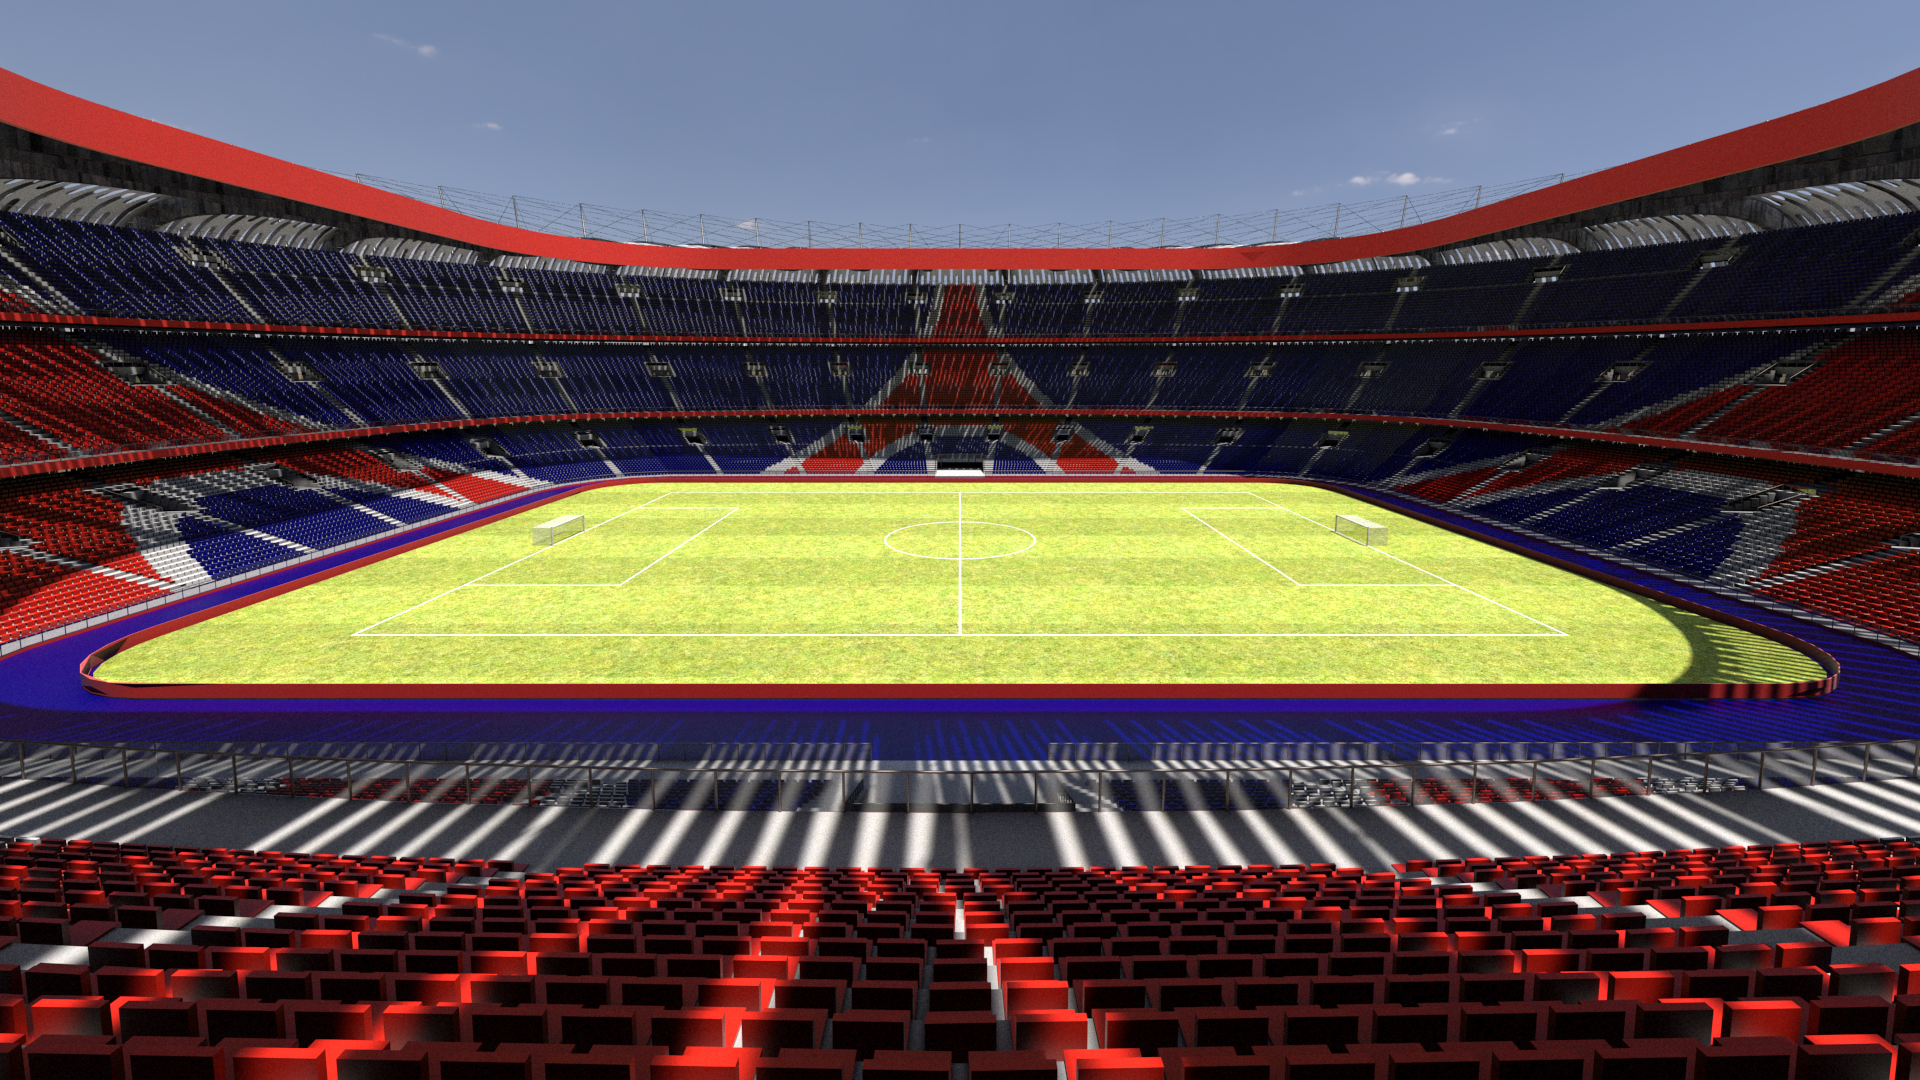
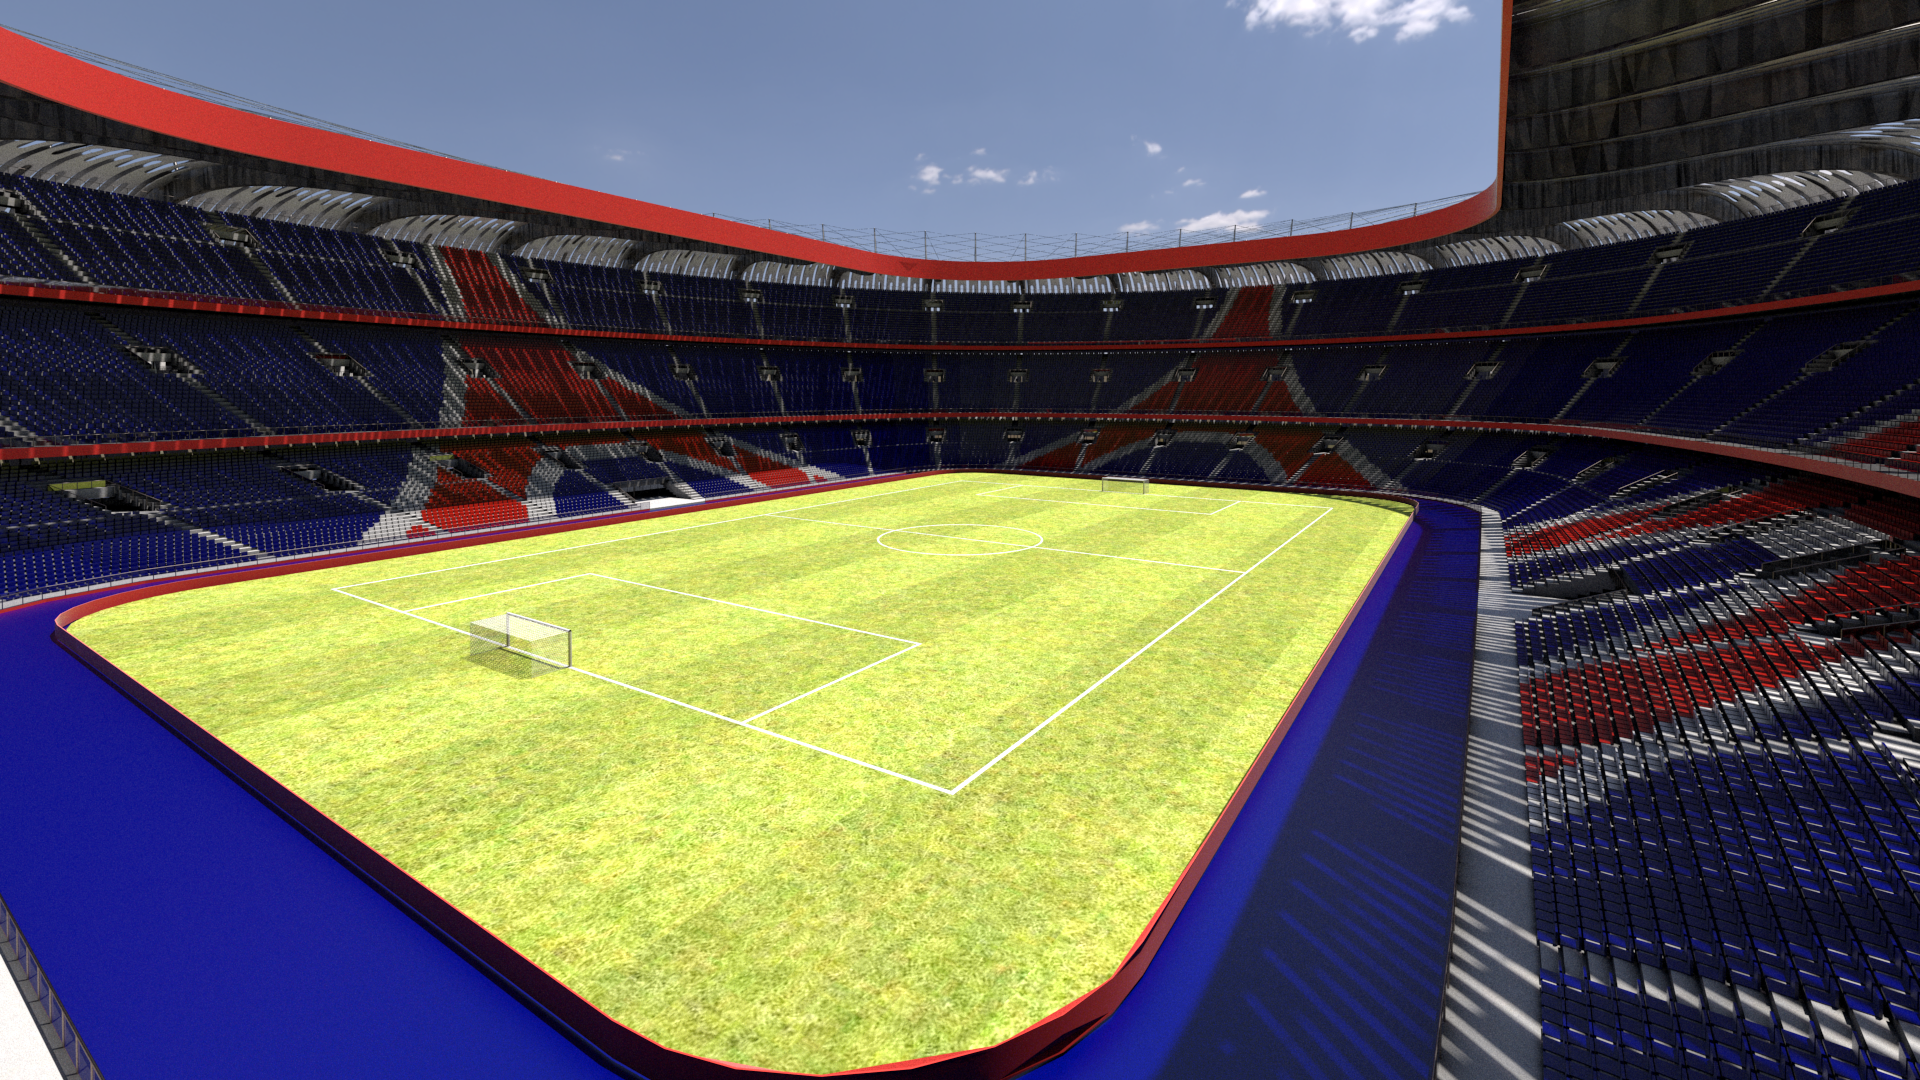
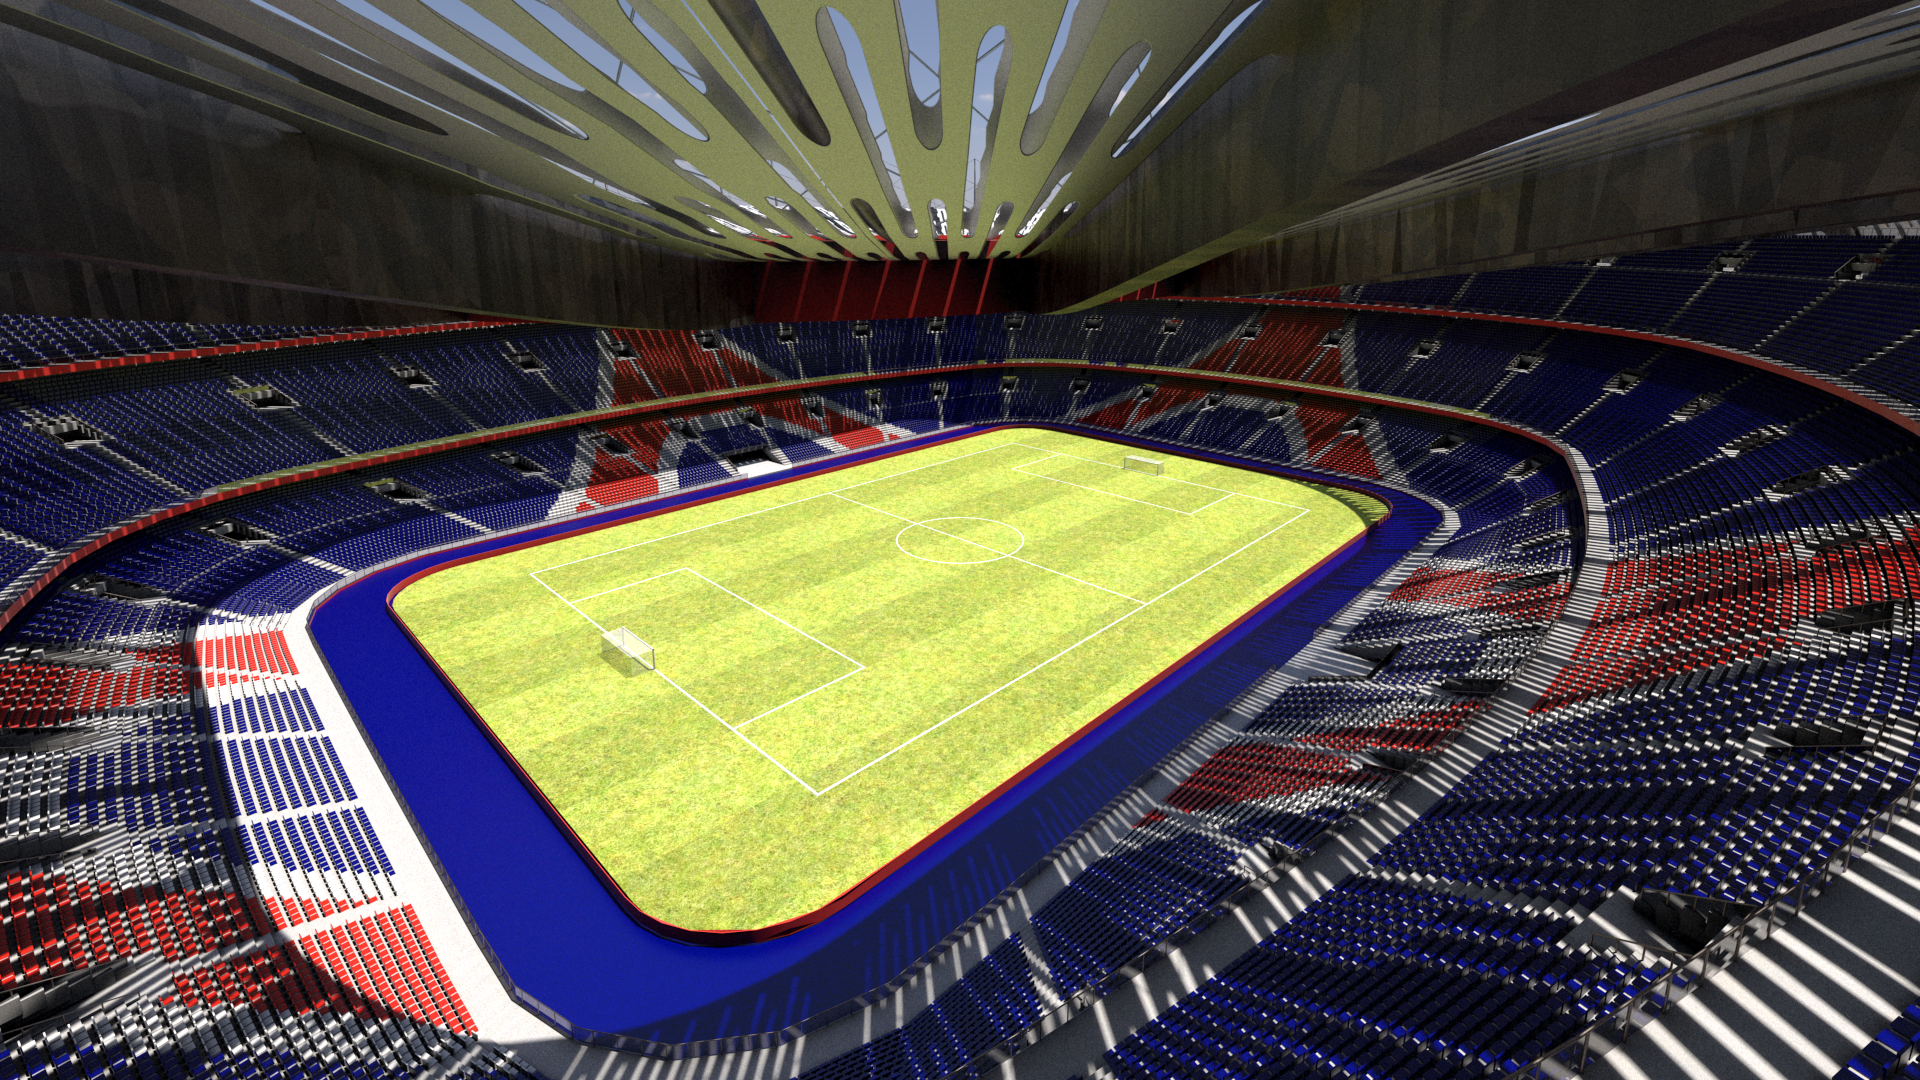
Some images from the Rhino viewport directly:
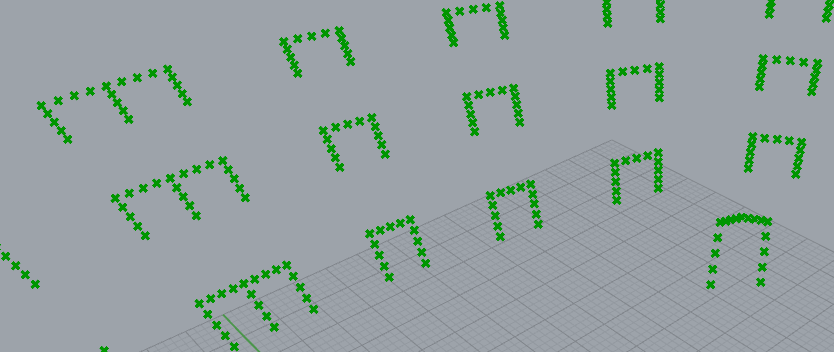
There is also a little parametric for the football cages.
Thank you for reading this, wish you a great work!
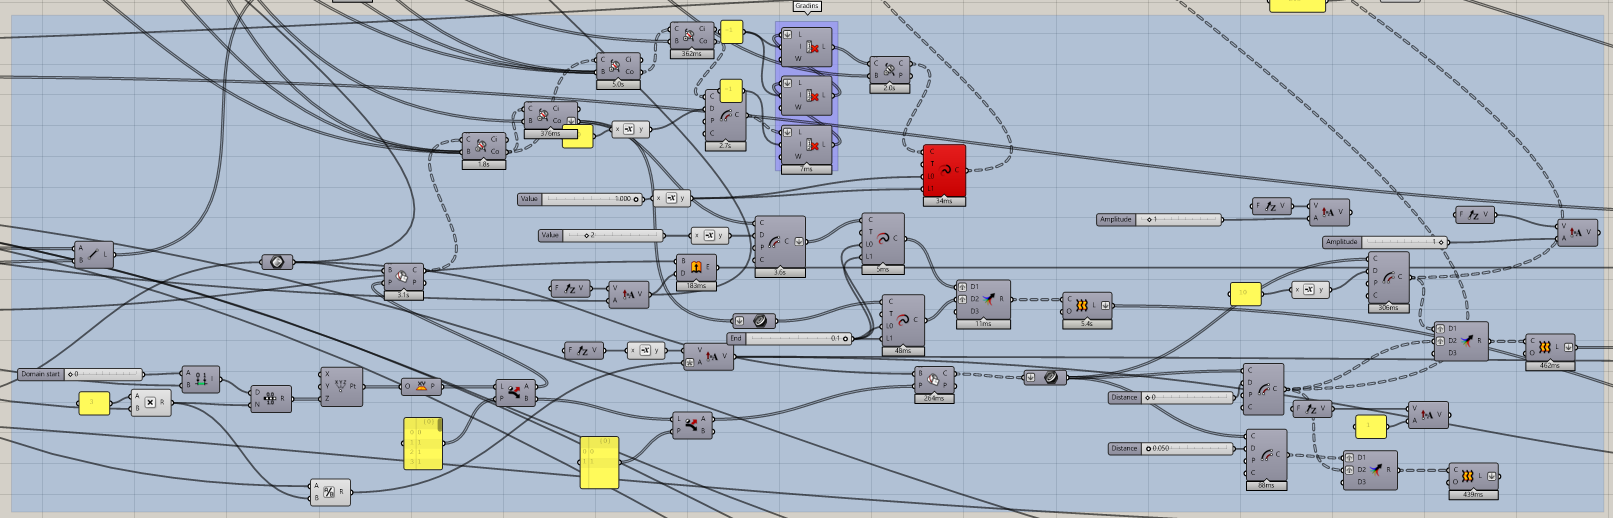
16.Full script
17.Thanks
Thanks to the teacher to give me opportunity and tools to understand and master (a little) this wonderful software!
18.PDF + Script
Script : ANOTHA
Thomas