Irregular Stone Wall Tutorial
Rhino File: Wall Tutorial_Habiger
Grasshopper File: Wall Tutorial_Habiger
The ideas applied in this tutorial consisted of acquired knowledge through Professor Prokop’s class and previous classes where Rhino and Grasshopper were used.
Goal
My idea for this project came from my studio project from this semester. Part of my design entailed having a stone wall stretch across a long entry path that leads occupants to the entrance of the building. In order to draw people in to my site, I wanted this wall to be interesting in its form and more ordinary than a typical brick wall.
Steps
First Step:
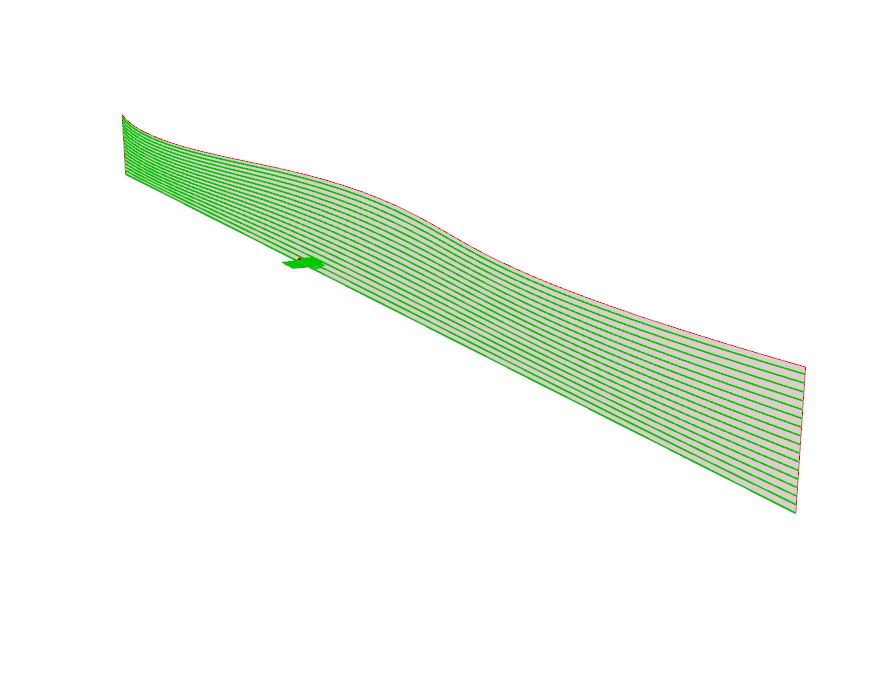
I started out with a Surface the size of the wall in my studio project. The surface is straight along the ground and curves at the top. I then used the Contour and Box functions to set the sizing and spacing for the stones that I wanted to use. I made the spacing between stones larger than usual to allow for light to penetrate the wall to the other side. The first image shows the surface I started with. The second image shows the contours I created on that surface.

Second Step: The tools Horizontal Frames and Dispatch allowed me to ensure the bricks were evenly spaced and to create a pattern of two groups. From here, the Weave function took the data processed from Dispatch to create another pattern. The first image below shows the grids in which each brick was aligned on. The second image shows the bricks orthogonally aligned on the wall. Something that I did not catch at first was that the stones had been duplicated so I had to adjust the script to have only one row of contours. This can be seen in the script in the group that describes how to relieve the wall of duplicates.

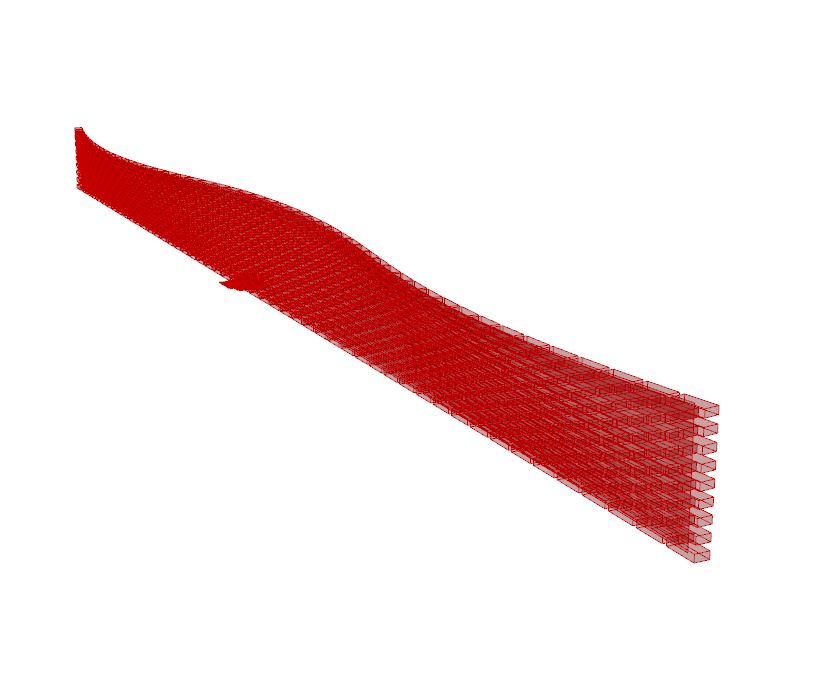
Third Step: Next, I wanted to begin adjusting the way in which individual bricks turned to create a more irregular form. This is when I started to test out the Orient method. I originally thought that this would allow me to remap the brick geometry from one axis-system to another. After a few consultations, this proved to be more difficult than it needed to be and did not create the results that I was intending. Instead, I was able to use the Series component to create a list of numbers and feed them into the Randomizer to arbitrarily adjust the degree to which each individual stone rotates. The Replace tool took a specified number of bricks and replaced those with a different brick set at a different angle. The image below show the original brick orientation (outlined in red) compared to the new orientation (solid grey).

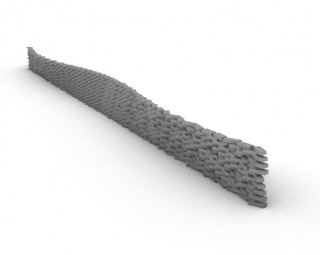
Fourth Step: The Jitter and Rotate components allowed me to further redirect the stones for a more fluid composition. I did end up using the Orient tool to display the stones on the adjusted grids from which they were formed. I think the wall added more to my studio design with the way in which the stones become more random as the top of the wall curves away from the path, and more ordered as it curves toward the the path way. The image below shows my final result.
