
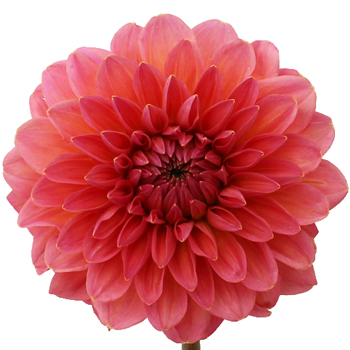
Here is a tutorial to make a flower with Grasshopper!
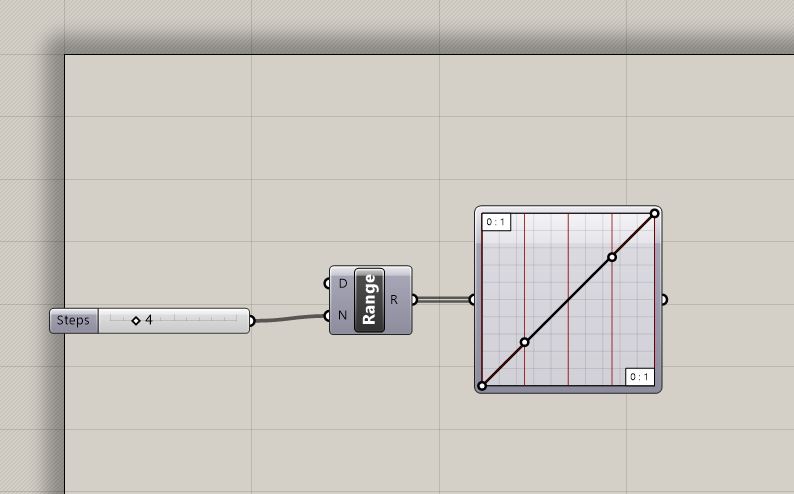
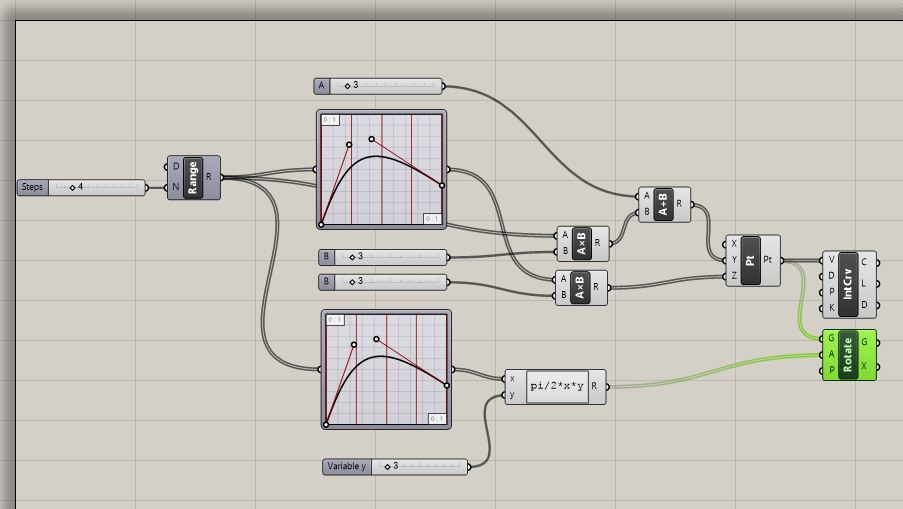
First, open a new definition. Start by adding a Graph mapper with a Bezier graph. Create a data range and connect it to your graph mapper. Set the steps for the data range to be a maximum of 20, but set it to 4 for now.
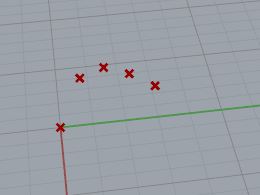
Next, add a Connect Point icon to your script. Pass your Range and your Graph Mapper through a multiplier before connecting them to your Connect Point. The multiplier connected to the Range will be the Y and the one connected to the Graph will be the Z. As you change the curve on the graph you will see the points in grasshopper follow the shape.
Now connect the Connect Points to an Interpelate tab. Next, create another Graph Mapper which will be used for rotation. Then, multiply your new graph by Pi/2*x*y. Now connect your multiplication tab to a Rotate. This should connect back to the Connect Points you made in the last step.
. 
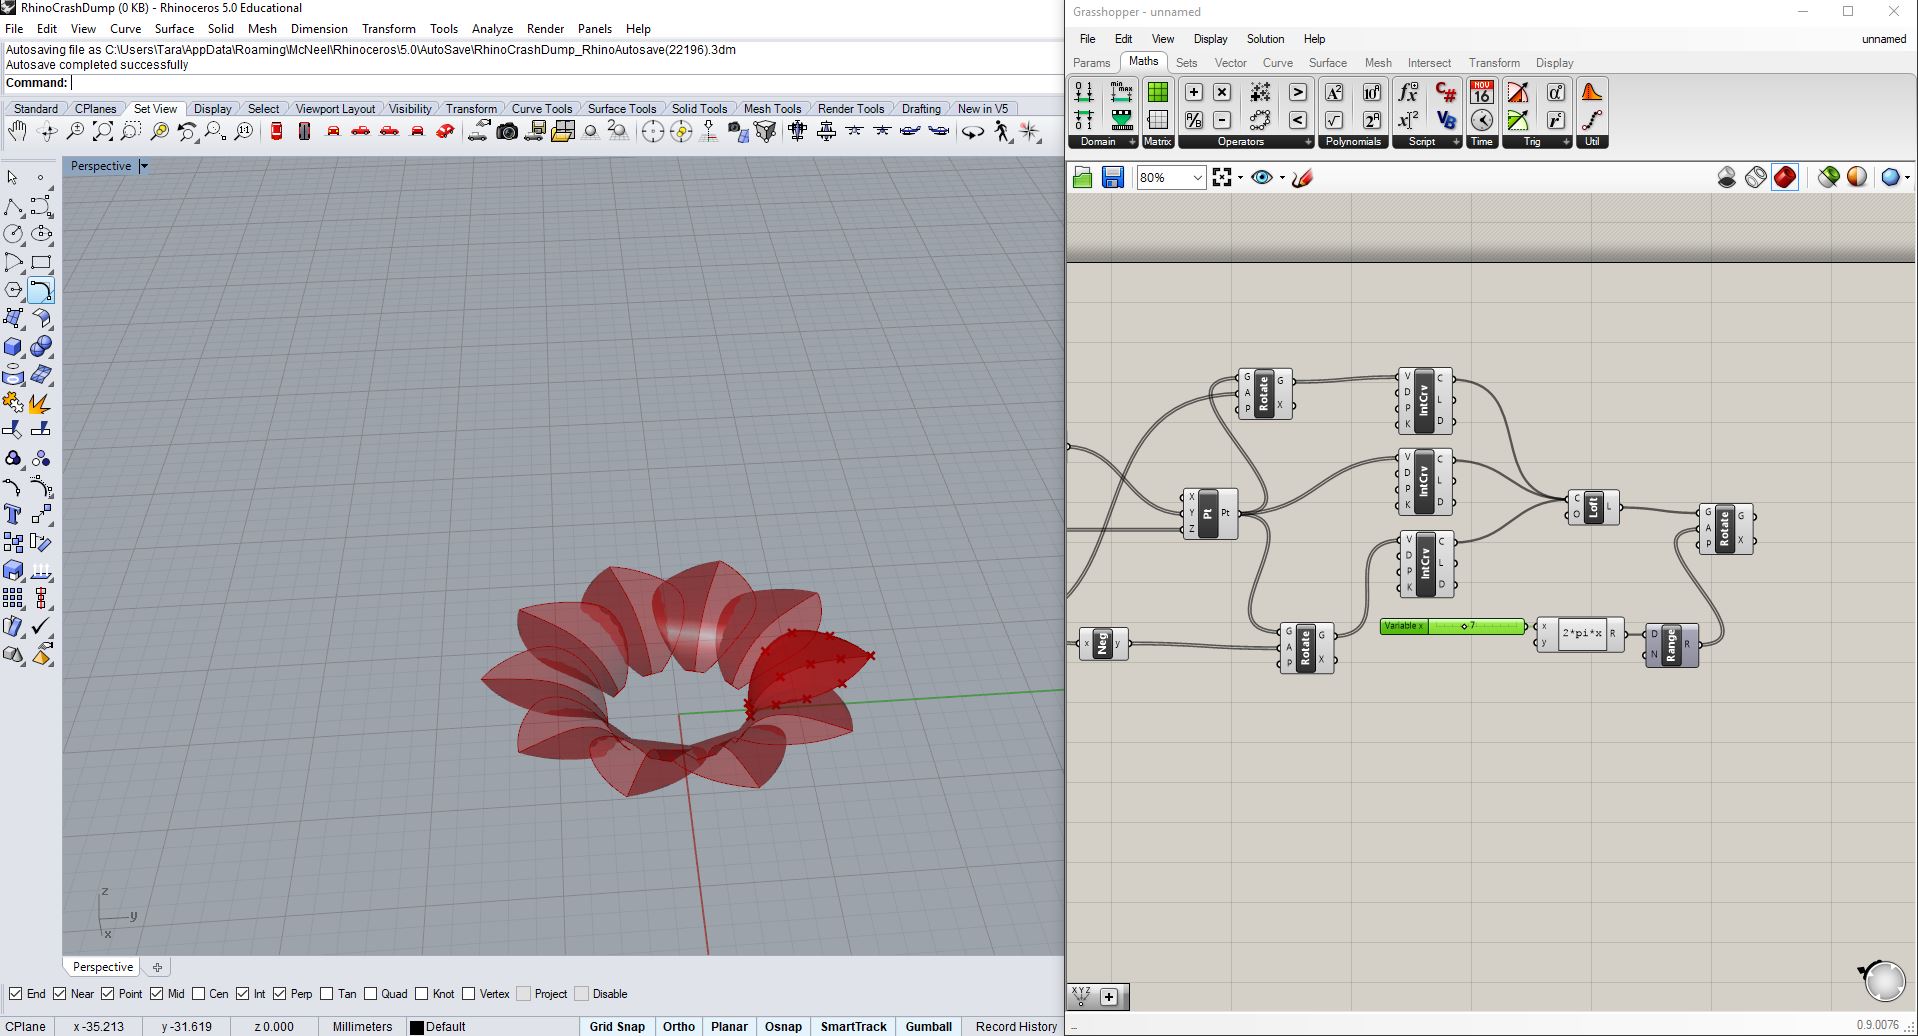
Now you will want to create a negative instance of the multiplication numbers you just made and connect it to another rotate tab. In addition, create two more Interpelate Curves and connect these to the two new rotate tabs. Now create a Loft and connect all of your Interpelate Curve tabs to it. This should create your first petal! You can adjust the graphs to change the shape of your petal. 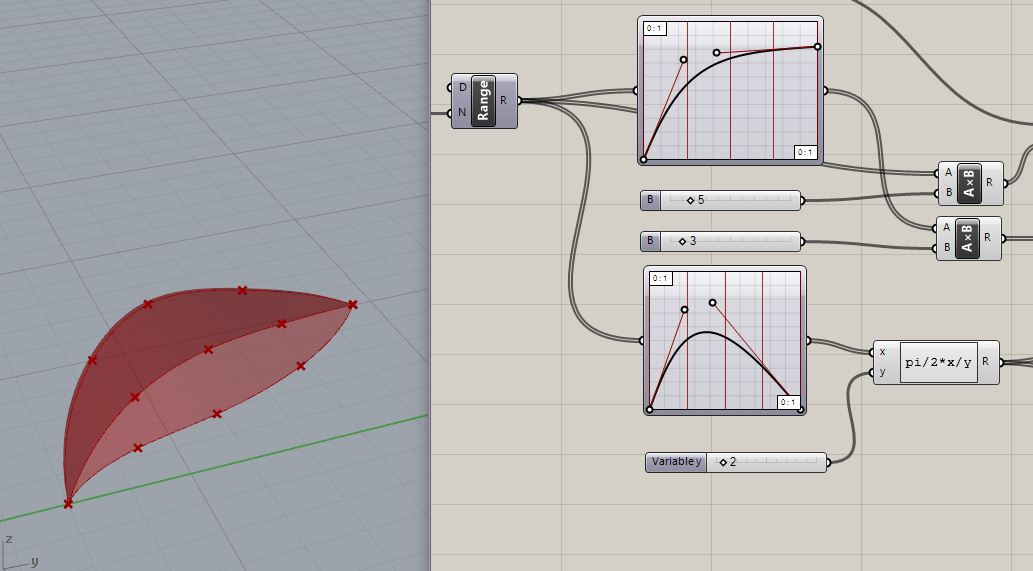
Now put your Loft through a Rotation. Create another Range Tab and connect it to the Angle input of your Rotation. Connect a multiplication to 2*Pi*x to the Domain input of your Range tab. 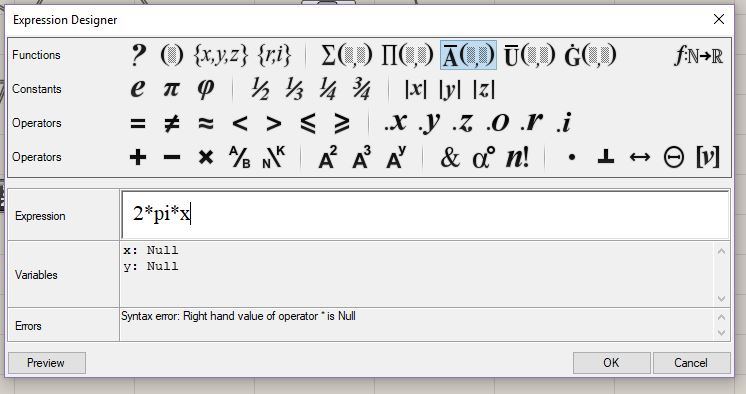
Now add a Scale Non-Uniform Component Tab. You will want to add a range to this as well, but make sure it is connected to a Construct Domain tab.
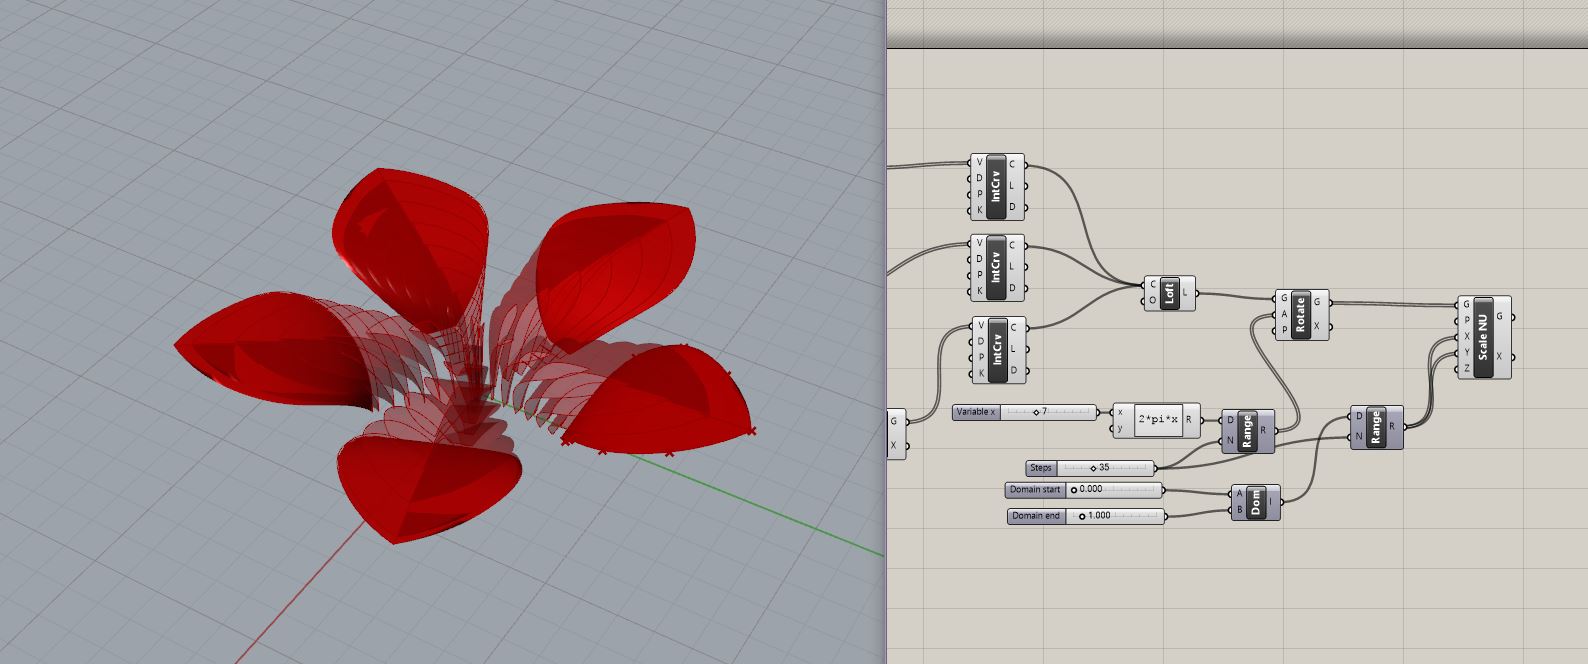
Your geometry will probably look a little strange. Just adjust the sliders in your script until the flower looks how you would like it to.
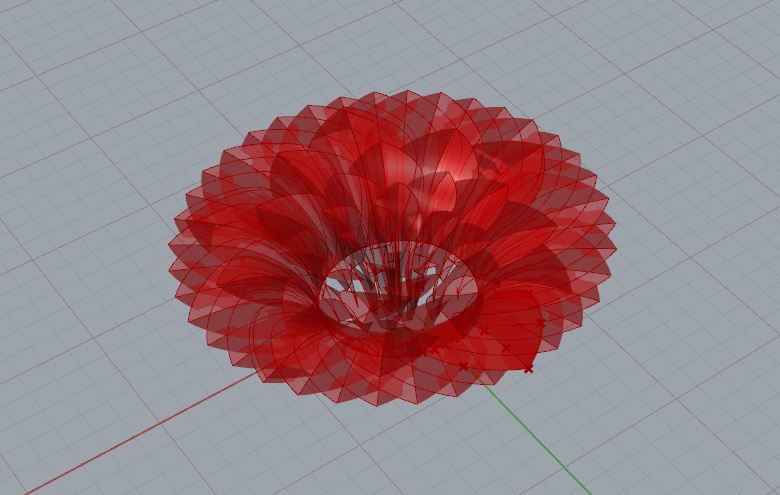
Congrats! You made a flower.