
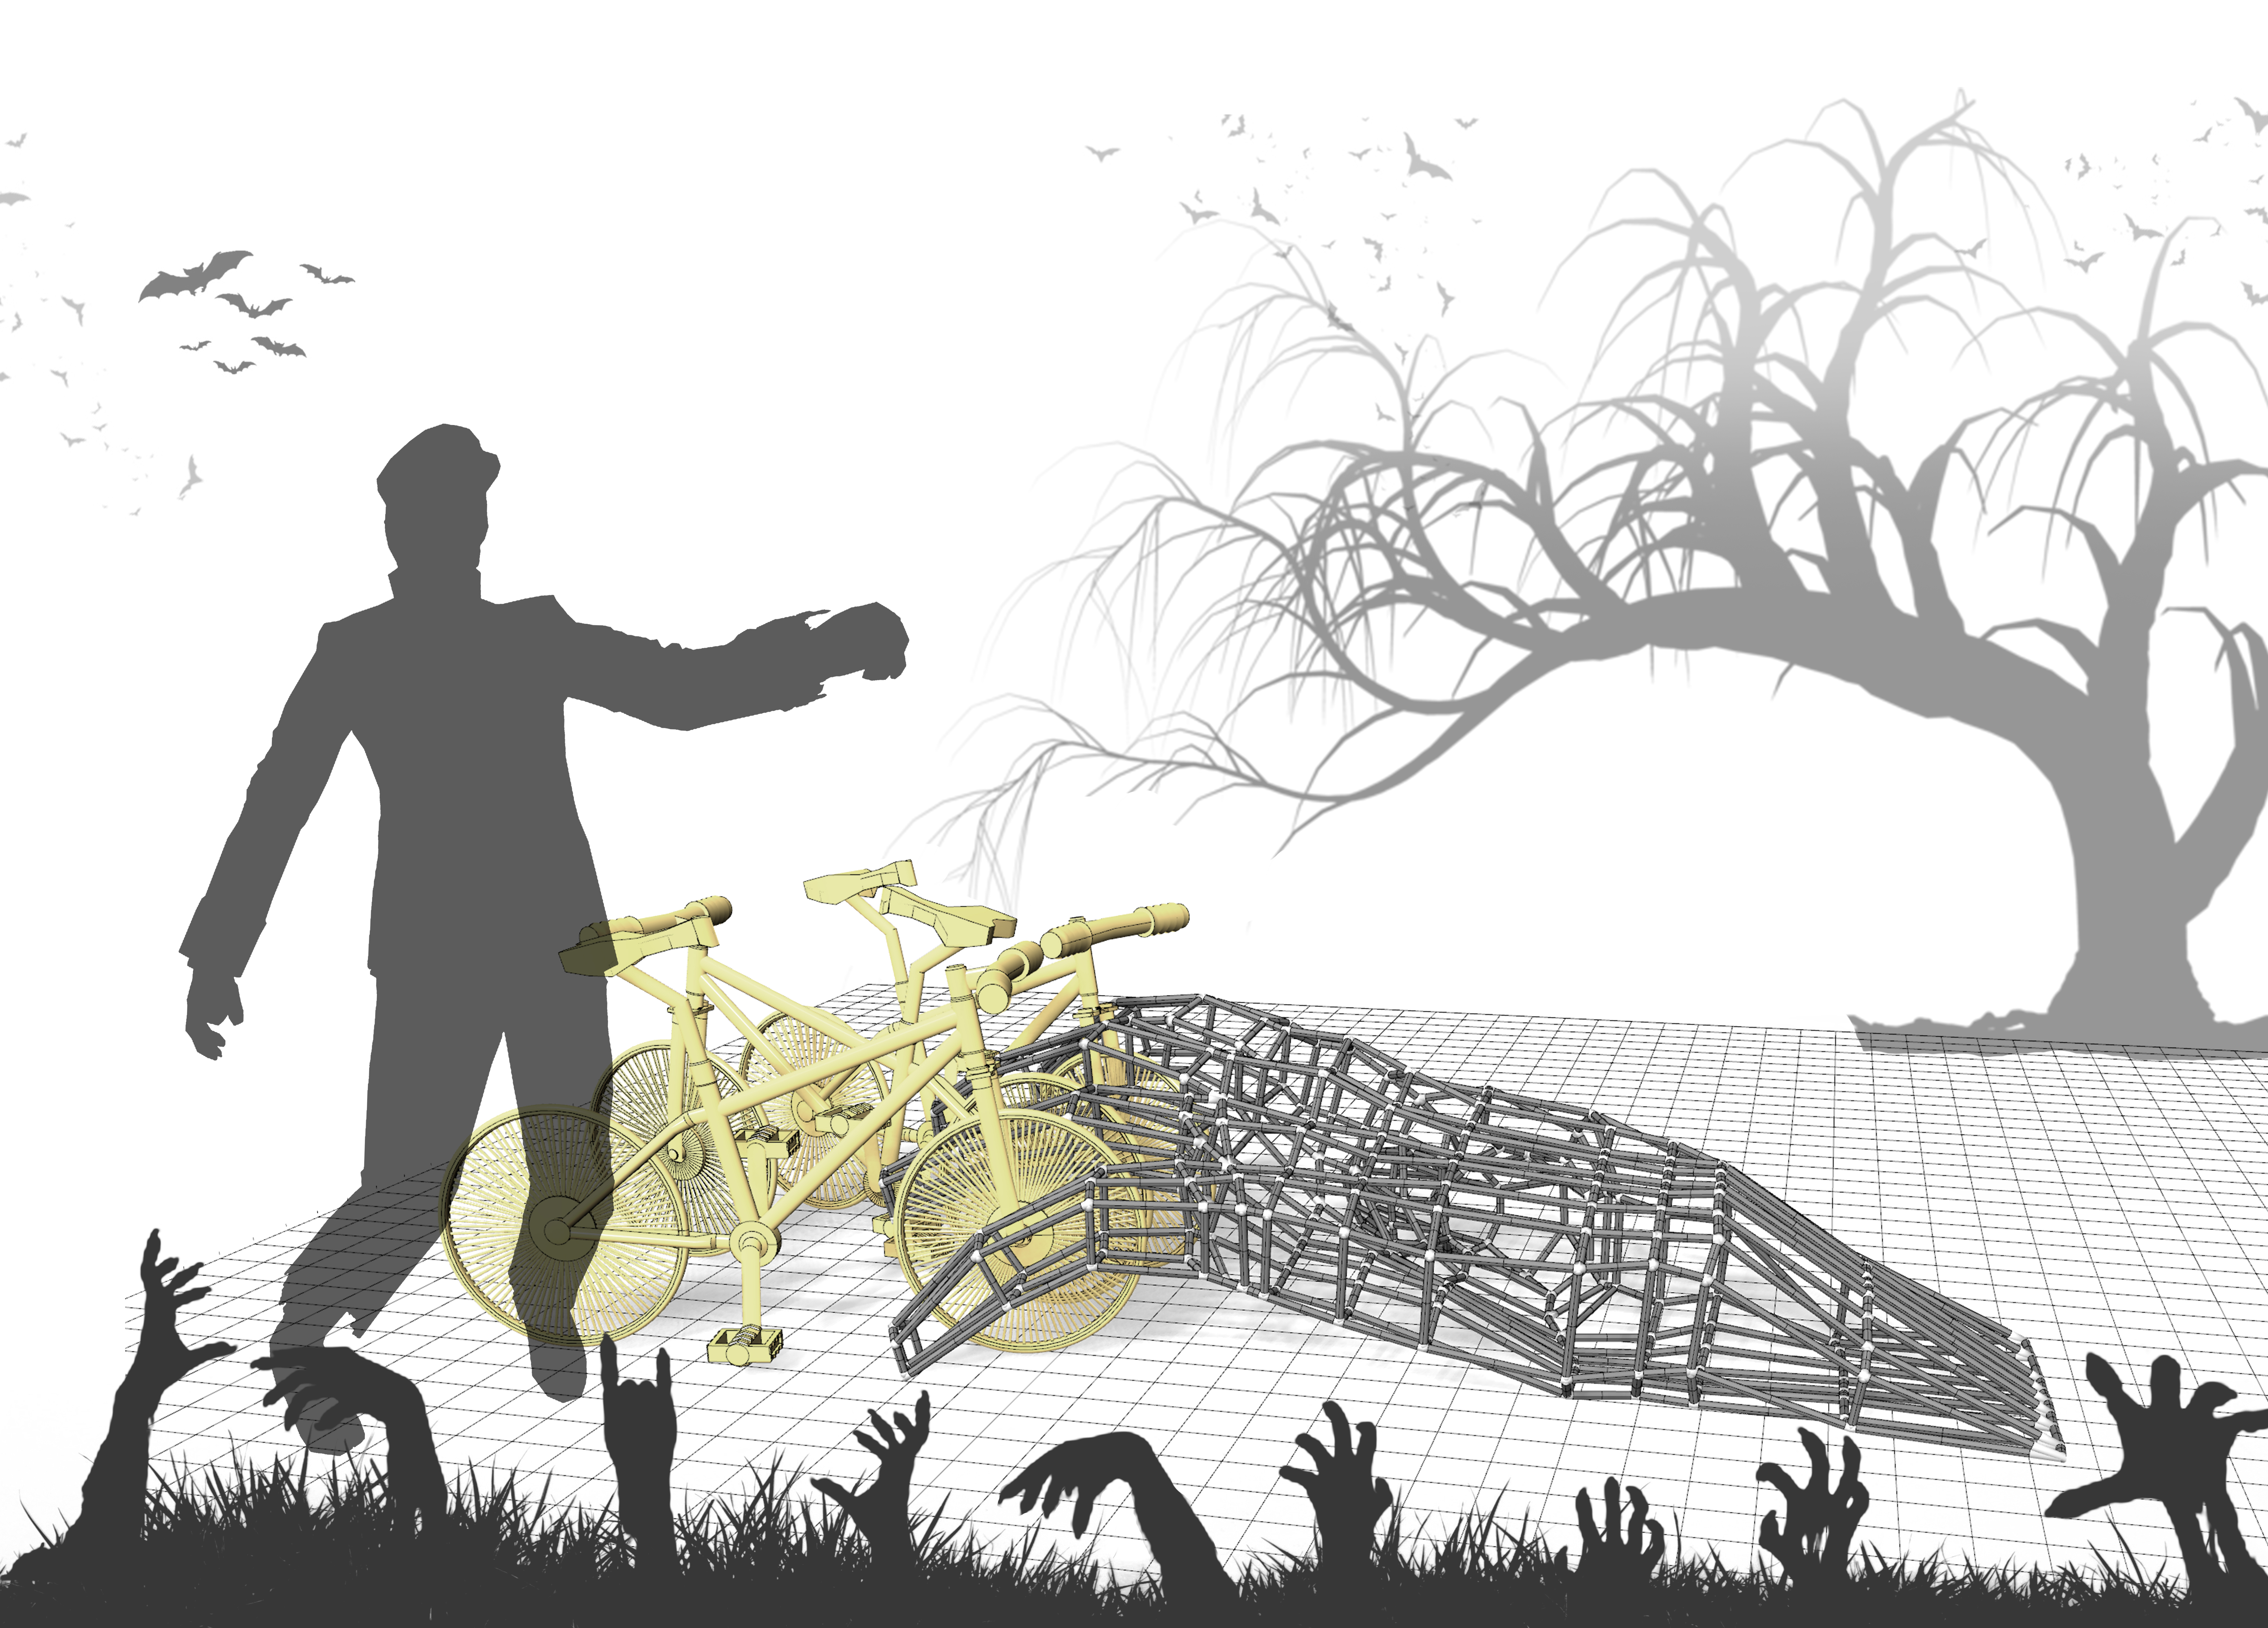
This is a project which has been designed for the Join- it studio. The main idea was to create a bicycle rack with simple metal tubes and 3D printed joints between them . In the end of this tutorial you will be able to create joints in between your subdivisions of the mesh you have created with the help of a little grasshopper scripting .
First step is to create a mesh
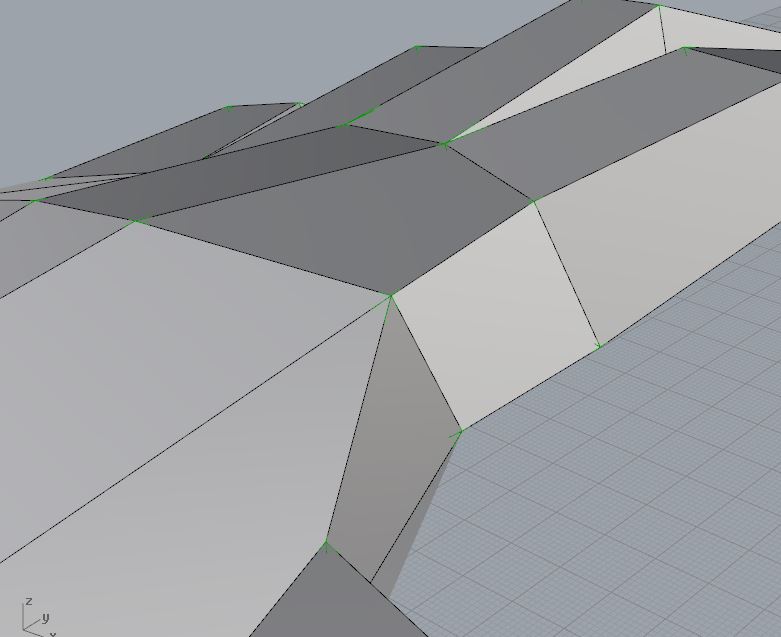
this is our mesh which is created in T-splines plugin for rhino . For the sake of the time and material usage this mesh is later have been simplified into less subdivisions.
after we created our mesh in rhino- t-splines now we can move to the scripting phase. The script is a modified version of a script that has been founded online which can bee seen from here. http://softlabnyc.com/2015/04/17/minimum-length-joints/ . The script has been created in order to use minimum amount of material while creating the joints.
The script doesn’t work properly for our purposes because firstly it works with breps and Boolean operation for that many breps at once is nearly impossible on rhino- grasshopper. Some of the problems with working with that many breps is most of the time Boolean doesn’t unite the pieces correctly or deforms the shape of the pieces . So I have modified the script in order it can work with meshes. Since in 3d printing process we already need to work with meshes , it made it easier for us . Below we can see the script which has been modified.
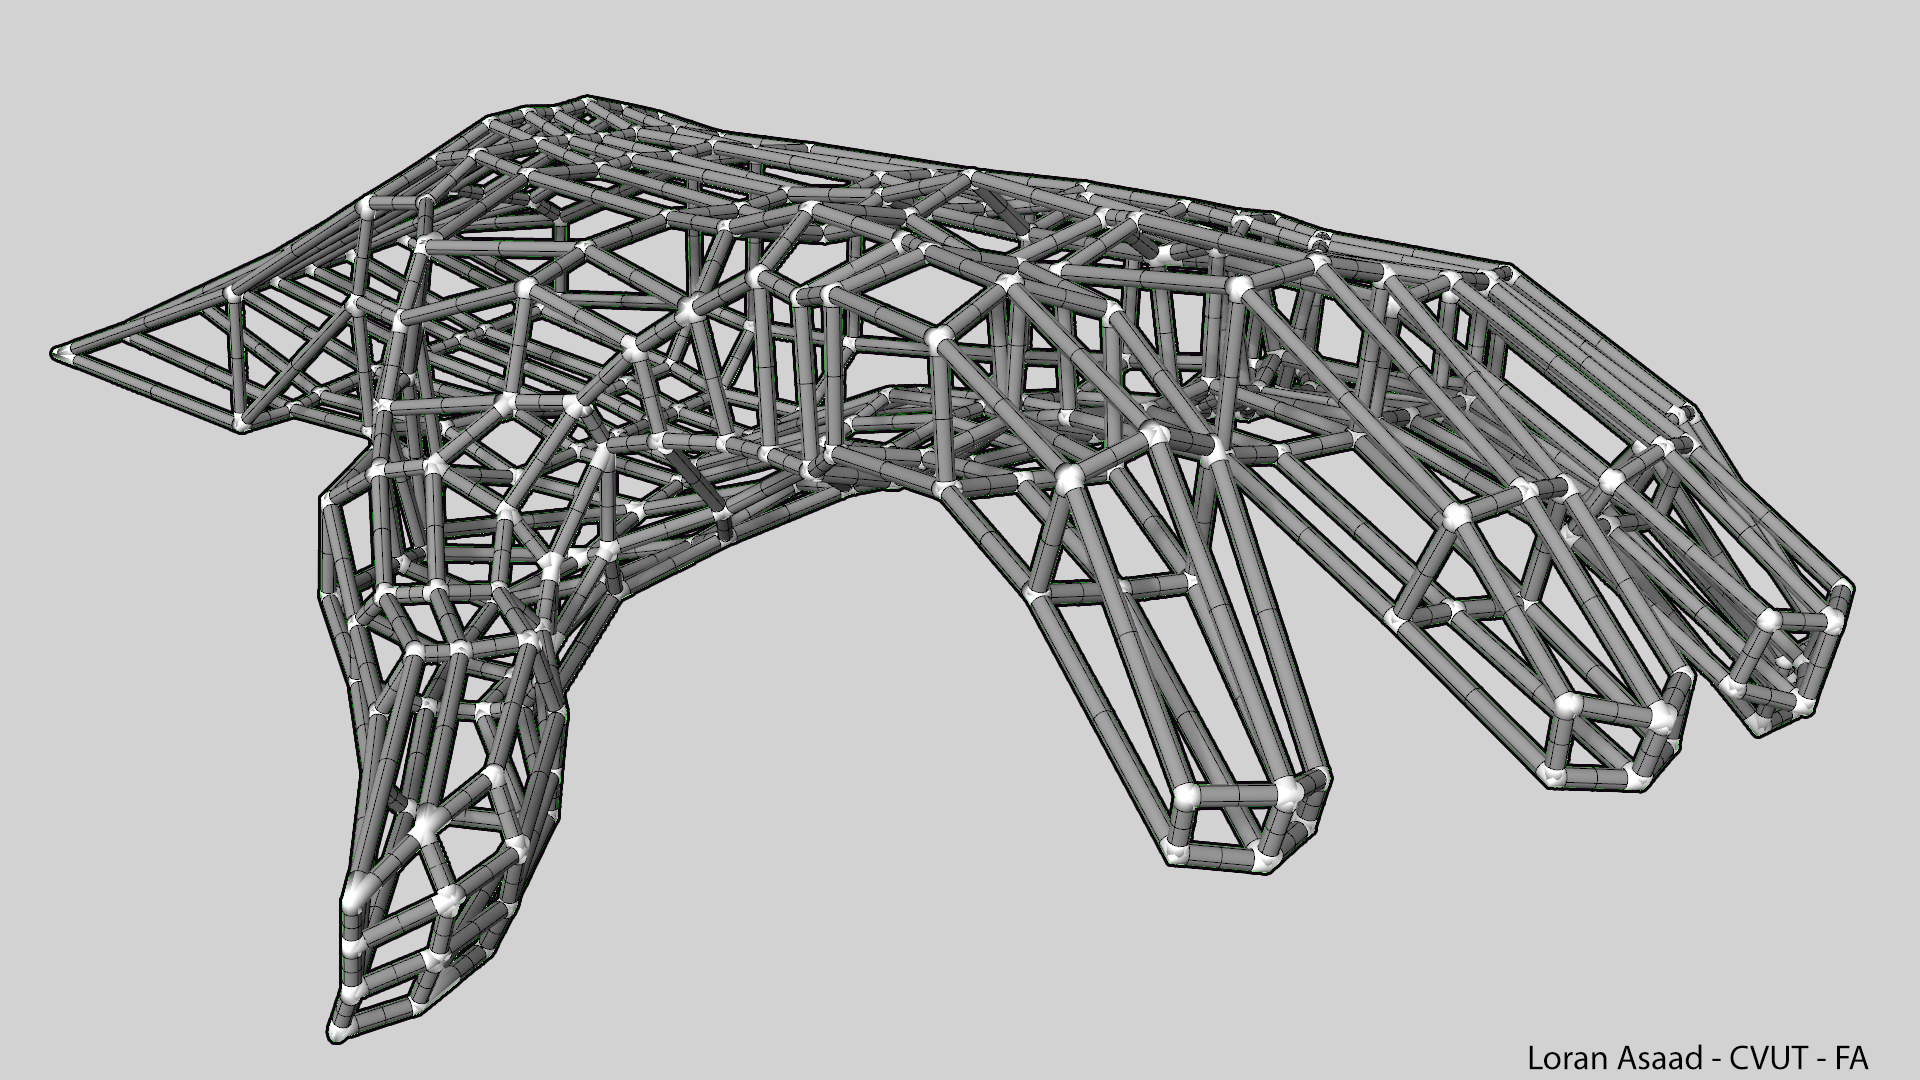
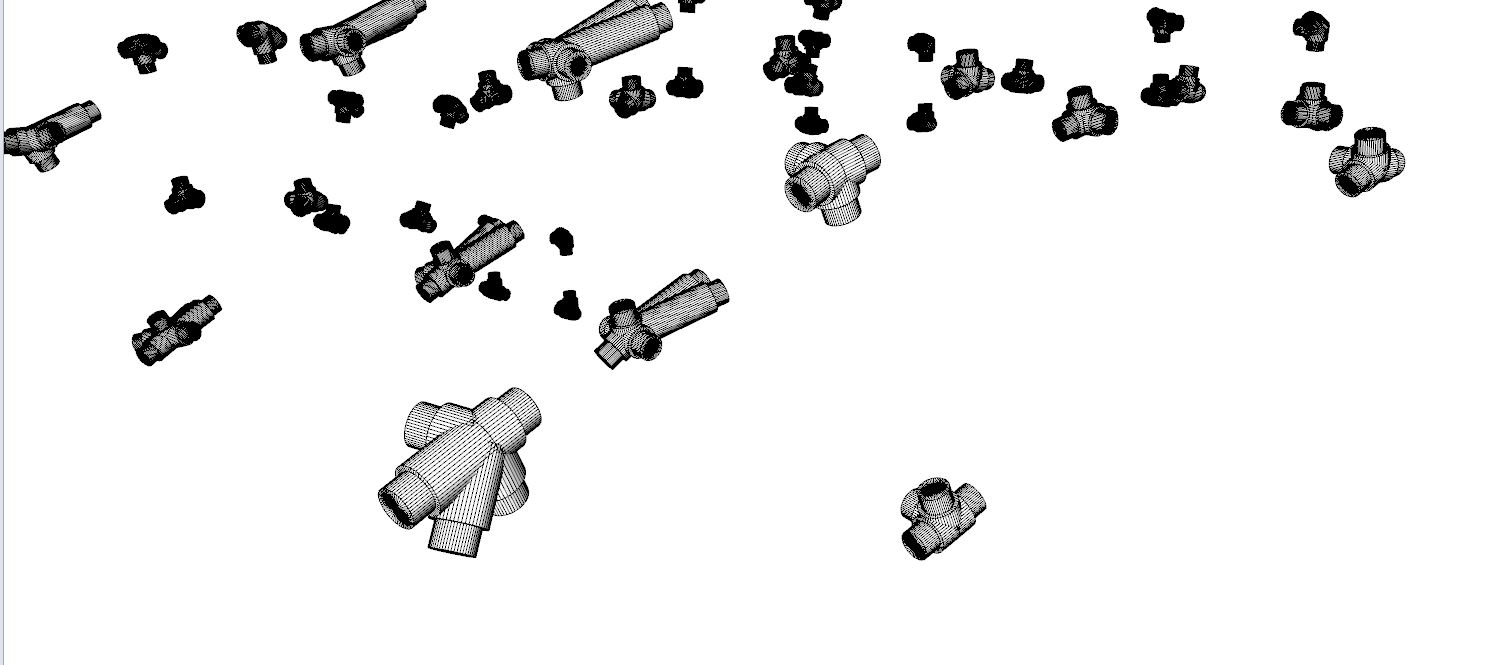
Joint system
Basic scheme of the joint system.
1- setting our curves
since the script works with curves we have to take out our interior edges from our mesh
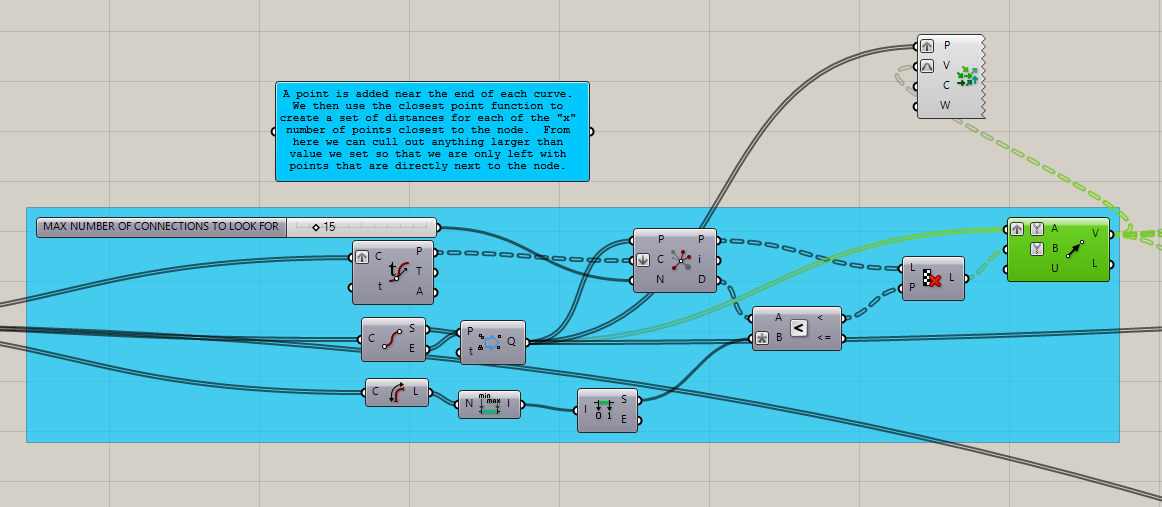
2- Creating vectors
The main idea in here is to connect the points in our point cloud using the closest points and create the vectors between them .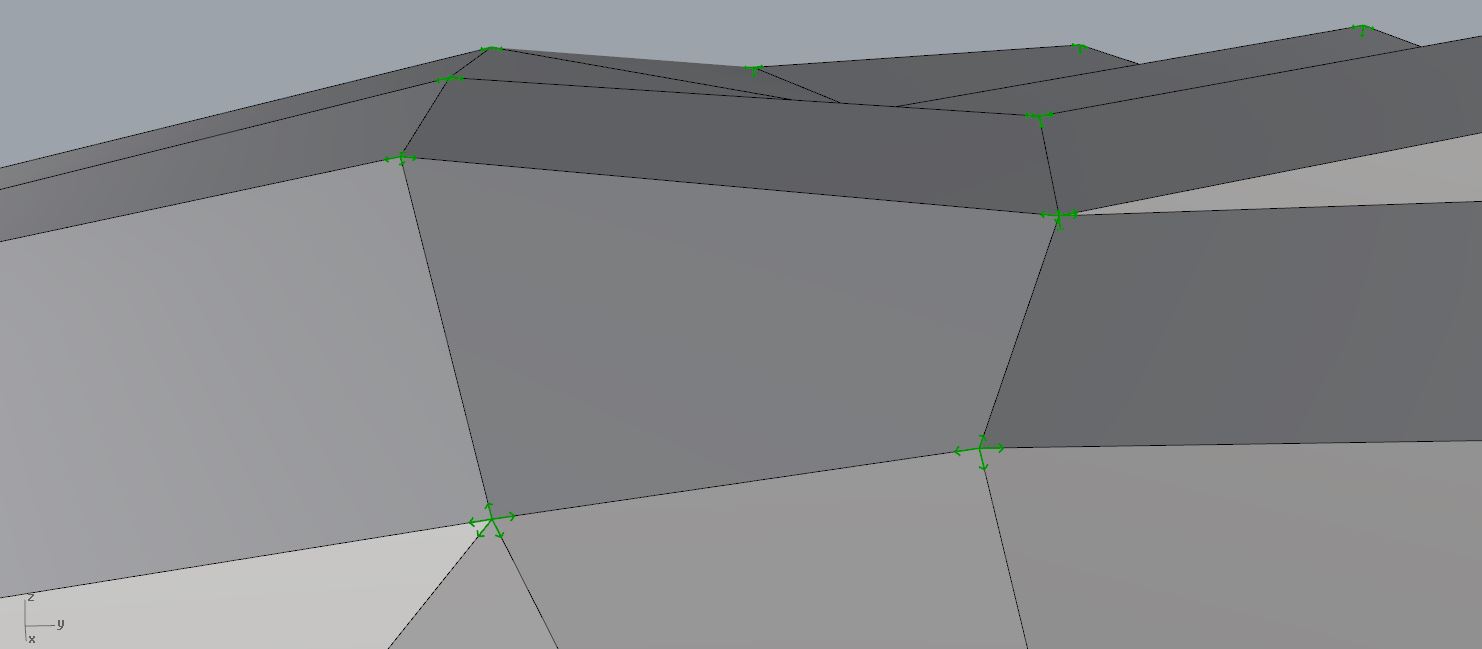
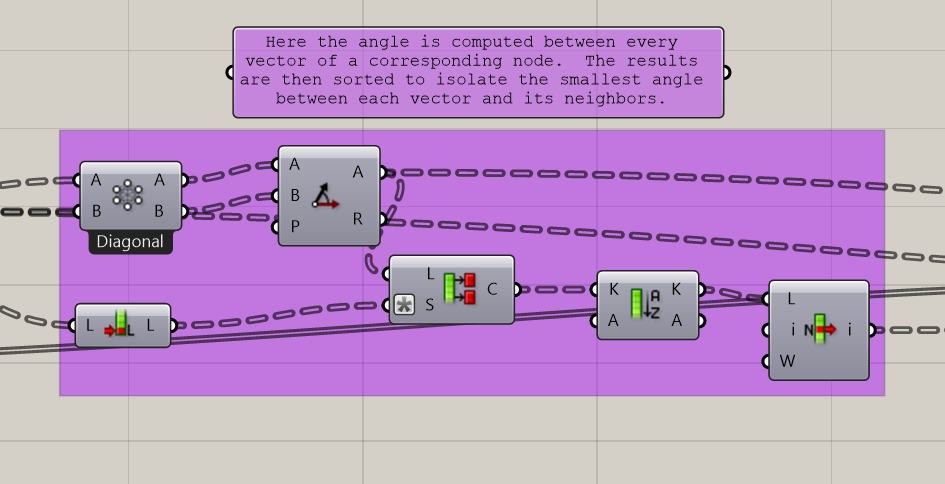
3- Evaluating the angles
In this step the angle between the joints are calculated in order we can apply our equation that will help us to create the joints with minimum length
4- Implying the equation
This is the step where all the length for female joints are being calculating with the help of the equation we found . Also we enter our main changeable inputs in this step such as radius and thickness. In the end of this step we have our curves to be able to extrude pipes out of them
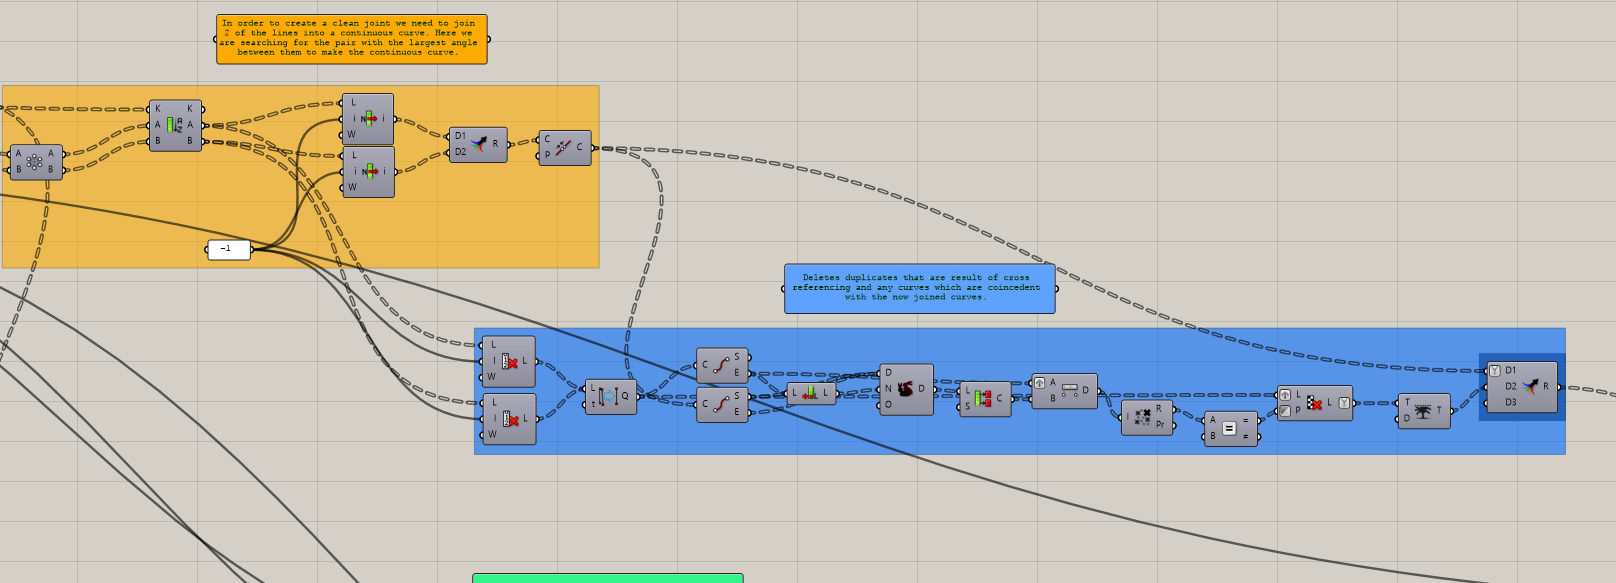
5-Joining the curves
Next thing to do is to pair the curves we have created previously to be able to create clean pipes out of them . The method has been used is finding the line pairs with the widest angle between .

6-Eliminating the Duplicates
Here we delete the duplicates and re join the curves again
7-Creating female joints
Now that we got our clear lines now we can create the first step of our joints . This is the main body of our joint which will stay outside . The joints are basically created with extrusion of a pipe with curves we have created previously. 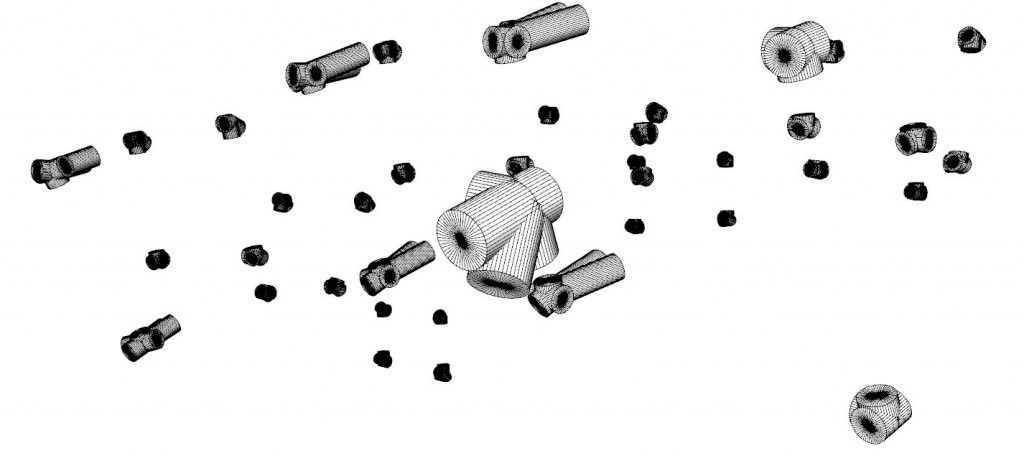

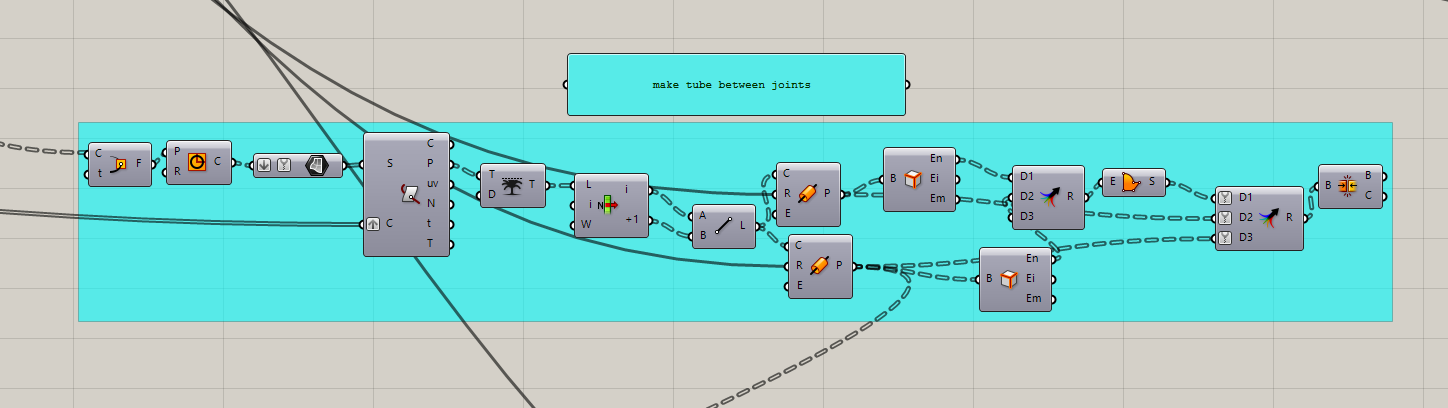
8- Creating tubes (optional)
Since we won’t 3d print our tubes this process is only needed to be able to see the tubes in between. The inputs we need are the thicknesses we have decided on step 4 and the lines we have created again in step 4 to have proper P-frames. Please note that the method has been used in here however is not mesh but nurb geometry.
9- Creating male connectors
Now that we got our tubes and main connectors the only part missing is the part which will go inside the metal tubes. In order to create them we will use again mesh tubes however we will need some lines again. The method we can use is to use tube caps that have been created in previous step then evaluate the circles to be able to have an angle and use those normals to create new curves with the length we want it to be.
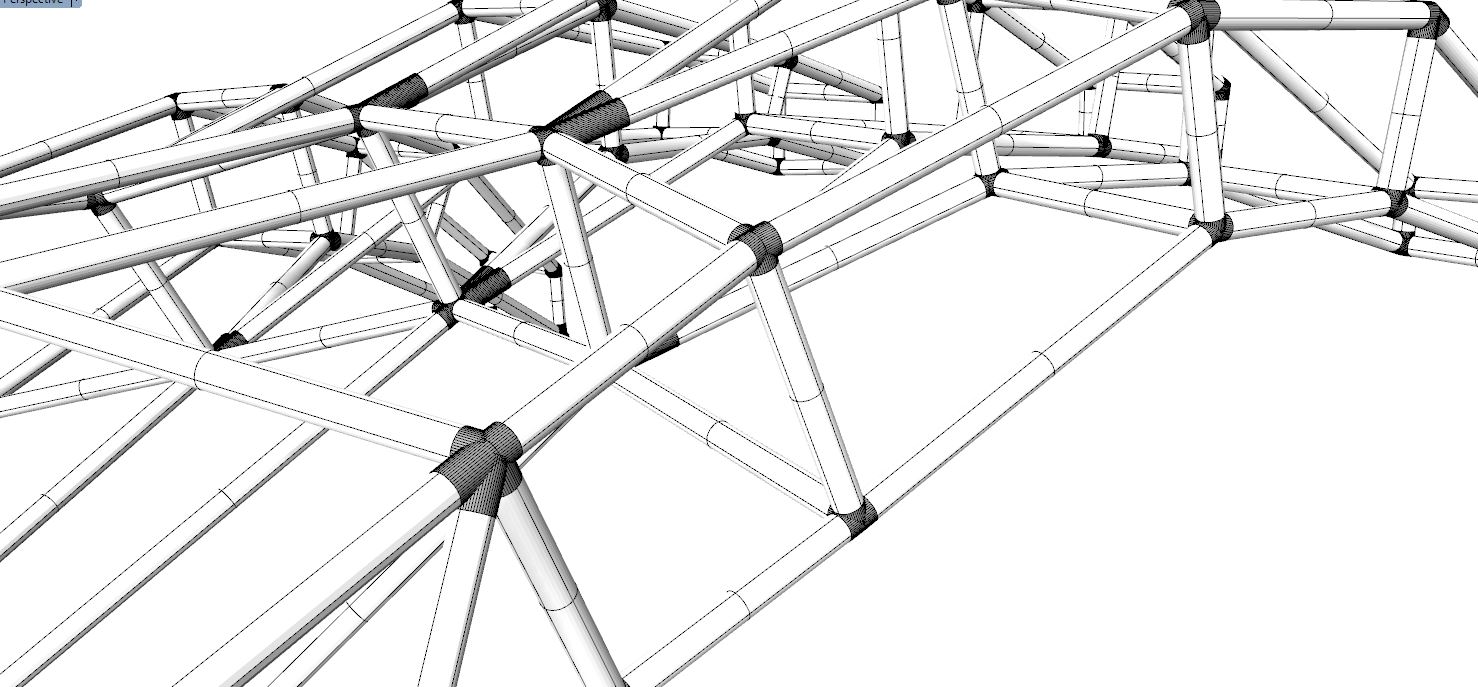
and Voila we have our joints
Please find the gh file bellow
Loran Asaad
16-06-2017