~a Grasshopper exploration of Human UI and Kangaroo plugins~
Download script here (or all the way down on the way down):
CONCEPT
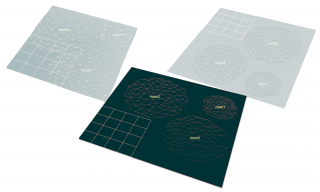
My idea was to create a tool to quickly and intuitively visualize various layouts of rooms in a rectangle (flat). I imagined the rooms as sort of “blobs” floating around the rectangle like bubbles and squishing and pushing each other around. It should have made a rough visualisation of room positioning. I called it “floorplan helper” (even though the conception has, in my opinion, potential to be used in other planning as well.) The important thing was how basic the visualisation looked and also that the user should be able to drag the rooms around.
I have higlighted my main takeaways from this project in blue – feel free to just skim through them first.
“STATE OF THE ART”
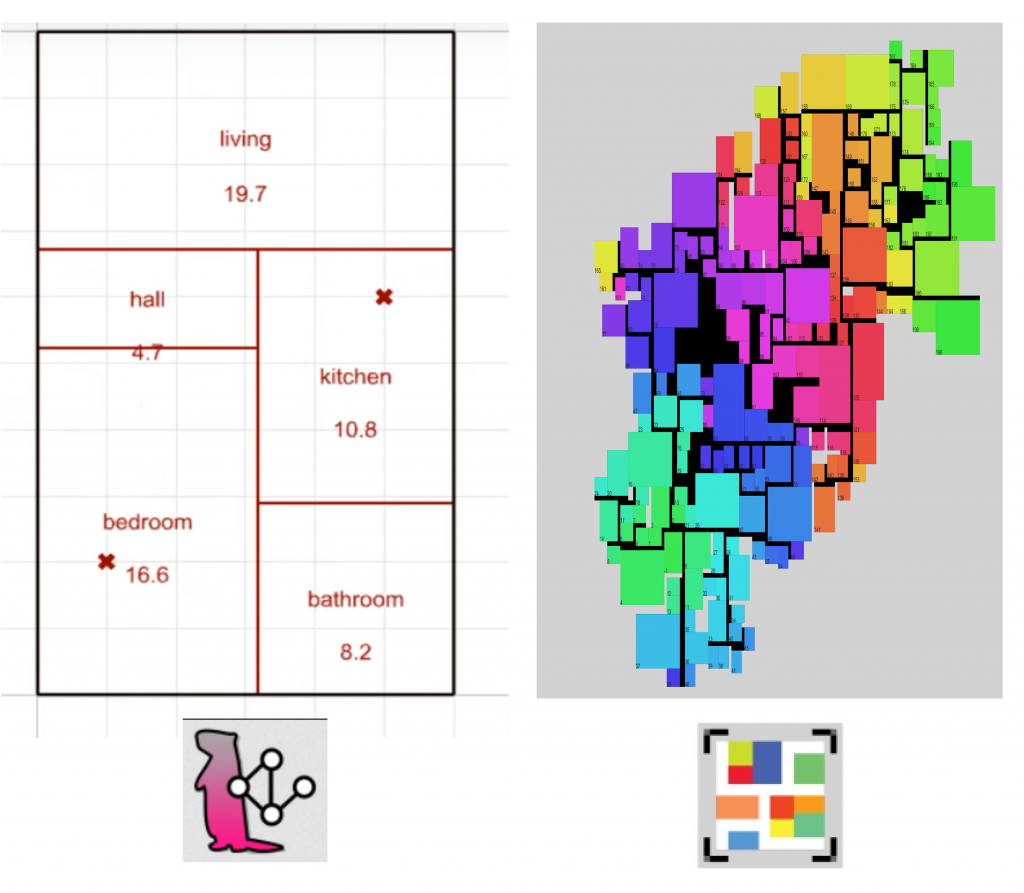
Grasshopper plugins that have similar function exist – notably Marmot and Magnetizing Floorplan Generator. I wanted to produce plans that were less specific looking allowing the user to better continue working with them creatively. (That is the reason for using blobs instead of better computable rectangles.)
KANGAROO AND HUMAN UI
My script is build on two grasshopper plugins:
- Kangaroo (by Daniel Piker) – for physics simulations
- Human UI (by Andrew Heumann.) – for constructing a user interface that can function outside of grasshopper
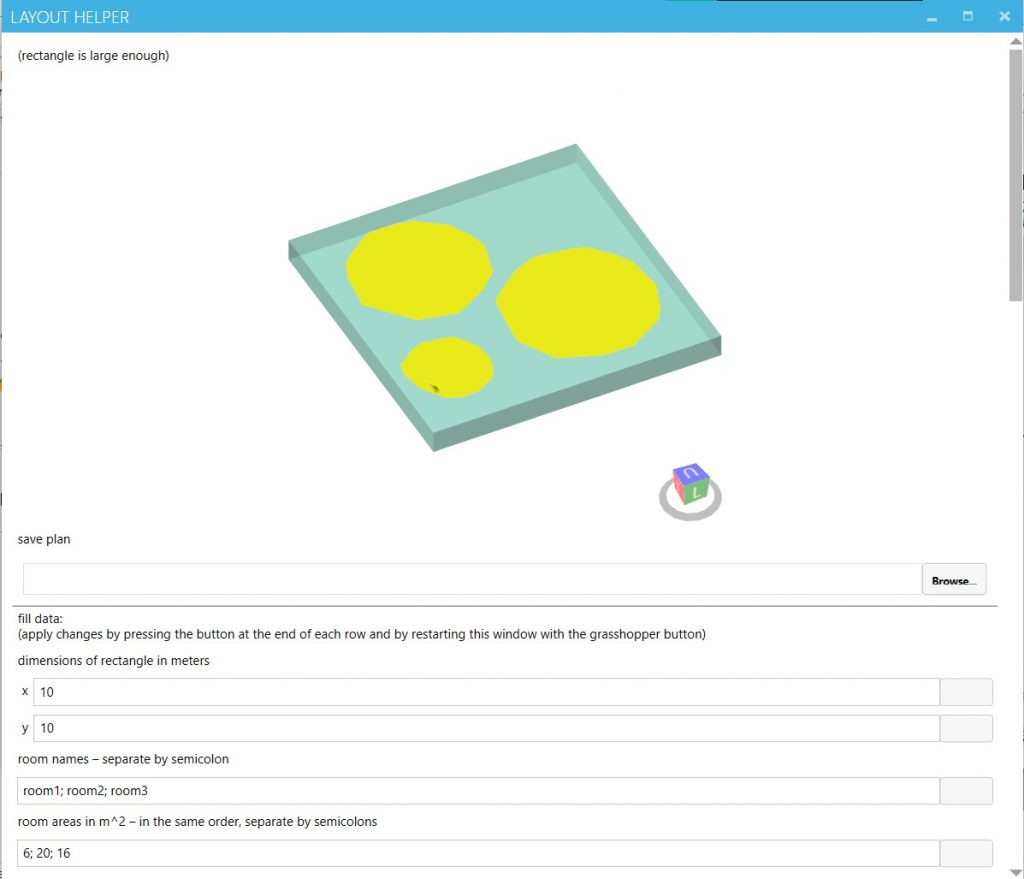
I wanted to make the UI as easy to use as possible. But it turns out combining Kangaroo and Human UI isn’t so easy. [MAIN TAKEAWAY 1] Human UI is best when everything one needs can be done with Human UI elements. It turned out to be impossible to turn Kangaroo on or reset it from the Human UI window. I am thus using it only for a nice interface for user data input. The window needs to be closed for changes to apply, but it still more orientable than text input directly in grasshopper.
What can Human UI do? [MAIN TAKEAWAY 2] Human UI works always the same: one creates window, creates elements, adds elements to window and then maybe edits contents of elements. Value of element can be read by a “listener” component. NEVER PLUG NEW ELEMENT INTO LISTENER.
The values user has put in in Human UI window go through multiple goals into a large Kangaroo Bouncy solver. I will not go into detail about Kangaroo. The key is to make the perfect weighths (strenghths) ratios. Mine do not work very well – the collisions are still problematic. However, one can help the meshes by manually pulling them in a Rhino viewport. Big thanks to component Grab. [MAIN TAKEAWAY 3] Kangaroo component Grab lets user interact with the physics simulation in real time. Unfortunately: it works only in normal viewports, not the Human UI one…
INTERACTIVITY
The main point of my concept was for the floorplan helper tool to be interactive. That proved to be complicated with Grasshopper. If it was not for the Grab component, the scipt would have had to have run from the beginning for every little input modification. [MAIN TAKEAWAY 3] It is hard to do realitime interactions with the script in Grasshopper. The tool’s user-friendliness also lacks because of the need to at least press buttons in the grasshopper user interface.
WHAT NEXT?
If this project were to continue, there would definitely be some improvements to be made in Grasshopper:
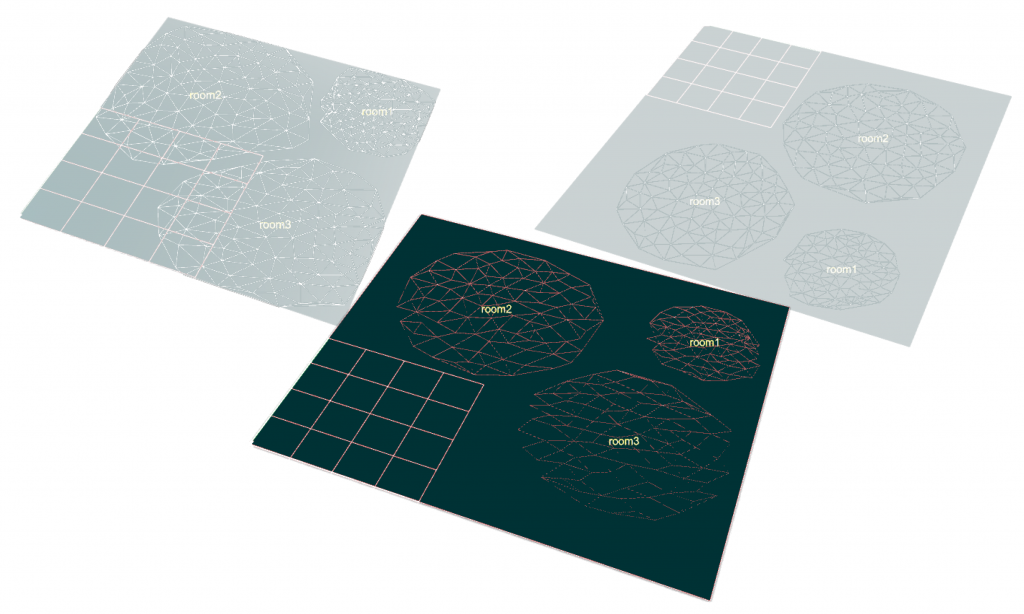
- Kangaroo goal strenghth tuning (there is still problem with collisions and the blob meshes tend to little bit collaps on themselves). – It does what it wants… In one simulation it seems good, in the next blobs are flying in the air.
- Make Human UI viewport nicer and more readable.
- Generate variants automatically and take their snapshots and save their setup data without the user needing to do antything (maybe use an evolution?).
- Maybe even evaluate the variants algorithmically.
I do beleive an app like this could be helpful. But after this semestr: I would think about doing it in a tool designed for interaction.
SCRIPT + OVERVIEW

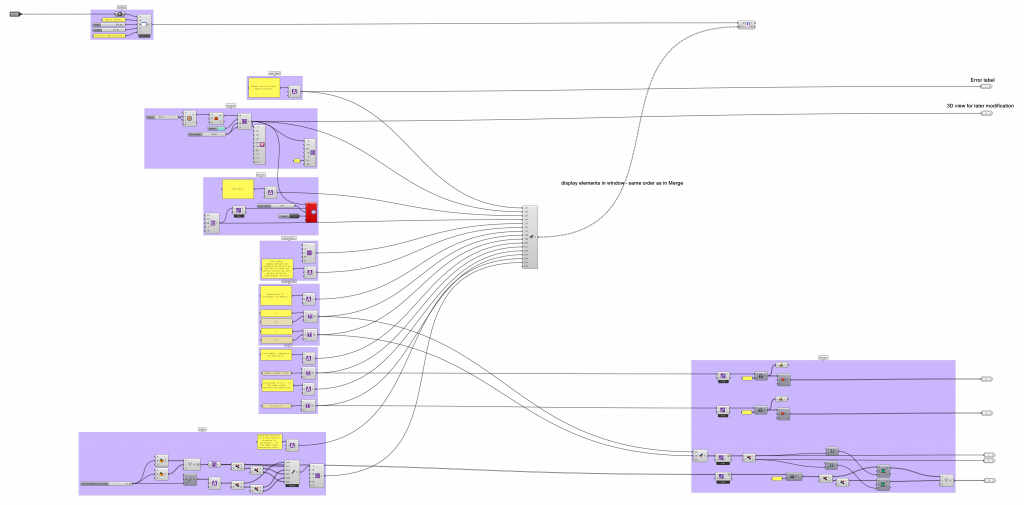
- Get input: user opens Human UI Window. Human UI script is clustered (to open, double click.)
- Human UI: a window is Launched, elements are created and merged in the right order. Before the user has put data in, there might be some errors. Elements are added to the window. Listeners: the vaue of the user’s input is taken out and sent through cluster output to the next part of the script.
- Kangaroo: until there is data coming in from Human UI, this doesn’t really work. Rectangle and blobs are made. The blobs (Delaunay meshes) are plugged into numerous Kangaroo goals, all their strengths are at the bottom left of the screen. A Bouncy Solver is used, the switch and reset button are moved to the beginning of the script for usability.
- A couple of Human UI end components are used to set a new value of already created elements. Elements are also viualised properly in the Rhino viewport, where the user can use the drag function.
