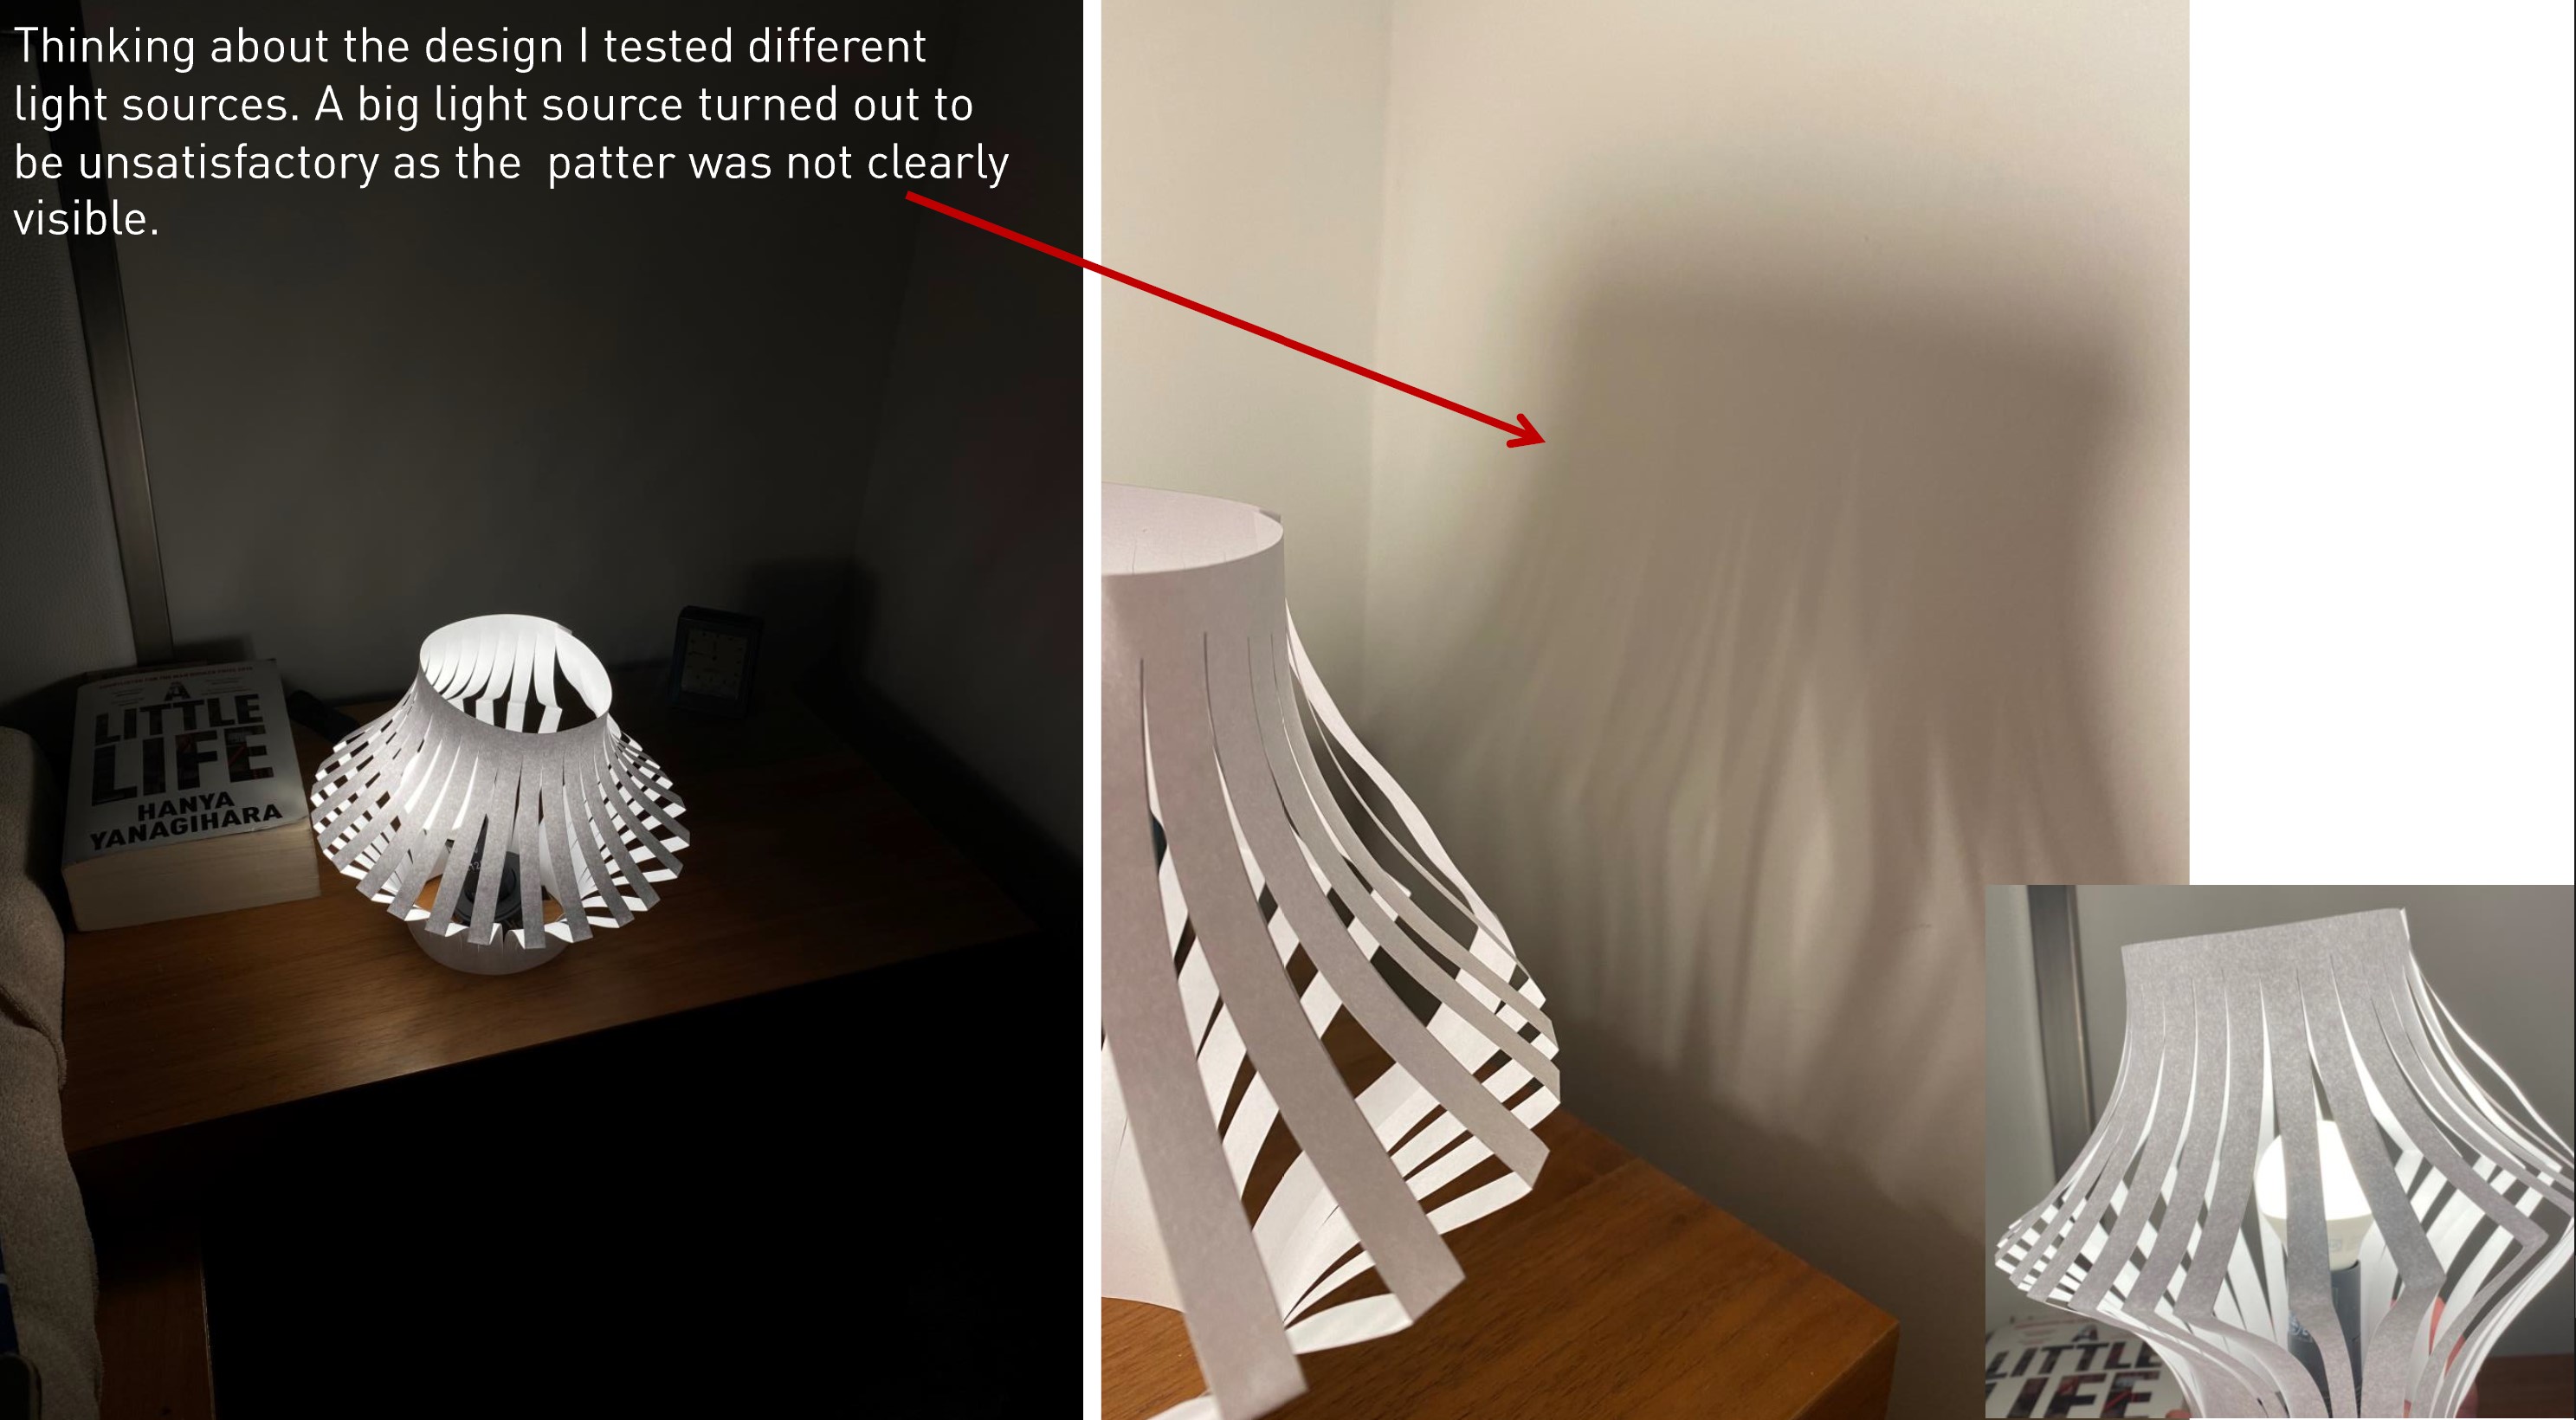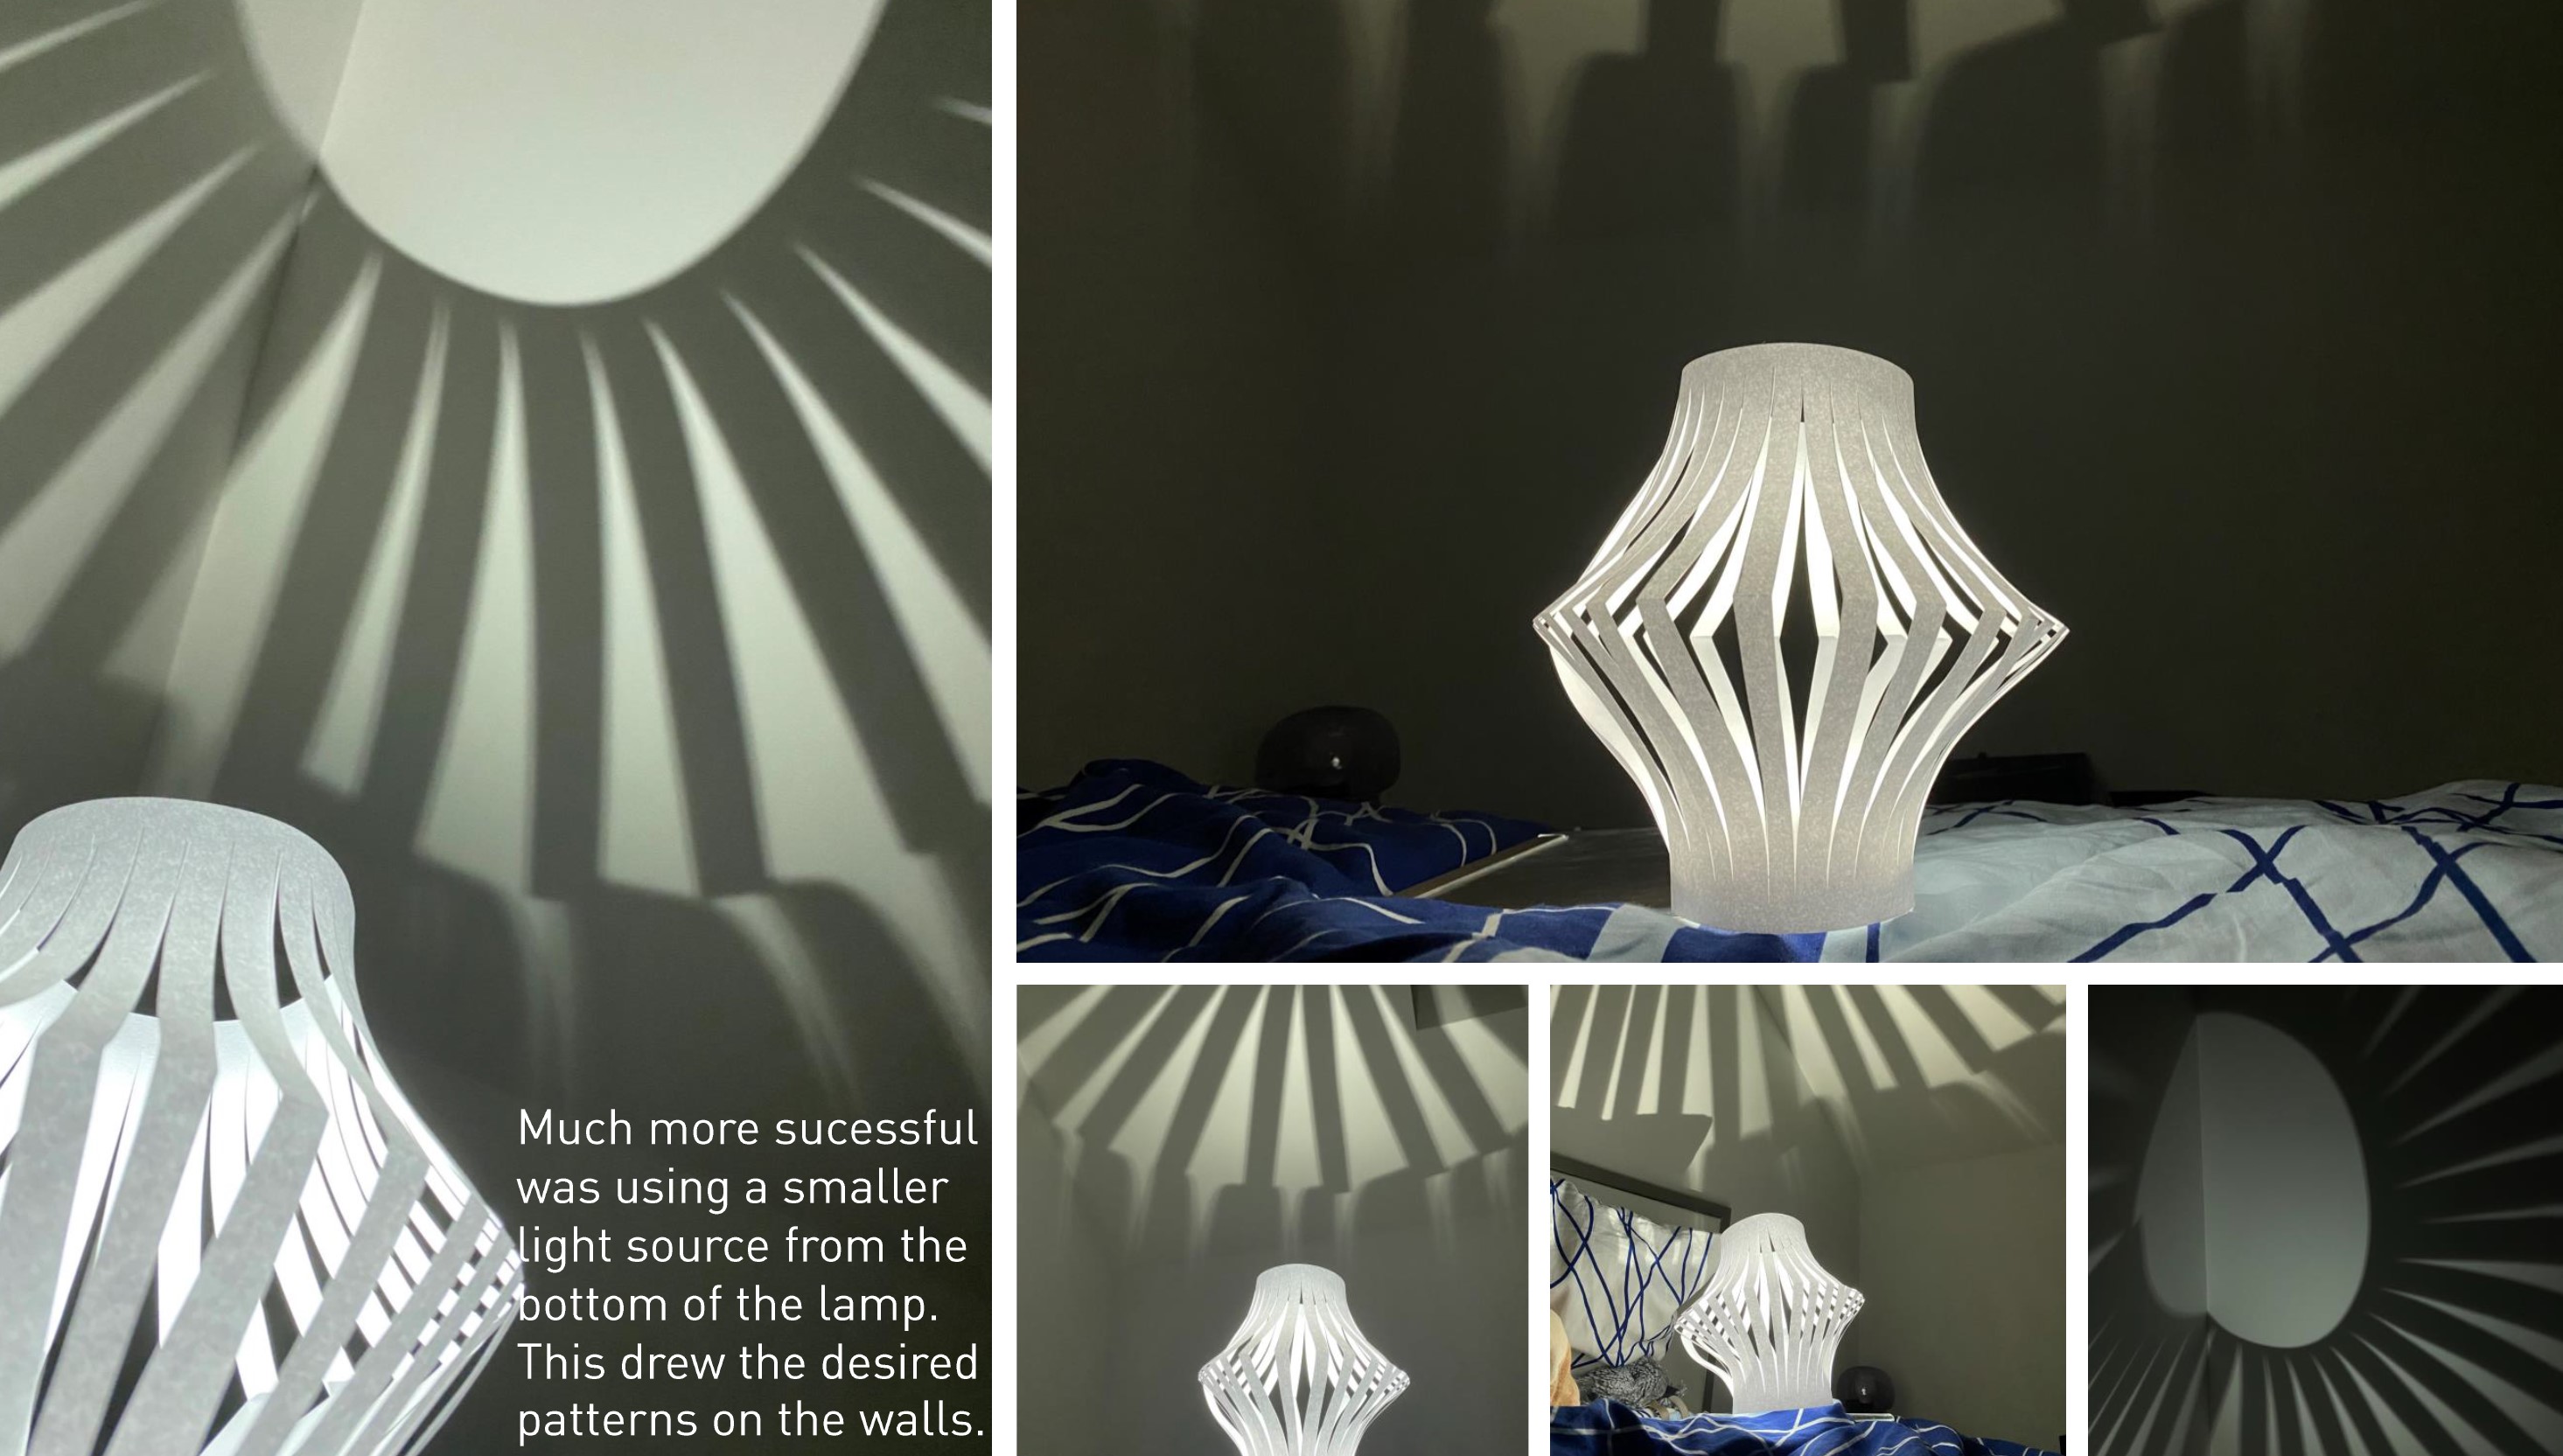
Step 1
Creating a circular base of the lampshade in XY Plane. Units are set to centimeters.
Number slider refers to the radius of the base.

Step 2
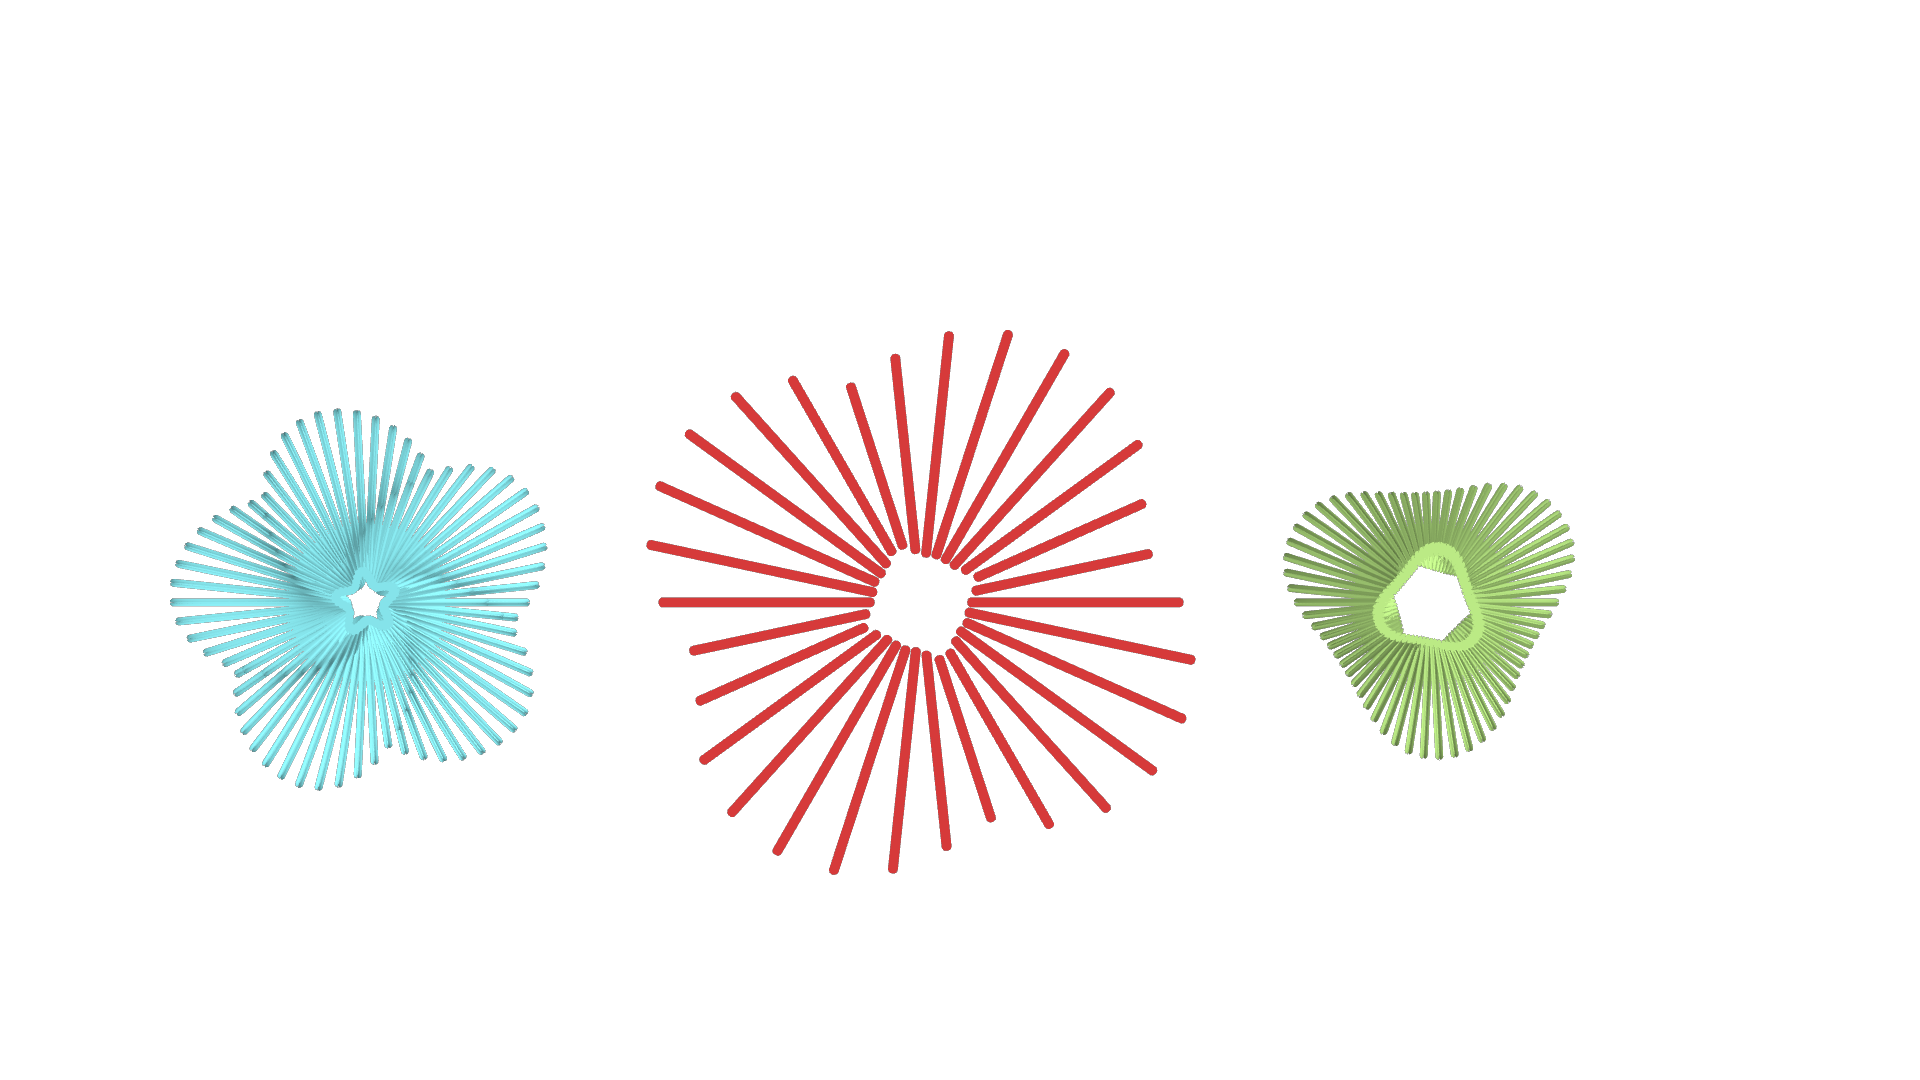
Dividing the curve into 12 (3×4) segments.

Step 3
Creating a point to each point that divided the circle. Putting 2 inside the circle and 2 outside (1;1;-1;-1).

Step 4
Connecting these with a Nurbs curve – this will define the main shape of the lampshade
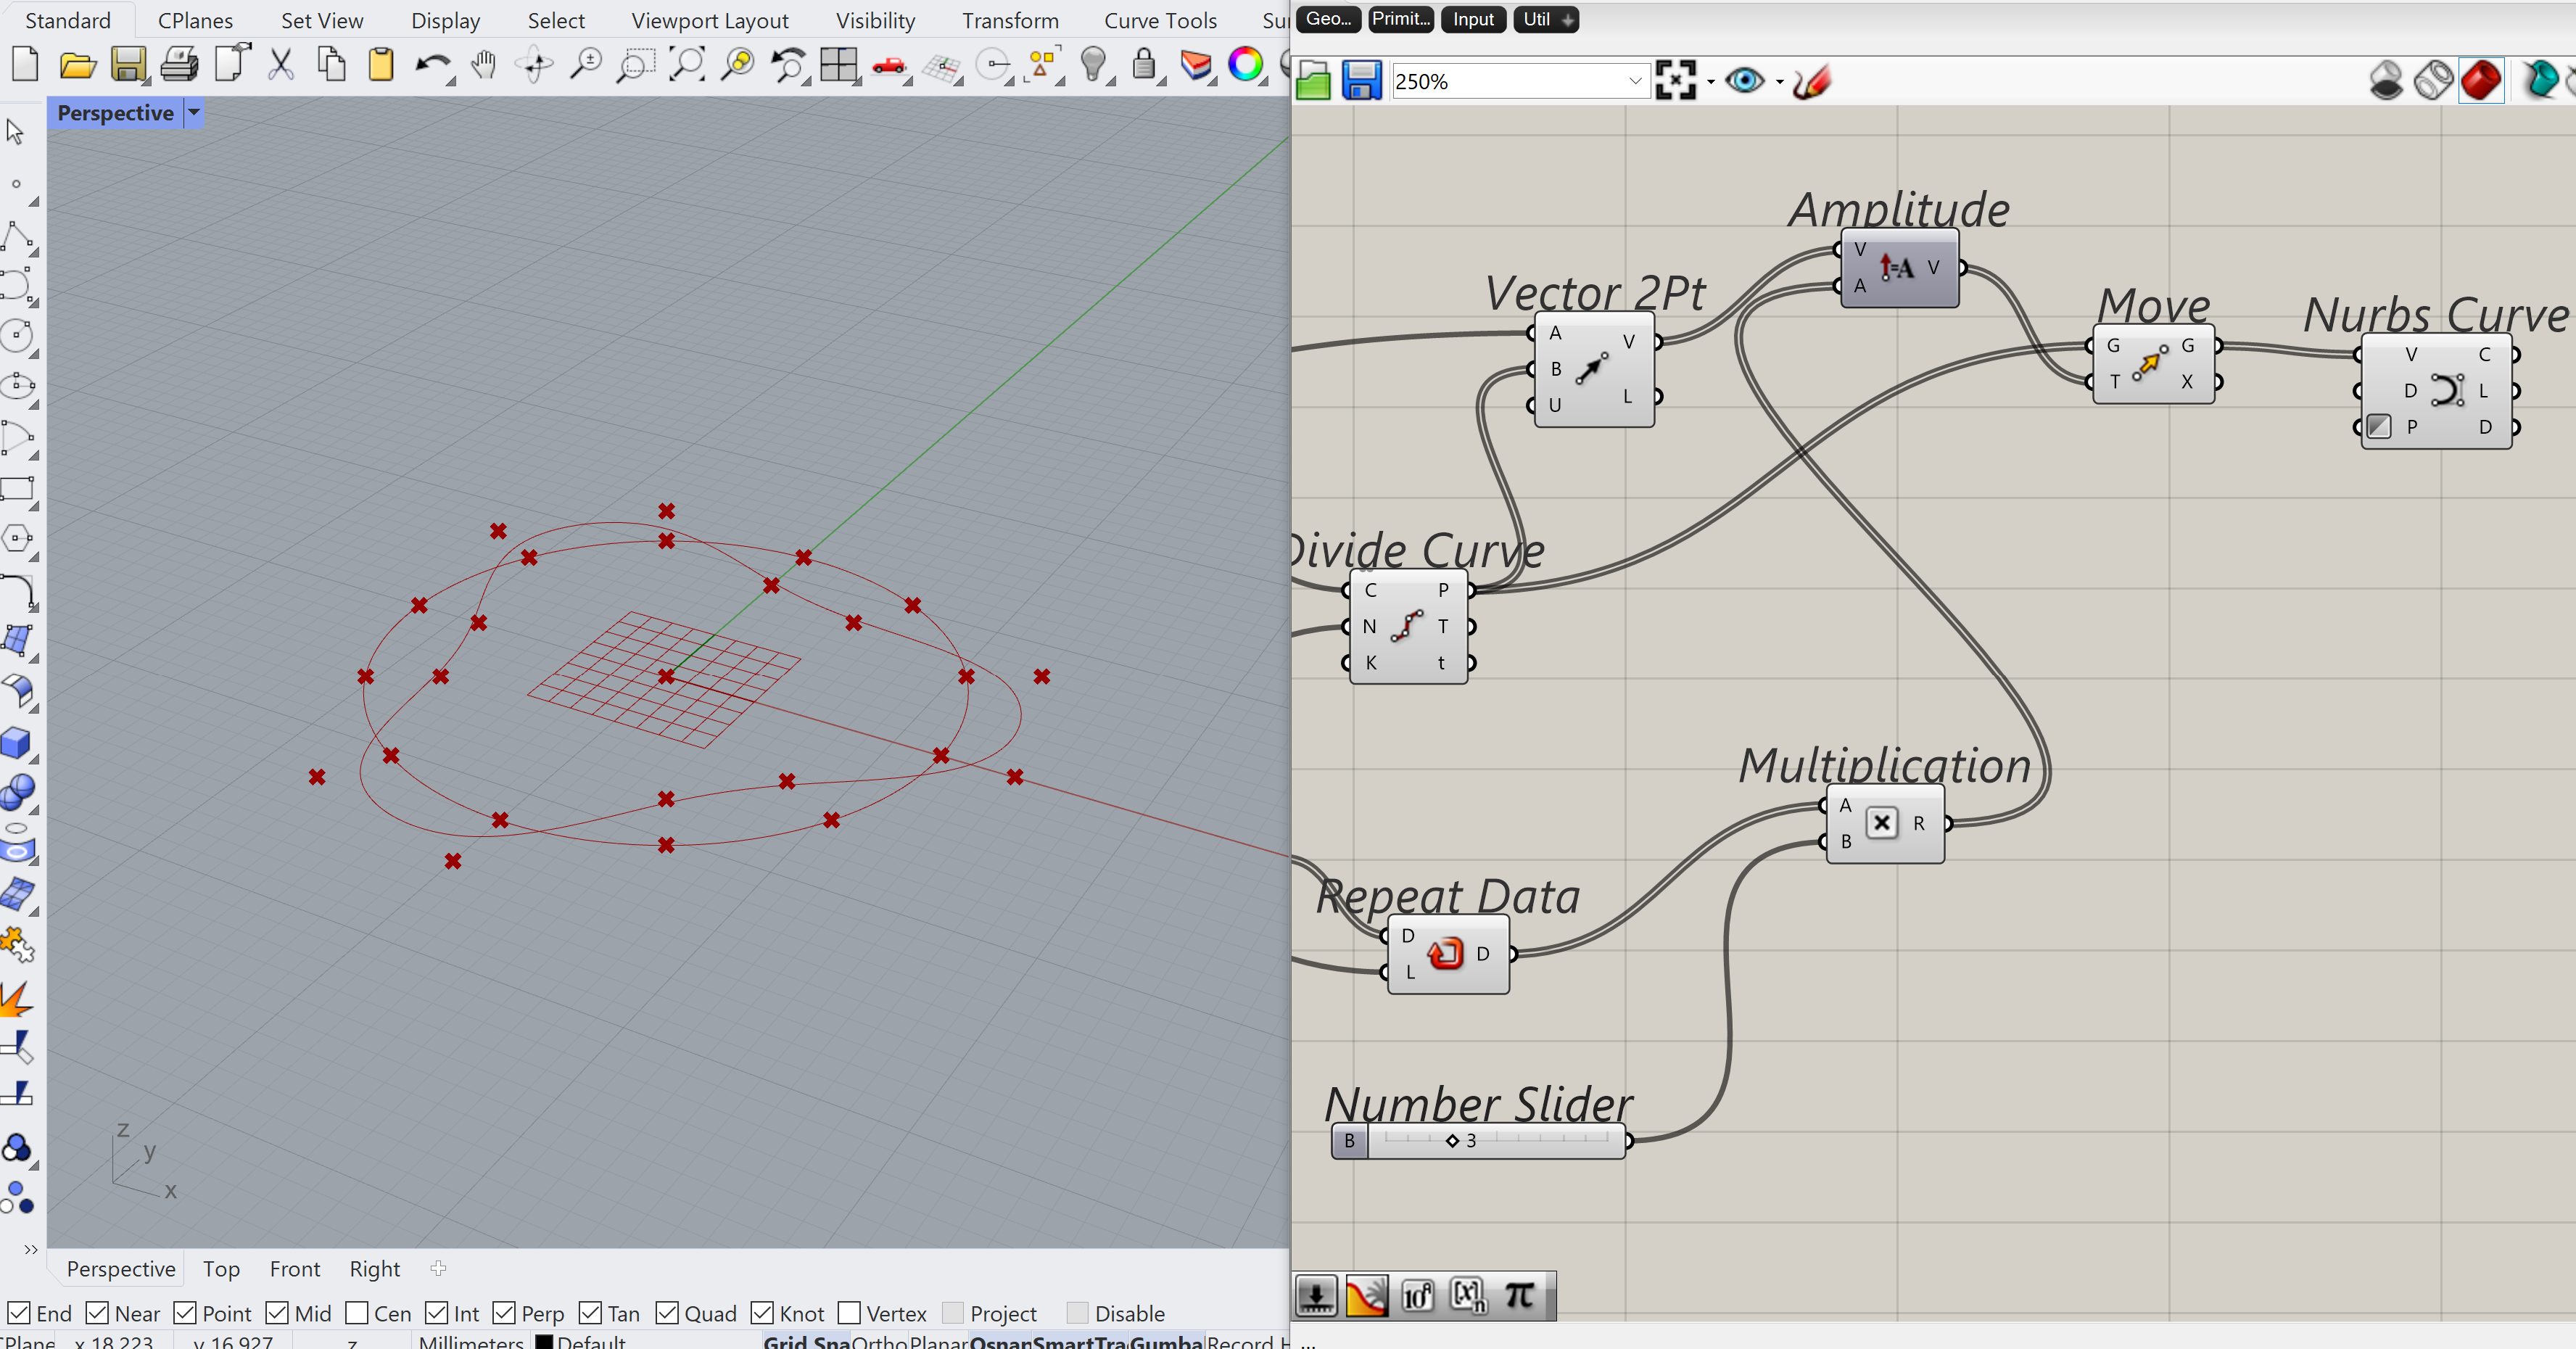
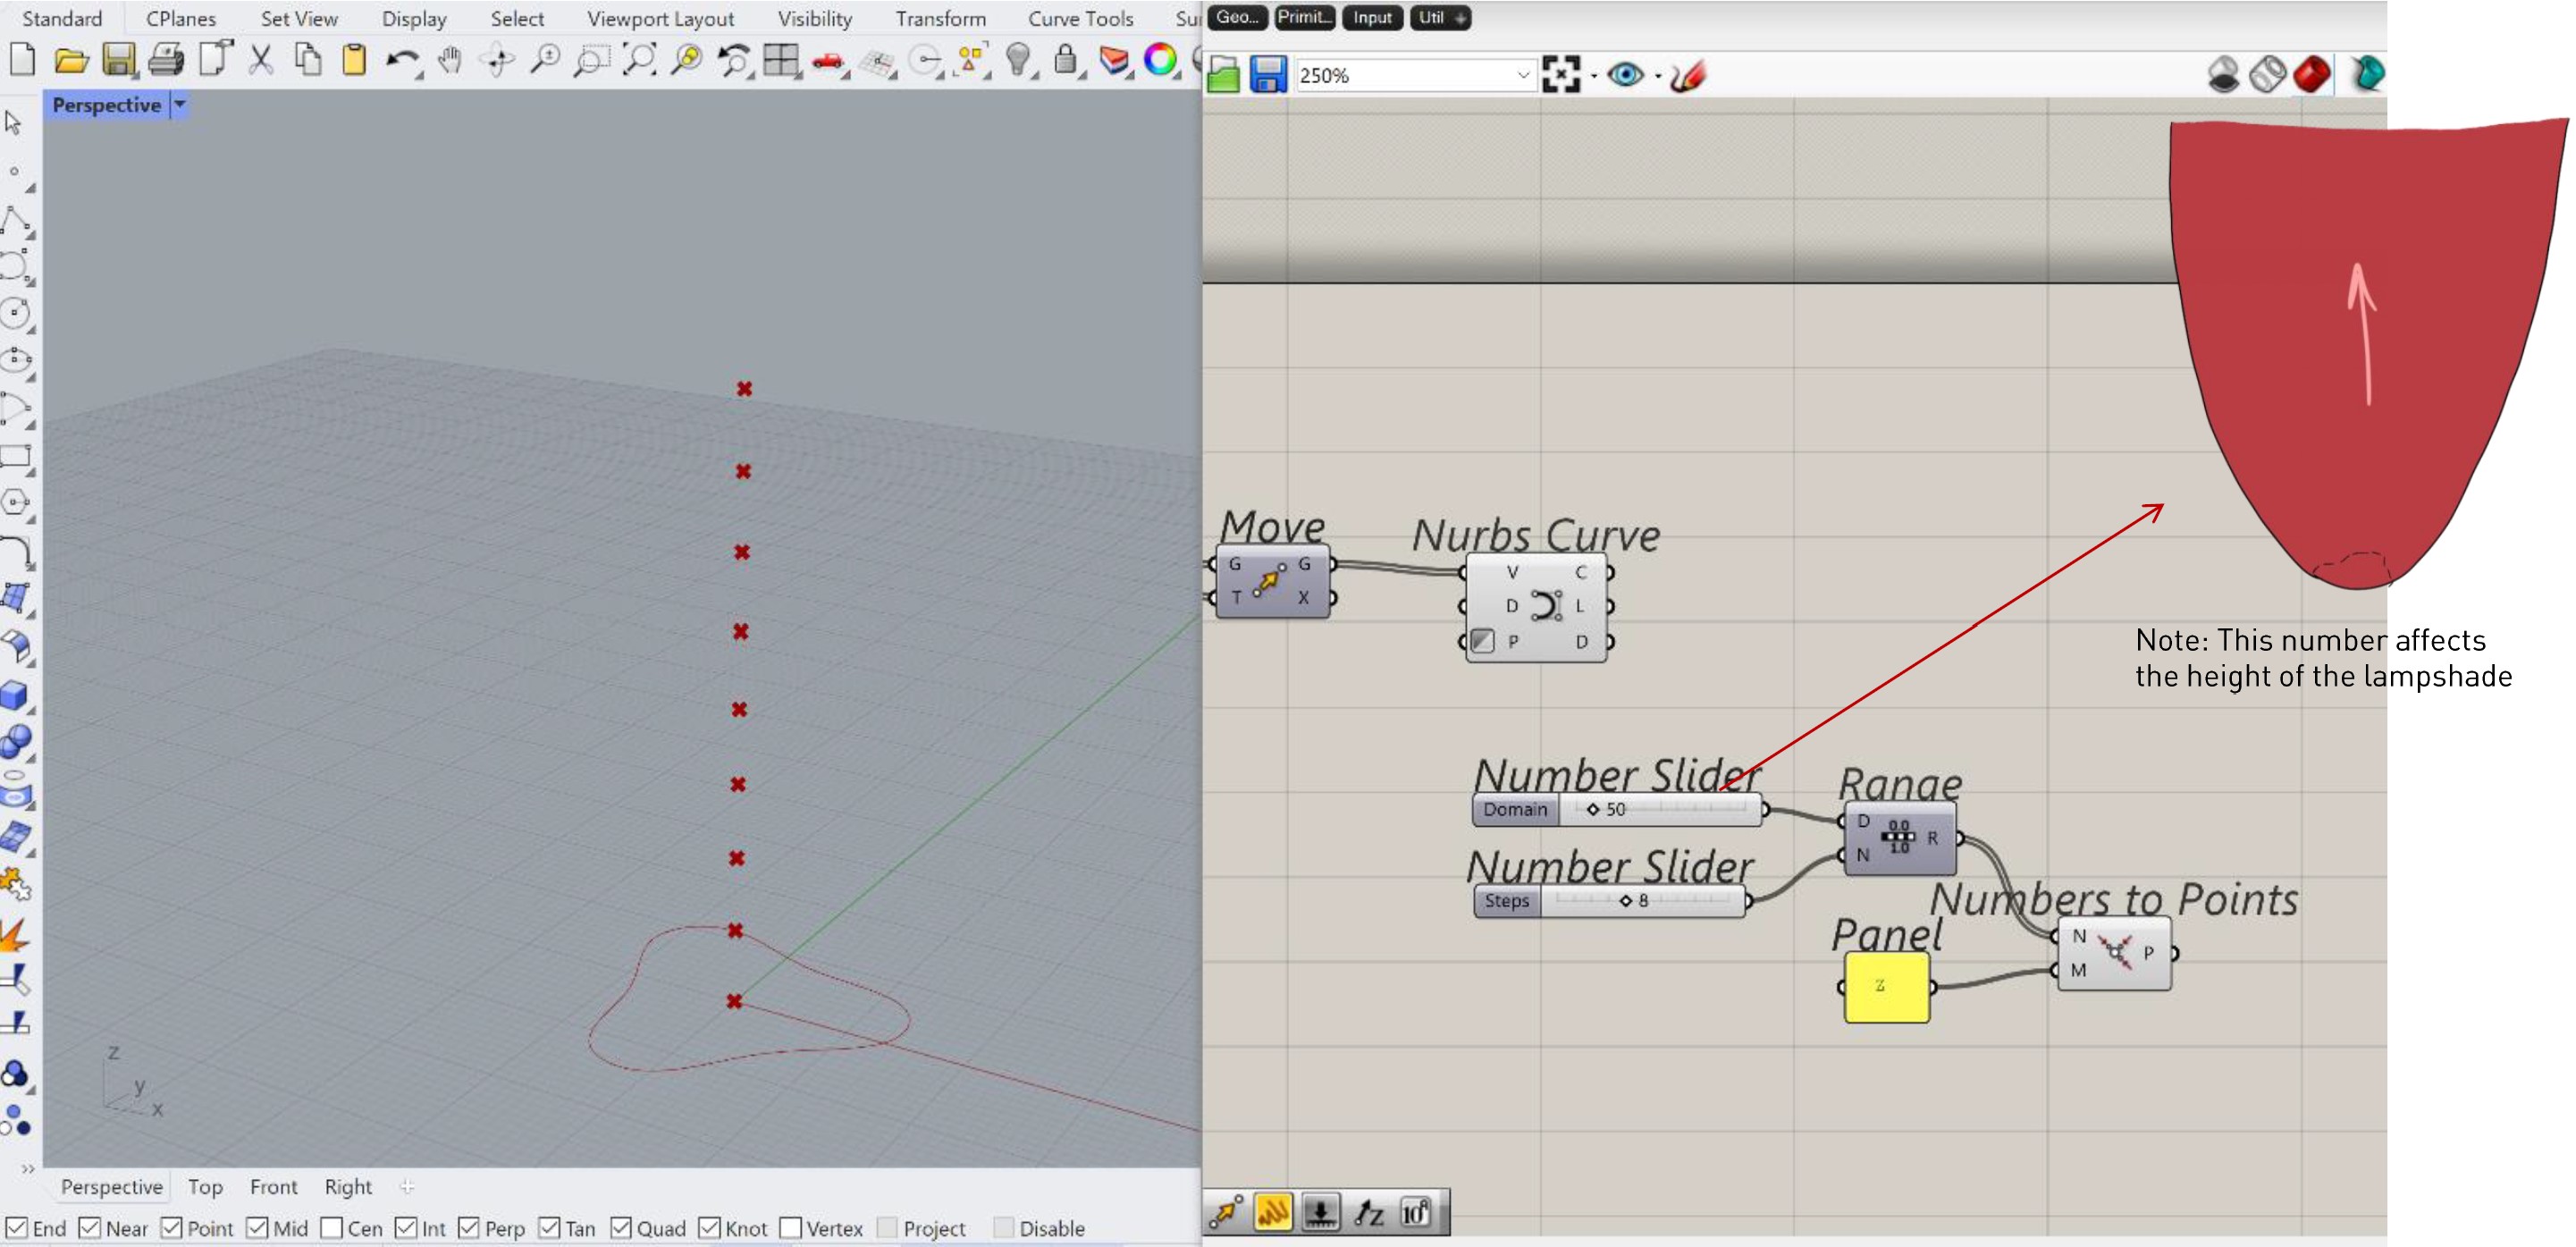
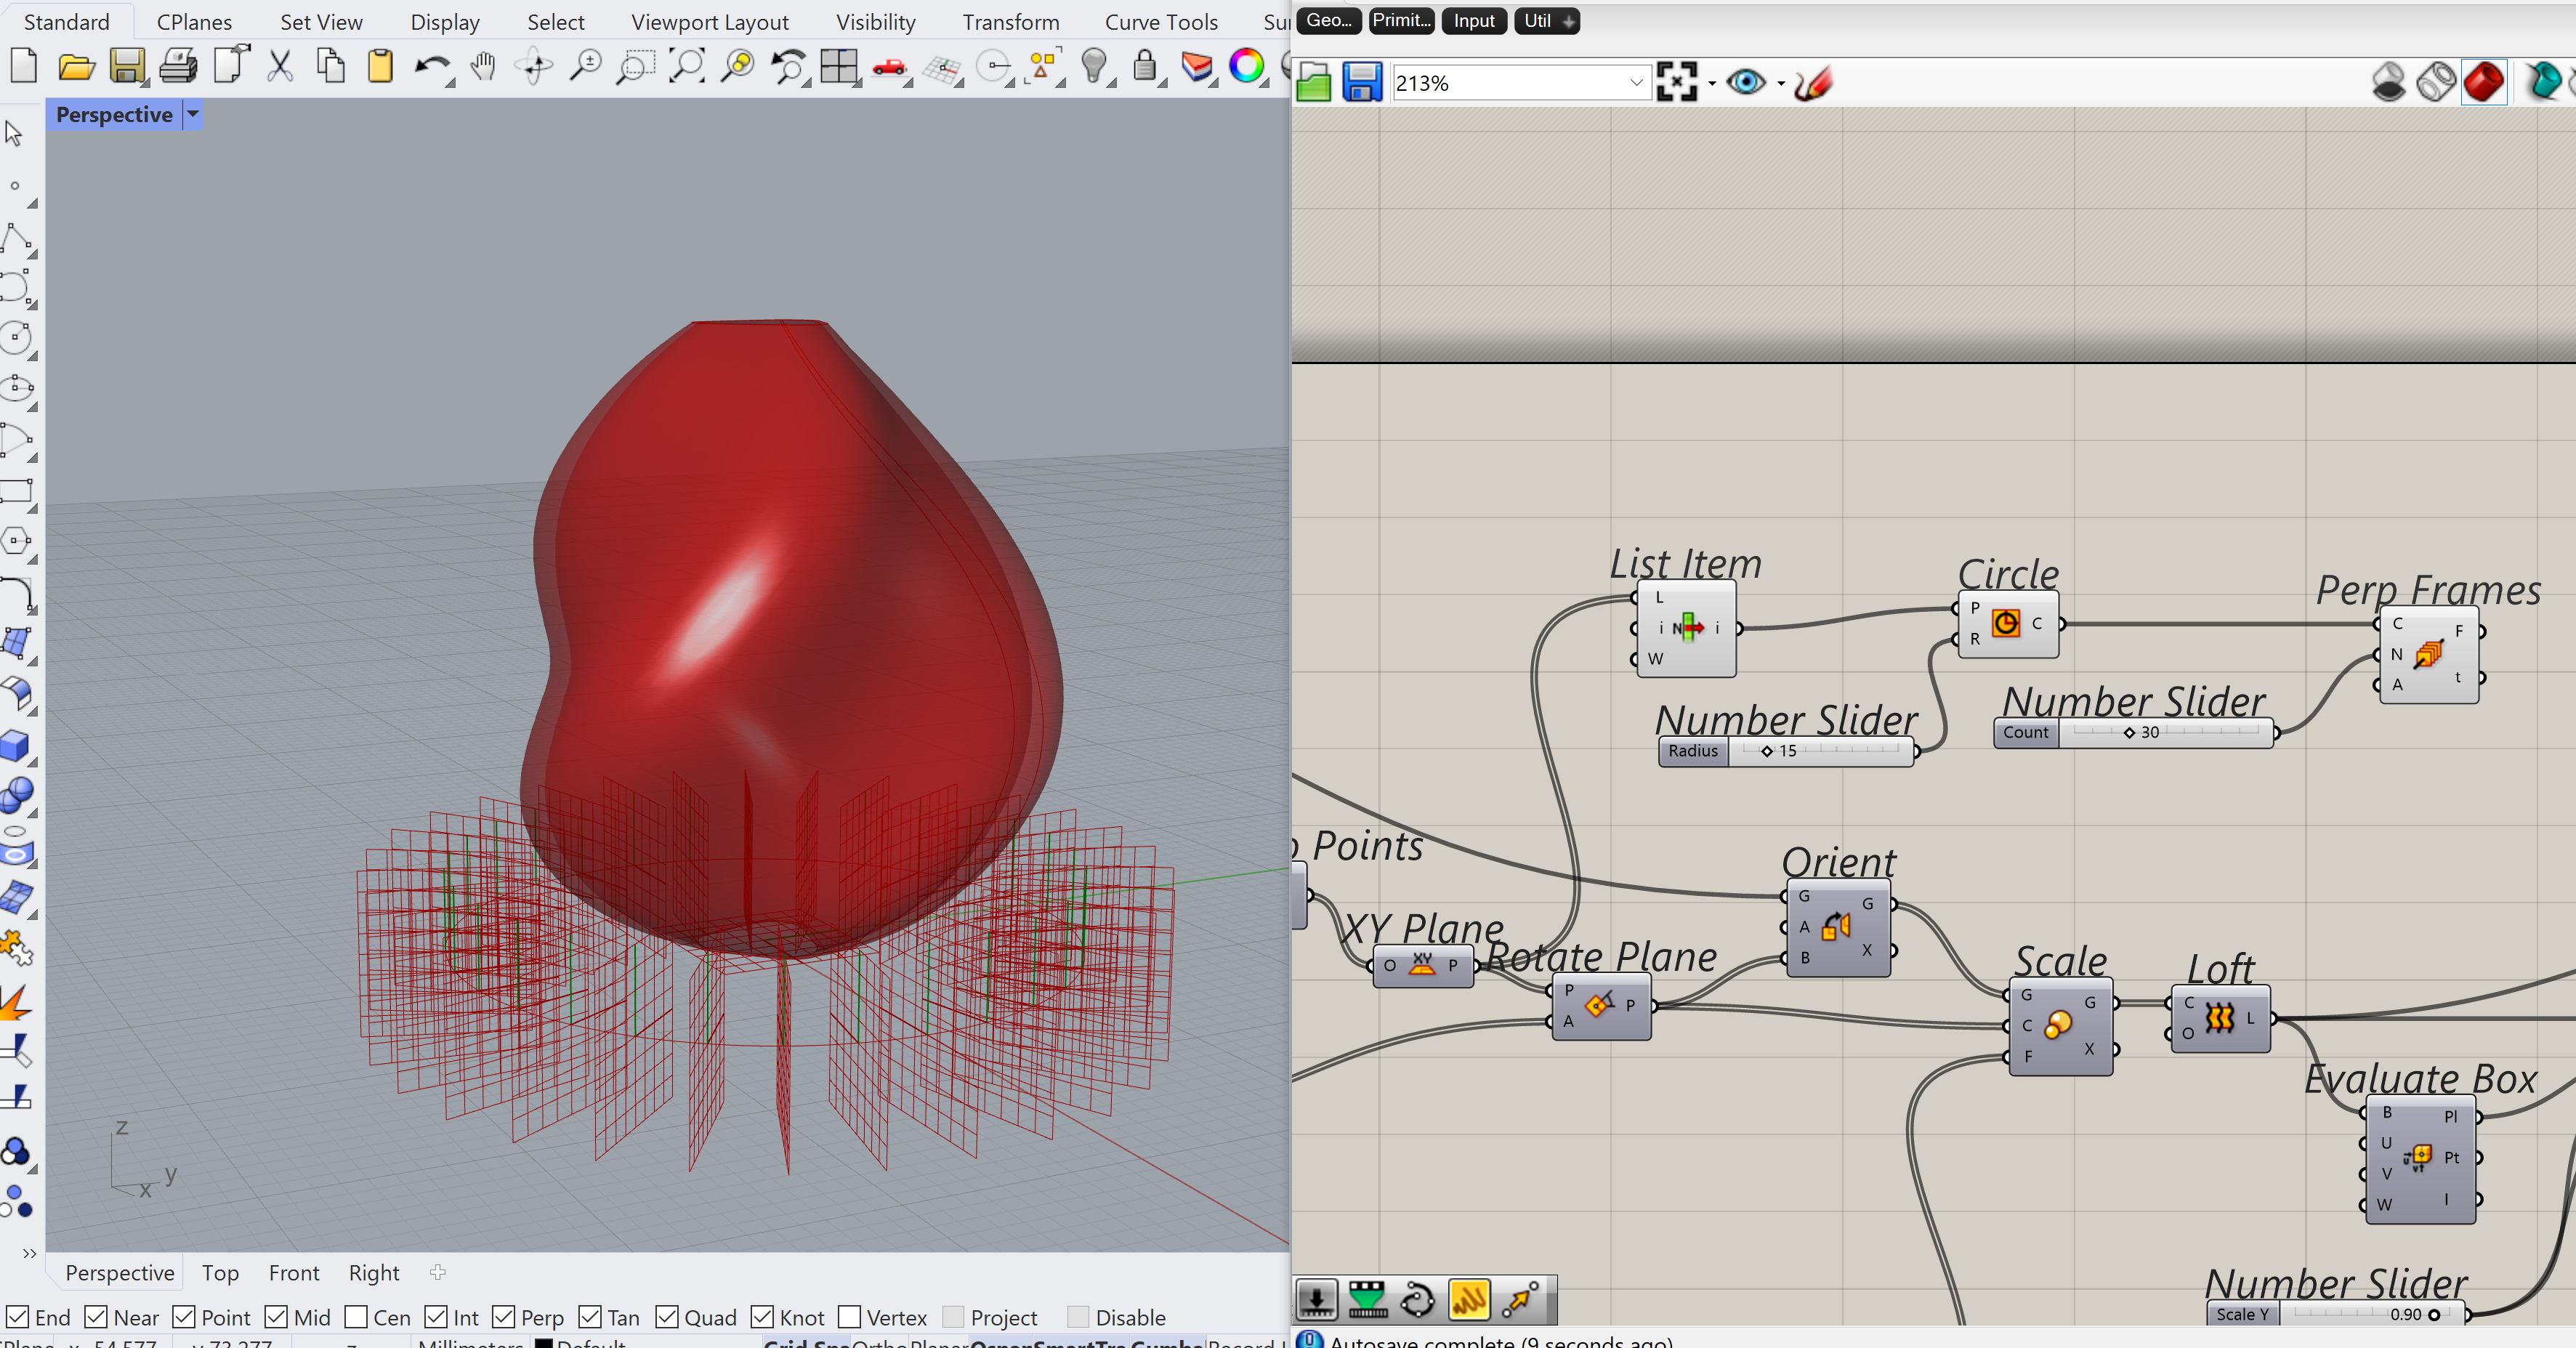
Step 5
Creating a number o point in the vertical axes. Domain number slider says the height of the lampshade. Steps number slider defines the spacing in between them.
Step 6
Points form the previous step then serve as horizontal planes for the next levels of the lampshade. I also added pi which will be used to rotate the shapes and create a twisted loft.

Step 7
Connecting the scripts together with the Rotating panel and Orient.

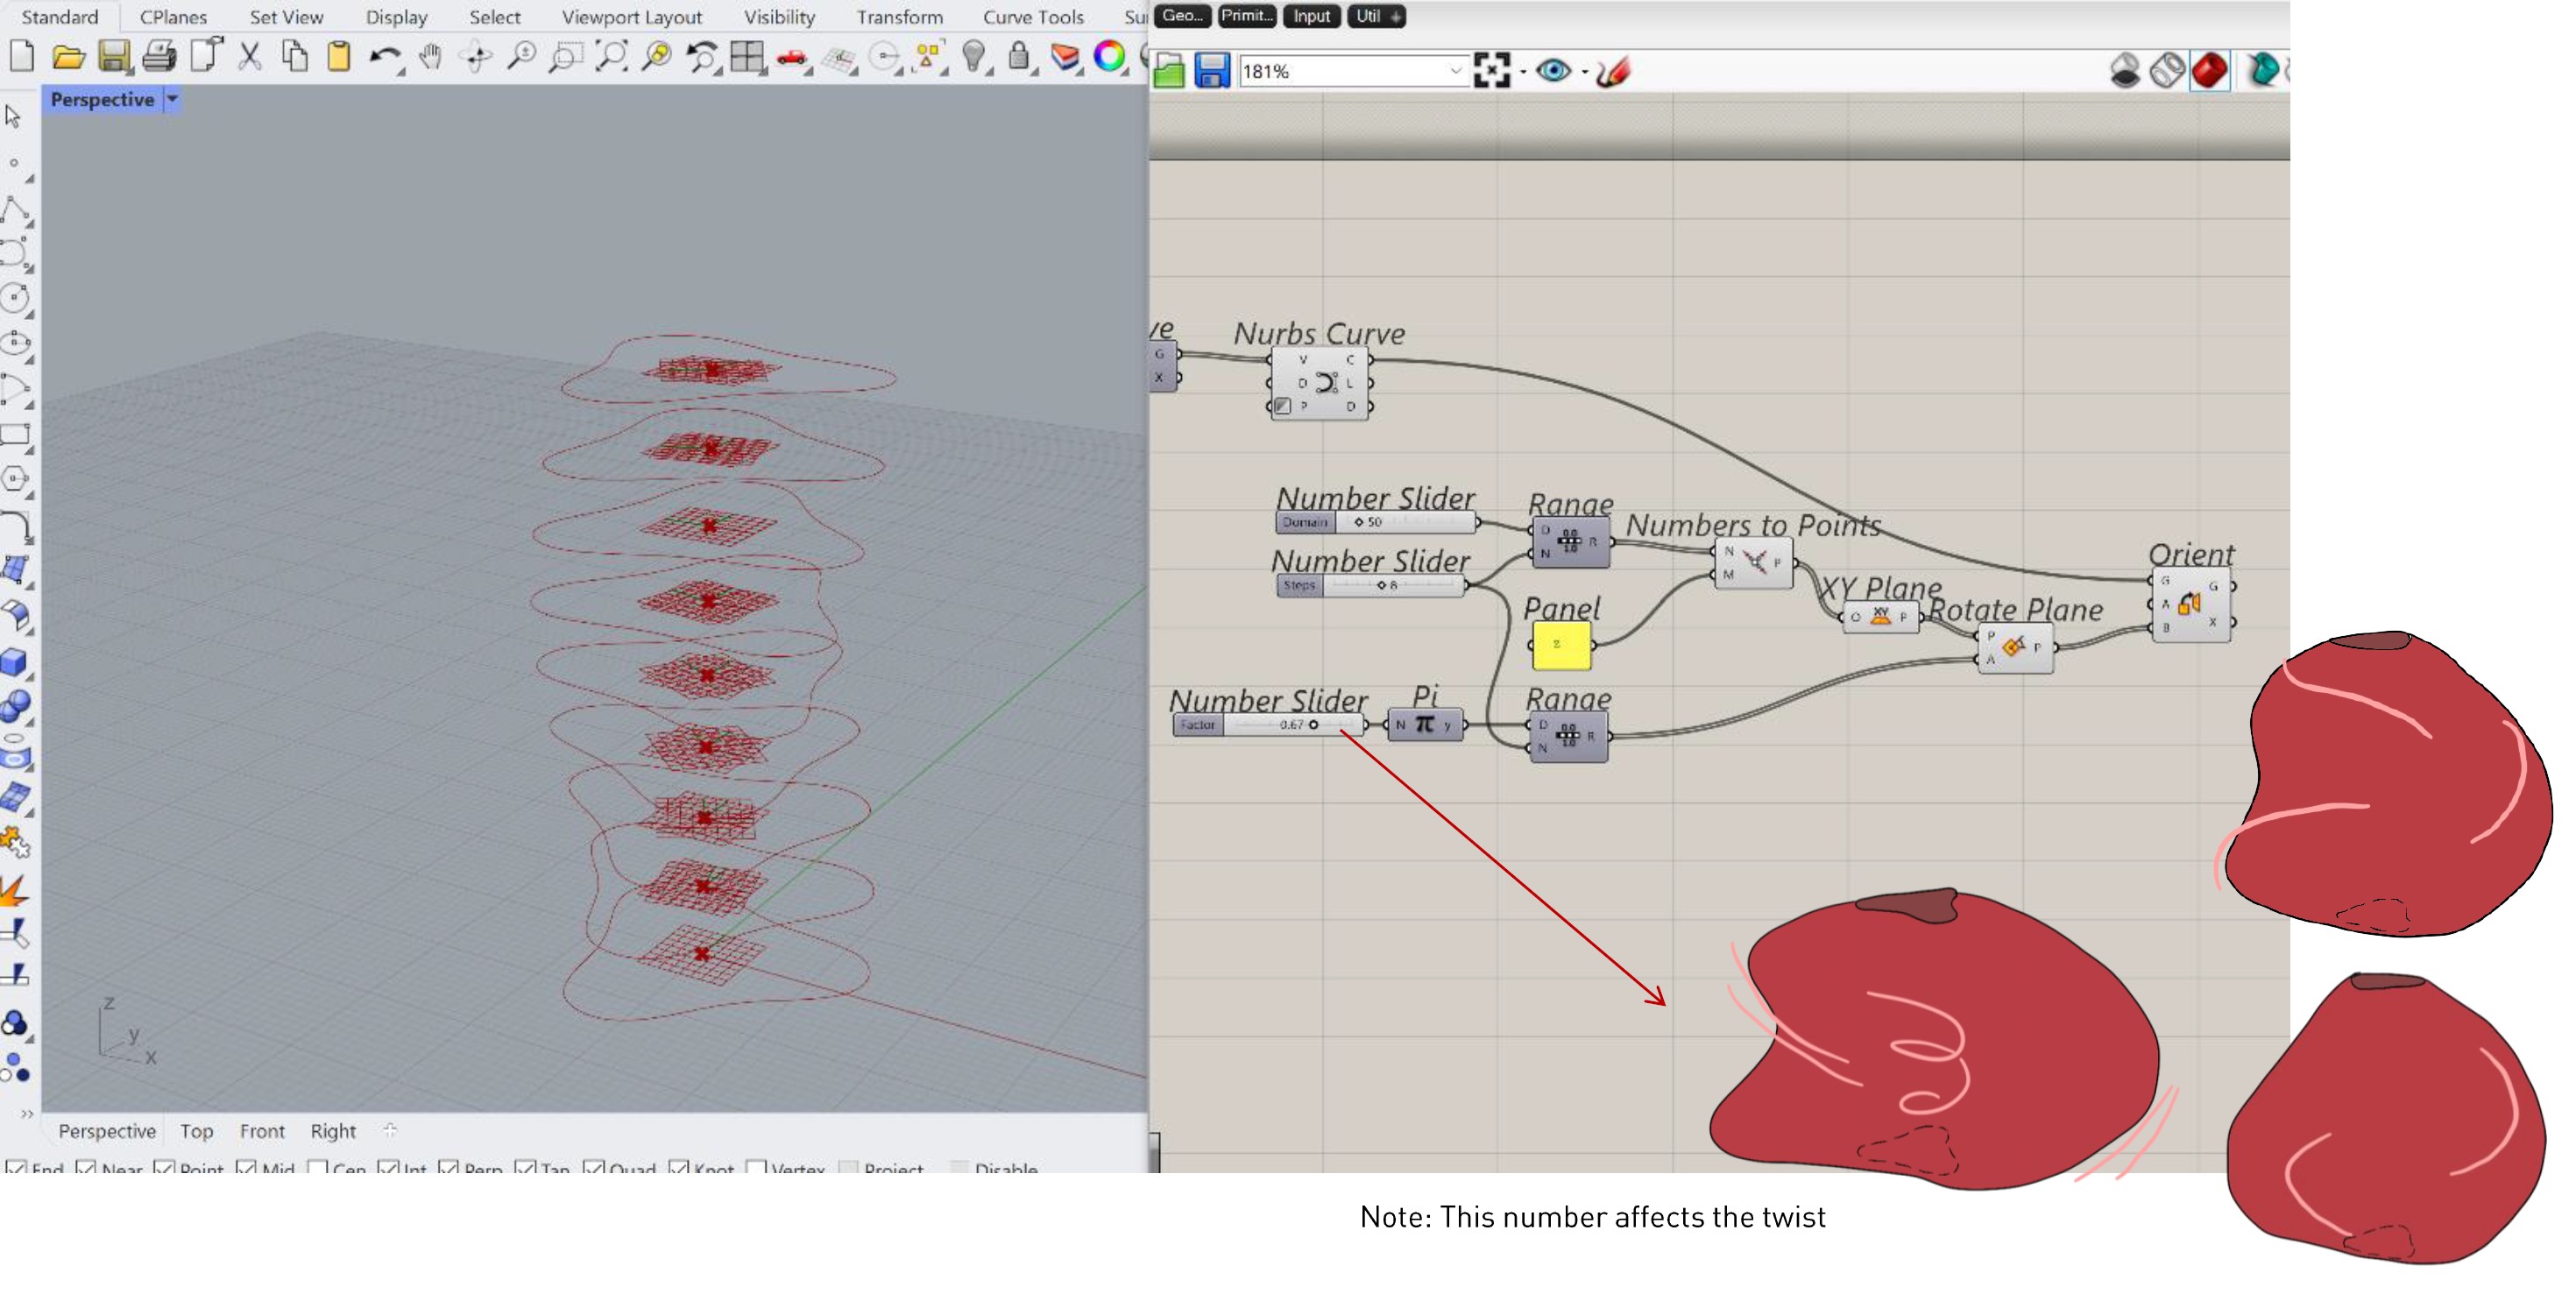
Step 8
By changing the Pi value, the shapes on different levels rotate, creating a twist in the whole structure.
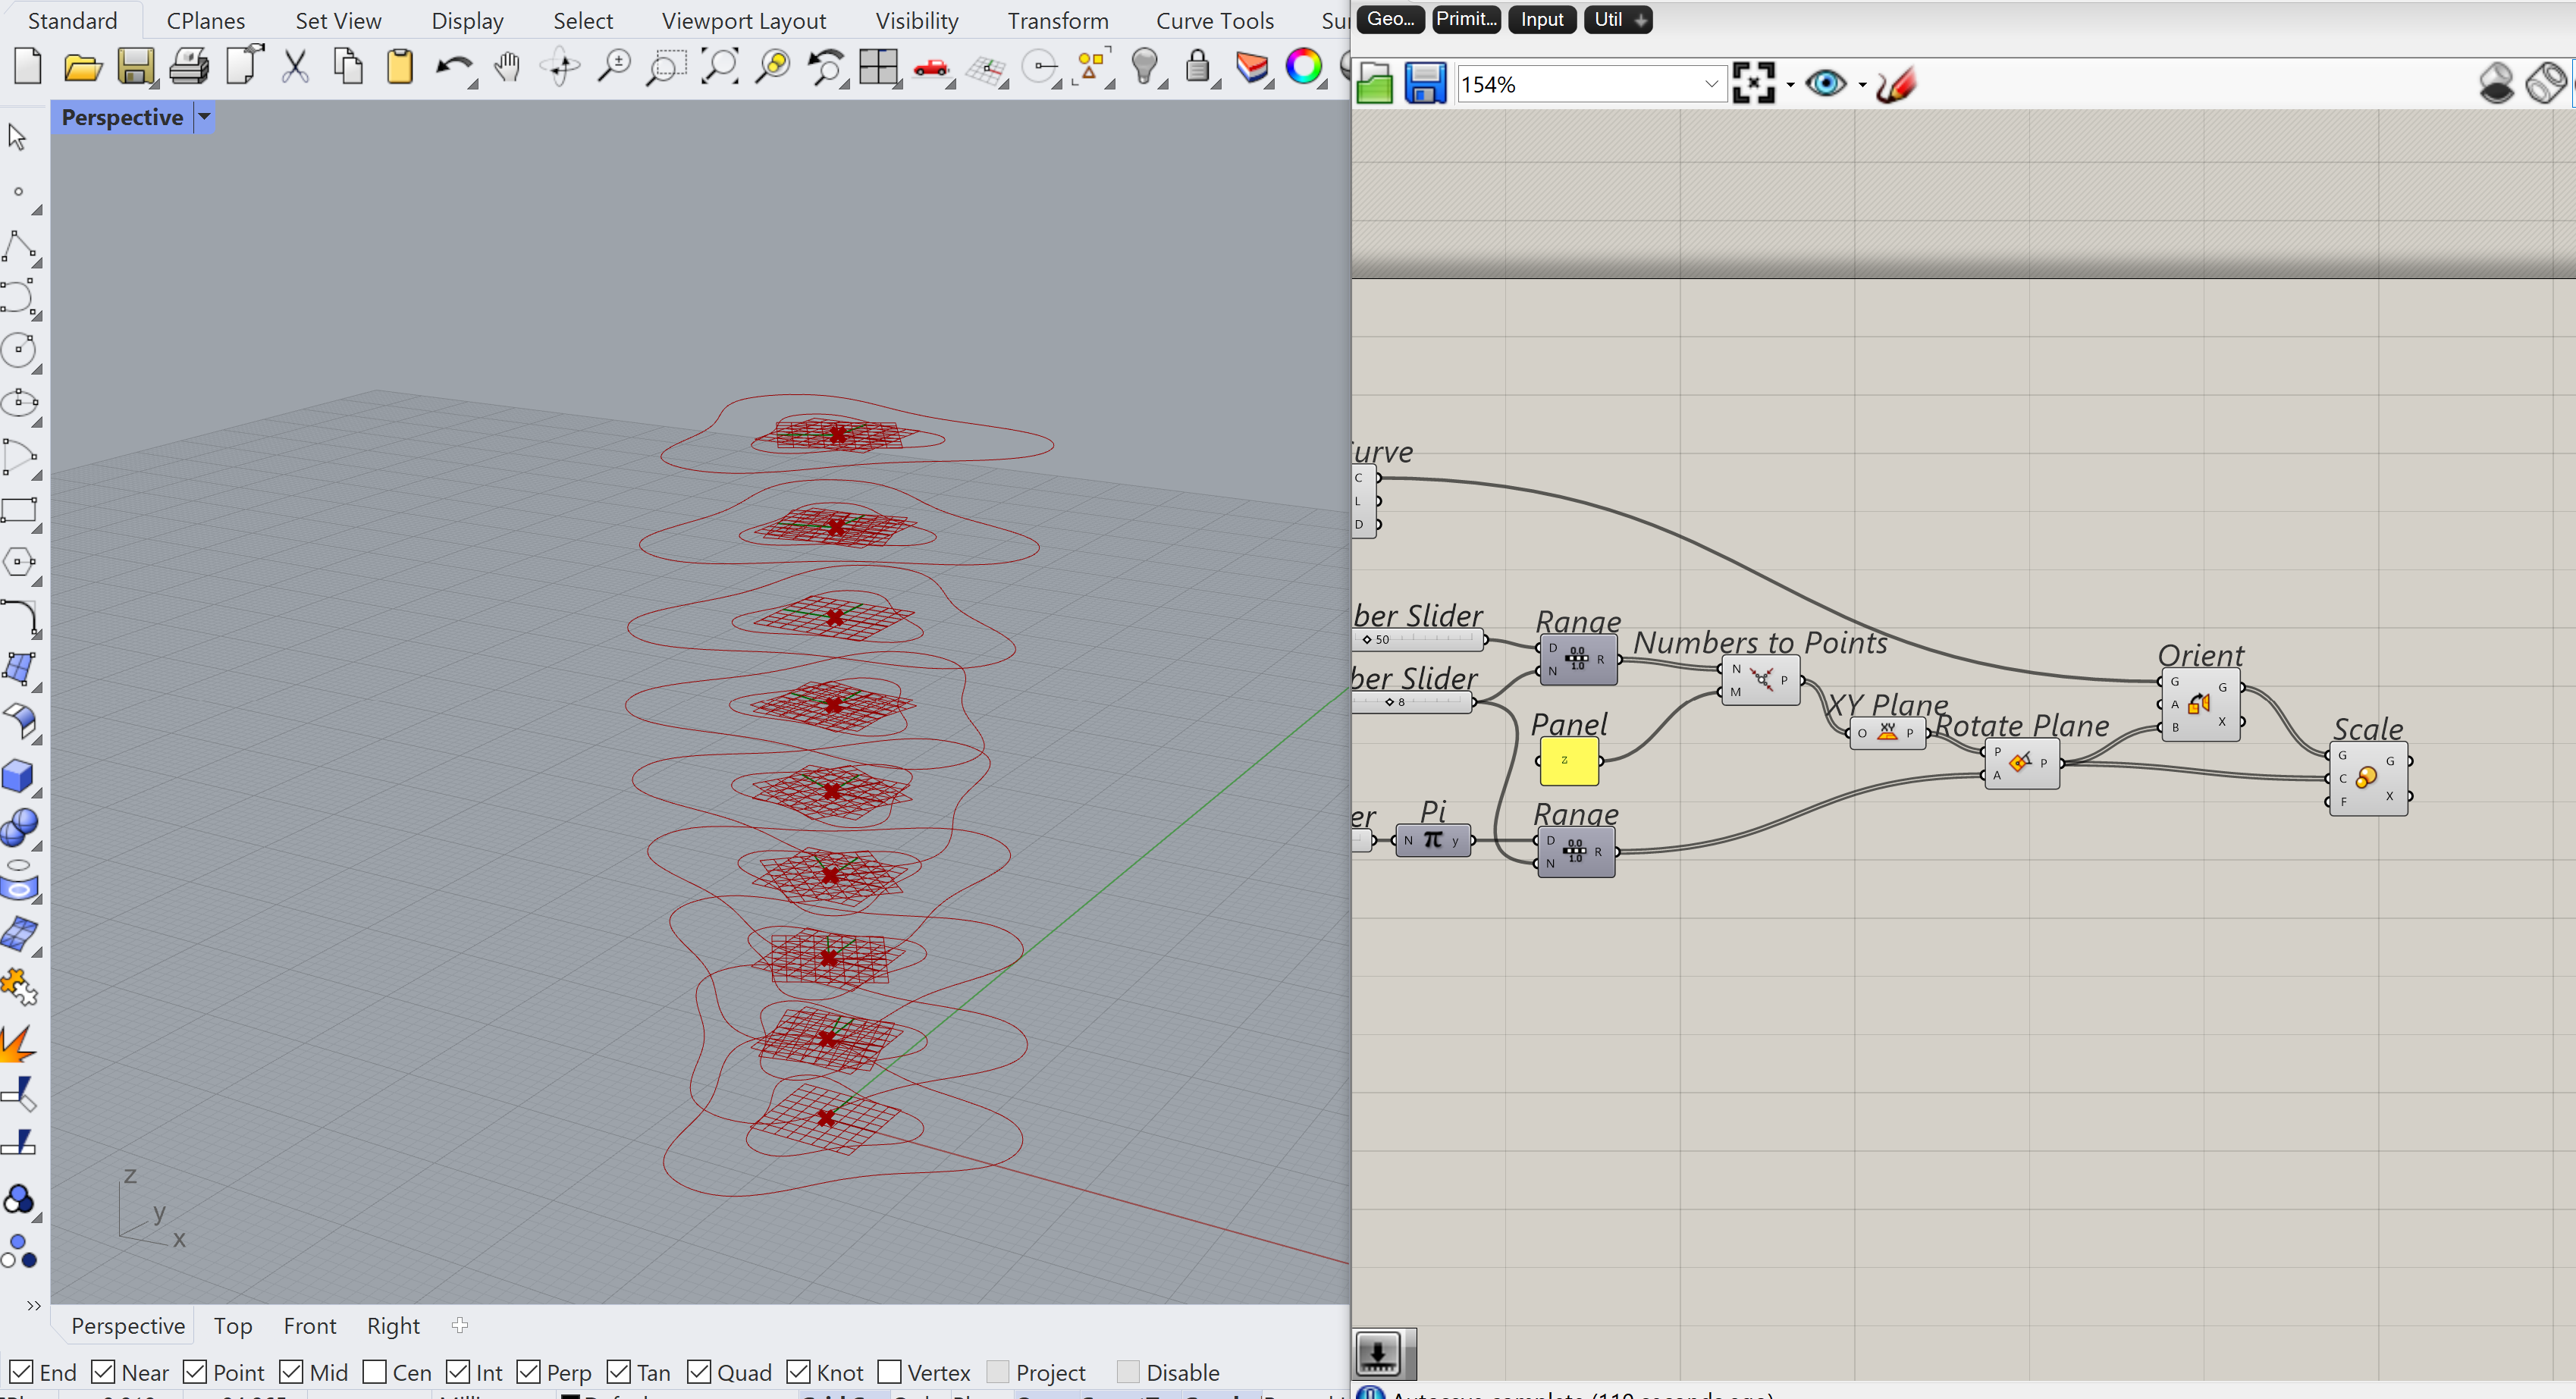
Step 9
Creating inner curves in preparation for the changing perimeter of the lampshade in different heights.
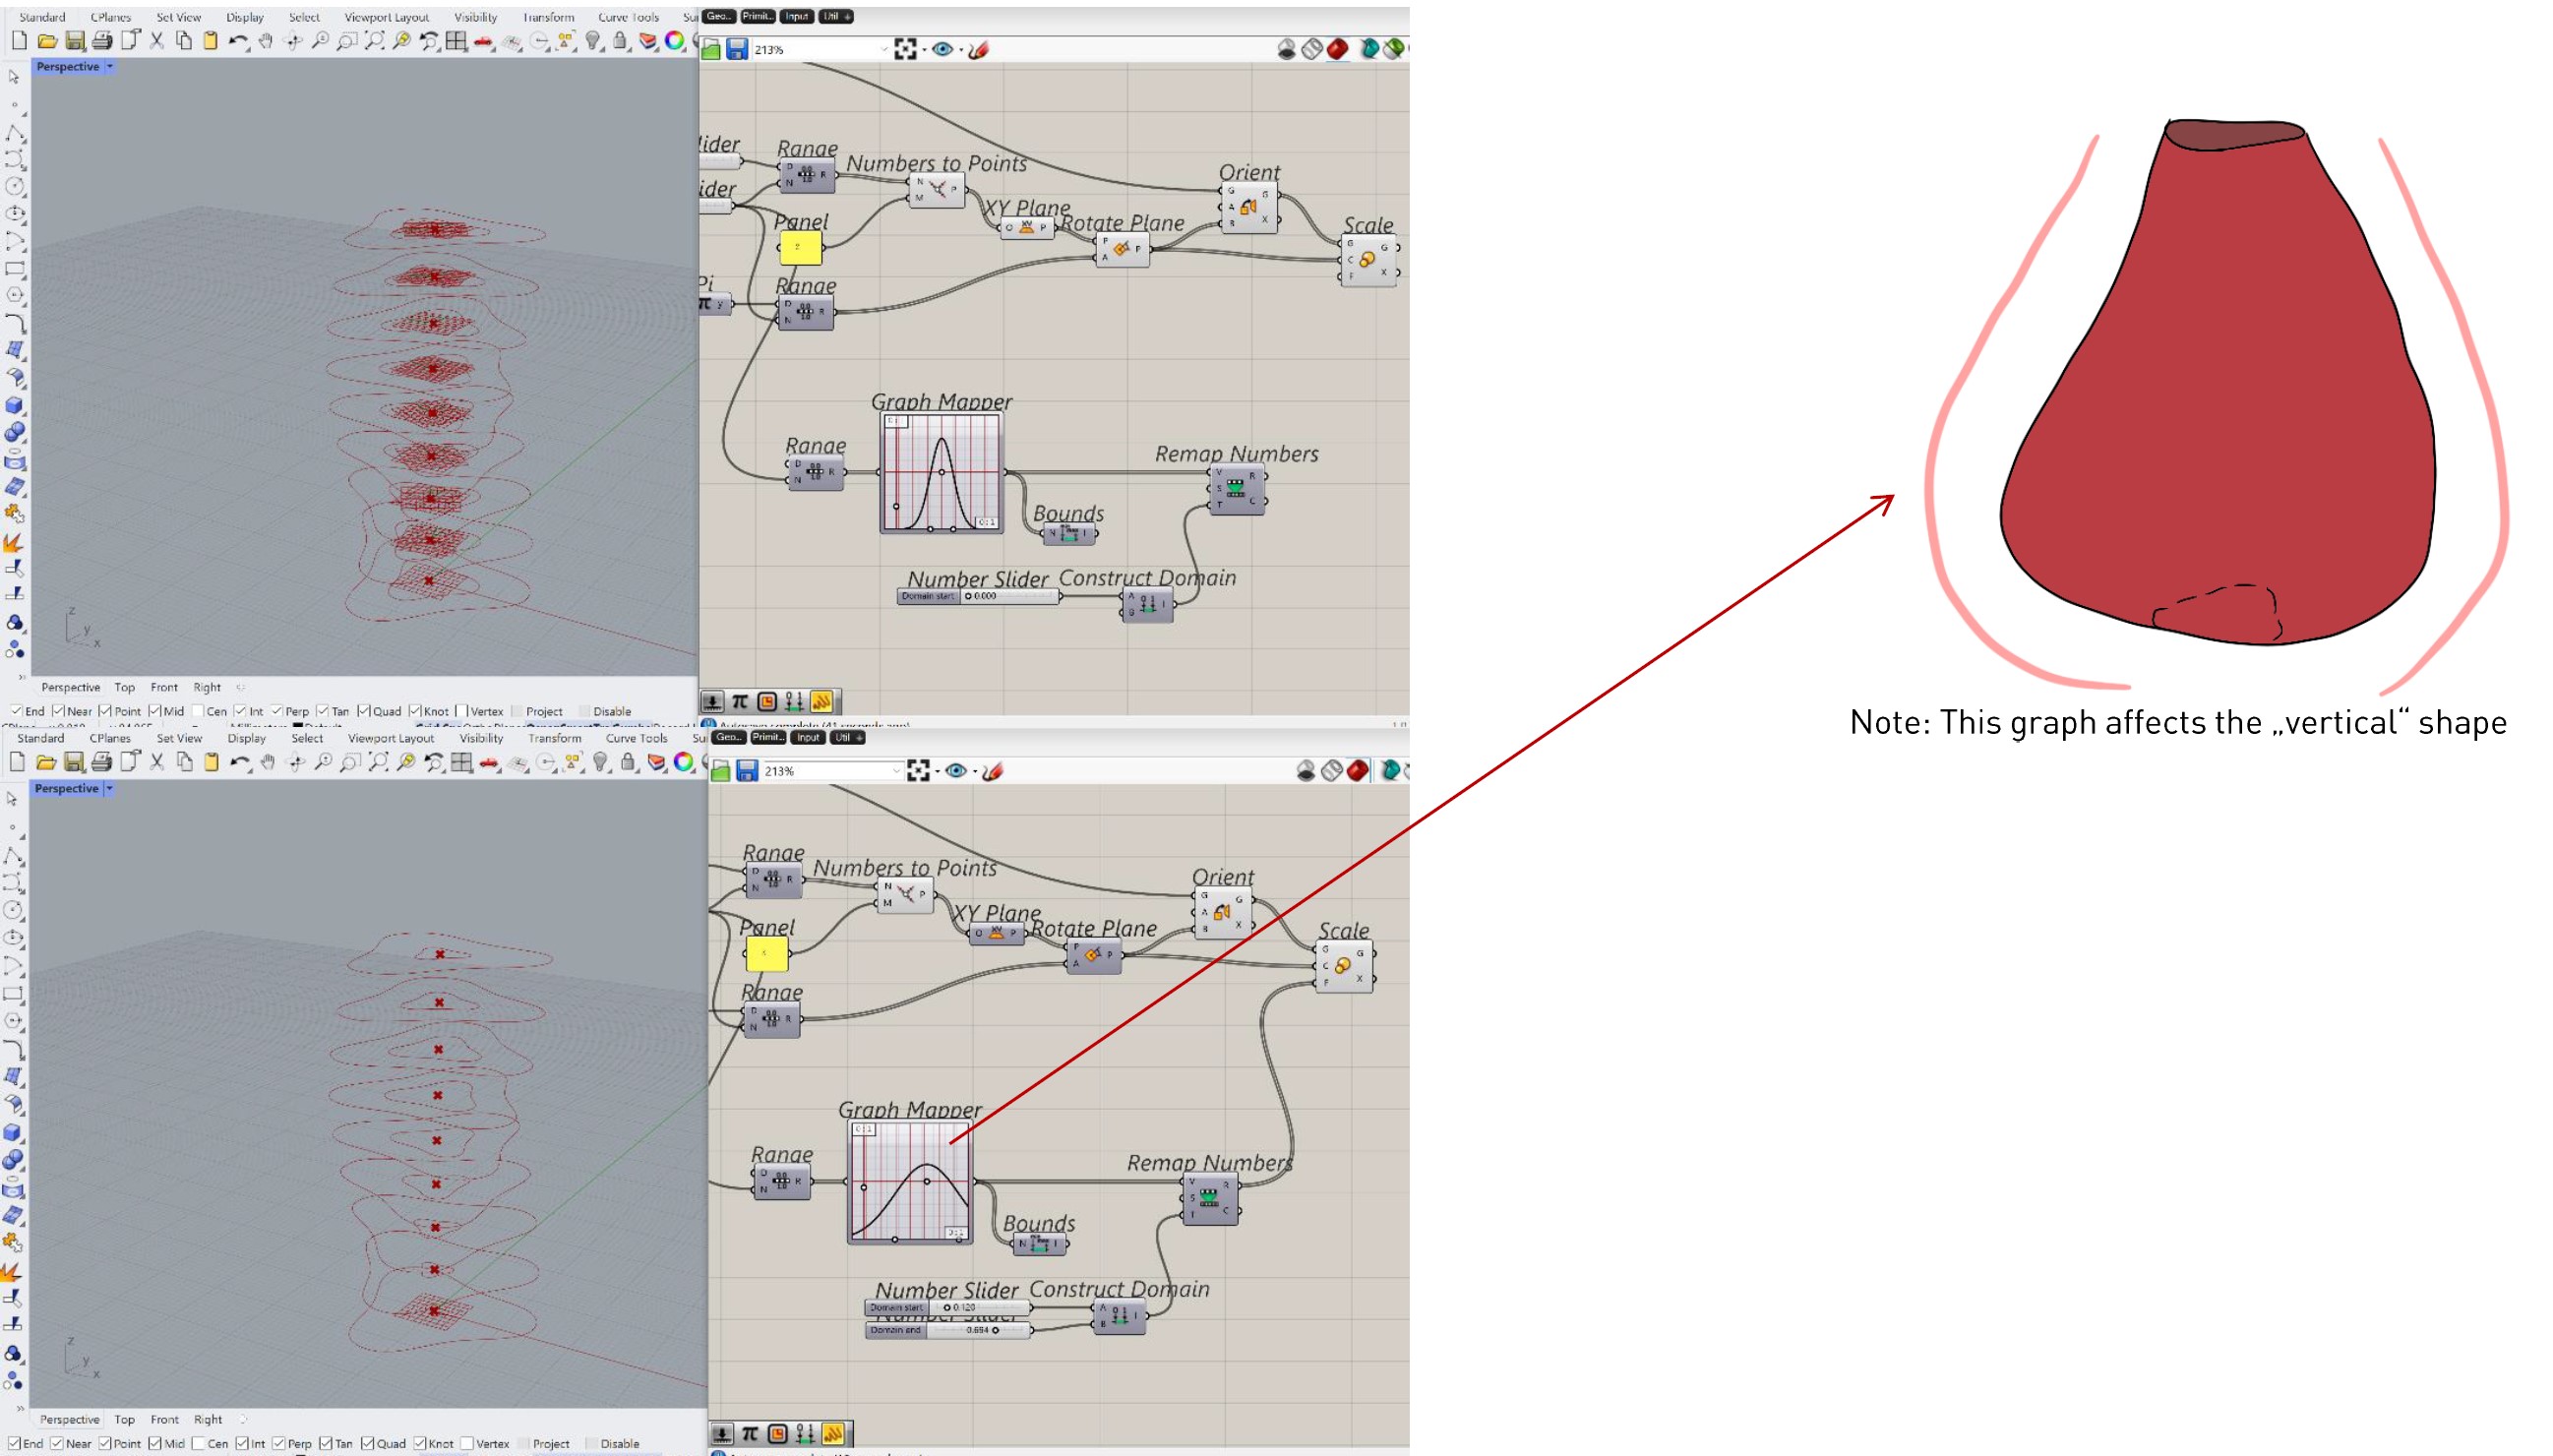
Step 10
Using Graph Mapper the defining vertical part of the shape can be adjusted by changing the graph.
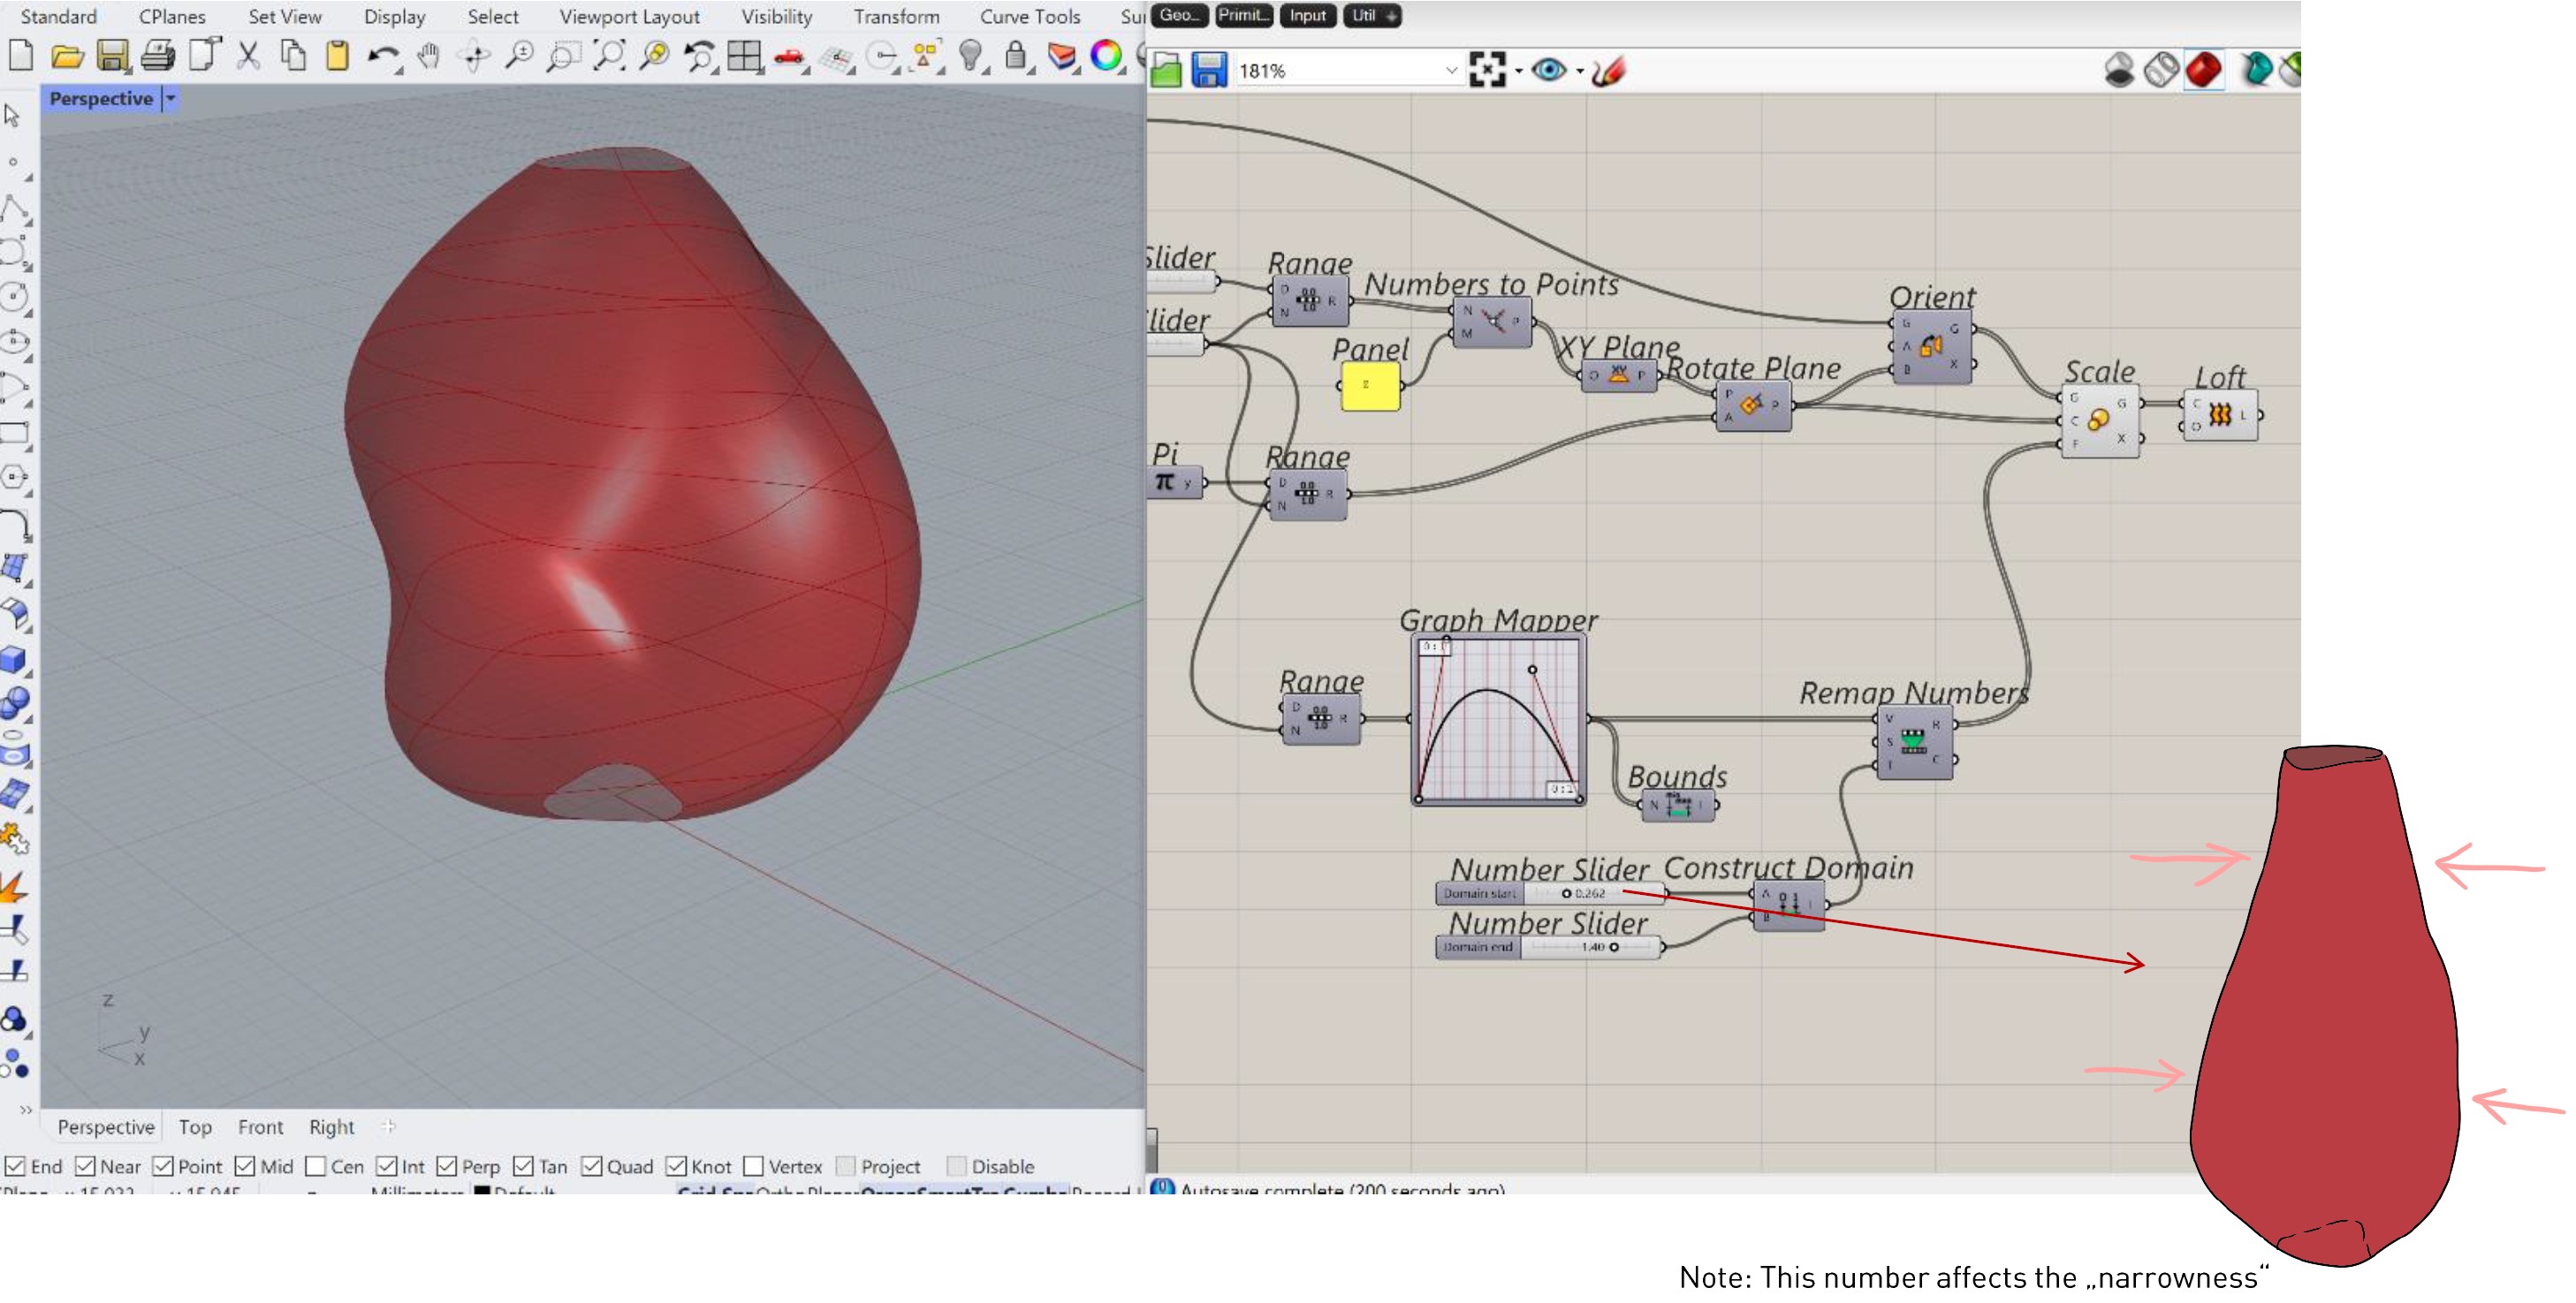
Step 11
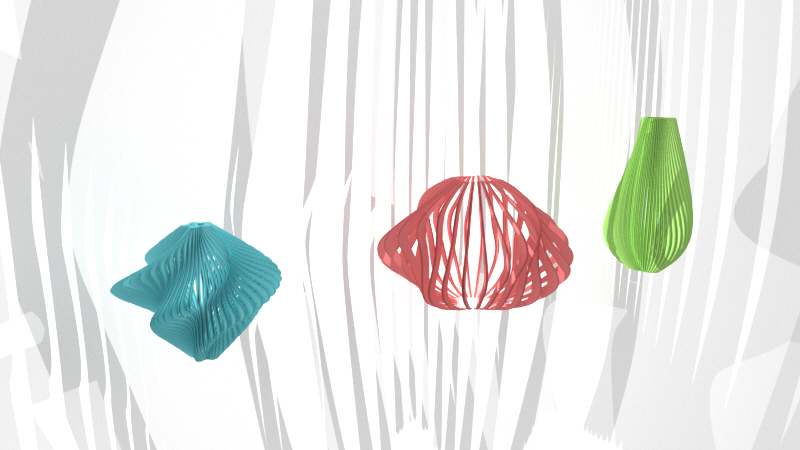
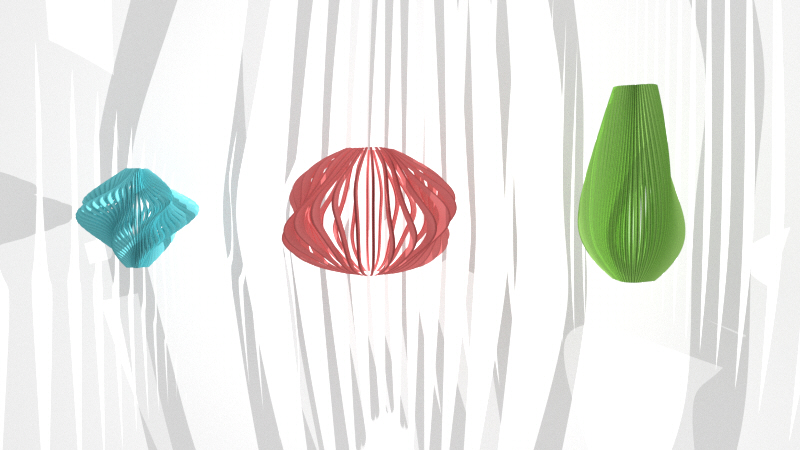
Creating a loft to get a better understanding about what the mass is doing.
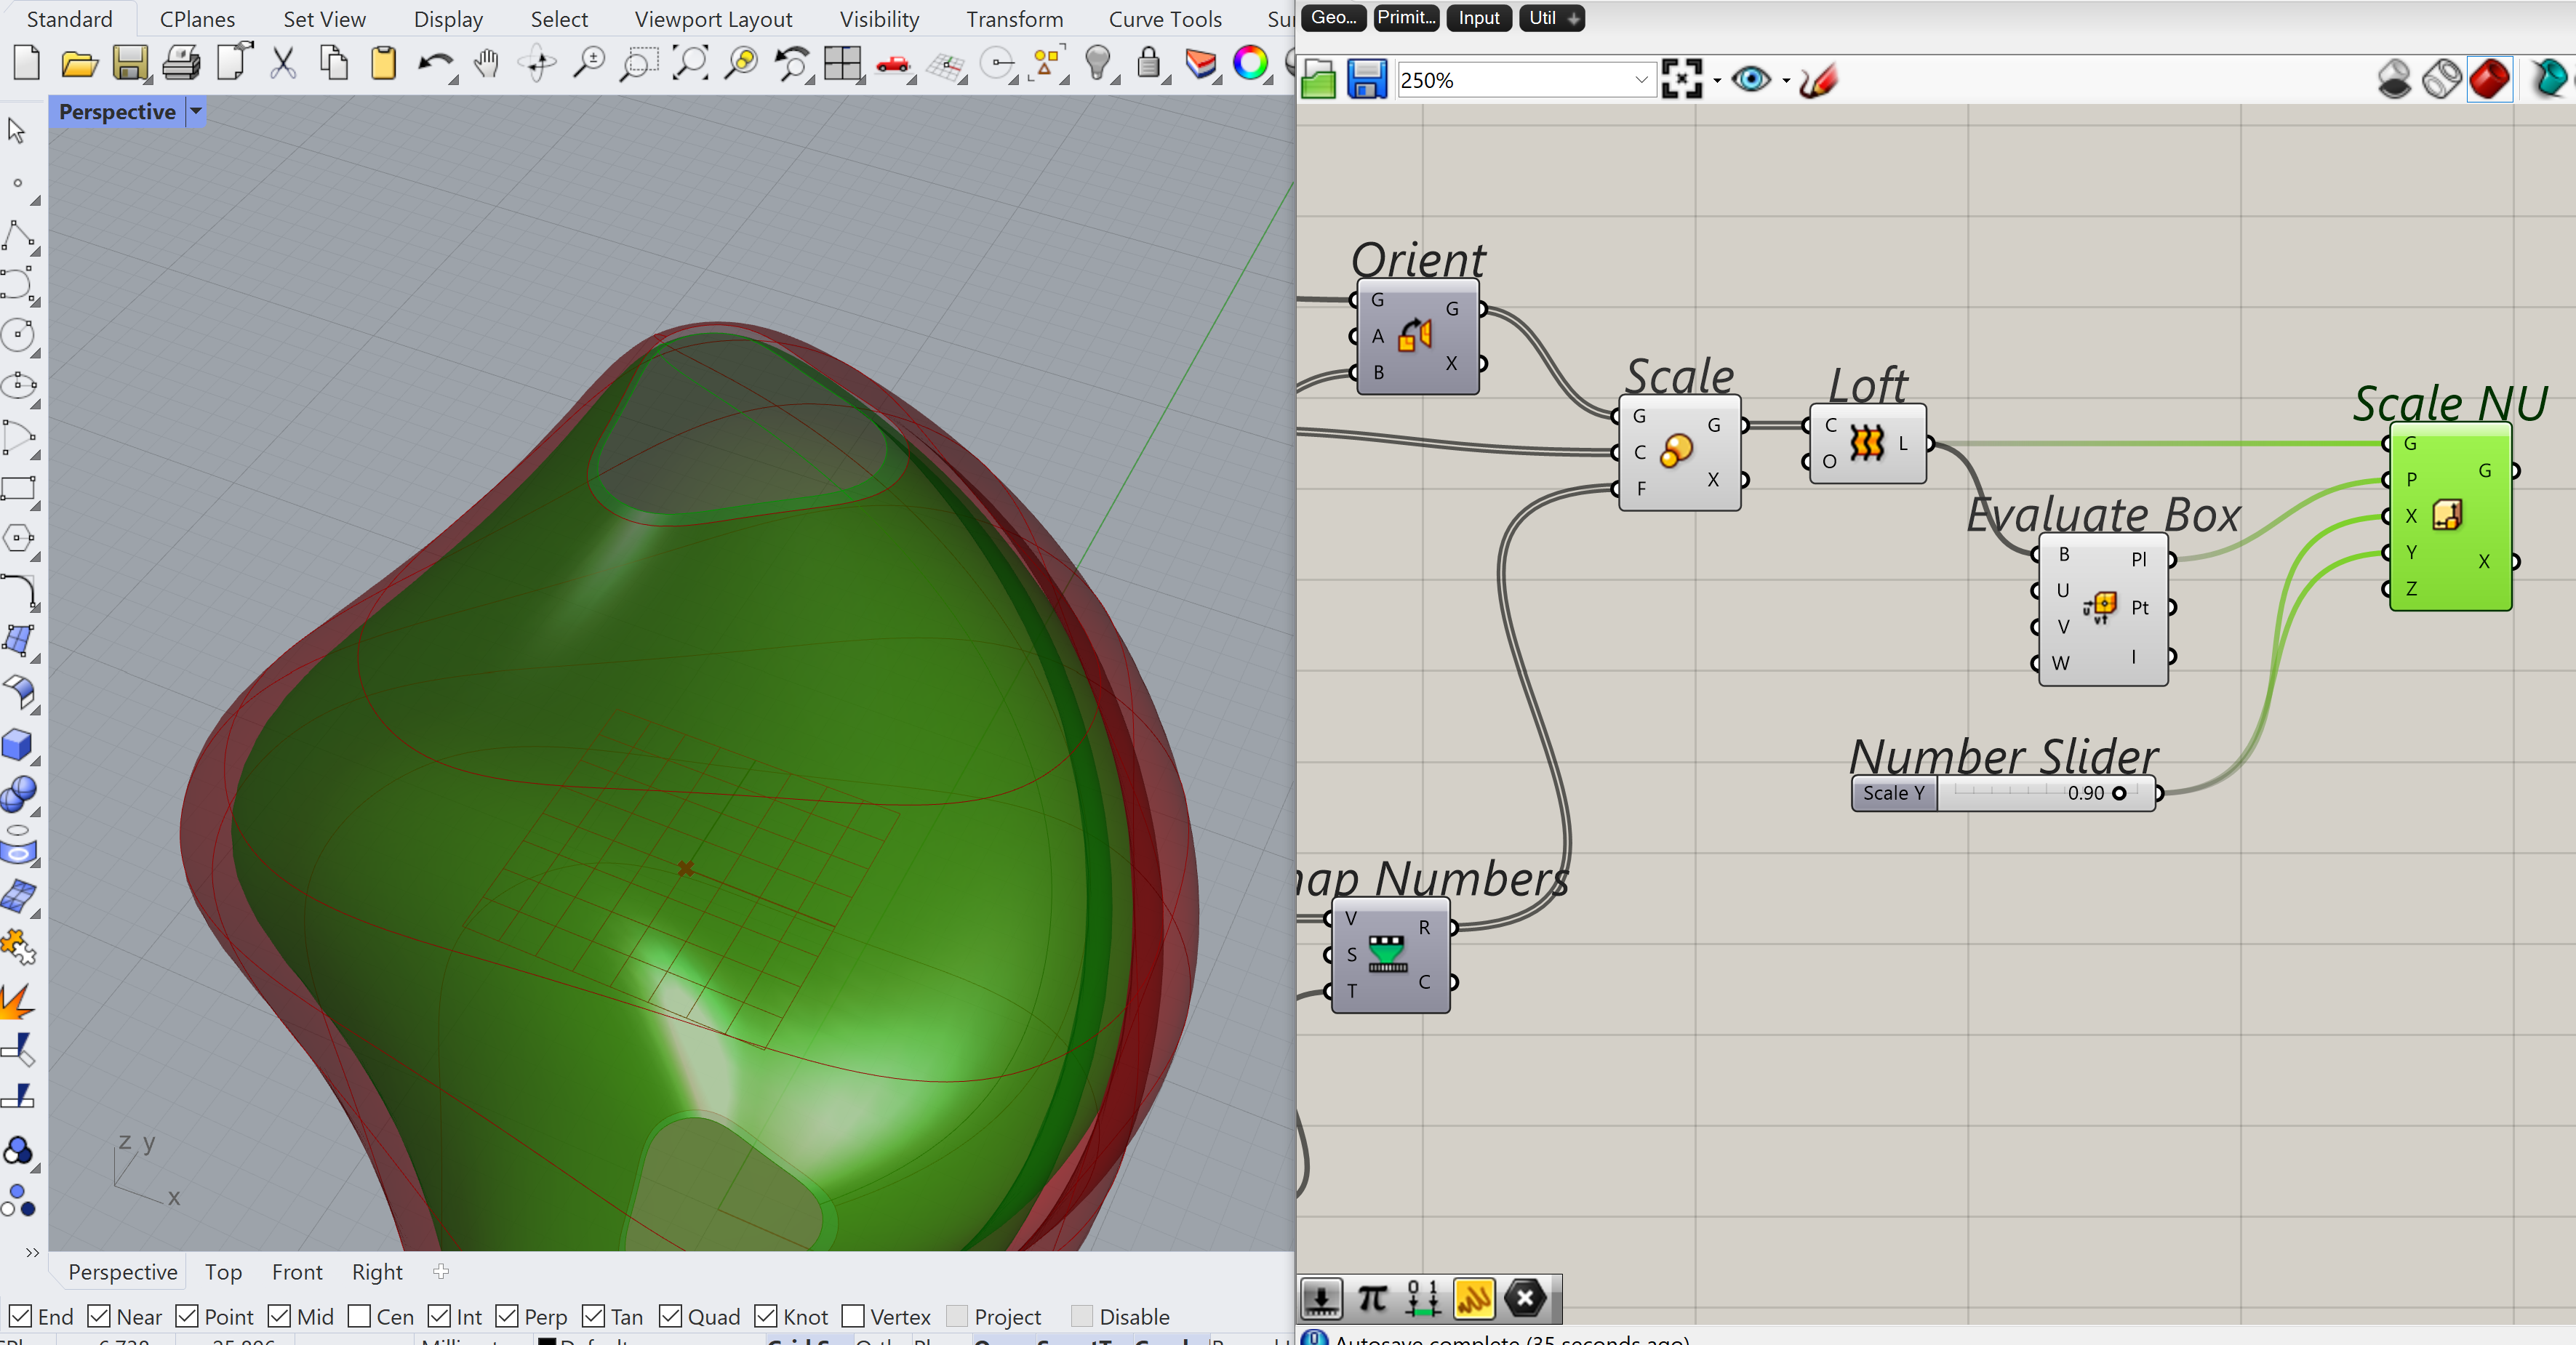
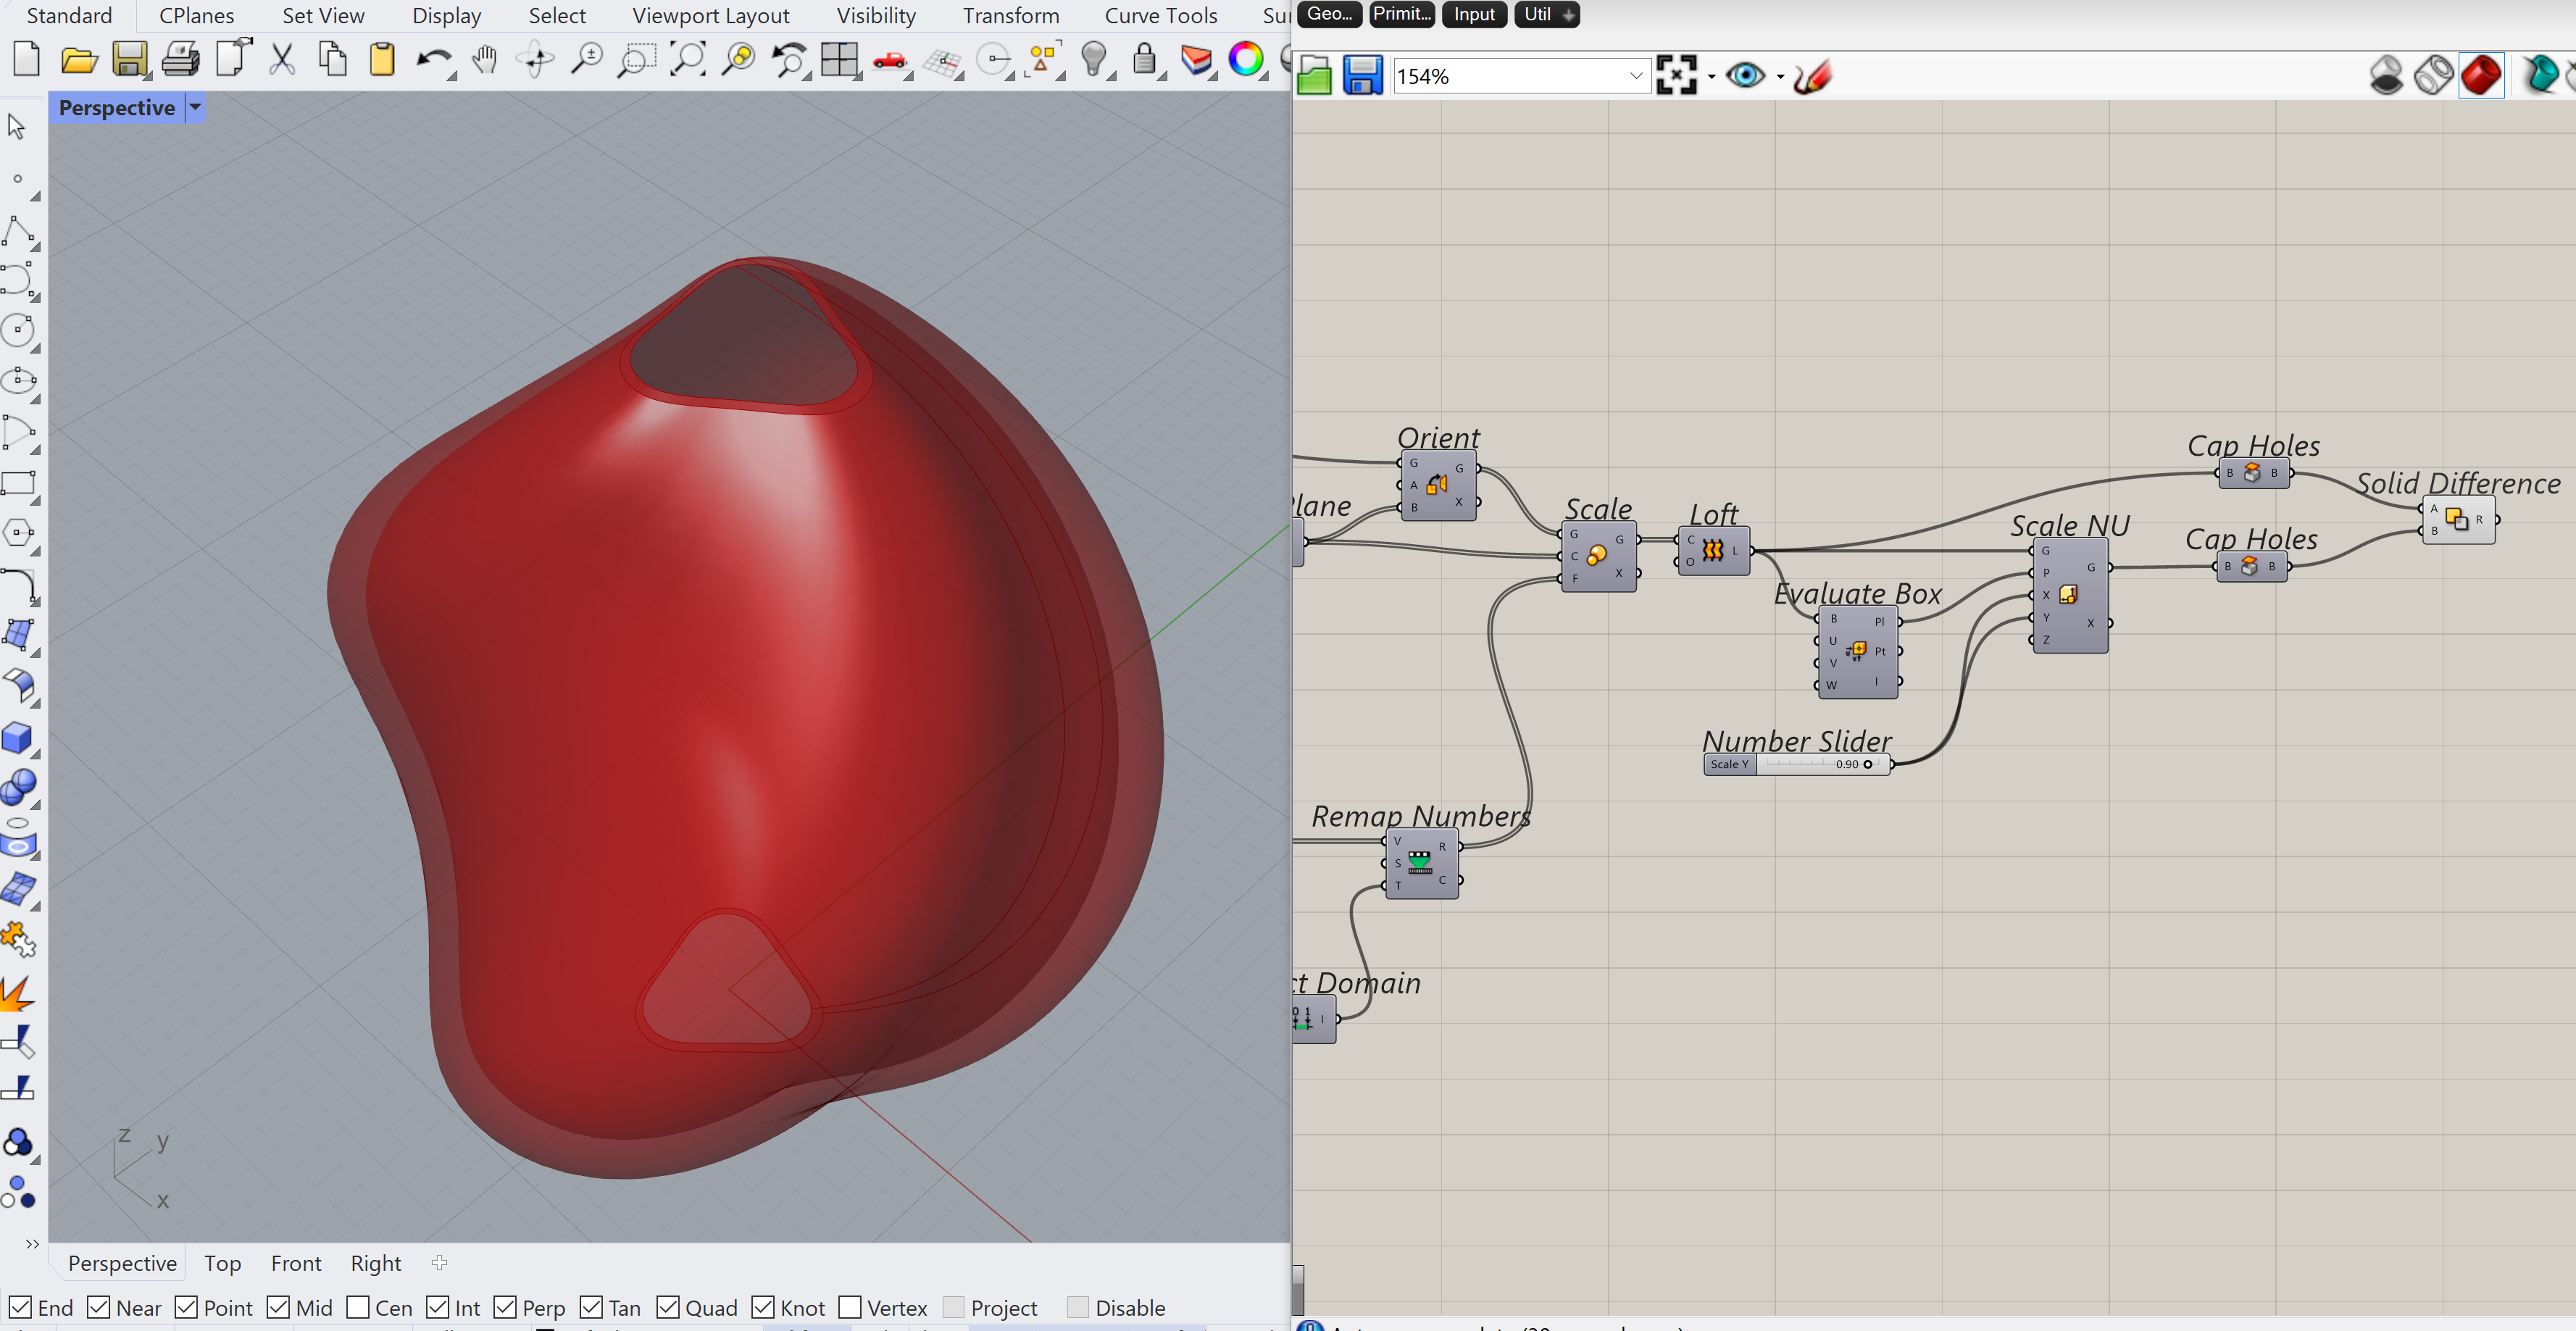
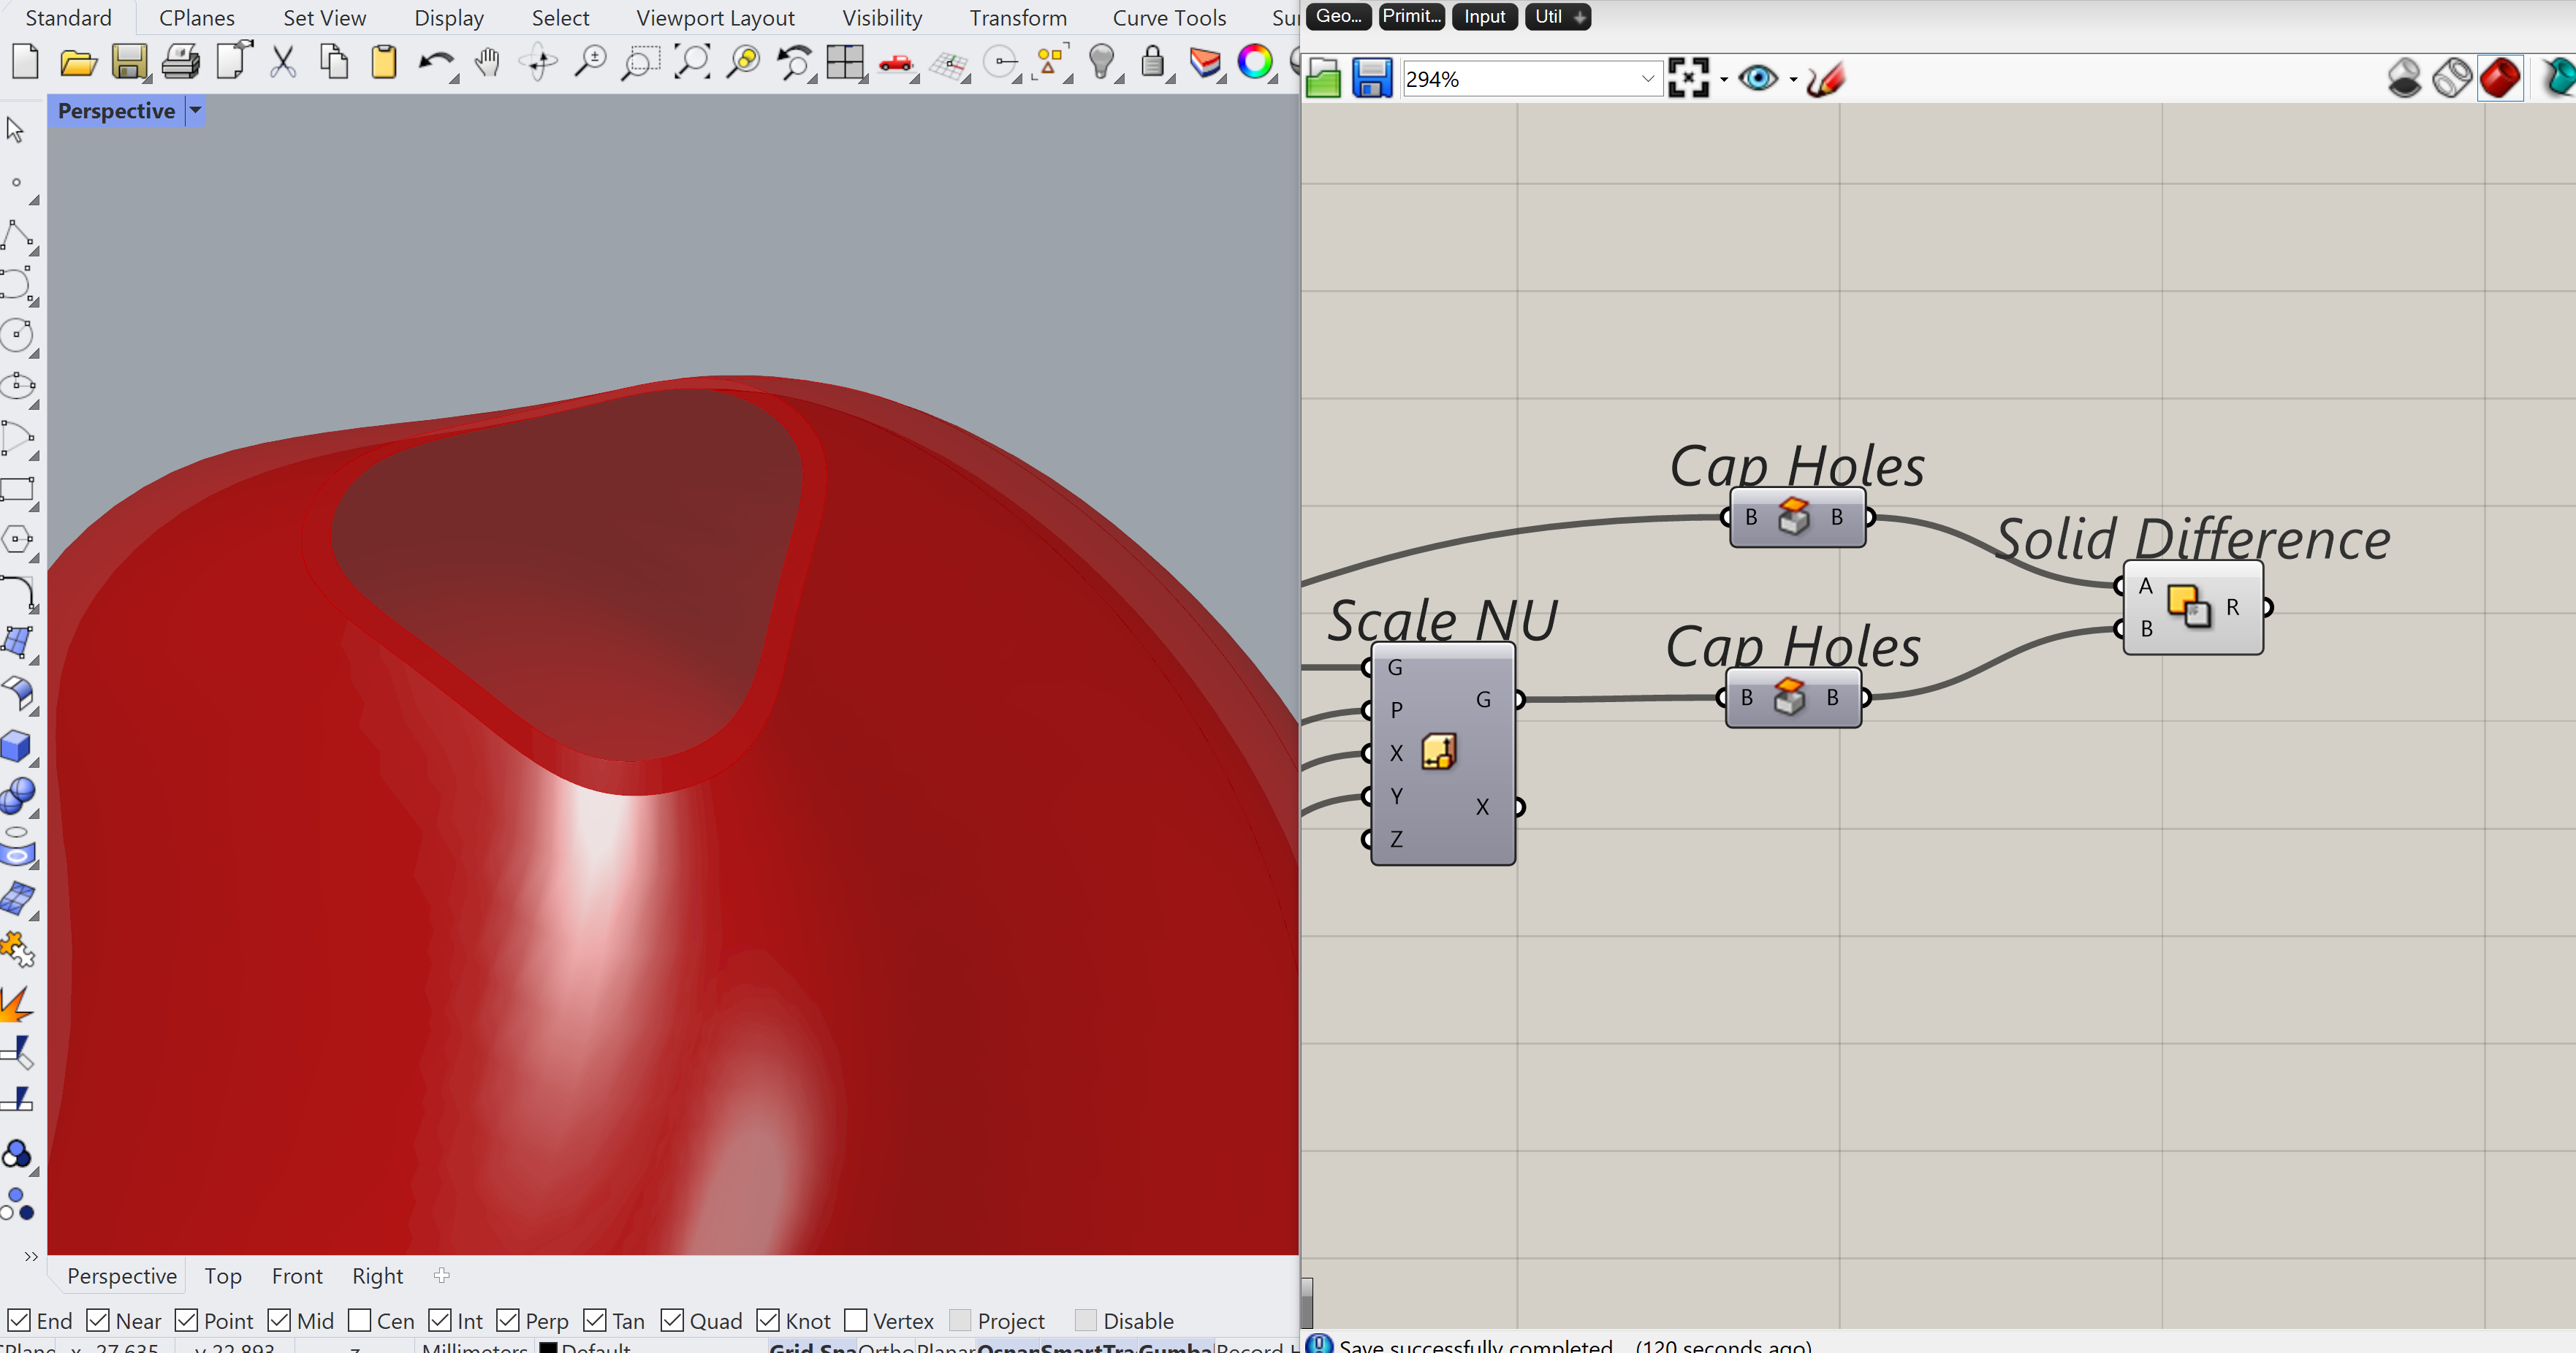
Step 12
To make the product look more realistic, we need to create thickness which will represent some type of used material. This can be done by scaling down the existing loft “into the volume” and then filling the gaps between these two volumes.
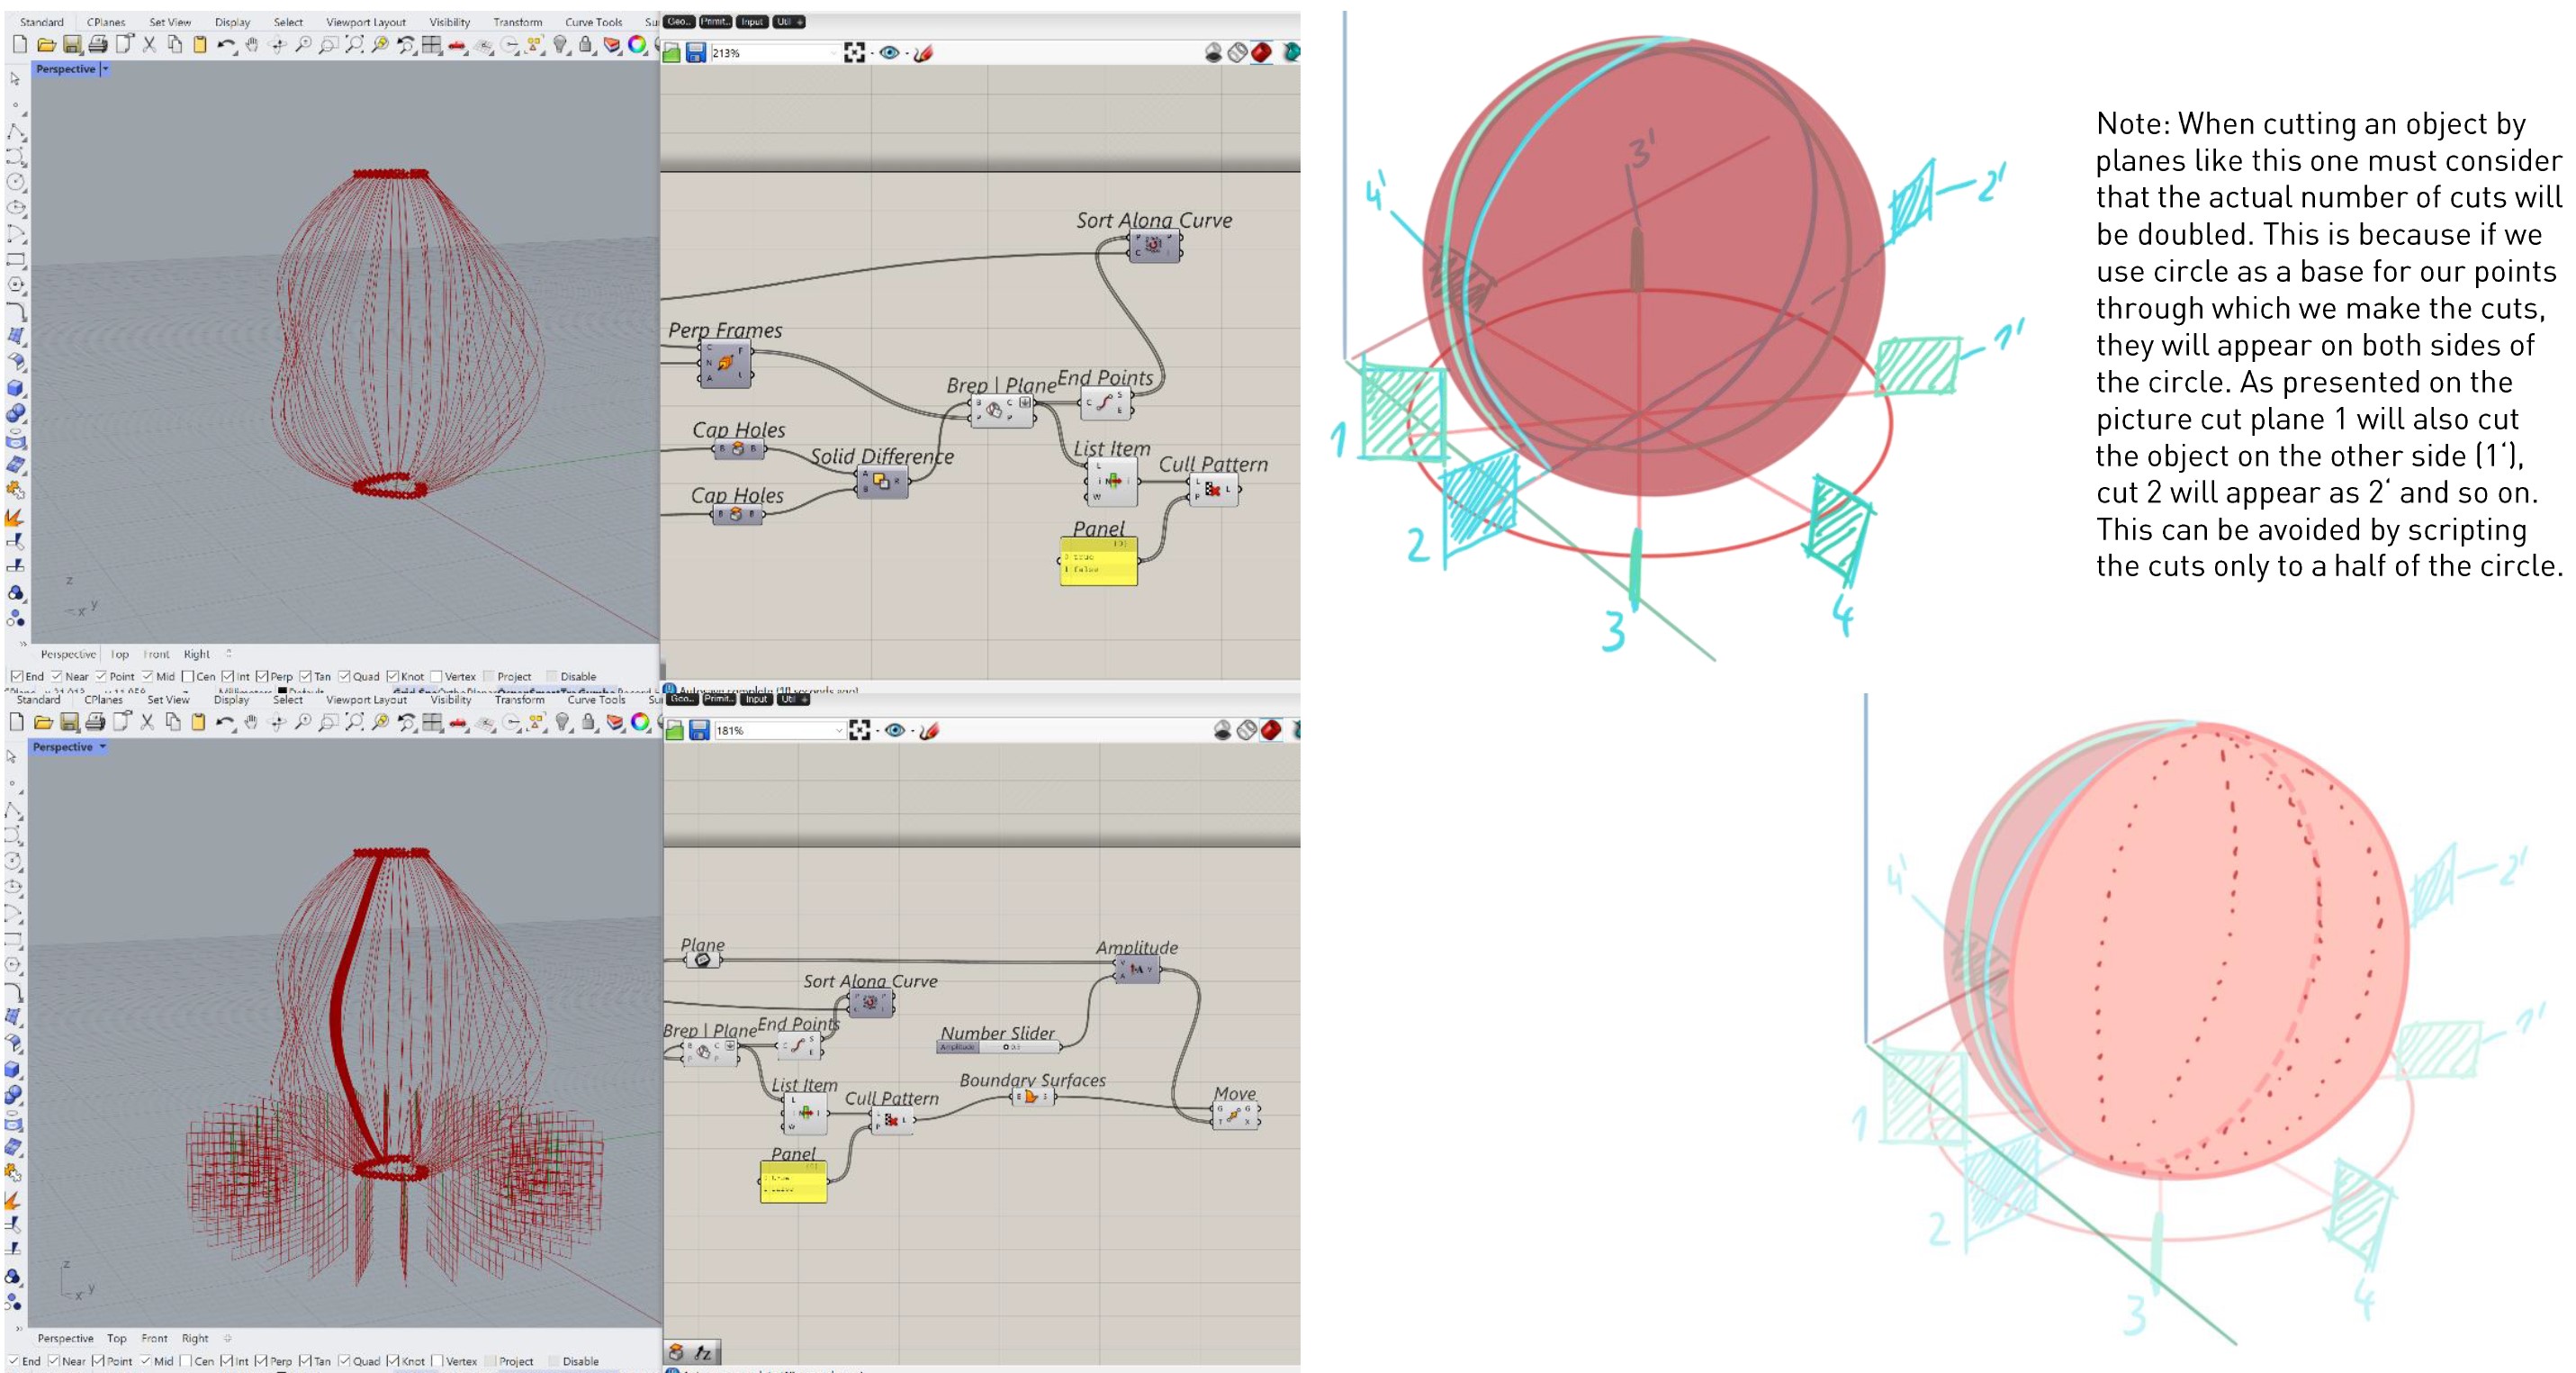
Step 13
Now to the extrusion part. Firstly, I created planes that will later cut the mass. This will give it the cut-look I am trying to achieve.
Step 14
Continuing with the planes using Brep I Plane.
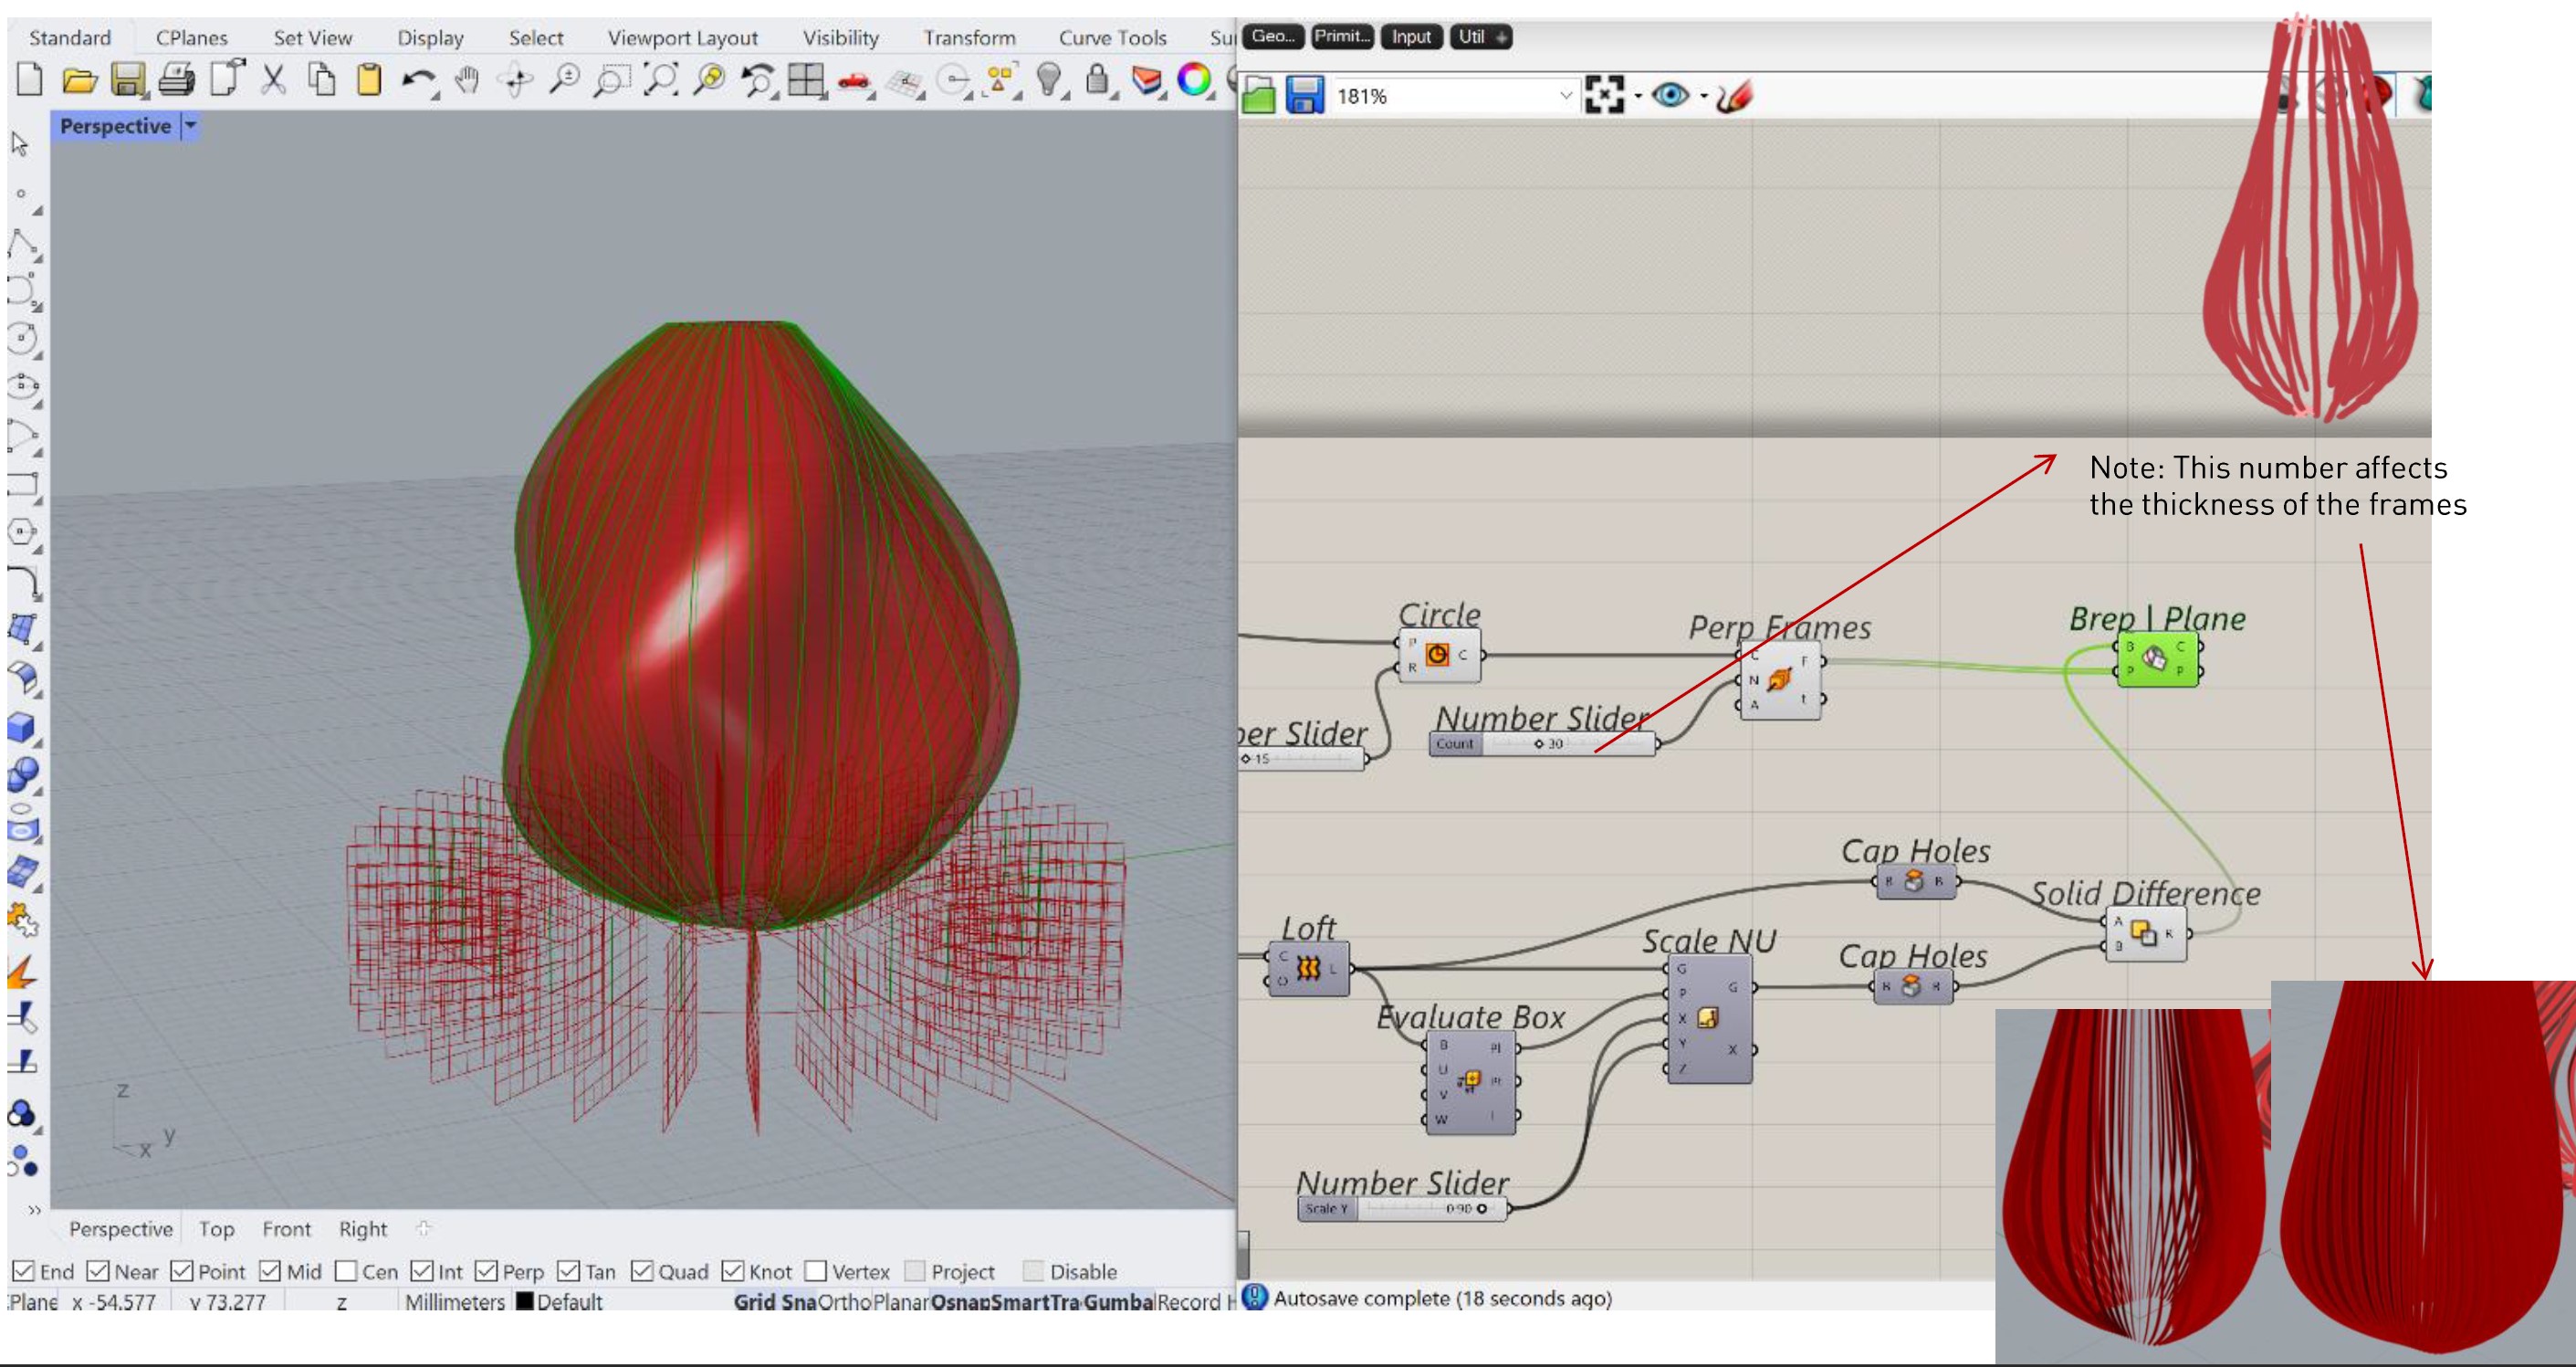
Step 15
Now we need to connect the lines which were created by the plane-cut and design a volume in between them.
Step 16
Finally, the last steps of Extruding the cuts and setting Custom Preview.
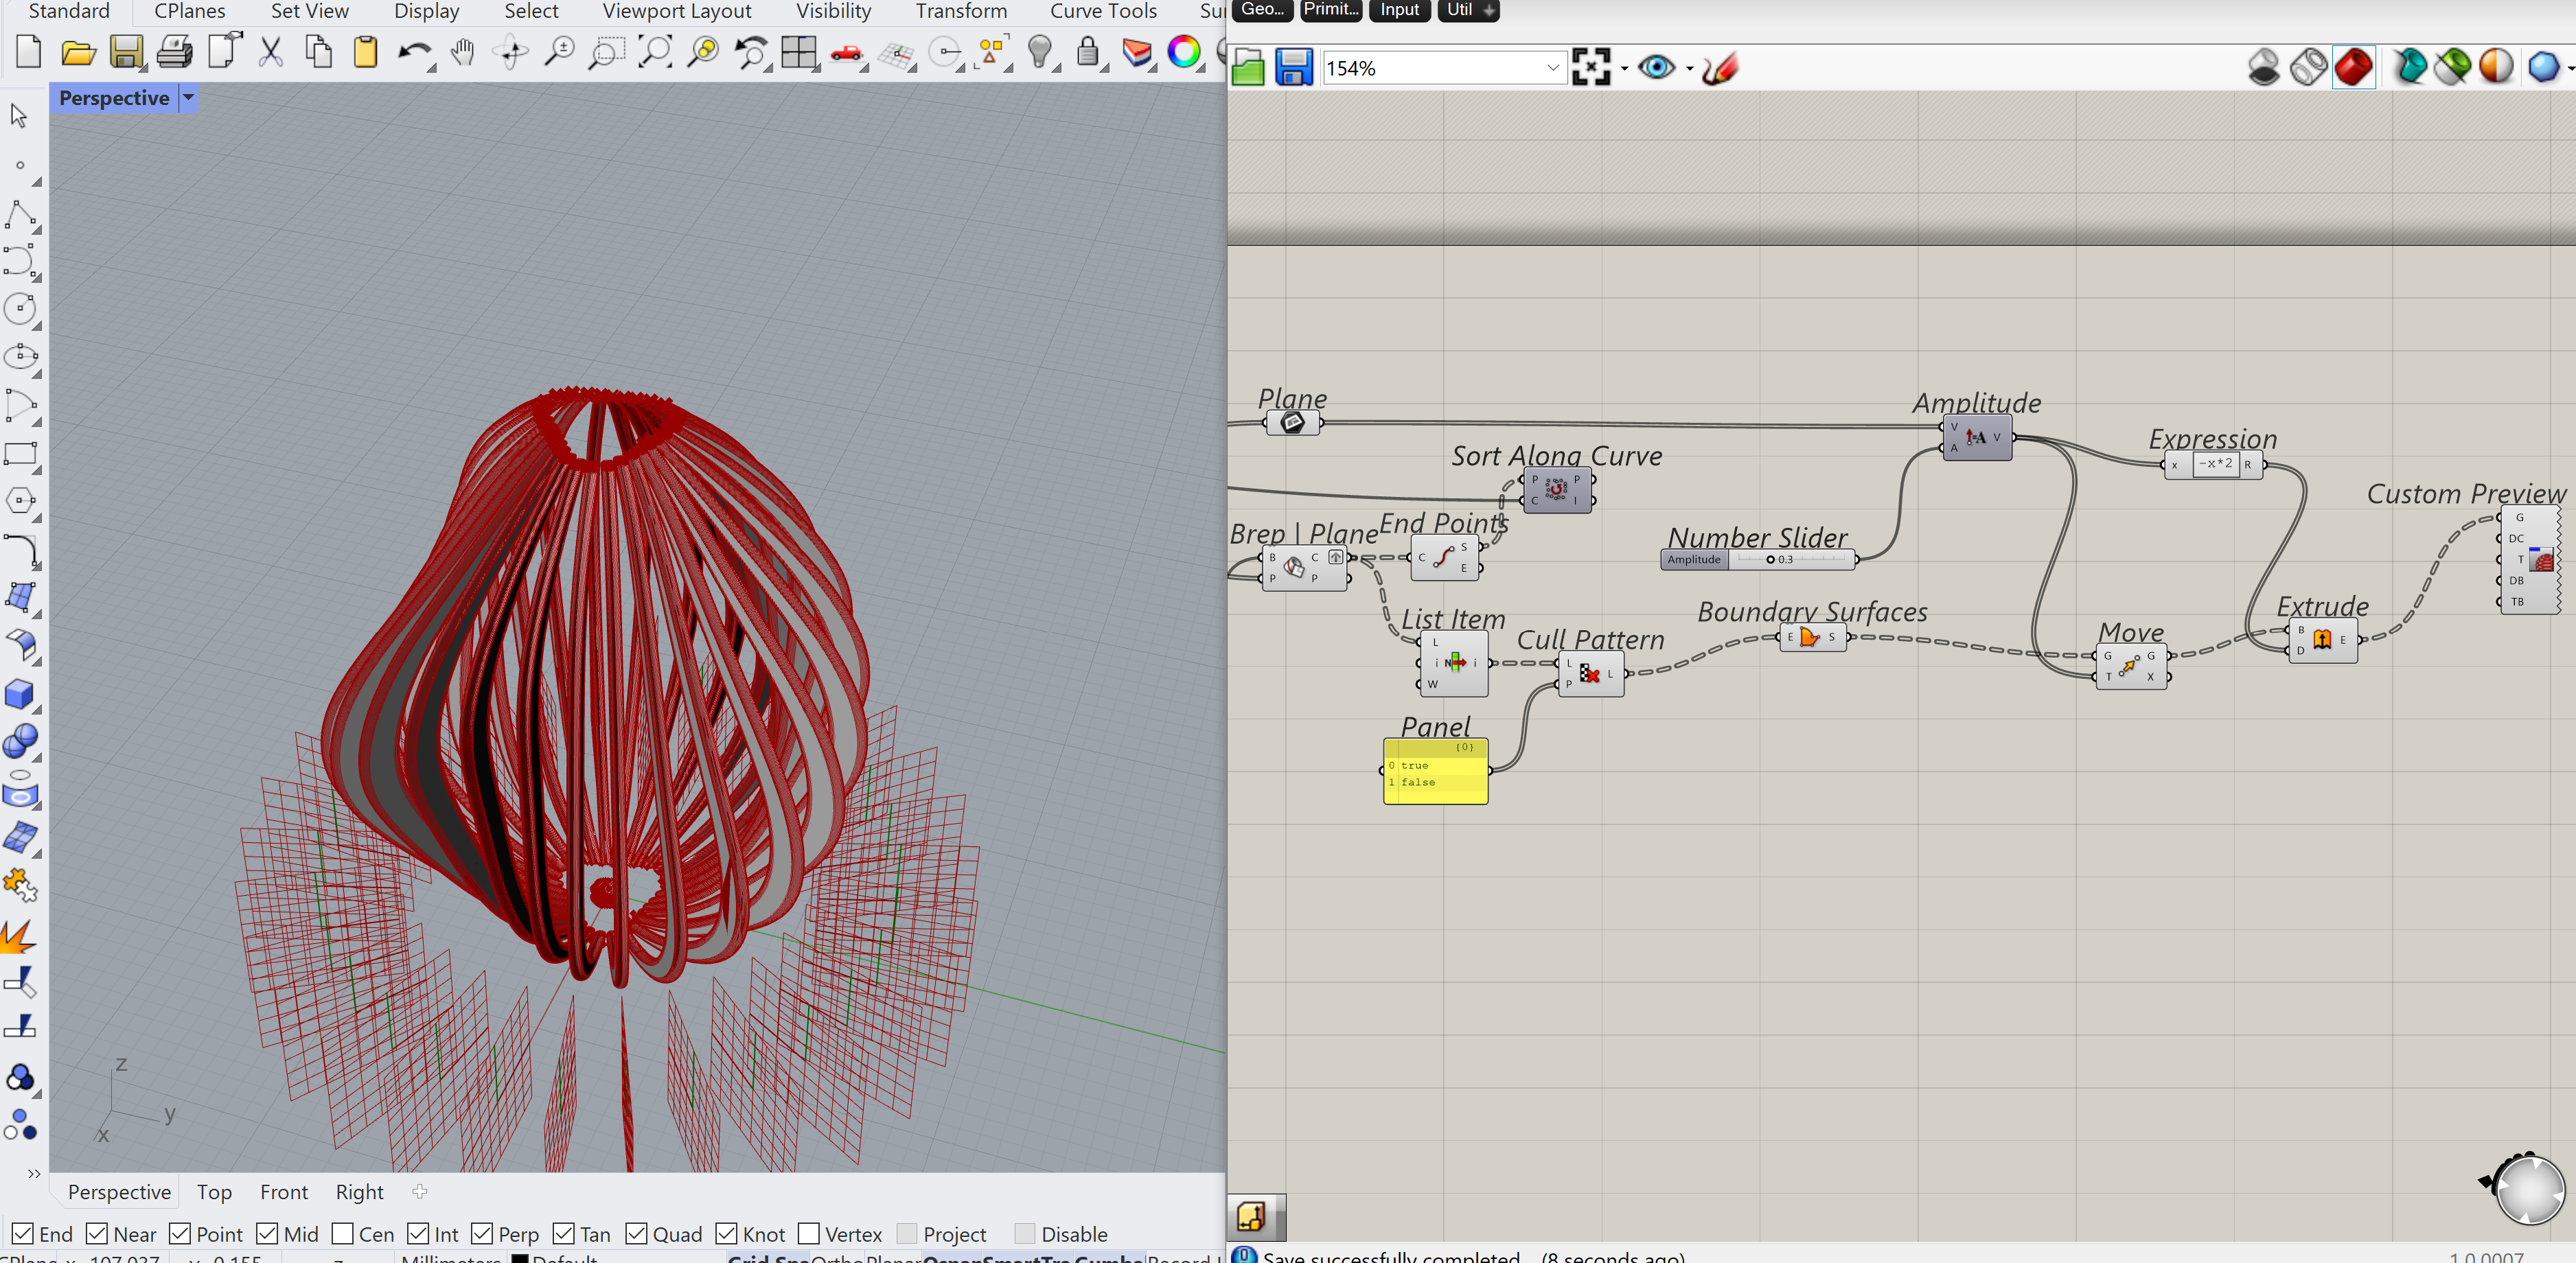
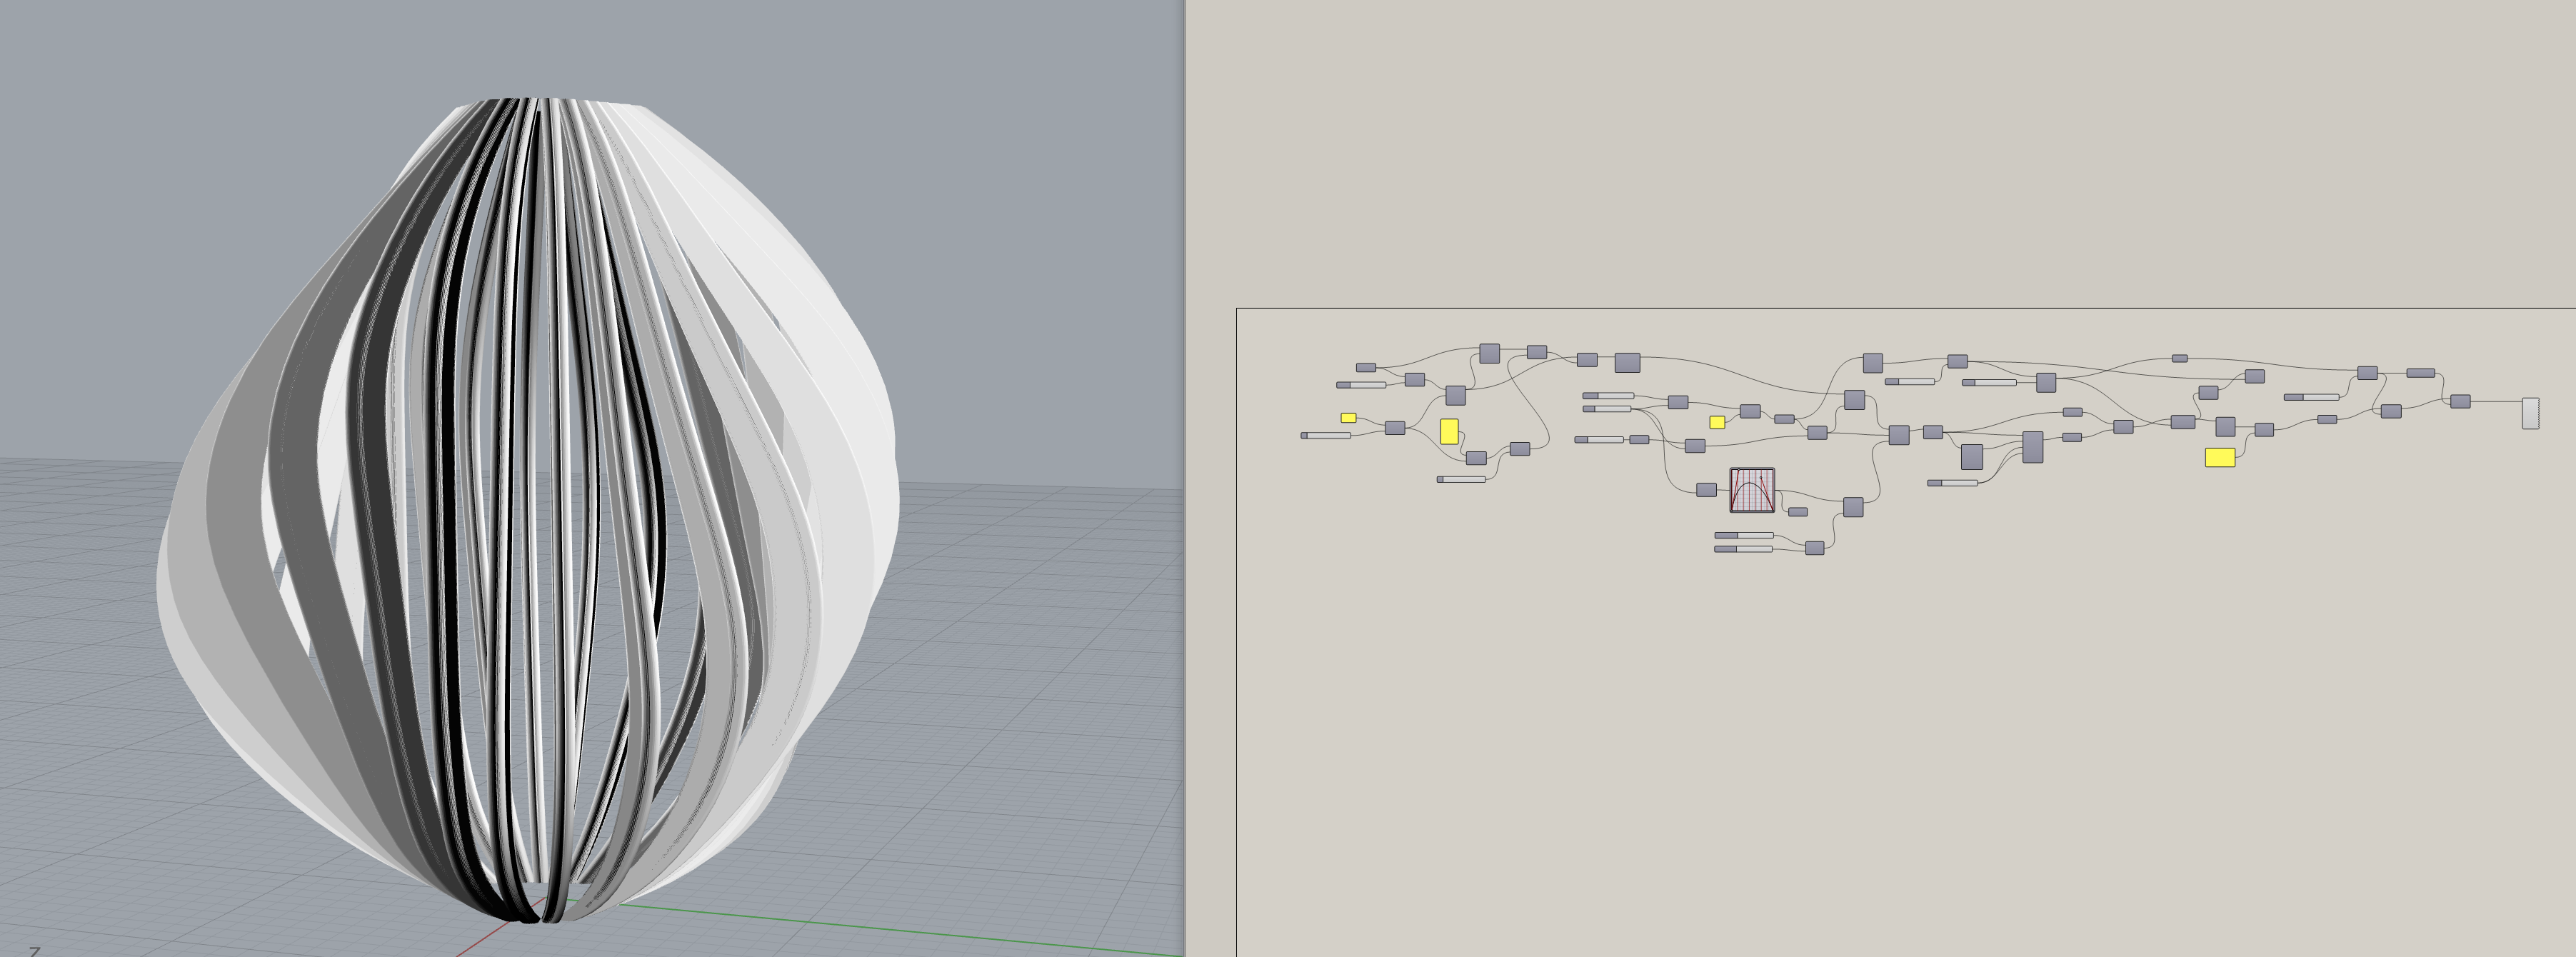
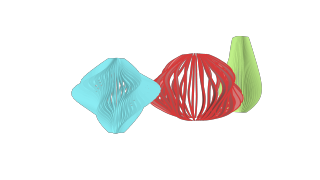
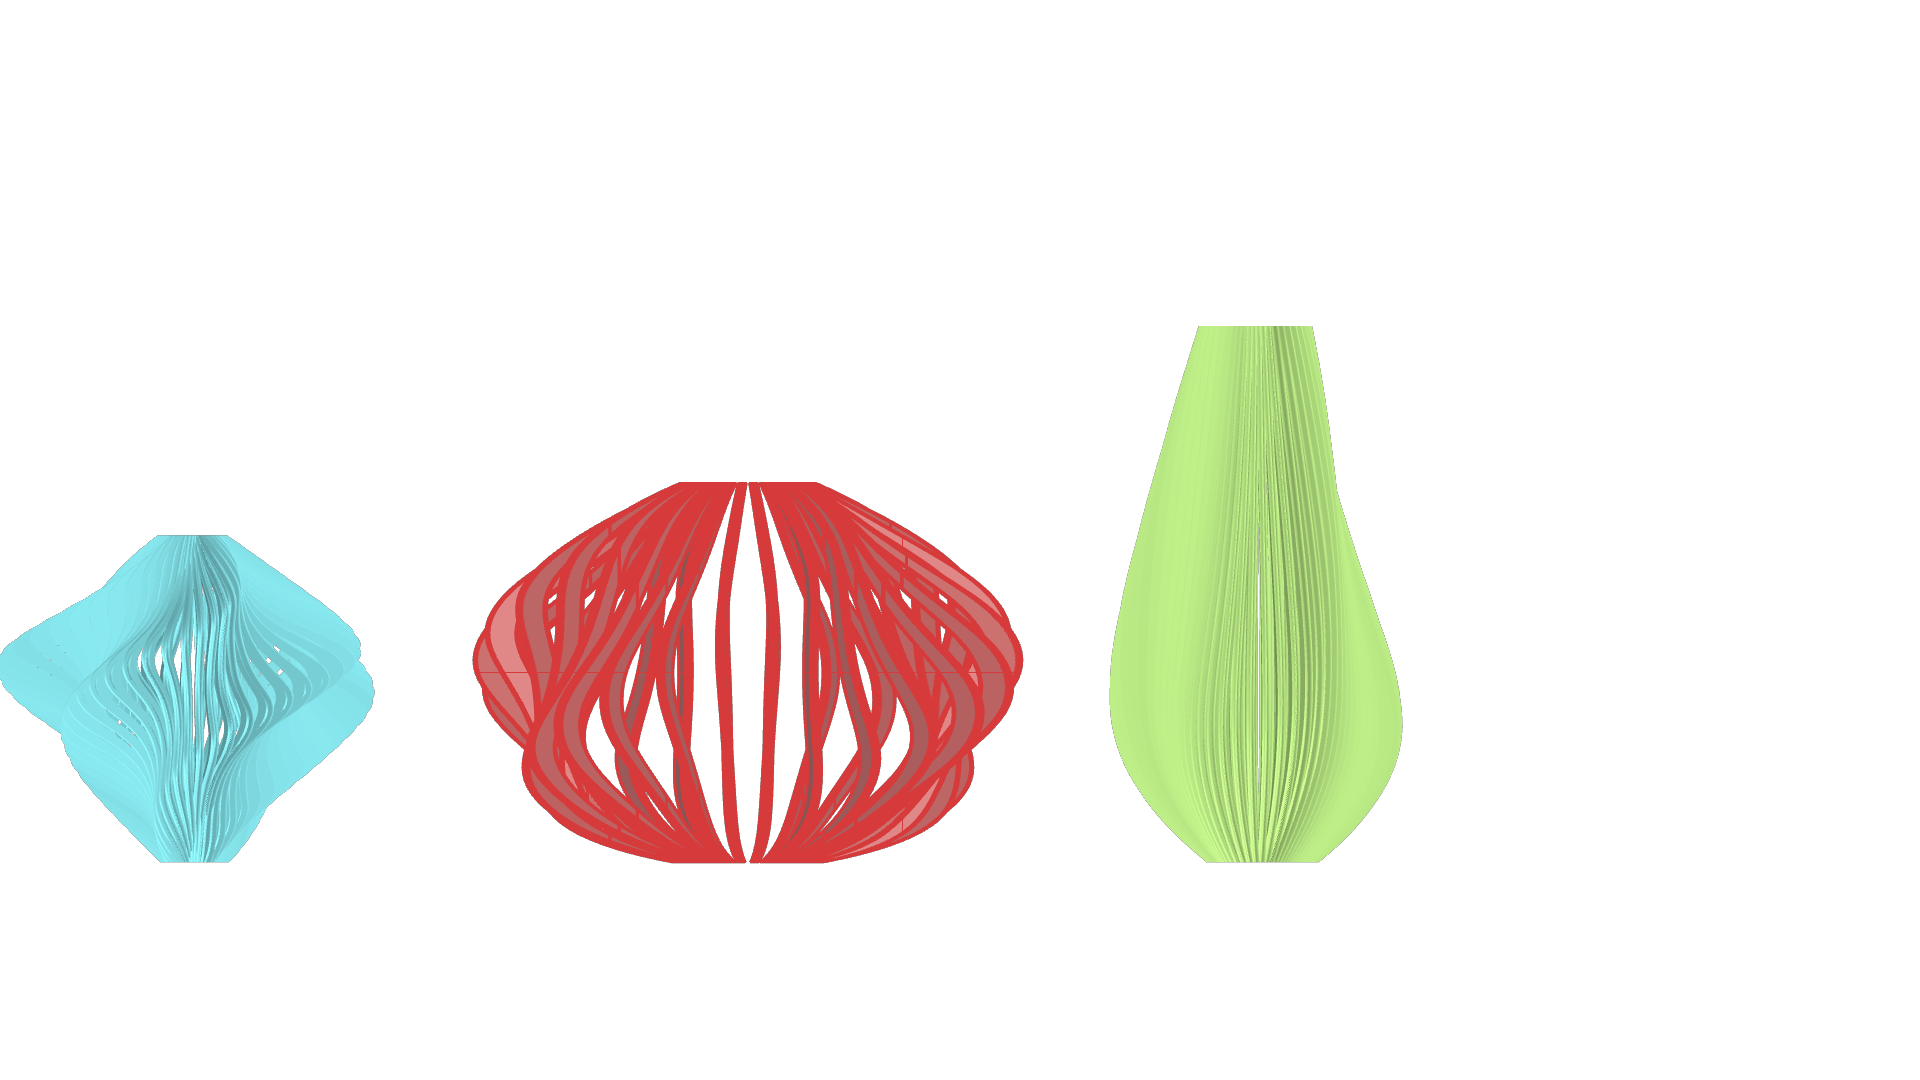
Example of a final product and the code preview