Introduction
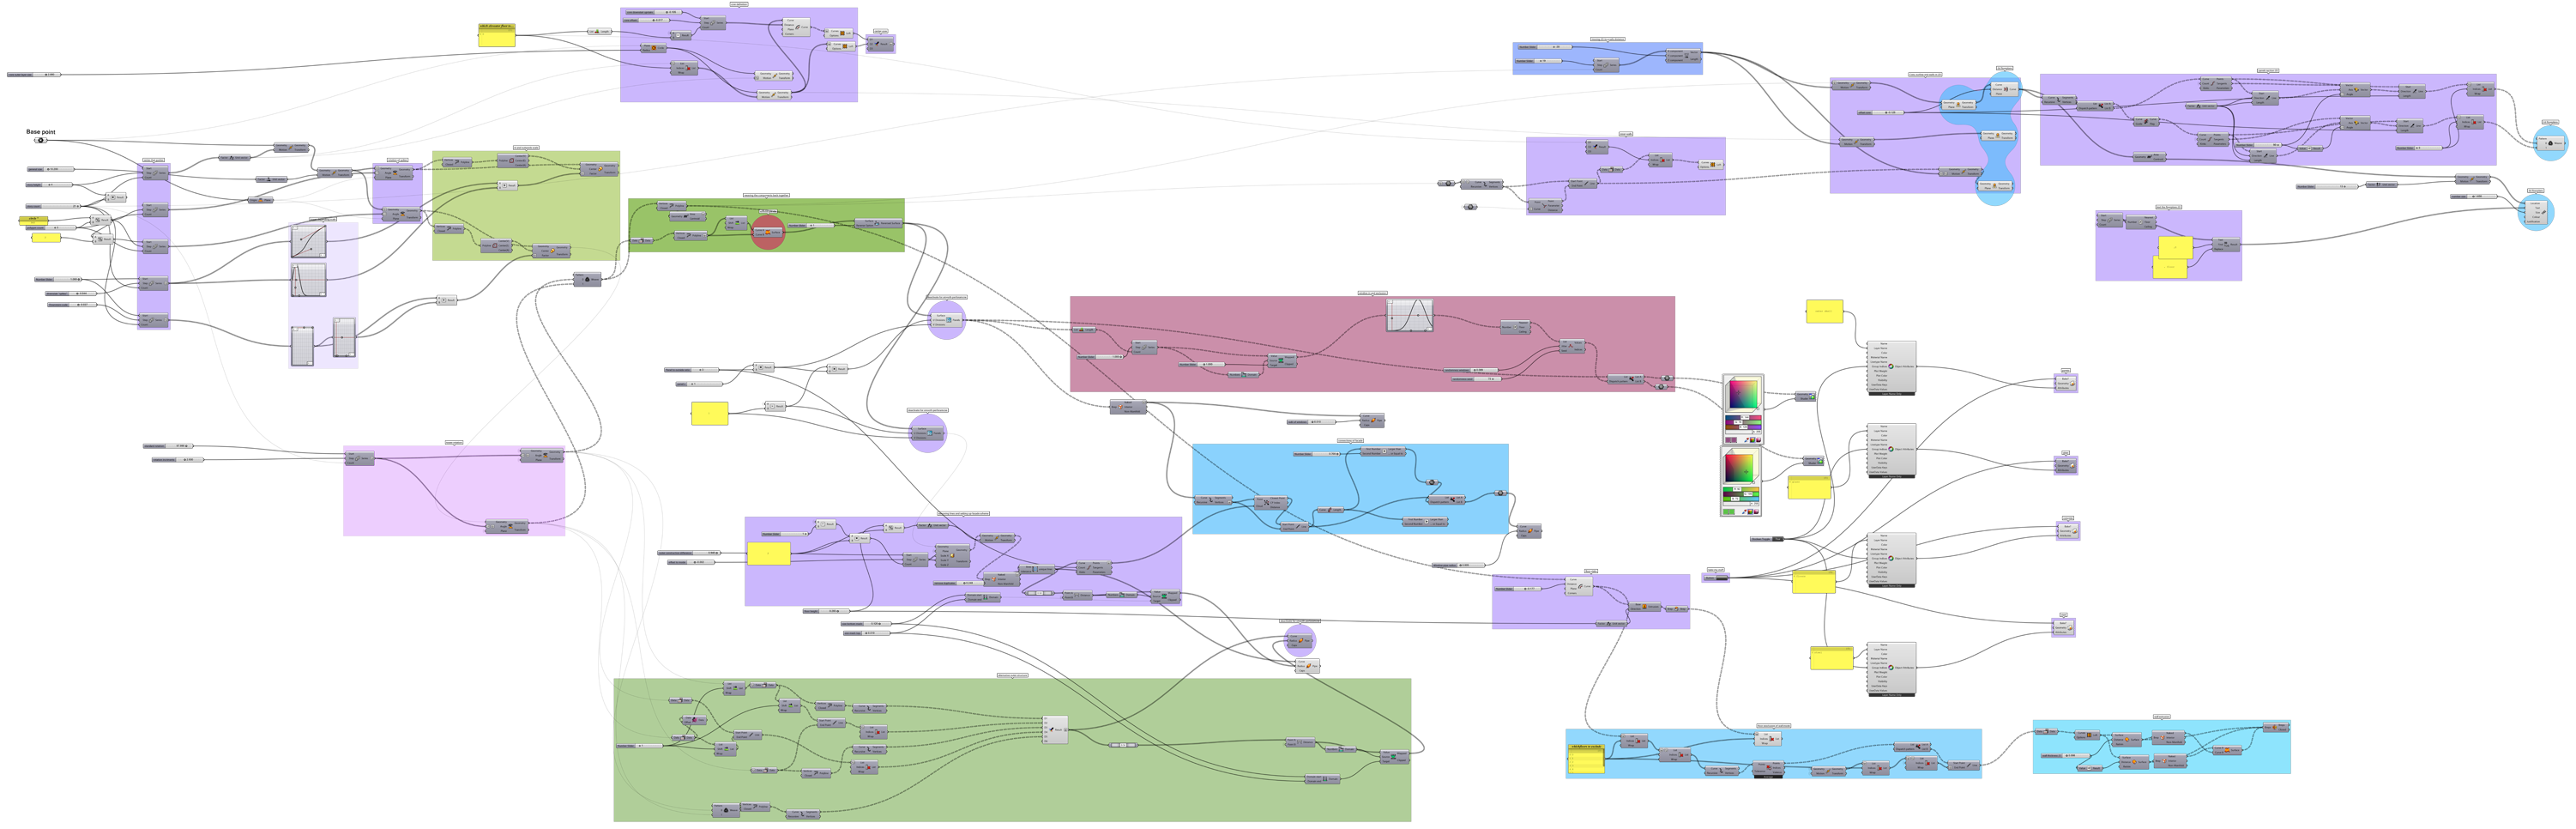
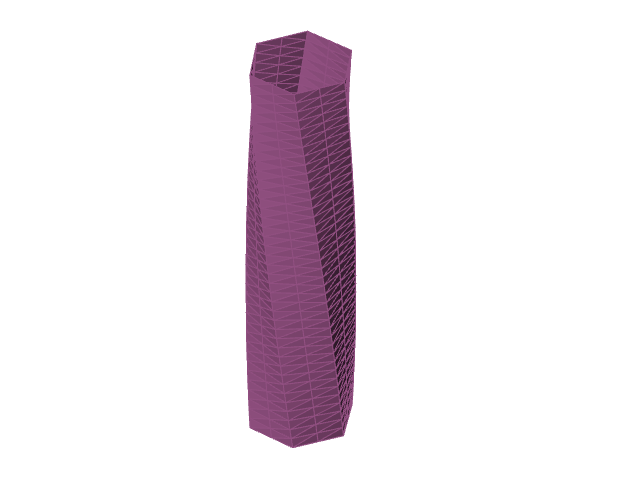
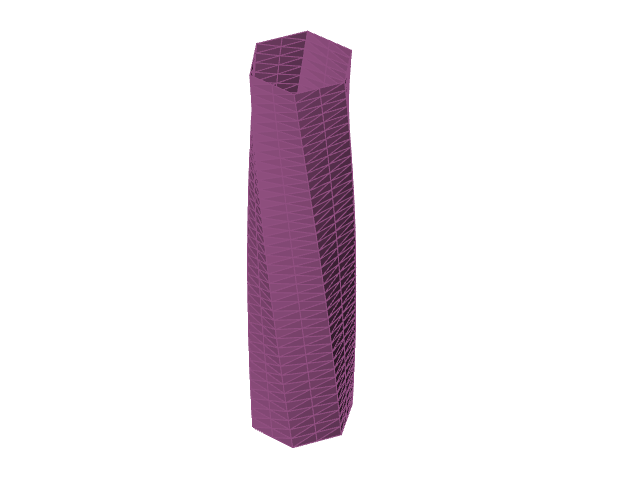
This tutorial features a multistory, polygonal air traffic control tower with an adjustable panel system, as well as its secondary structural layer and easy baking mechanics. With the working script, you would be able to create a skyscraper type of building with a changeable, scalable polygonal footprint,with a increasing or decreasing rotation. The script will make a rundown for all different subscripts, its functions and results when changing its values. Various gifs were created using the animate command on the sliders in order to make a clearer visual representation of the project. Keep in mind that the plugins Human and LunchBox are necessary to run this script properly. The two small files are downloadable here.
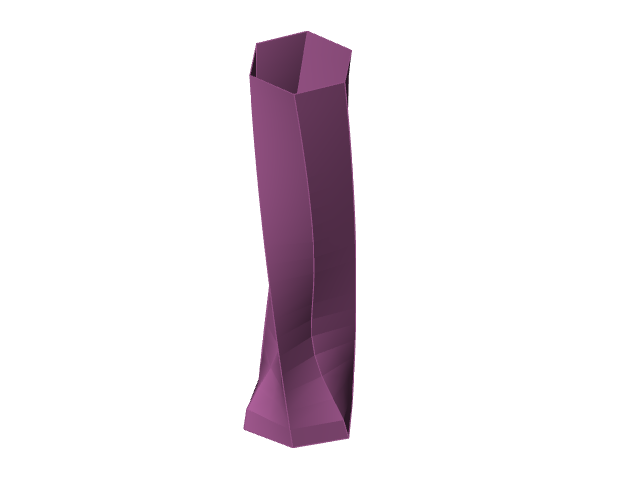
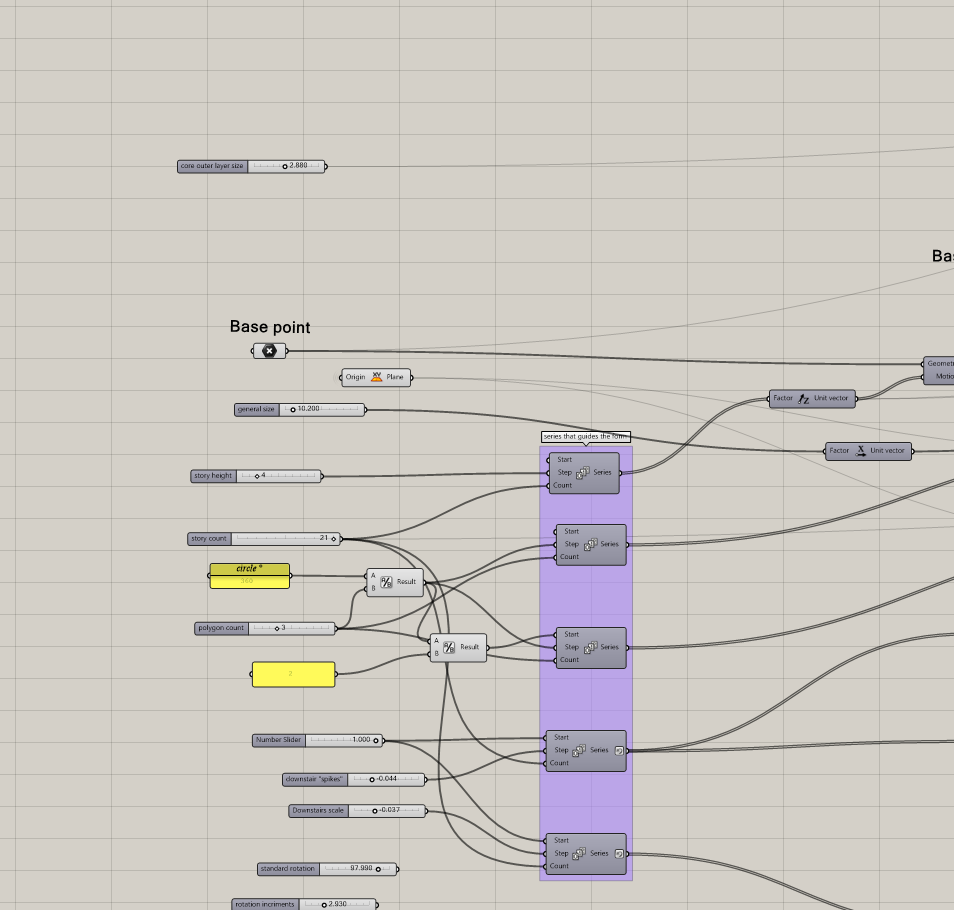
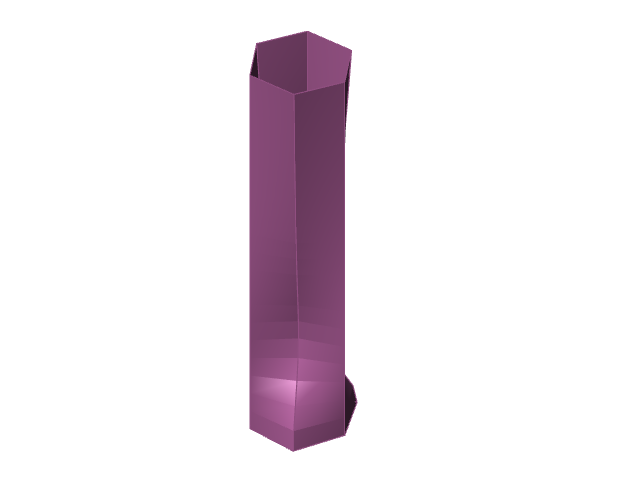
Base point
The base of it the form is just defined by a simple point, which is movable to any direction. It is inside the grasshopper script, so the rhino file attached to it would be just need for its layer formation when baking (more of that later). In this part, the amount of how many edges the building would have is also defined, it can also be an uneven number and then entire script would still work. The polygon base is not defined by the polygon command in grasshopper, rather than in a move of the x-axis and a rotation duplication; 360 divided by the desired polygon amount, but one time with a half of a polygon degree amount more in order to weave it back together later.

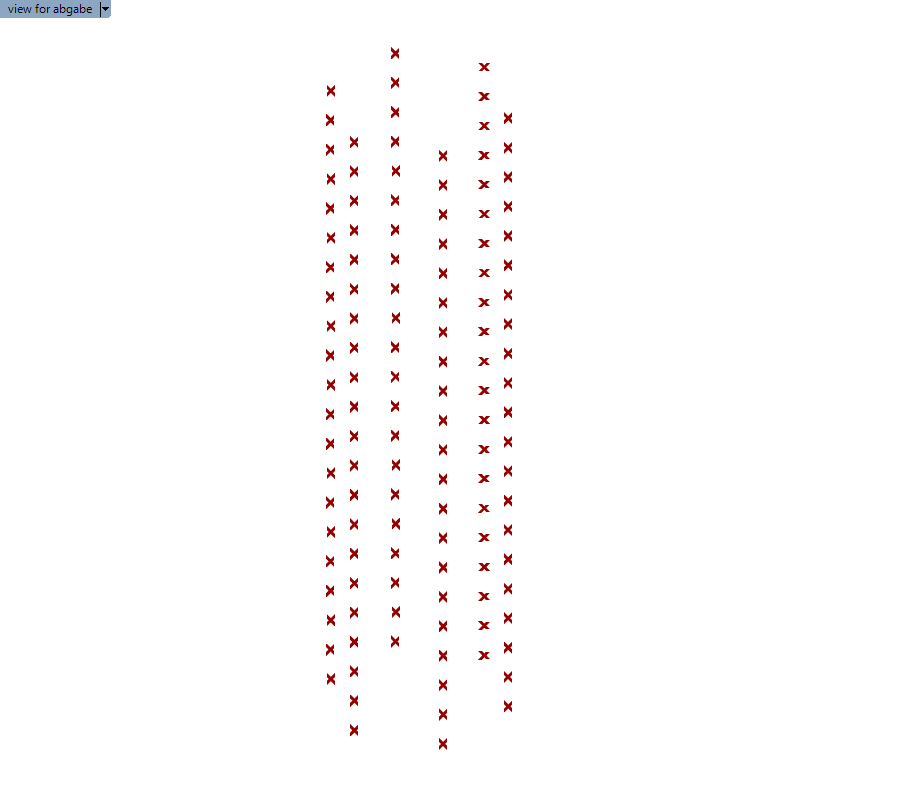
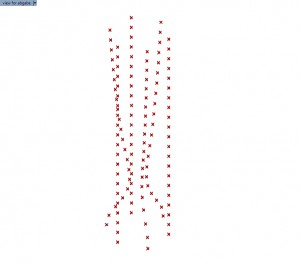
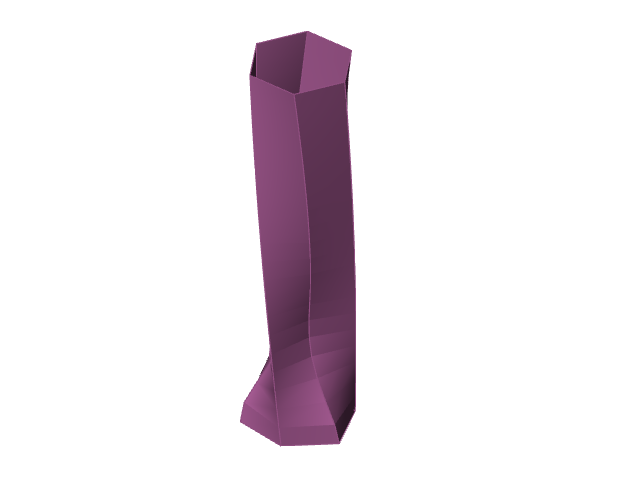
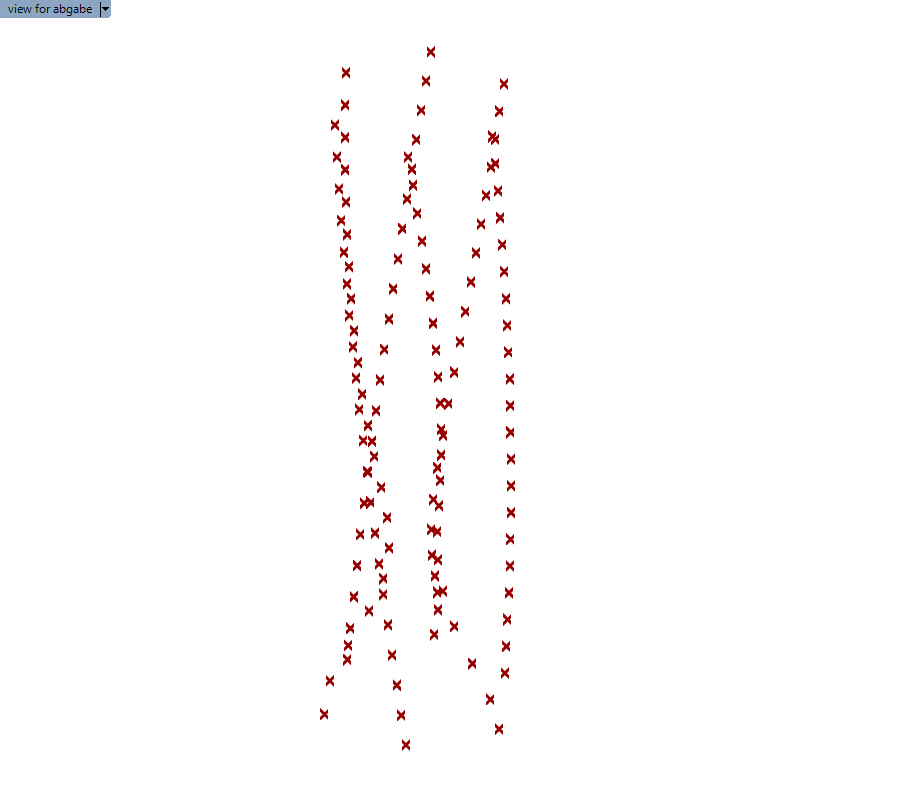
Constructing the points
The idea is, to create a working, multistory polygonal grid which is adjustable on all its layers. In this part we are creating the base grid, which multiplied in the z axis, every different floor defines a different tree, because the next parts will include rotation and scale deformation of those points, it is necessary to keep the tree grafted. The amount of times the point is duplicated upward translates to the amount of stores, and the z direction distance relates to the story height, measured in metres in this case.
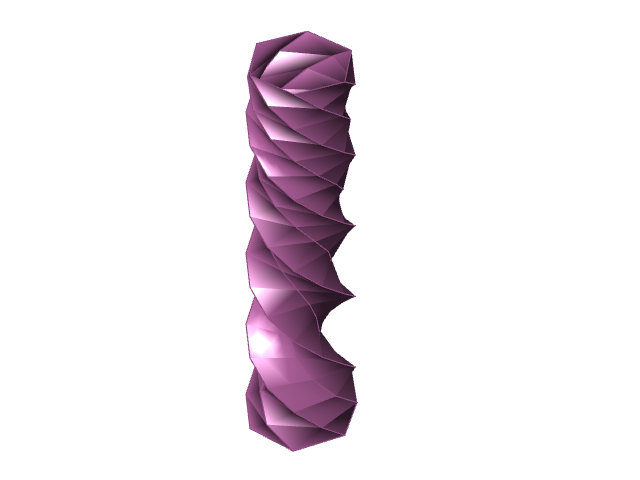
Scalefactor depending to the core
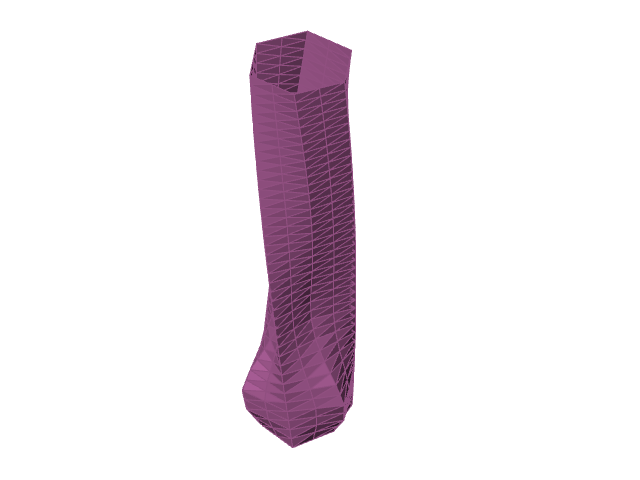
In the next step, the individual trees will be assigned a scale factor according to their respective middle point, which is taken from the average of the points, even though taking it from the in z direction duplicated base point would be a clearer script, as for now, it works. The scale factor is depending on two series, aswell as four graphs to give maximum control over its scale and potential enter points at the bottom. Note that in this case, the secondary list in the dispatch is almost not manipulated at all, that is because I wanted to keep the outer spikes of the form in this example.

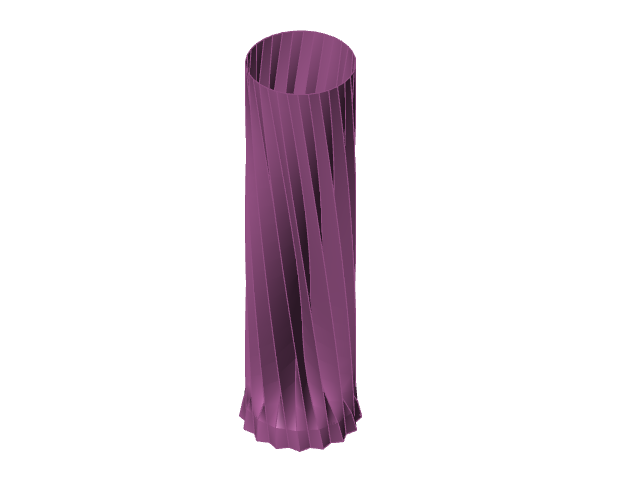
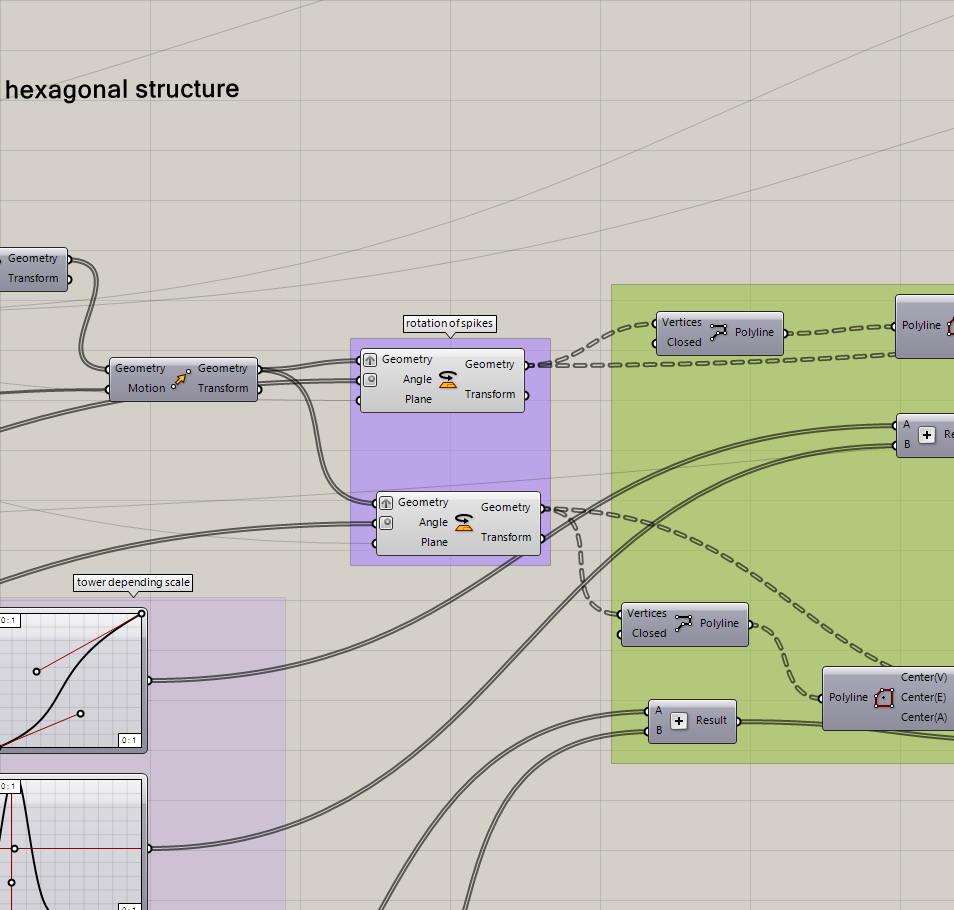
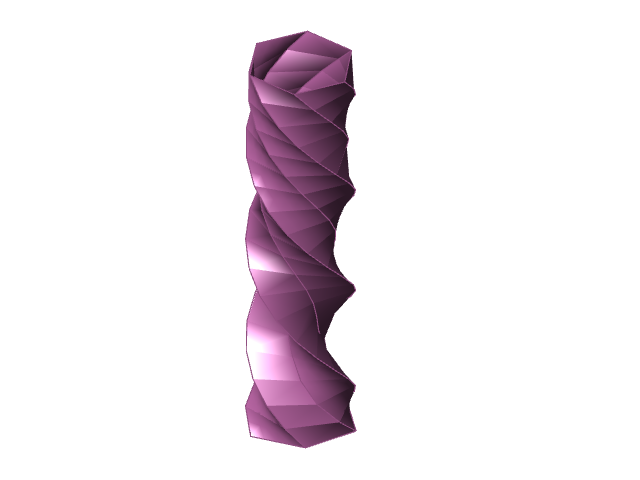
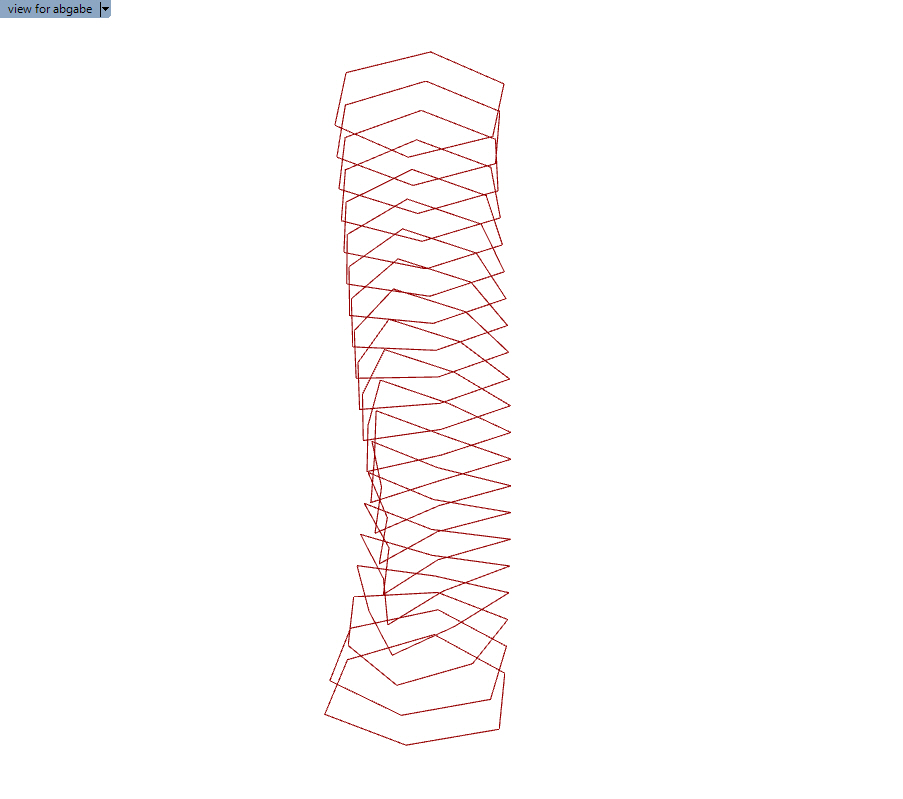
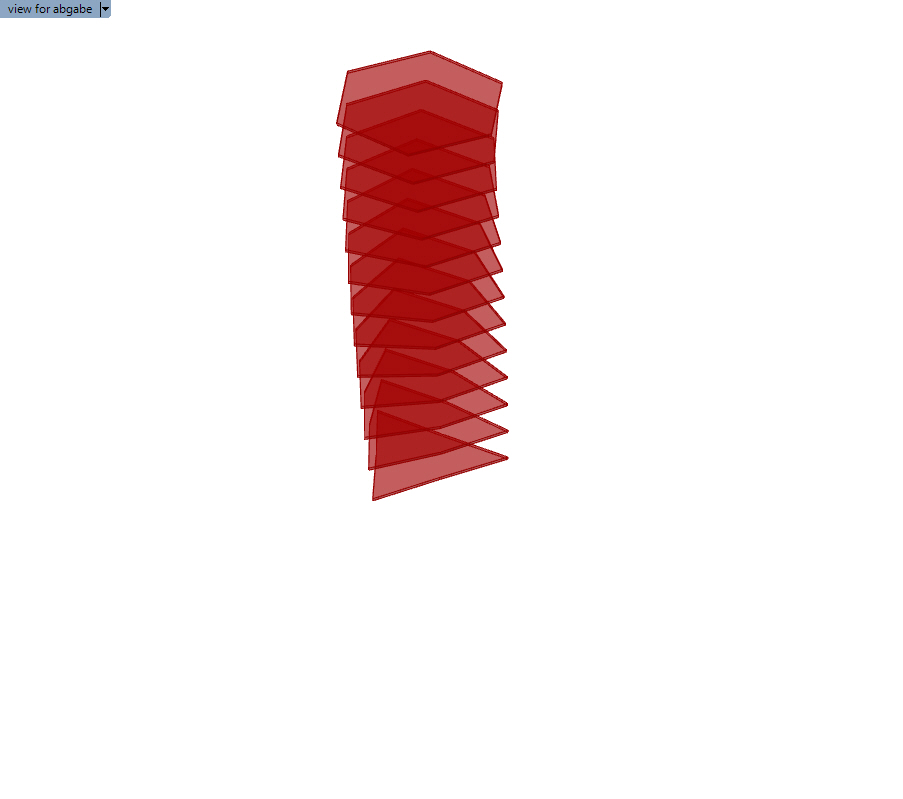
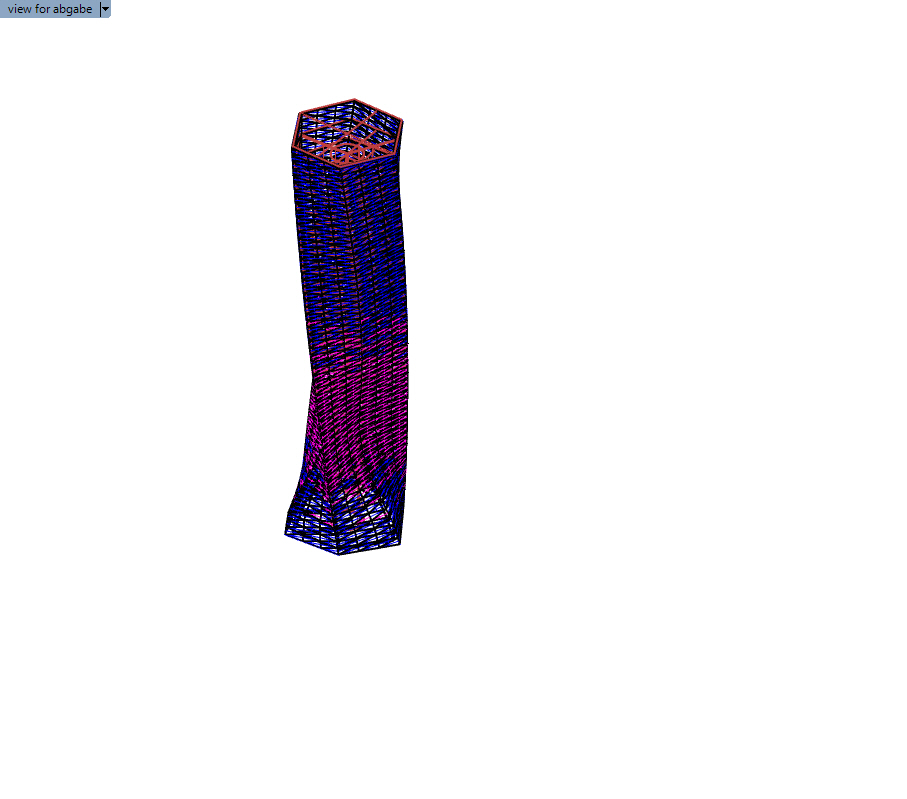
Rotation
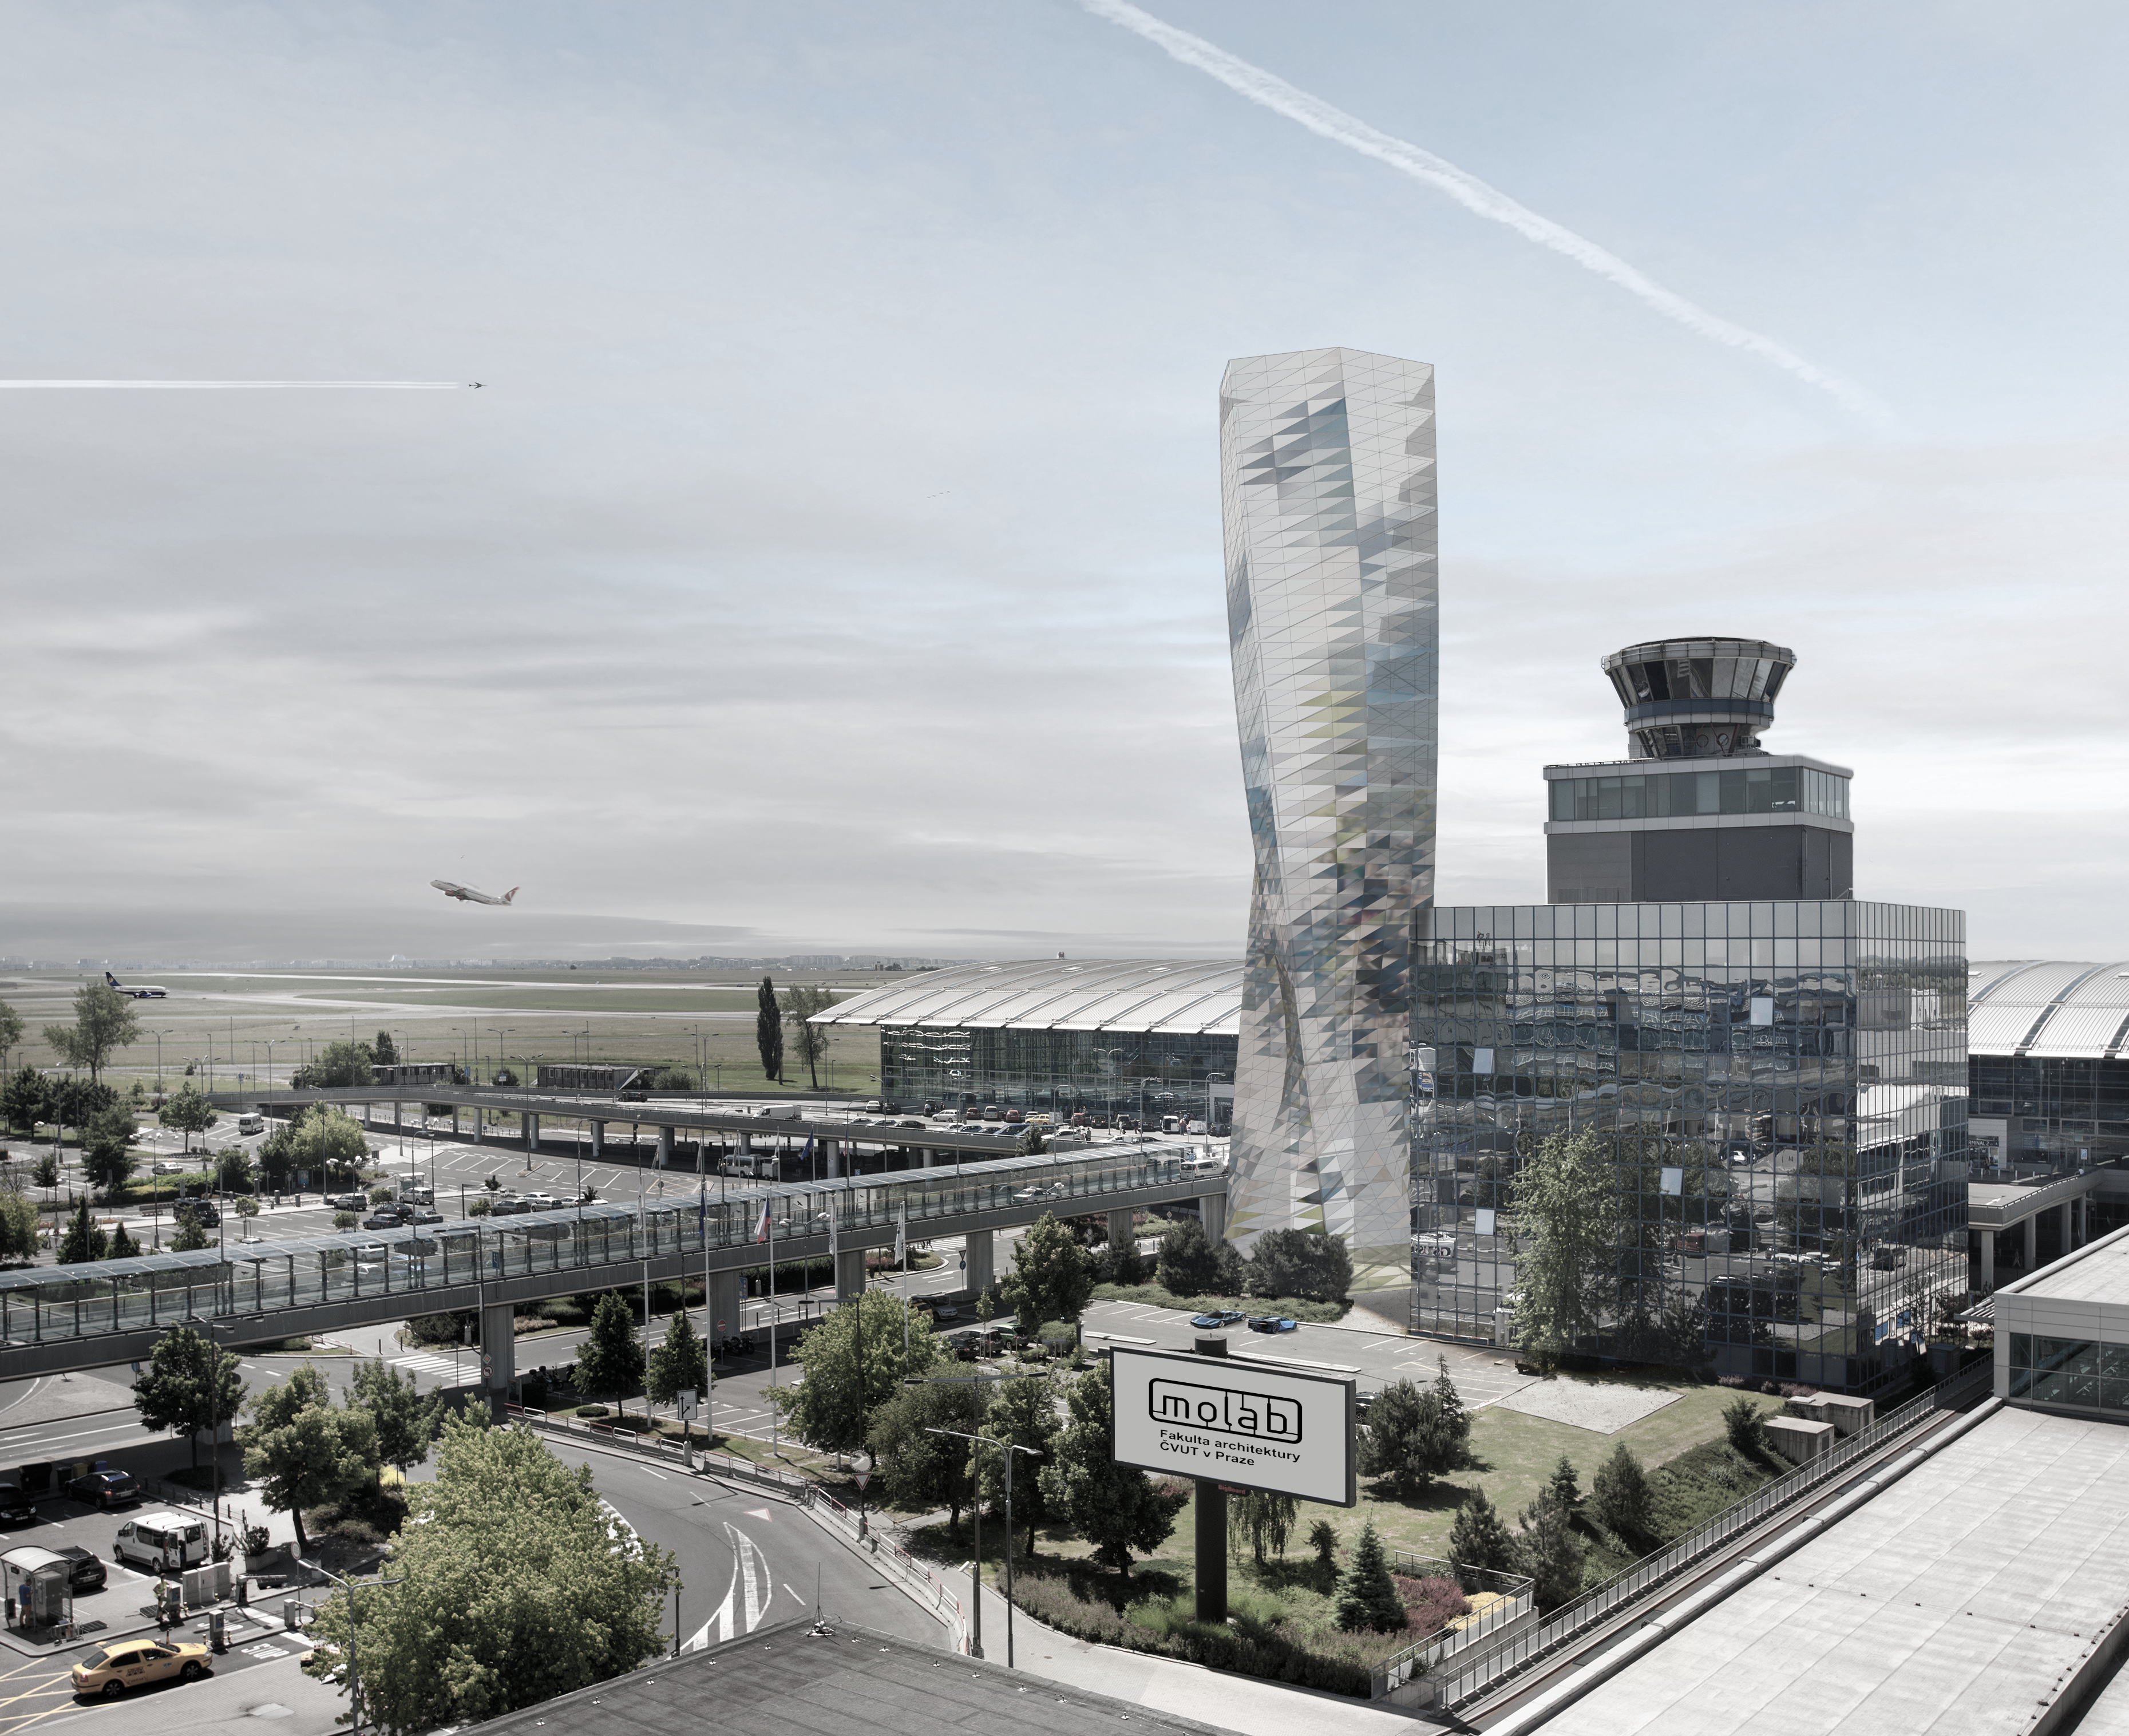
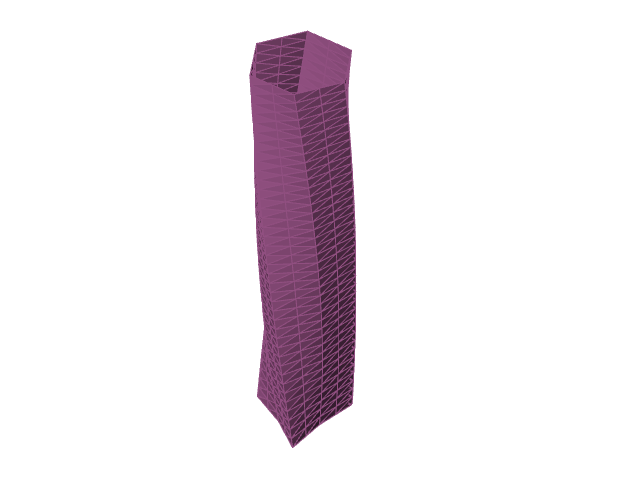
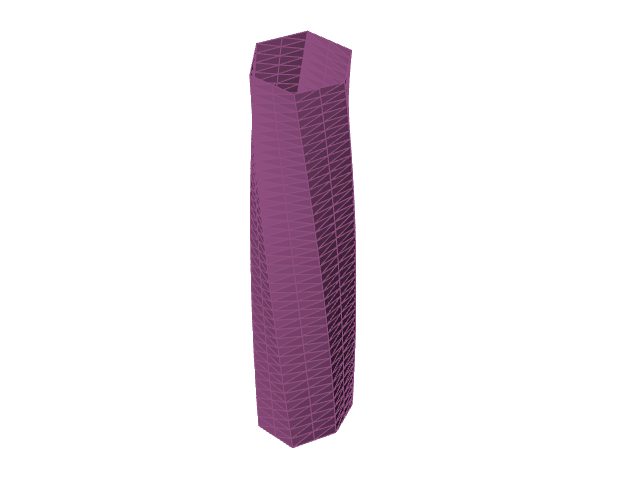
With using the same centre point as the rotation plane, the tower is rotated, with a series as an input. I did not put a graph on this side because I wanted to have a more regular rotation throughout the tower. It was very important the top in the same position, because it had to be aligned in a certain way for the project, to maximize its visibility. I settled for a mere 45° from top to bottom, because wind drag is optimal in that case, and the form is not distorted too much.

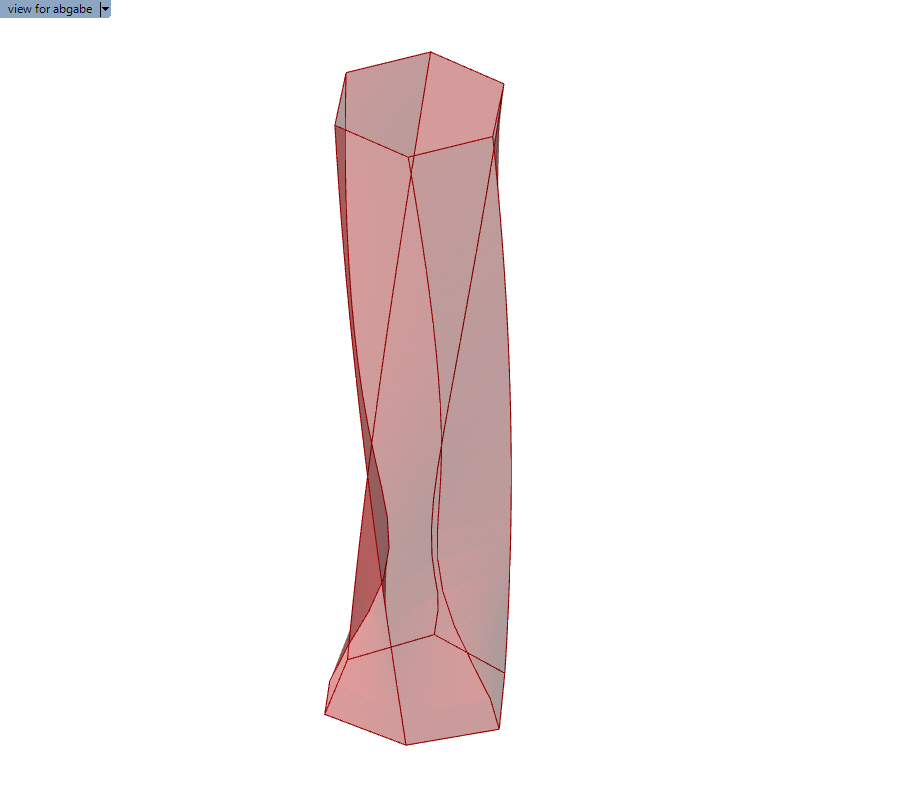
Floorslab reconstruction
The used points are reconnected with as a polyline, with a true boolean definition on its closed option, the result, which will be also manipulated later, ss the base of the floorslabs, aswell as the facade. This data will be very useful for constructing
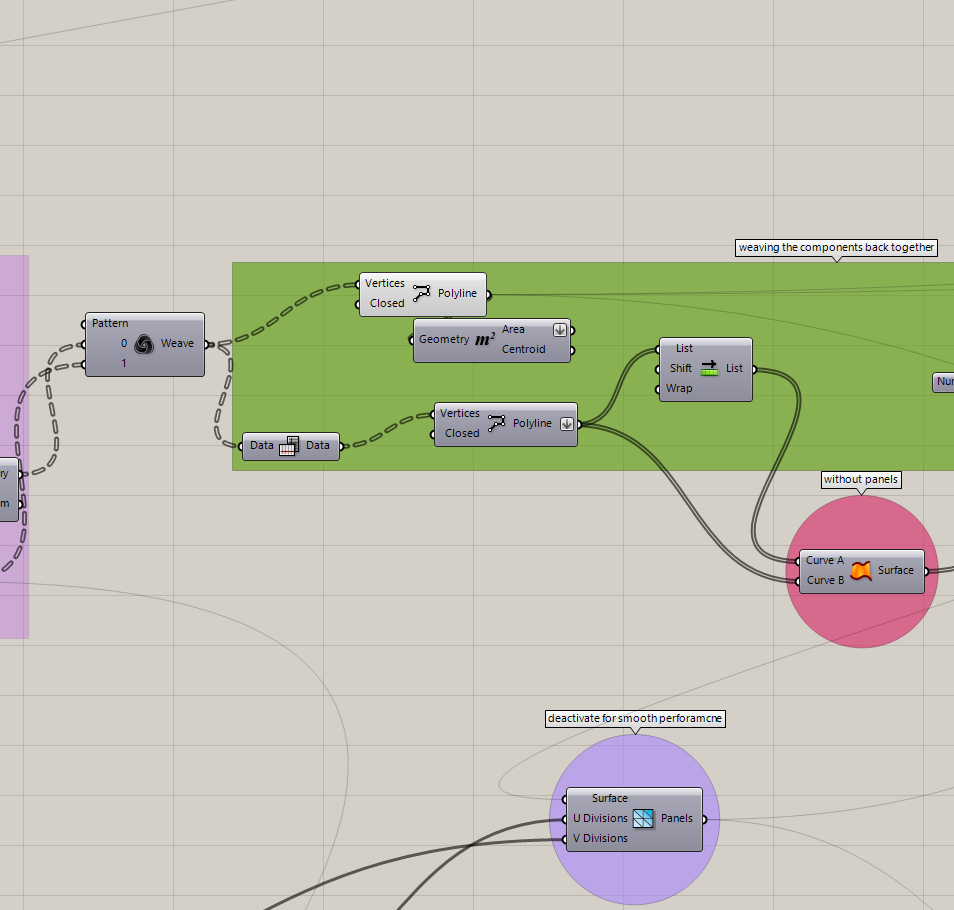
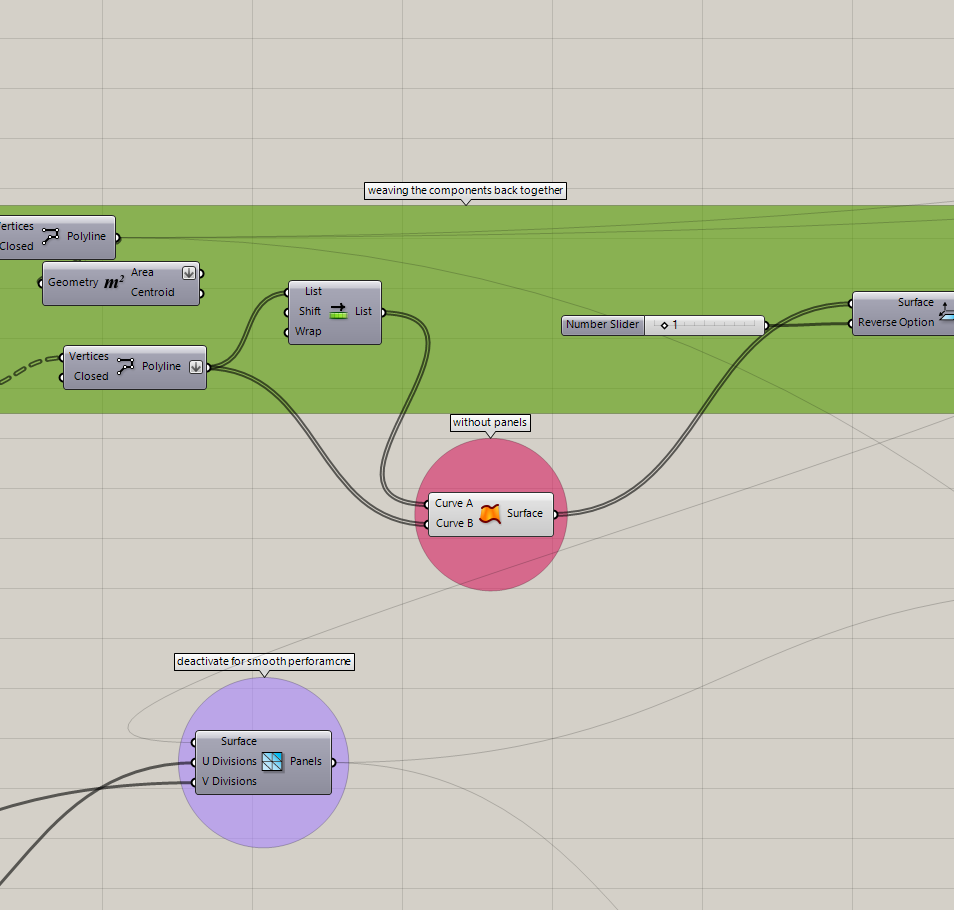
outer surface application
With flip matrix, it is possible to to the same as with the slabs, but in a vertical format, it basically transforms the tree from [2:5] to [5:2] thus using the horizontal points for vertical ones an vice versa. To make it possible that the surfaces are connected to each other, the list is simply shifted and the result is put in as the other curve in the ruled surface command. In my experience, ruled surface always gave the simplest but also more controllable result. With that result, it is possible to use it with the lunchbox tool to create panels in the next step.
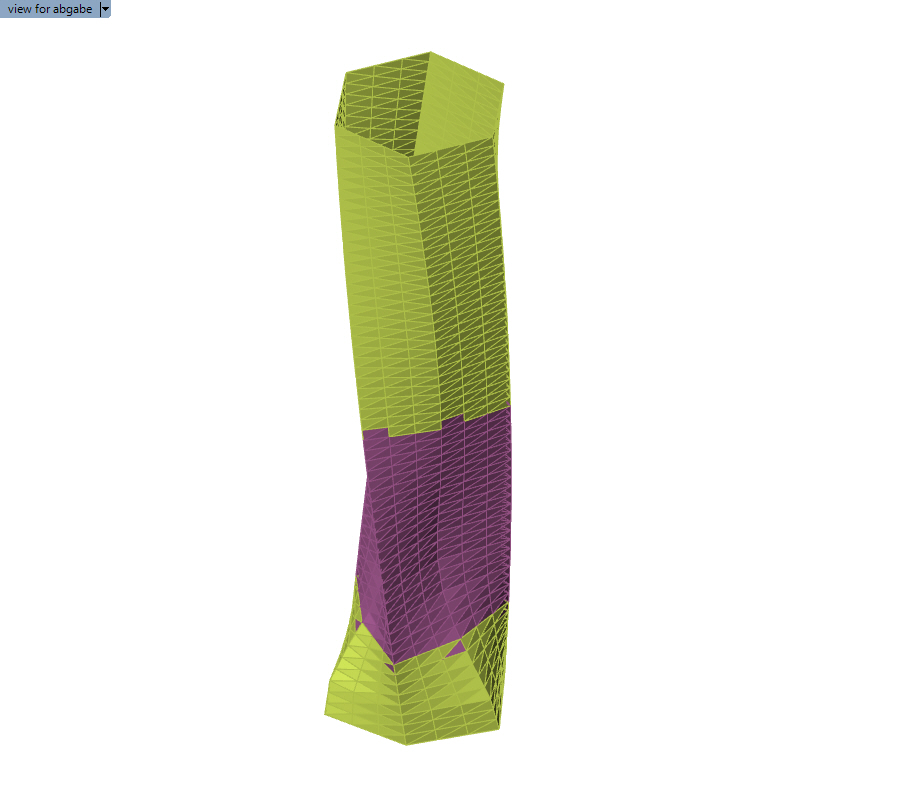
Paneling with lunchbox
Lunchbox, a tool that gives the options to lay different grid structures on surfaces, as well as more advanced surface manipulation and analysis for normal grasshopper commands, so it wouldn’t only work in its own extension ecosystem. In my case, it was very important to have the same panel x,y ratio for the window panels, as well as for the structure underneath, so in that way, it would line up. Even though lunchbox is a great tool of creating fast surfaces quickly, I still felt the limits of its engine
Jitter and panel seperation between type a und b
The jitter command and its setup was a very important task for the project because it defined its outer facade and the opacity of each panel. With the graph slider, and a number range, an amount of numbers between 0->1 are created. With those numbers, and a number rounder, we are able to create a boolean integer, that 0 being false and 1 being true. With that boolean integer, a clear position for the boolean integer is given. This value is then slightly jittered in its list to spread out the panel effect, though the jitter value can be increased to create a more random effect. I settled for a more sudle jitter to give the building a more clear form.
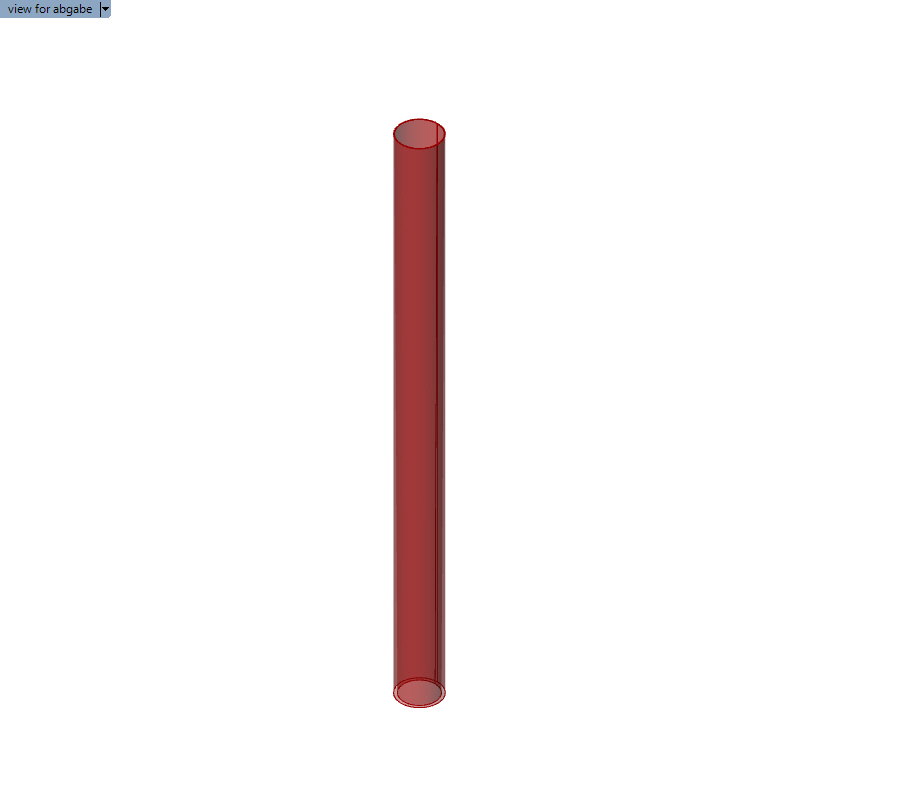
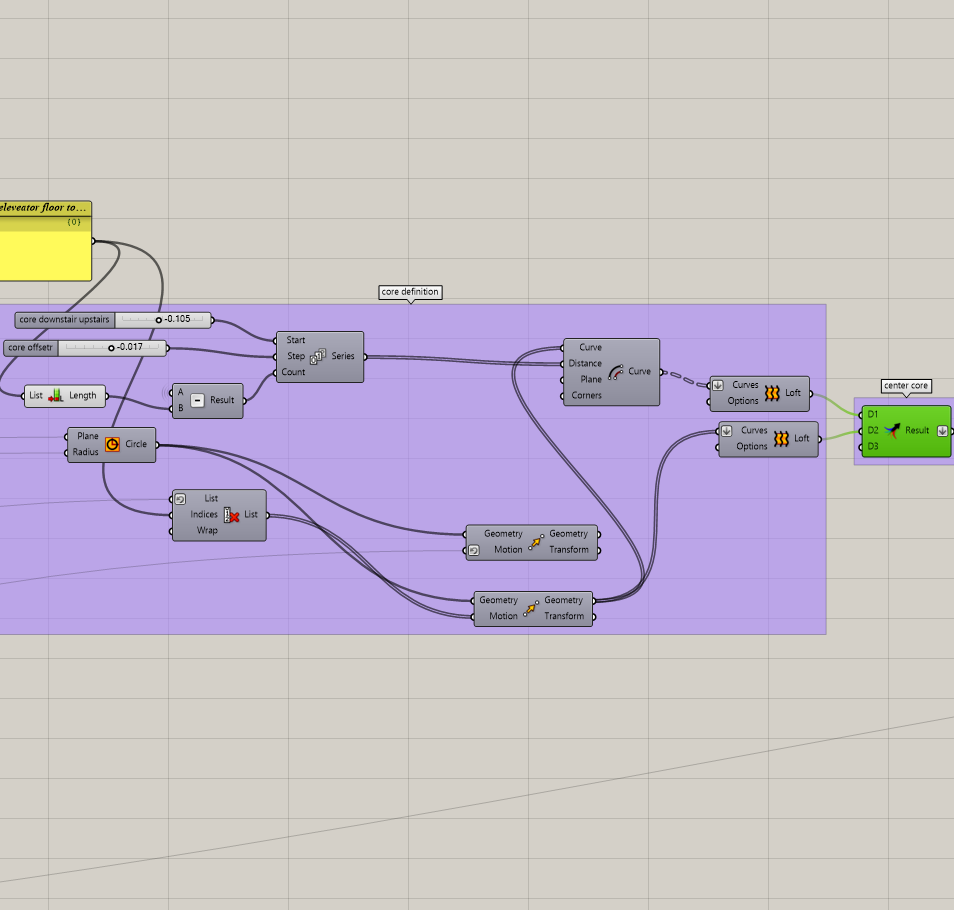
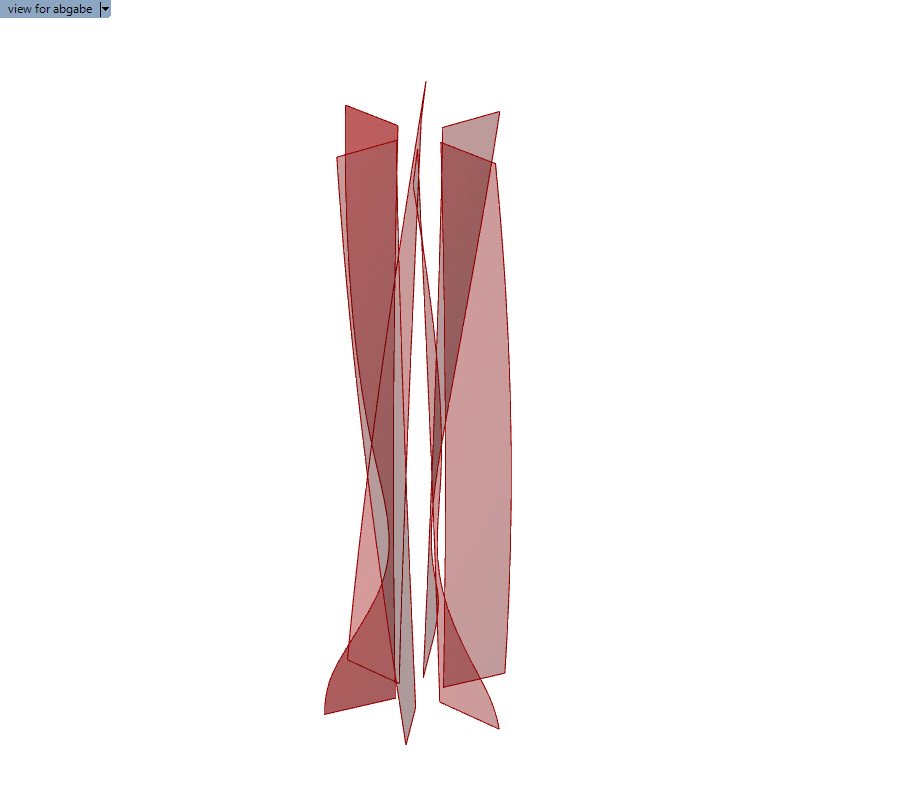
Core structure and lofting
The core took a very important part in the overall structure of the building, alltough not visible from the outside, it takes an important part of the structural integrity and helps with the increasing higher vertical load the lower point you are at the building. The base function is just a create circle command, and because I wanted some floors excluded, a cul index was also used, where you can manually tell which, counting from the top floors wouldn’t need the core for elevators and shafts. Although not visible, there is a slight offset variation in the bottom, compared to the top. the two surfaces combine result in the core wall and are useful in the next step to create the partition walls of each slab.
Polygonal walls aligned to center
In the next stab, I wanted to creatE a partition wall that separates each floor into the amount of polygons that they have in order to make a zoning theme for each floor. A line is created between the outer shape of the panels and the inner core. The closest point of the inner circle, which is perpendicular in this case will create a line between. The result will be flipped again and lofted in order to create a smooth loft.

Secondary skin structure and piping
It was a important, that the secondary facade structure would also have inside trusses which would compensate for the horizontal loads and increasing vertical loads of the facade itself. Therefore, the overlaying grid of the facade is just a scaled up structure of the smaller panels, being slimmer at the top to increase visibility of the top level.
Removable floors to small size
It was necessary to make a few floors unusable to to their small space. Ther could have been an area, attached to a higher/lower number boolean which would remove the floors according to the square meters, but I decided to keep this part manually controllable. Some floors even could be usable, even with a small footprint and due to correct proportions.
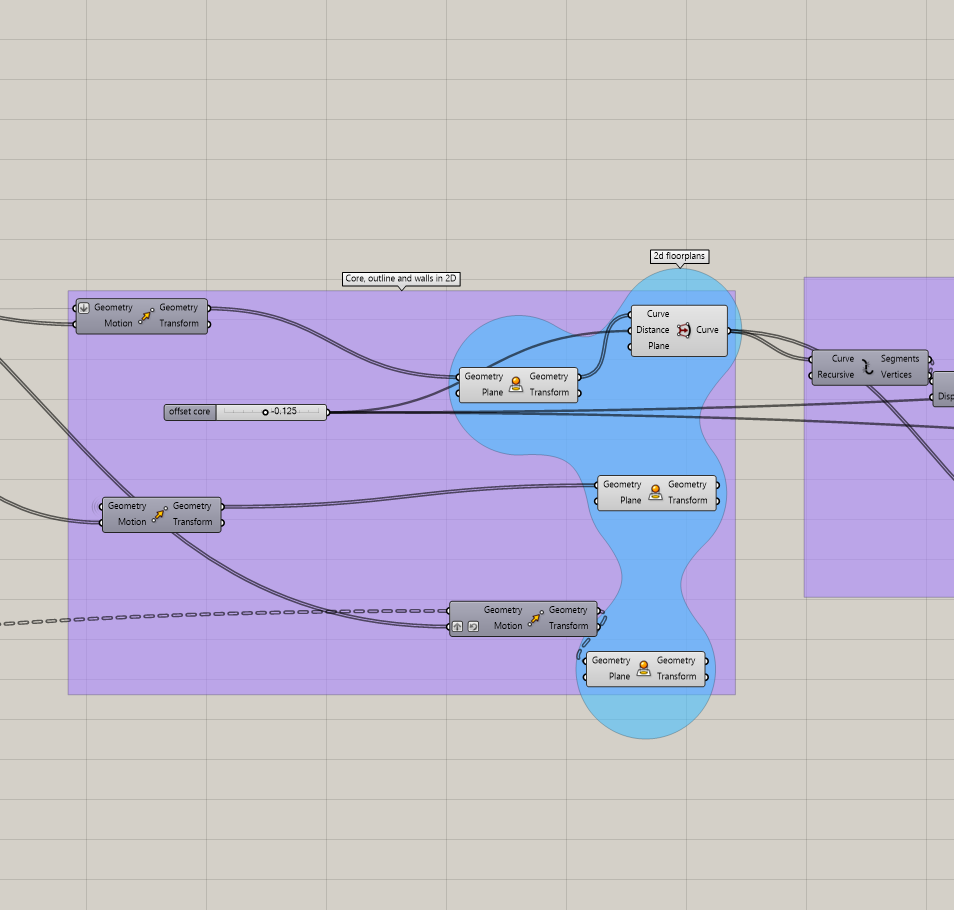
Fast 2d plans
In order to make my workflow better during the correction, it was necessary for me to make the floorplans ready for printing in a matter of seconds. With traditional make2D methods of rhino, it would take a while to have a good result that is presentable. With contouring the base line of the tower, and some text numbering of each floor, it made made my workflow and controlling the size and shape of the top floors a lot easier.
The contour lines get projected to the cplane and then are distributed with direction x distance between each other, the amount how often it is moved depends on the number of stories.
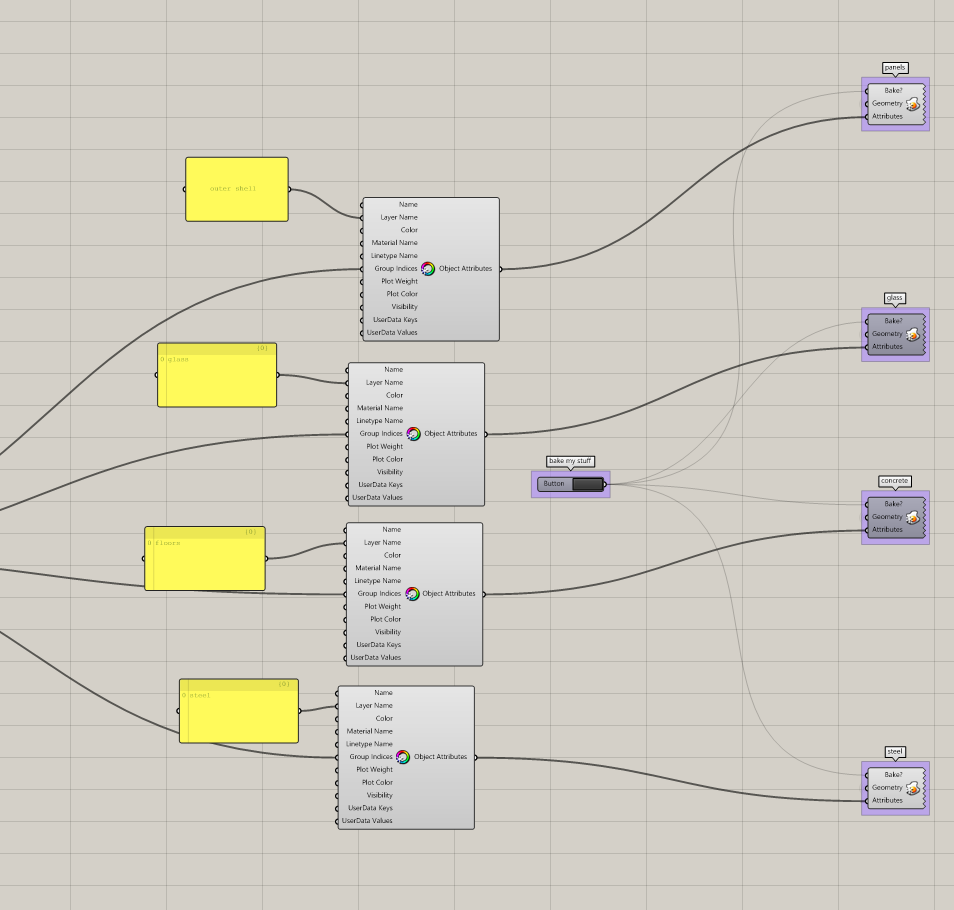
Creating render ready output
The render engine I used is Vray 3.6, but the grasshopper components were not fully functional in my case, thus I created a baking mechanism in grasshopper with the plugin human. The plugin human is very useful for lineweights, layer, hatch and material construction straight through grasshopper. an easy one click bake with the button, and it would be baking all the progress accordingly to the rhino file, which would be, after meshes are created, immediately ready for rendering. The layer structure which is presented here corresponds to the layers which are setup in the rhino file. Baking would also take place if the said layers are not available in the file itself.
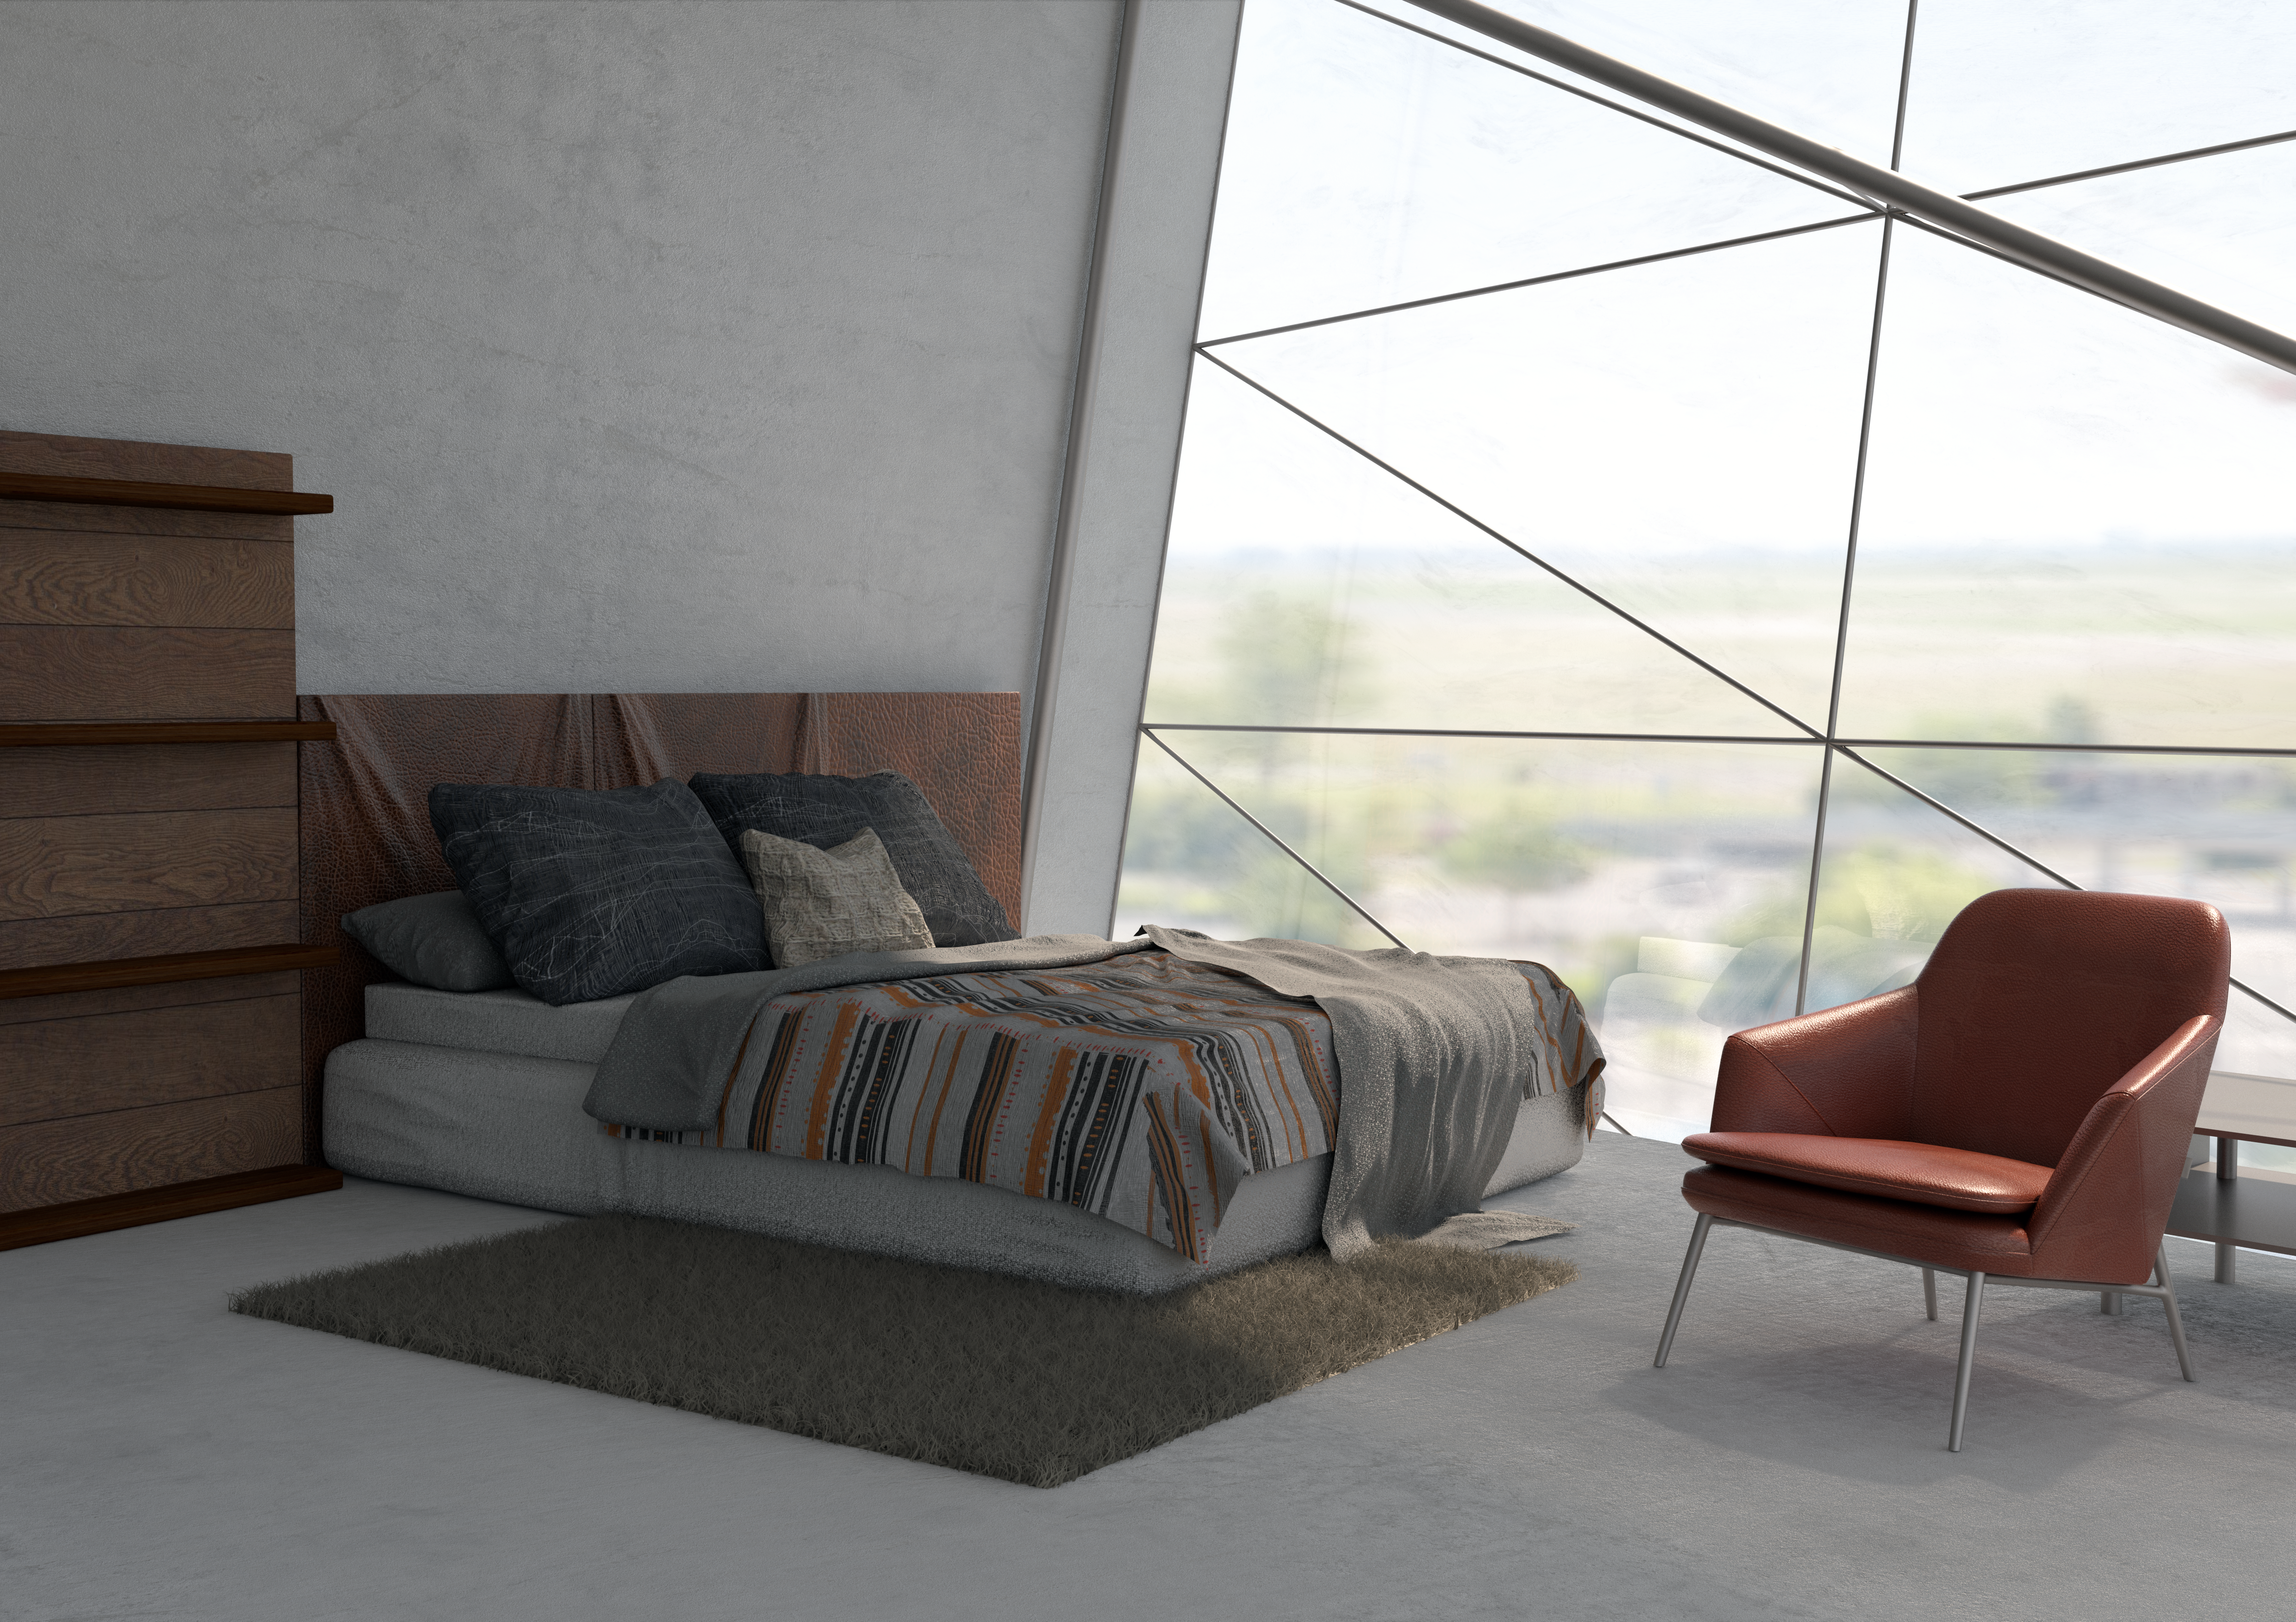
Final Results
The final renderings of the project show that the script was working as intended, there were no modifications made to the form, but adding the furniture and background HDRI. The detail of the panels came out great as well as the concrete walls and slabs. In the next project, I would make the effort and replace the simple piping command with actual rectangular window frames, which are just simple round profiles in this case. The streamline process with the human plugin at the end also took a few hours off precious working hours, which I recommend also use more for myself in the future. The files are also downloadable here.