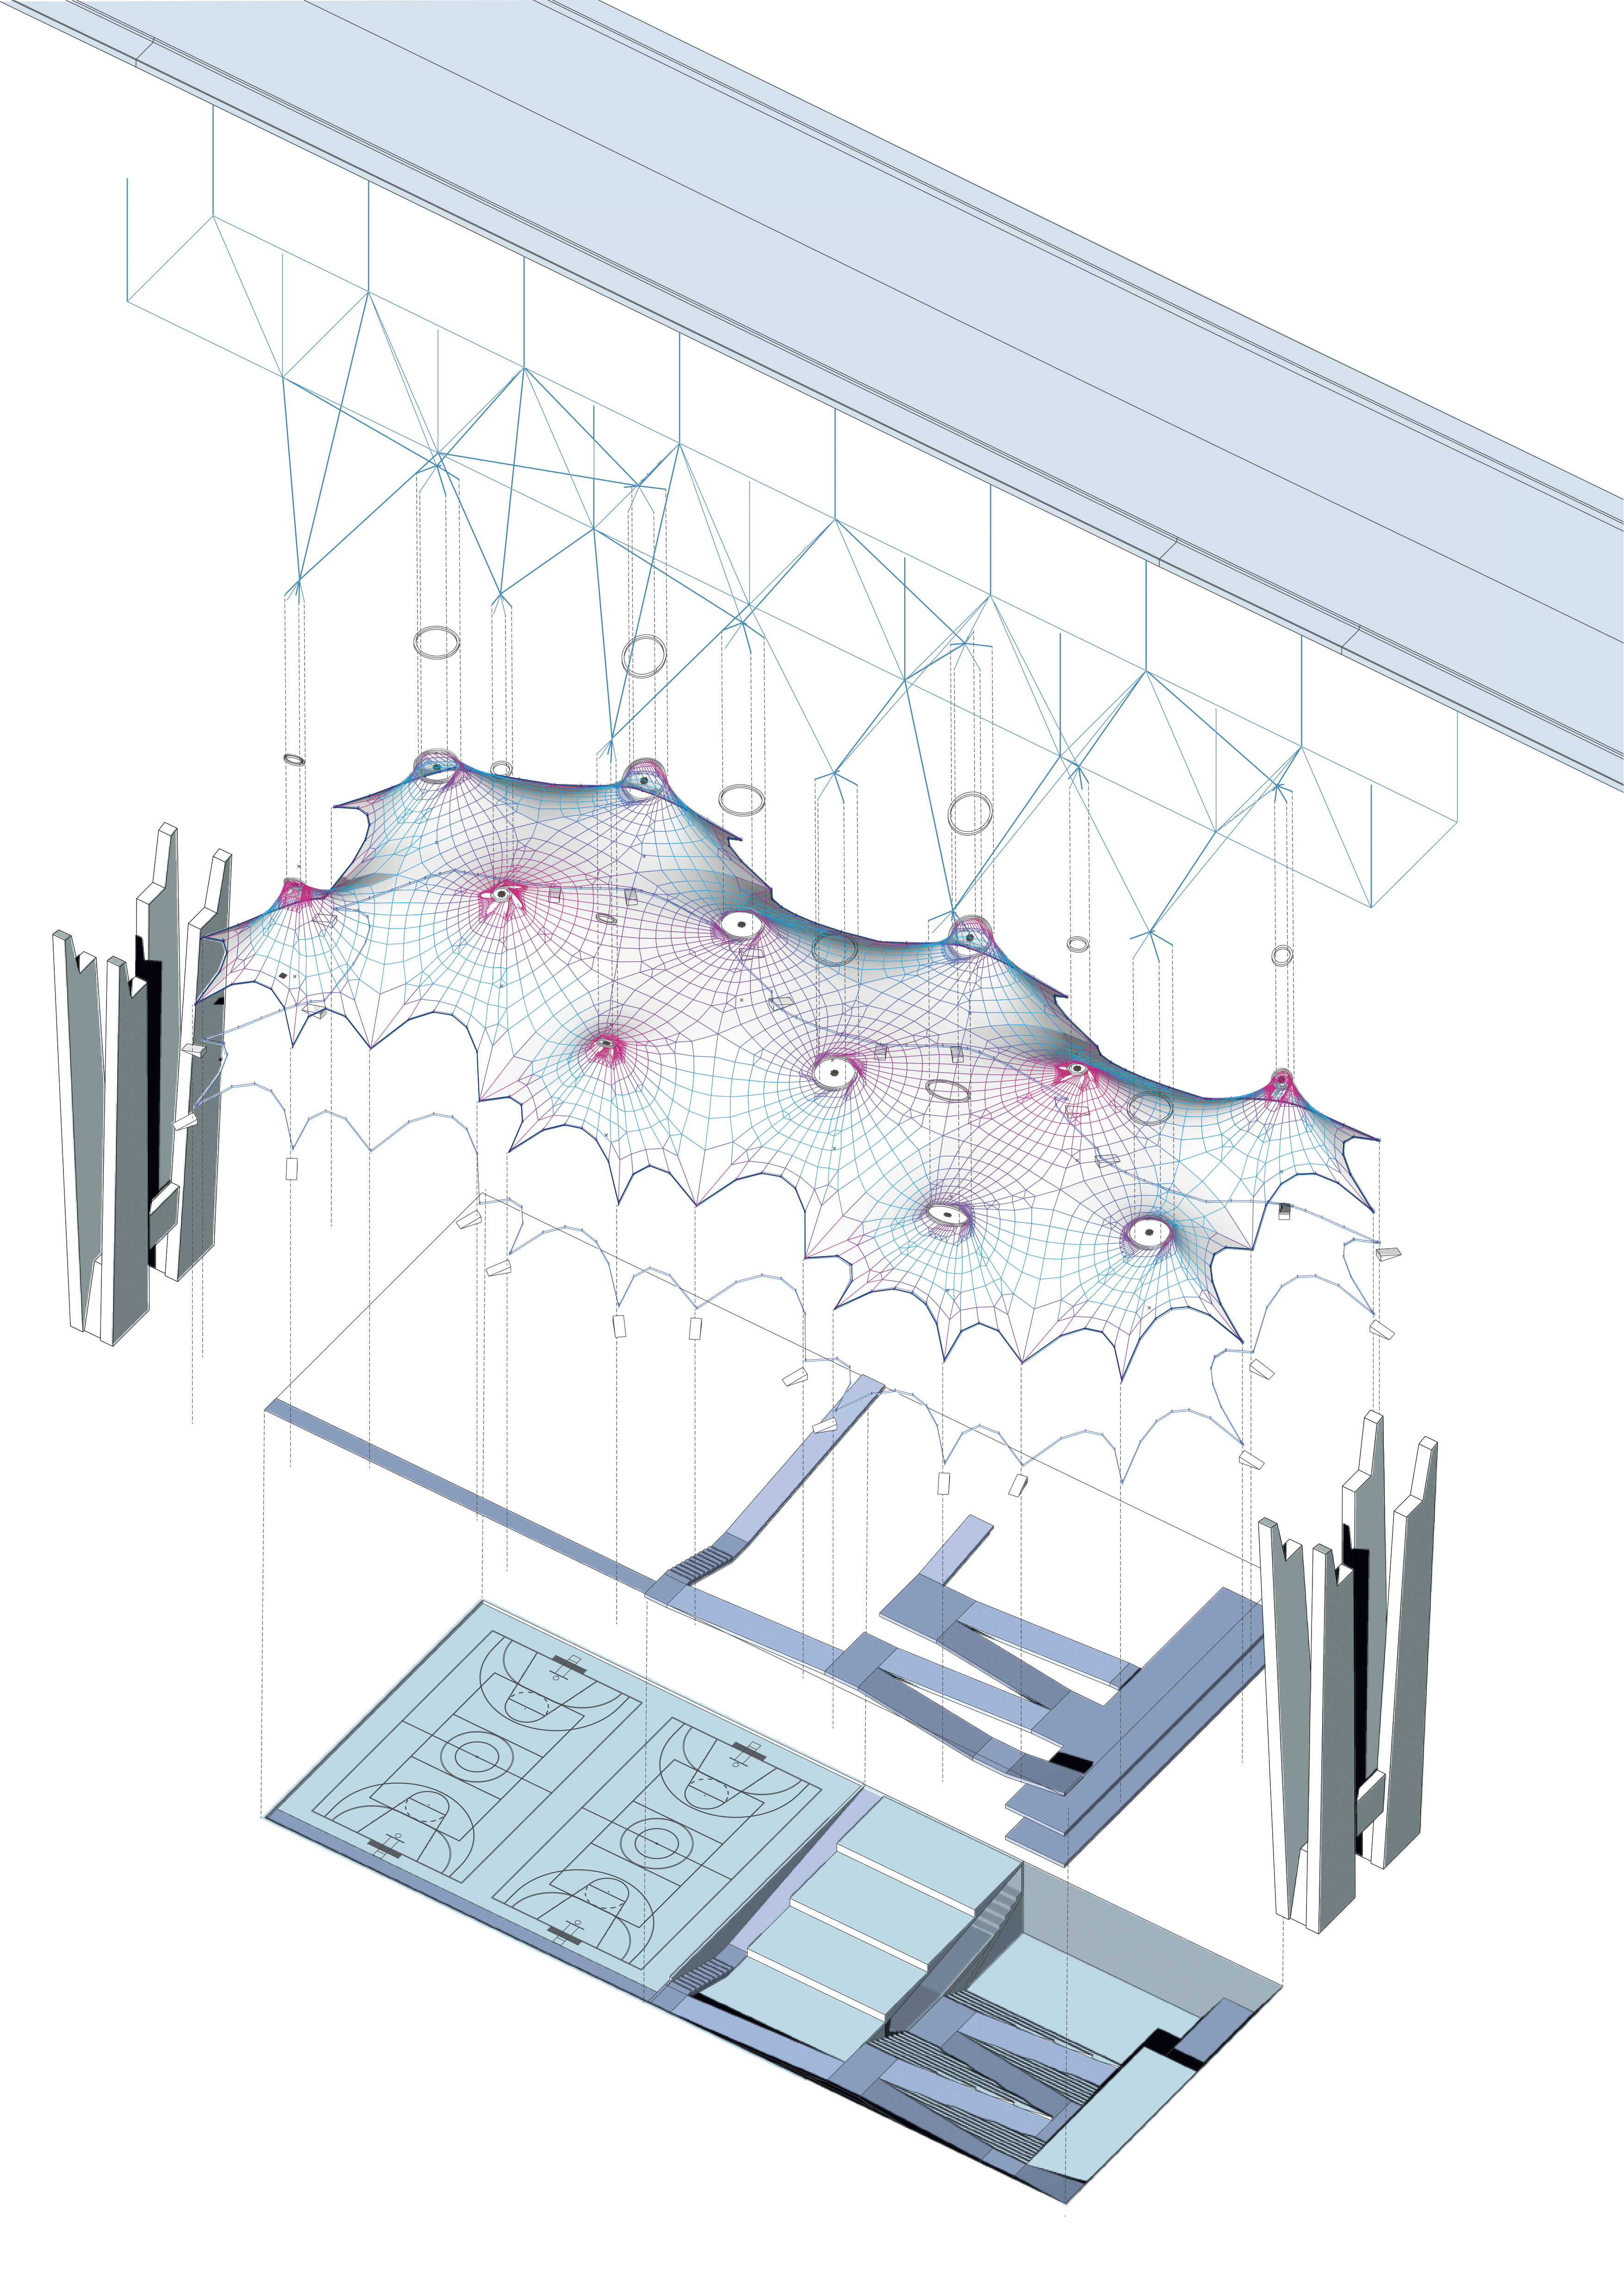
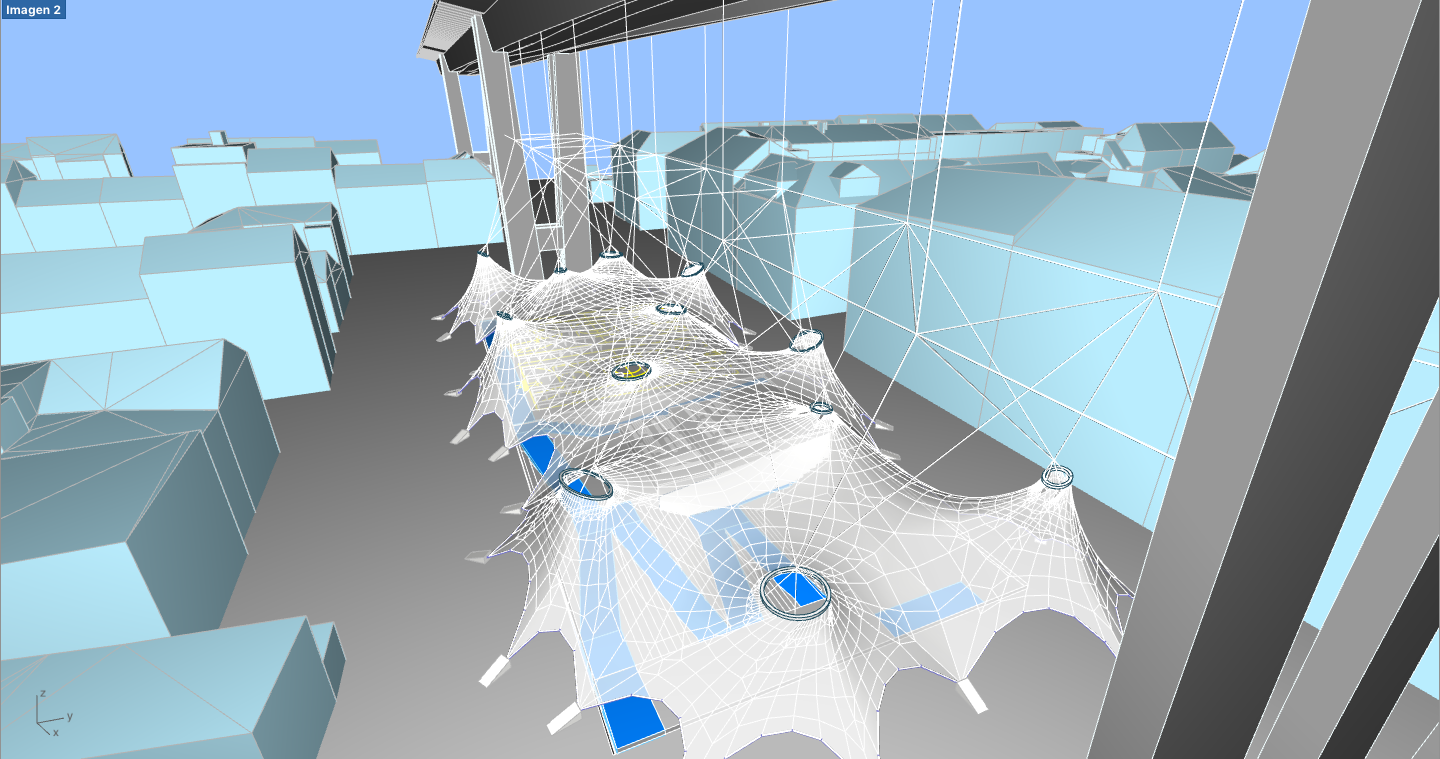
THE BUG’S MARKET – Huge mesh in Nusle bridge

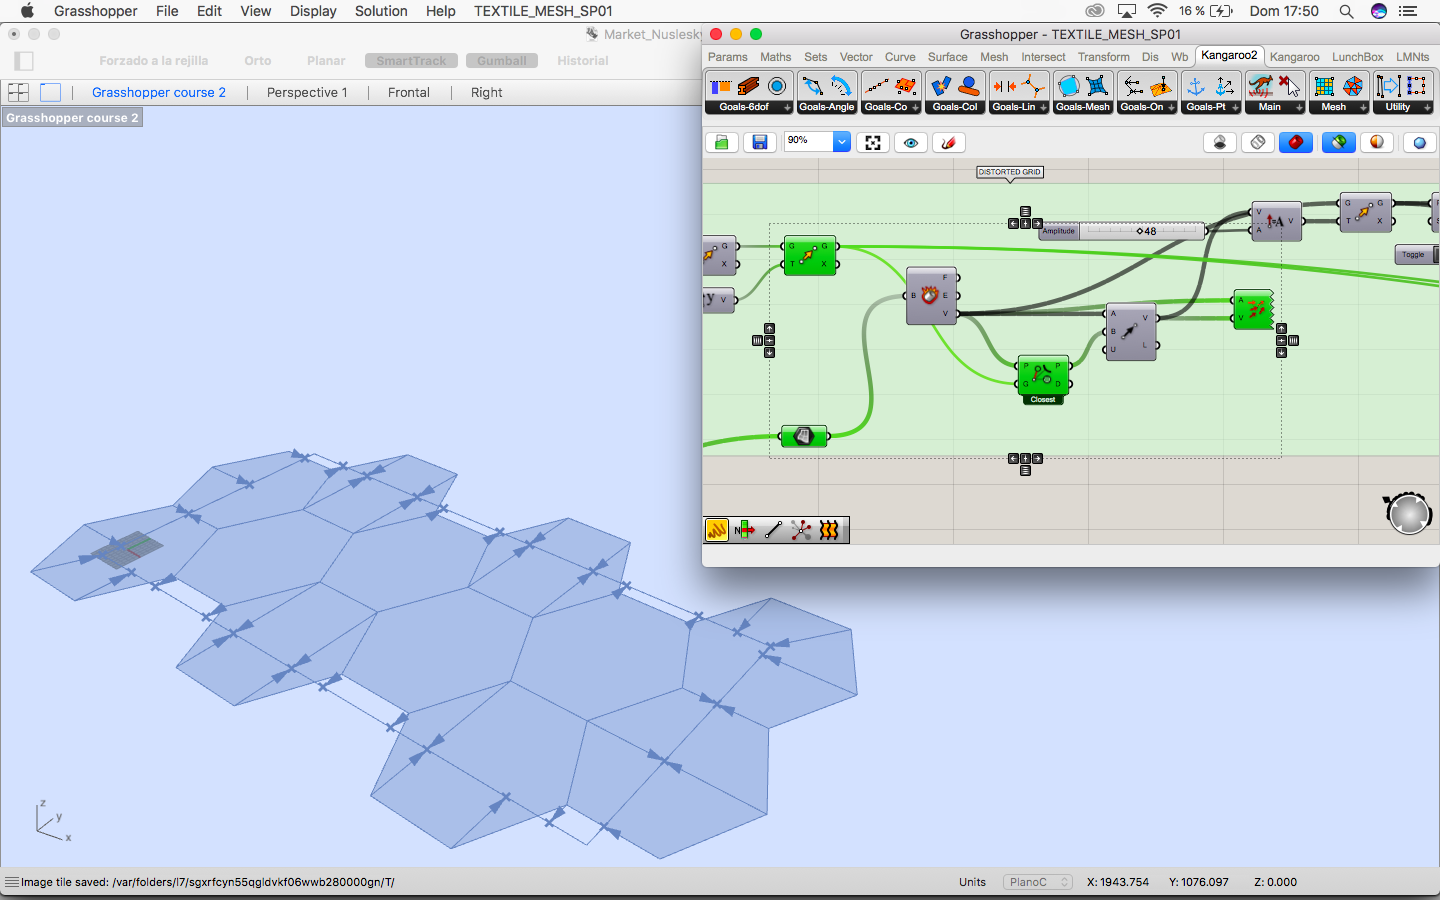
The process of the modeling of the bug’s market is the following:
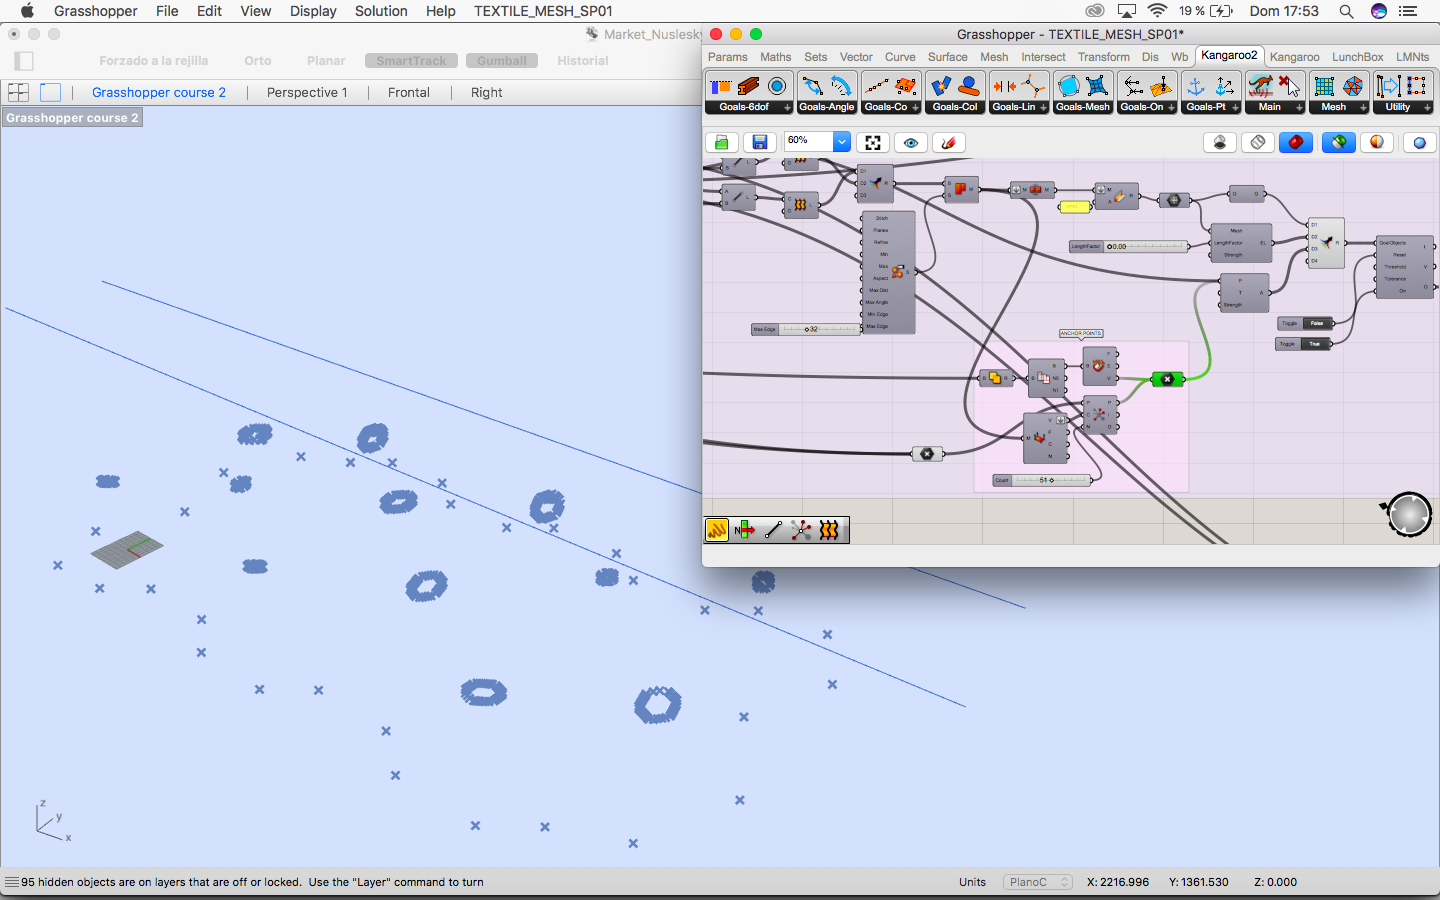
1. Hexagonal grid (purple group) and its transformation of the grid (green group)
Distort it so no anchor point is inside the lower part of the project
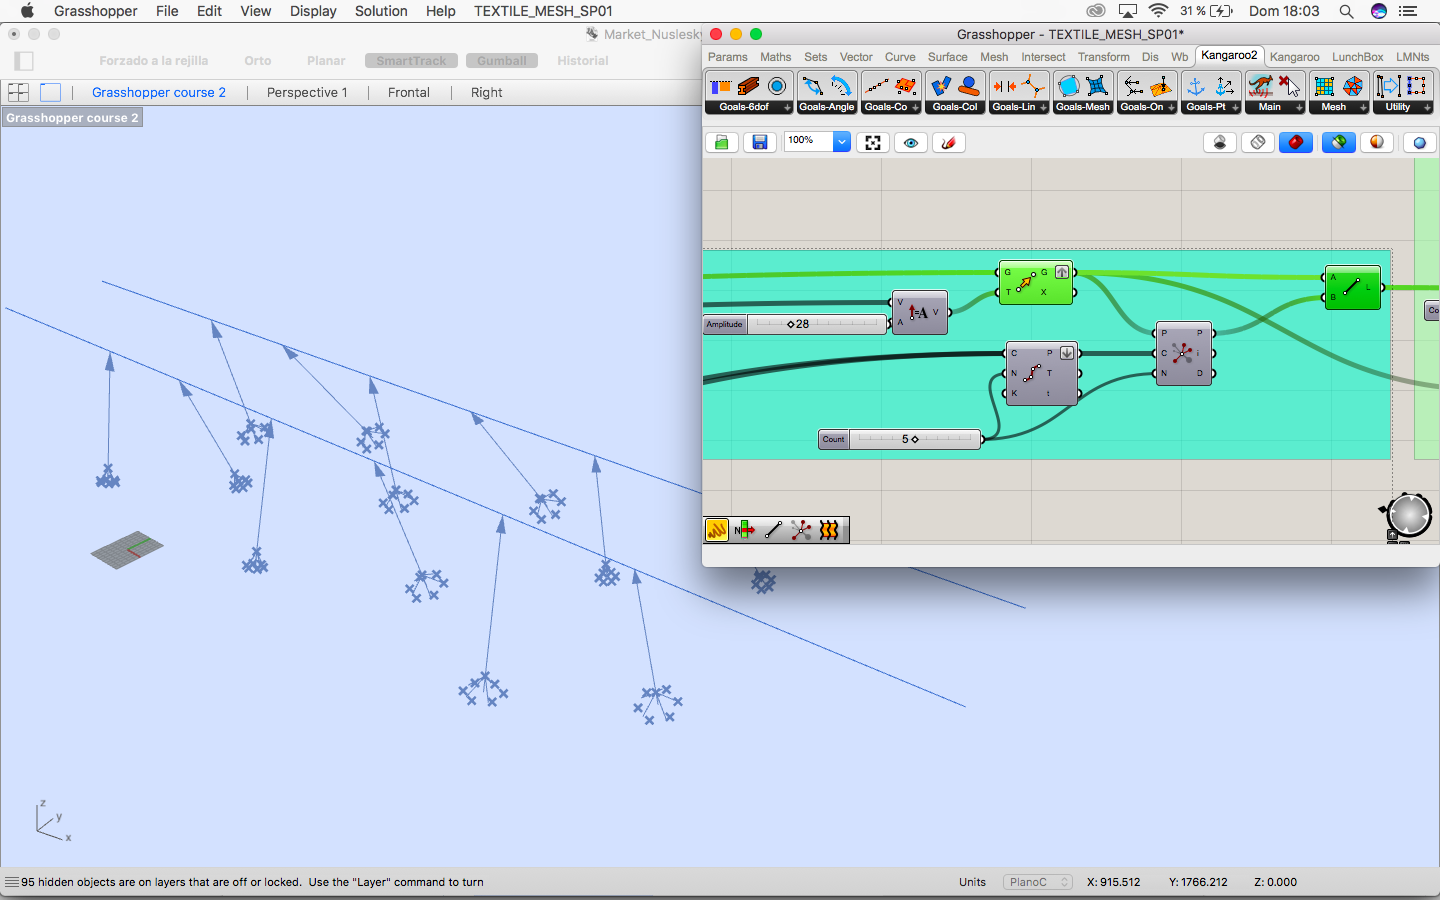
2. Find the rotated planes for the oculus (cyan group)
3. Create mesh (soft blue)
- Tensors (green group)
- Oculus (blue group)
- Foundations (dark blue)
- Colour mesh
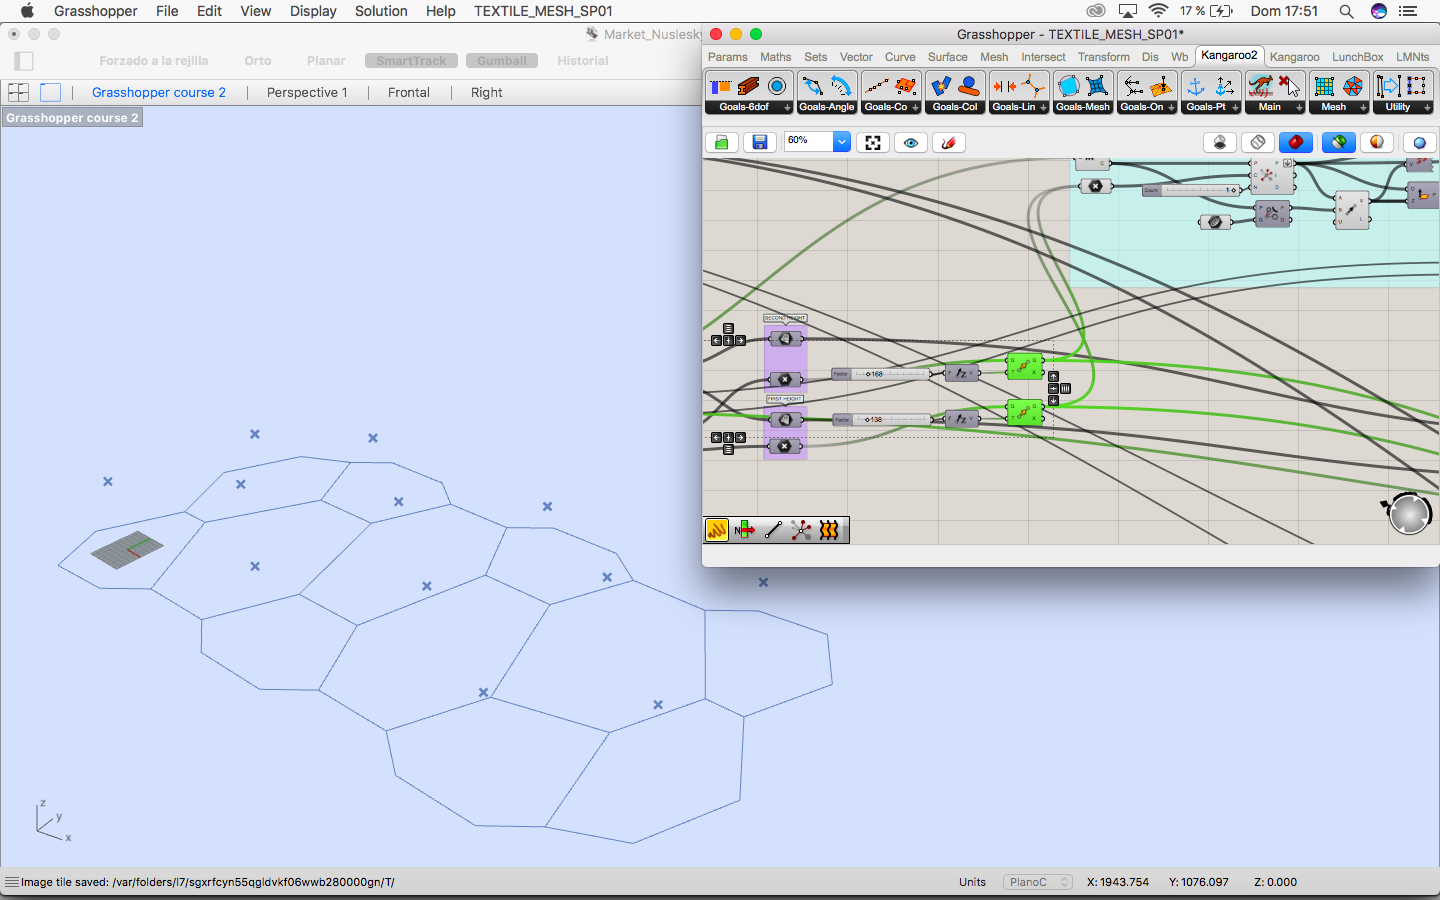
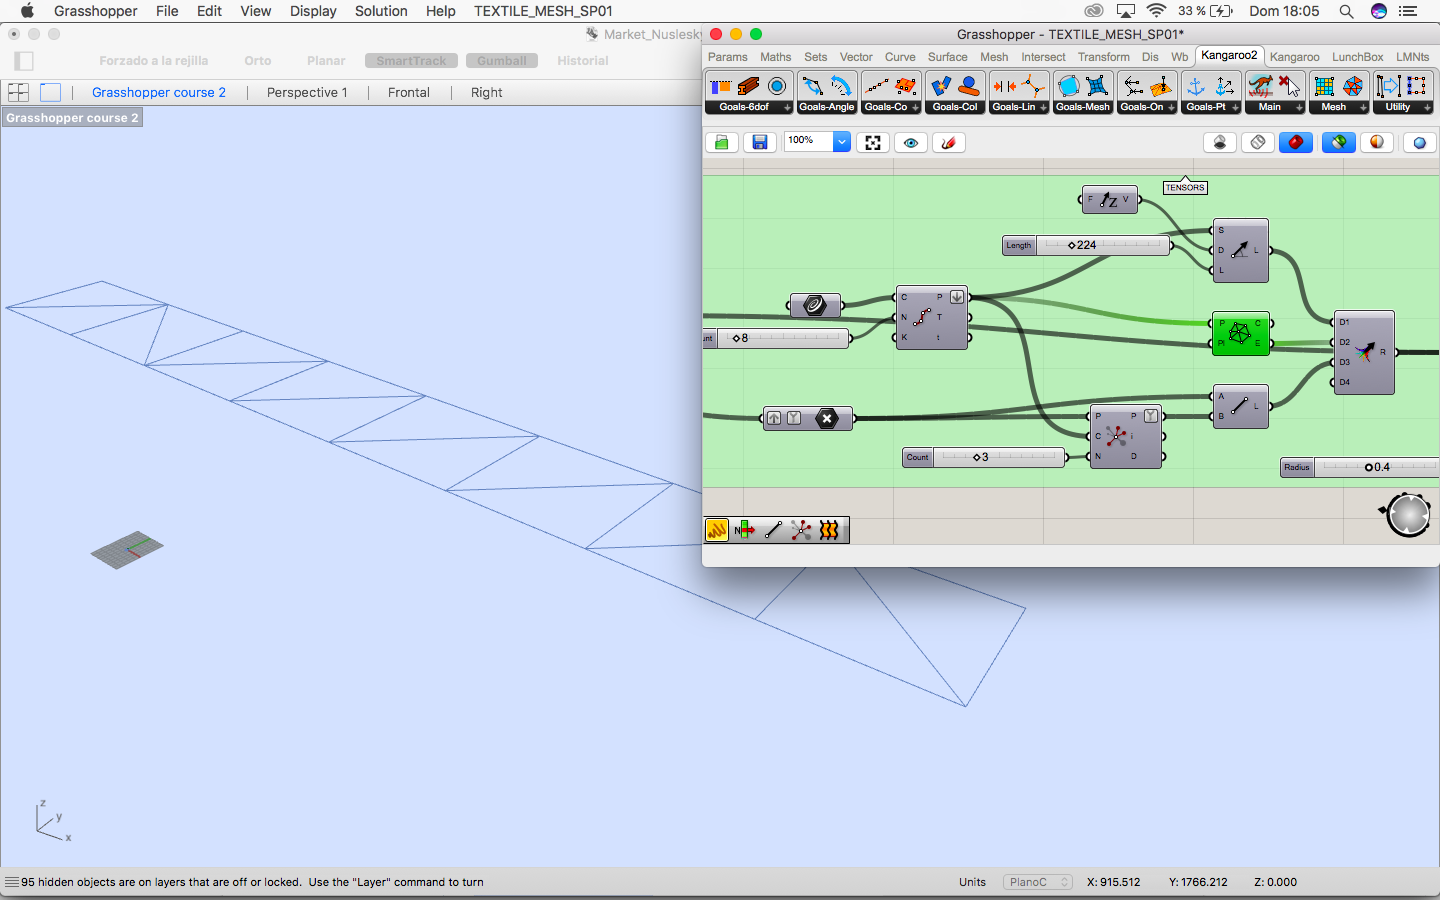
1. Hexagonal grid and its transformation
In the first place the vertices of the regular hexagonal grid are projected to the rectangle that limits the lower part of the project.
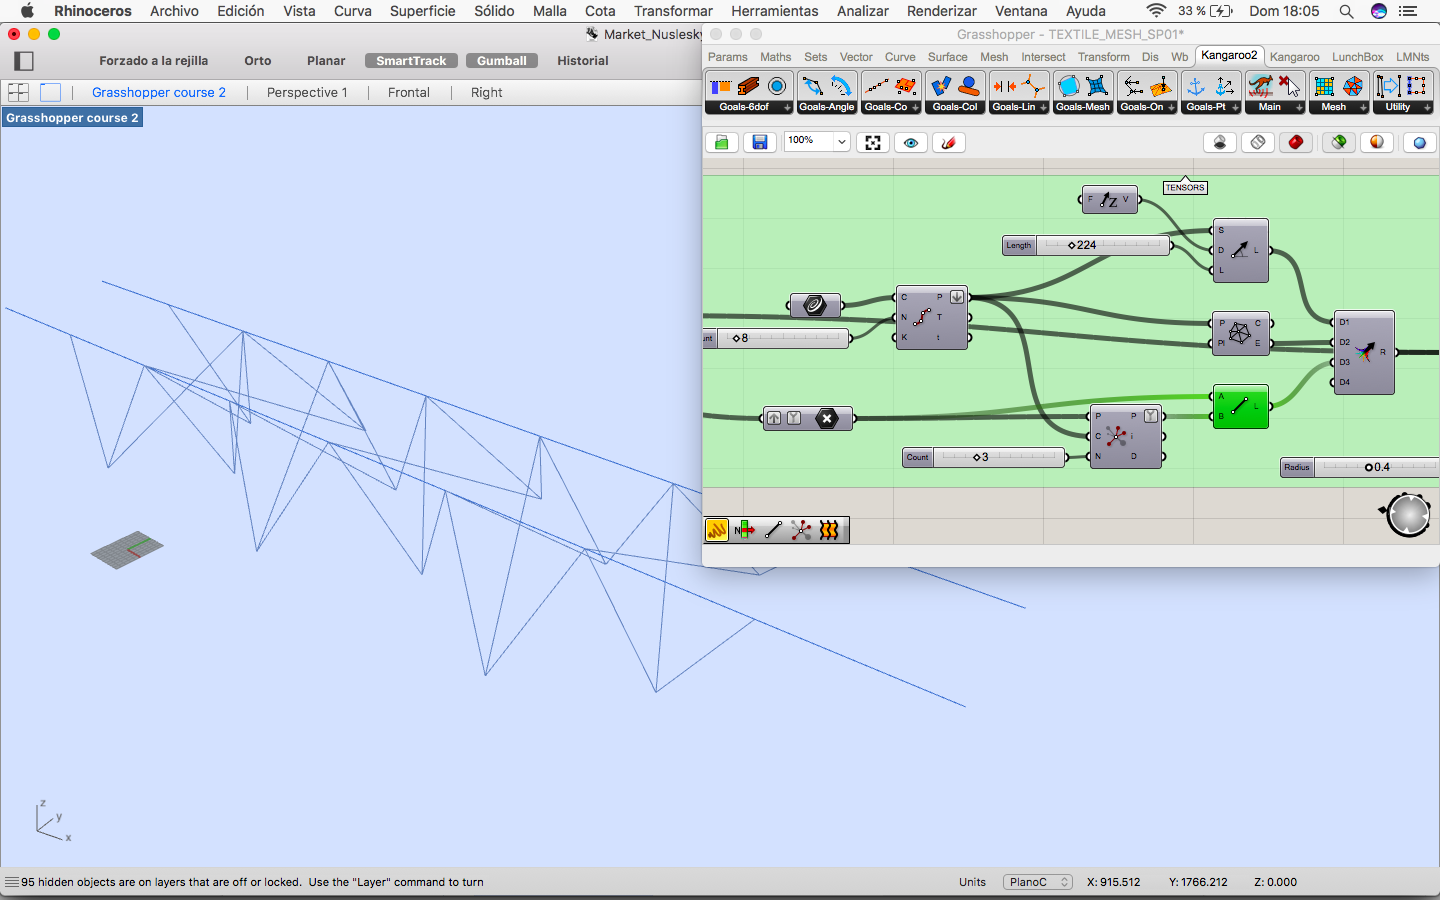
The vertices are move in the vectors direction so they approach the rectangle and the grid is now irregular so its free for the market below.
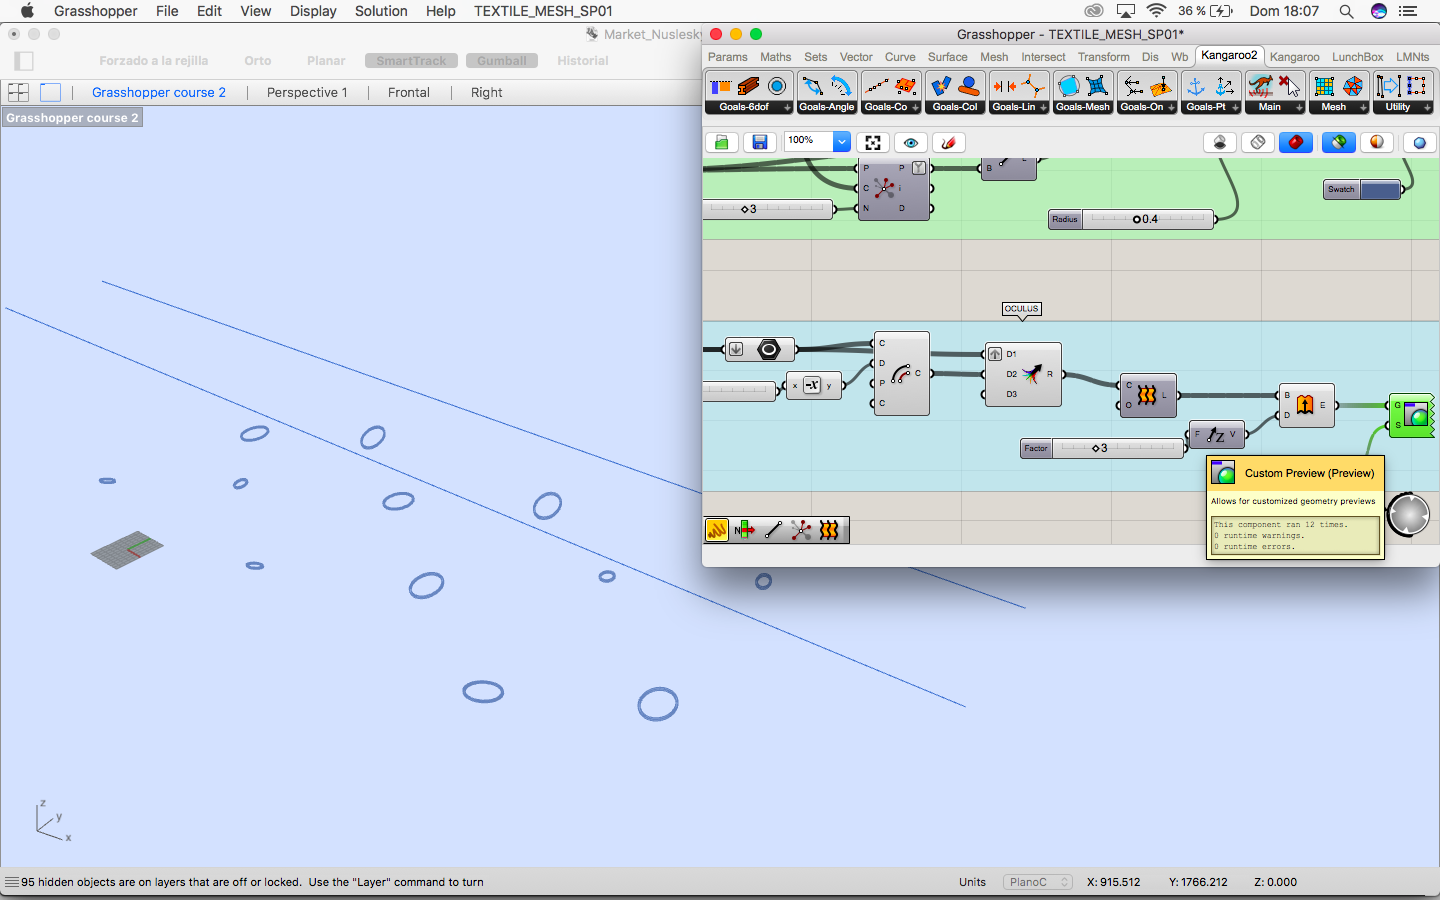
2. Rotated planes
Once the grid is distorted the middle points of each area are elevated using random component so different parts of the mesh have two different hights.
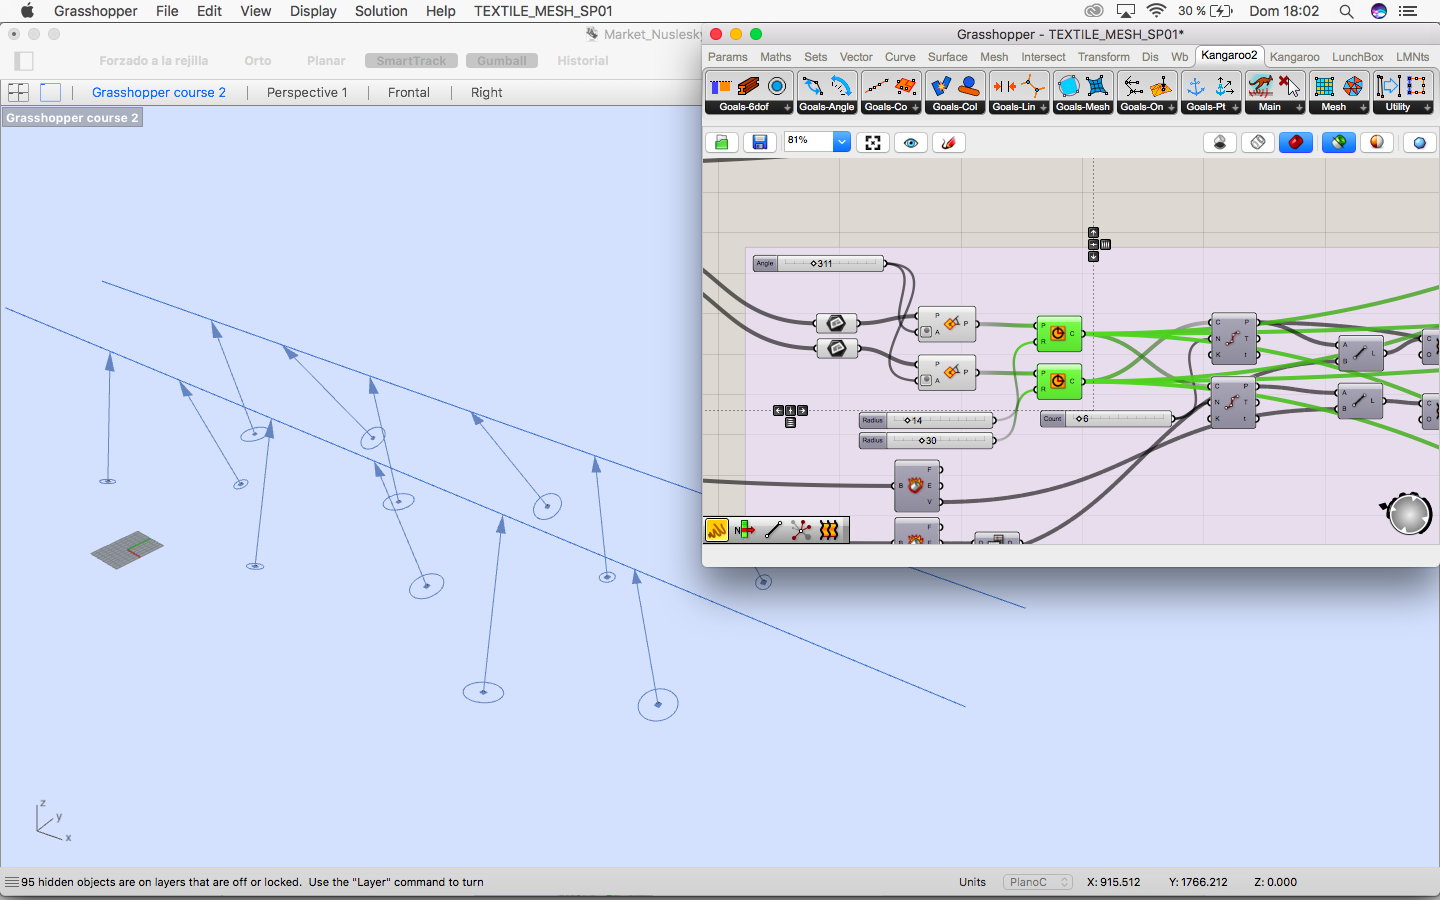
This points are projected to two lines that are drawn in rhinoceros which have the length of the distance between column and column of the bridge. Now we know the perpendicular plane to them which is the plane the oculus belong to.
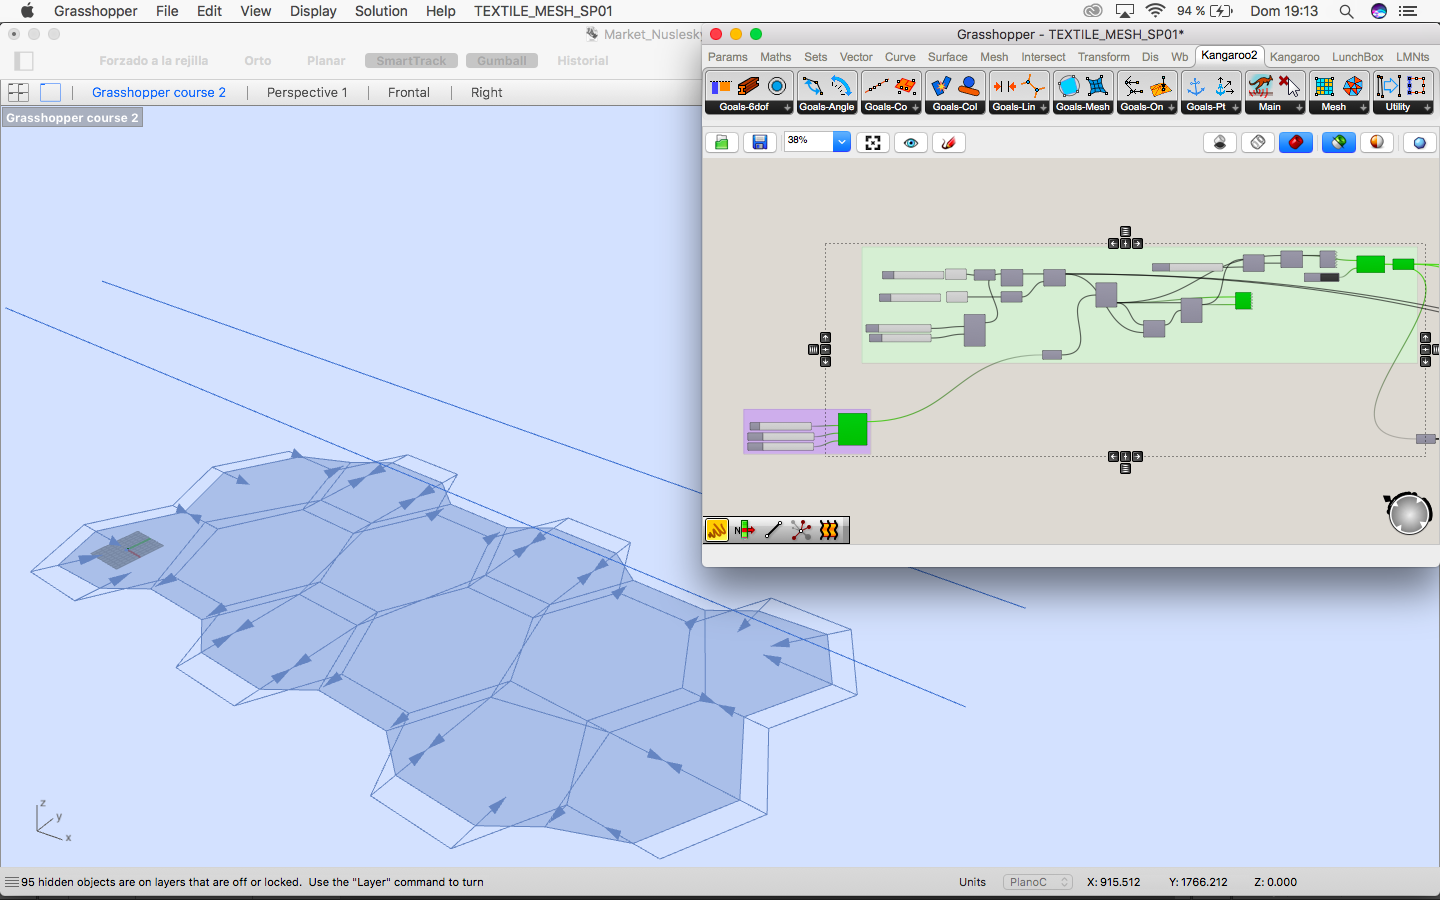
3. Create mesh
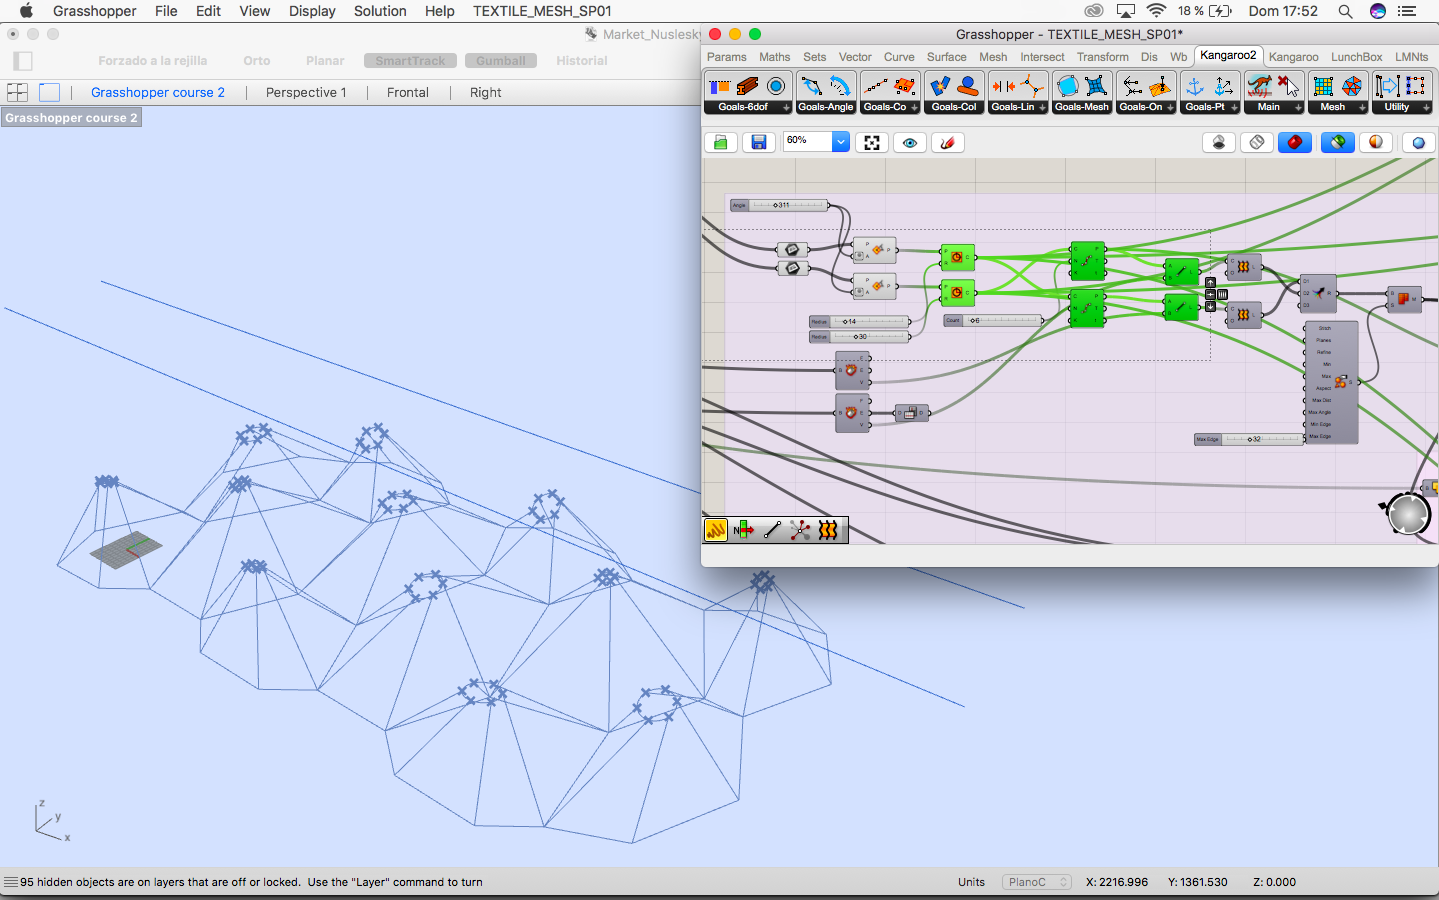
The circles are divided in 6 parts so we can find the edges of the loft which later will be our mesh.


The mesh is deconstructed.
The centre of the circles and the points of the deconstructed mesh are connected to the closest point component. They will be anchor points.
The vertices of the perimeter of our grid will also be.
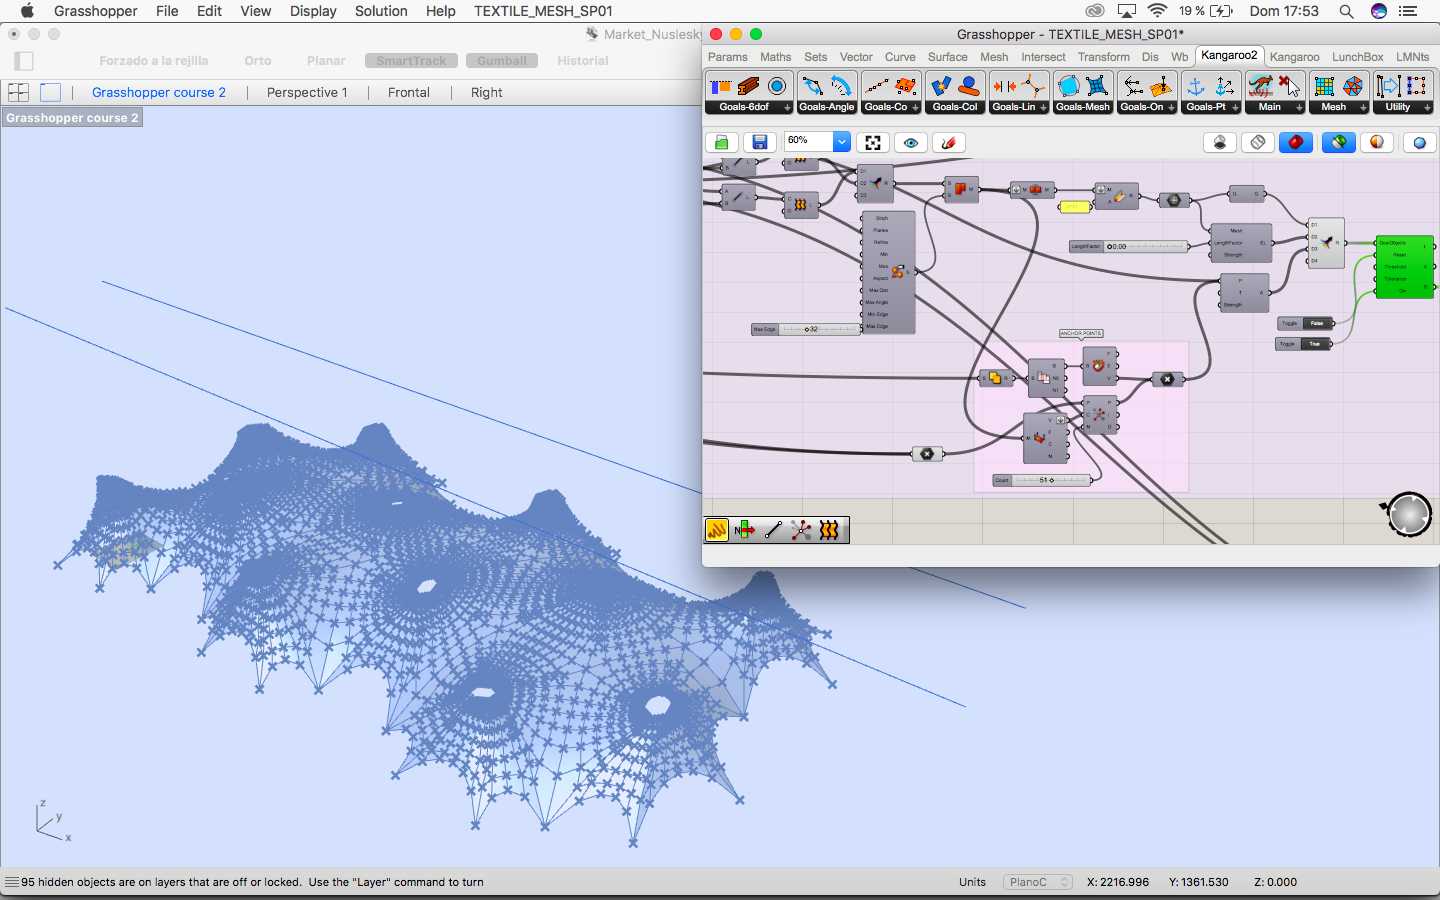
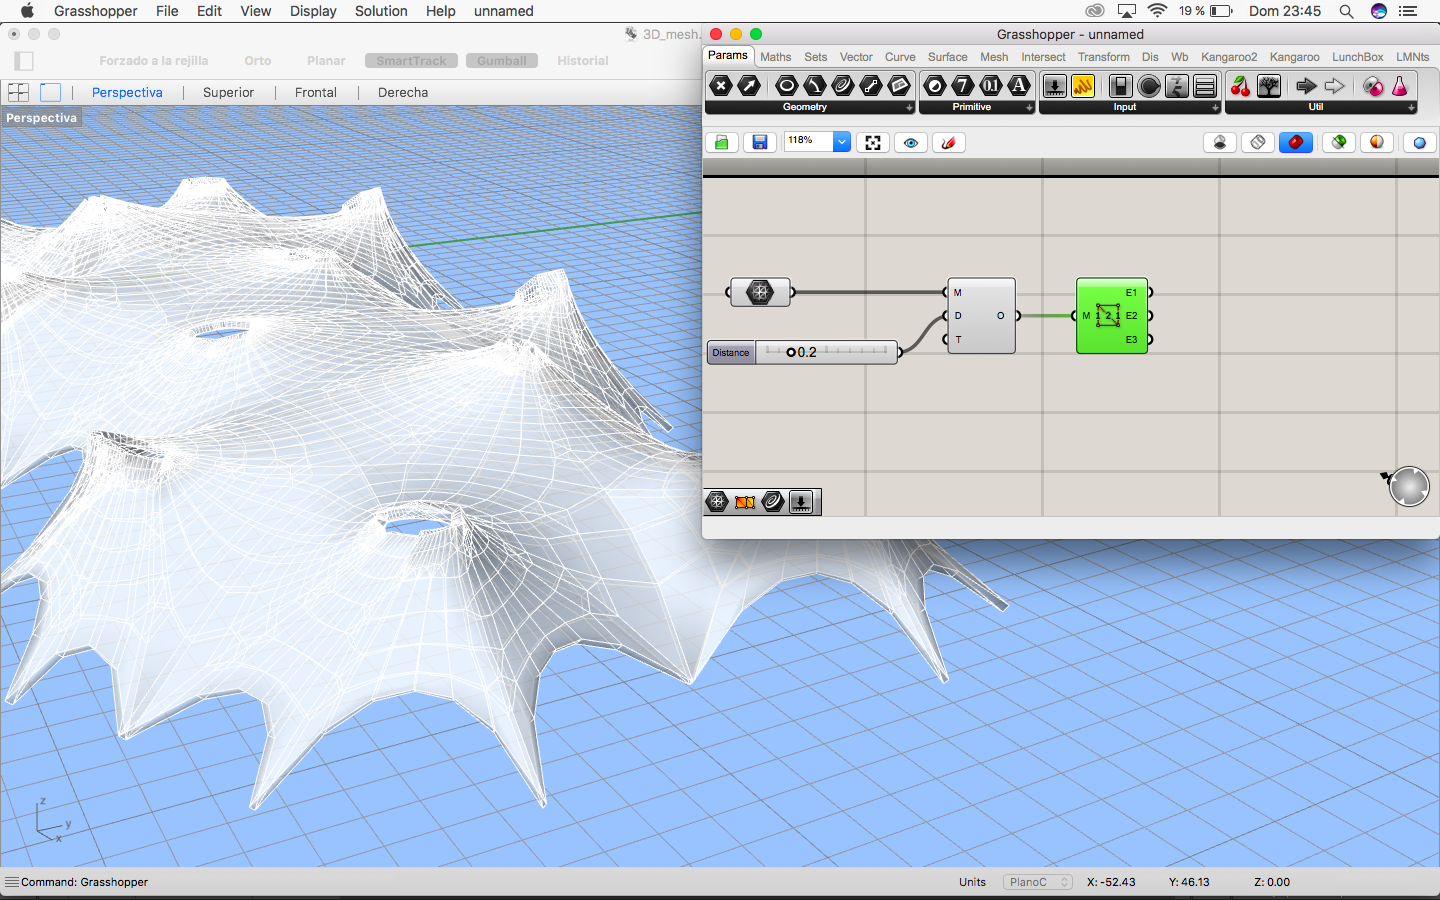
Using Kangaroo’s solver and with the mesh and anchor points it is now tensed.
3.1. Tensioners
Moving the middle point of the circles we find the first group of tensors that goes from the oculus to this point.
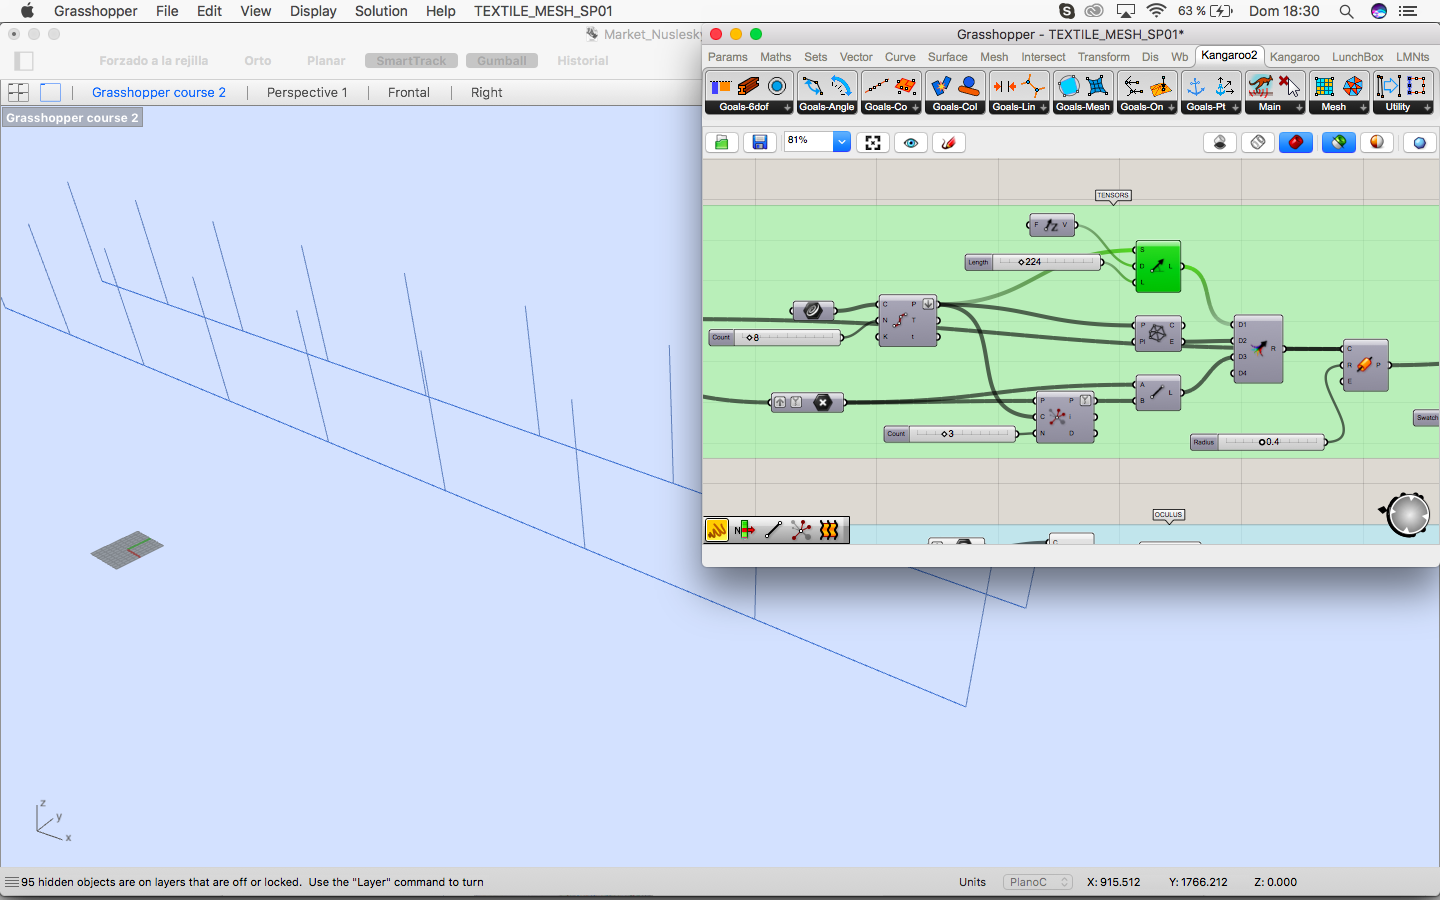
Second group of tensors goes from the lines in rhino vertically to the existing bridge.
Third group of tensors are in the same plane that the lines belong to and they are bracing so they does not move.
Fourth group of tensors goes from the moved middle points of the circles to their three closest points in the horizontal curves so the structure now is braced in the three planes.
3.2. Oculus
Next step is making the oculus thick. Till now they were just curves.
3.3. Perimeter pipe

We find the perimeter curve of the mesh because structurally and constructively it will be a pipe were the mesh is subject.
-
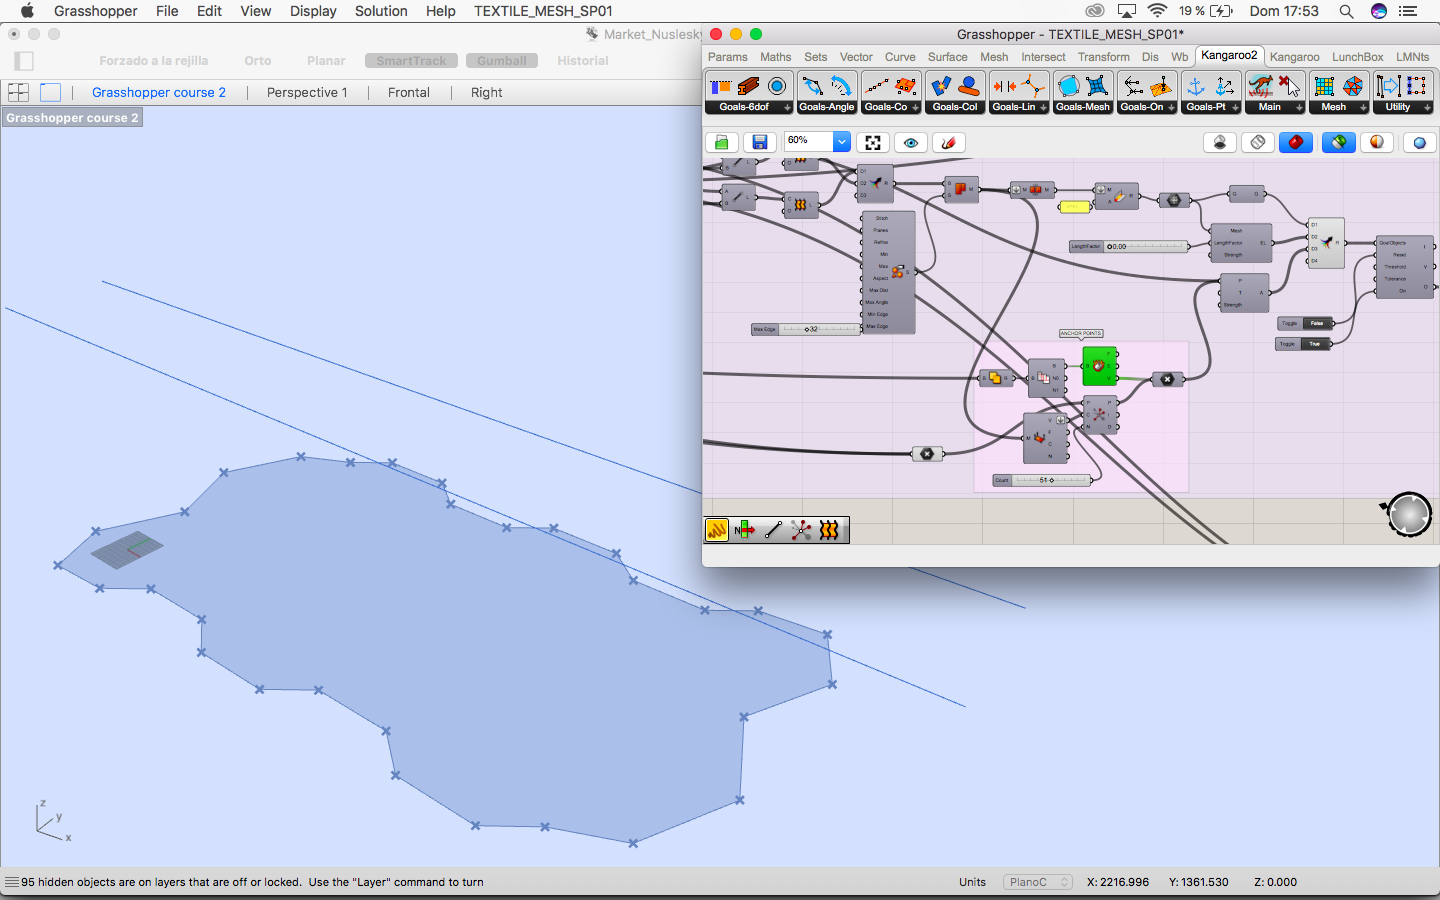
3.4. Foundations

Last step is modeling the foundations.
Using dispatch we select the points in the perimeter and the vectors with the direction they have to be disposed.
One group has to have the direction of the interior edges of the grid.
The other group (the ones which are further away from the original rectangle) has to have the direction of the vector that go from the circle to them. We can find it if we project the circles on the street plane.
4. Colour mesh
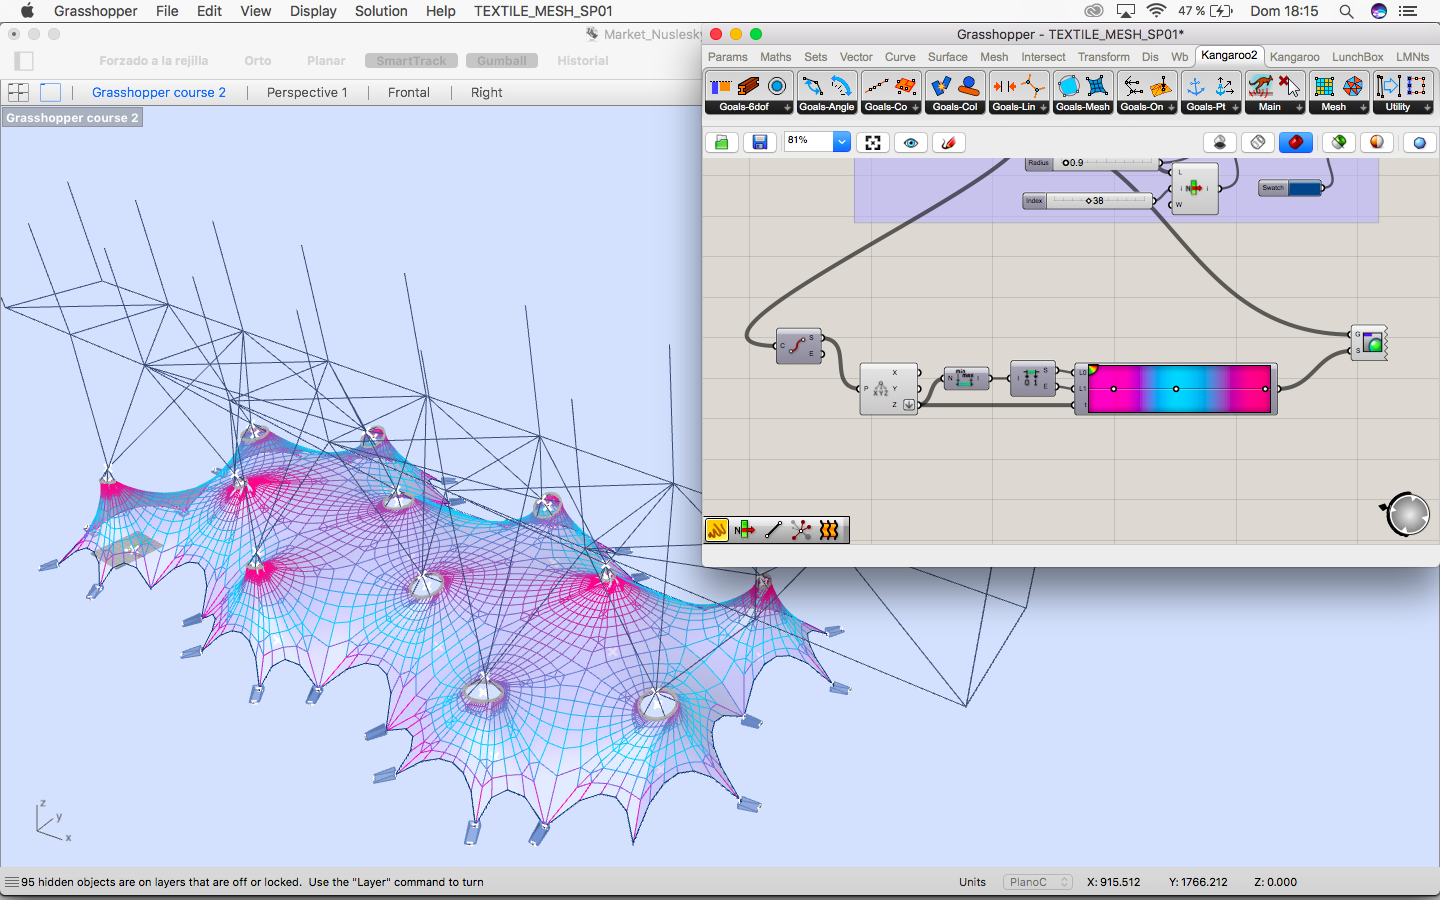

Once we have everything we can think about colouring the mesh.
In the first try, I used a gradient based in the component Z with the same color in the top in in the lower part because I thought that they were the points with more tension, but it wasn’t accurate.
Then using the components “larger than” and “smaller than” we know which of them have increased their length and which ones have decreased. The problem is that we miss the gradient.
Finally substracting the new length and the original one we obtain the values that tell us how the curves have changed and therefore what are the ones that are subject to more tension.

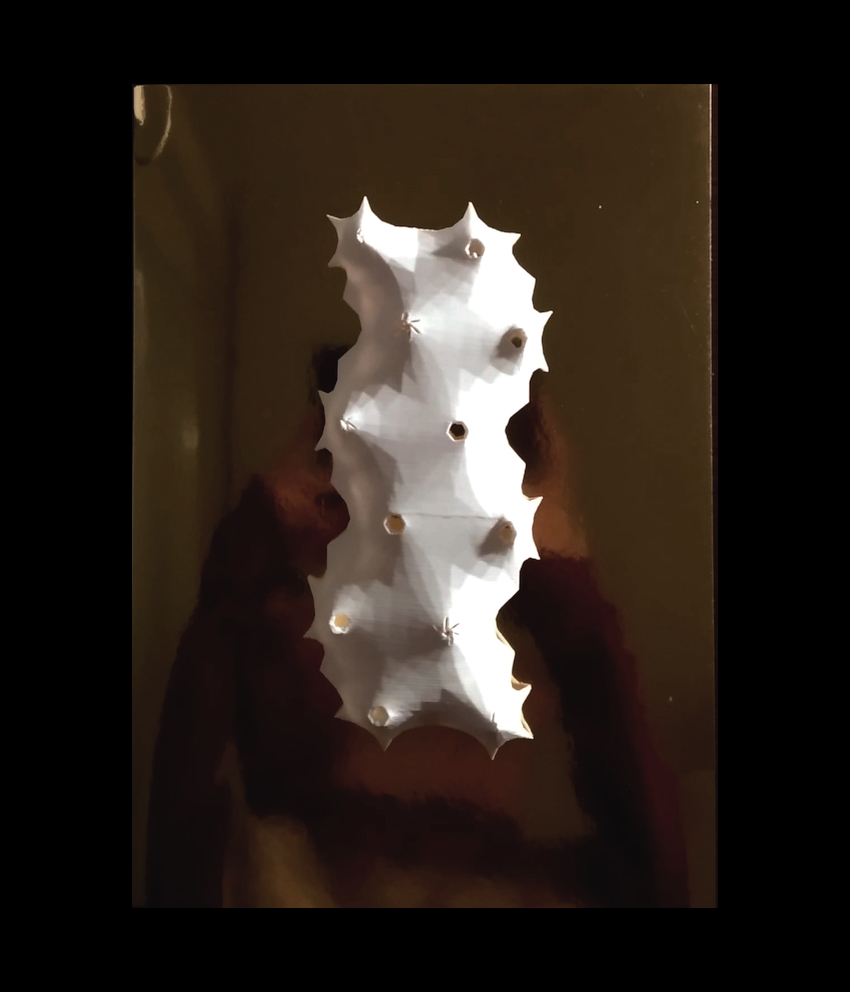
3DMODEL
For printing the mesh in 3D I used Weaverbird’s mesh thicken so the mesh has 2 mm of thickness.