
Introduction
This tutorial is a play of revolving curves in three dimension. The concept is a convoluting lotus that rises in Z axis around a helix.


The overview of the process can be divided in 4 components.
- Curve 1 : Make the base curves.
- Curve 2 :Map points and make vertical curves 2.
- Curve 3 :Map points and make vertical curves 3.
- Loft Geometry.
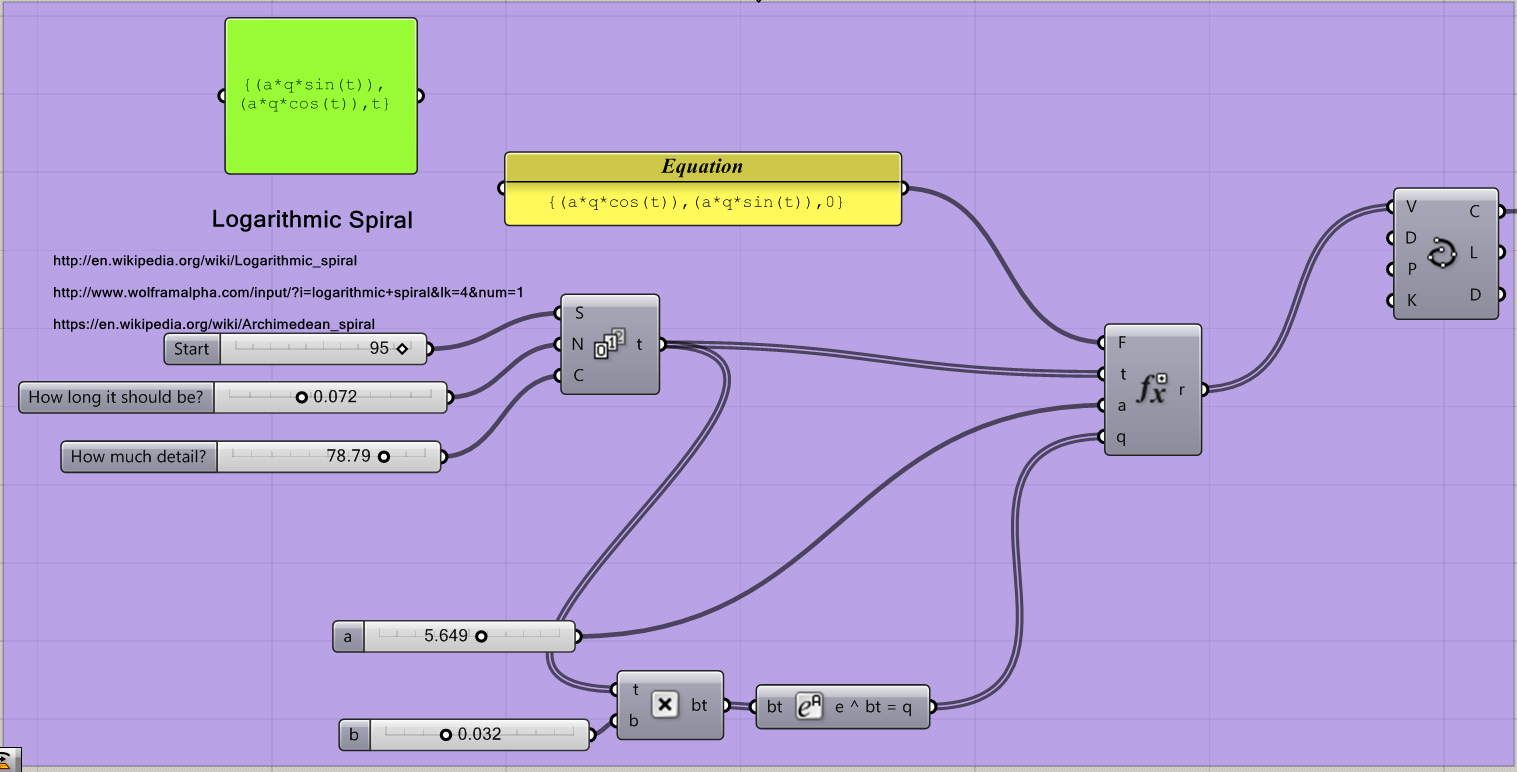
1. Curve 1: : The base curve is a spiral (Archimedan Spiral) and is based on the same formula. We want to keep all parameters flexible in order to have full control, so we avoid drawing any curve in Rhino. We will use a function Input, and feed our formula “{(a*q*cos(t)),(a*q*sin(t)),0}”in it. We keep all other inputs controllable, through series (t) and sliders (a, q).

Now that we have the base curve, we need to make wings. These wings will be the base form for the lotus leaves. To make the wings, we will use 3 point curve.
- 1st point comes from ‘divide curve’.
- Then we move the ‘1st point’ set in two directions.We will use the tangents from divide curve as Vectors and rotate them to achieve vectors for ‘move’ command.
- The moved point are our second point and third point sets.
Now, we have set of three points to make wings. Look how :
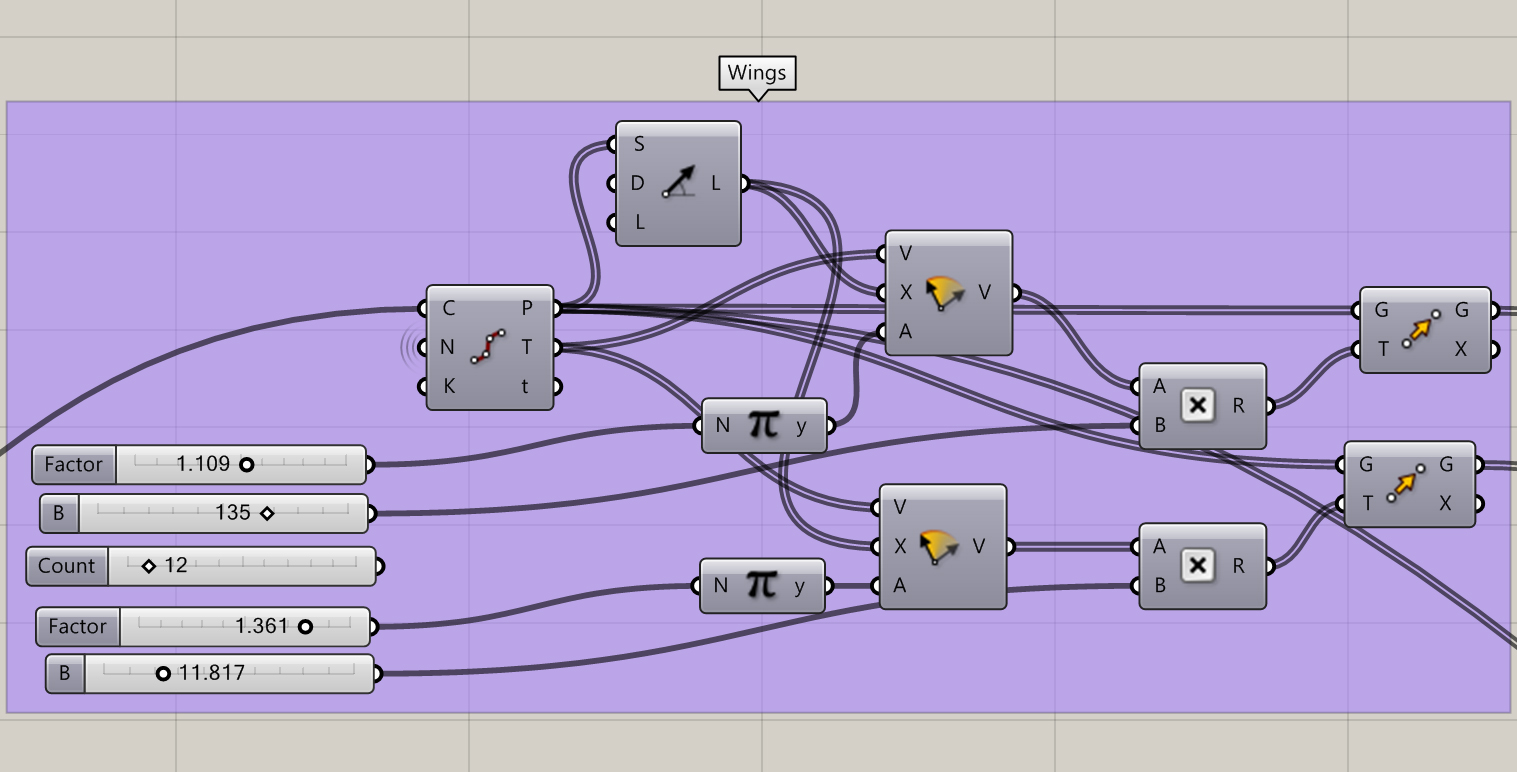
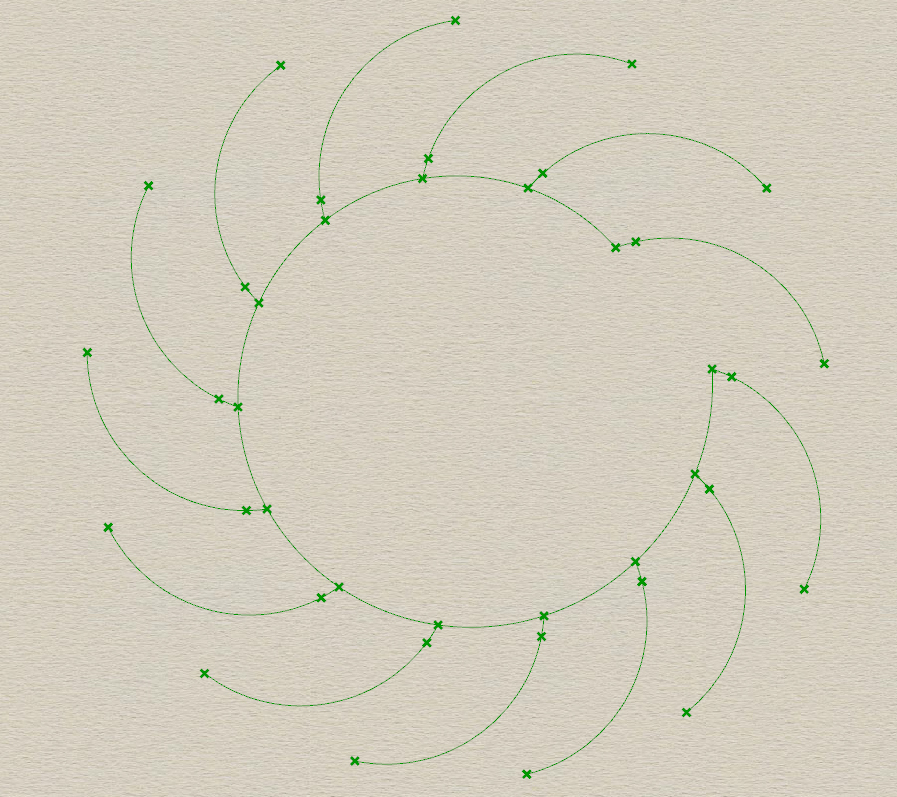
Play with the number of wings.
So far, we were instill in 2dimension. Now we move to the third dimension. To make each lotus leaves, we need 3 curve sets. We already have the base set.
We now learn to make the vertical curves in two steps. Observe, here both the vertical curve set begin from Start point and End point of our base curve respectively. In first step, we make one set using start points, and second set using end points.
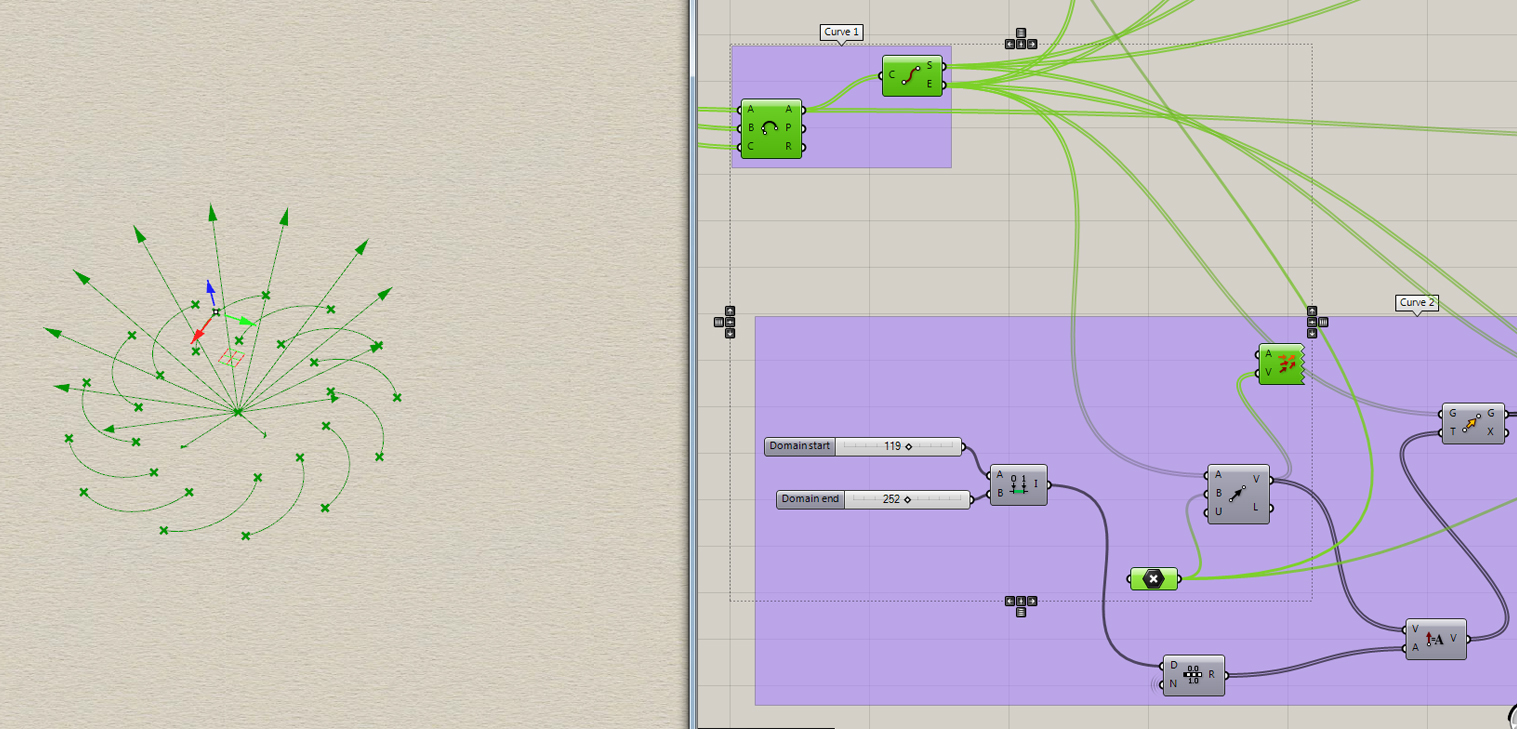
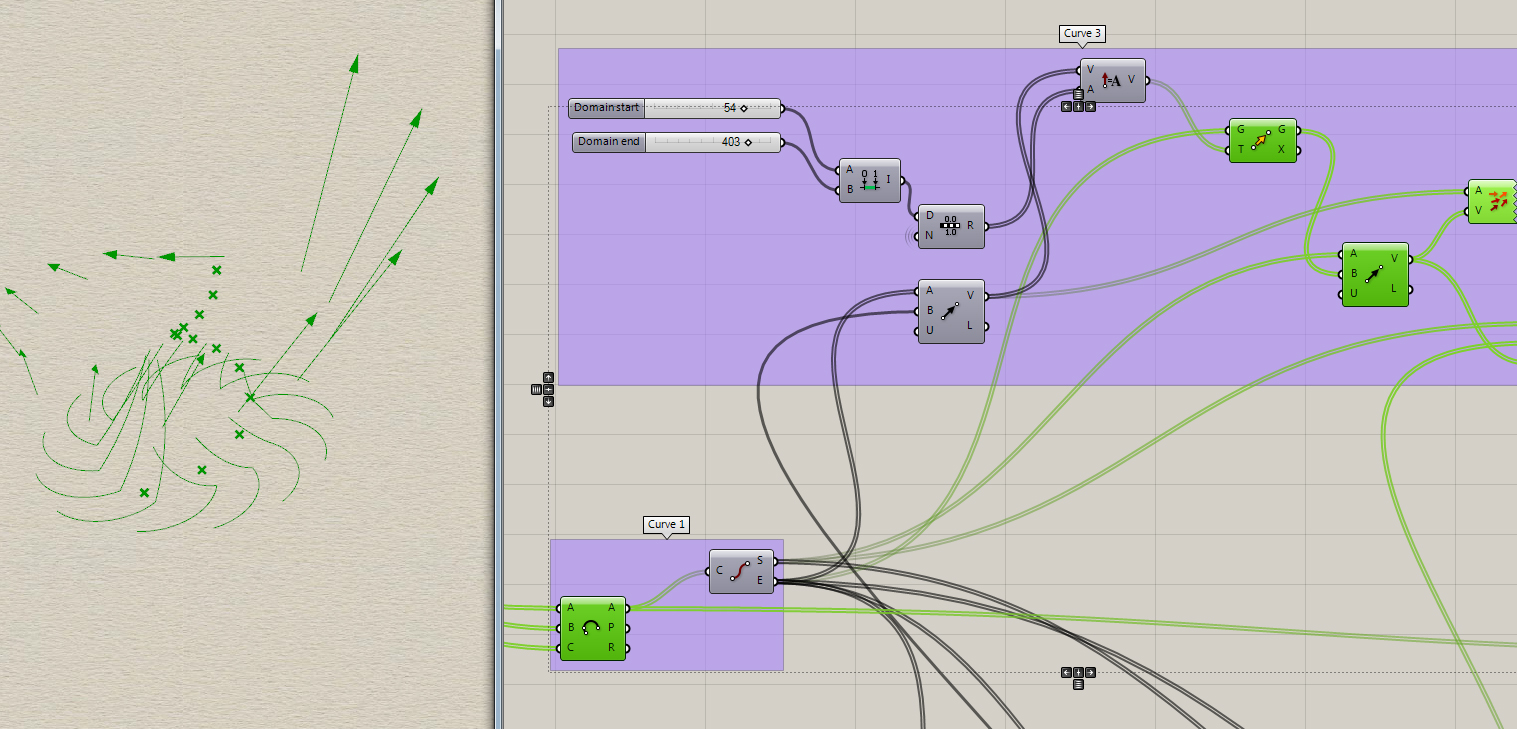
2. Curve 2 : Extract the start point , call it S and end point call it E, using ‘ End Point’,. We first set the tentative center point, call it A. We then make Vector from E to A and are all of same size. We use Vector Amplitude next, with a series of values to get varied sizes. This new vector will be used to move E again, and become end point for curve 2. Control A in Z direction to get the right height. Make a 2point-Vector curve using ‘Arc SED’. To make the direction vector, we will use A and S so it is not the same as movement vector.
Look how :

Play with the vectors to test your curve edge.
3. Curve 3 : The third set of curves begin from S. We also have the end point of the curve. All we need is the direction Vector. To make the direction vector, we will use E and A. Add amplitude and give a range of values to the. Then make another 2point-Vector curve using ‘Arc SED’.
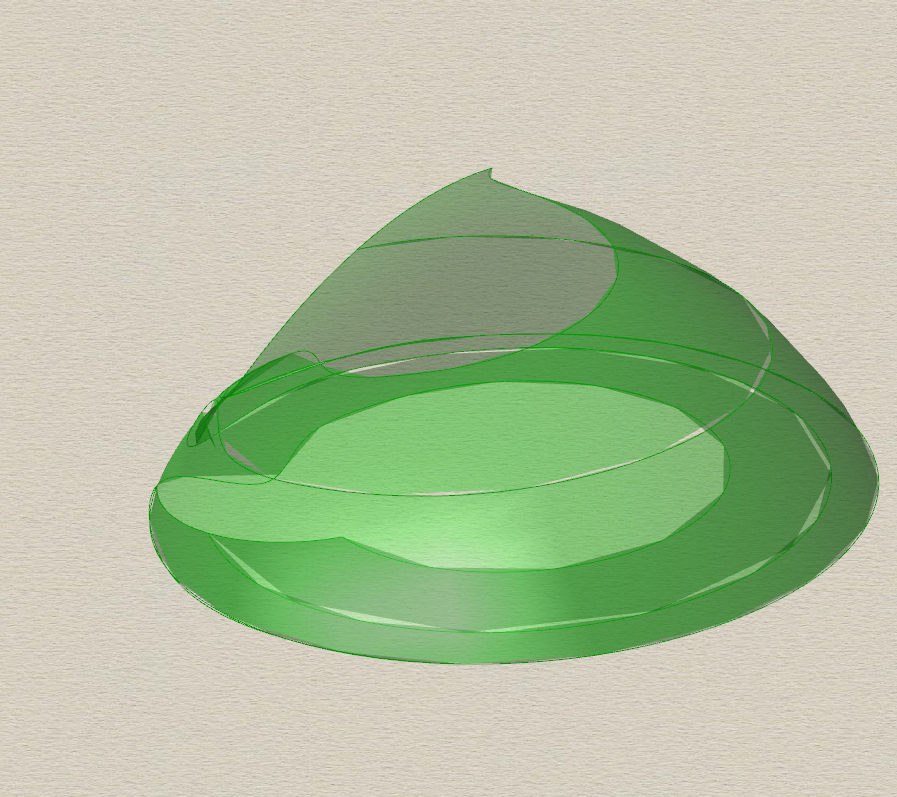
Test the inner curve shape.
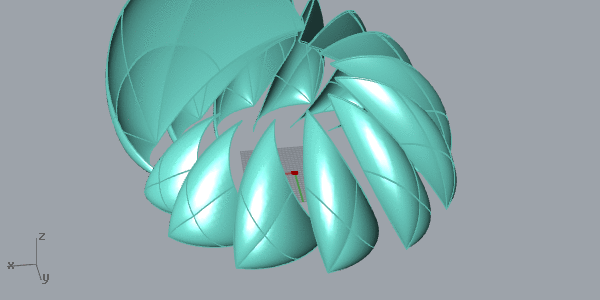
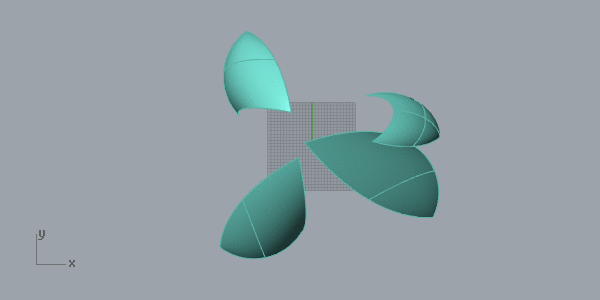
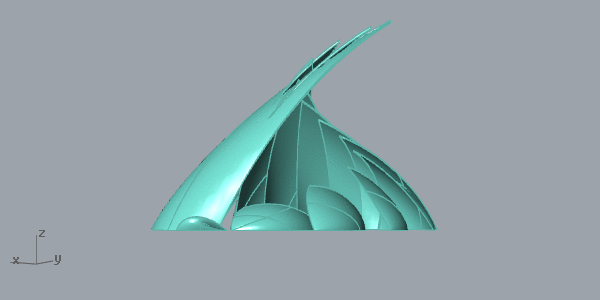
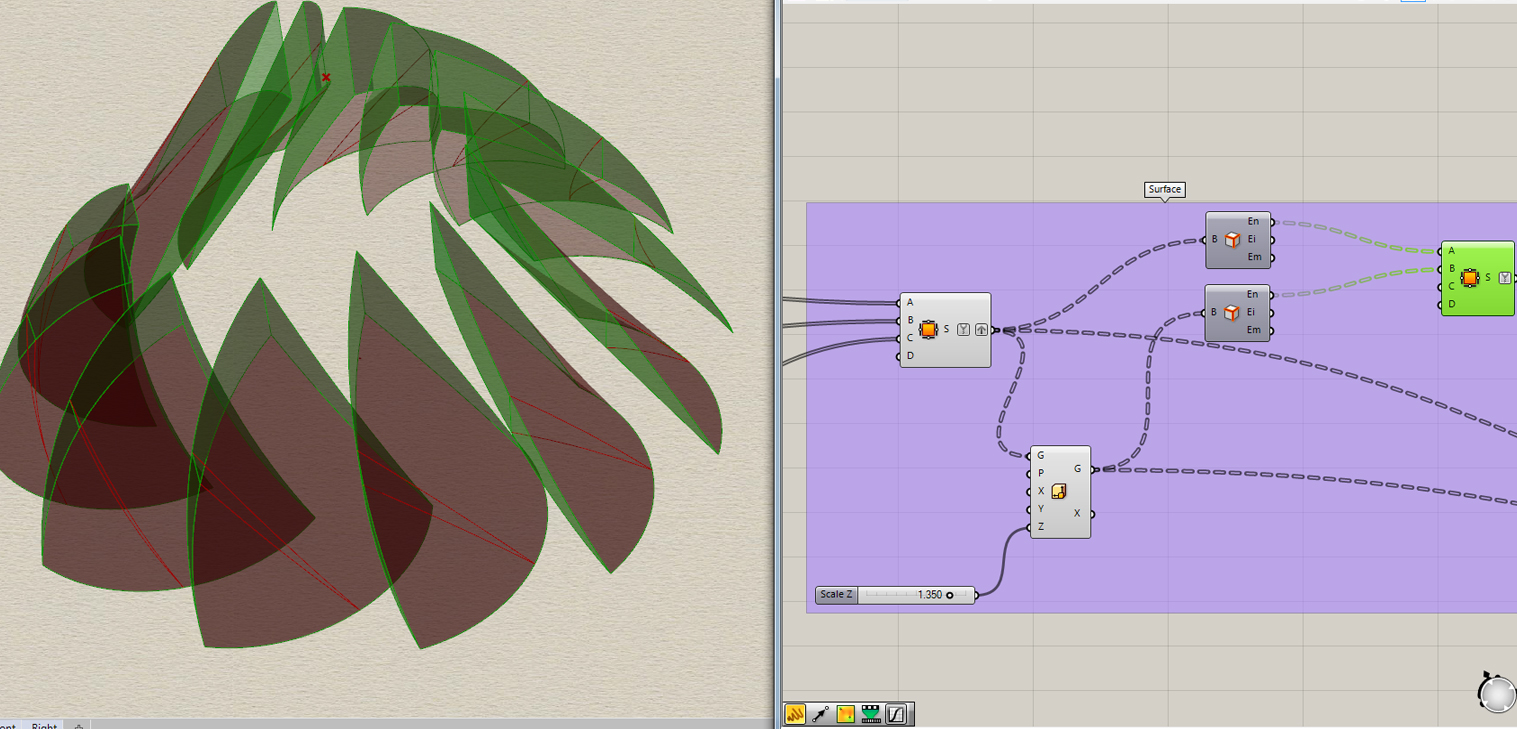
4. Loft Geometry : It is our easiest step. Once we have our curves, we need all surfaces. Please note that using Loft will make a continuous curve as it take all set of values together. See this :
We need to use ‘surface’ that can read each set together. Add as many curve sets as you need. If the number in each set is same, you should not face any problem.
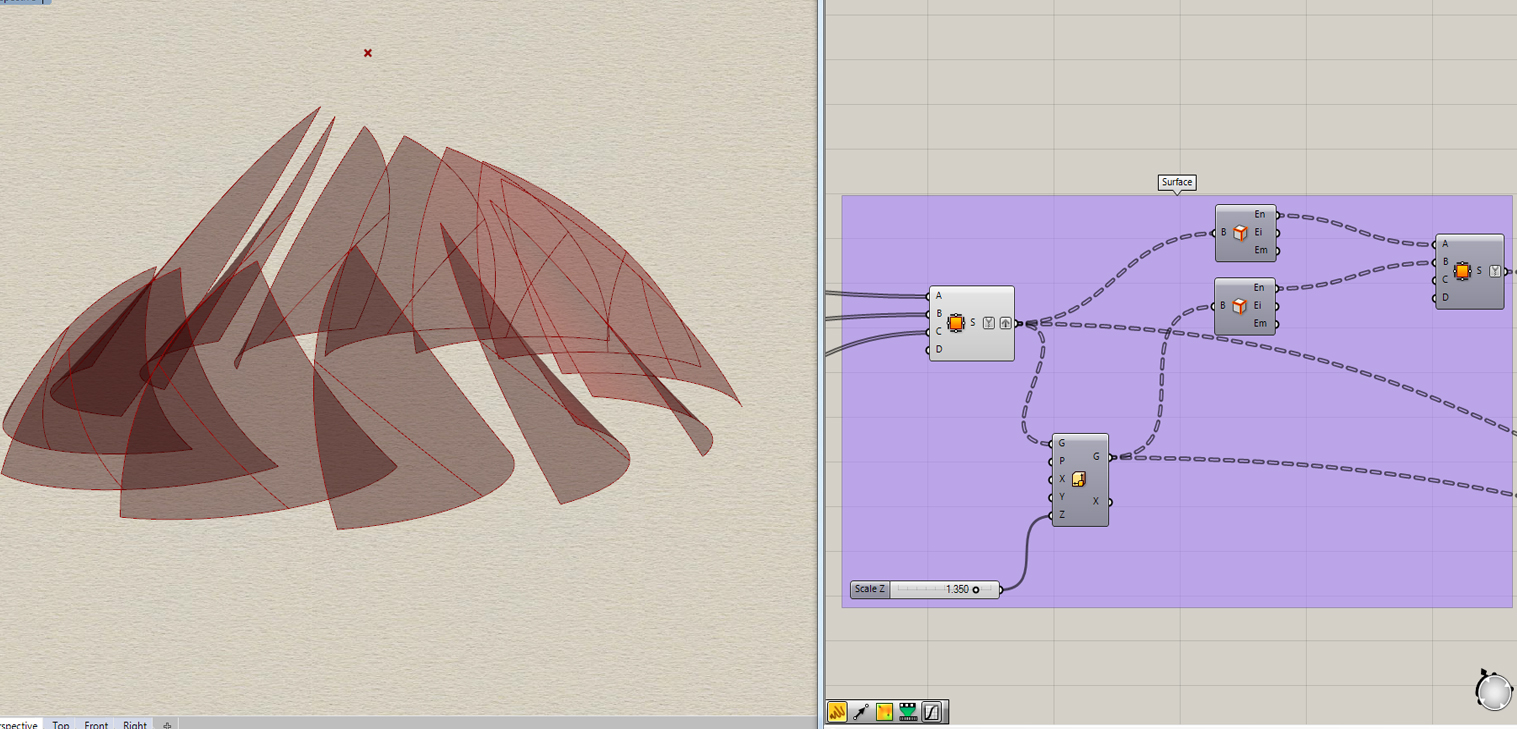
After the base surfaces, we will give them thickness. It can be easily done using ‘offset’. However, I wanted a non uniform thickness. So I used ‘Transform’ to scale my surfaces only in Z axis.

Having done that, just use Brep Edge to get your curve edges, and Edge Surface again to fill the gaps. Give them Swatch or Gradient of your choice.
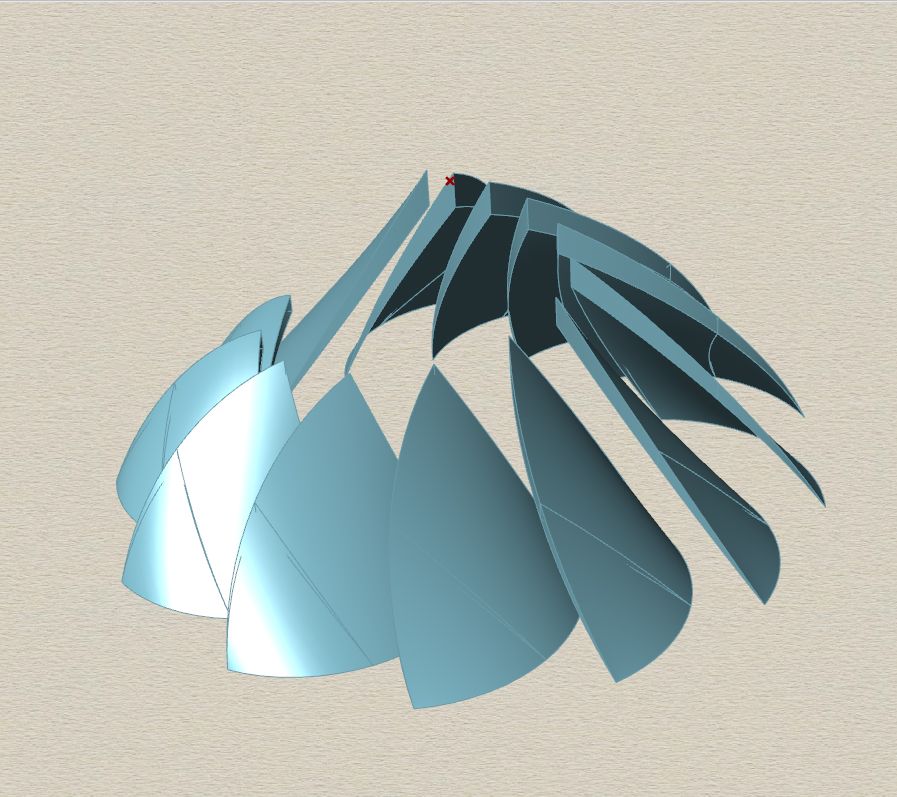
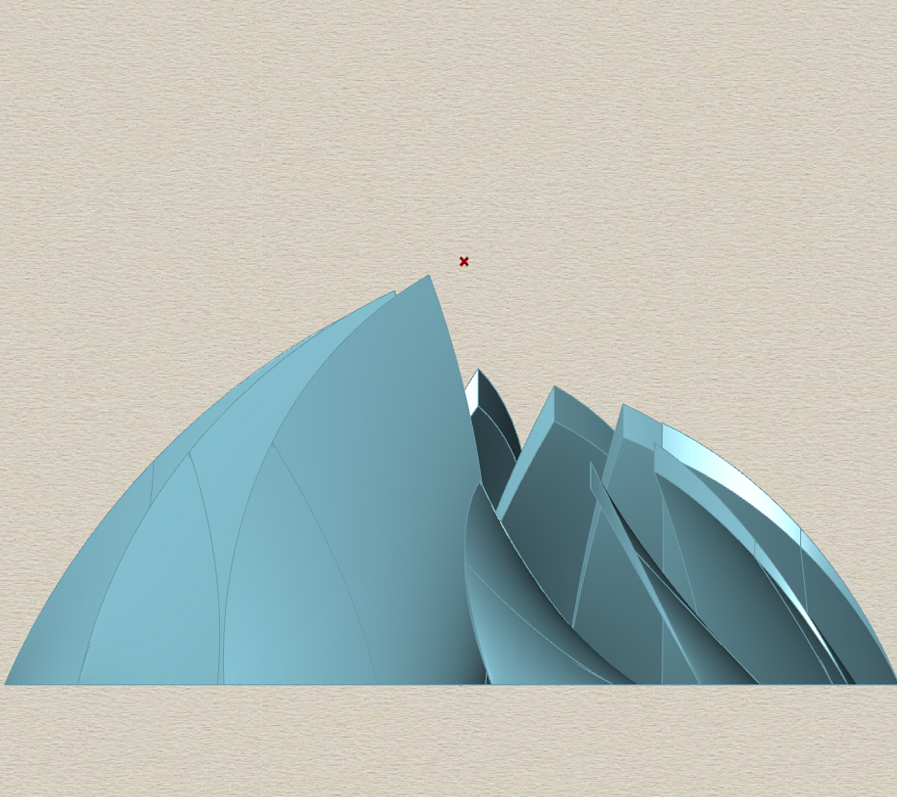
See the results.

Find the codes here : Lotus_Sugandha
Appendix
I did’t come directly to what you see above. To achieve this shape, I had to go through few hits and tries, to get it right.
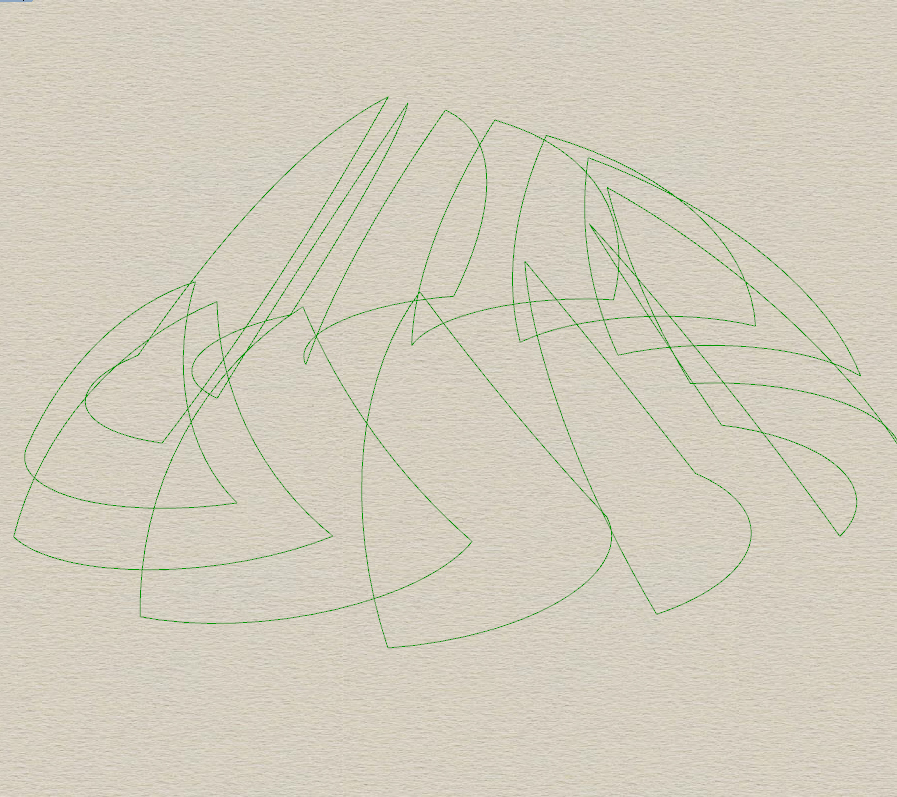
Trial 1 : I began trying with a rhino base spiral, and then dividing it to form my base curves, and then scaling them, first uniformly, then along a vector. The results are as:
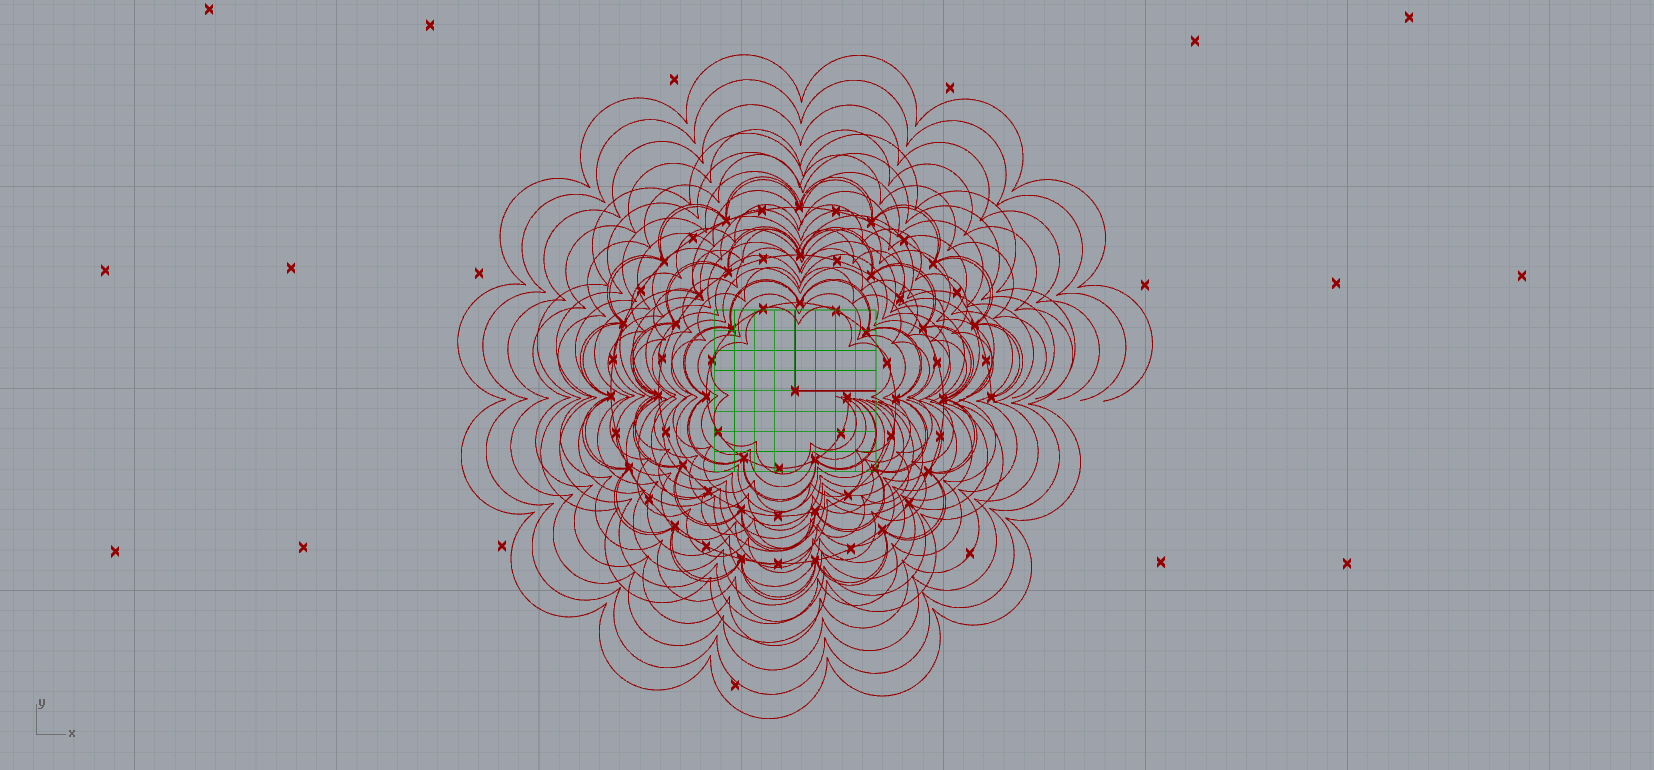
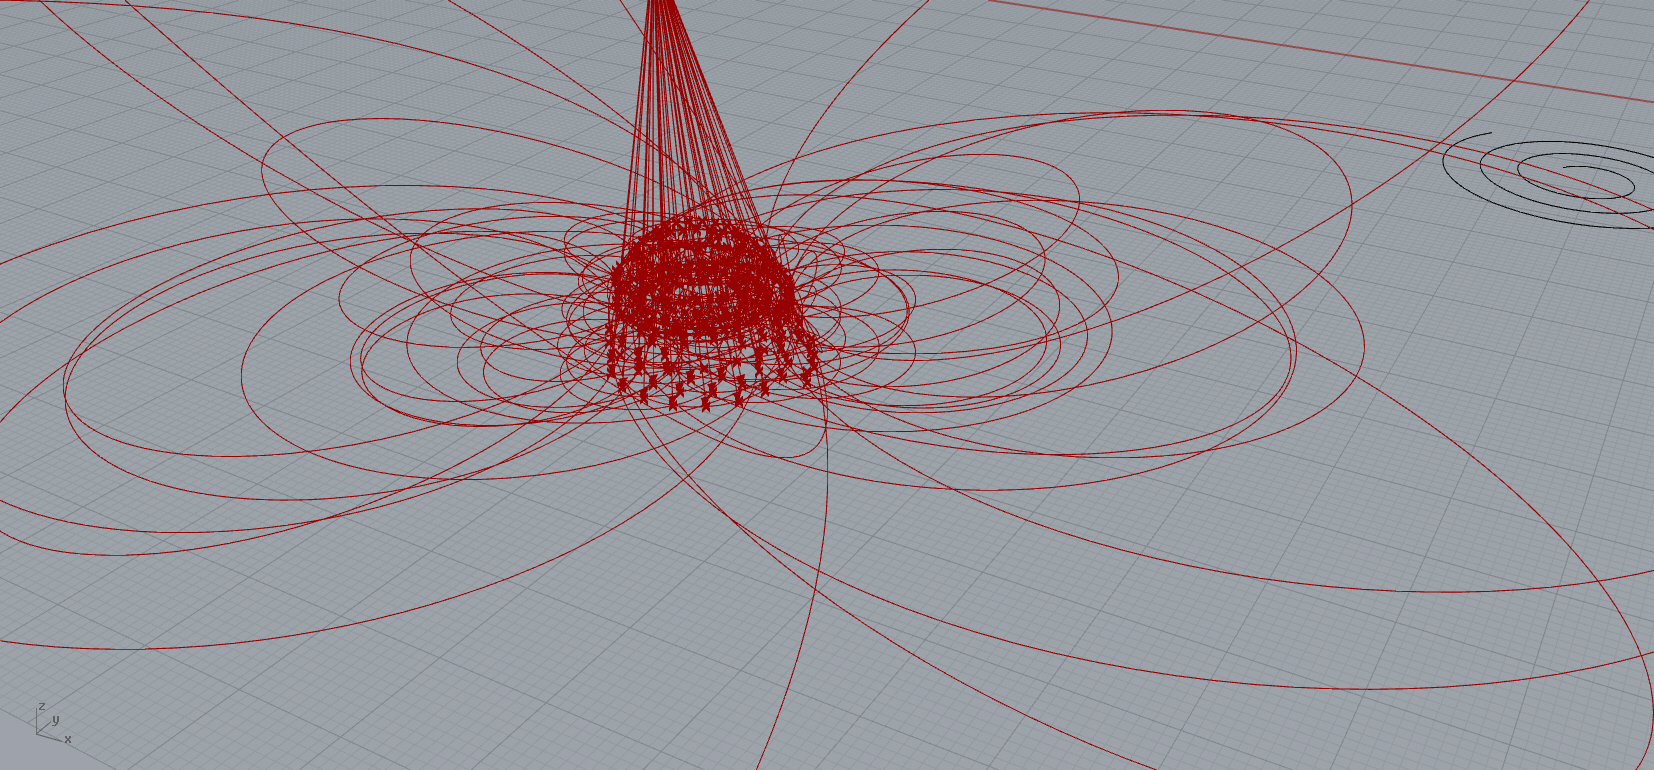
Trial 2 : Clearly, some logic was flawed. Next I tried to list progressive points in every plane and then join them out. See what happened :
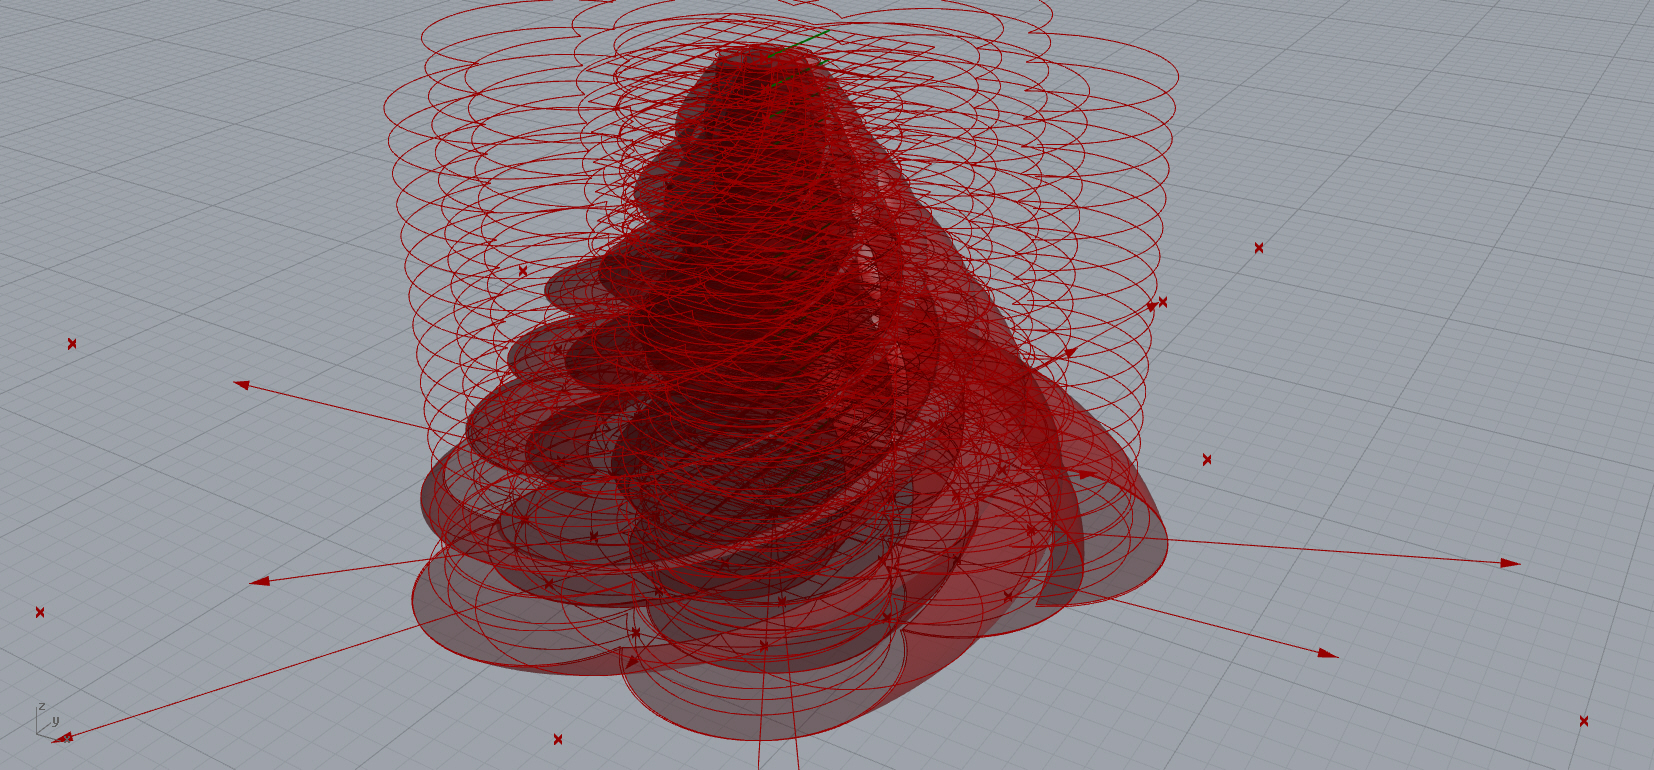
Trial 3 : By now, I have the Archimedan curve, but you can see, the vertical point are still moving uniformly, leading to crazy shape.


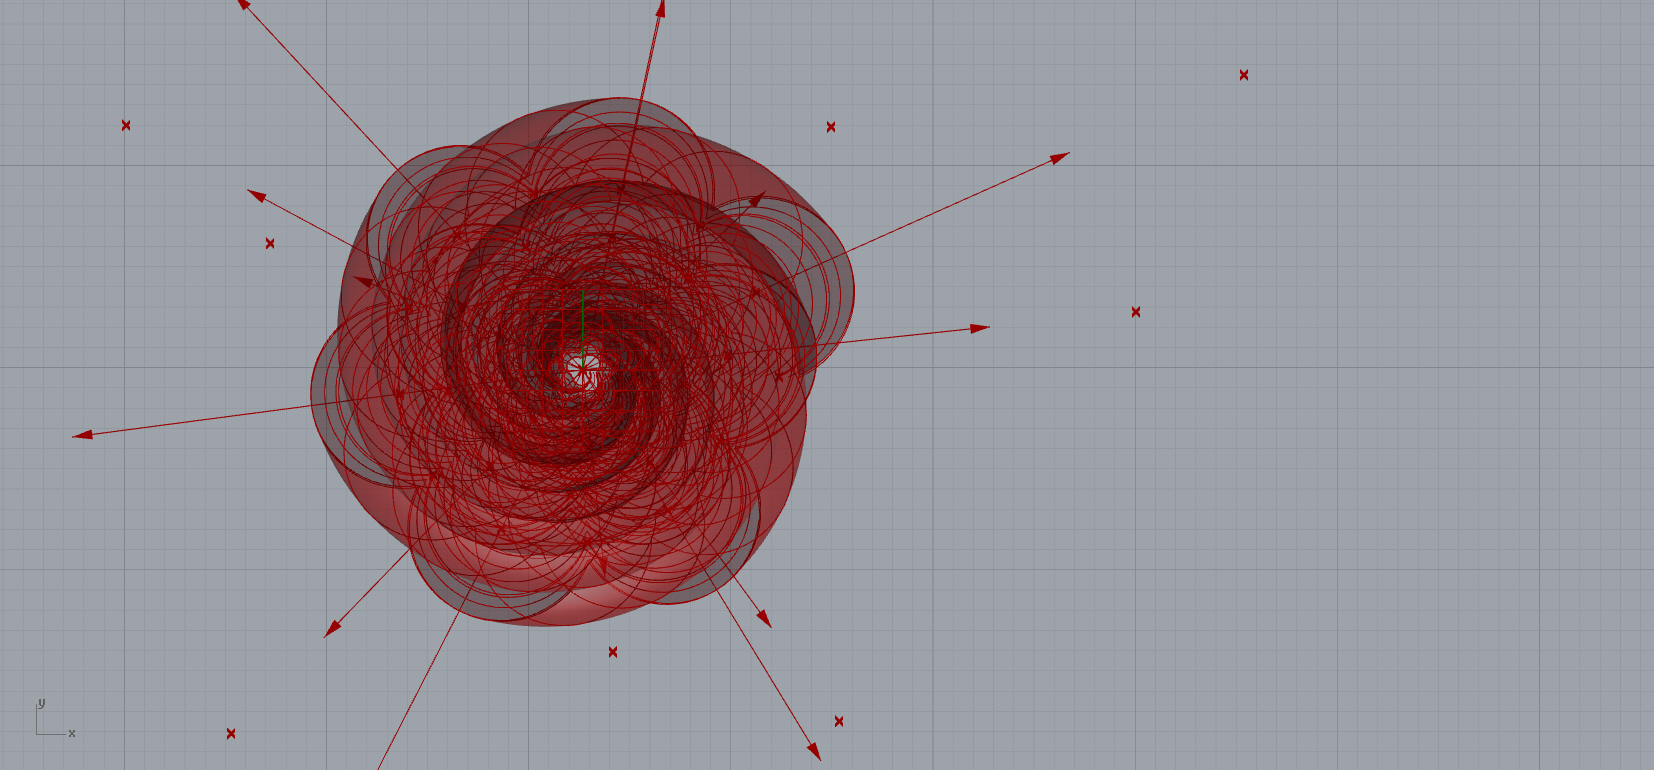
However, this is not supposed to scare you, but to show the diversity of the tool.
Once you are able to break your concept into a rational logic / geometry, grasshopper will be your best friend.
:)
Thank you. Hope you enjoyed the tutorial.