

THE IDEA
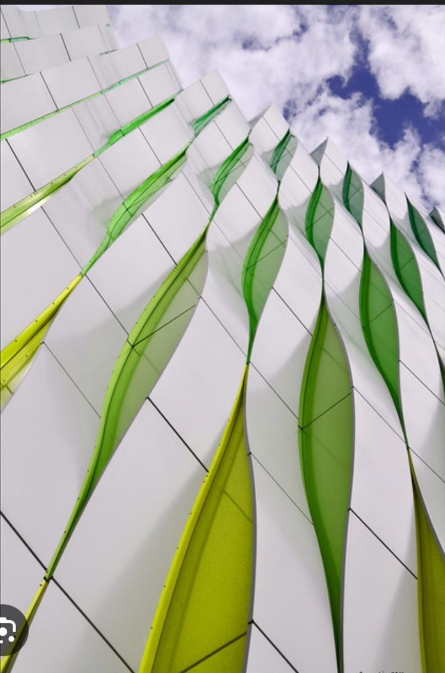
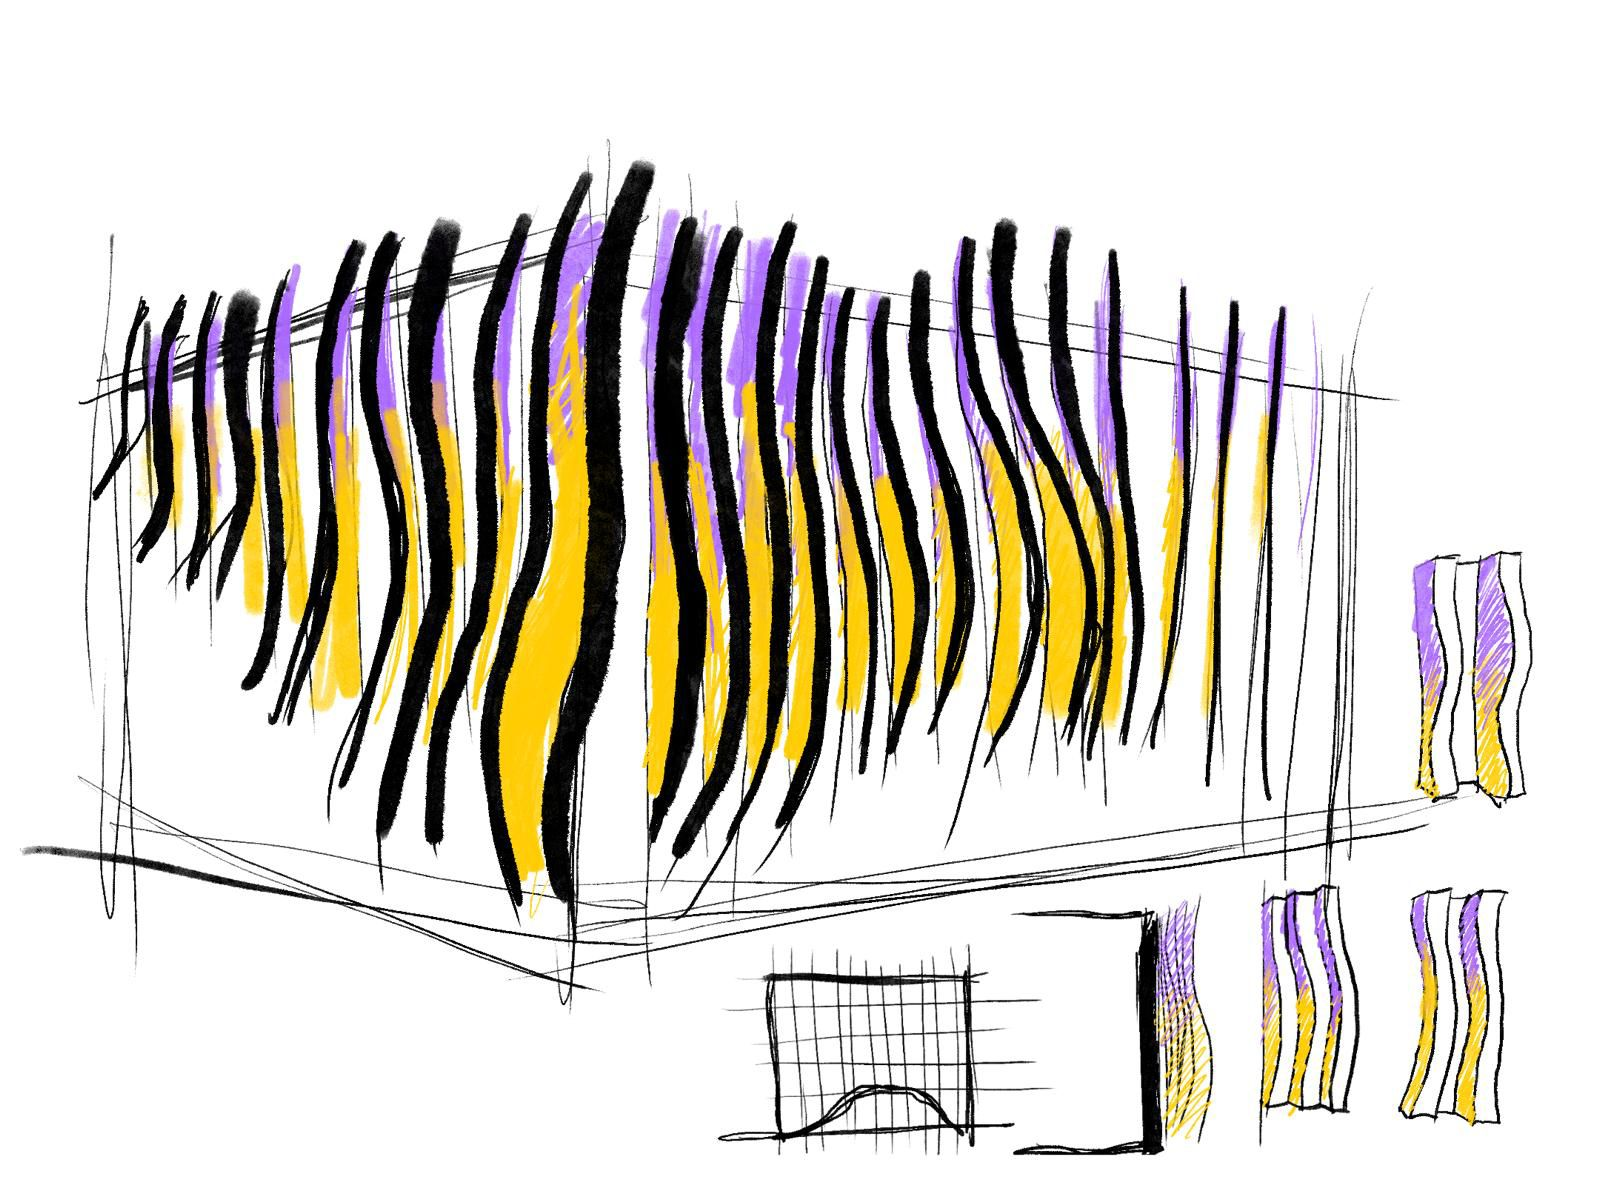
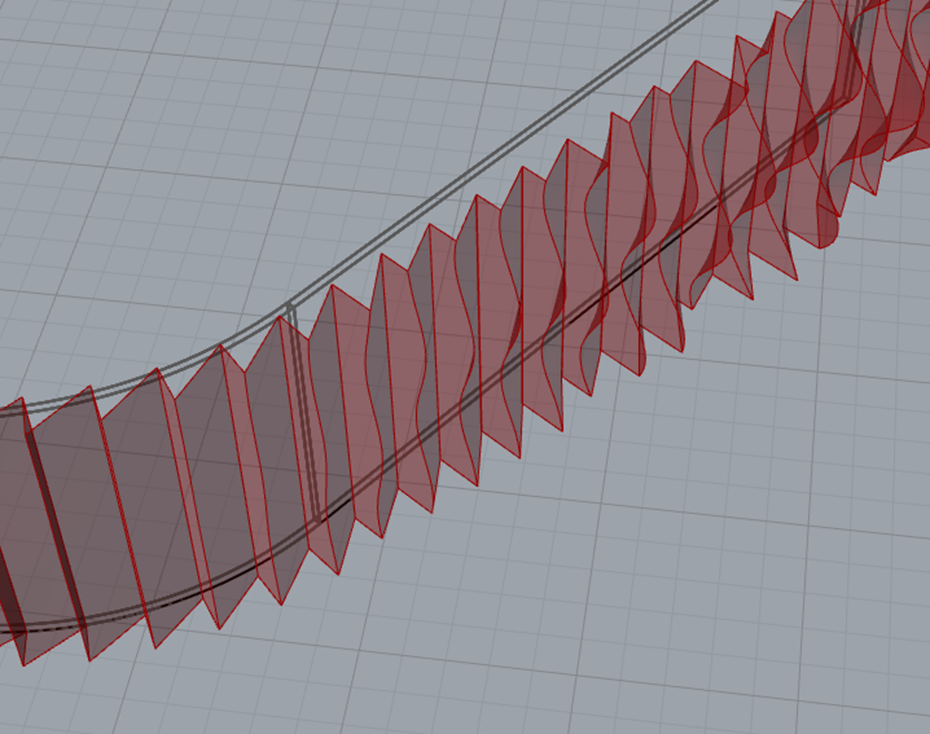
Imagine that you have a house like this in Revit and you want to make a creative facade in Grasshopper. There is plenty of imagery for inspiration. I chose to make a facade completely based on a sine function. In Revit you can’t make anything similar to this, there are no options, and our period is not about flat facades without anything interesting. Let’s create something FUN!!!

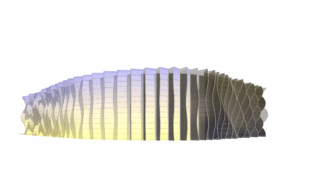
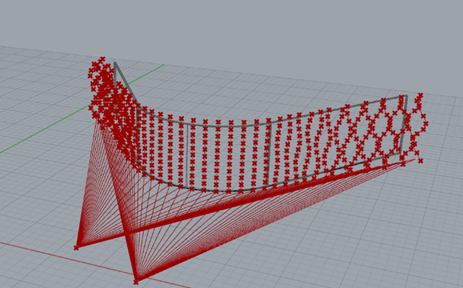
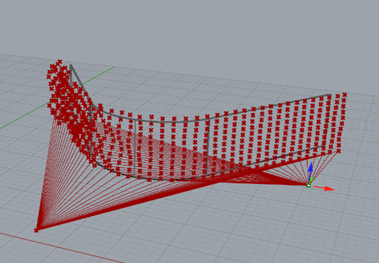
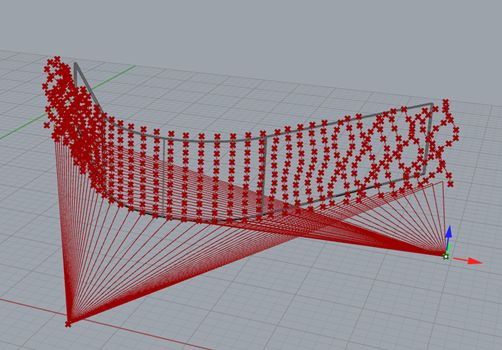
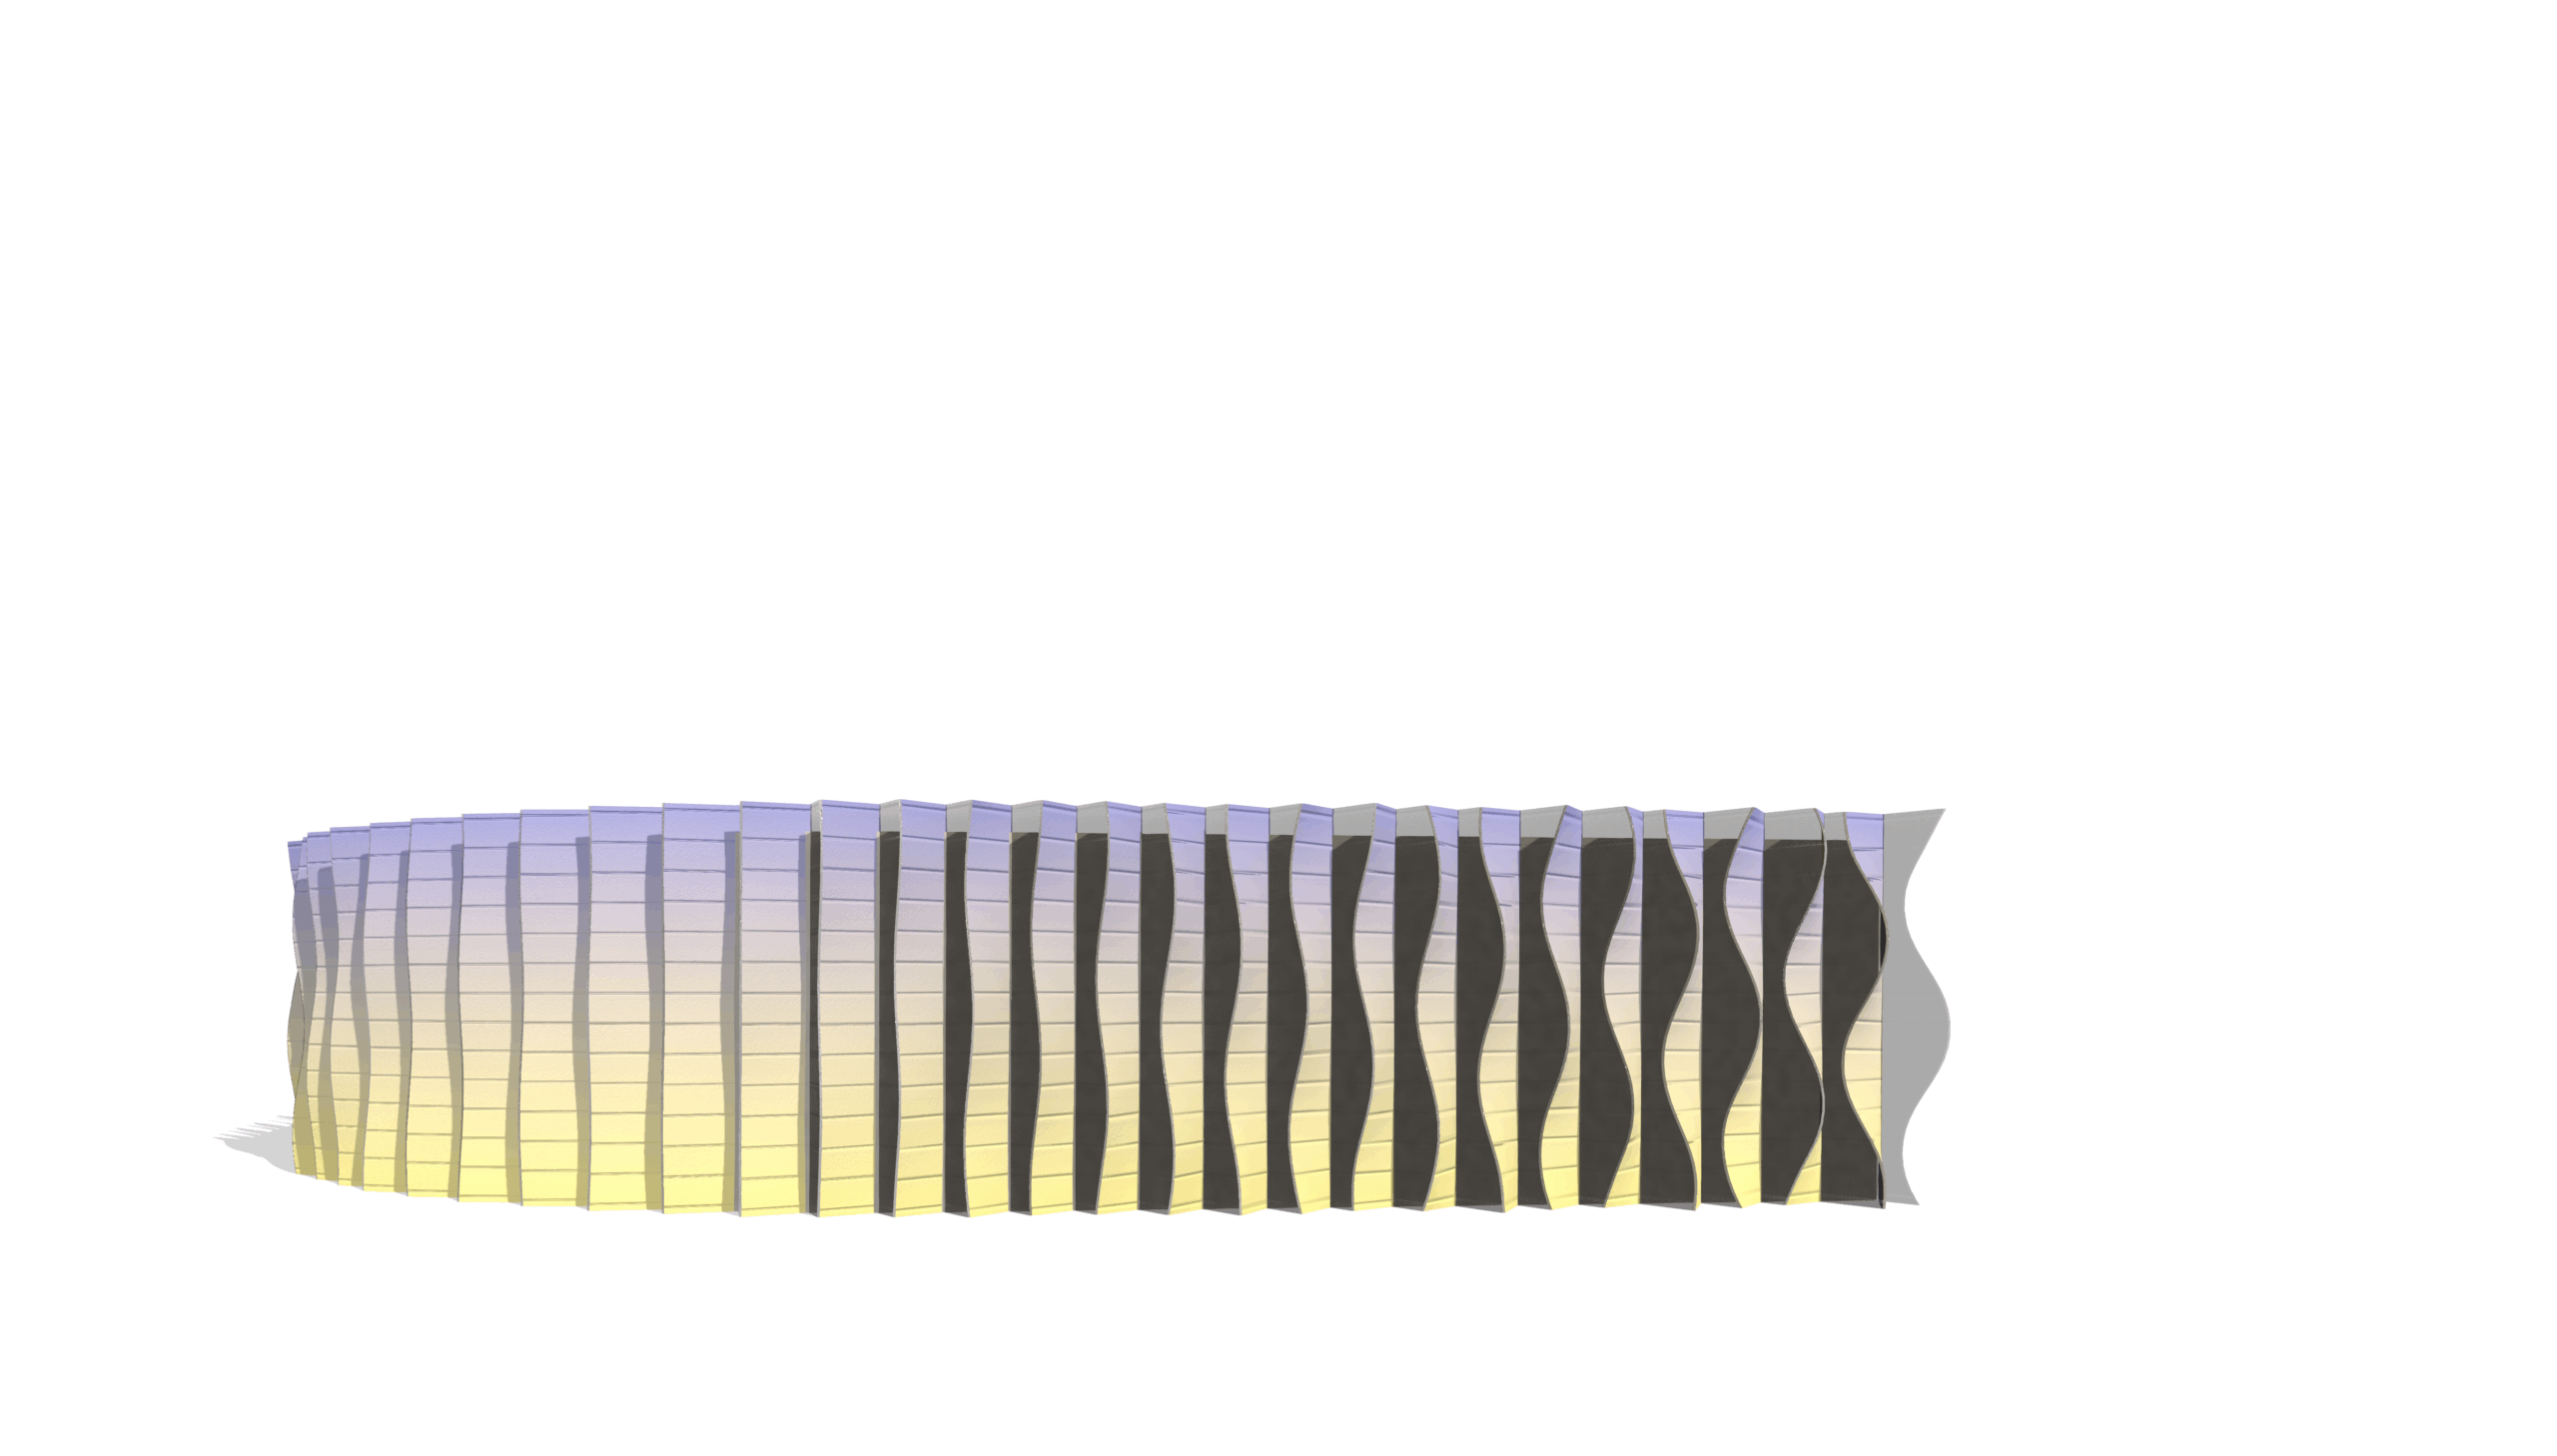
Something like this is what I wanted to try to create.
THE PROCESS
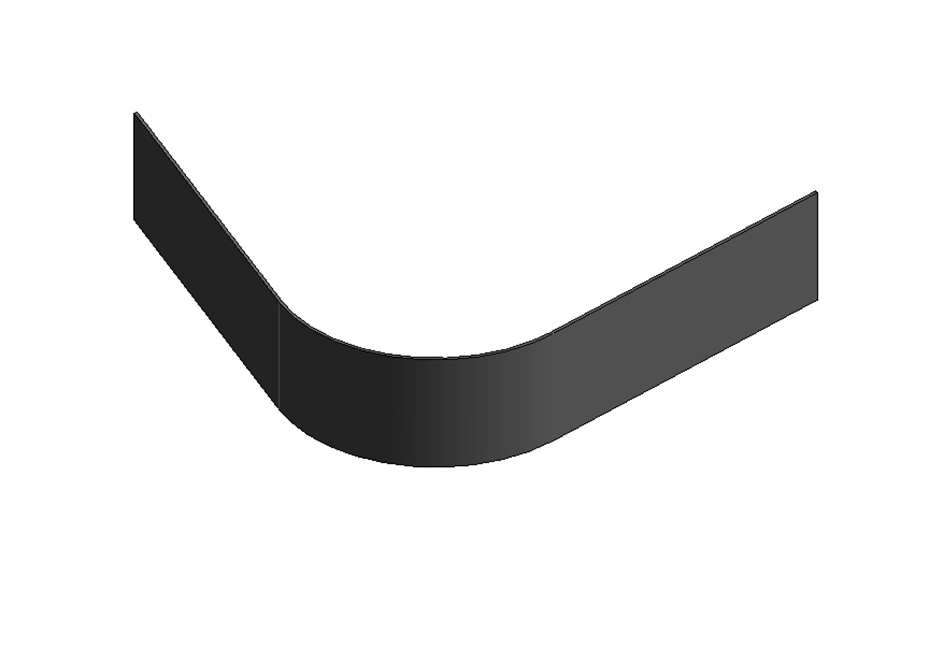
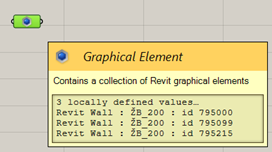
The first step was to put the model from Revit as a reference into Grasshopper and make a curve as a border for this facade – which was also the base for the creative one. There are plenty of ways to do this, but I chose the easiest one for me – I baked it in Grasshopper and then drew a curve there depending on the shape. :-)

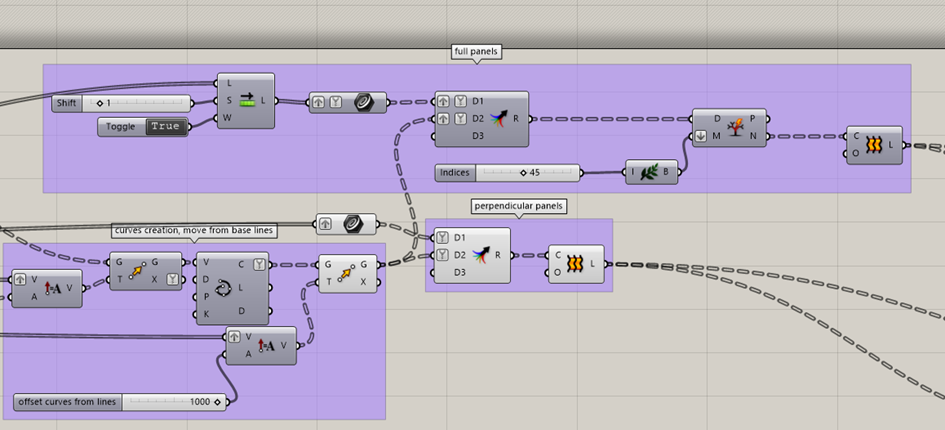
BASIC SETTINGS
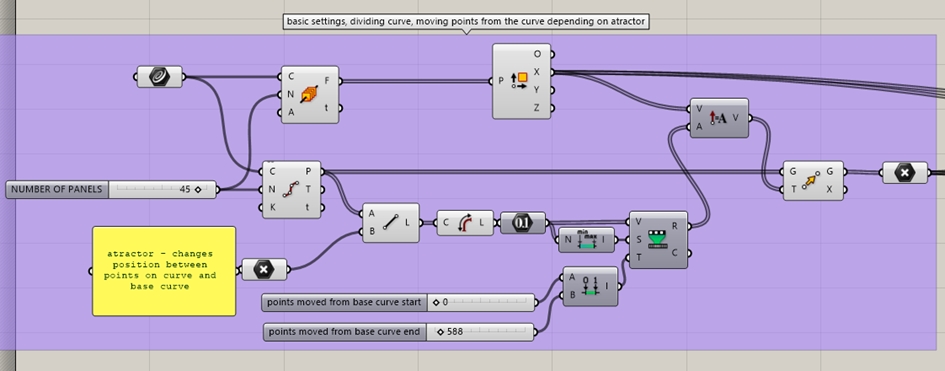
I divided the curve into the needed parts, created a normal vector to the curve, and moved points from the base curve according to an attractor.
START OF DATA TREE
And this is where the data tree started. Every single line is a single list and I had to work with them the whole time as separated lists.
GETTING BACK TO HIGH SCHOOL MATH
Then there was the question of defining the function for shaping. I chose sine. But I wanted to PLAY with it – to make it wider and thinner in places I chose, and also move the curve vertically so they wouldn’t all be the same.
The first struggle was with defining the function mathematically with all these aspects – so I had to get back to my high school knowledge.
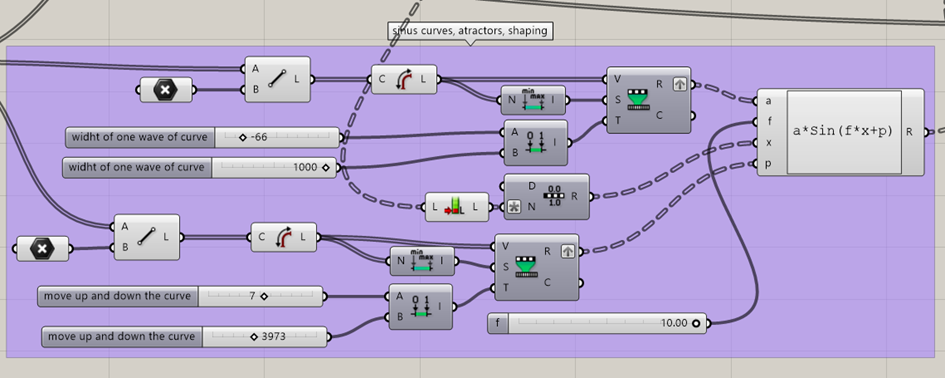
ATTRACTORS AS THE MAIN PLAYERS
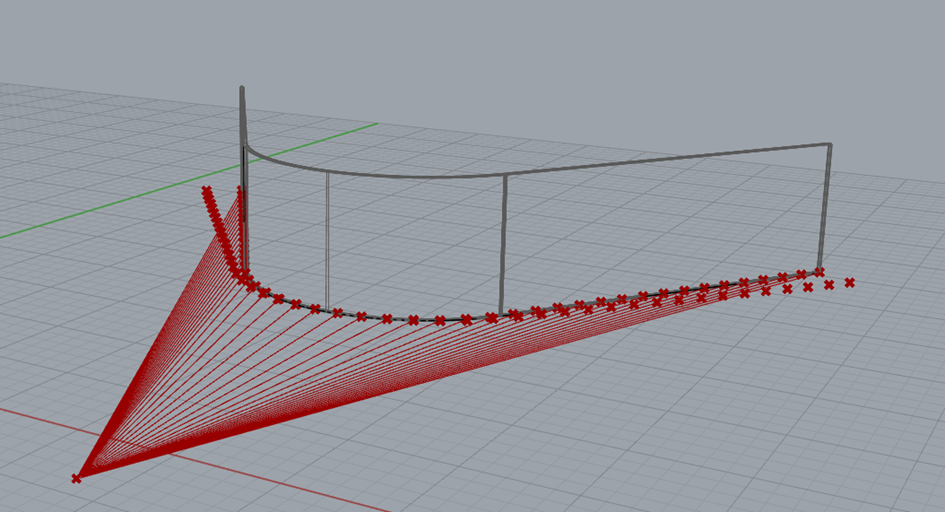
You can do all this fun stuff by changing the amplitude and period of the function. The first attractor is changing the amplitude – how wavy the curve is. The second attractor is changing the position of all the segments in height.
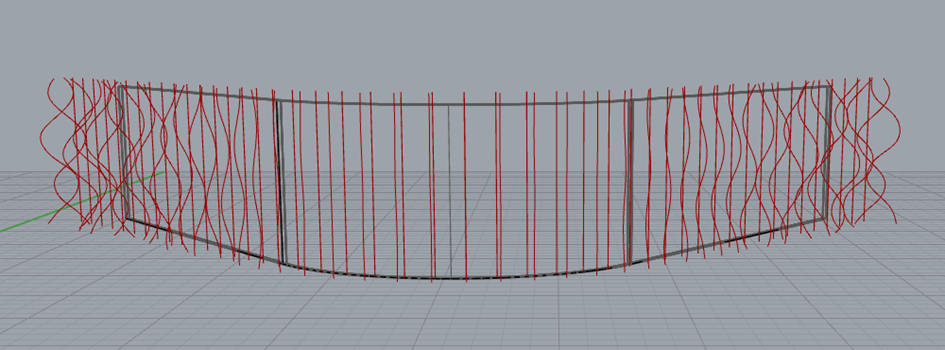
MAKING IT VISIBLE
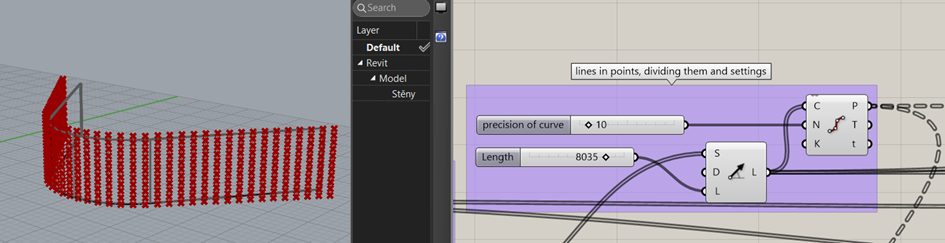
To see all of this, it was necessary to move the initial points from their base position into the shape of the function, create curves from them, and then move them again in the normal vector direction from the base ground curve so they wouldn’t intersect with the lines.
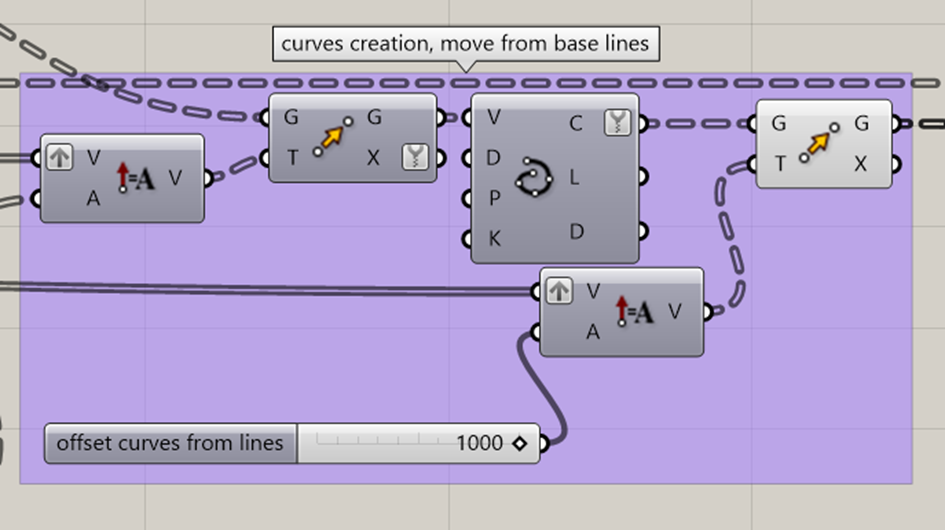
This took me so much time to understand that I should use the normal vector from the start and not make a new one.
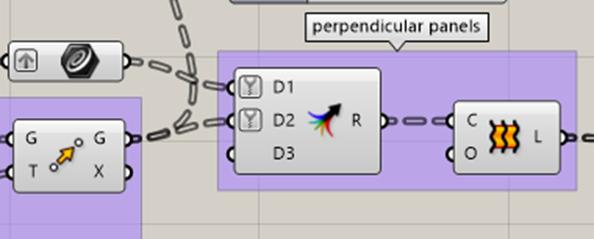
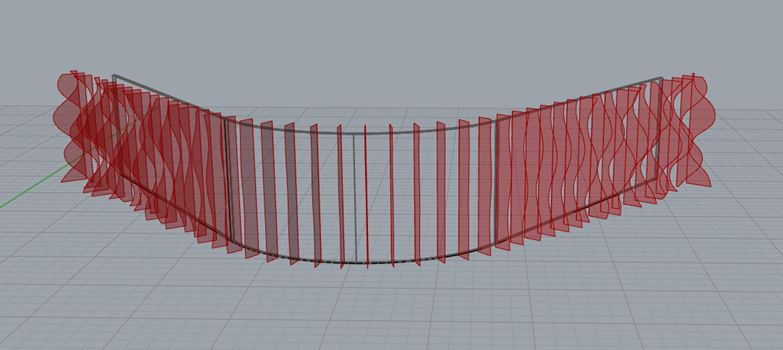
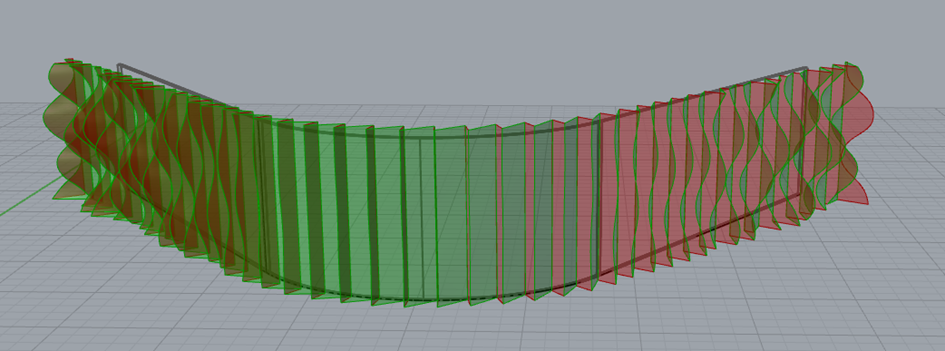
THE FIRST PANEL WAS CREATED
Then it was necessary to merge these two fields and create panels perpendicular to the base facade – windows in our creative facade.
THE SECOND PANEL
For the full wavy panels, it was always necessary to connect one curve with one line in the list behind, so I used Shift List. After that, I merged these fields again and I needed to delete one branch which was extra. The other loft was created.
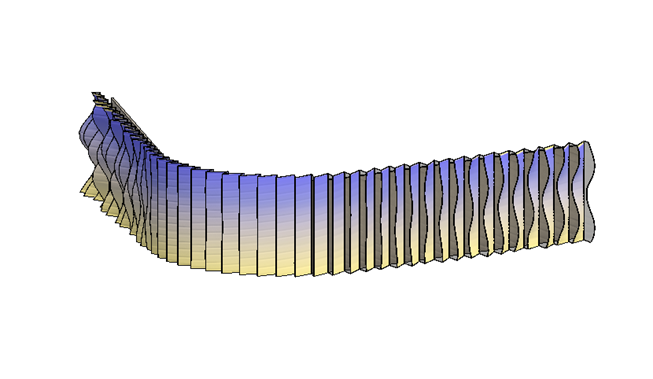
MATERIAL PROPERTIES
Then I needed to create the thickness of the material, so I used extrusion.

GETTING BACK TO OLD GOLD REVIT
And the last step was to create a component to put it into Revit with the materials needed.
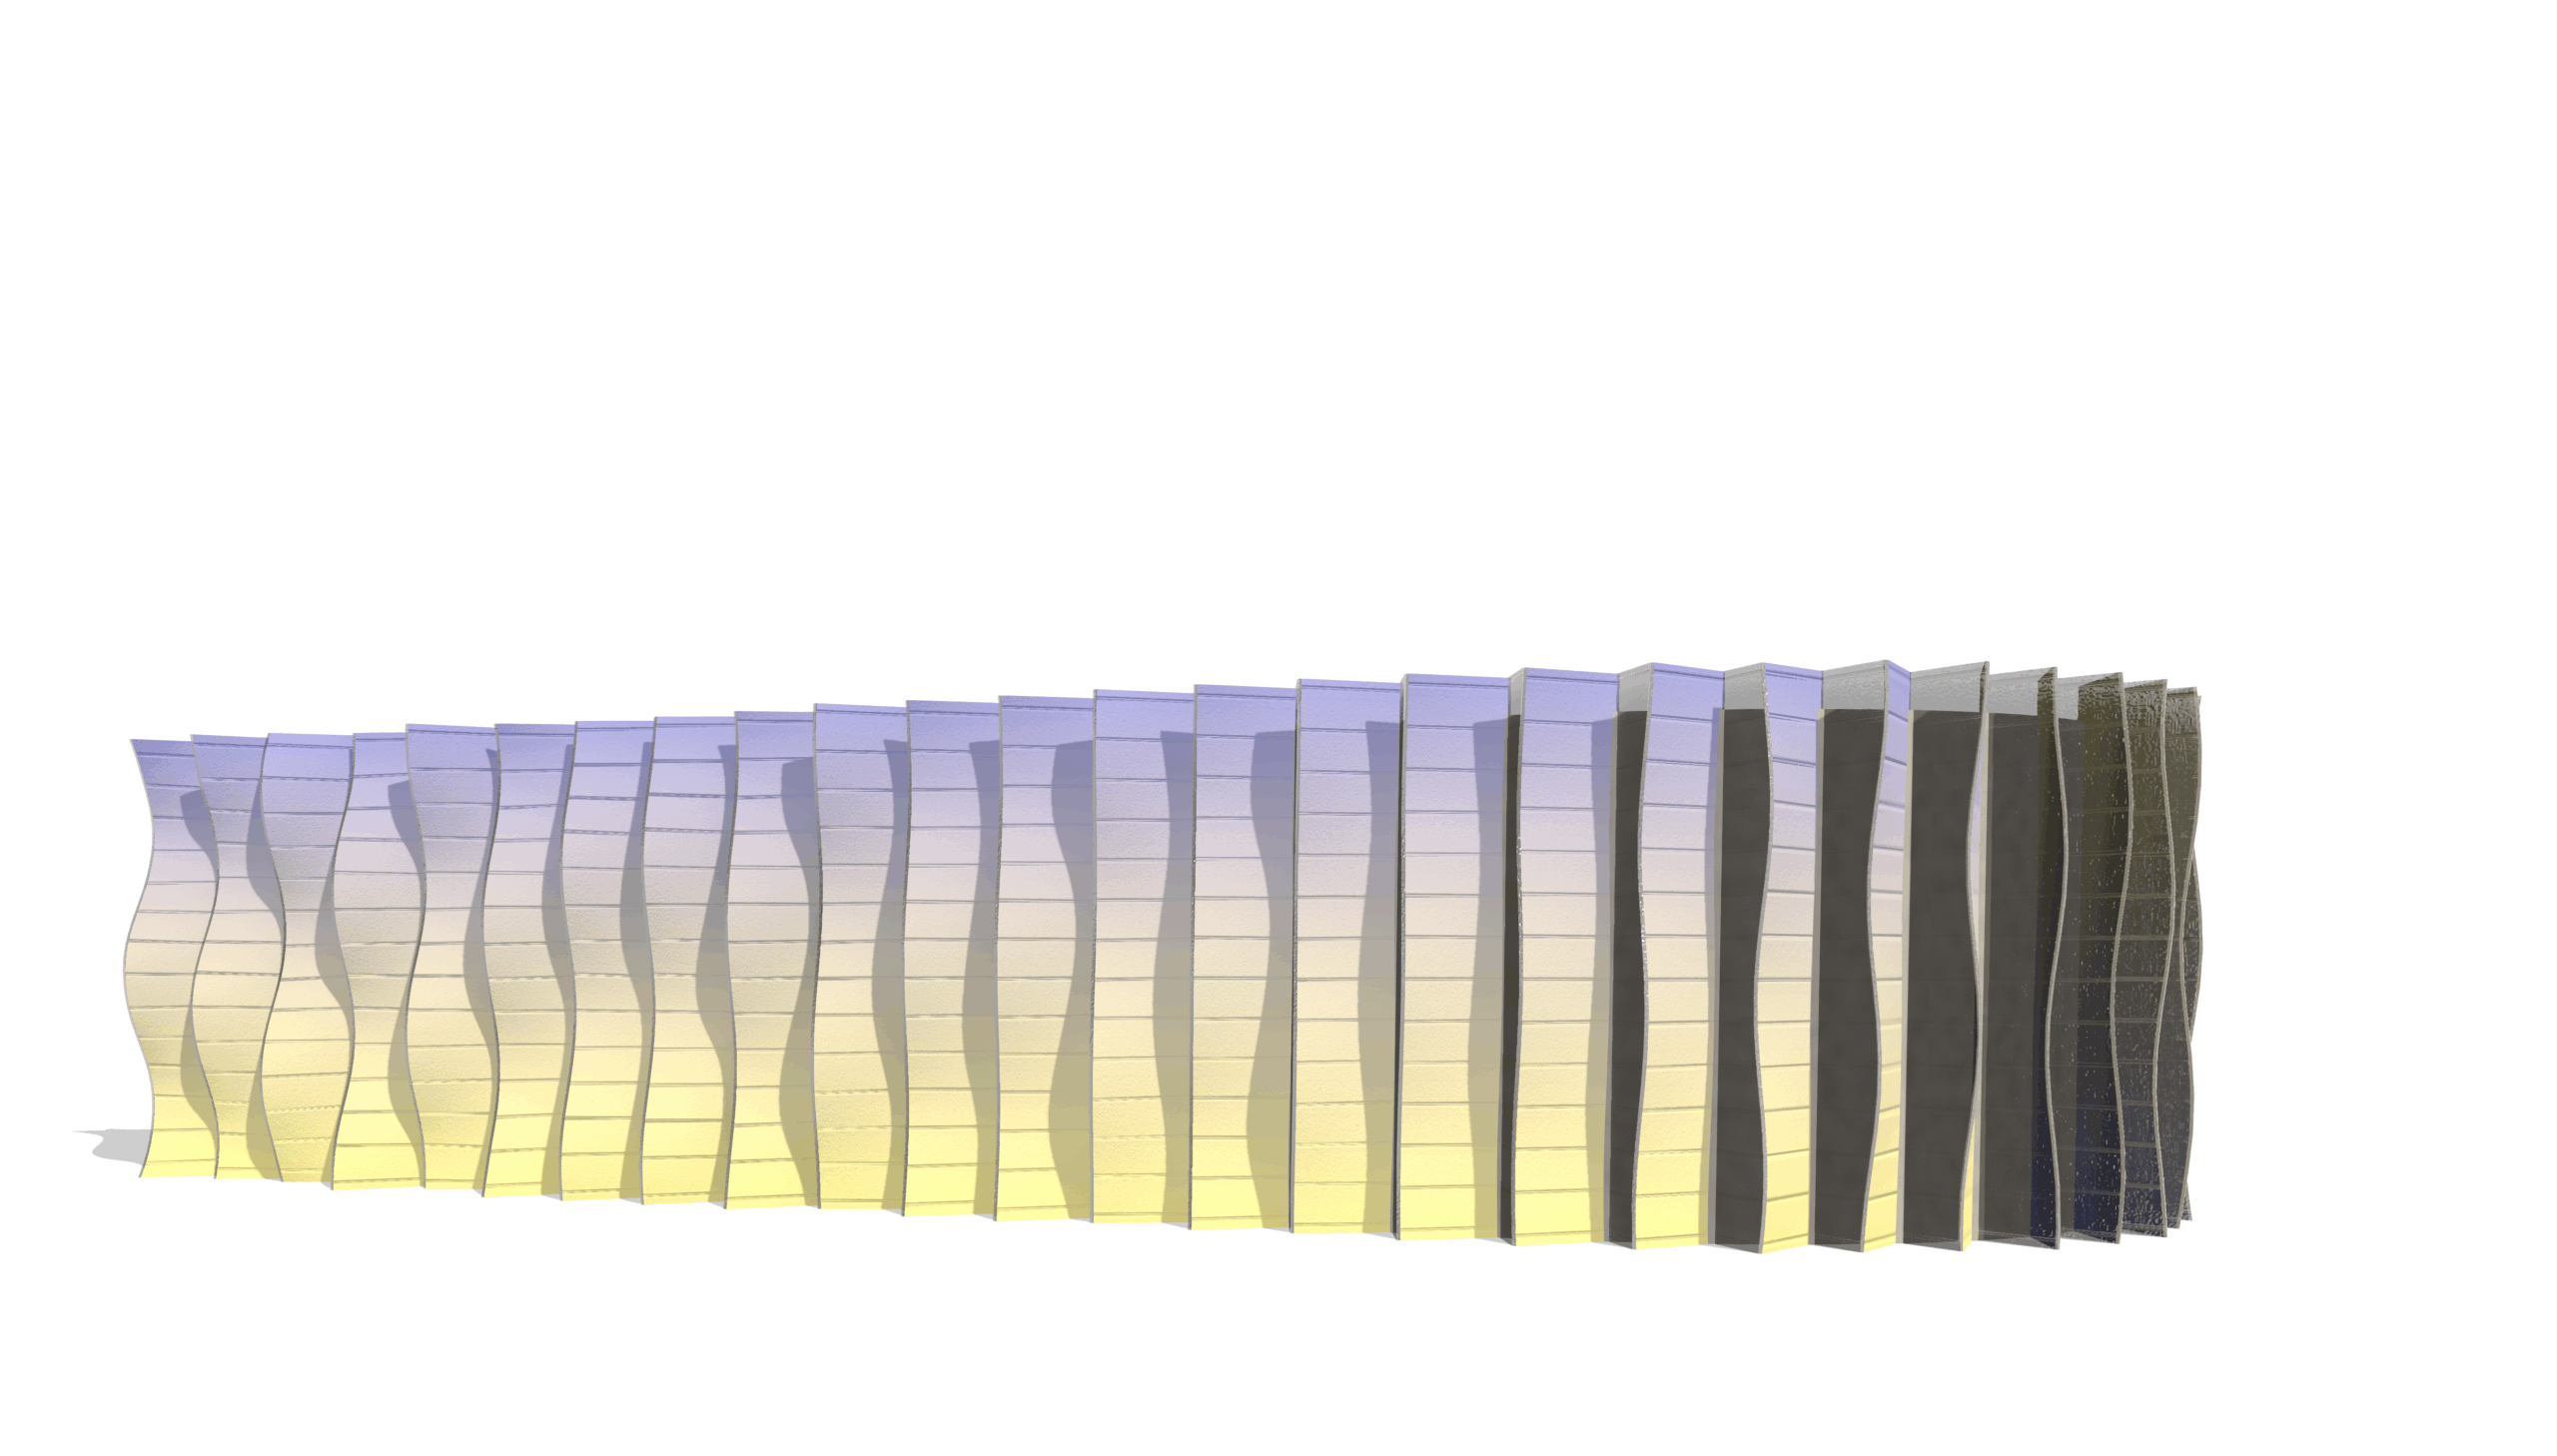
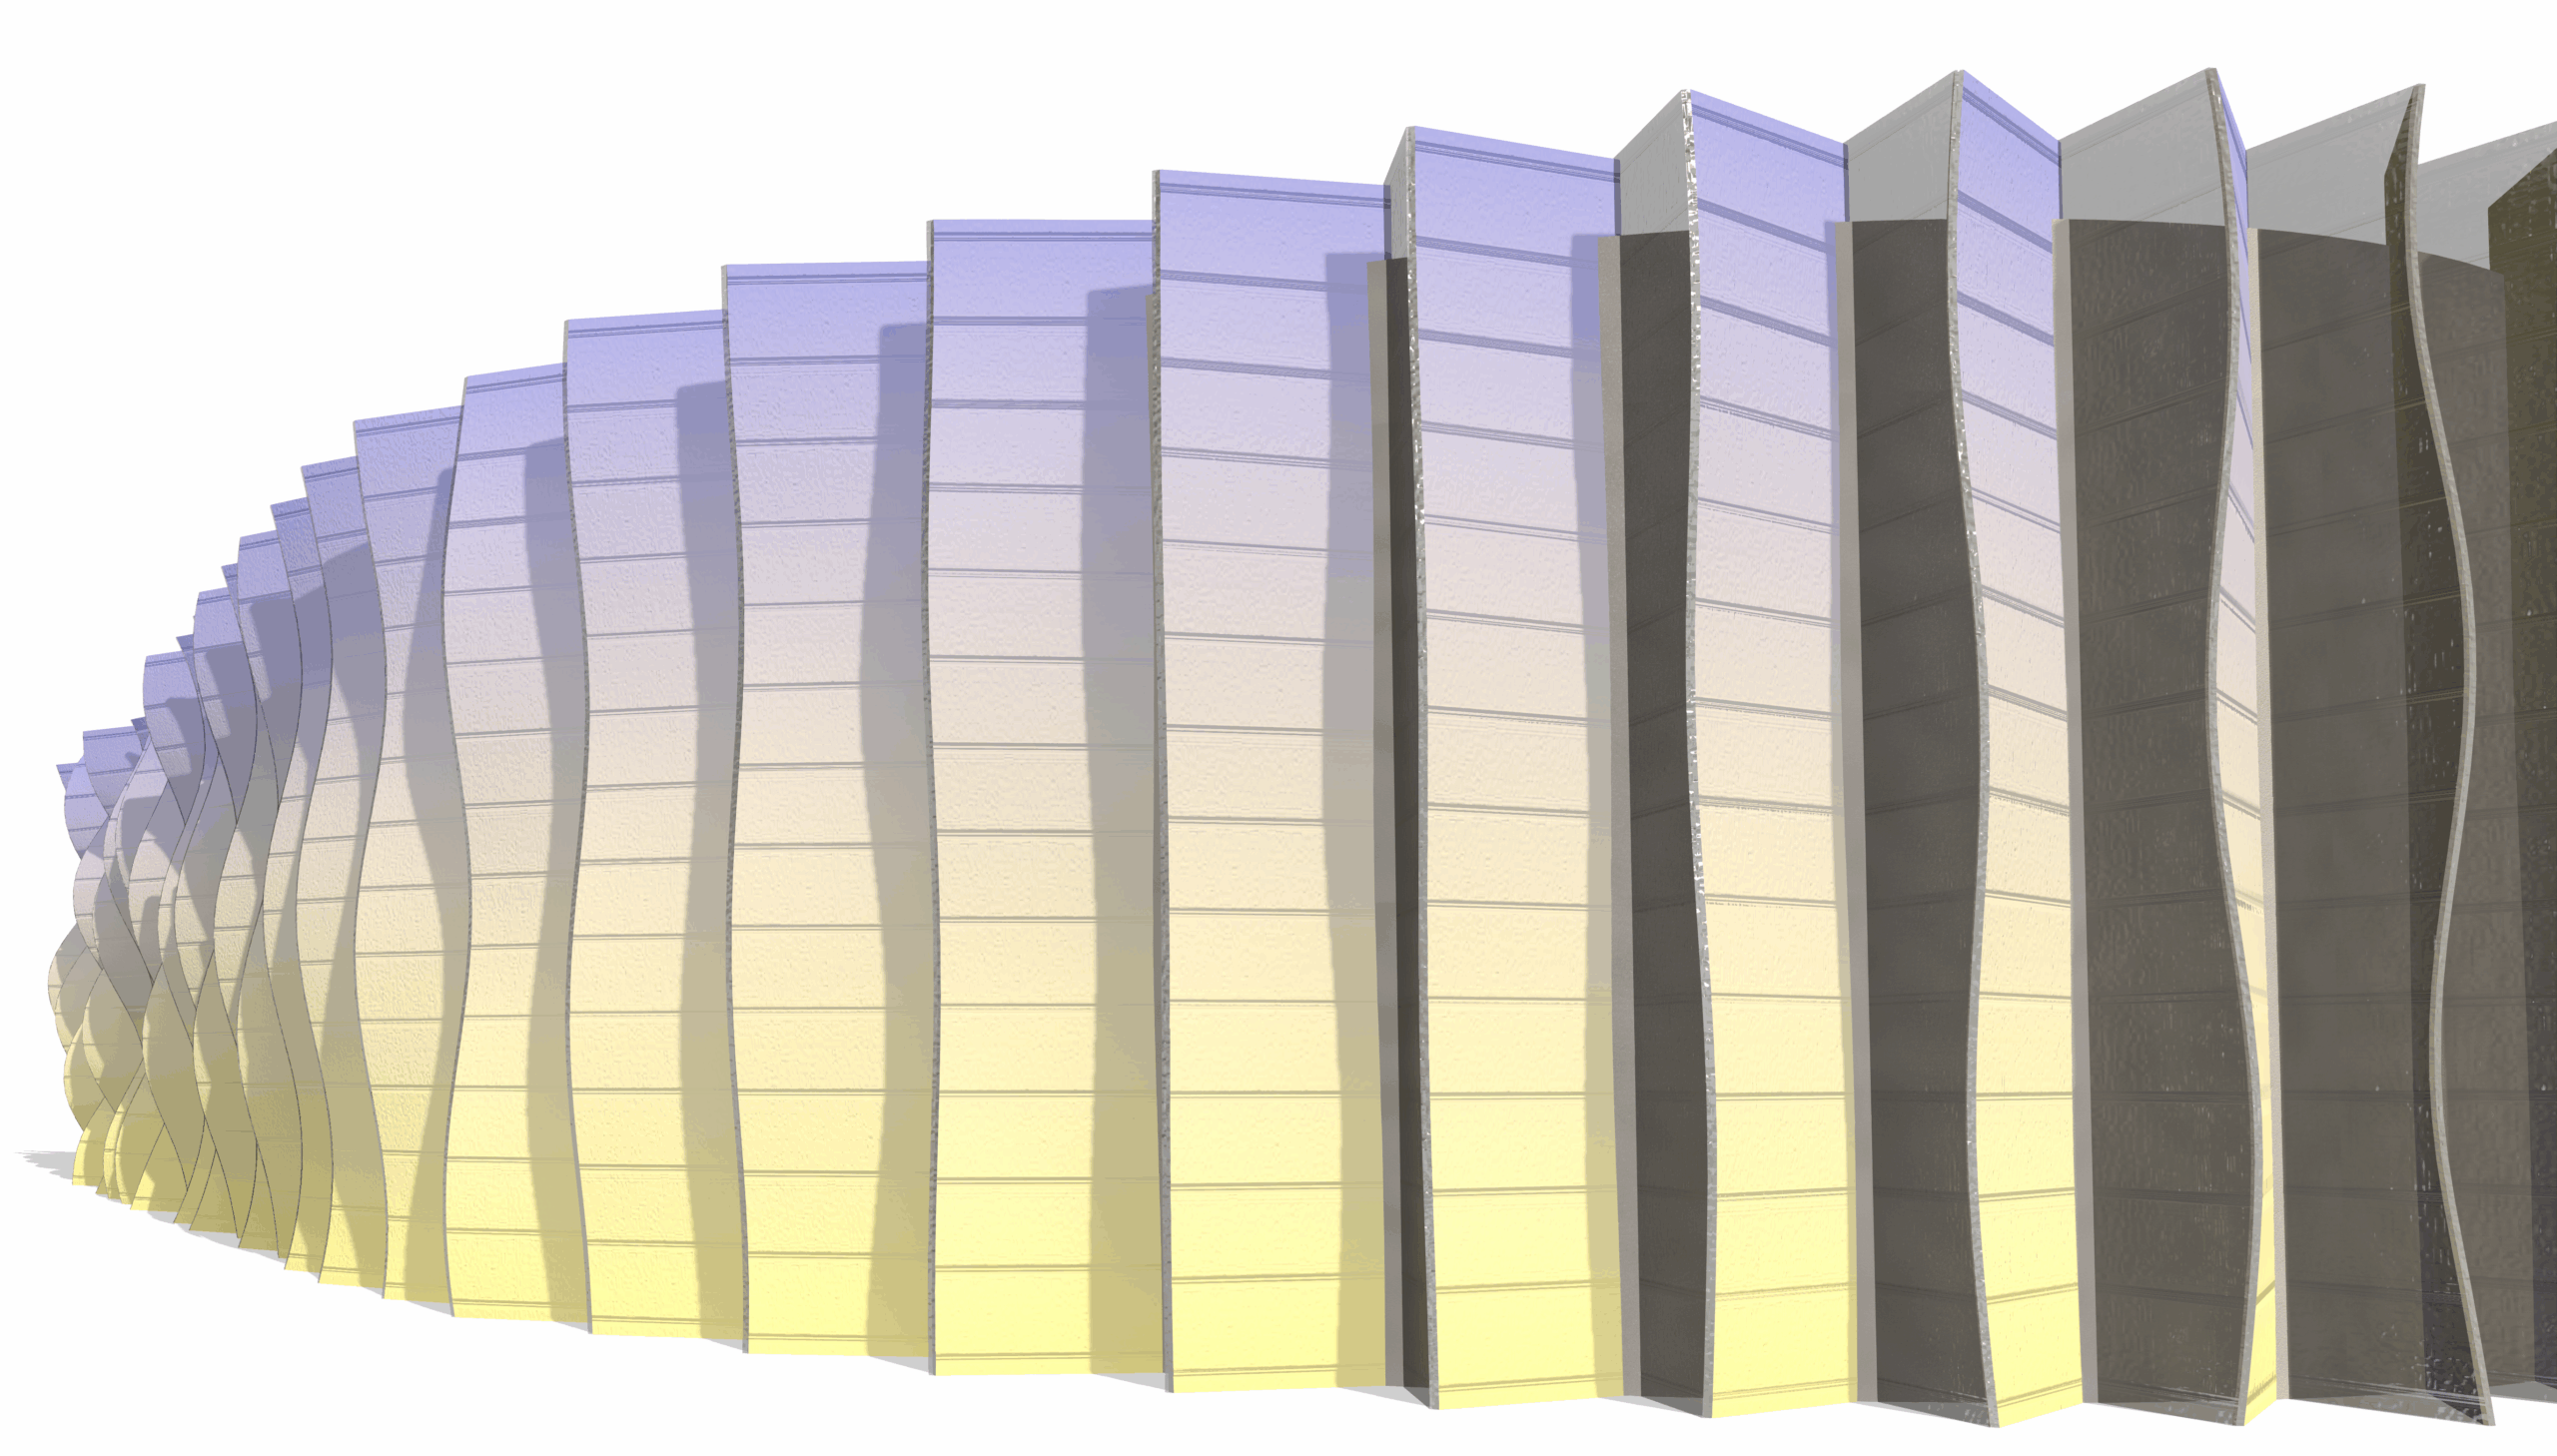
YES THIS IS REVIT!!!