
Idea and inspiration
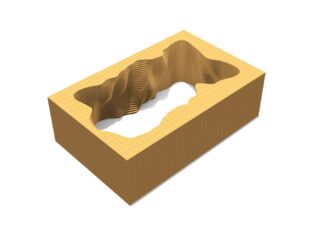
The initial purpose of this model was to create an interior for a hall in a project of museum, it is supposed to resemble the cave and decorate the Stone Age section of the exhibition. In Revit or Archicad you would need to create the slabs by hand, which is extremely time consuming and does not guarantee a smooth, natural looking curvature of the walls. This shape not only looks interesting on renders, but also allows to accentuate certain parts of the exhibition or cover the parts that are not supposed to be seen right away.
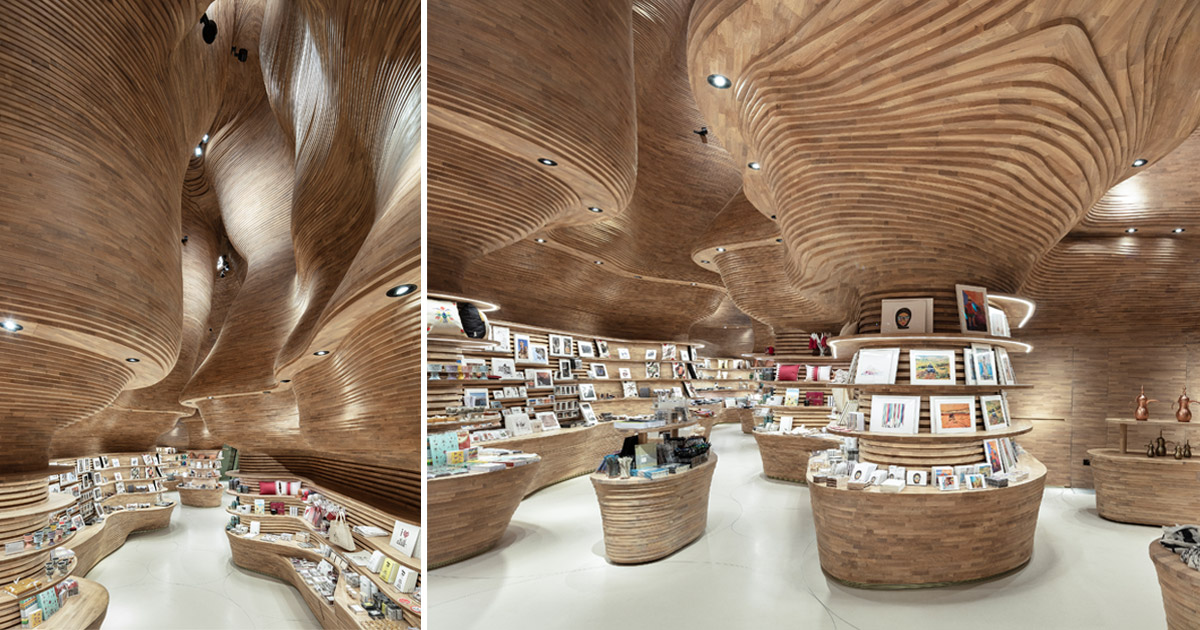
The design of National Museum of Qatar by Koichi Takada Architects served as an inspiration for the project.
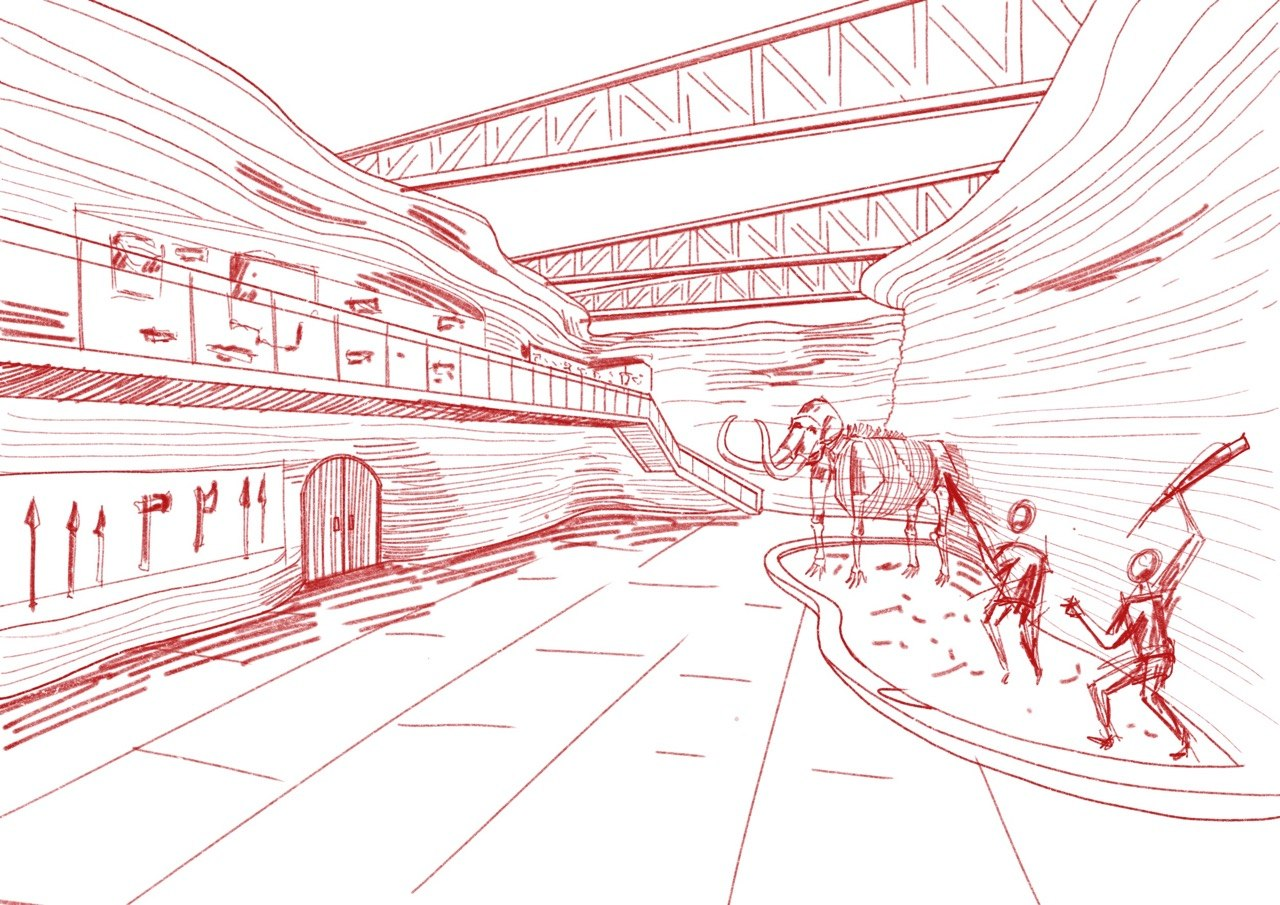
Sketch of how the space should look like upon entrance.
Approach to the work
From the very beginning it was clear that the 4D Noise would be the most comfortable way to create smooth, relatively easy to control curves, so the whole setup revolves around creating a nicely shaped cavity using elements from this plugin.
Beginning of the work
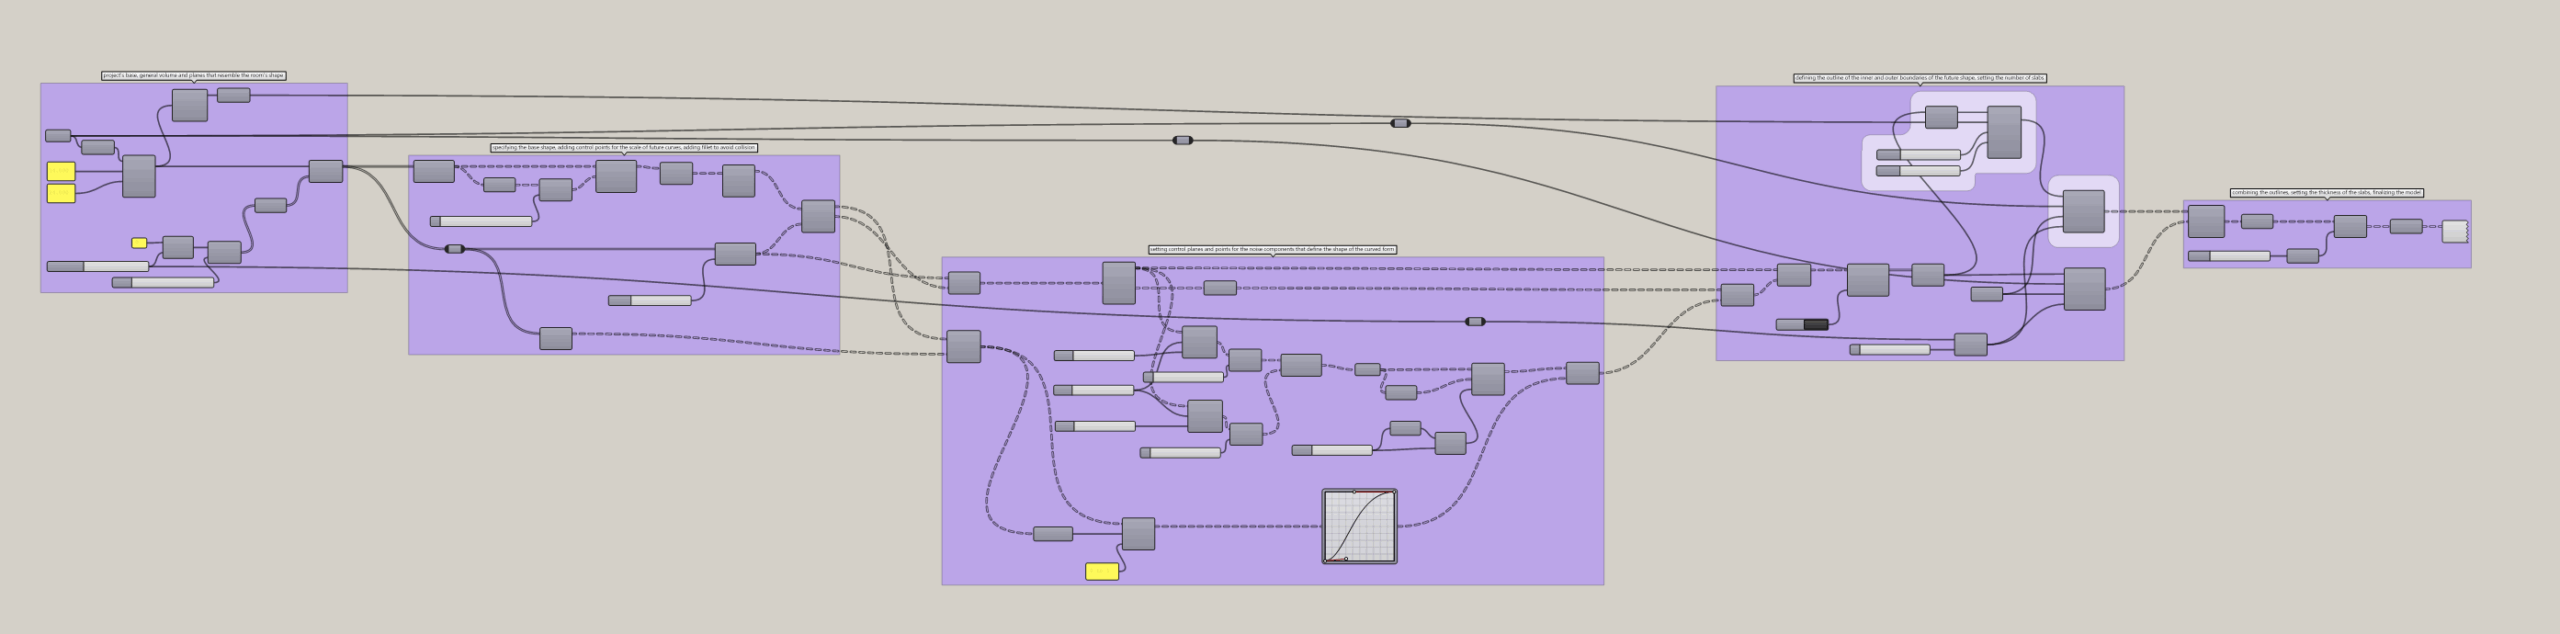
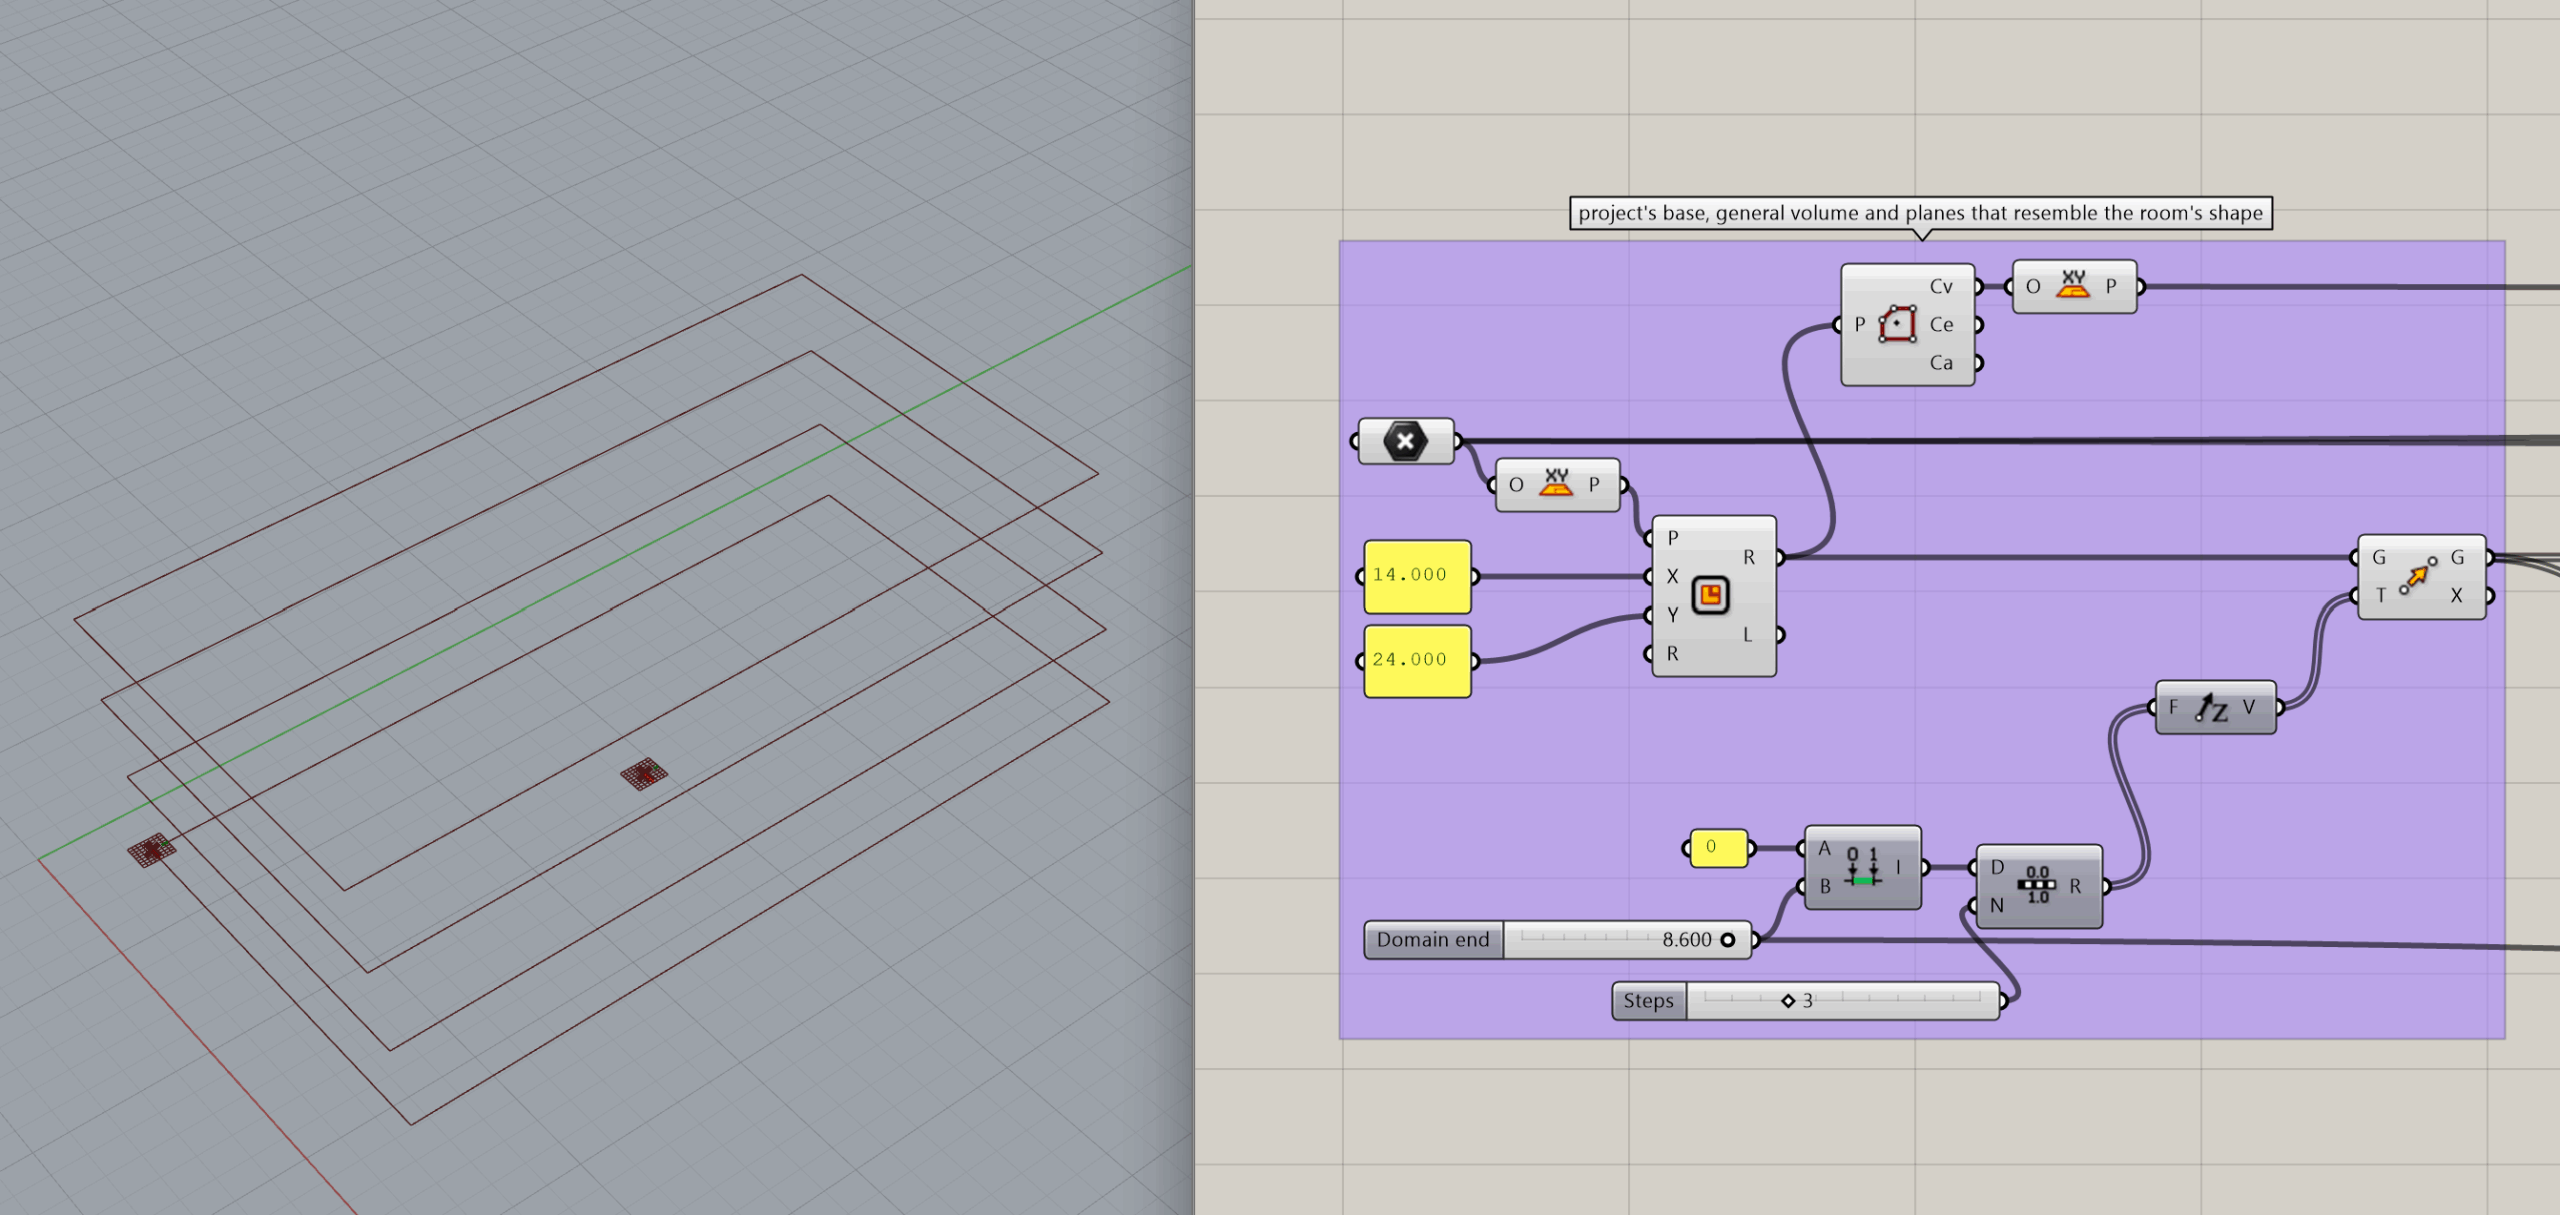
To start the model, we need to define its boundaries and create a shape which will enclose the Simplex Noise element. I set the origin, create the base plane in a shape and size of the room in which this design will be applied. You can use any closed shape you need for your specific design, I used a rectangle because this shape allows to modify interior without major interventions into the core construction. Then I specify the height of my hall and split it into three parts, on these rectangles the control points will be placed to navigate the Noise.
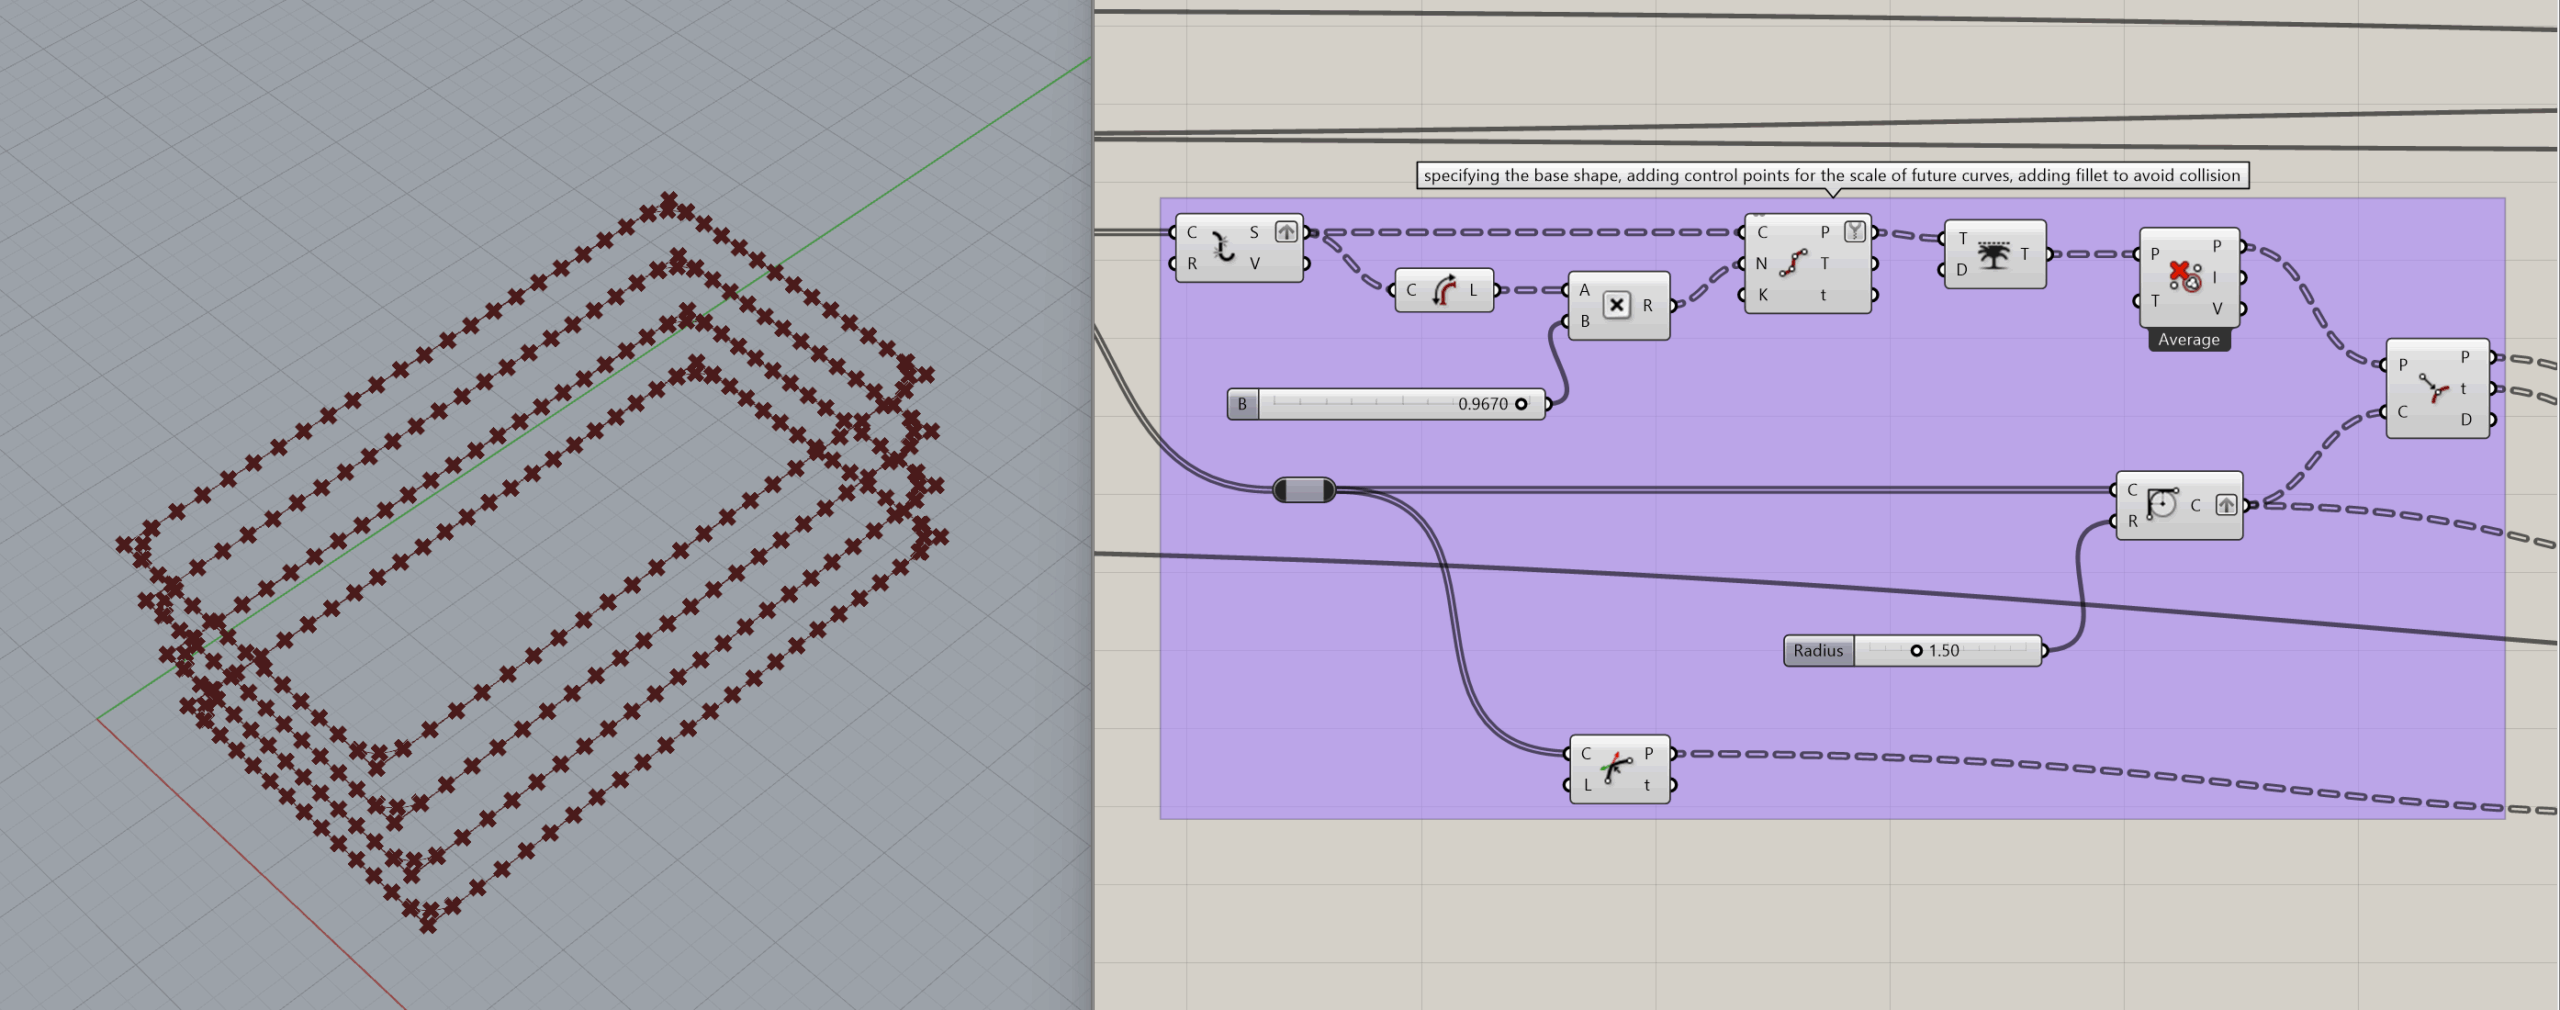
Control points placement
In this block we break the rectangle edges into segments and place our control points by setting a distanced between them, then we simplify the output, trim the data tree and cull duplicates to avoid collisions and unnecessary points. Then to ensure that straight corners will not create overlapping geometry later, we apply fillet to all of them, set the radius to our liking, and place control points on them.
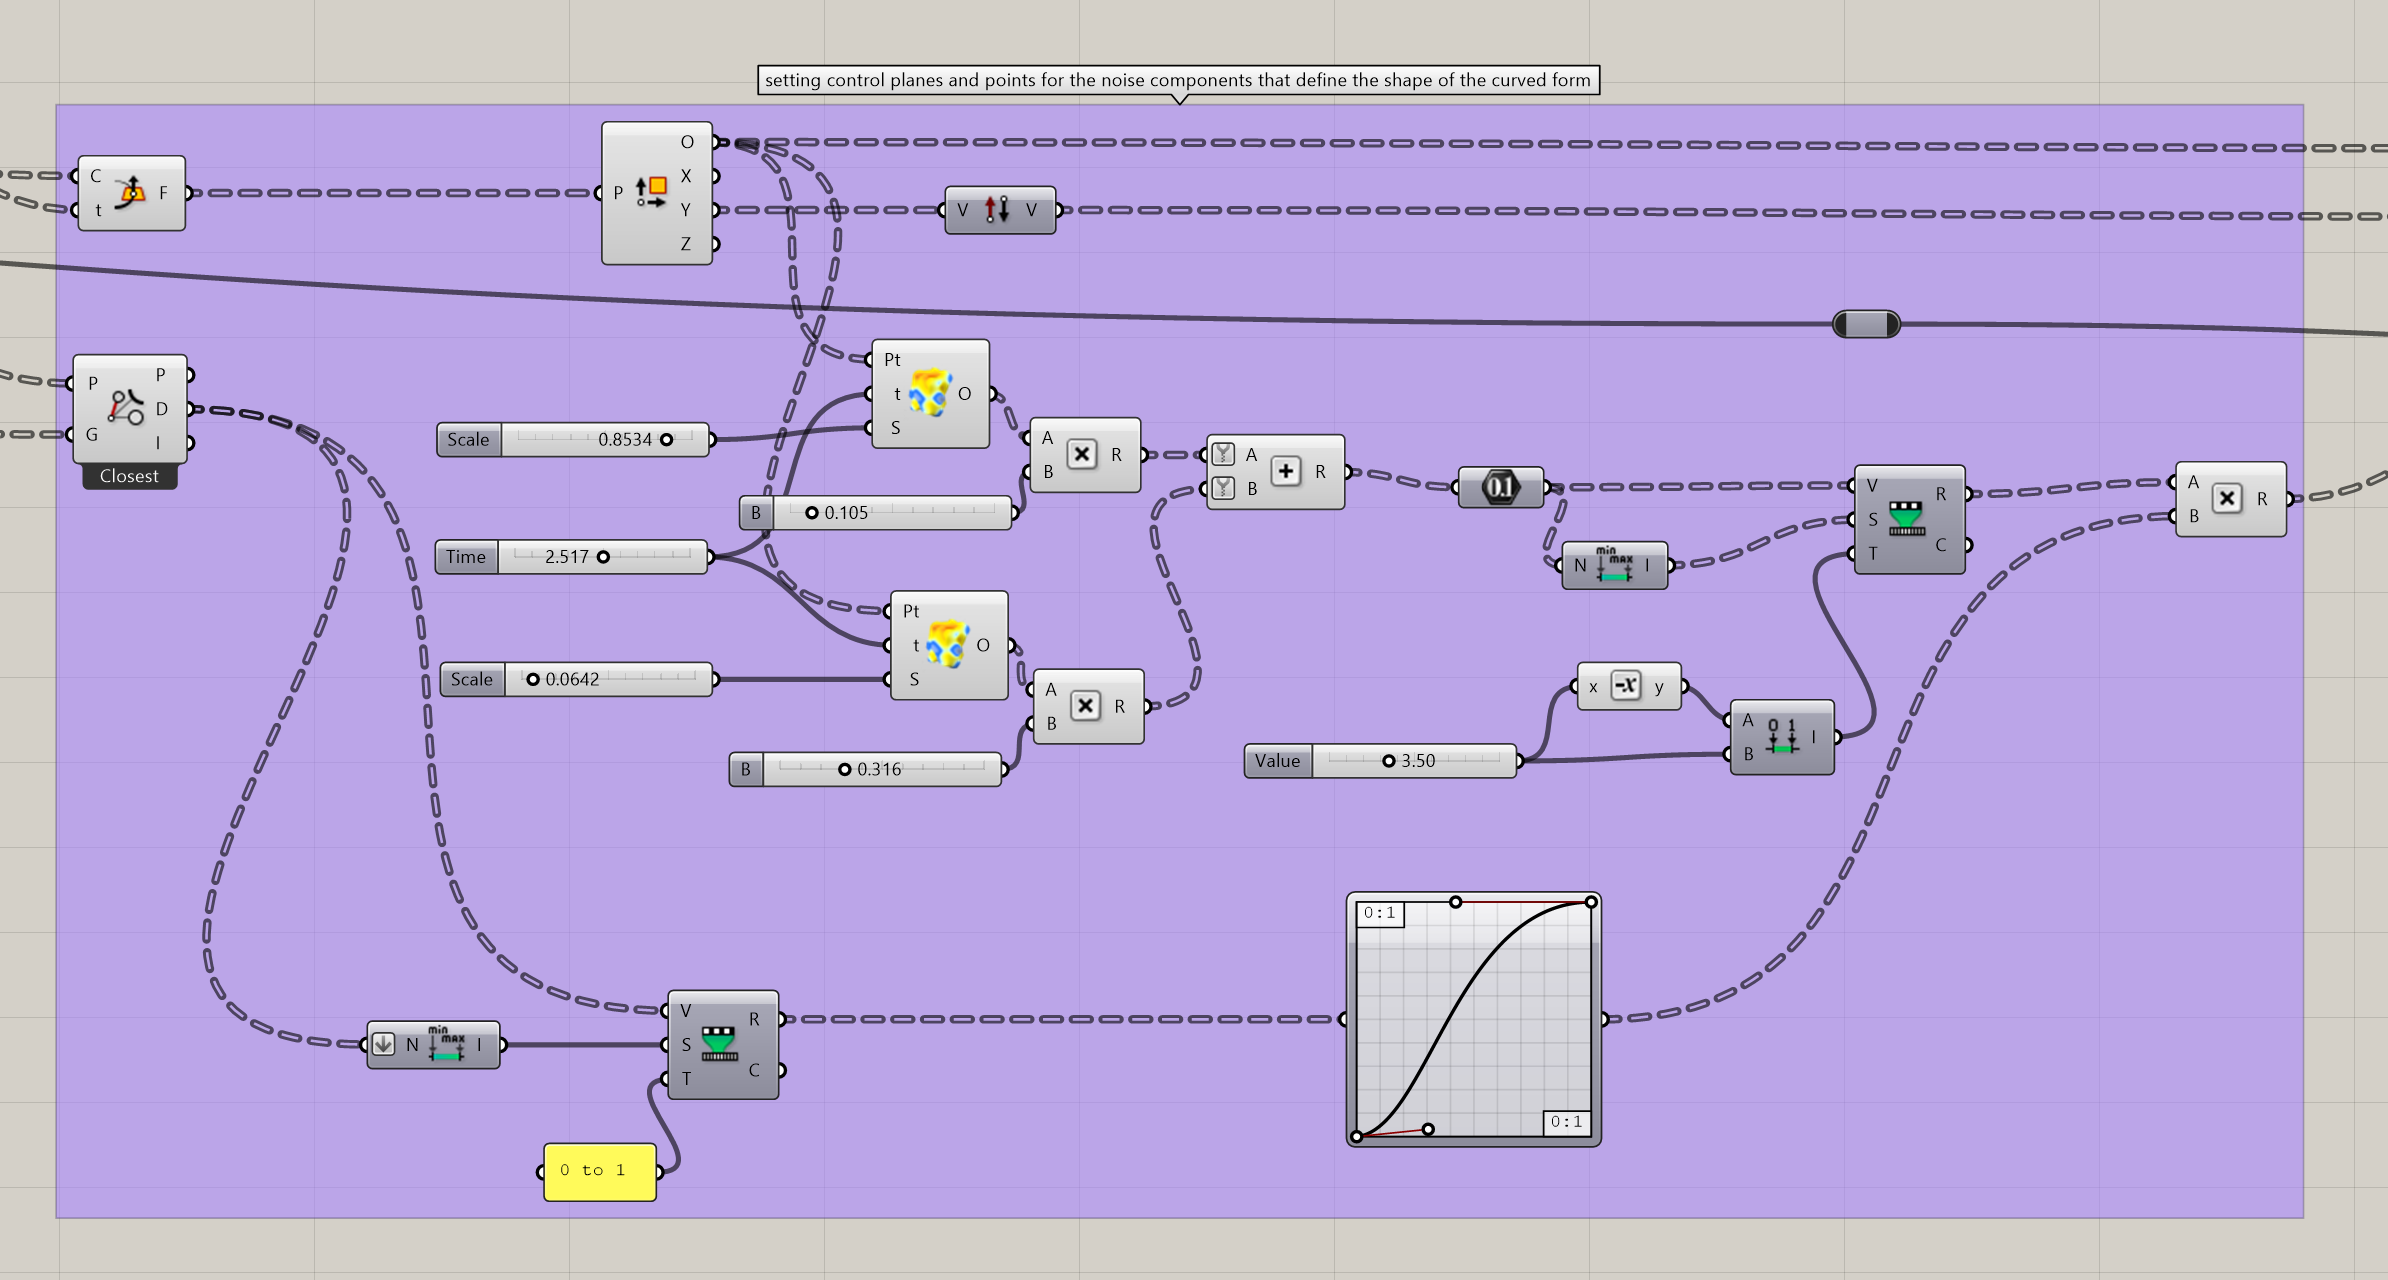
Creation of the curve
The largest chunk of script is what forms the curved structure and allows us to control the intensity and flow of the curve. The Simplex Noise component requires three input pieces of data: the points that are going to be moved (the control points), time, and scale. You can have just one Simplex Noise component and regulate the scale and time from it, however if you want to be more specific with the curve flow and have more control, it is a good idea to use two of them: one of the scale values corresponds with the scale, the other one with intensity, and time lets you generate different variations until the shape looks good enough for your design. Then remap is going to determine how far these points can go, most of the time no extremely dramatic curve is needed, so you can adjust it with ease. Pull point was needed to not let the points go far away from their initial locations, along with Graph mapper it is an optional step which gives you more control over the curvature amplitude, making it smoother or more extreme in its variations. Multiplication brings it all together, giving nice custom curves on each of four planes.
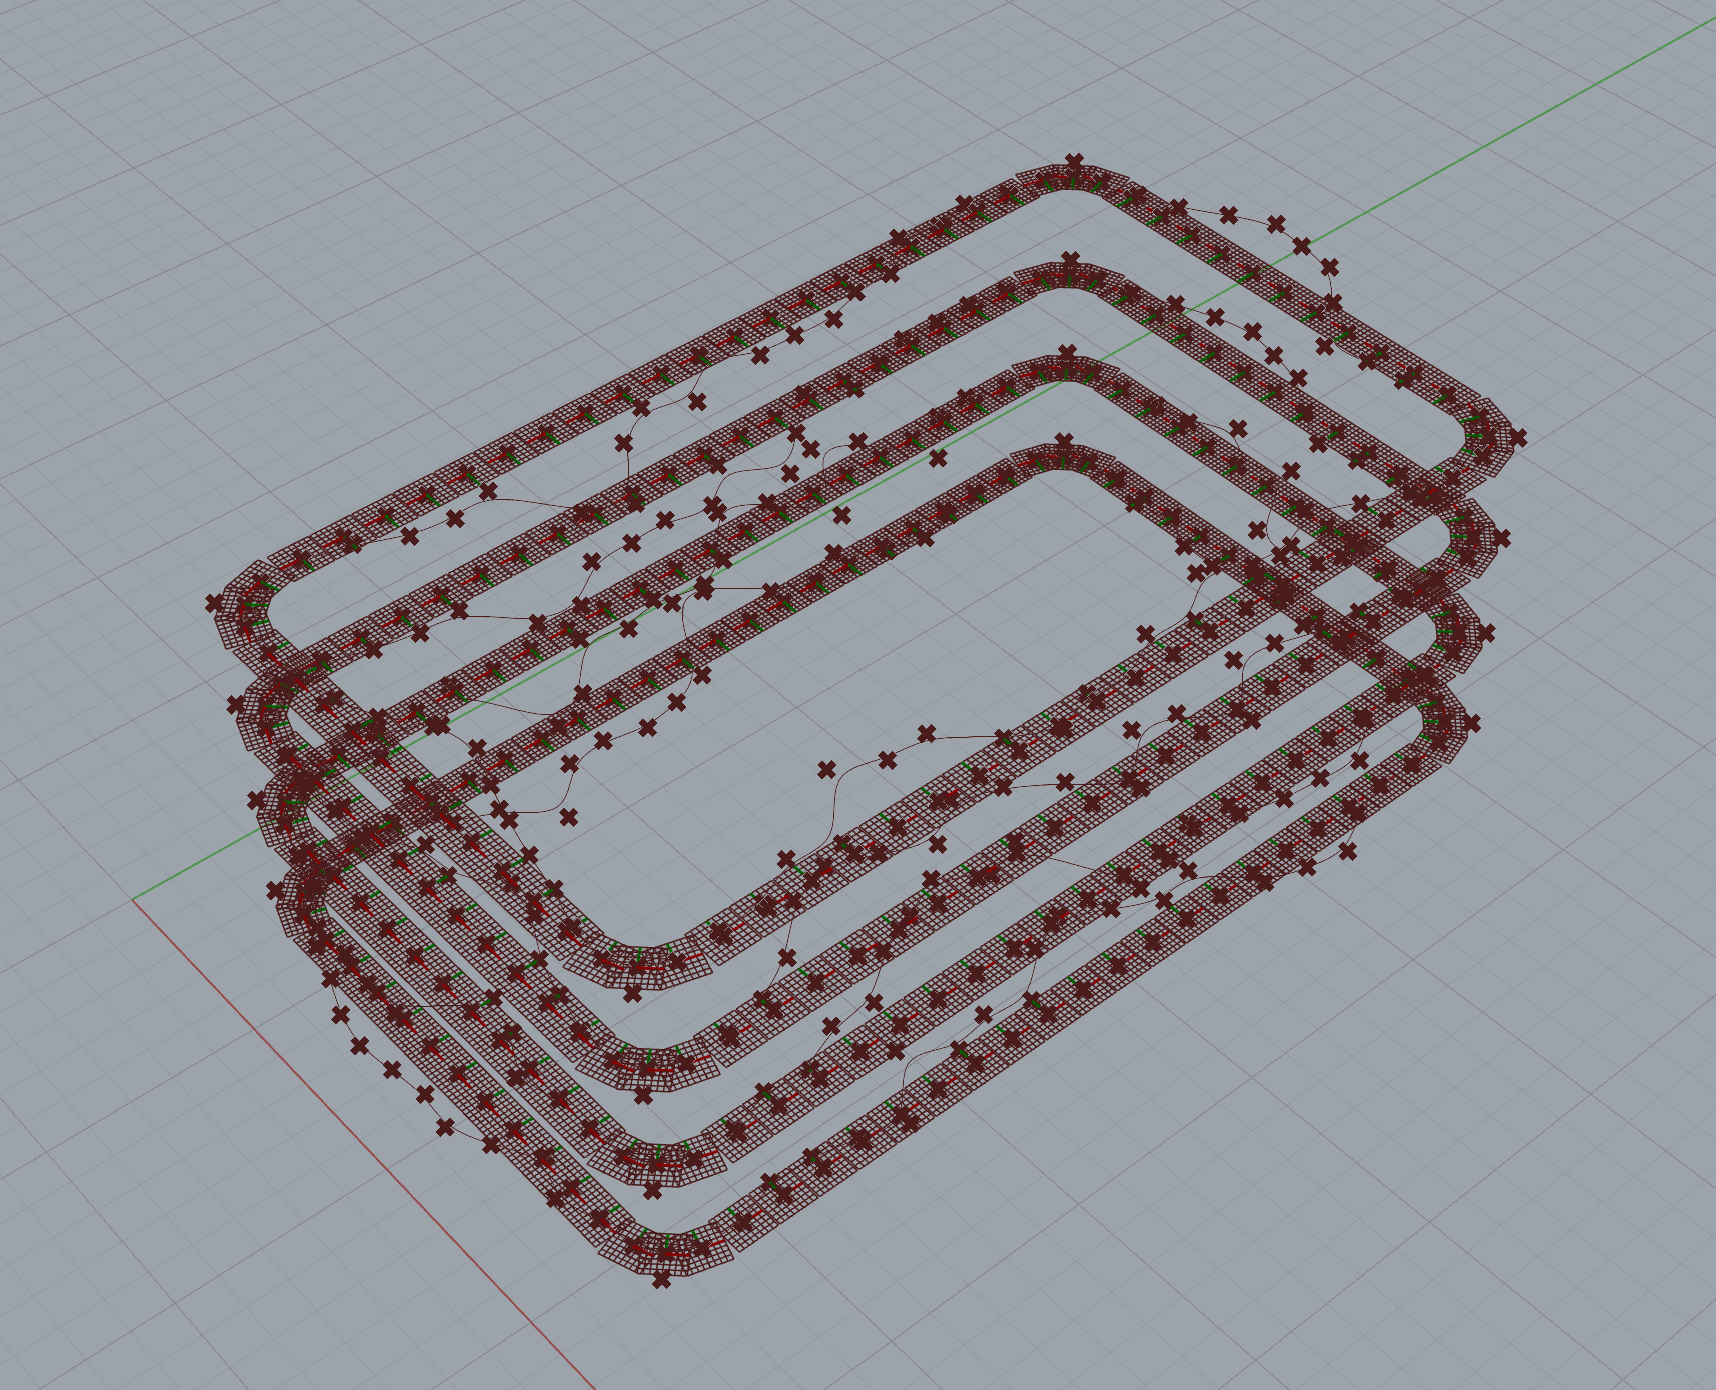
Setting the boundaries and adjusting the shape
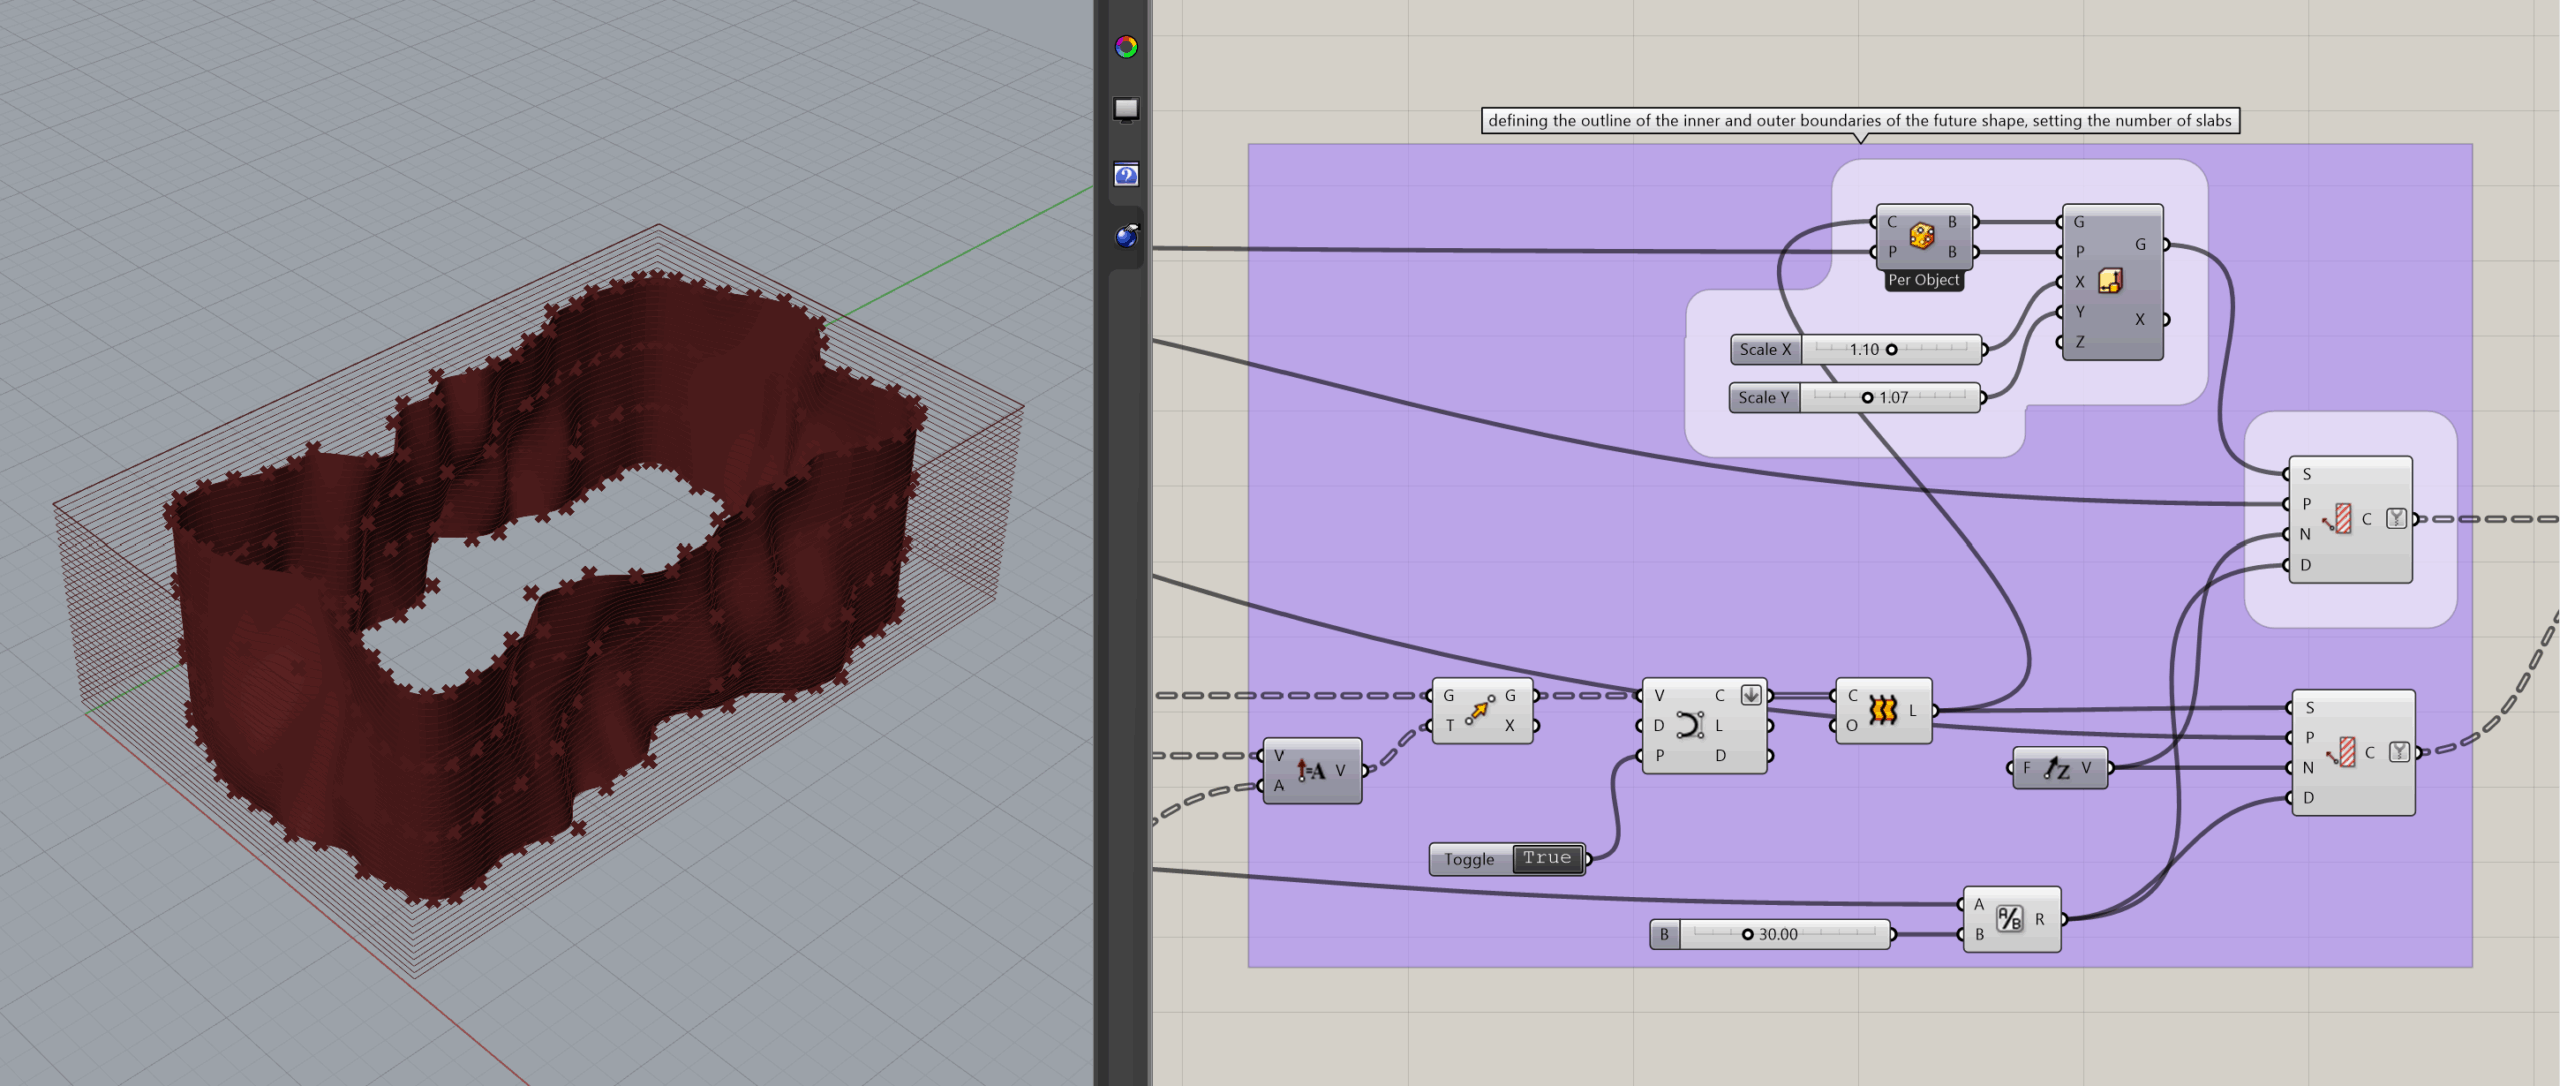
On this stage we define the boundaries of the future slabs by setting the outline of the Noise shape by defining the curves that were created and move the previously set points onto them. Using loft, we define the whole wavy shape that was created, so it can be cut into the number of slabs that are needed for your design. Using the bounding box, we create an outer boundary for the shape, so later the space between it and the inner outline will be filled in.
Finishing touches
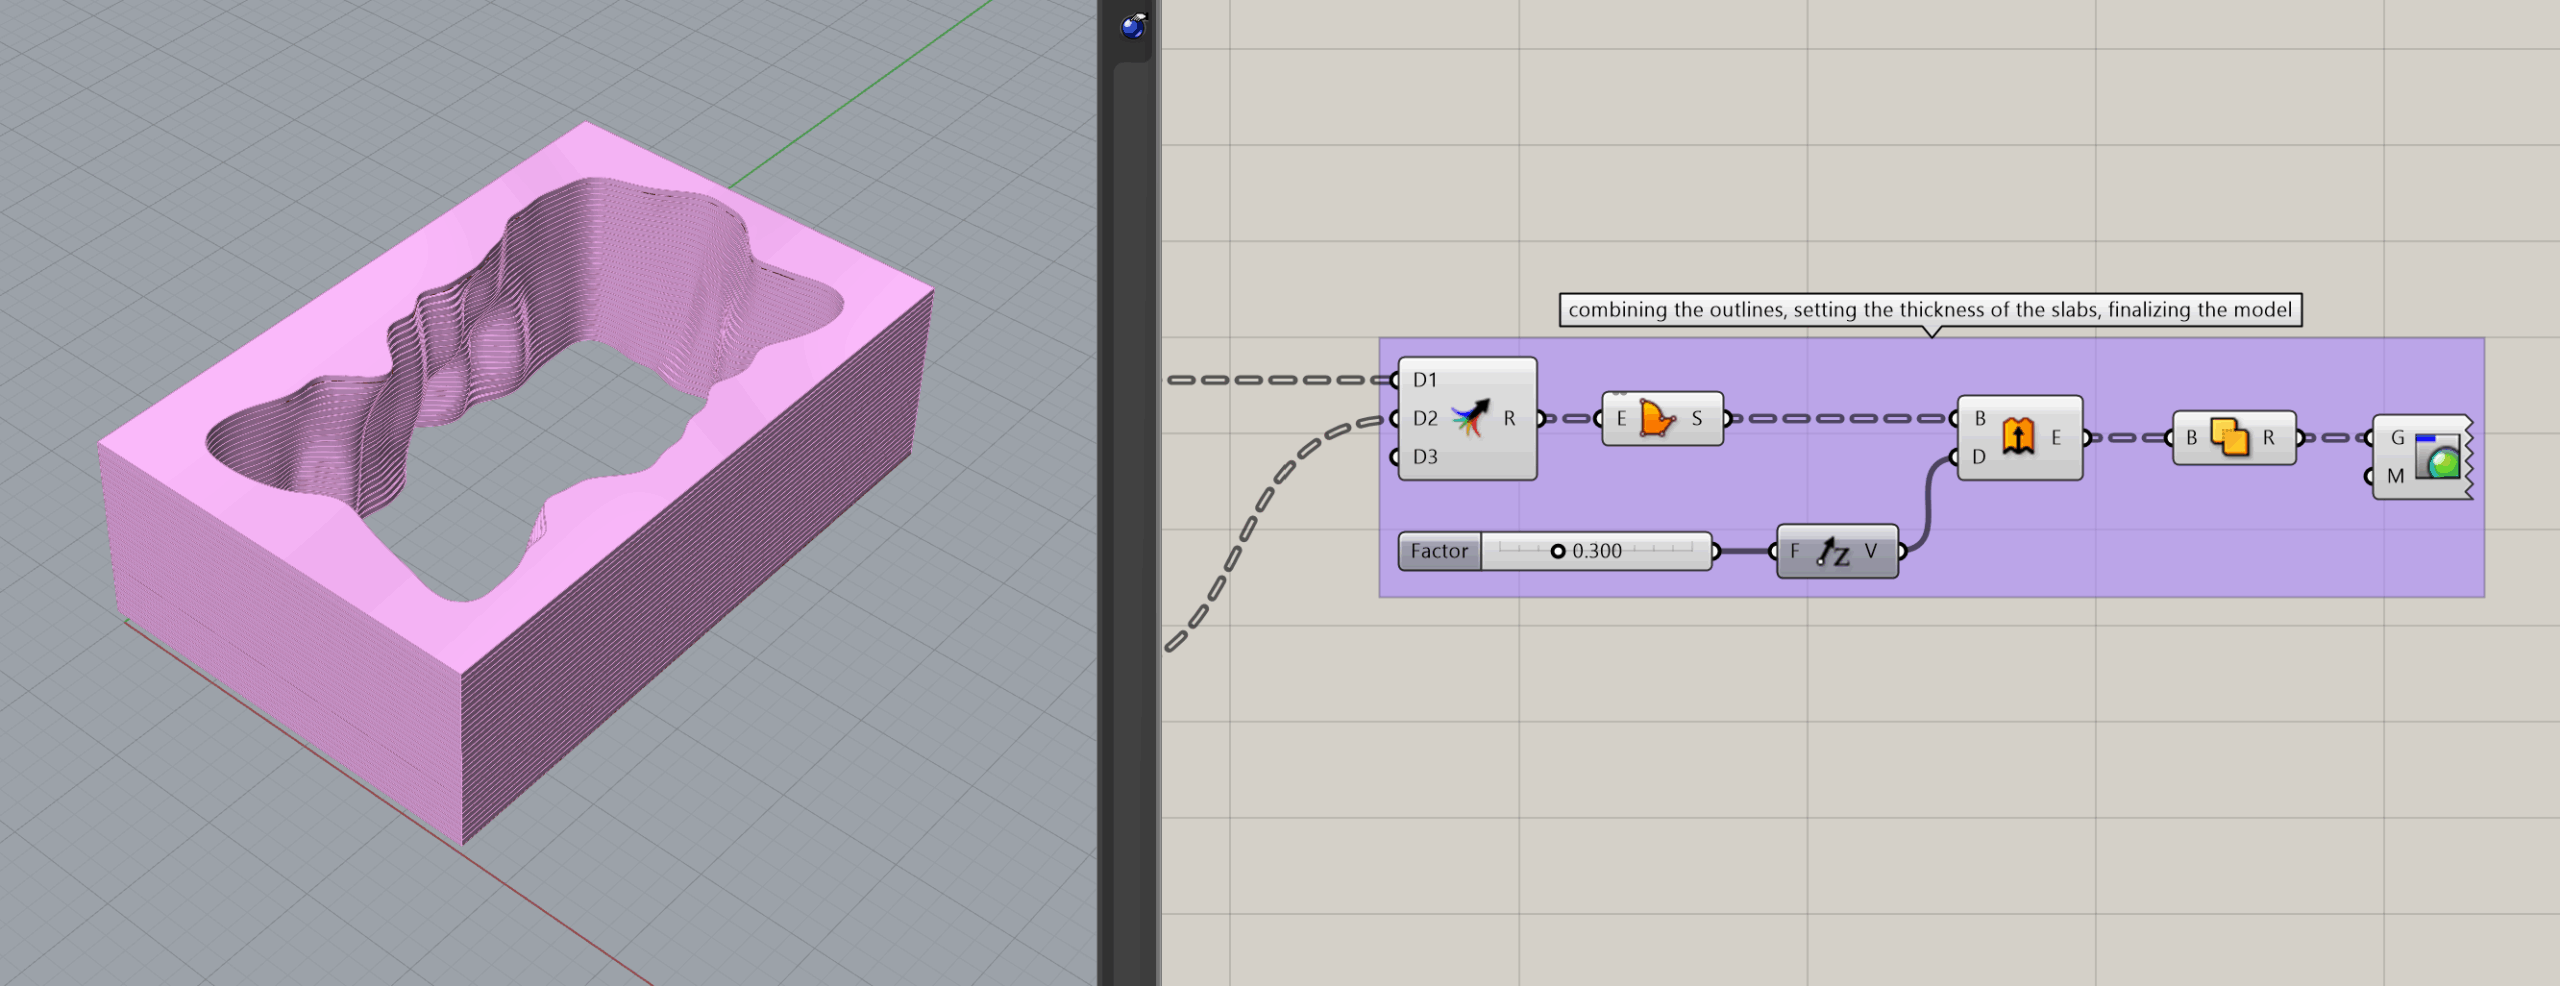
Finally, we merge both contours, add boundary surface to create the planar bases for the slabs, and add extrusion to set the necessary thickness.
Possible upgrades
This model can be improved by adding niches and shelves in the structure to create displays for the exhibits and openings for the doors.
Used add-ons:
https://www.food4rhino.com/en/app/4d-noise
Project file: