Goal
The purpose of this tutorial is to verify the behavior of tensioned structures that are suspended on arch beams in Rhino6 and Grasshopper. For this verification we will use the plug in Kangaroo2.
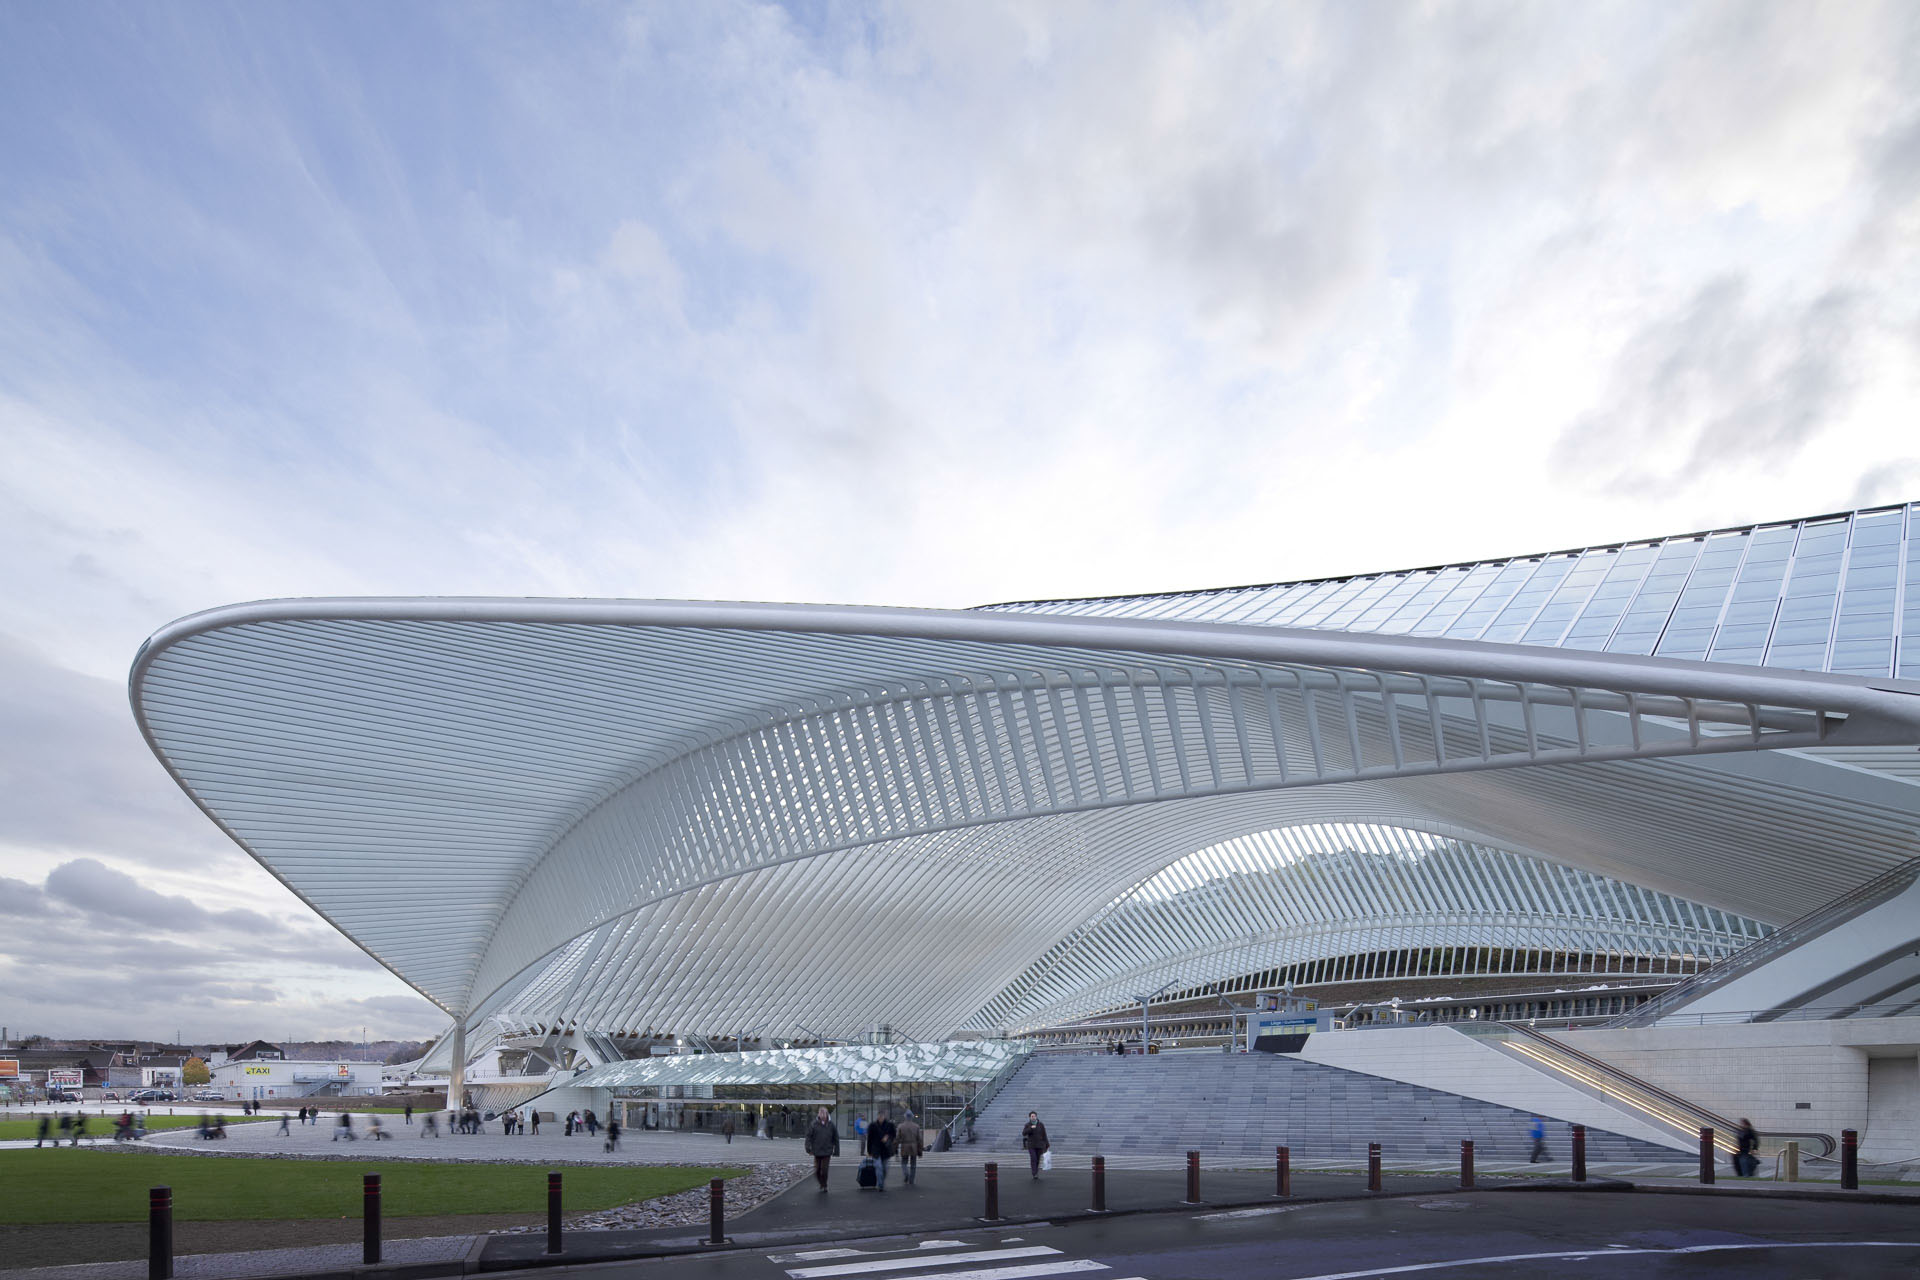
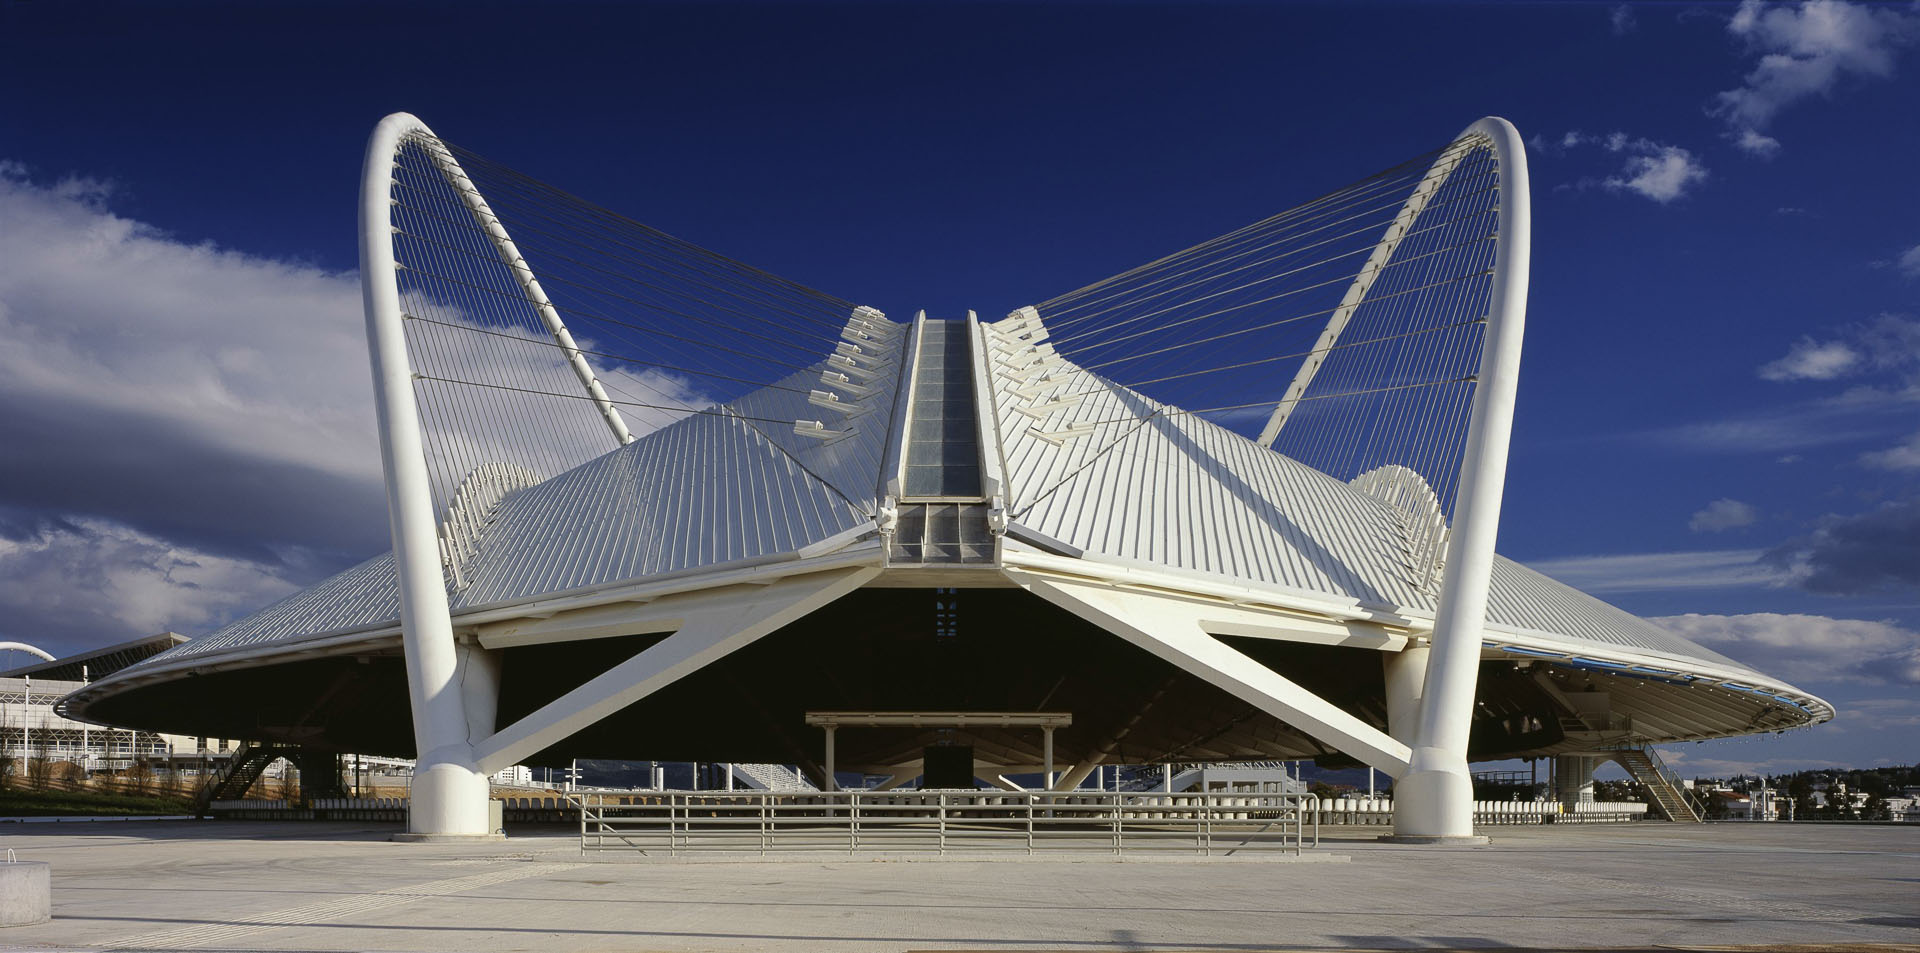
Inspiration – Santiago Calatrava

Files:
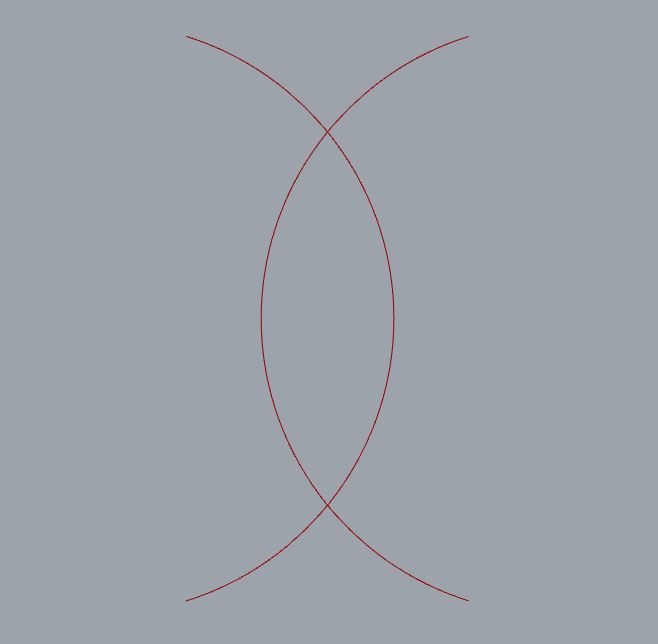
Step 1
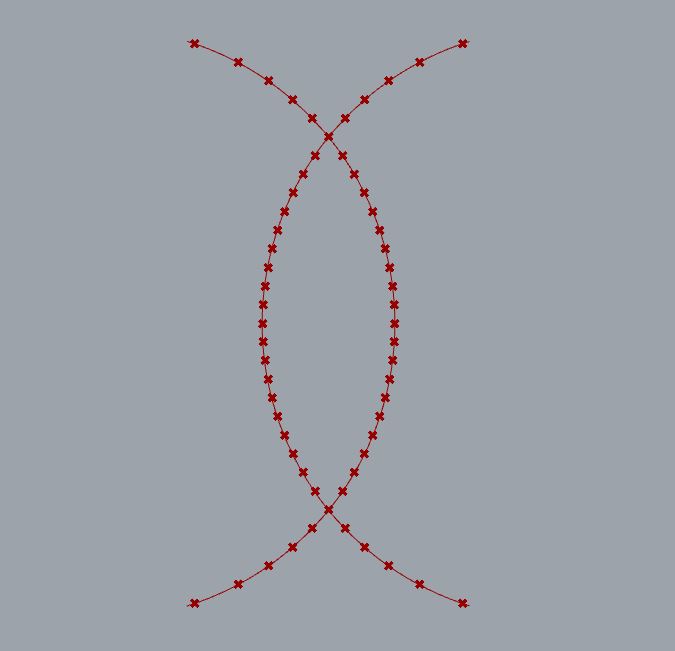
First we create a floor plan of the supporting arches, how we want them to look.
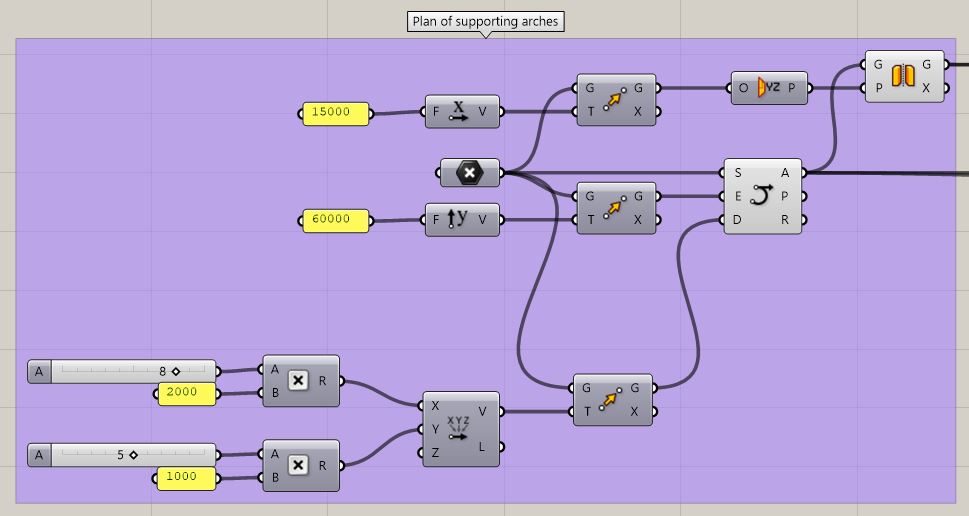
Step 2
In the next step, we create points of intersection of the two curves, which we then connect with a line. We divide this line into the number of segments we choose. Next, we create points using the “move” function that are before the start and end of the line, but not outside the plan of the curves. We then project these points onto the arcs using the “curve/line” function.

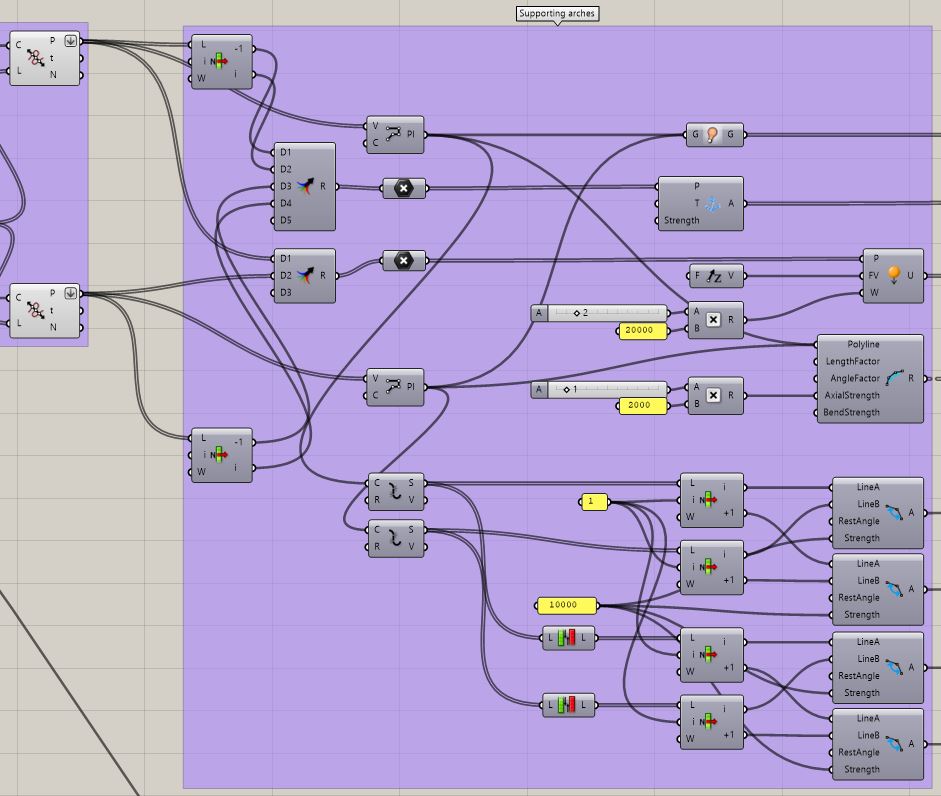
Step 3
Now we’re going to create the arches. For this we need the end points of the arcs to which we will use the “anchor” function from Kangaroo2. For the other points on the curve, we’ll give a gravitational force upwards from the ground using the “load” function.
We connect the points on each arc separately with a polyline, which we first connect to Kangaroo2 using the “show” function. Then we apply the “Rod” function to both polylines, which we also connect to Kangaroo, and finally we let these polylines split. We will divide the split polylines into groups, which we will connect to the “Angle” function and again connect to kangaroo.
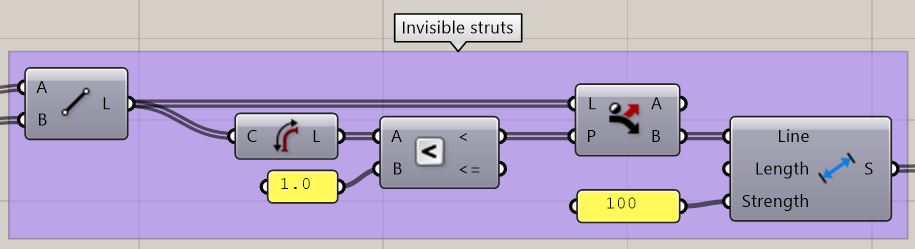
In order for the arcs not to collapse in on themselves, we still have to create invisible forces that break the arcs apart. We do this by connecting the opposite points of the two arcs with a “line”, giving them a strength using the “Lenght(Line)” function and then connecting them to the kangaroo.
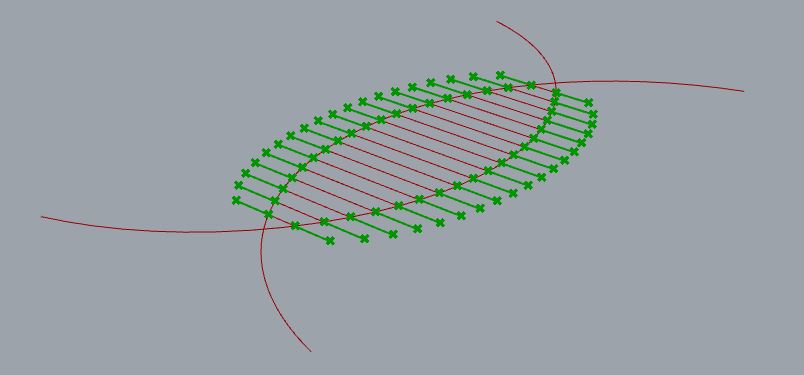
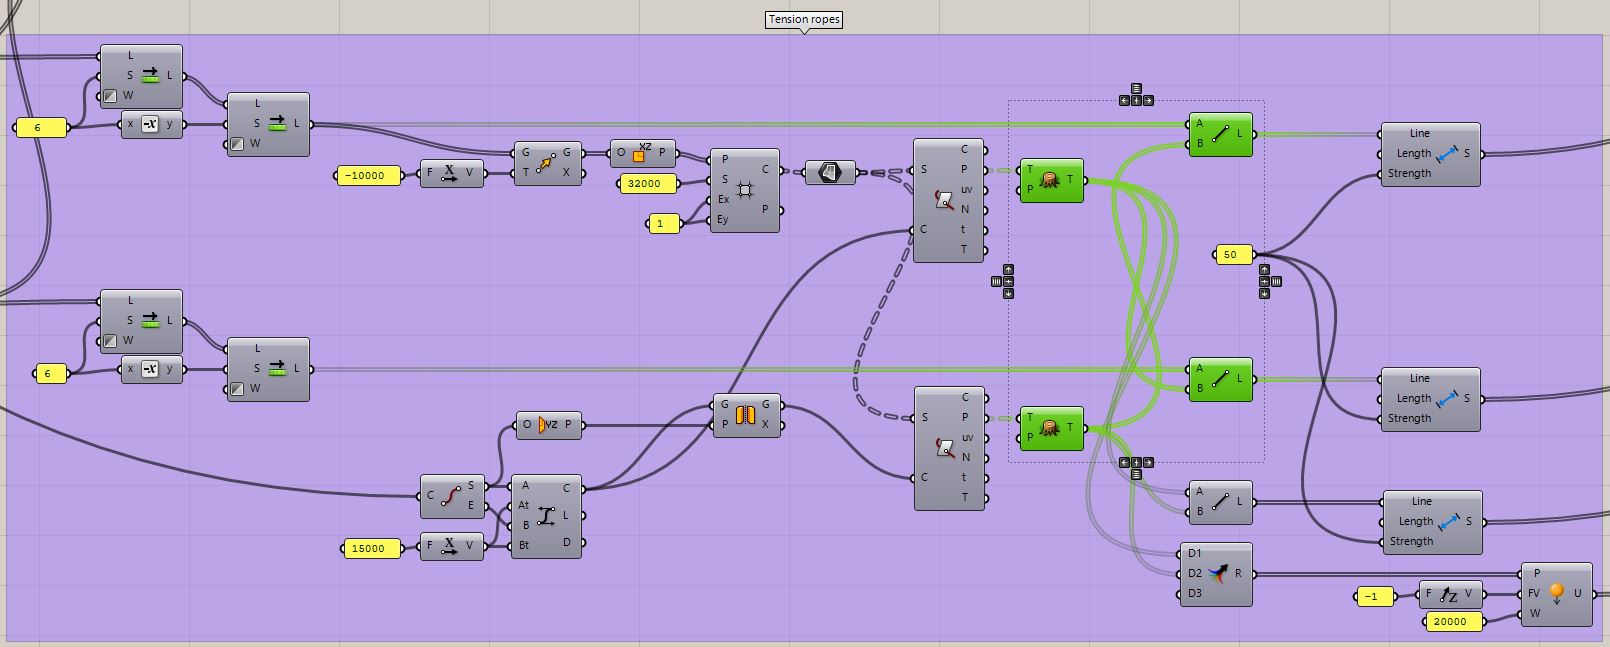
Step 4
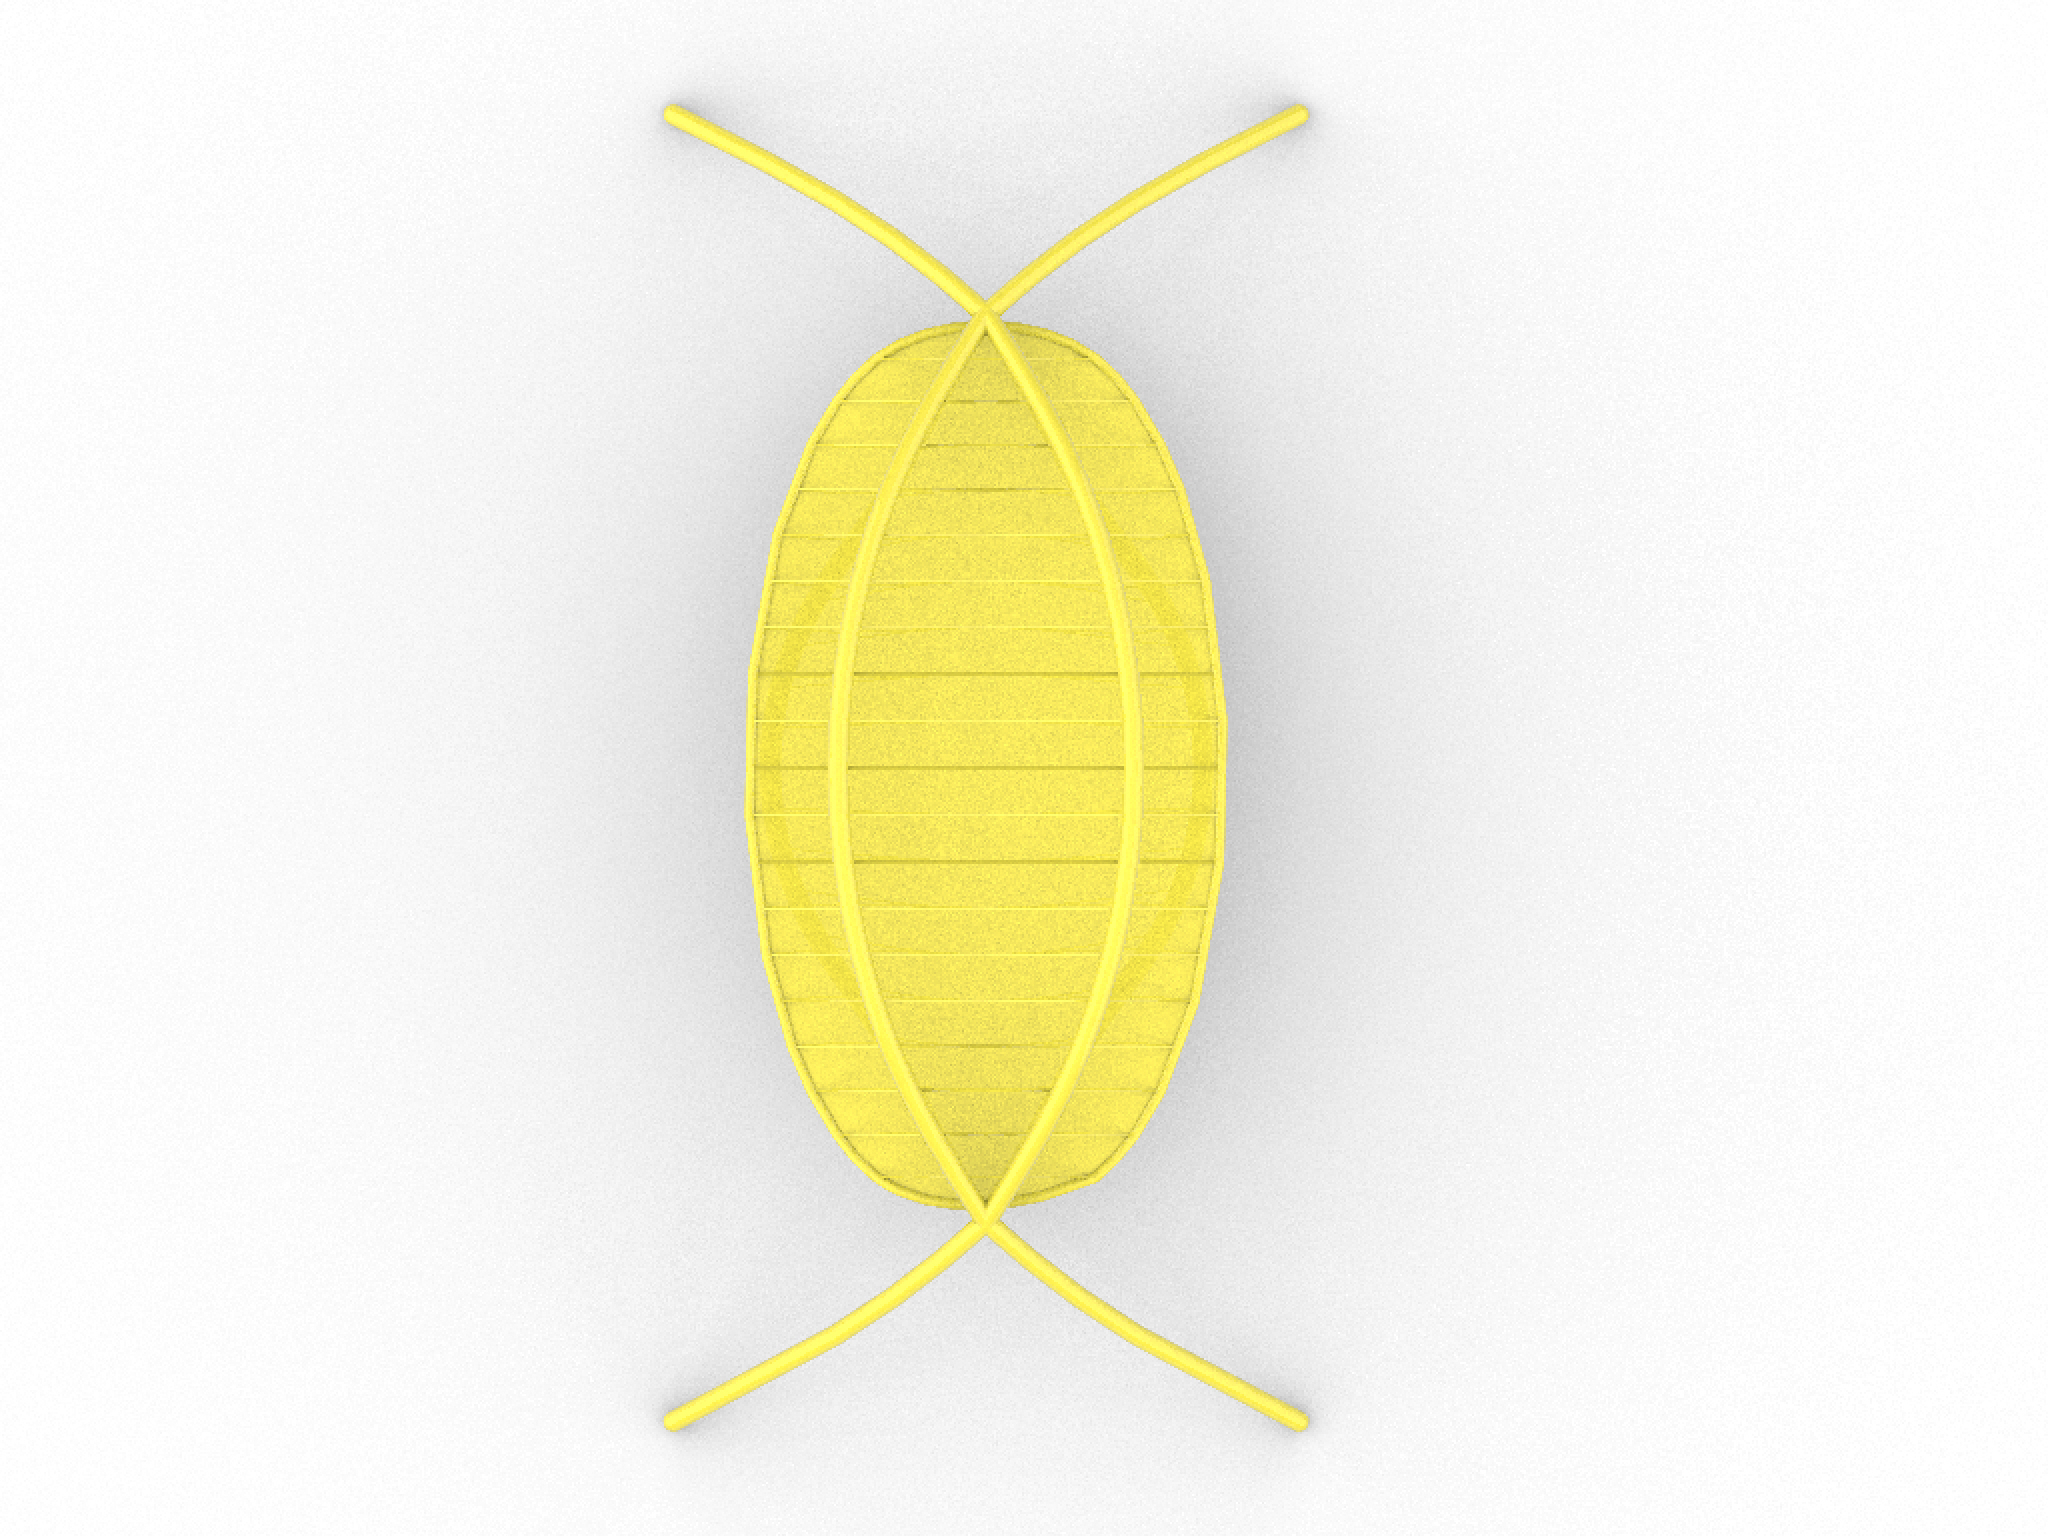
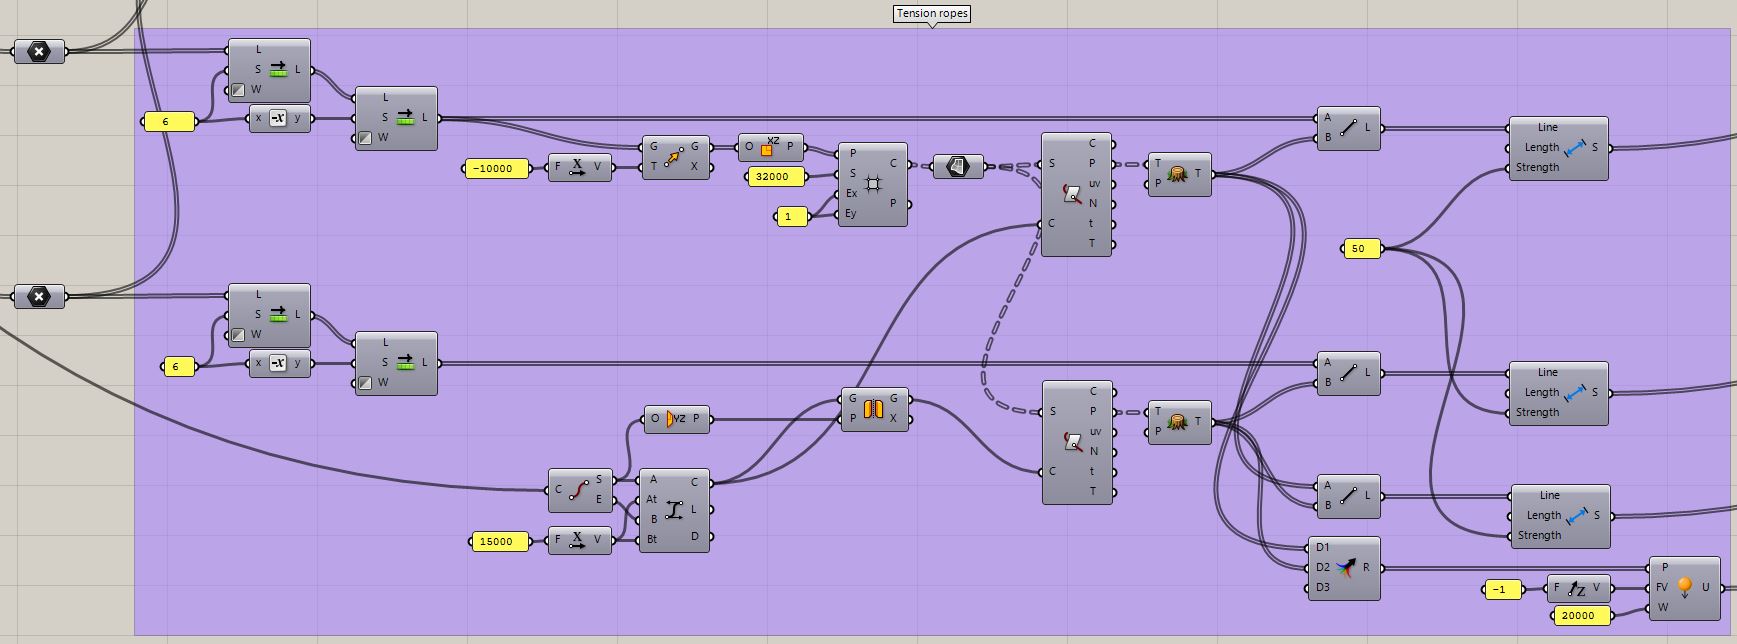
Now create the tension ropes. First we create the shape of the roof in the plan view as we imagine it, in this case it is an ellipse. To make it easier, it is better to create only half of the ellipse and then mirror it.
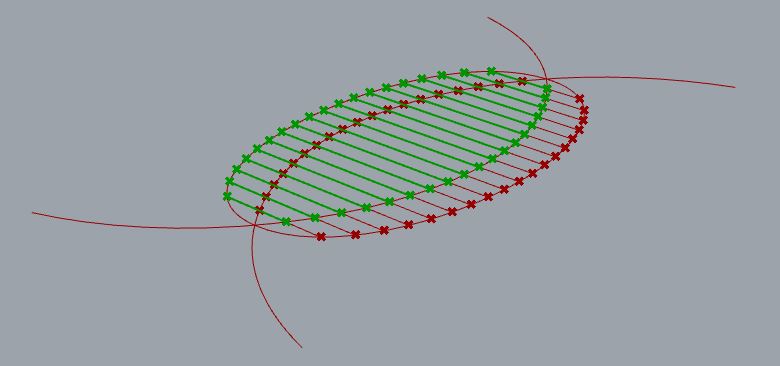
Next, we need to create points that we will then connect to the points on the arcs. To do this, we will use cutting planes with the same spacing as the points on the arcs and use the “Surface/Curve” function.
We then connect the points on one half of the ellipse to the points on the opposite arc and do the same on the other side. Again, we need to create invisible forces that prevent the ellipse from collapsing in on itself, so we connect the opposite points of the ellipse. We use the “Lenght” function on all the lines and connect them to the kangaroo. Lastly, we need to give the points on the ellipse a gravitational force towards the ground using the “load” function.
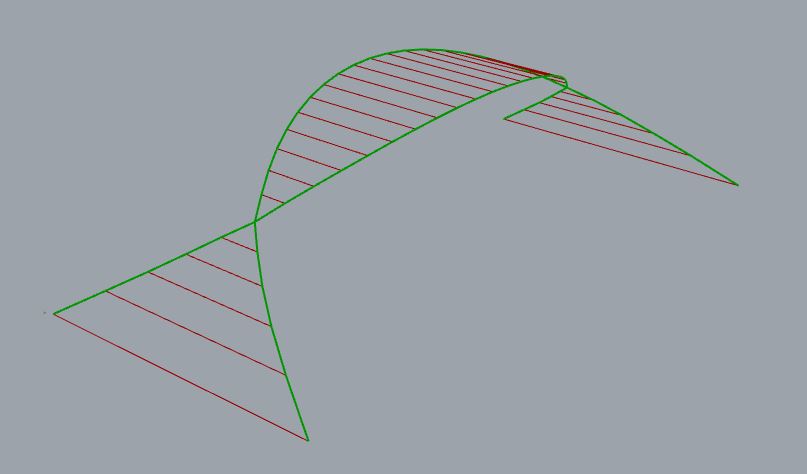
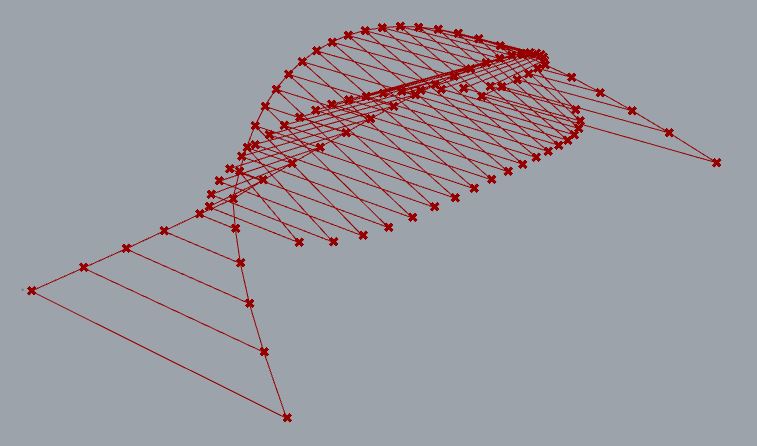
Step 5
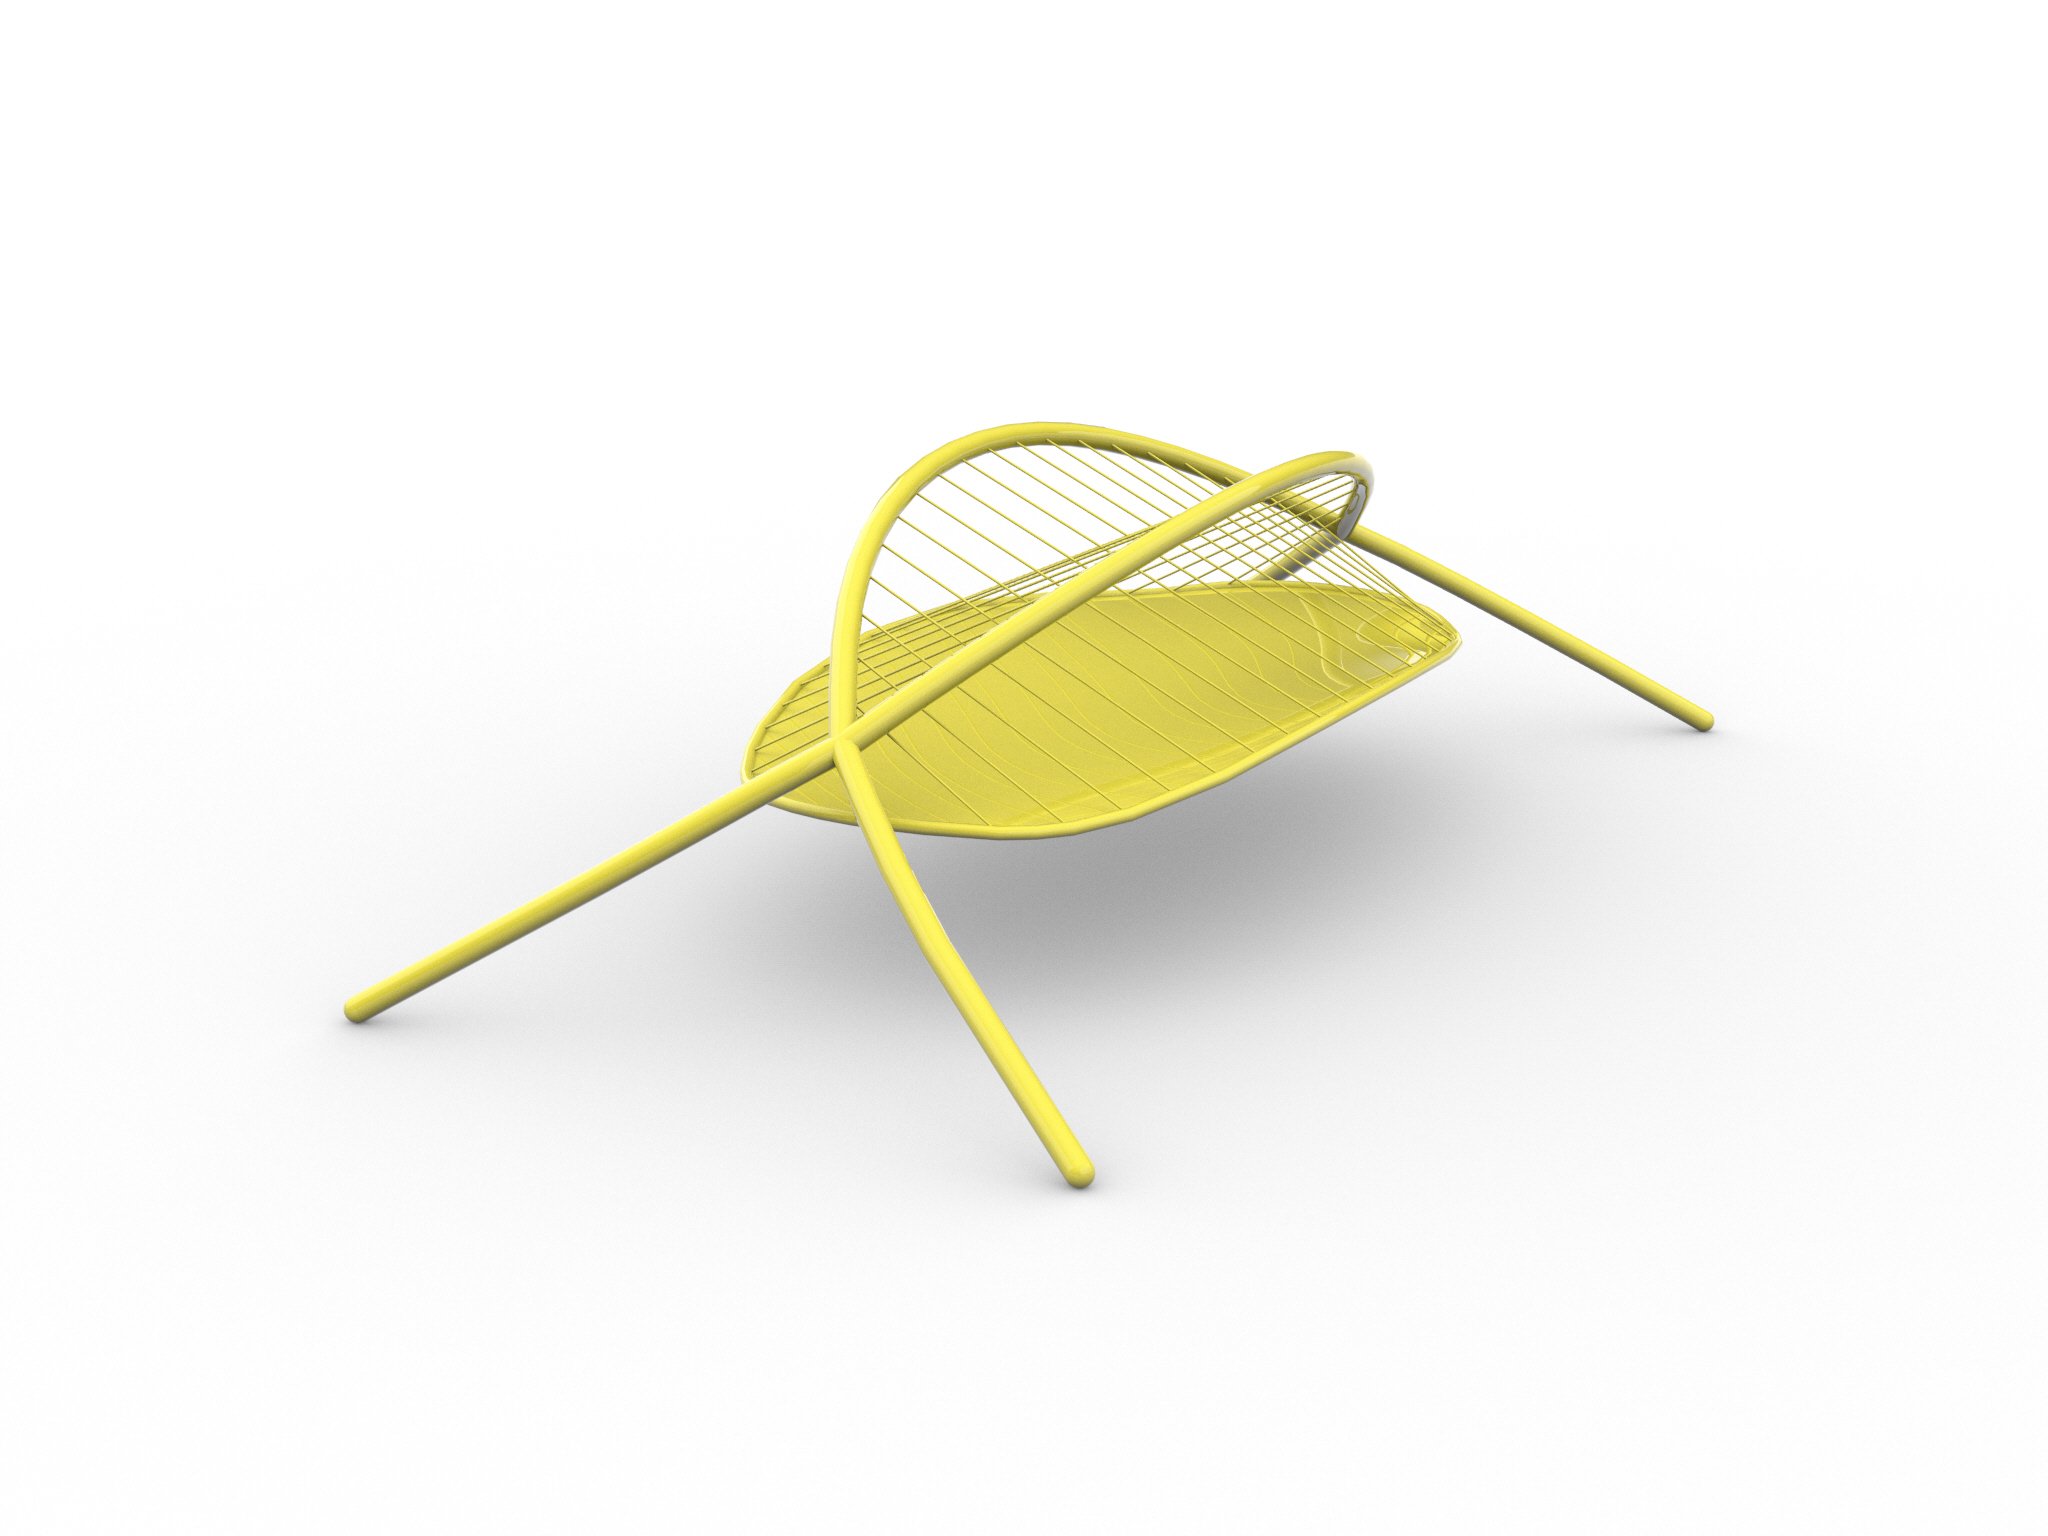
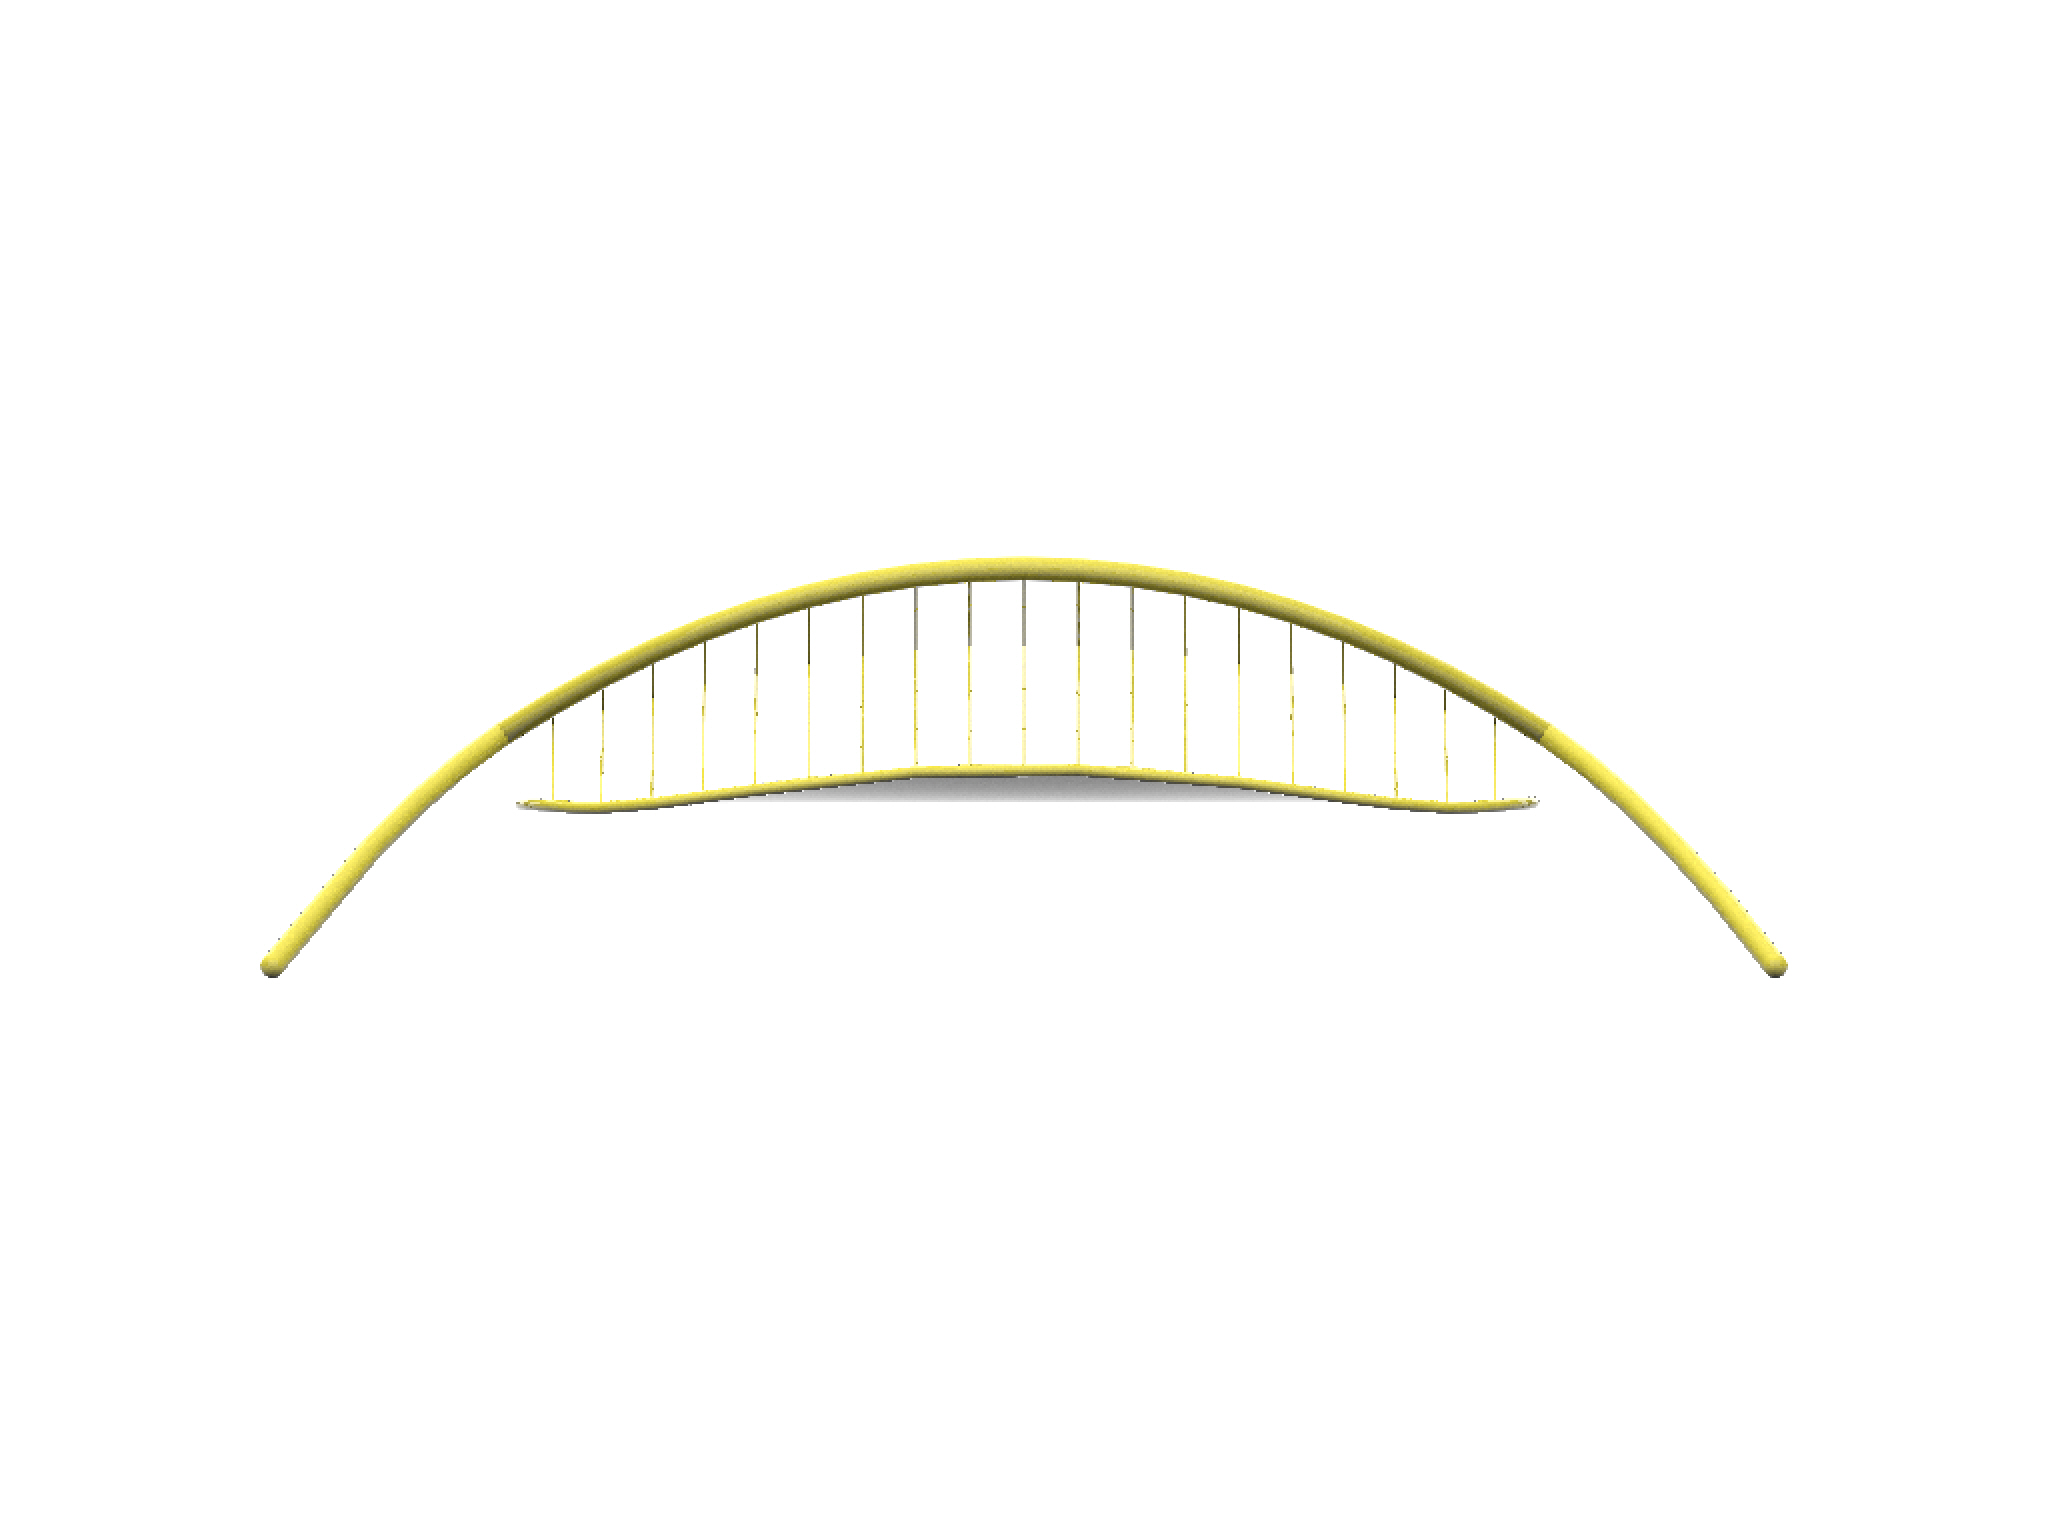
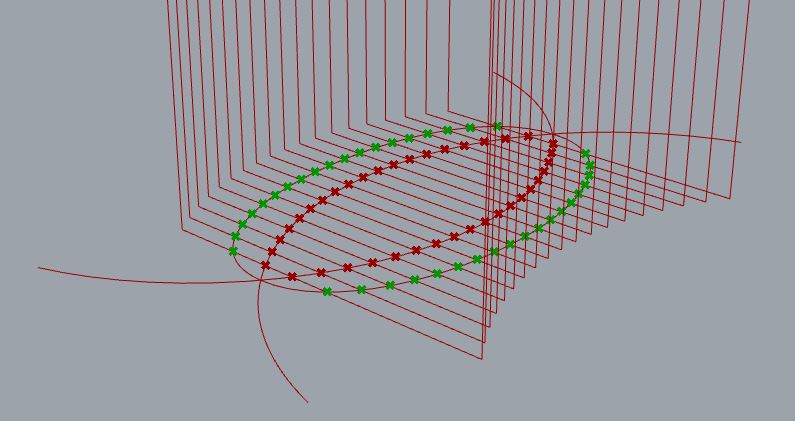
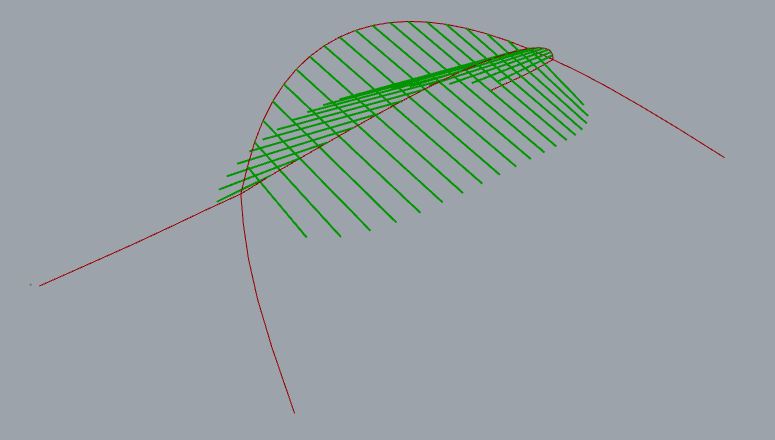
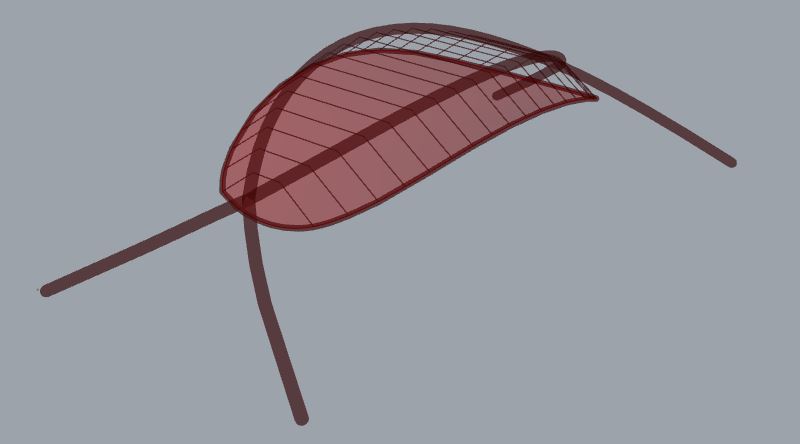
When we run the Kangaroo2 “solver” function it shows us the result of how the elements interact.

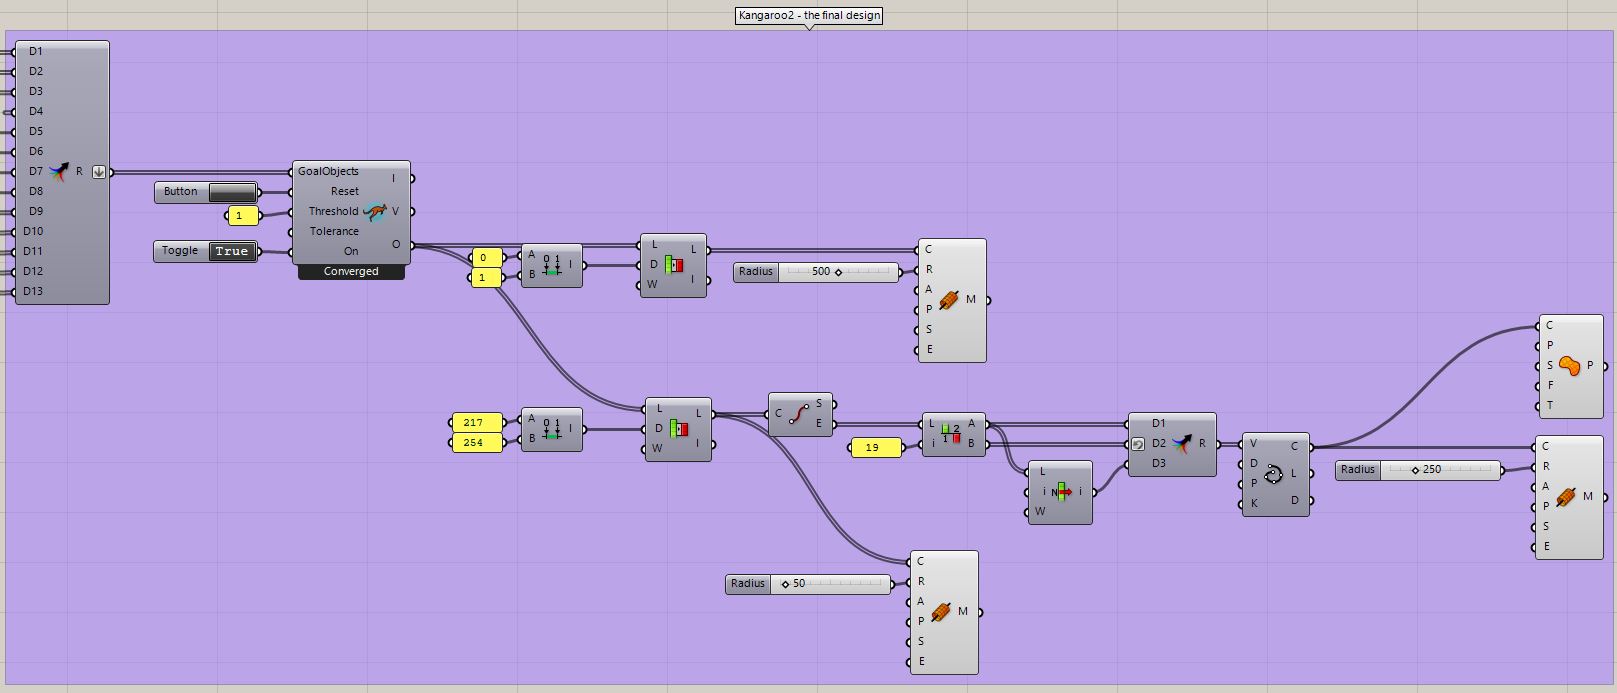
Step 6
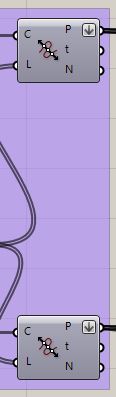
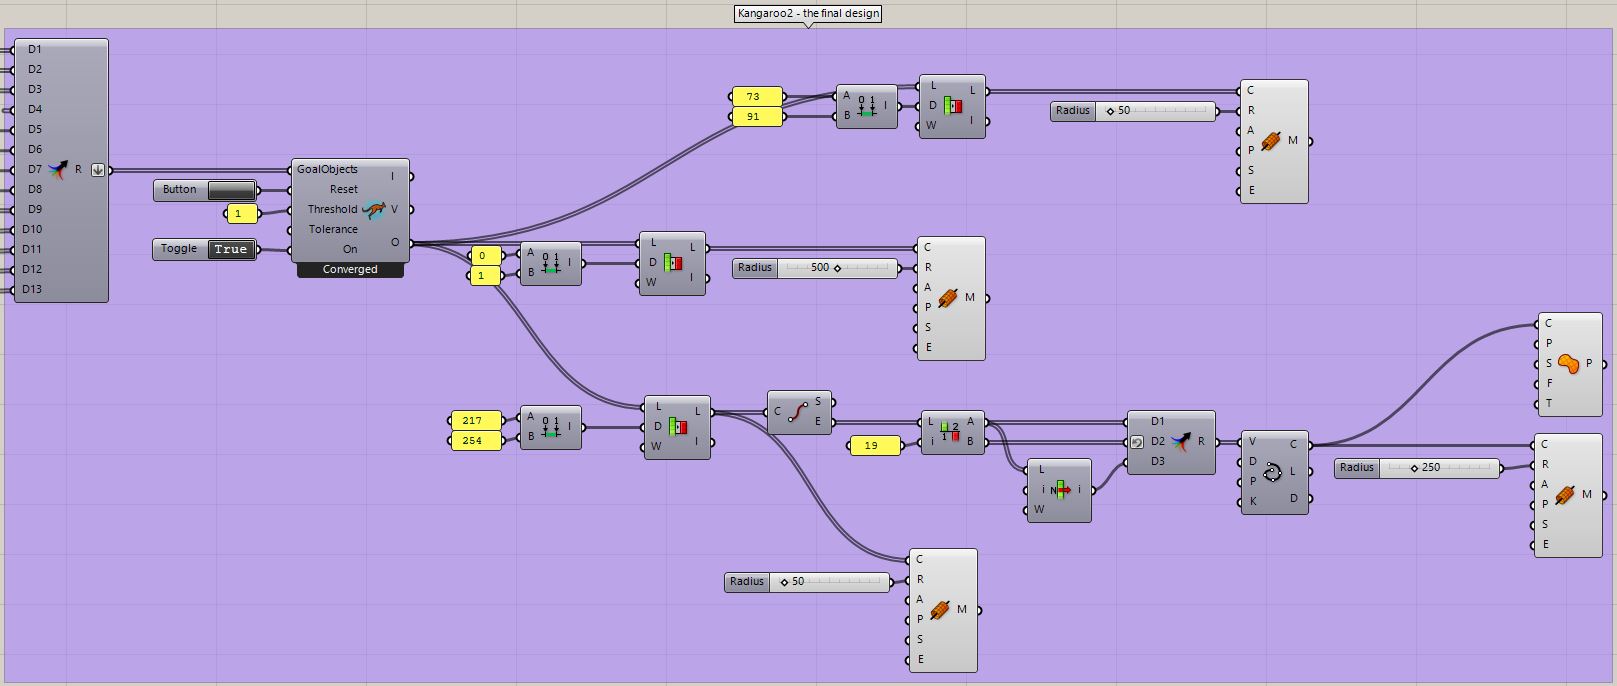
As the last step, we use the “Sub List” to select the individual elements from the “solver”, to which we can give a certain thickness by using the “Mesh Pipe”.
To create the roof, we allocate the end points of the ropes, which we connect using “spline” and again give this curve a thickness and fill it with the “Patch” function

Alternative solution
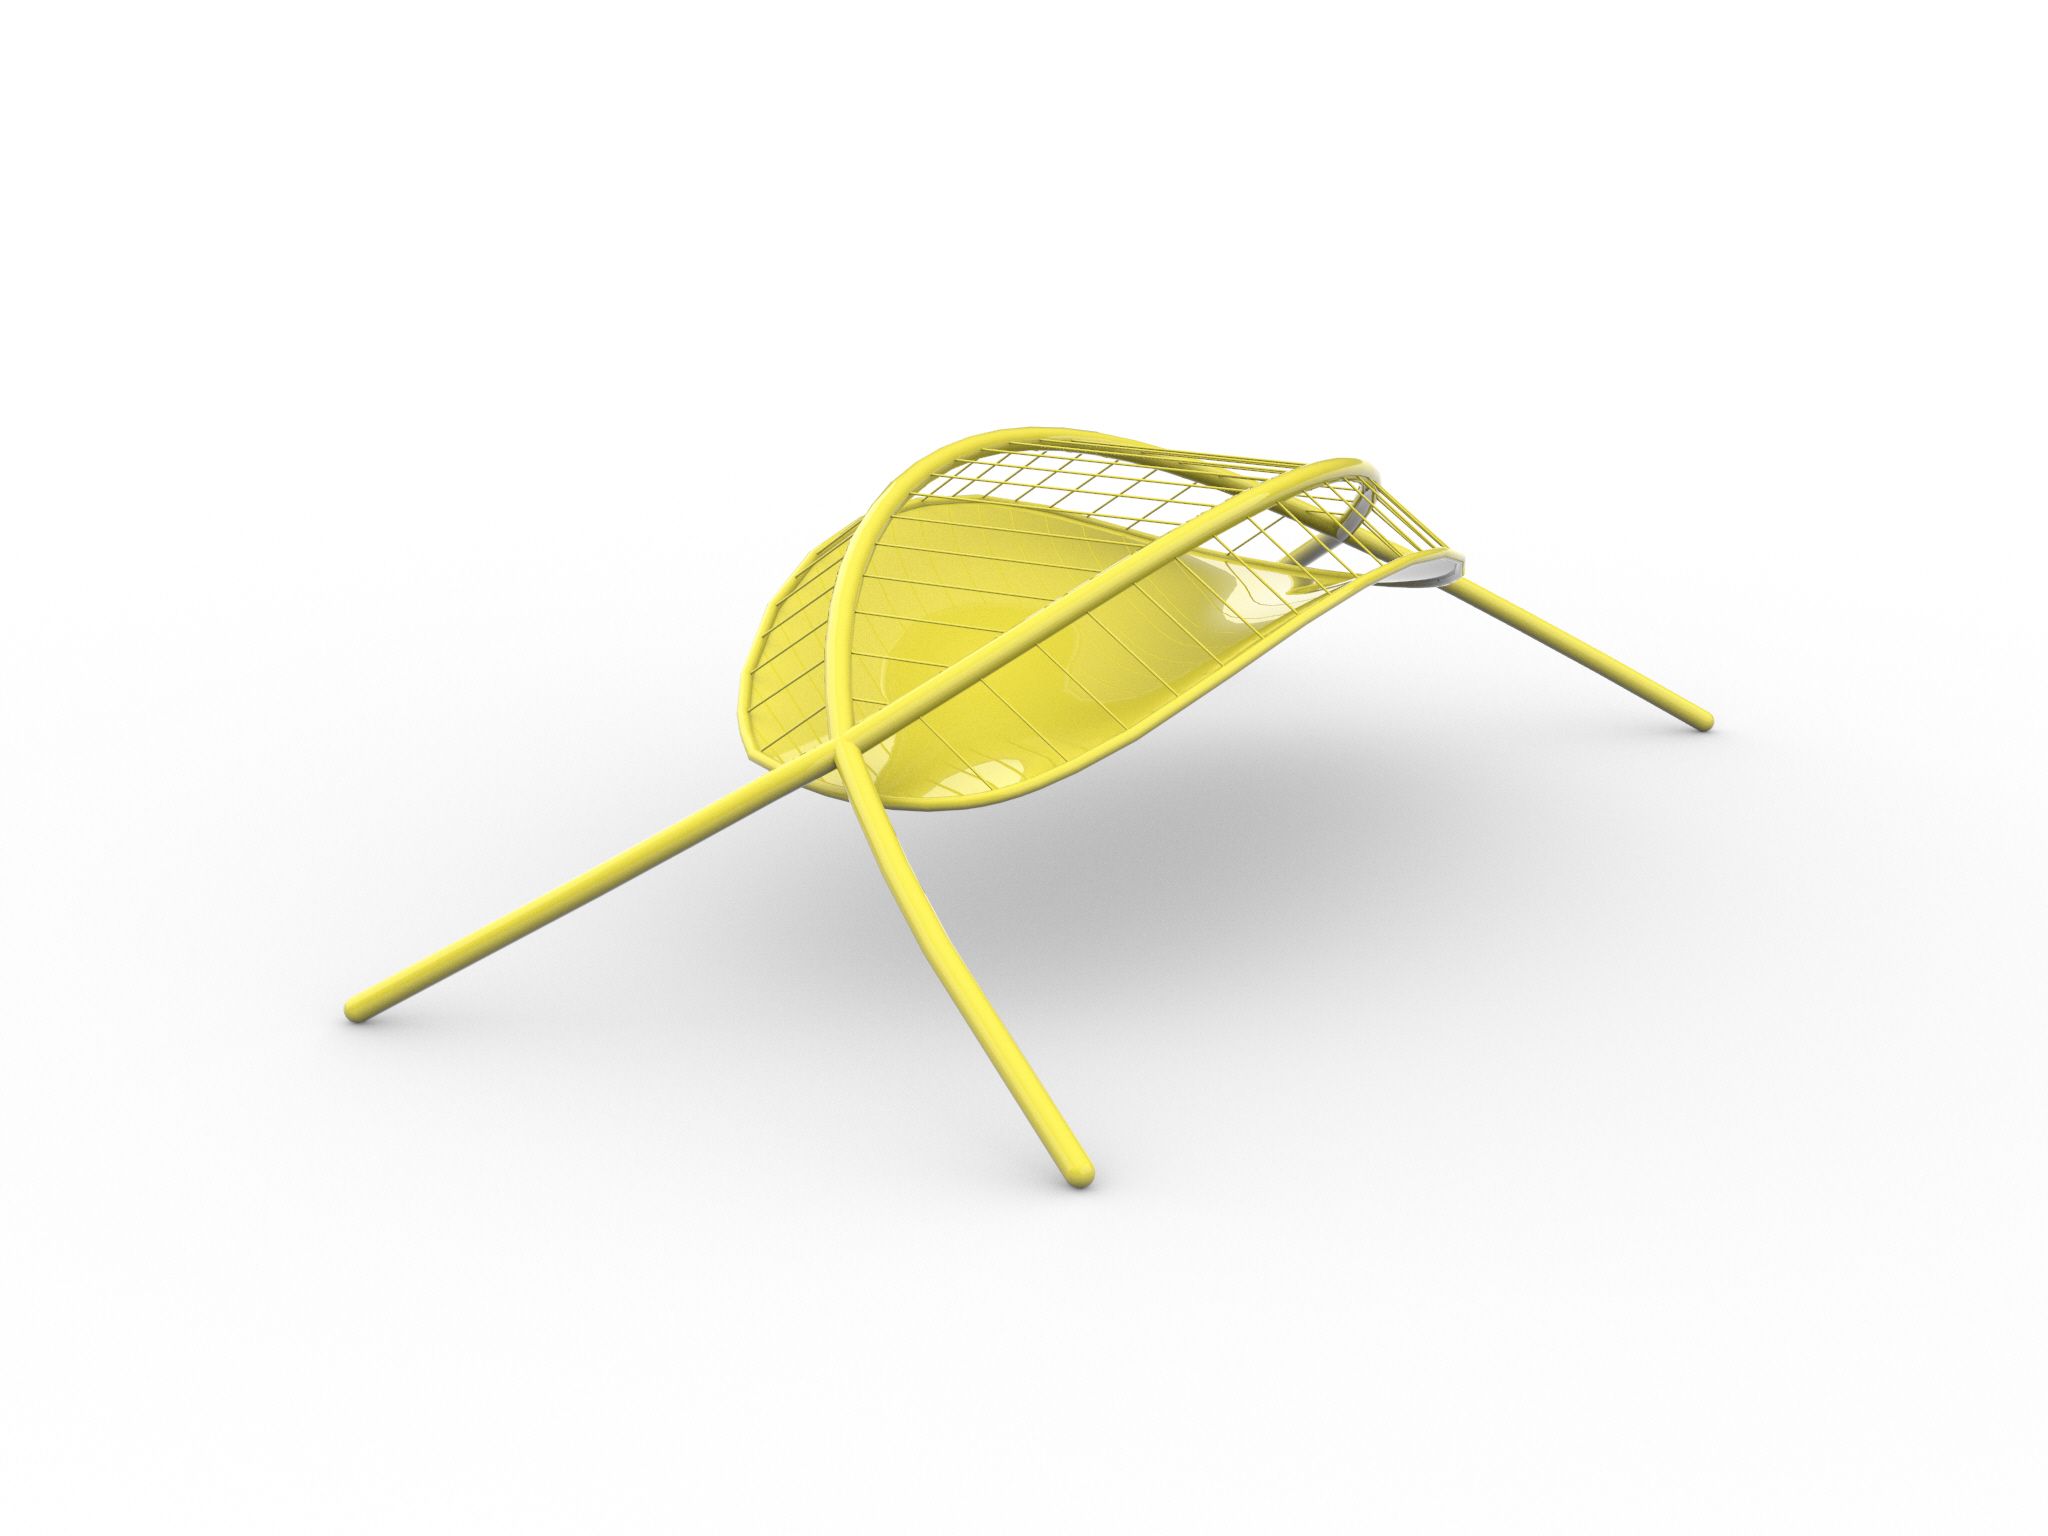
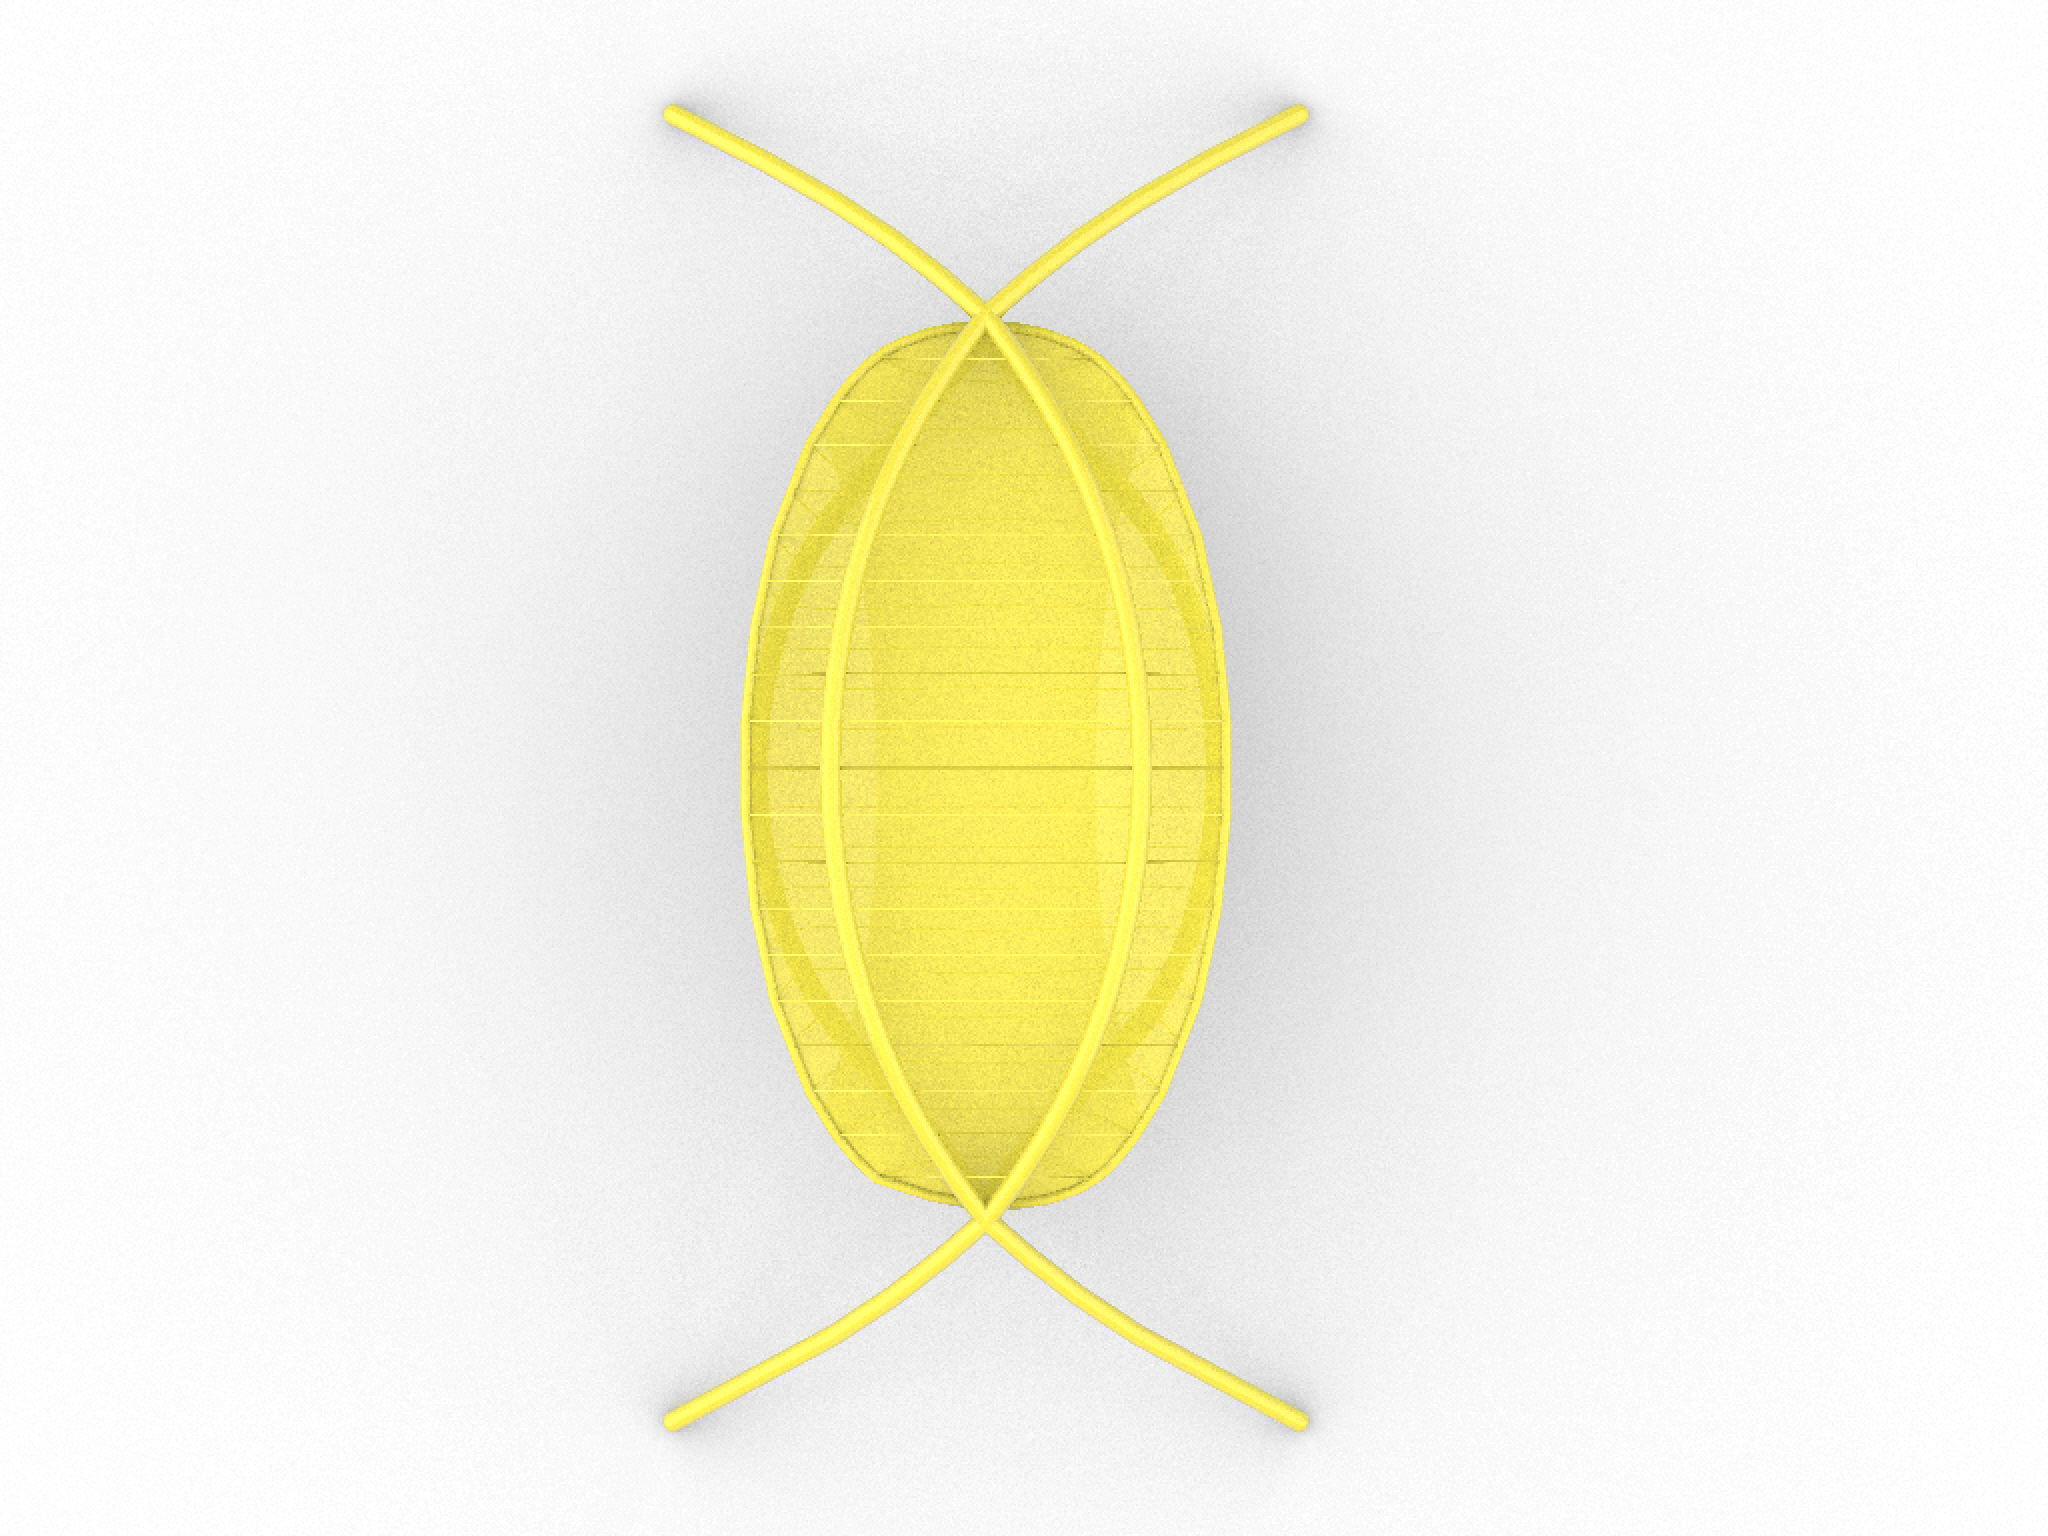
Step 7
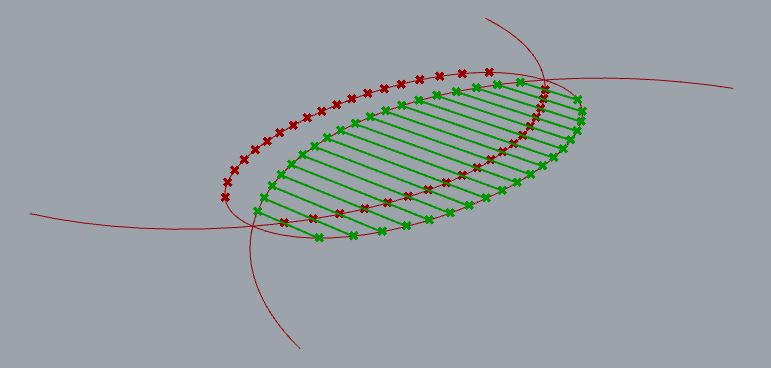
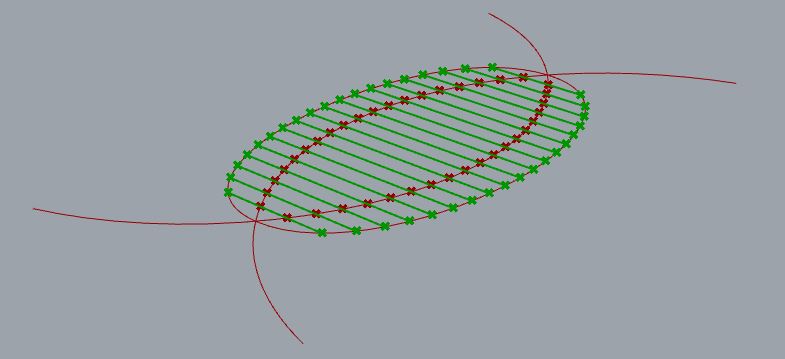
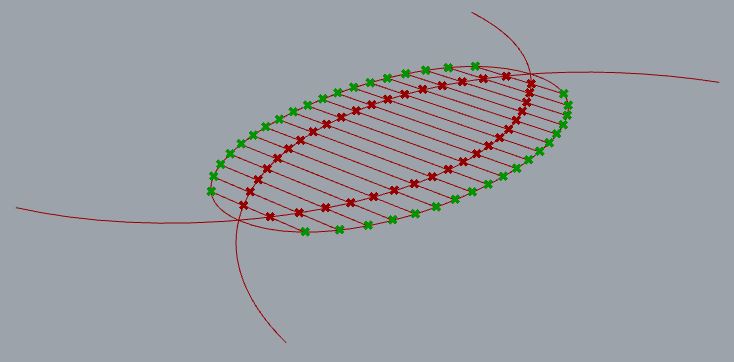
As another option to create an alternative result, we can change the connection of the ellipse and arc points.
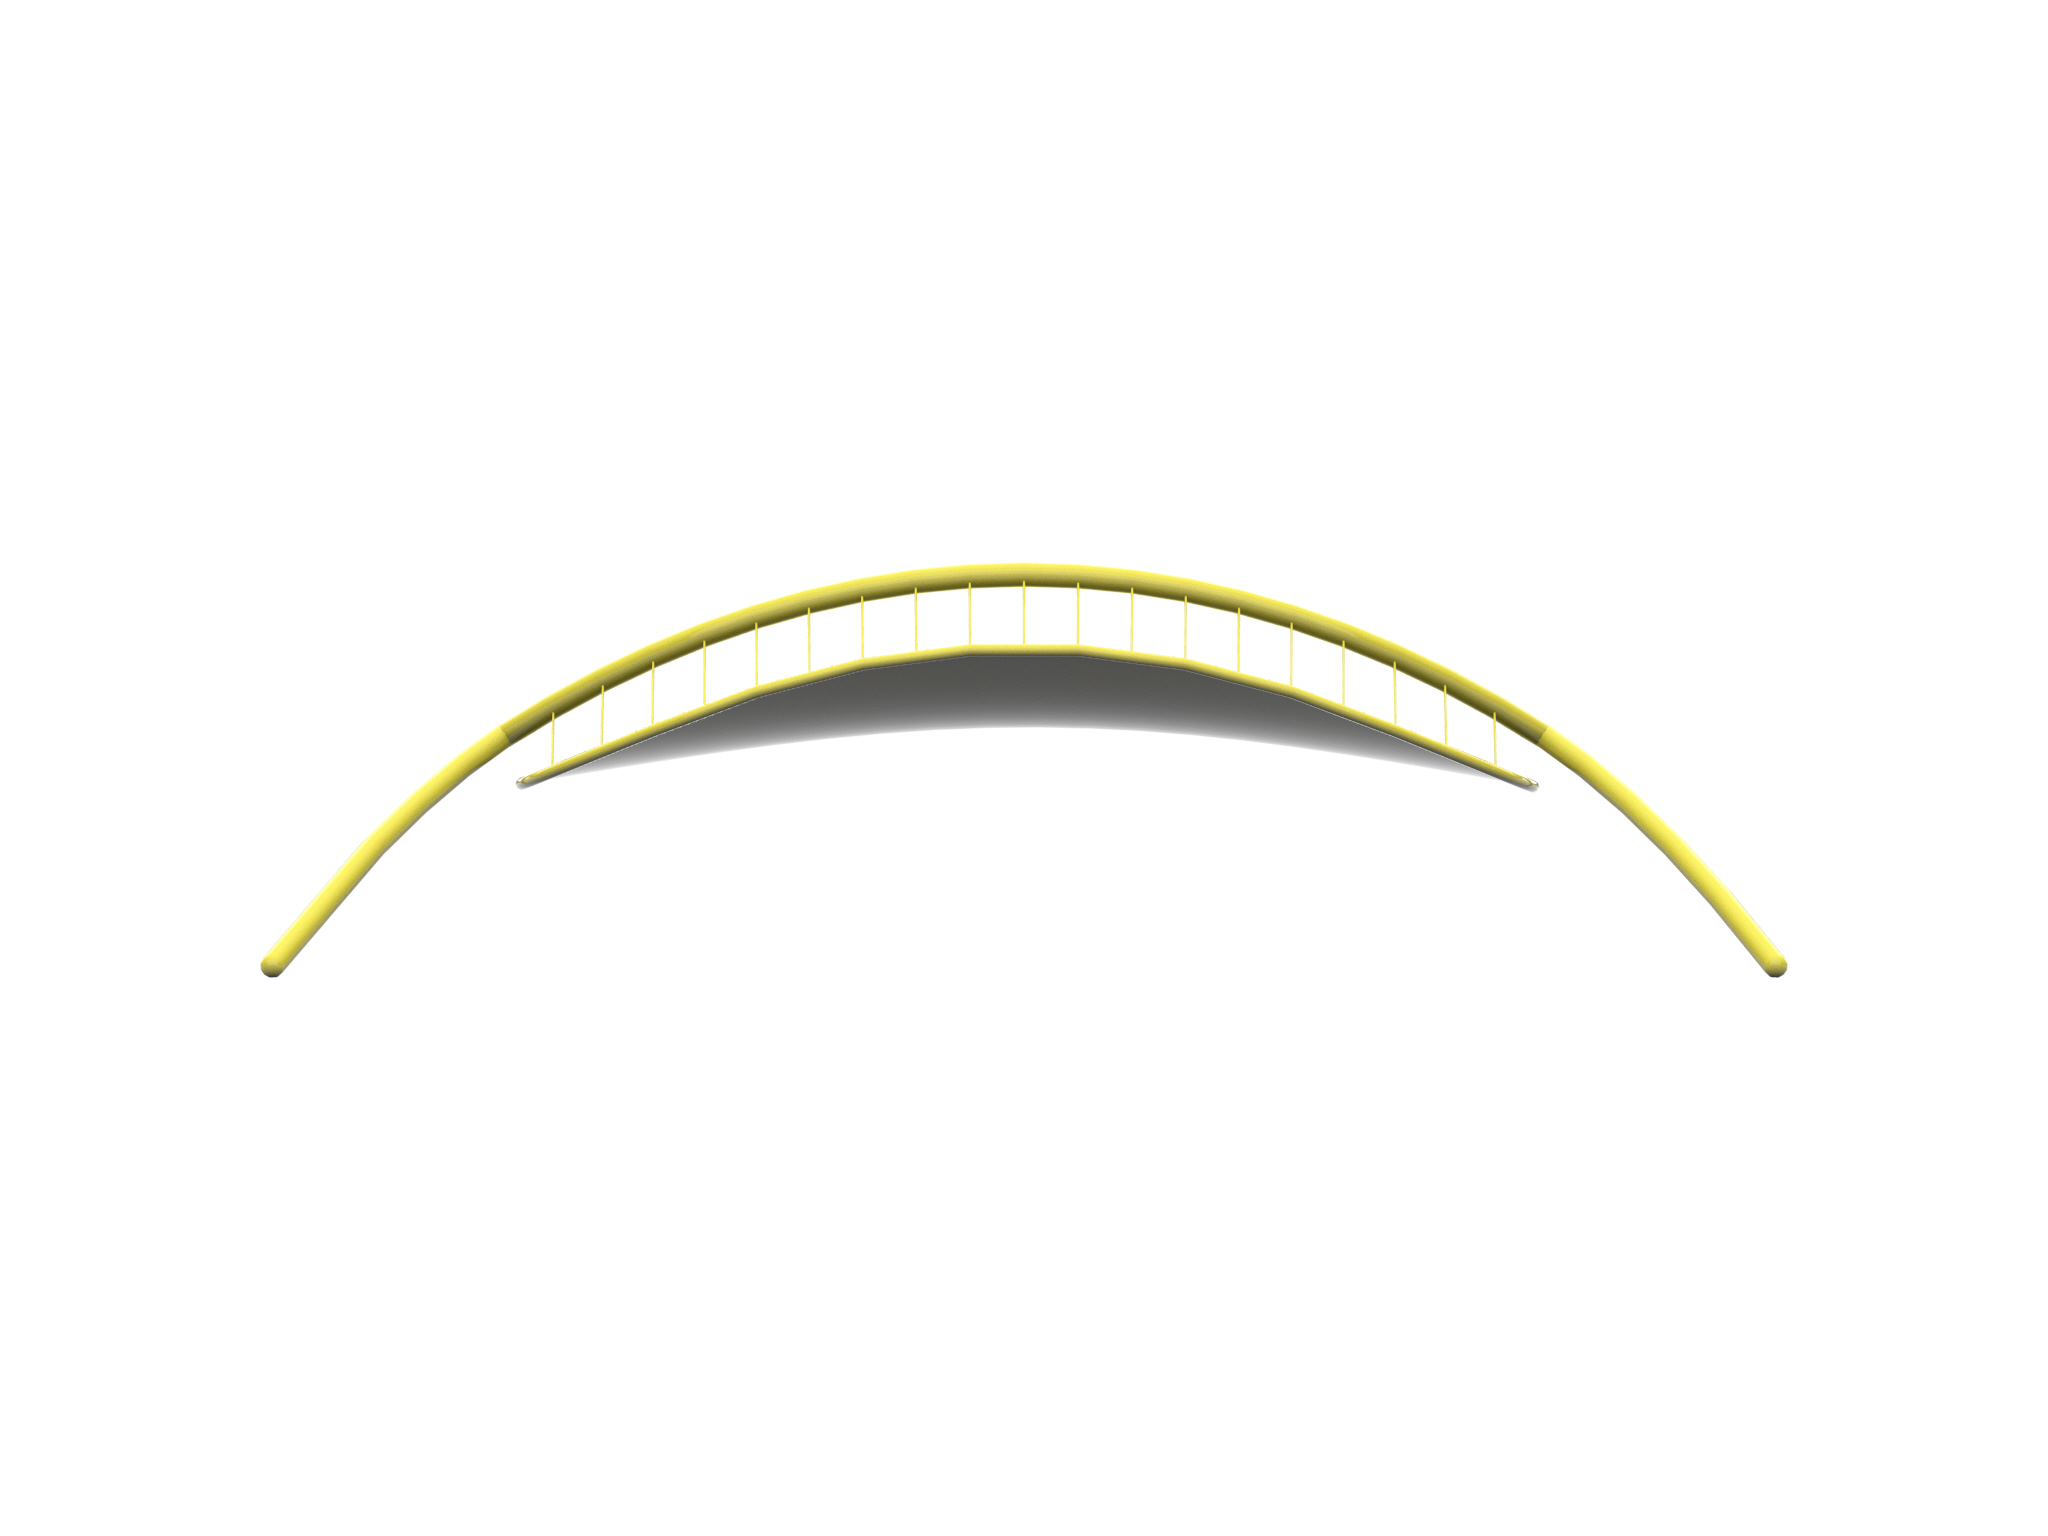
Step 8
In the next picture we can see that under the same conditions we get a different roof shape.
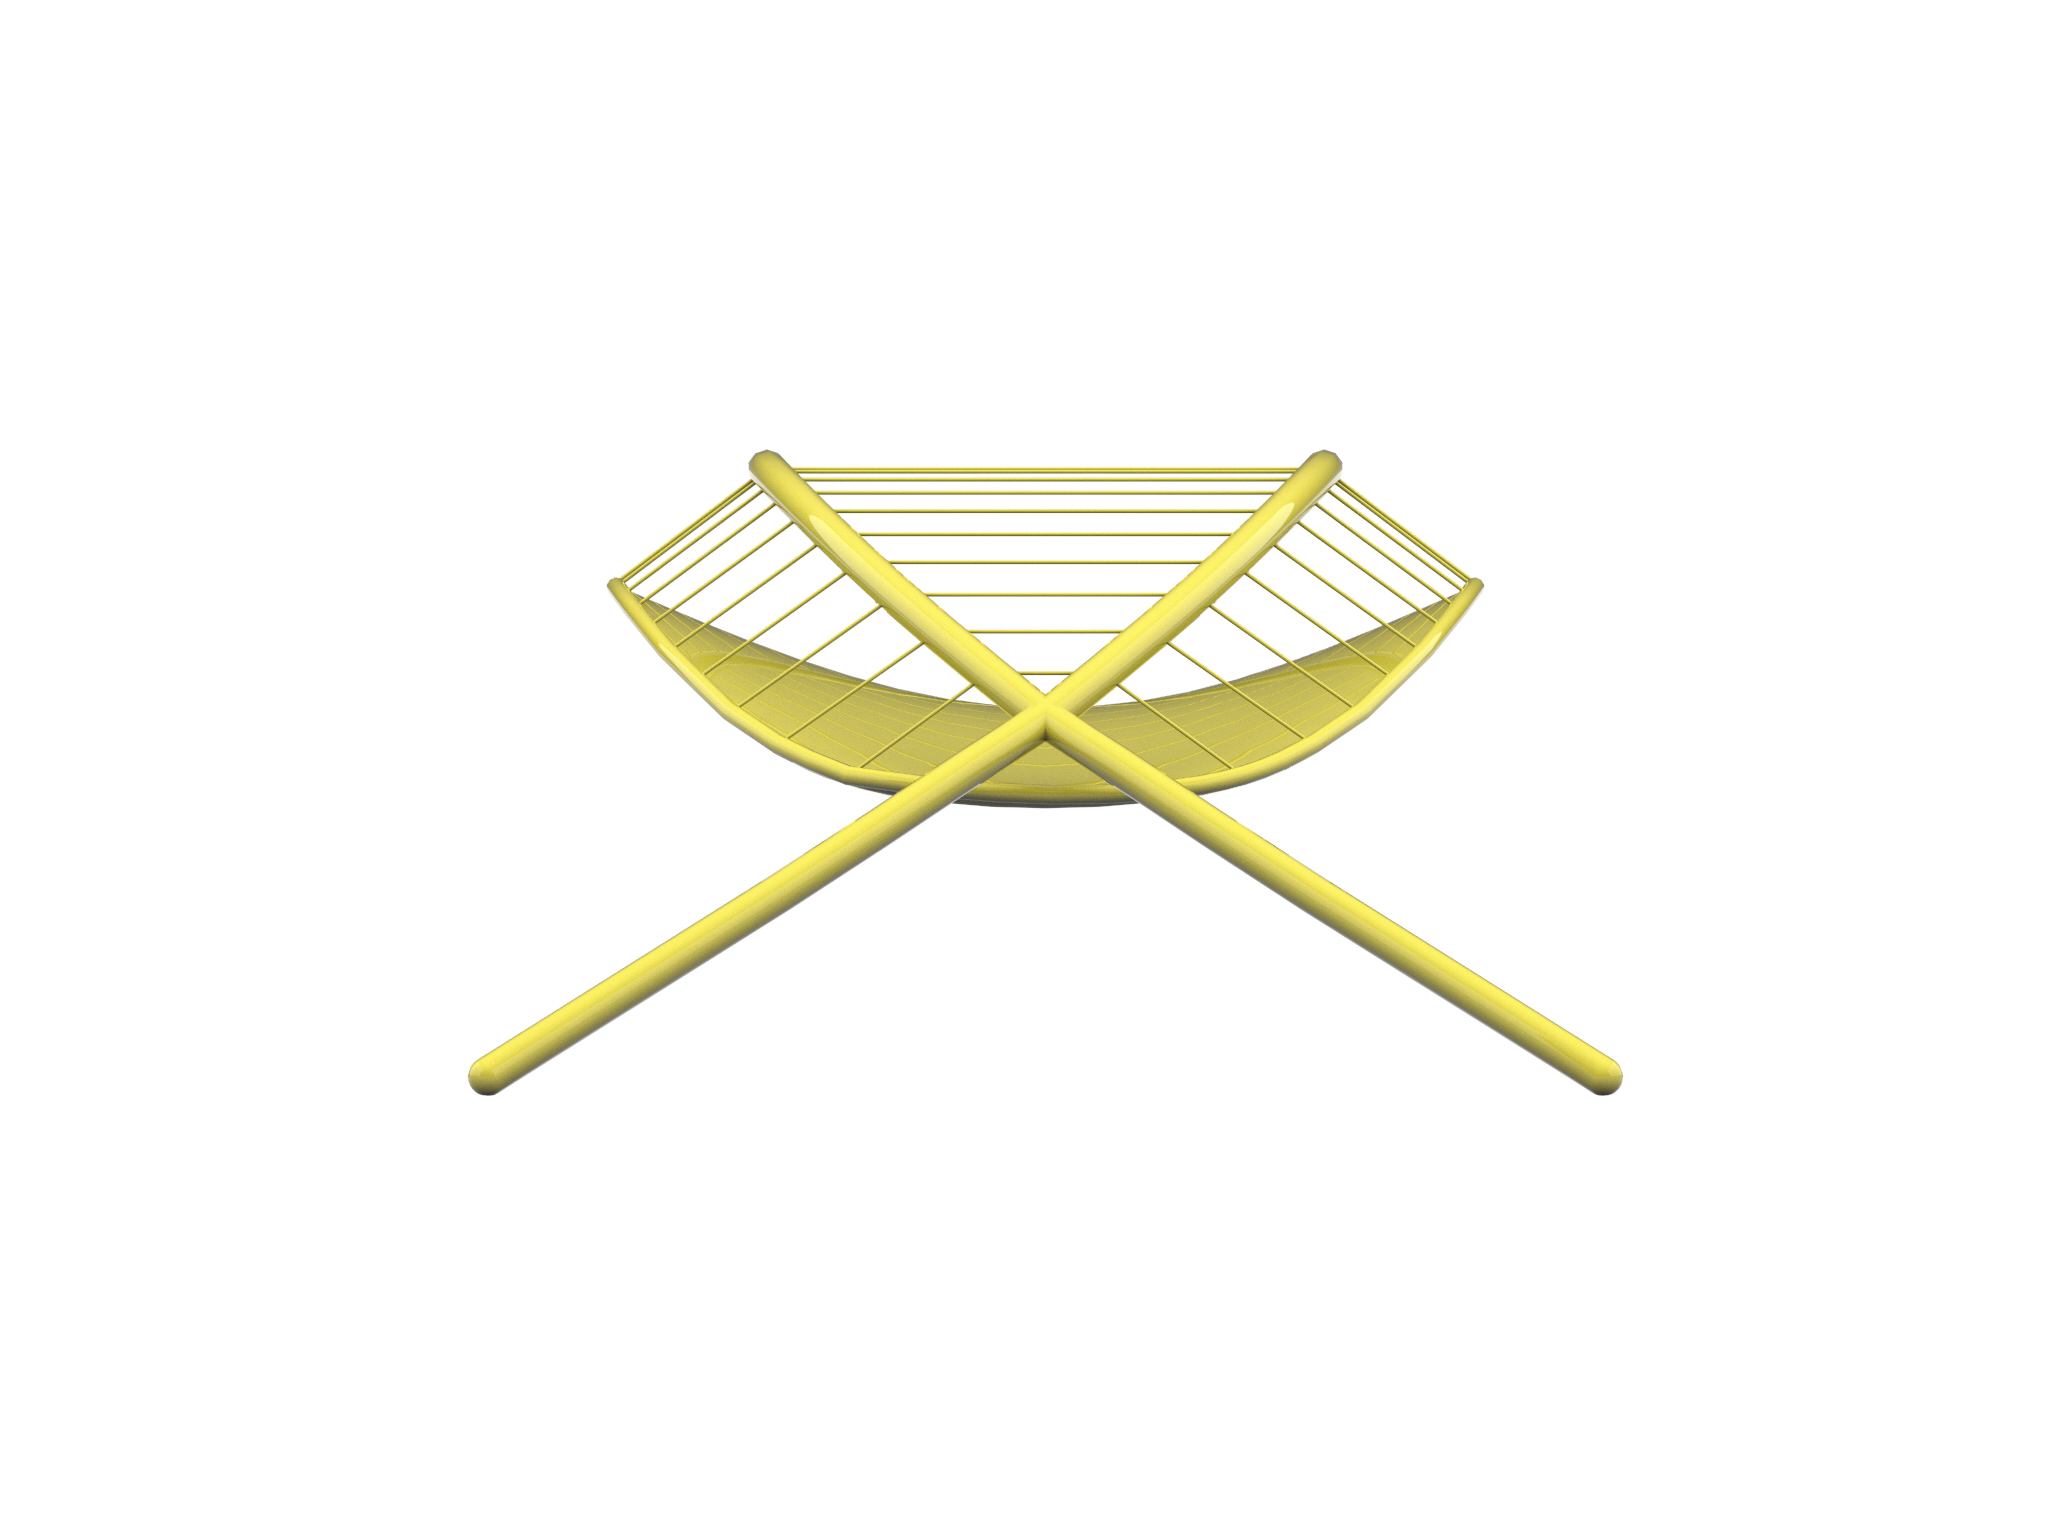
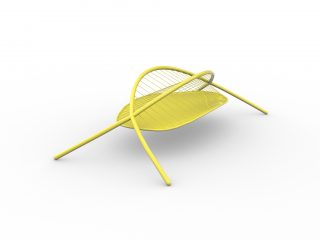
Result