The idea behind making a rock generator is more of a “try something that already exists in other software, but not in Rhino” approach. So here we are, trying to make rocks using Grasshopper. With this tutorial, we will find the limits of Grasshopper. It is a great program for creating complex geometries, but that comes with the downside of huge files. Another drawback is texturing. Rhino is not built to be a primary rendering software, so I will be exploring Blender for this part of the project.
Little research on existing scripts | There are some Grasshopper scripts, that should generate rocks, but they are kinda sketchy.
One is using Bumpmap to generate randomness and move points of the base geometry. The second one is closer to my approach, but the way it uses a convex hull is in my opinion not great. Also, the script is using a lot of parts and looks messy.
On the left, we see the usage of a bump map to displace points and then make mesh out of them. On the right one, we see the use of Convex hull, but it is used too late in the script in my opinion and thus it kinda eliminates the work of the script before it. Also, it is messy.
References |
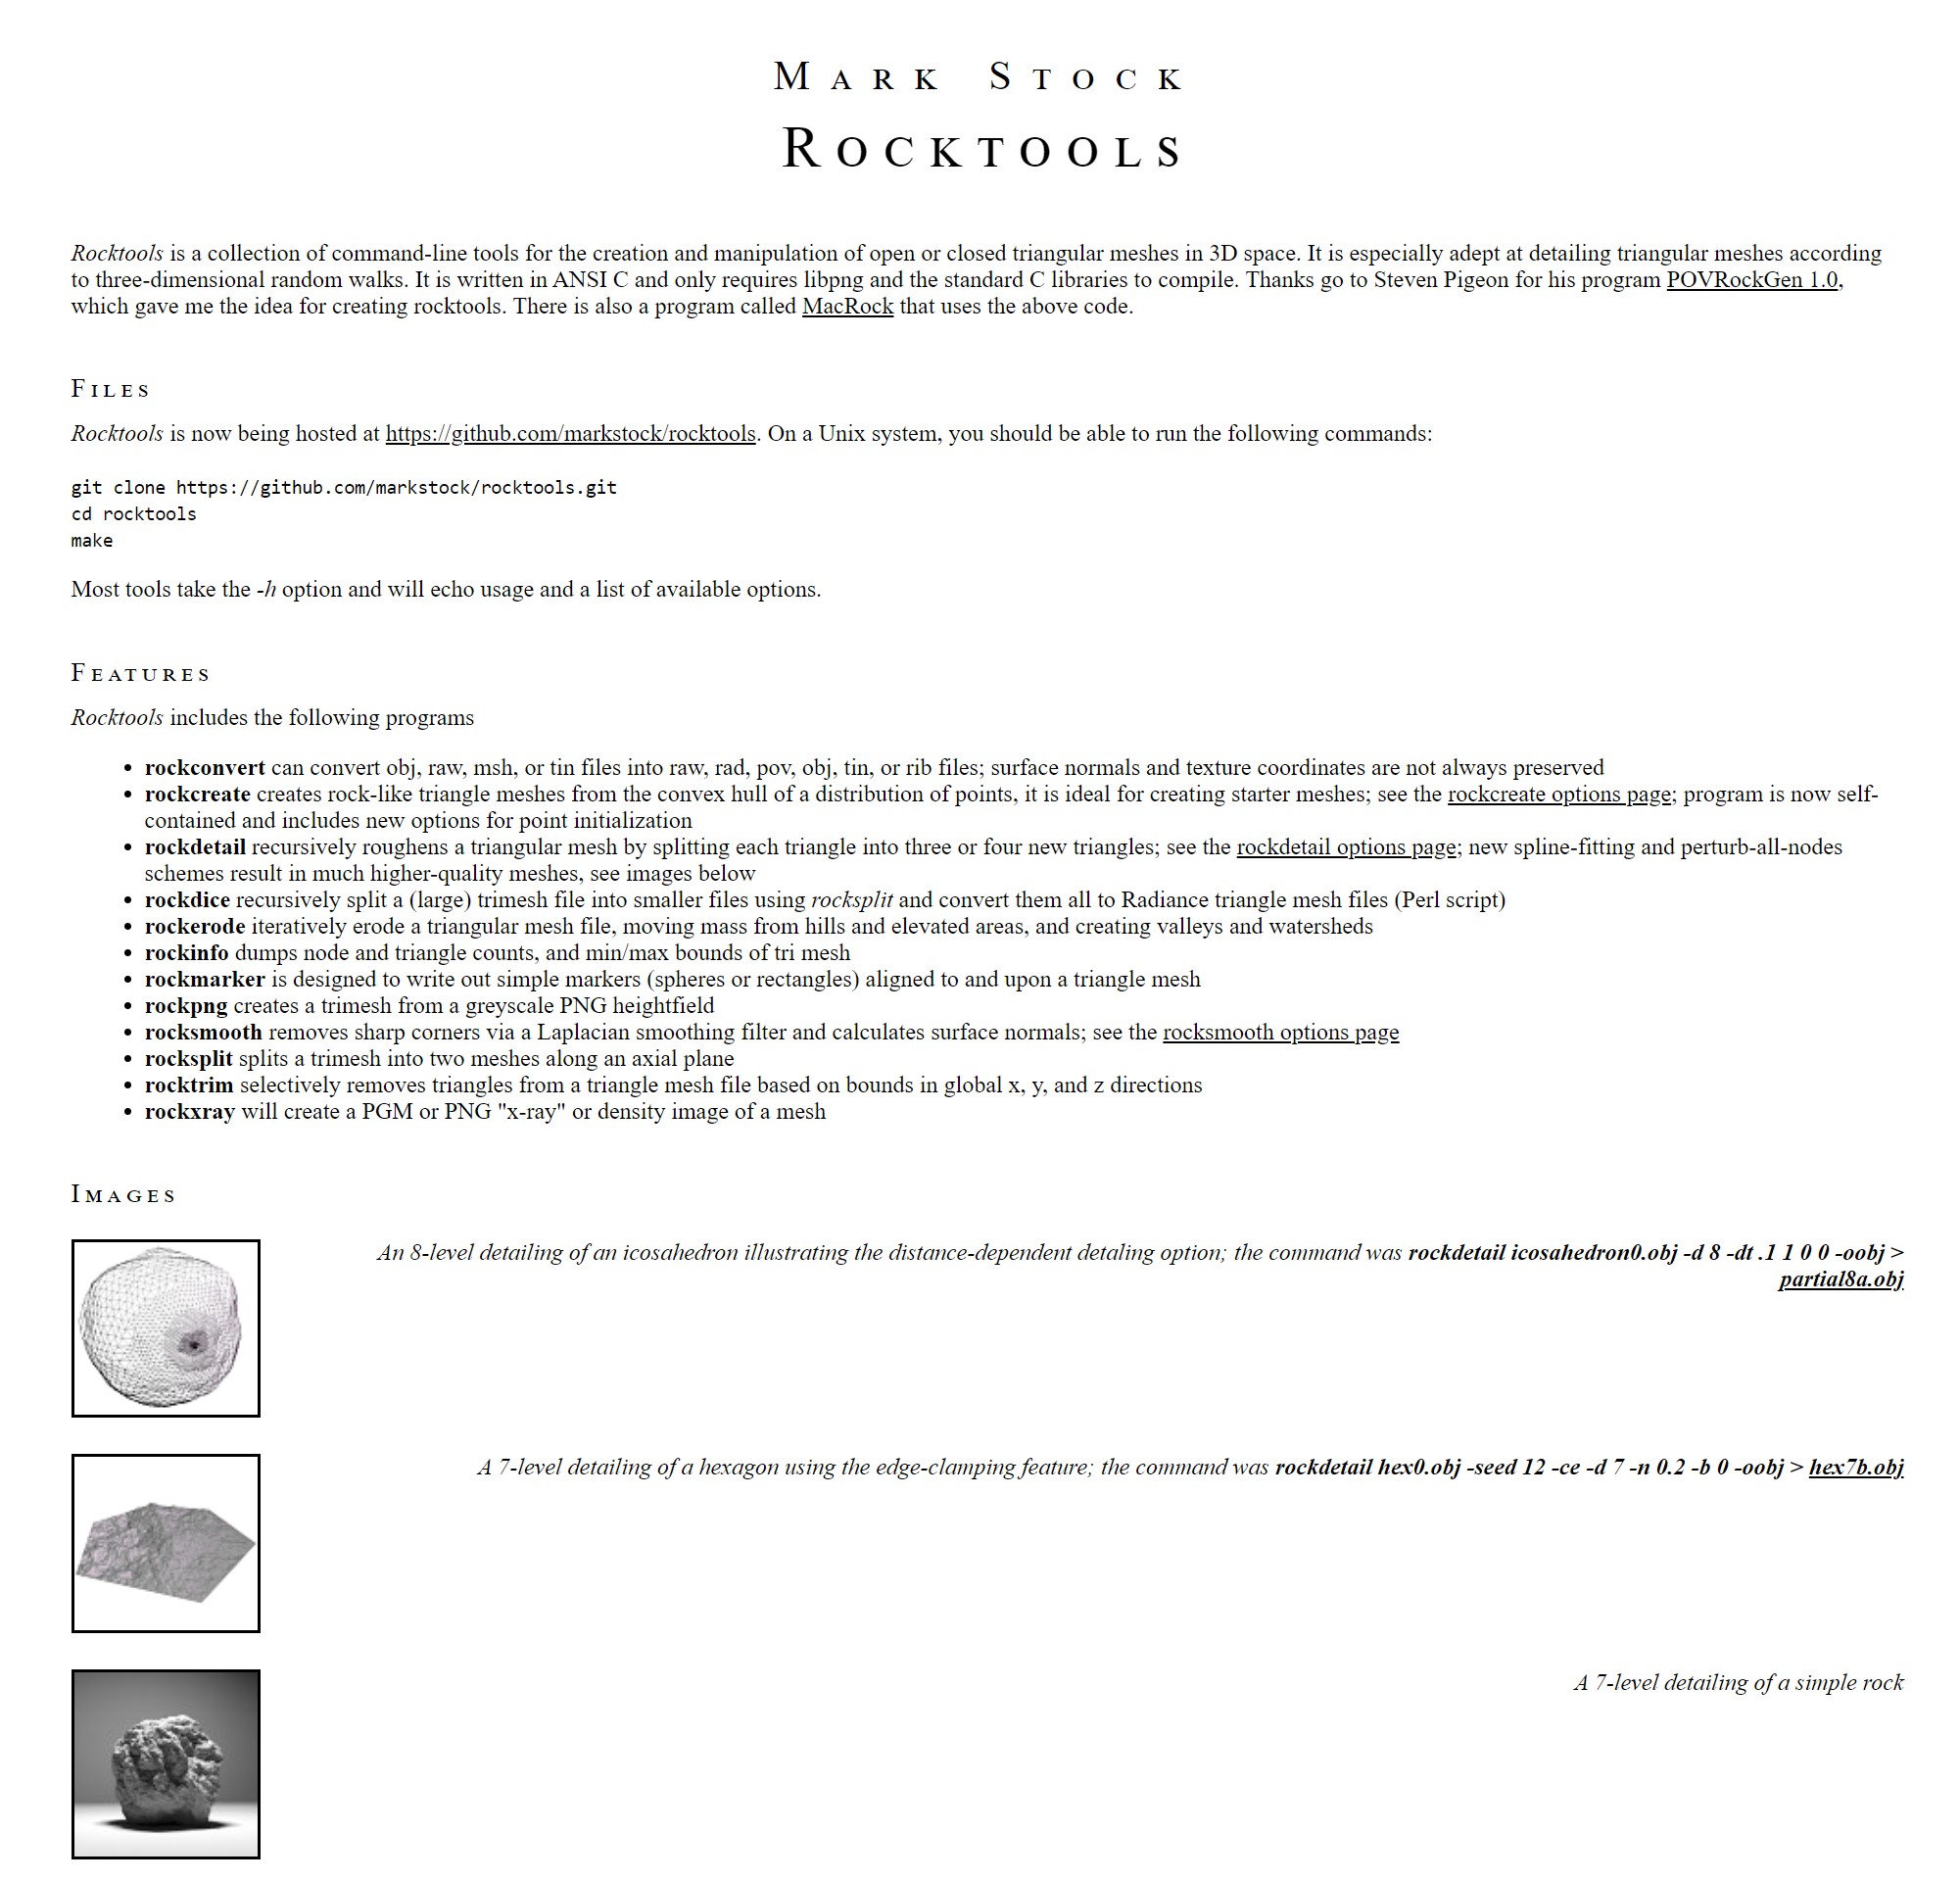
As my biggest inspiration, I used Mark´s Stocks Rocktools script.
He started this project in 1999 and gradually developed it till 2017.
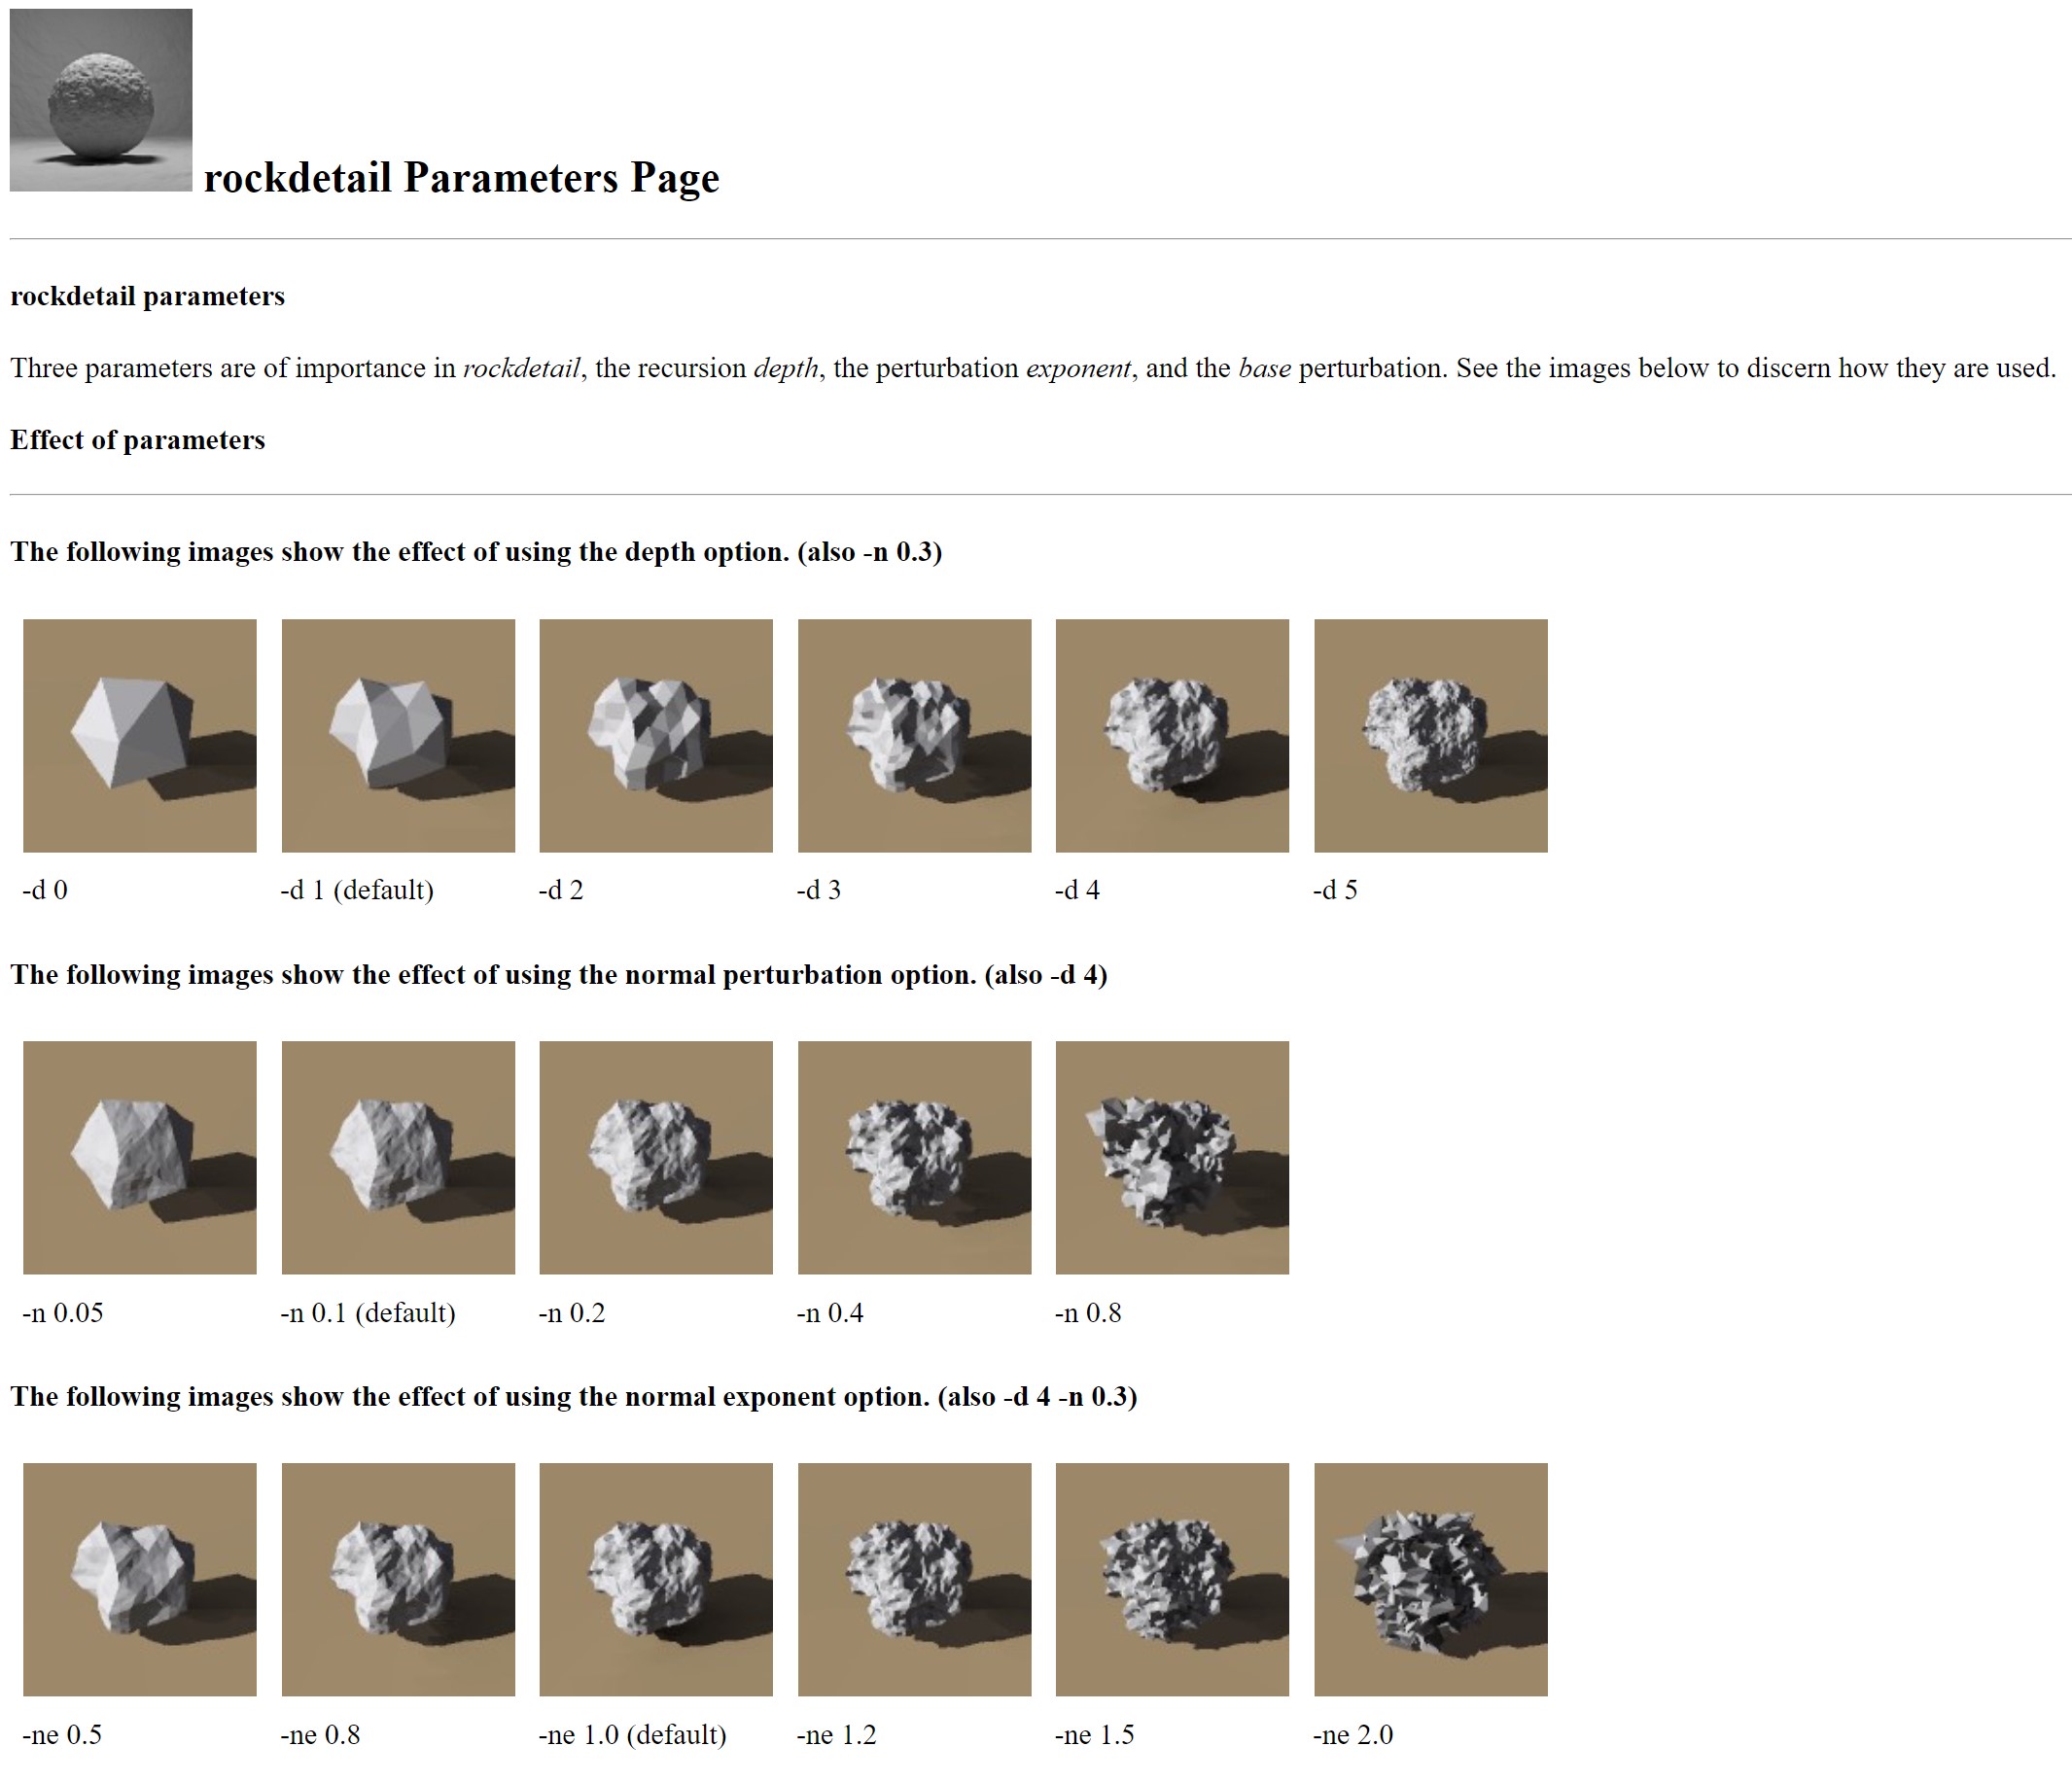
Intorduction 1.0
Rocktools is a package of related programs useful for defining natural and fractal-like shapes such as those of rocks and rough terrain with irregular meshes of triangles.
The project was initiated in February of 1999 by Mark Stock to fill an apparent gap in current, free software to allow recursive roughening of arbitrary triangle meshes. It is intended to be used for, but not neccessarily limited to, creation of realistic-looking rock shapes and, possibly, landscapes.
The script is written in C language, though it is not possible to use it in Grasshopper. So here comes my part, to try and remake this program in Grasshopper.
The basic of creating rocks with programming is nicely described by Mark, so I used it as a foundation for my script.
Main goals |
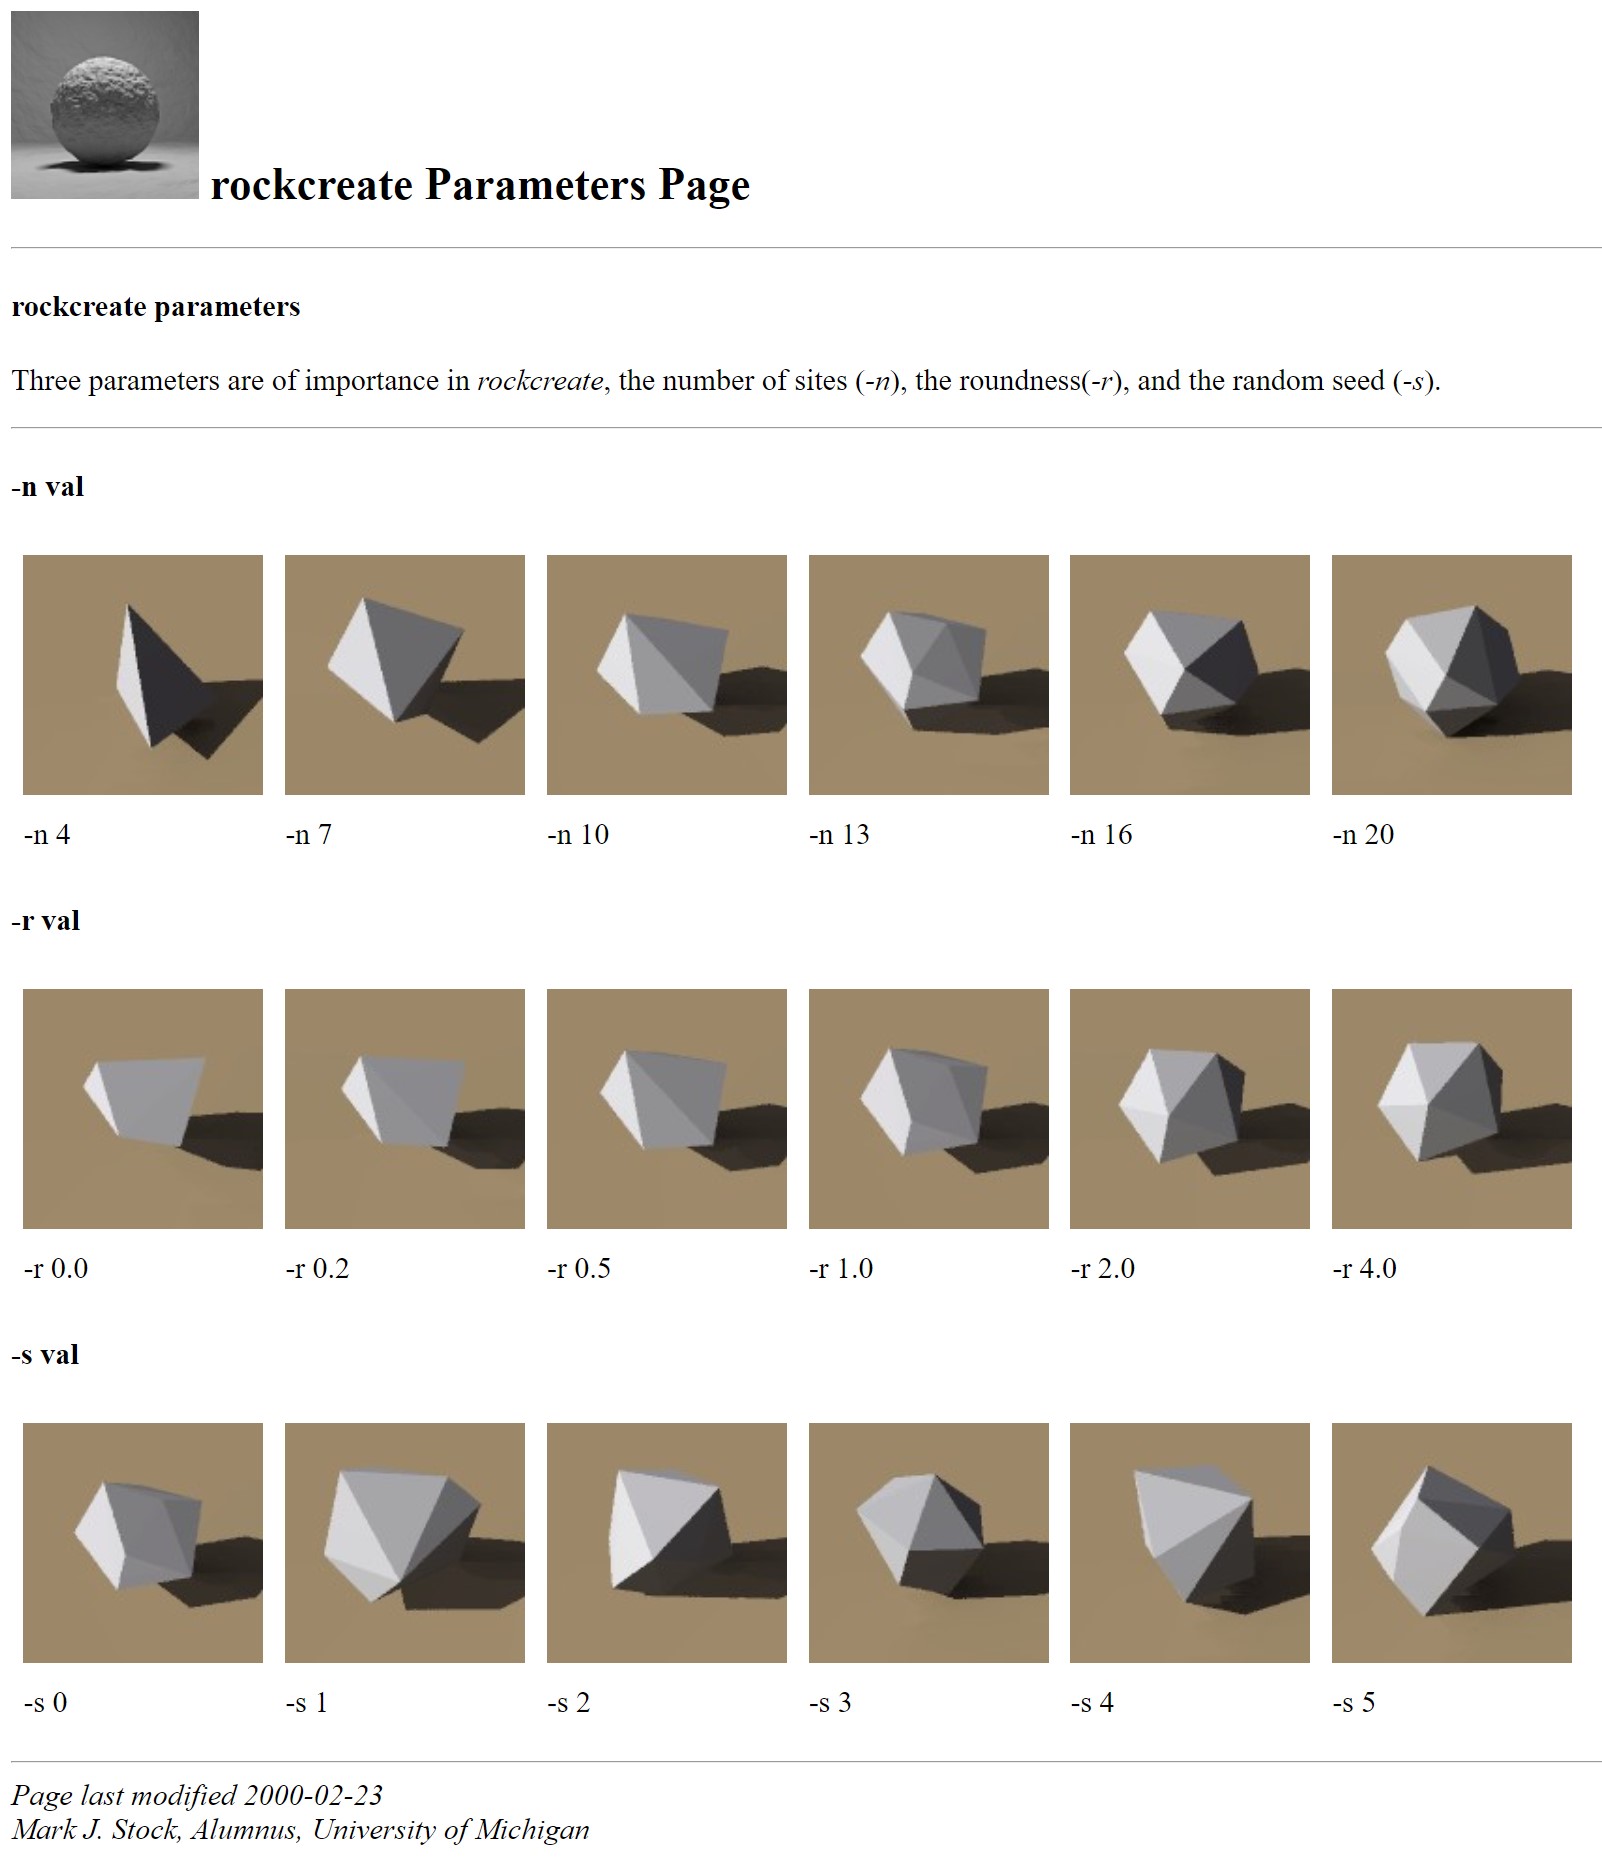
As the three main goals of my script I used Mark´s Stock Rock create parameters.
First: Number of points, from which we will create the rock.
Second: Roundness means how close to a spheric object the stone will be.
Third: Seed also known as randomness. With this option, we can create different stones with the same two previous parameters.
rockcreate creates rock-like triangle meshes from the convex hull of a distribution of points, it is ideal for creating starter meshes.
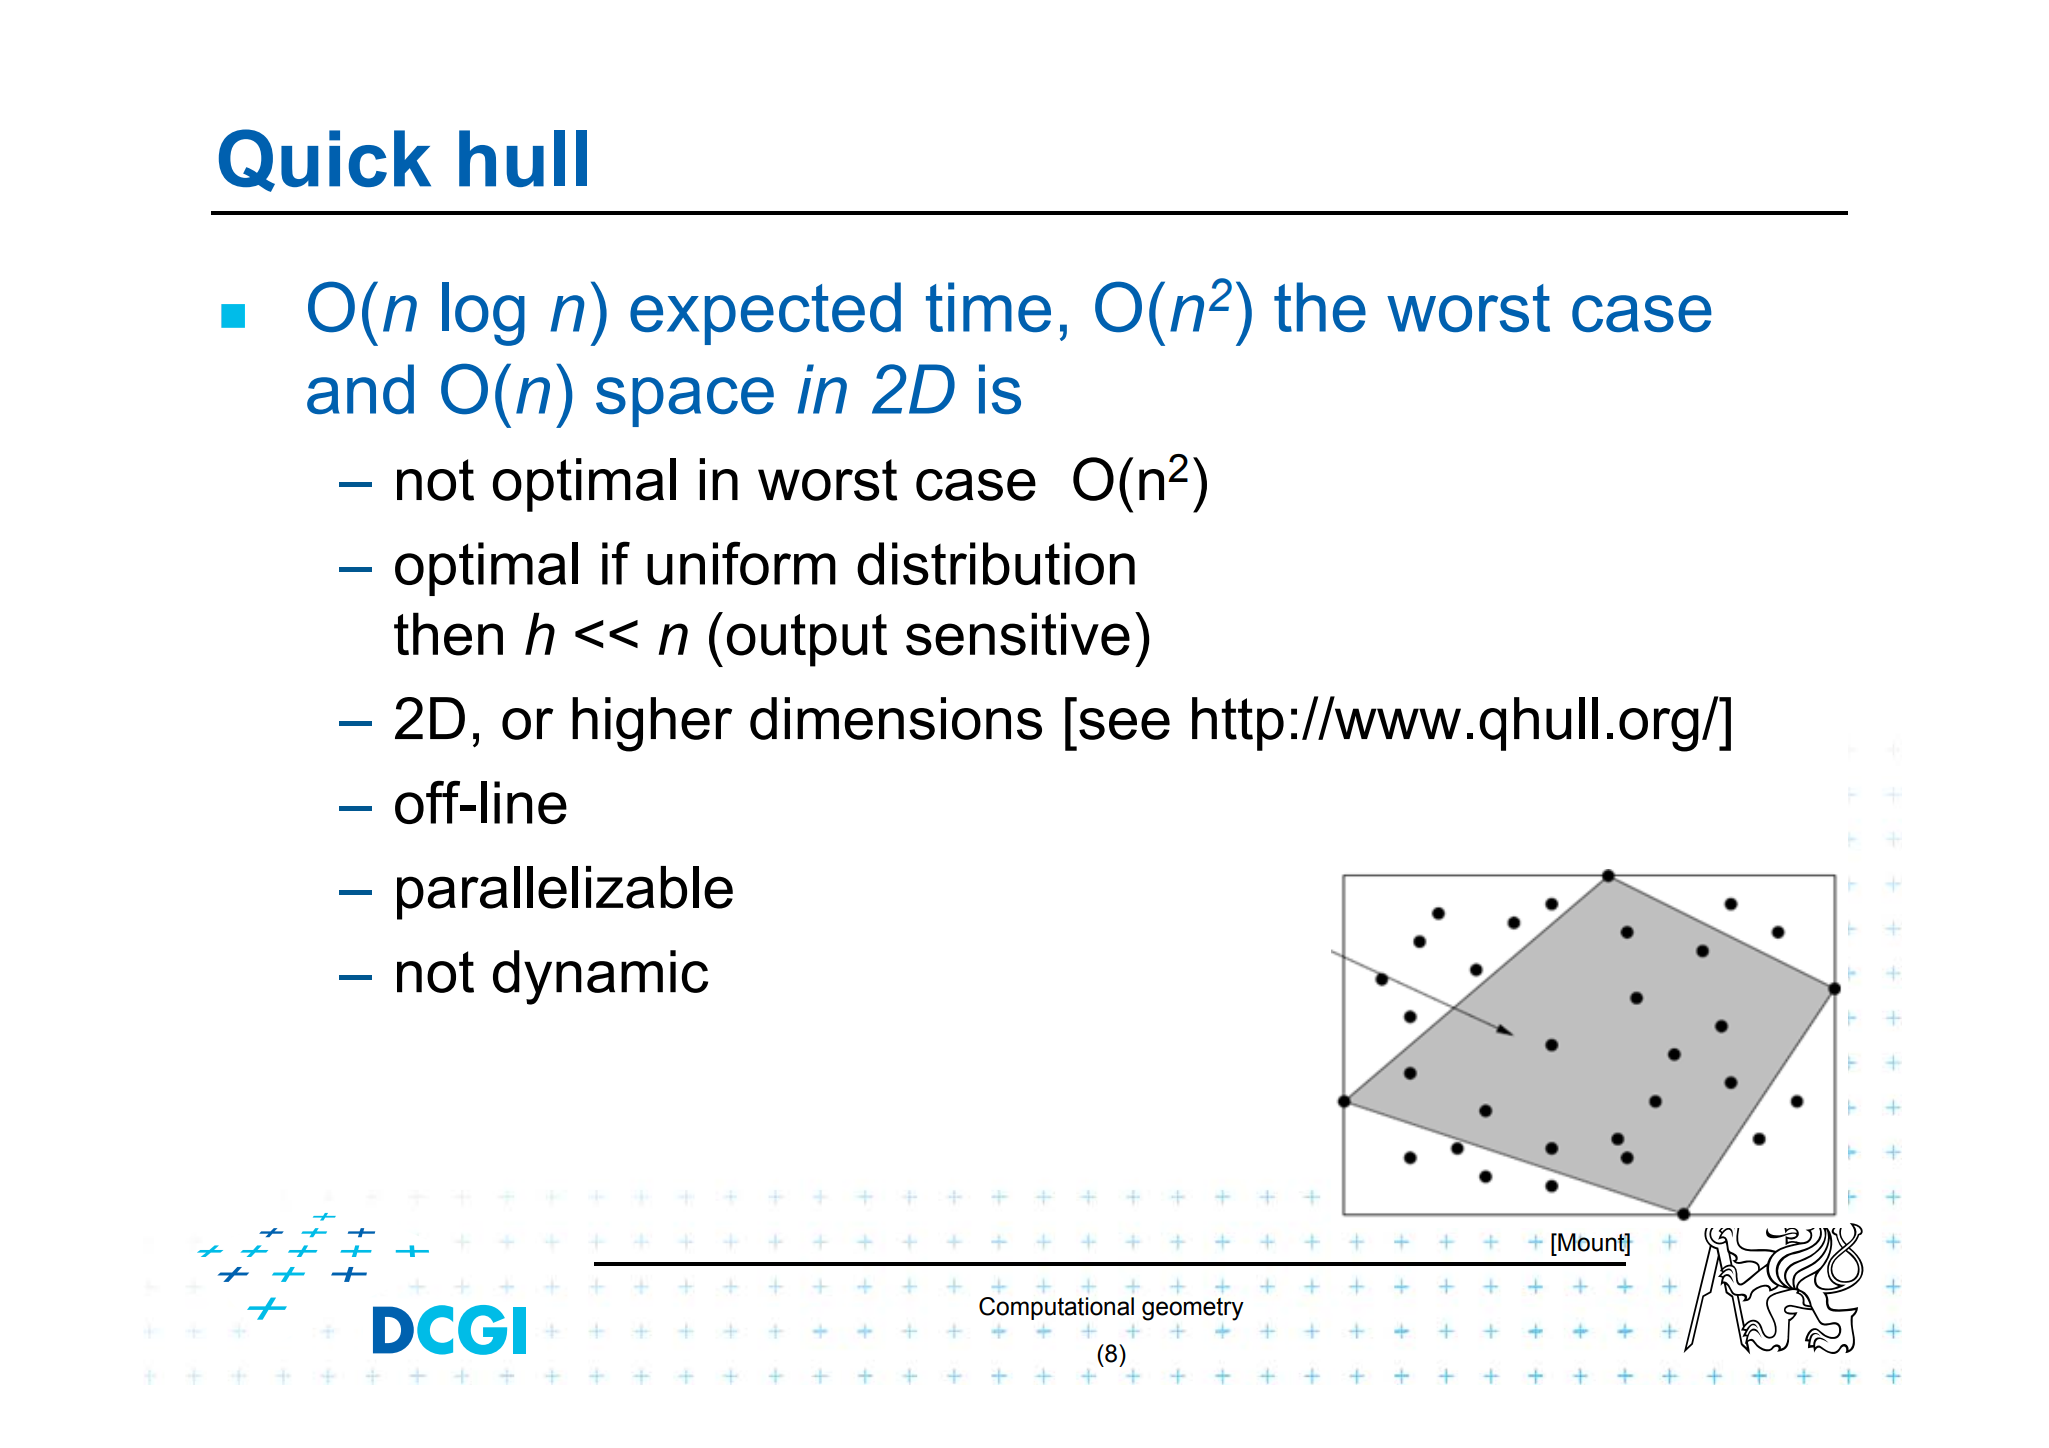
To better understand what is Convex hull I found nice paper describing all probelmatics.
Second good example for understanding what is Convex Hull is in this nicely done video. It shows how to progam 2D Convex Hull operations in C# for Grasshopper.
As for making the basics of the script, I managed to come up with a really easy solution for the first three main goals, so my other focus went on making the stone more realistic. Again, with little help from Mark´s description of the process how to add roughness to stone.
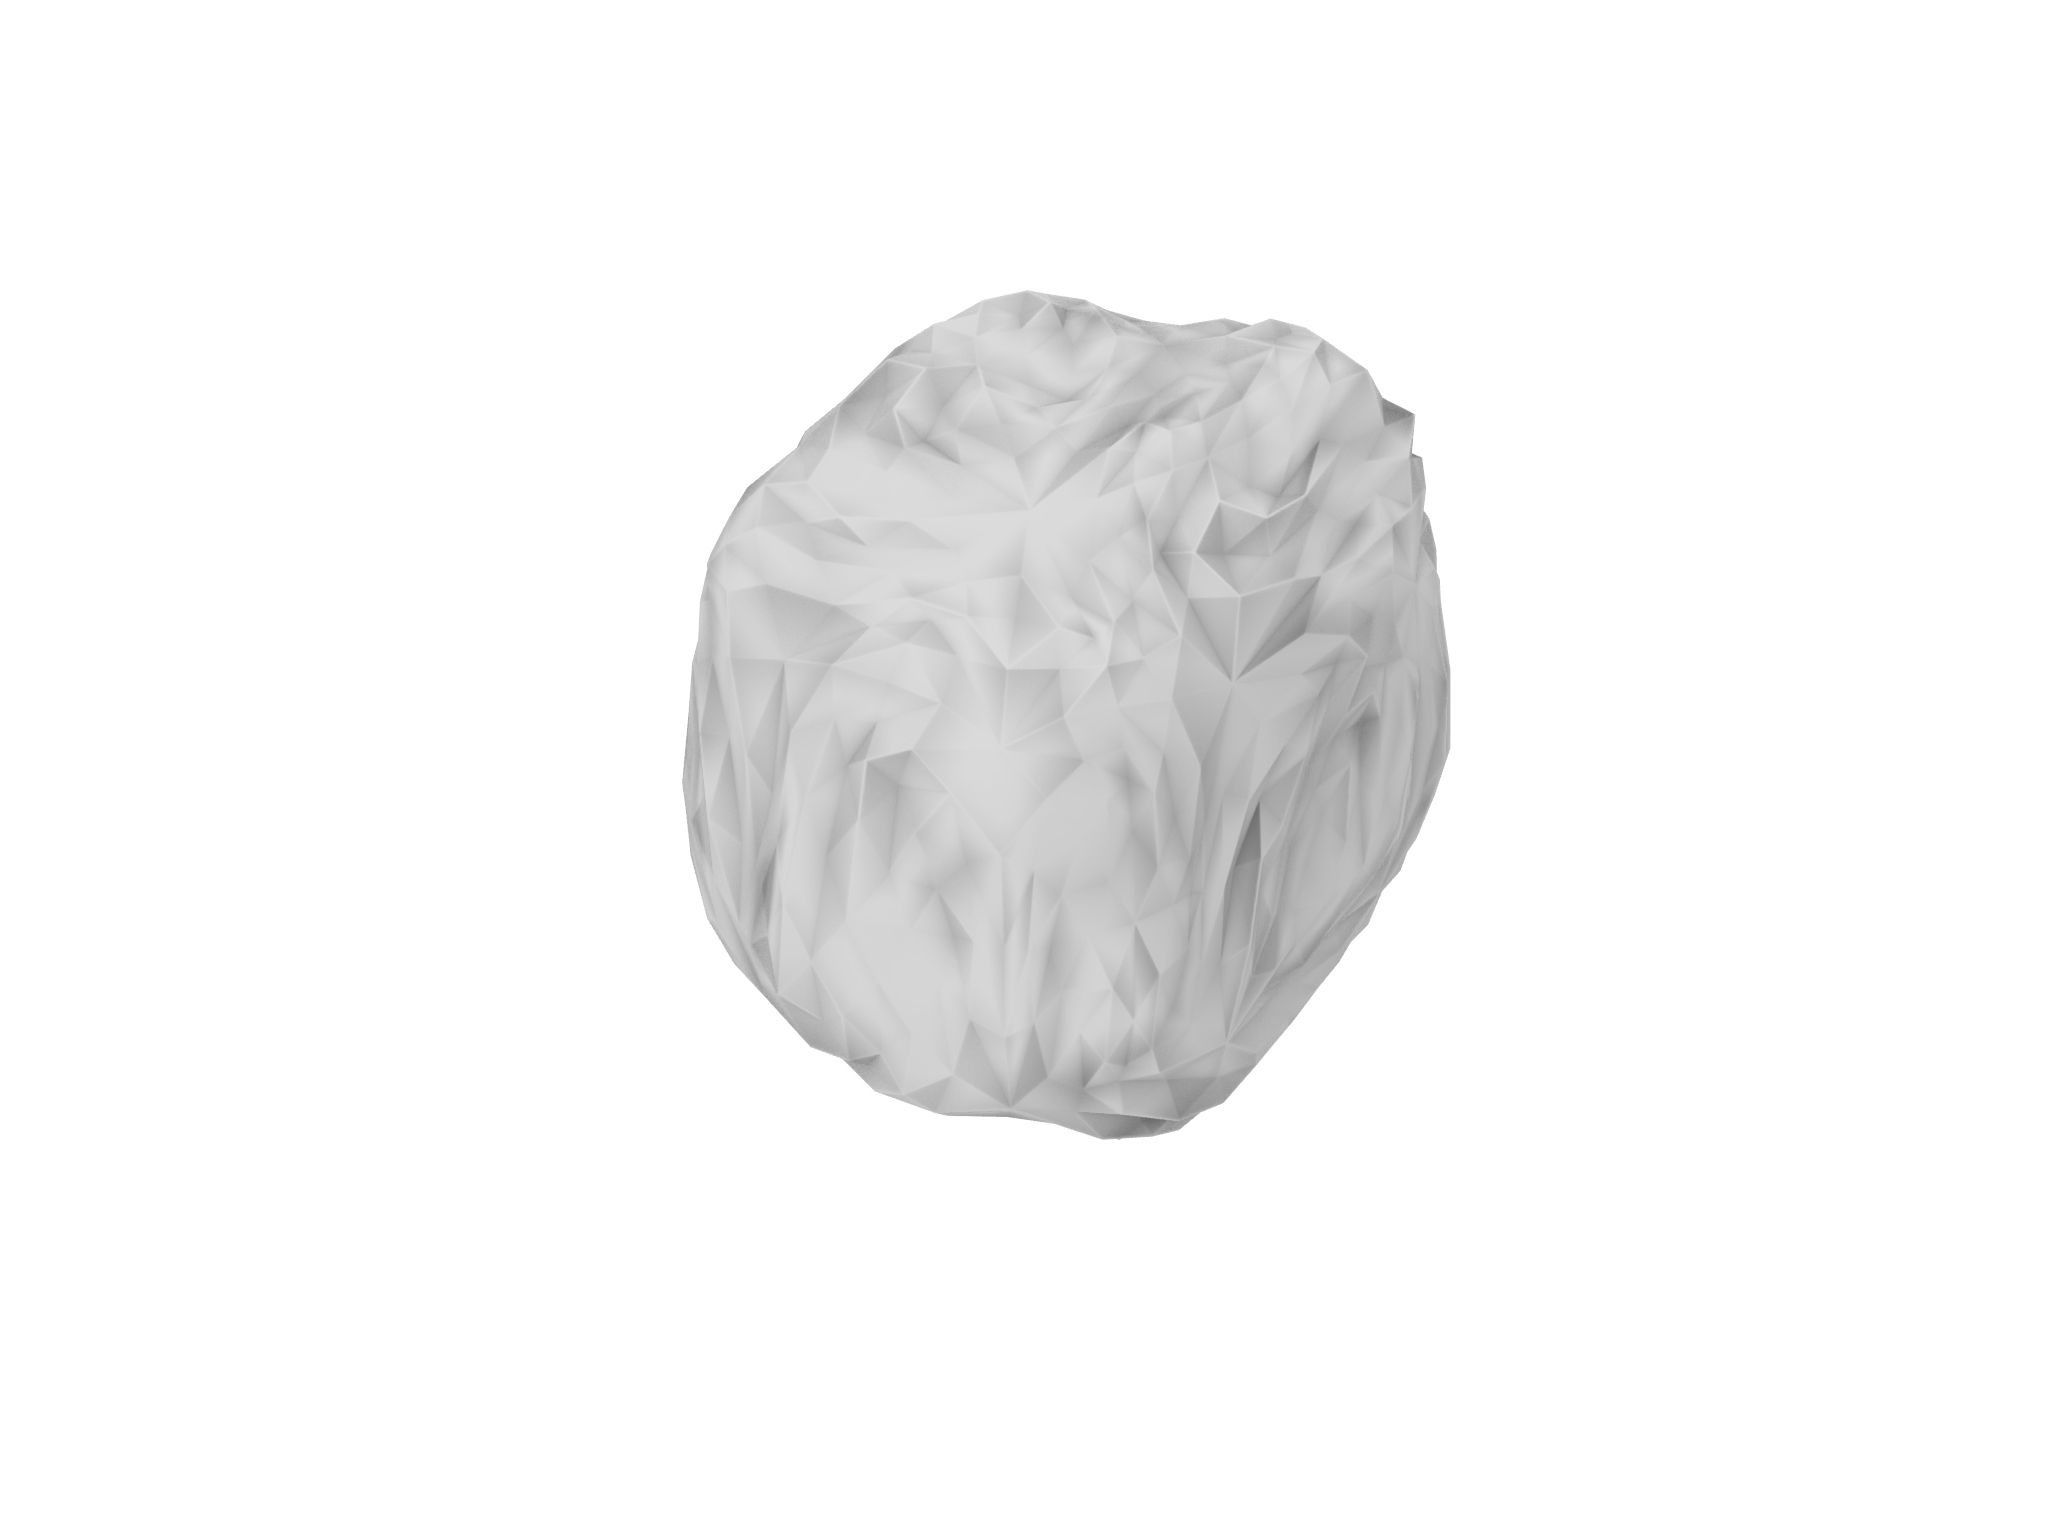
The goal is to recursively roughen a triangular mesh by splitting each triangle into three or four new triangles. Then we move each vertex by a vector of random length coming from the object’s centroid. Then we join back those points into a new mesh and voilà, we have the basic geometry of stone created in Grasshopper.
My addition to work |
As this part goes, we know theoretically how the shape of the stone is generated. Now let´s show you, how I made my script.
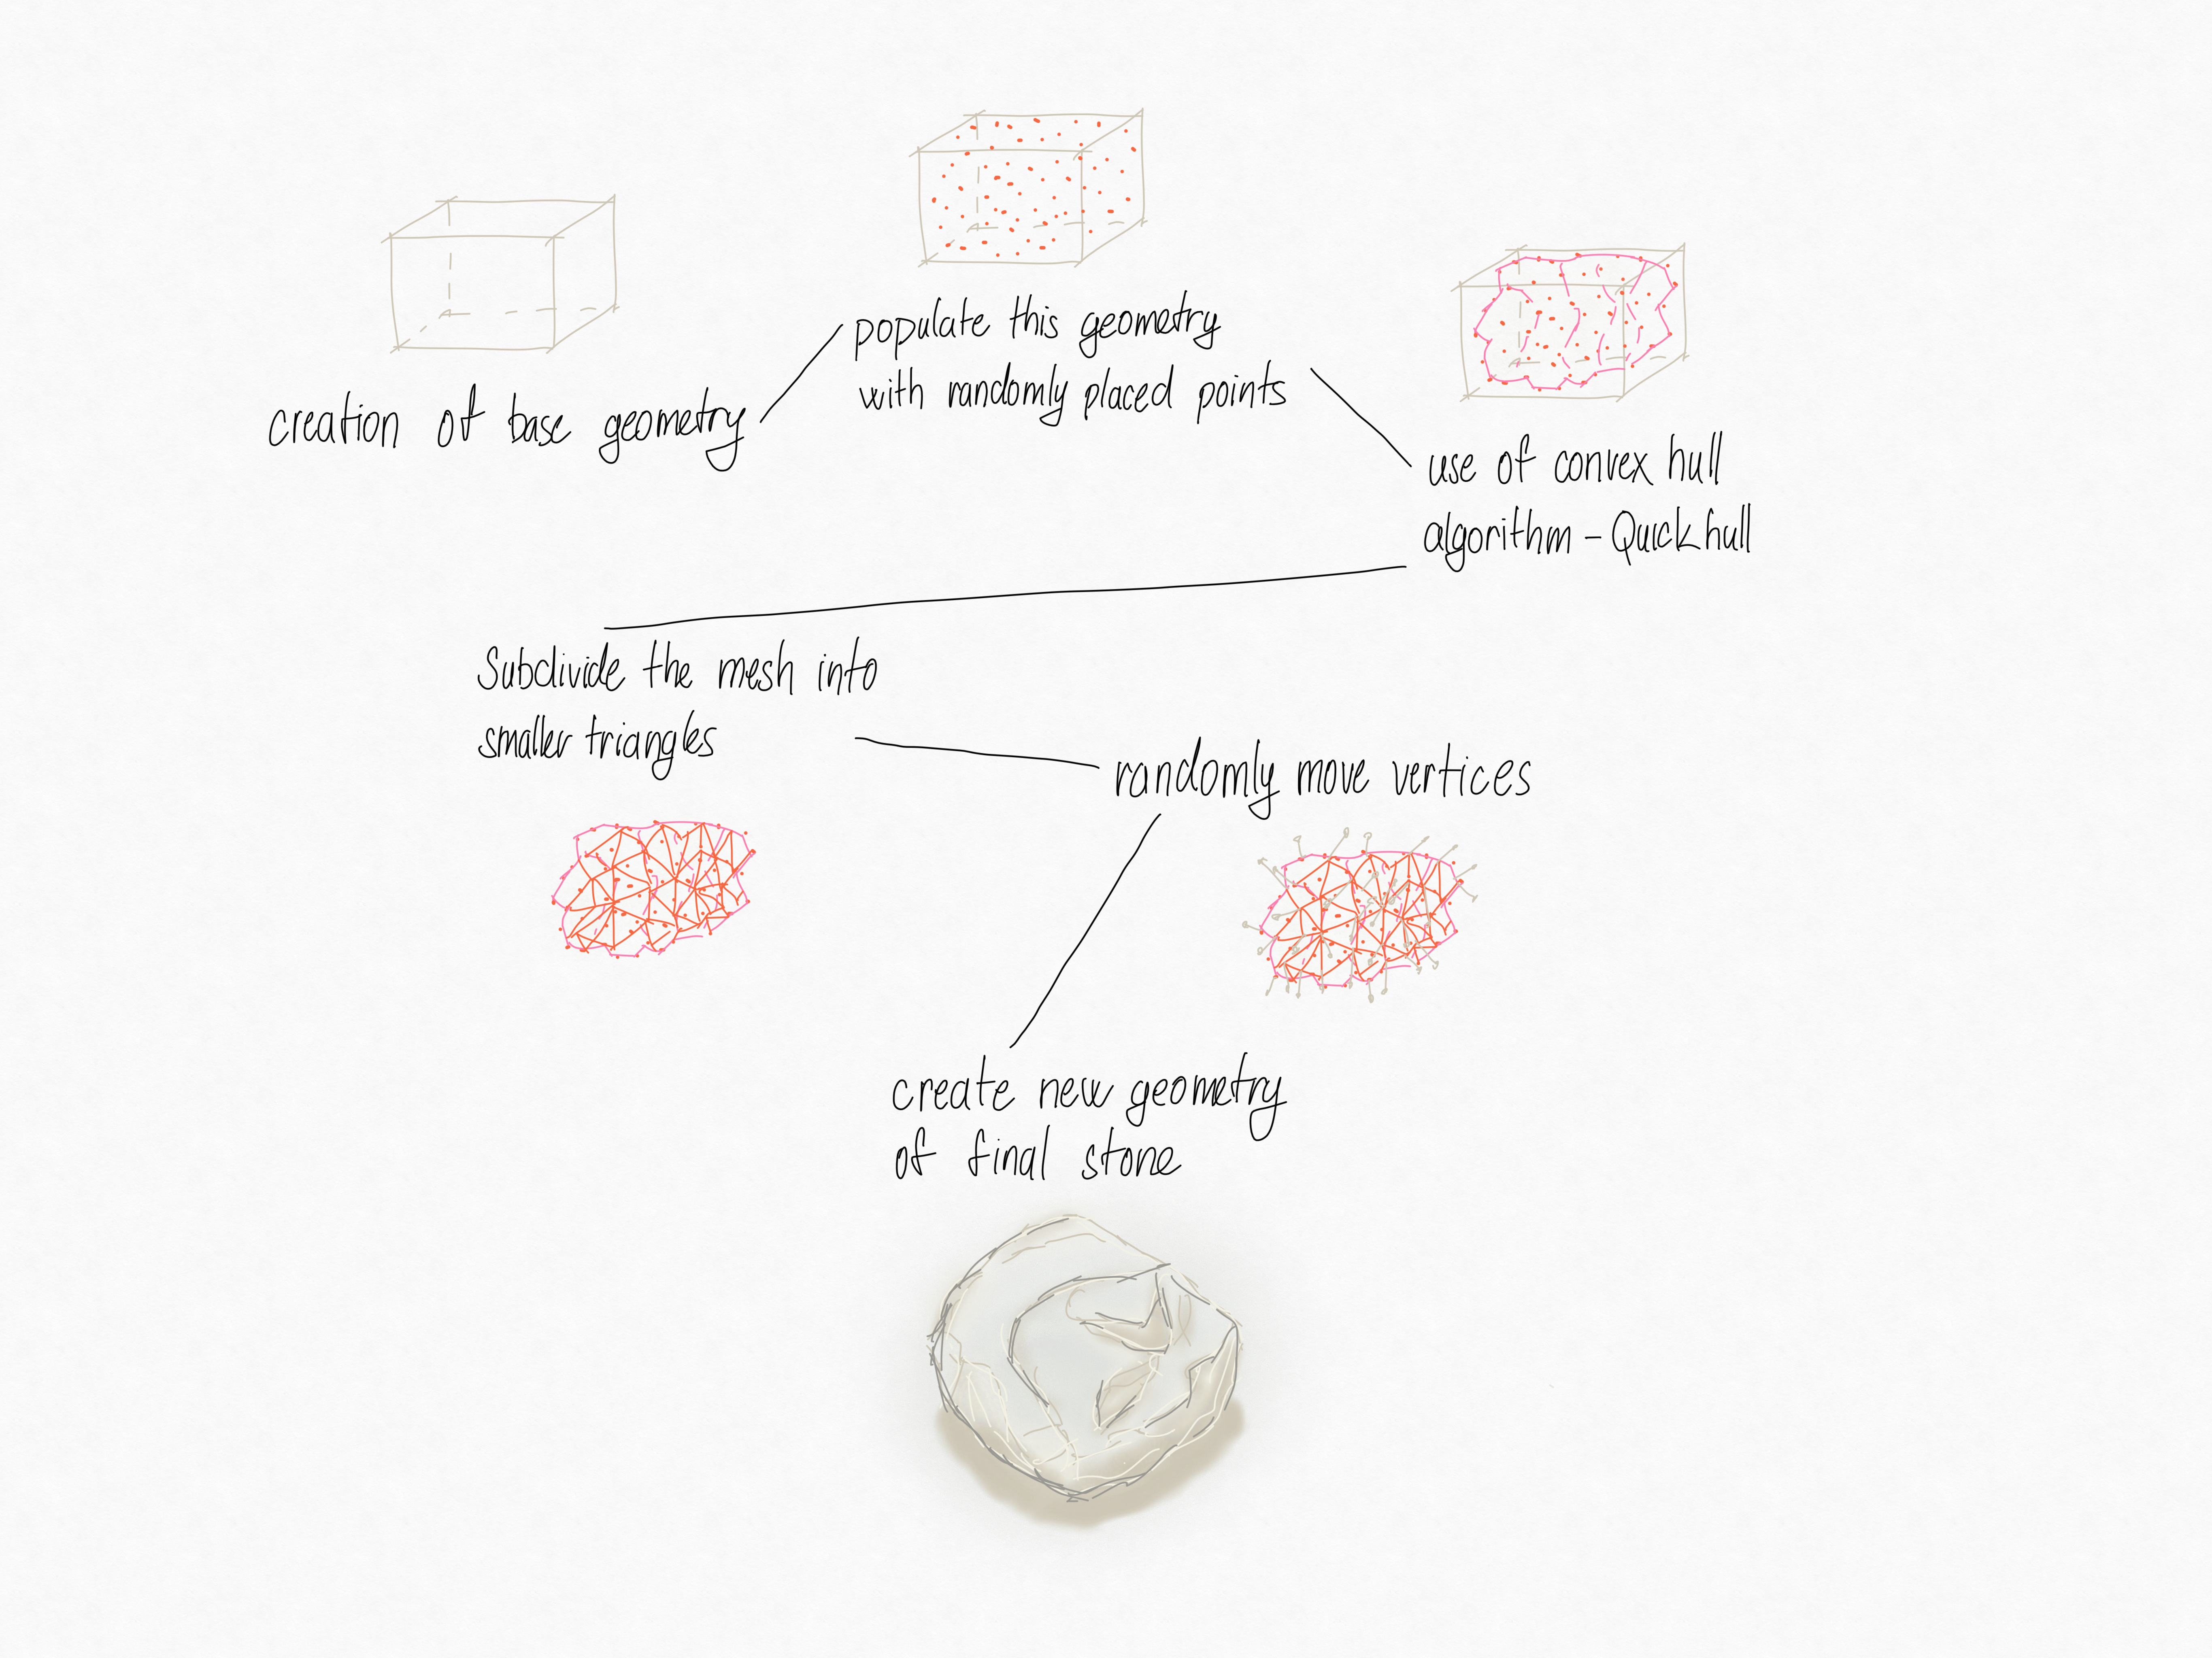
Workflow sketch
Description of the script itself:
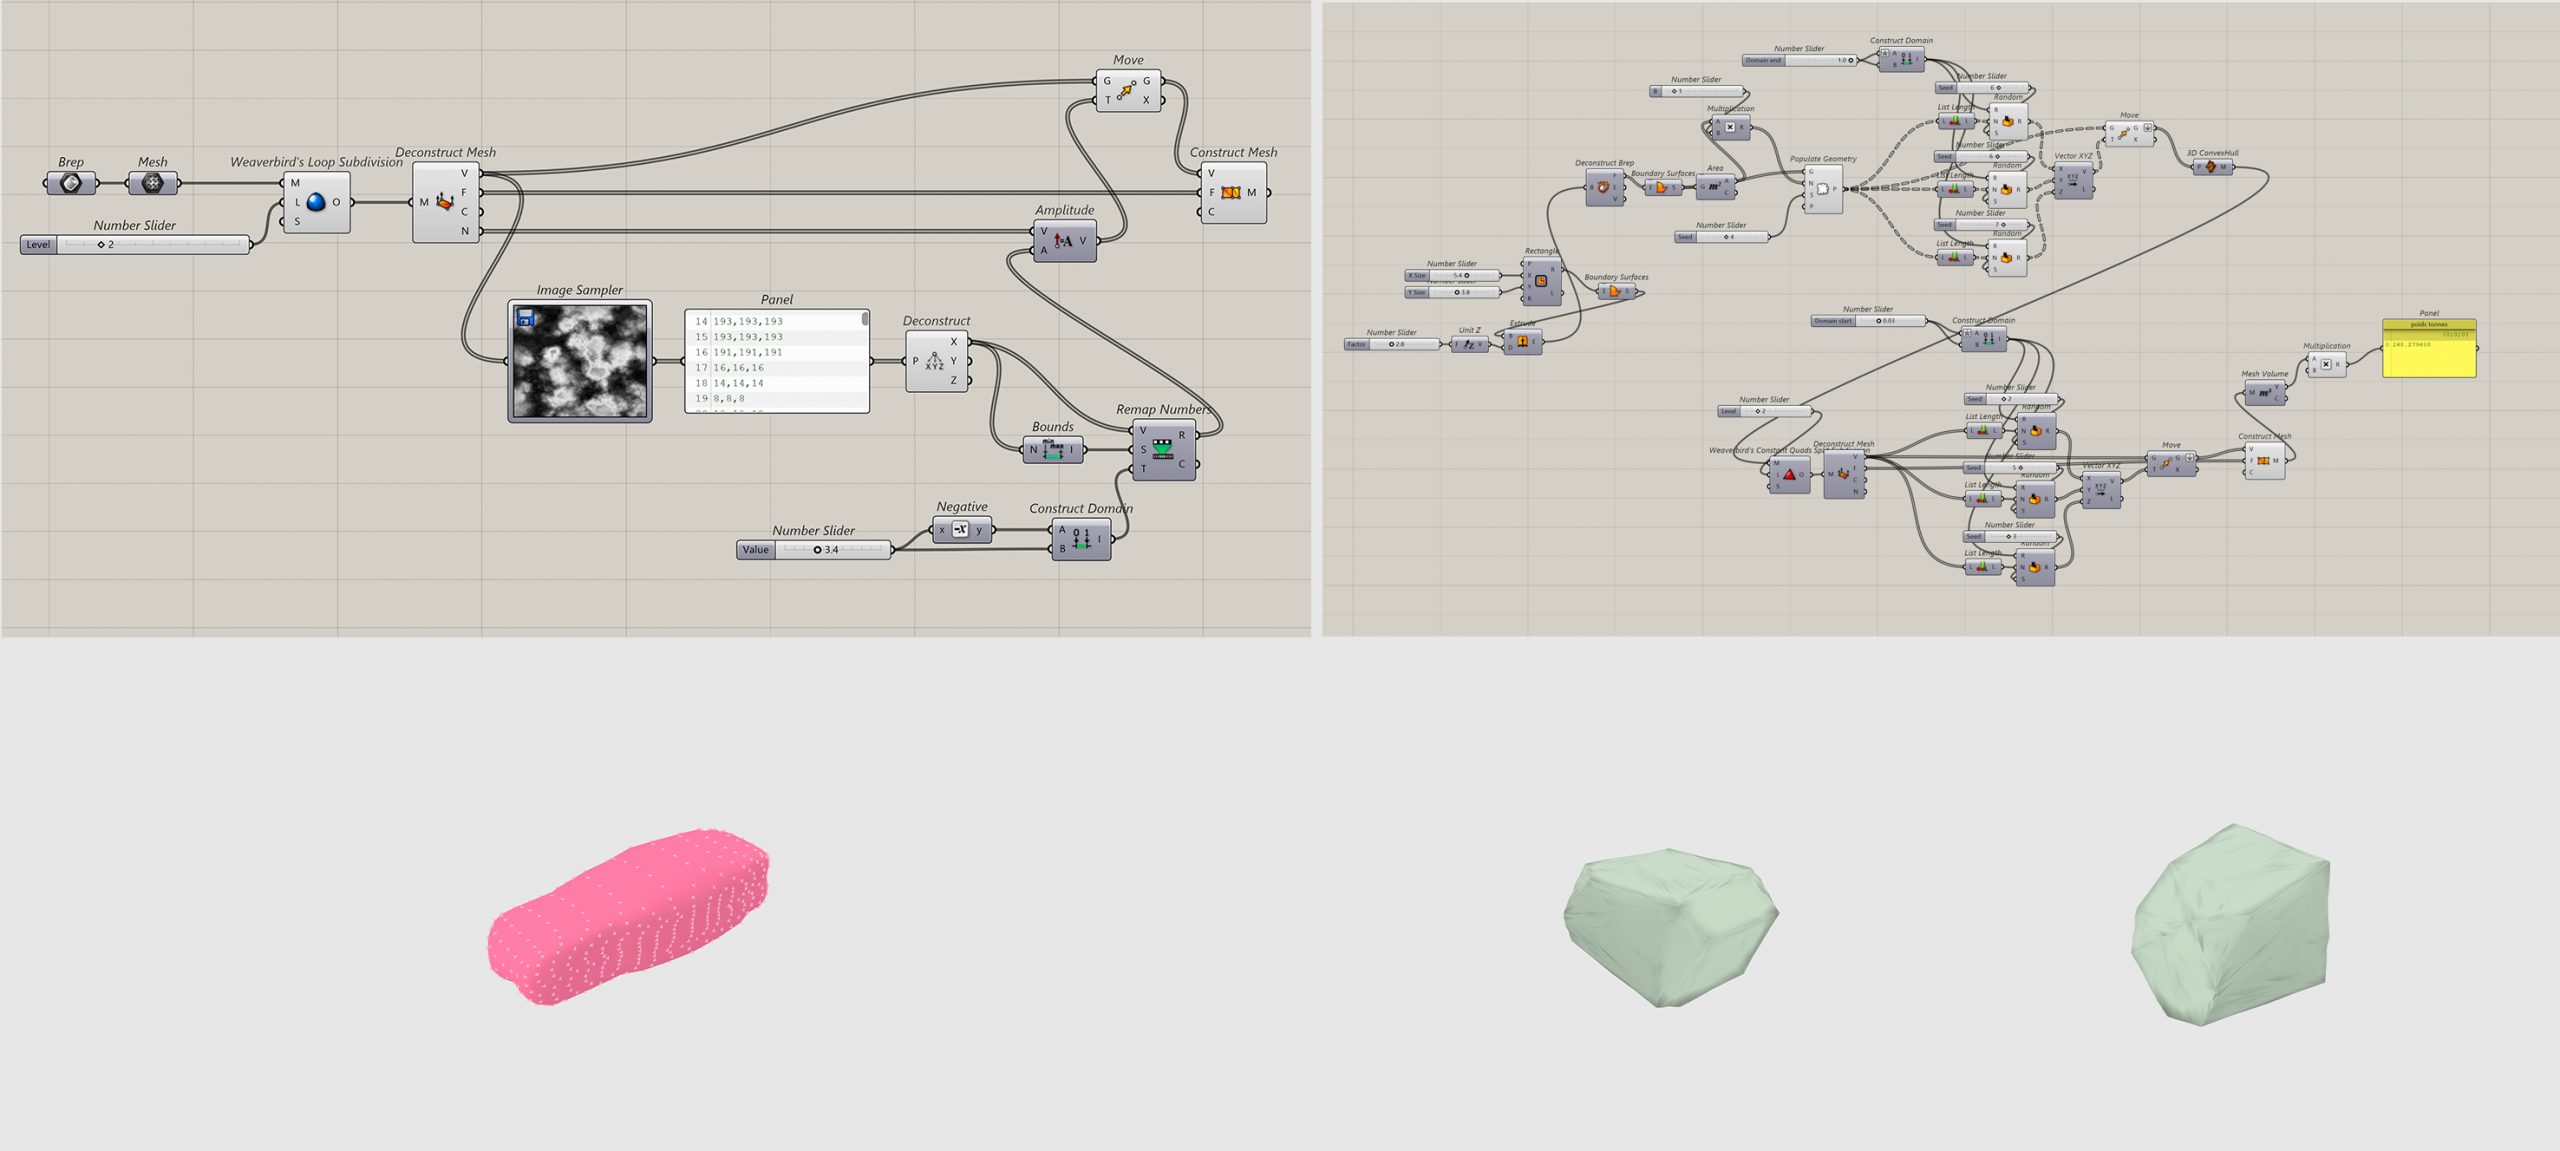
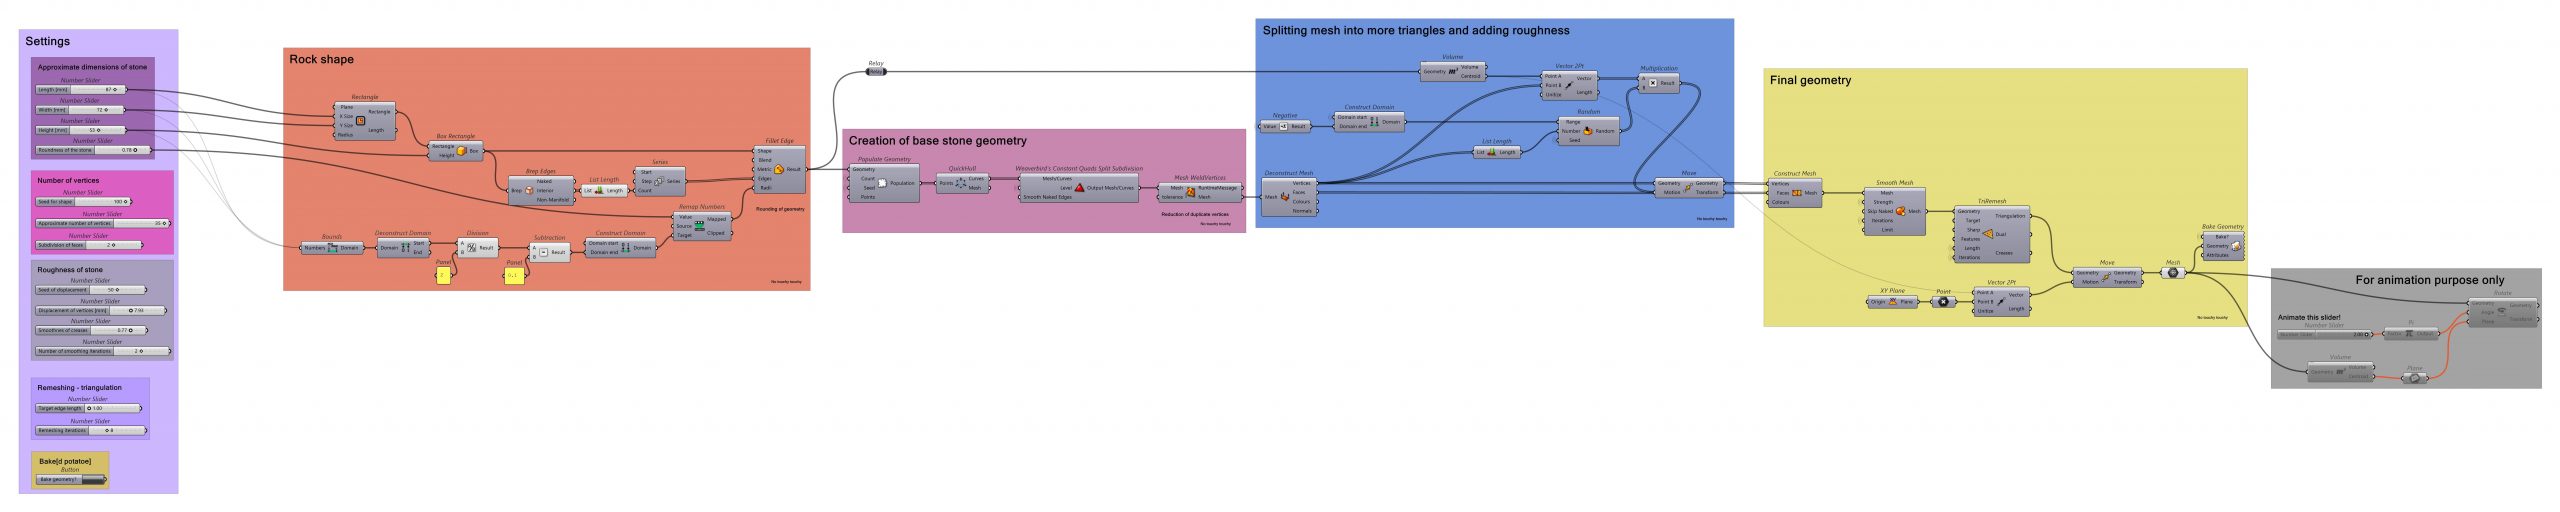
The whole script from Rhino
We will skip the description of the settings, I will describe them later in this tutorial.
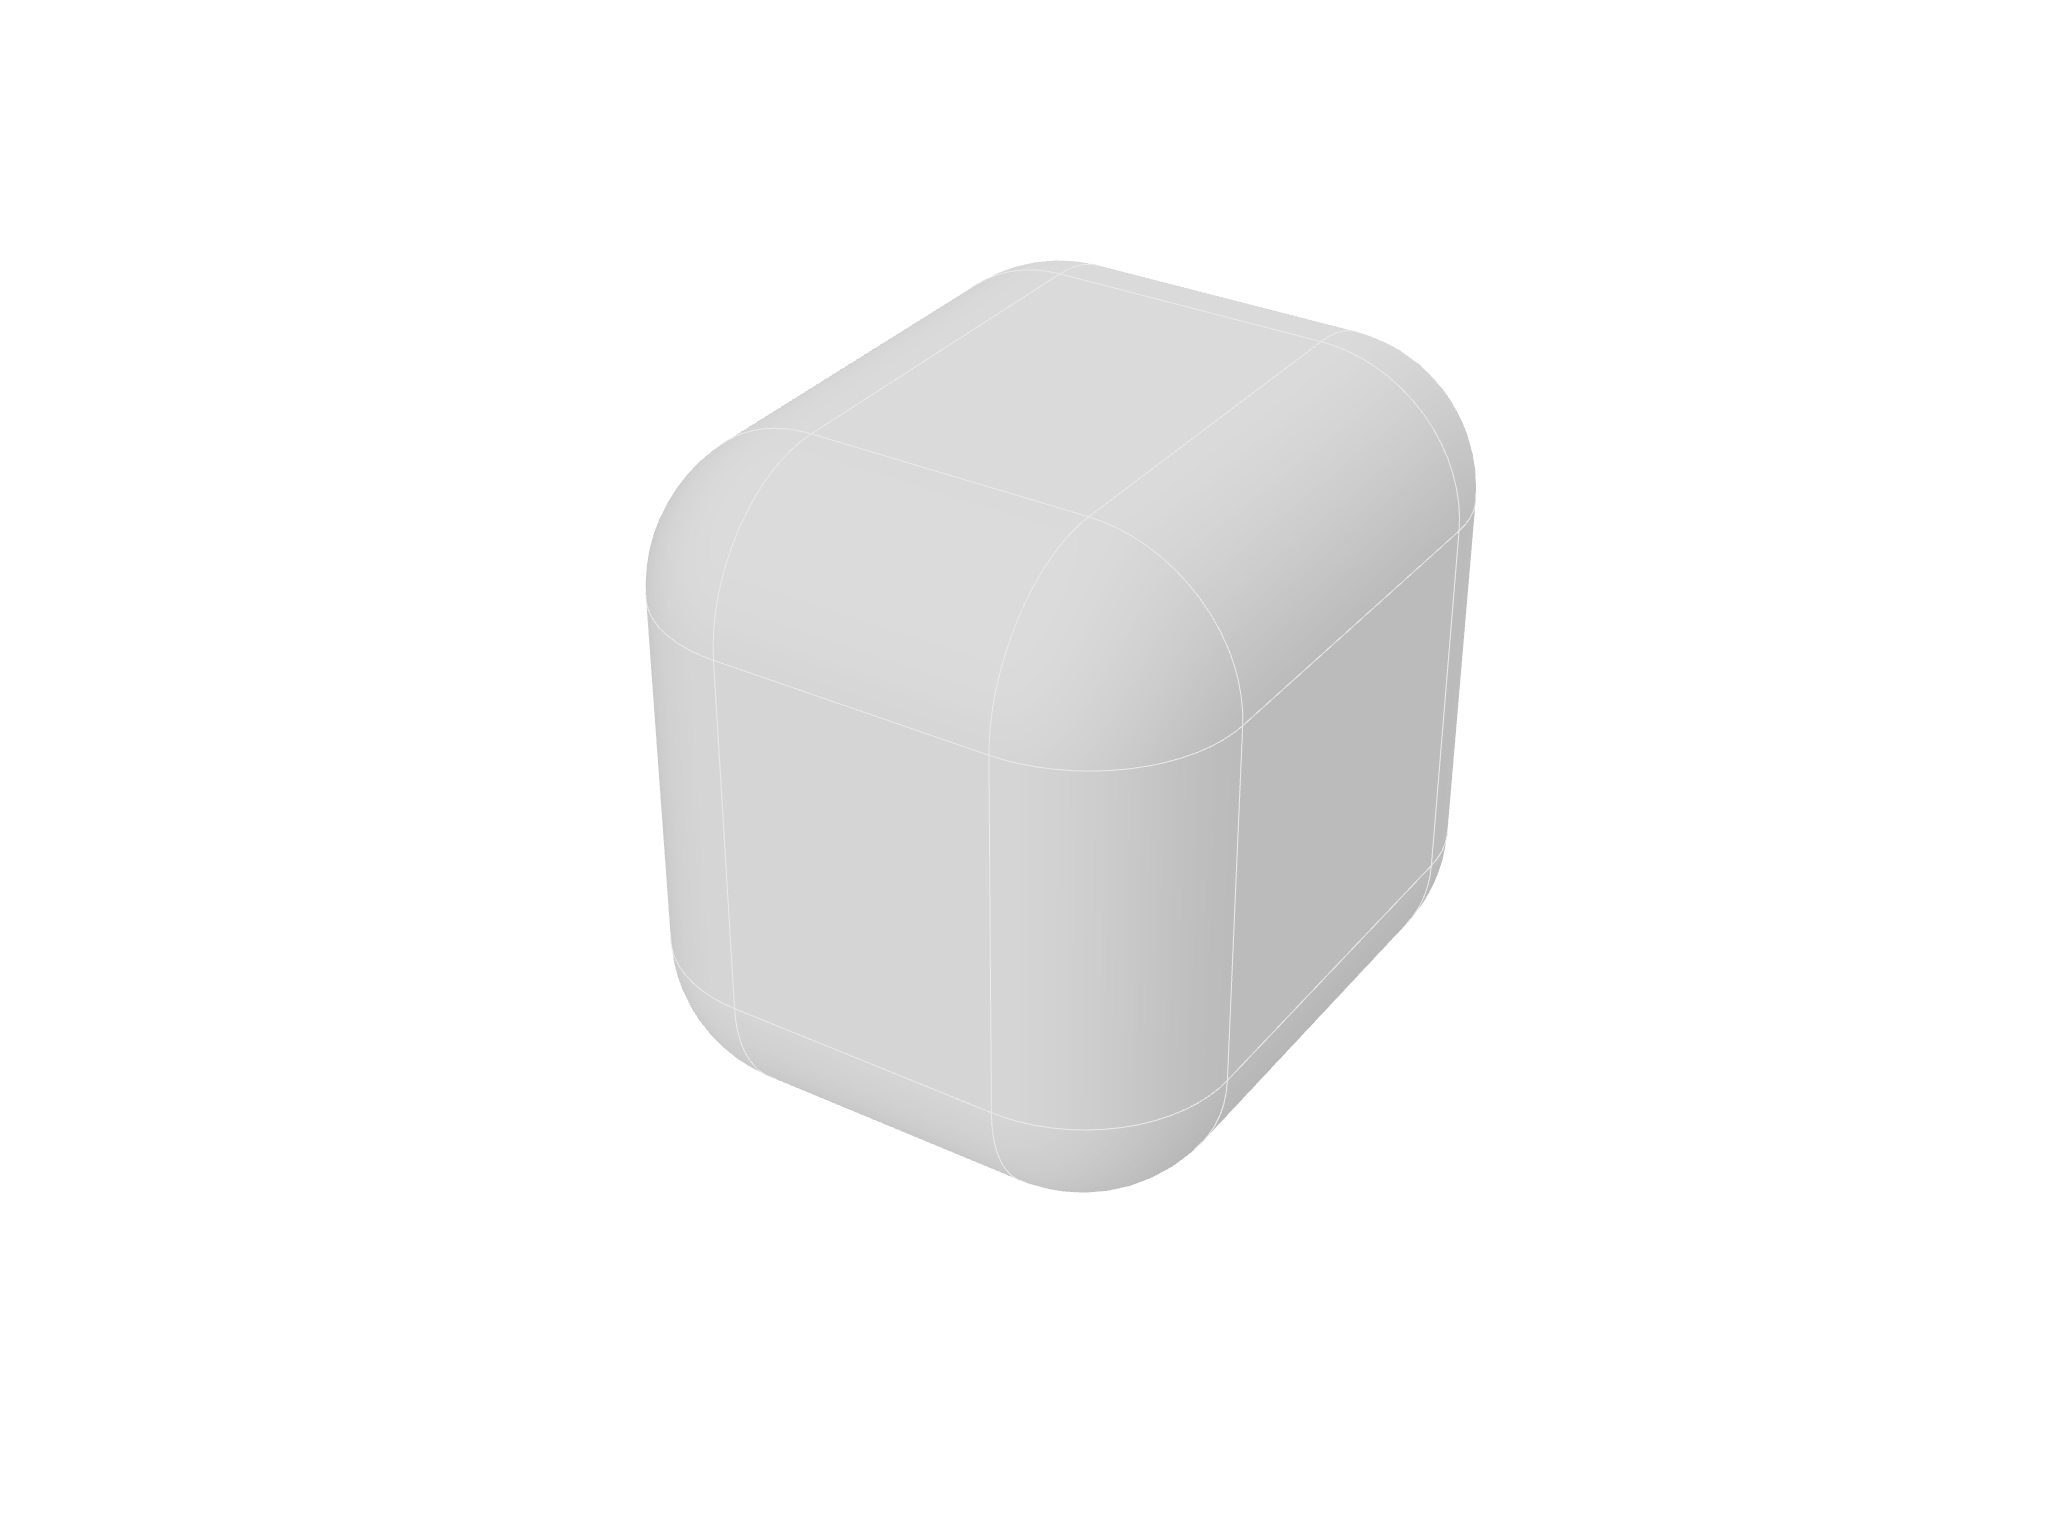
The orange box contains nodes for the creation of the base rock shape, in which we will create the stone itself. We first start with creating a general cuboid. Then we are adding settings for roundness which we achieve by filleting edges of the previously made geometry.
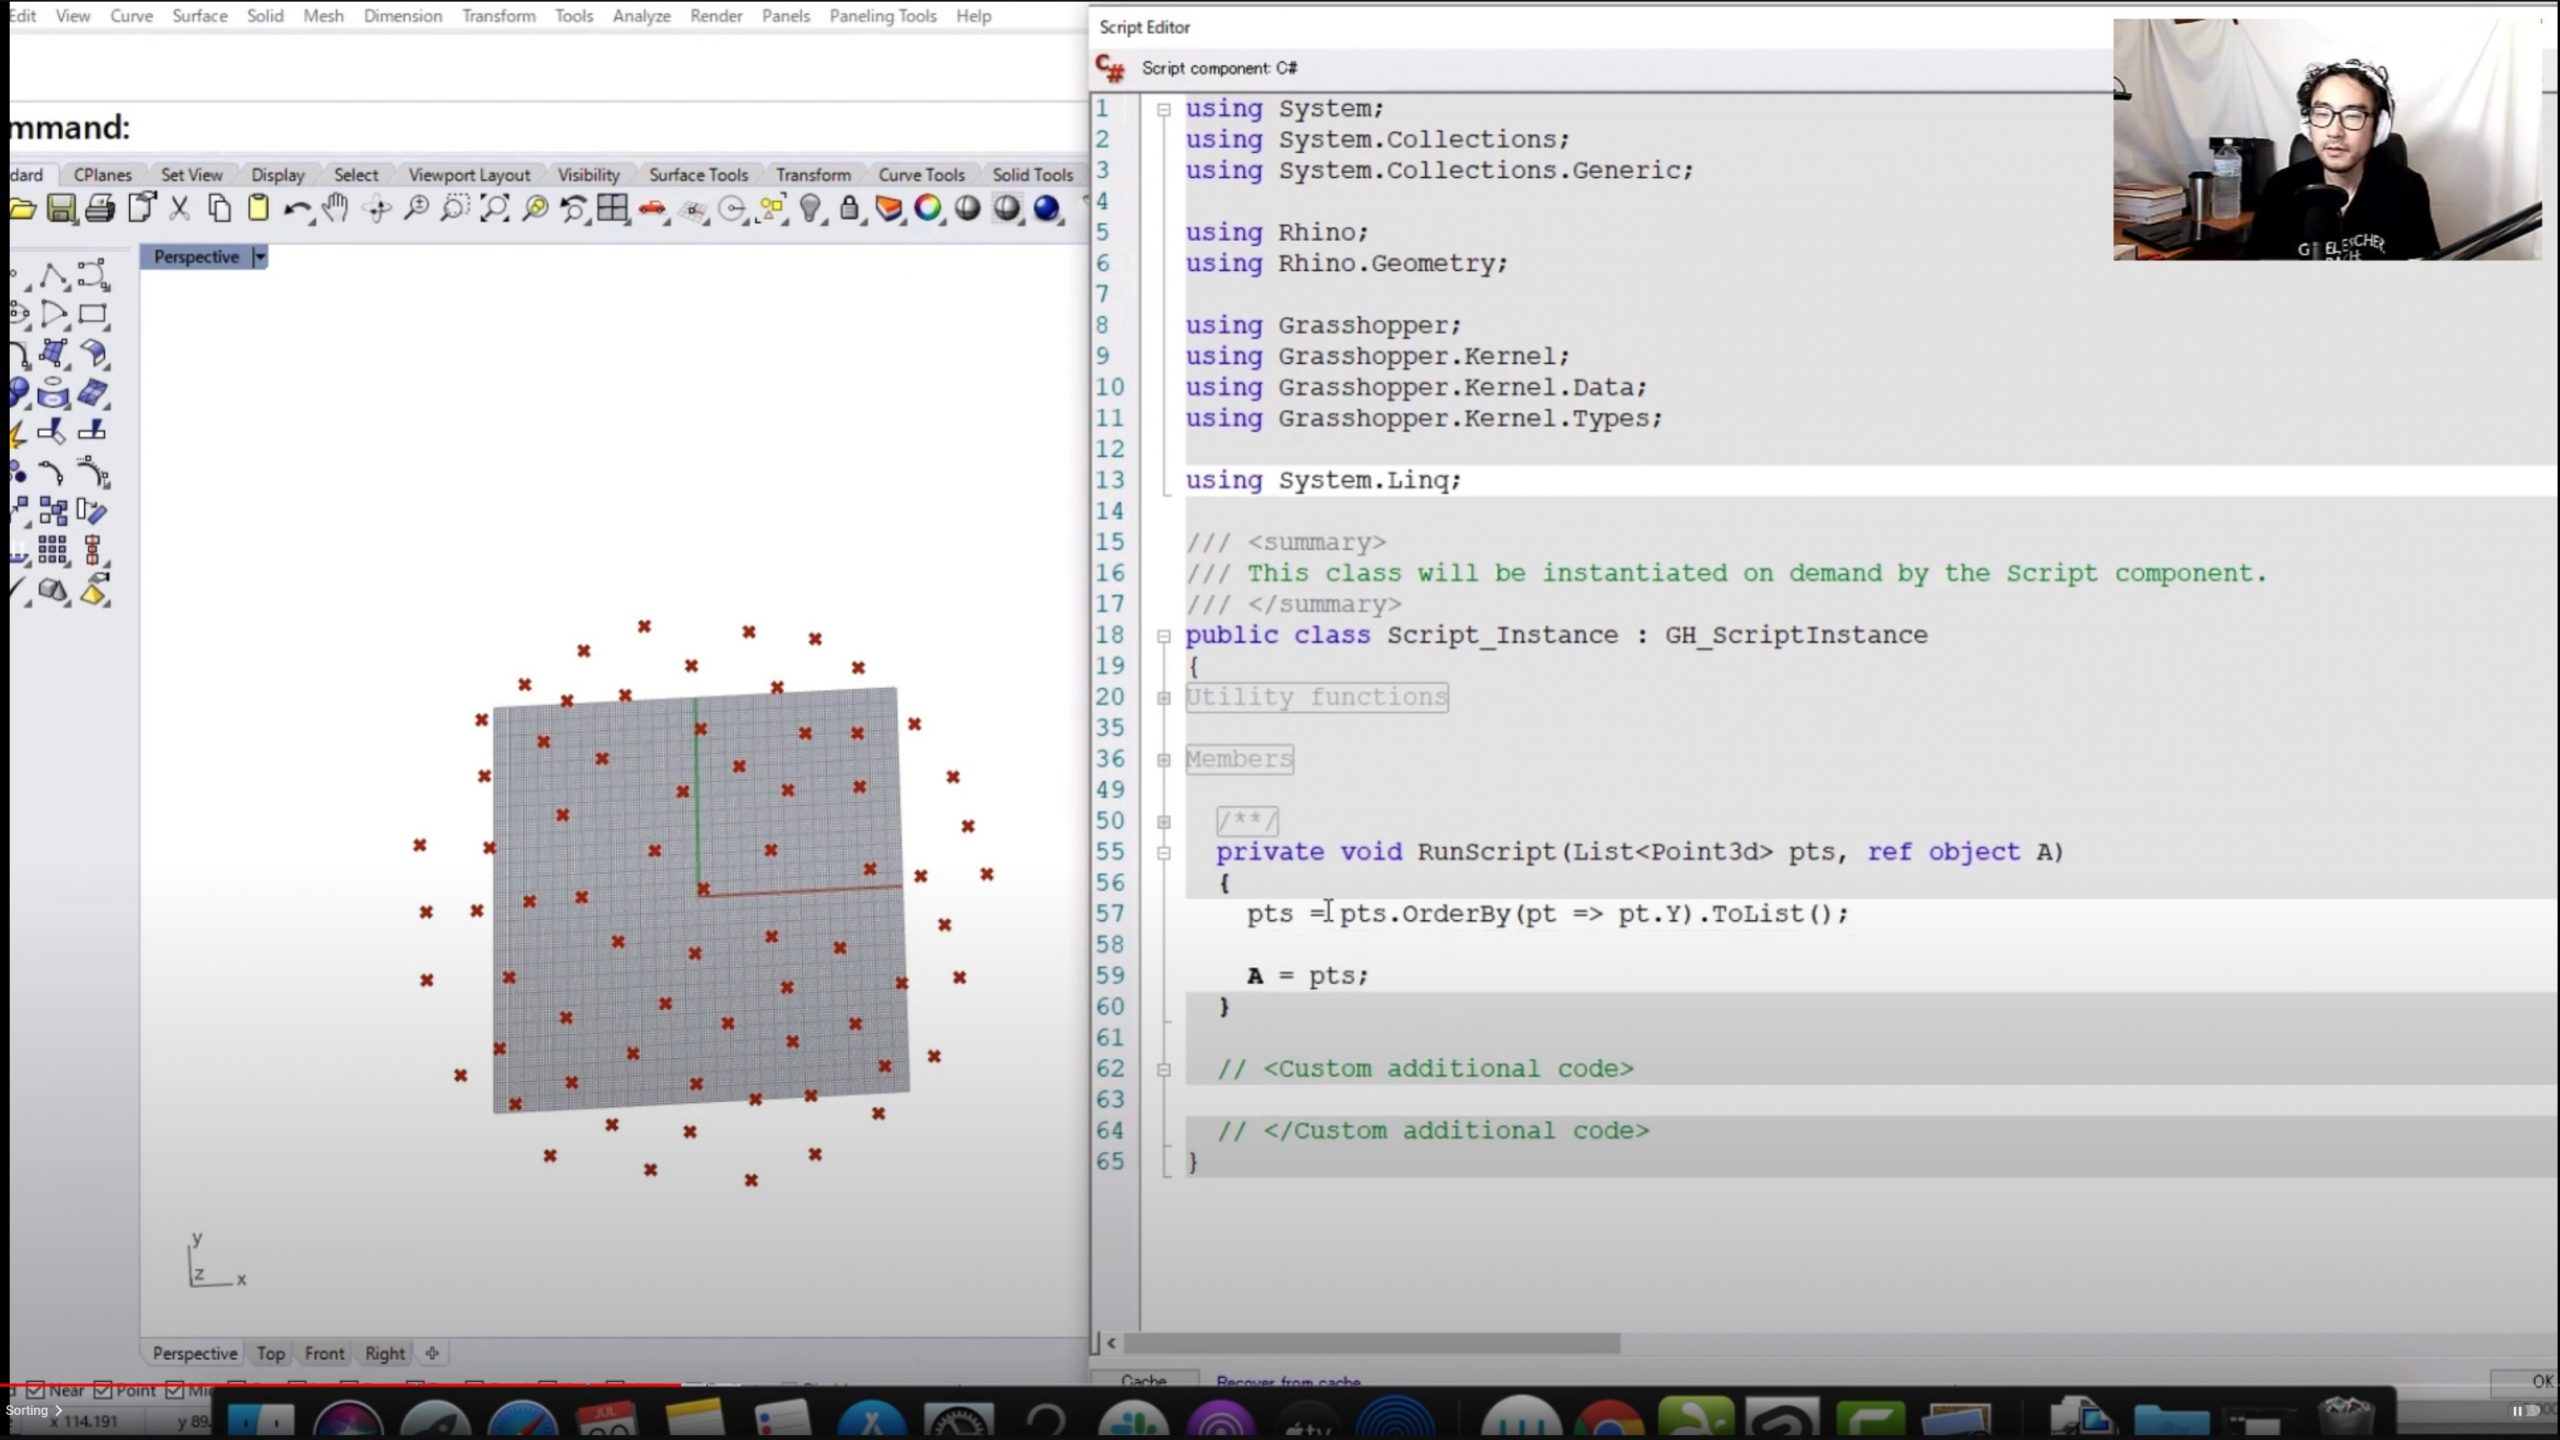
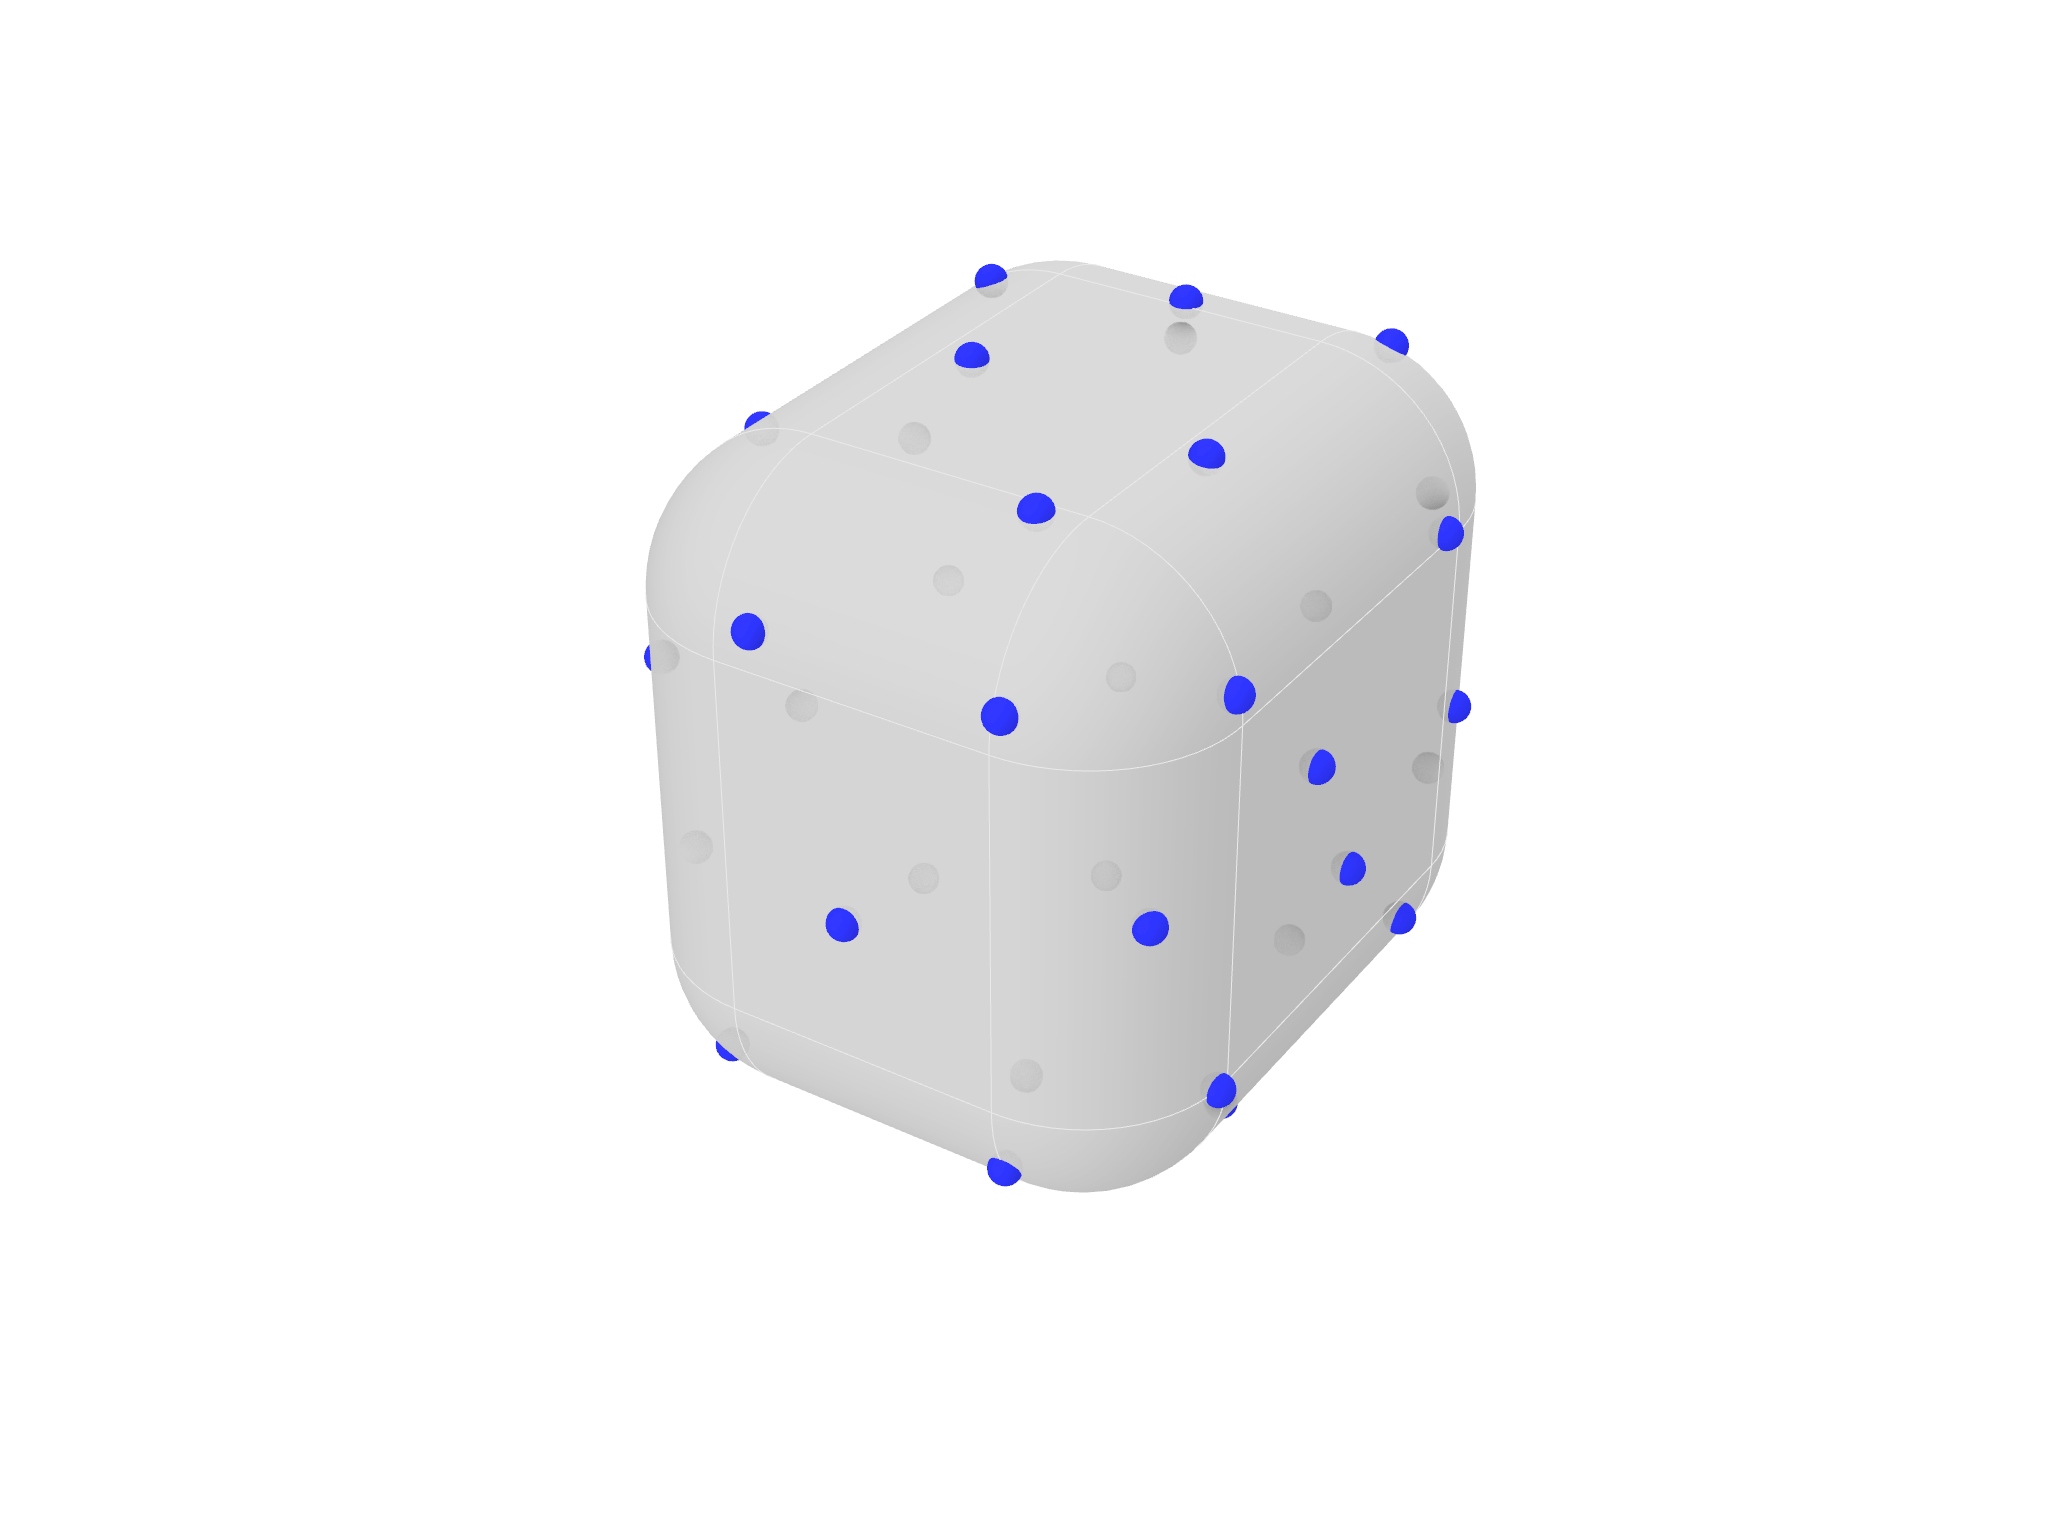
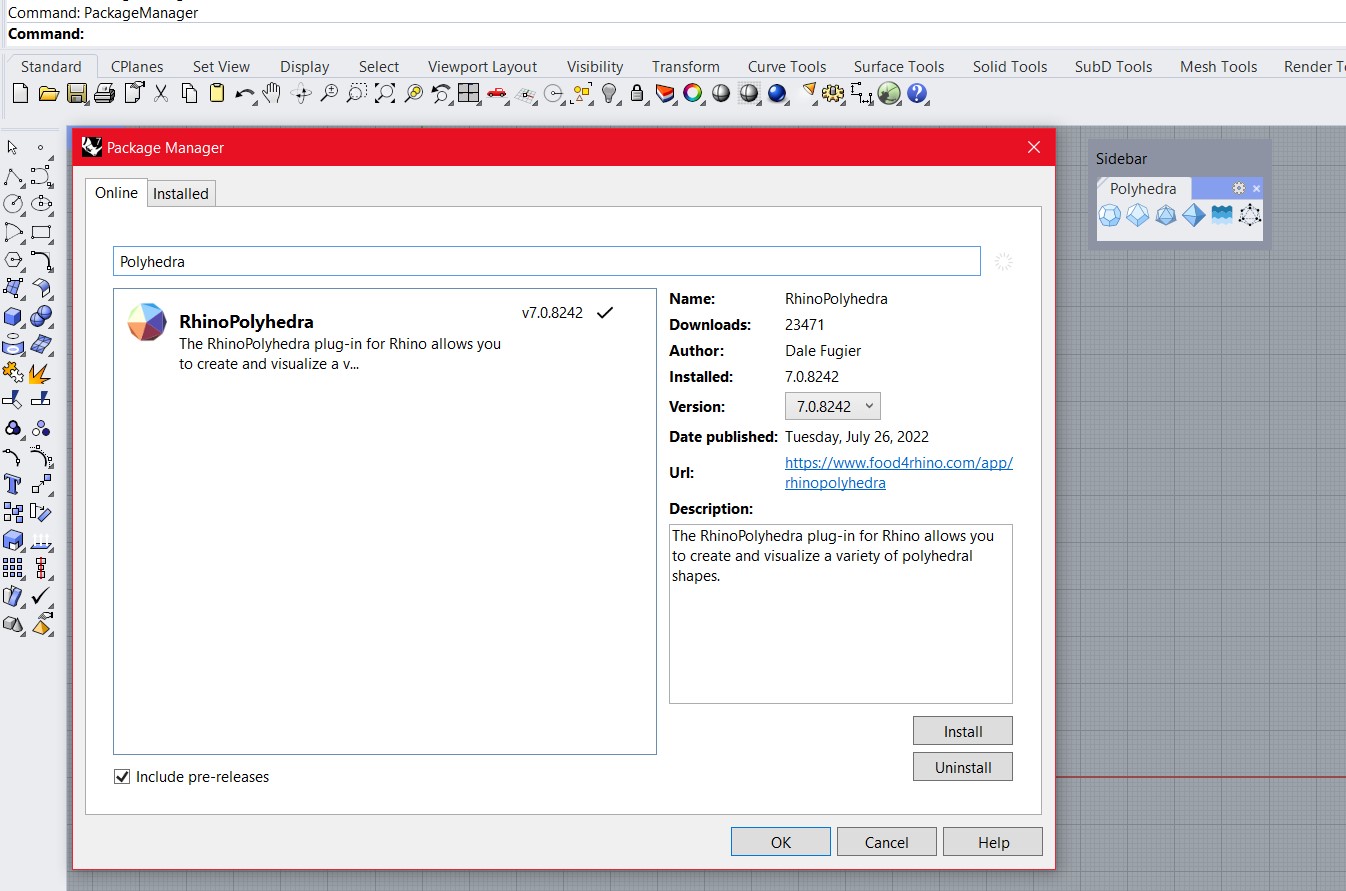
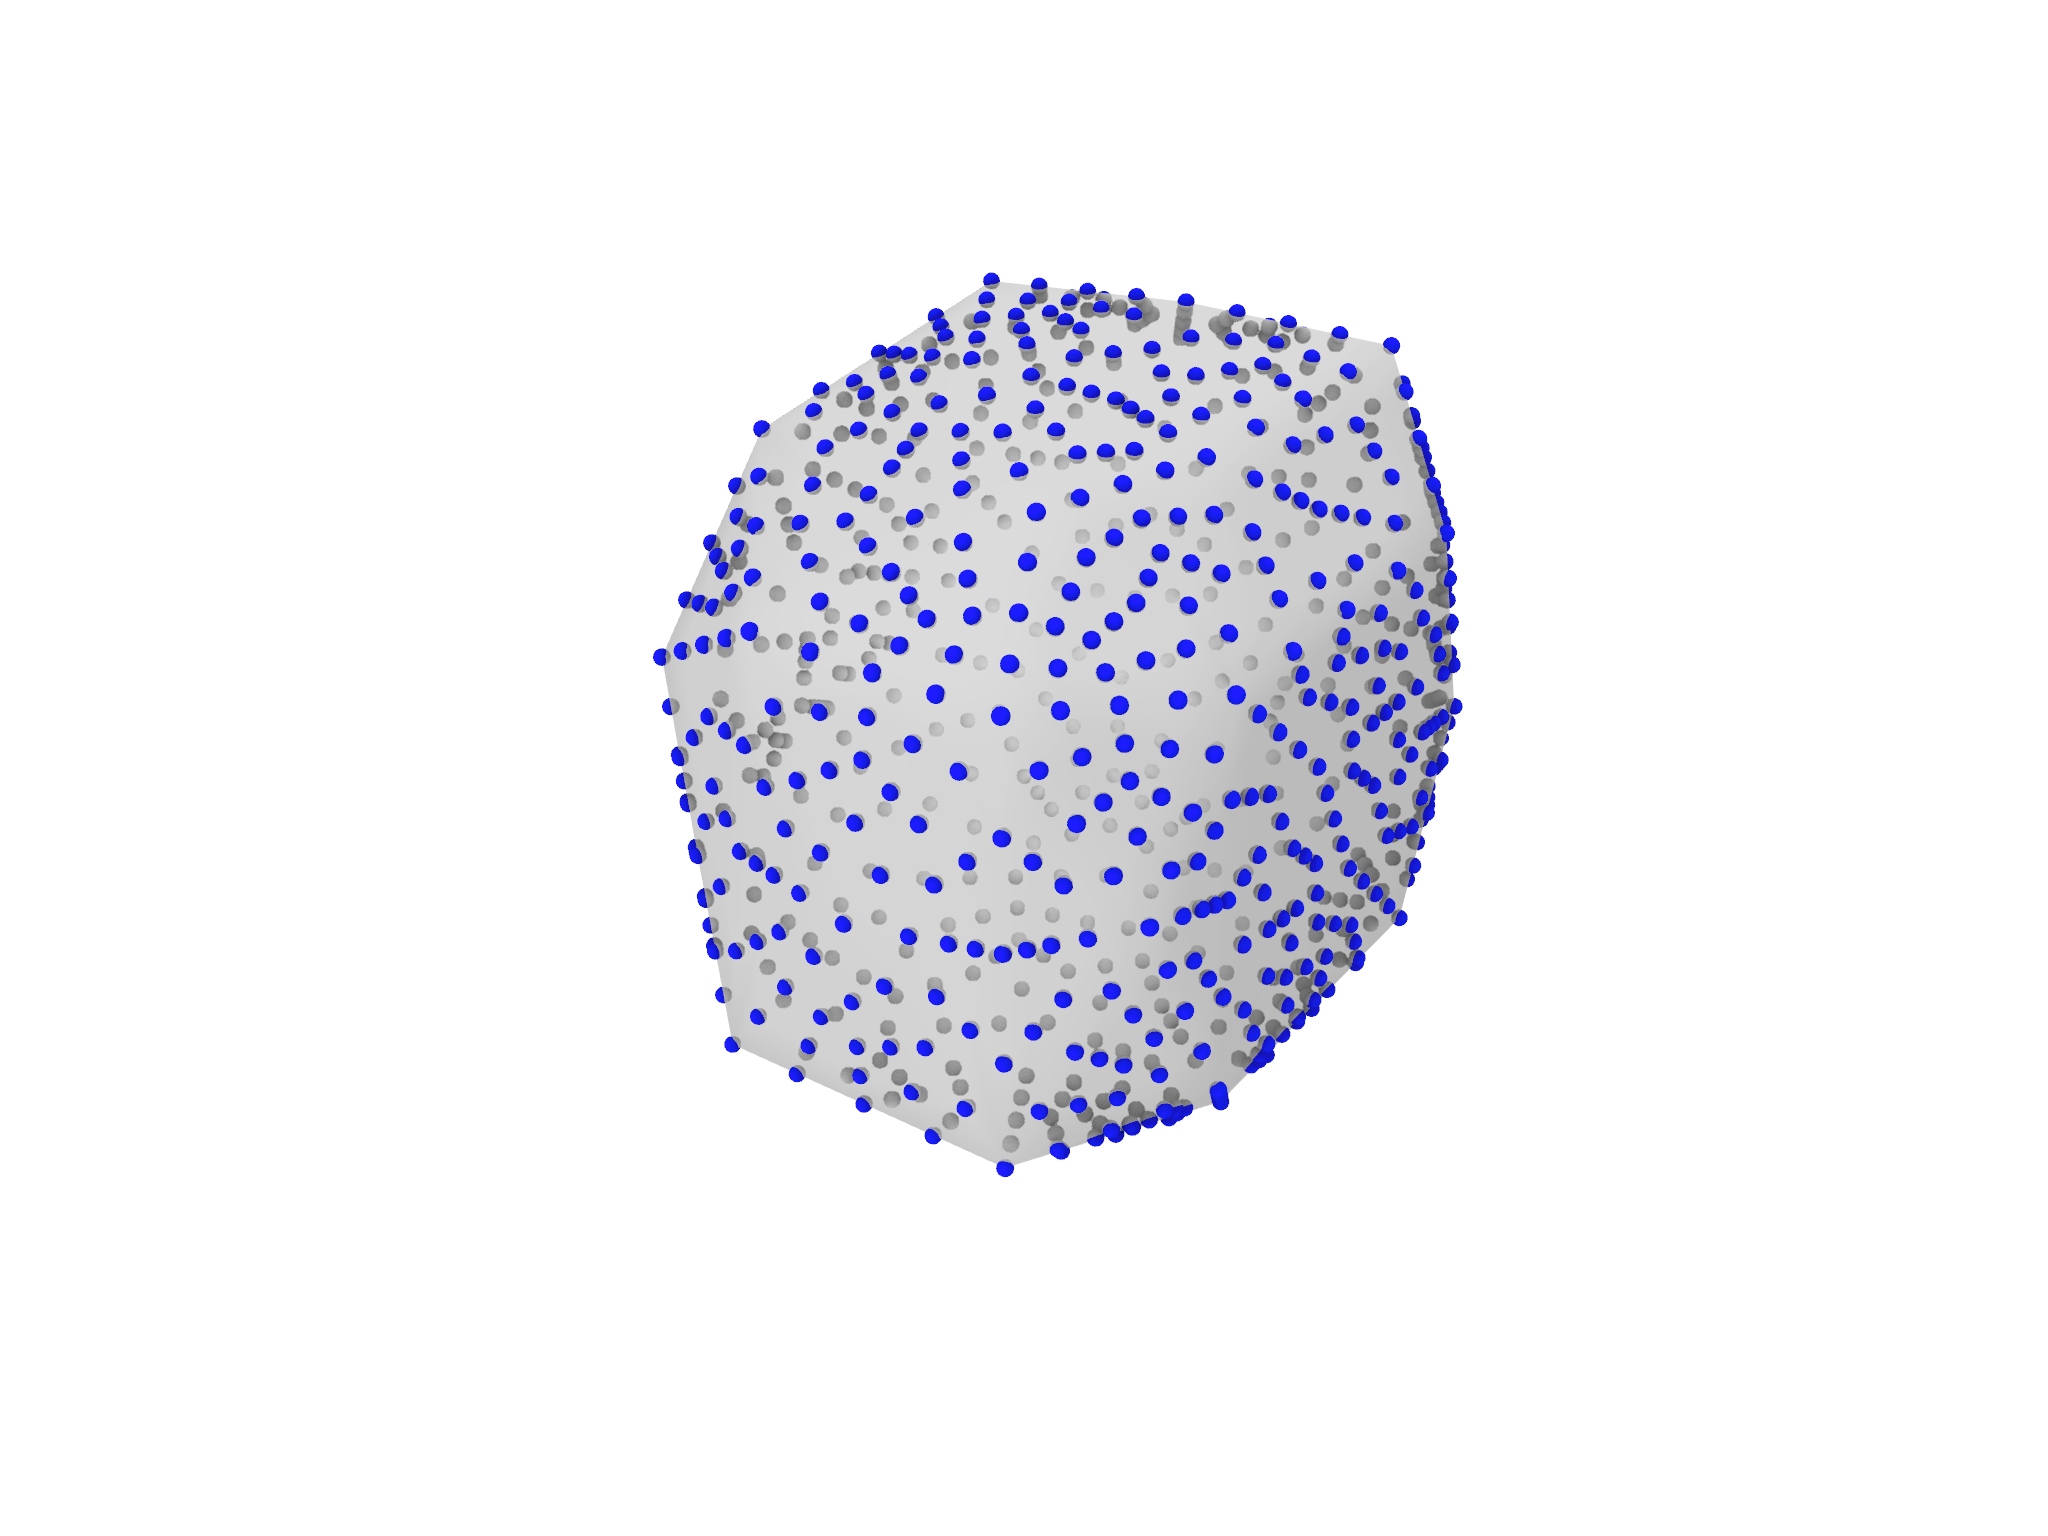
The pinkish box is responsible for the creation of the random point cloud inside the geometry. After that, we are at our first very important node. QuickHull from plugin Polyhedra. This creates the first mesh from points. Then we begin with the subdivision of the triangles. For this node, we have to install the Weavebird component Last node in this box is responsible for eliminating accidentally duplicated vertices.
Populate geometryQuickHull-type of convex hull algorithmsubdivison of triangles
For purpose of this script you have to install Polyhedra plugin. You can easily do that by typing PackageManager in command line in Rhino. Than you type Polyhedra in search bar and install the provided package. Than you restart Rhino to activate the plugin.
Second plugin we need for this script is Weavebird. Again, we can install it straight from Rhino package manager as we did with Polyhedra.
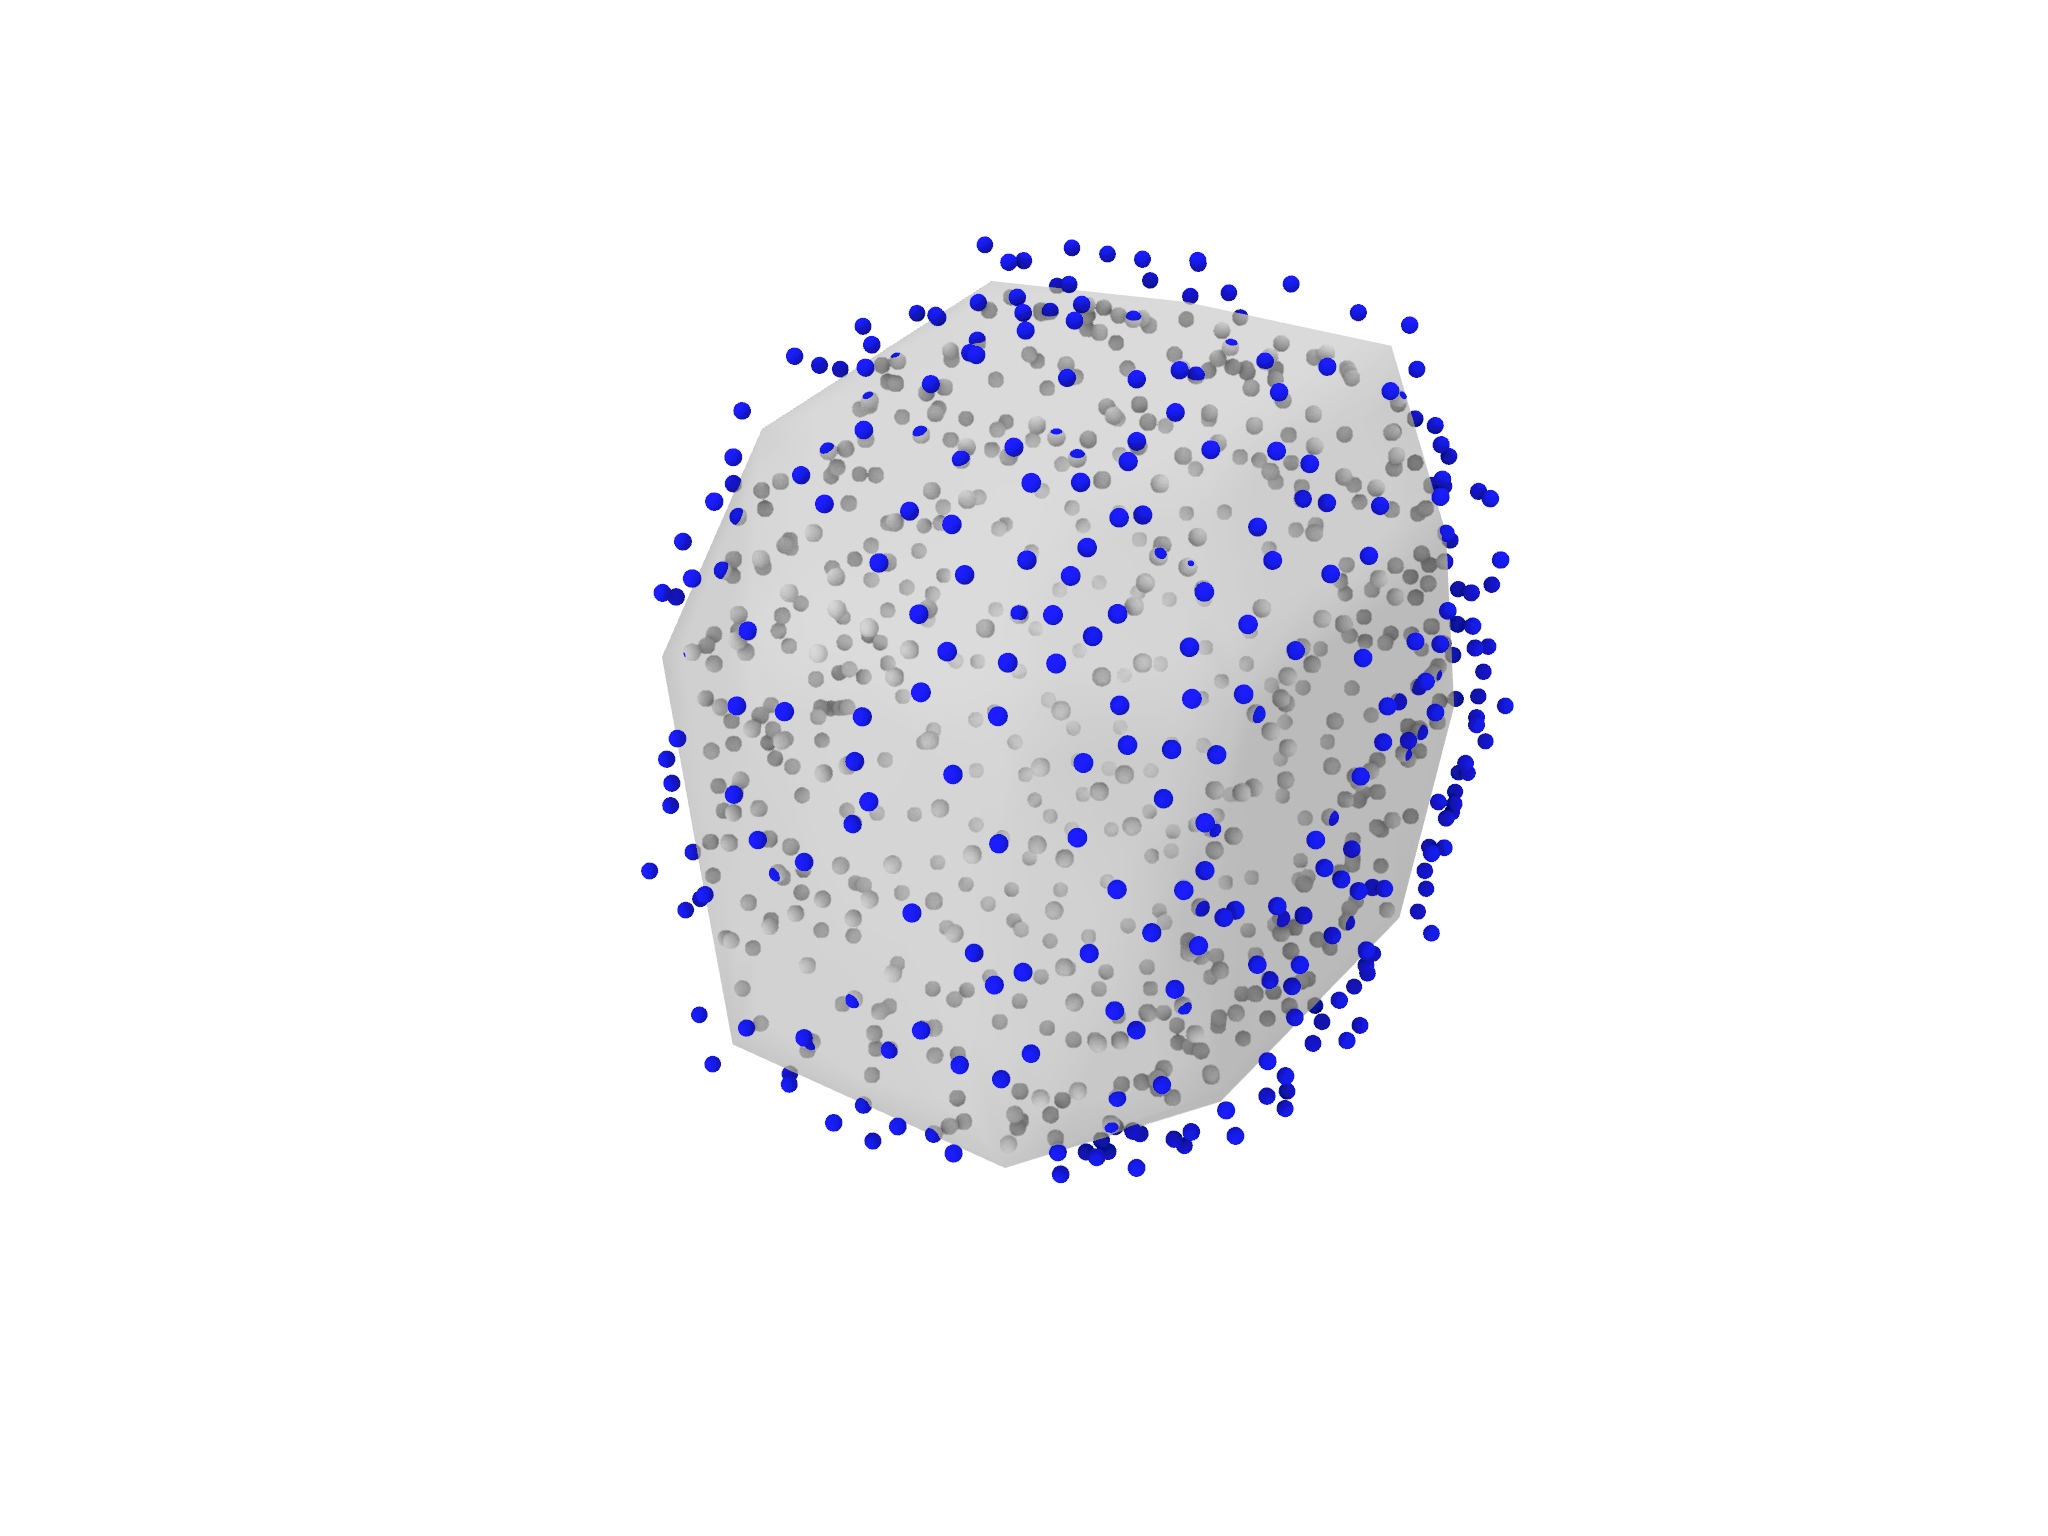
The blue box deconstructs the subdivided mesh into separated vertices which we can then move by a vector, which is going from the centroid of the object toward the vertices. The amount of motion is randomly set, so the geometry looks more natural.
before moving verticesafter moving vertices
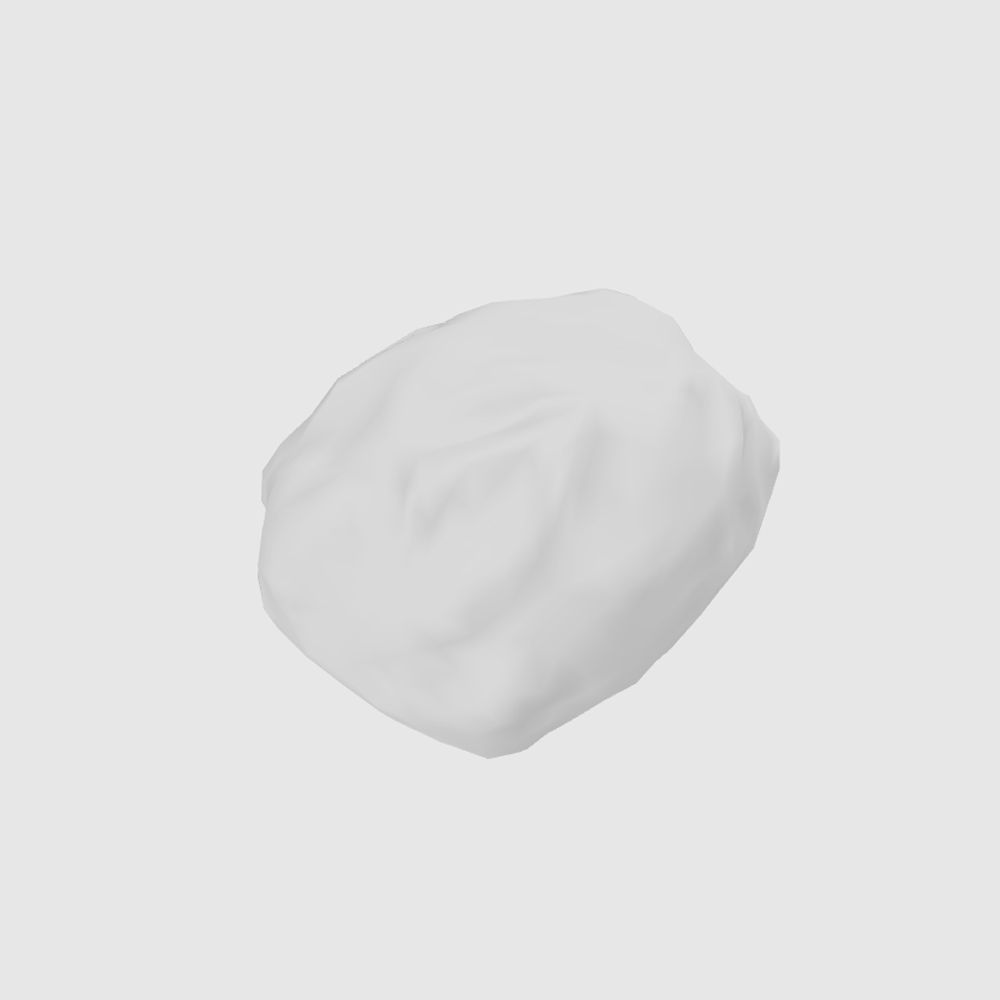
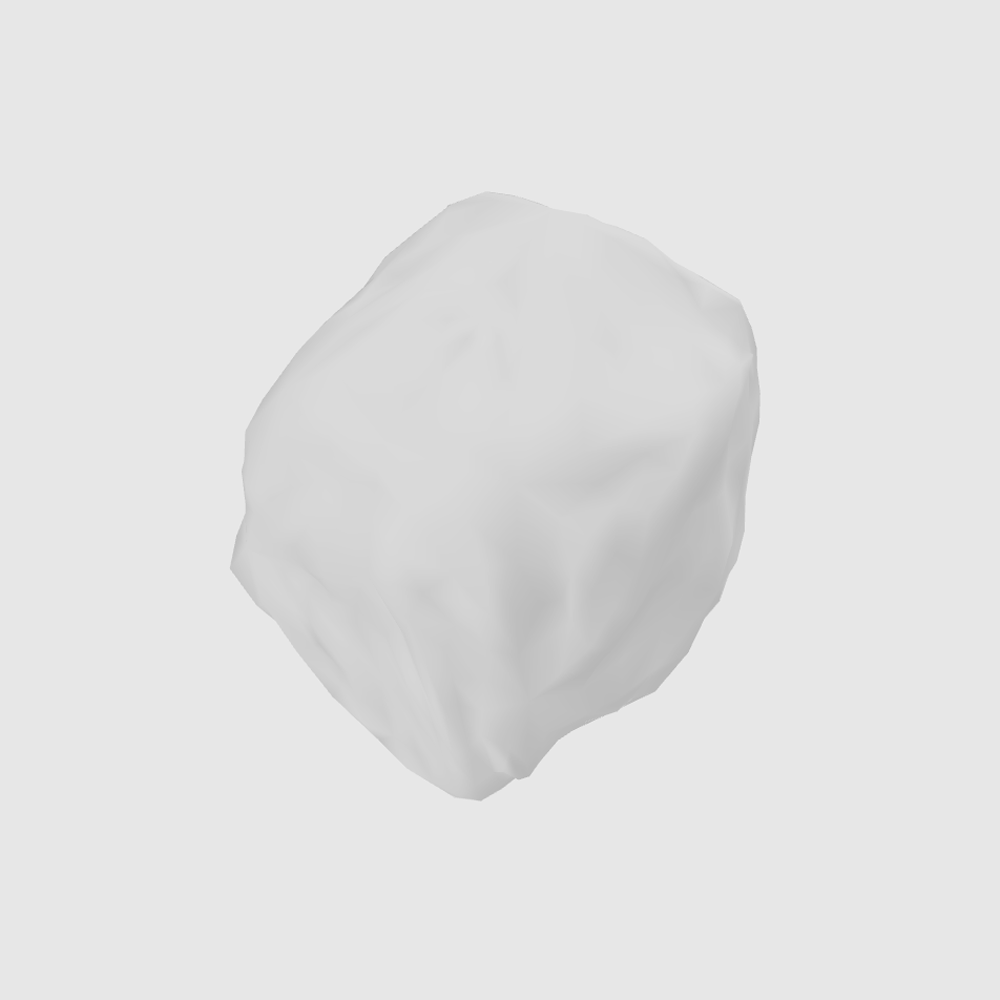
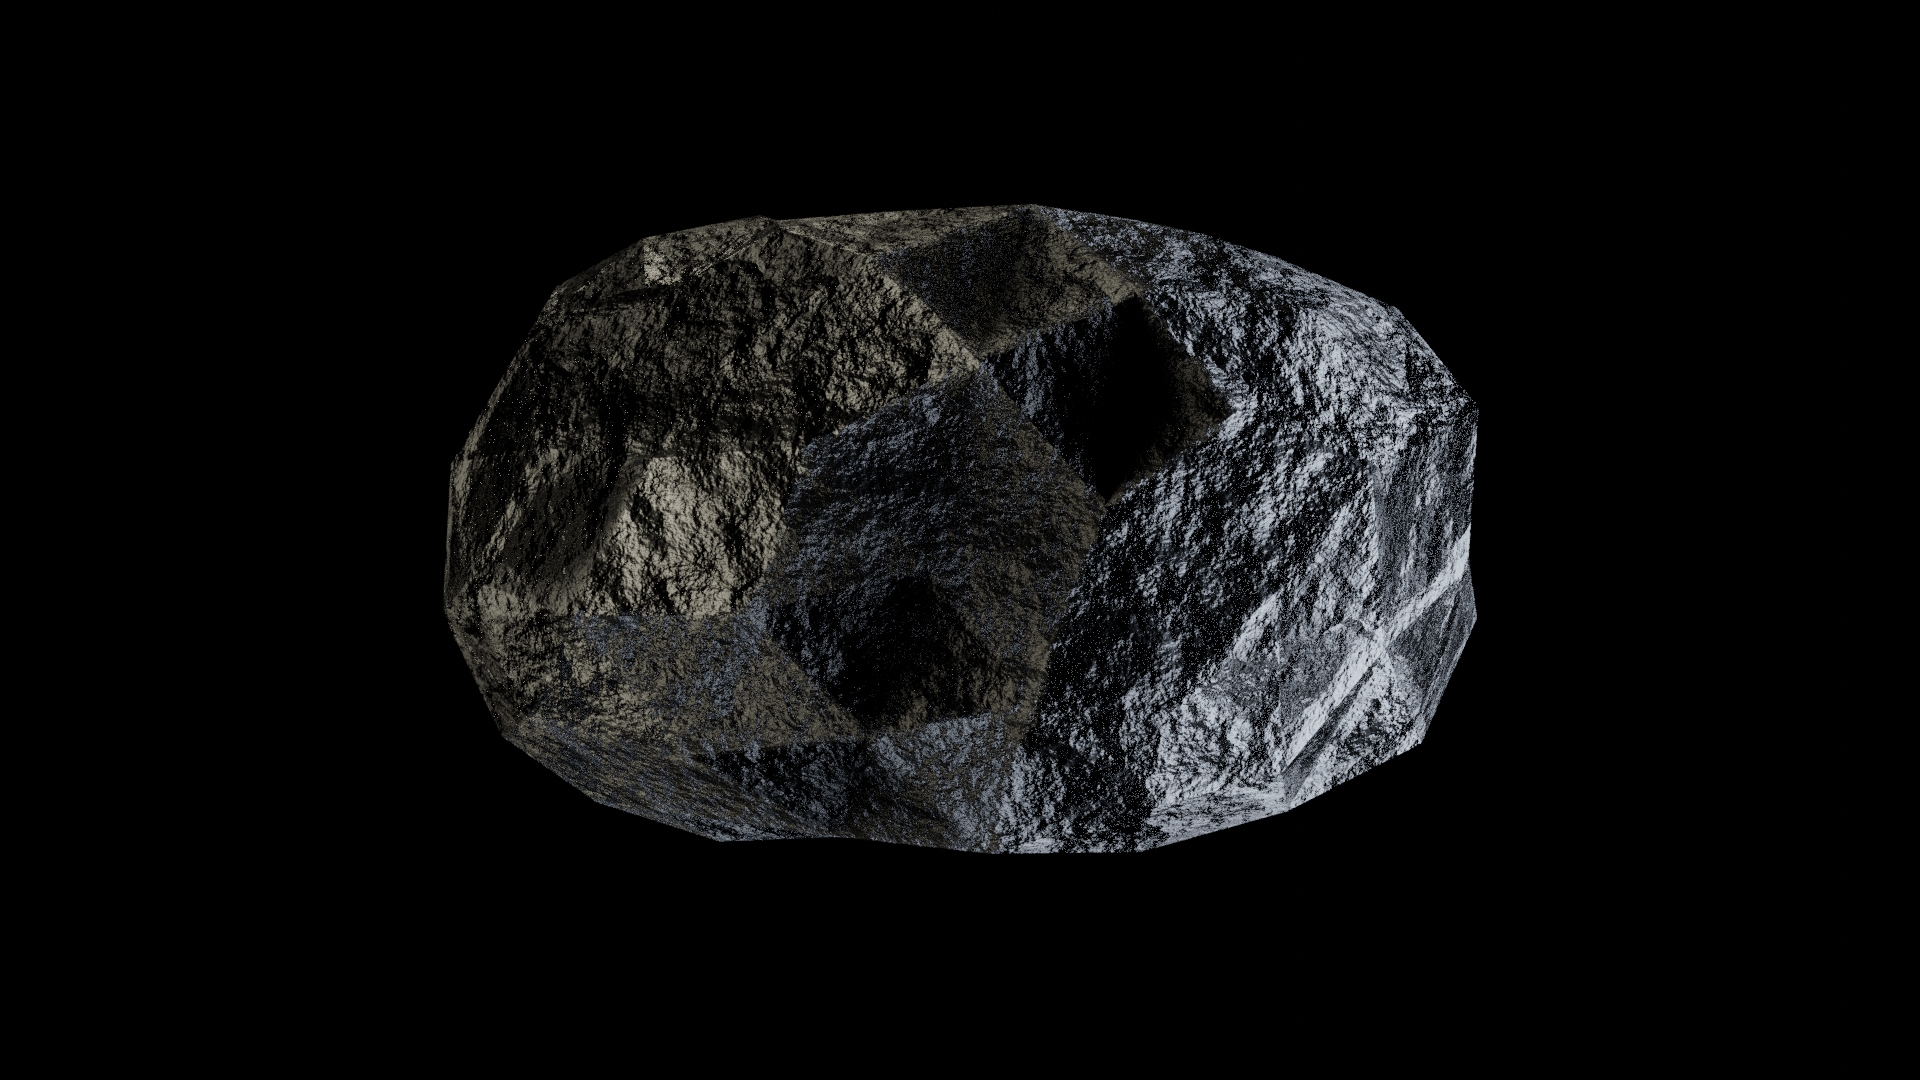
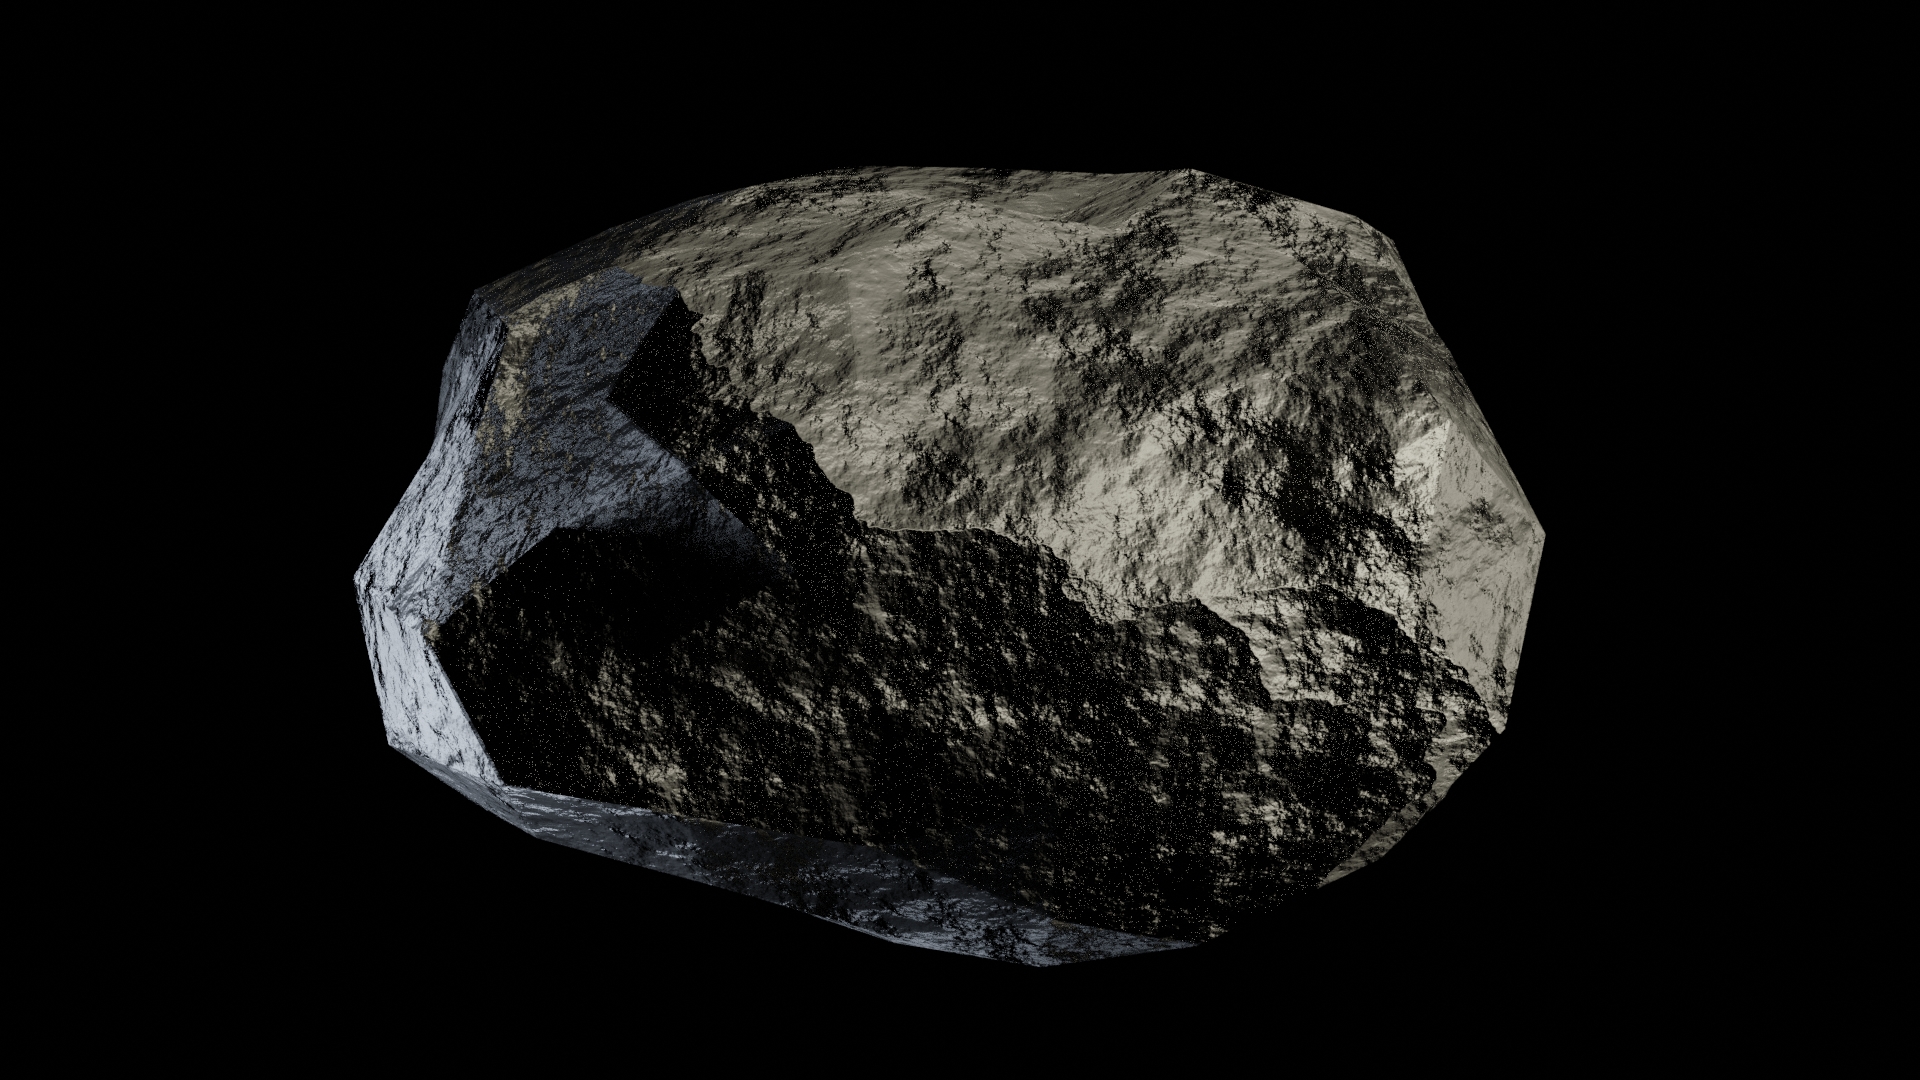
The yellow box is the final one. Initially, we create back new mesh from the transformed vertices and faces of the previous geometry. The output is rough, so we apply smoothing to the mesh, so the output is closer to a kinda weather-aged stone with rounded edges. To import this geometry into Blender I added a TriRemesh function because we need triangulated faces, not quadrilateral faces. The last bit is used for baking the geometry from settings, so we don´t have to look for the right node with the final geometry.
before smoothingfinal product
For better visualization of the final product, I added rotation, so we can animate what we created. Here are three examples.
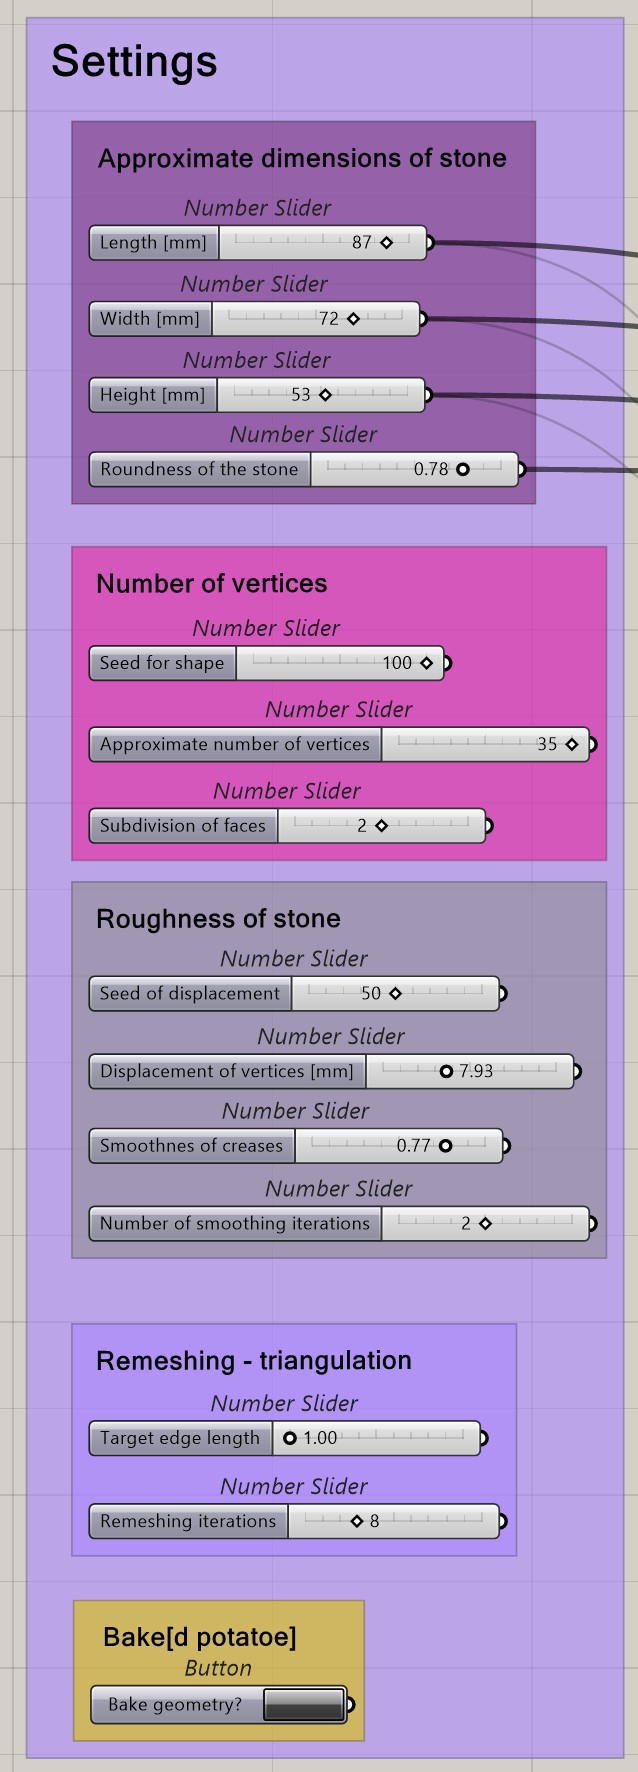
Settings |
Settings panel in Grasshopper
As for the settings, we have a bunch of sliders we can use.
Approximate dimensions of stone |
The first part consists of the basic dimensions and roundness of the stone. Width, length and height are set by exact value in mm, roundness is set relatively from 0 to 1 where 1 means a fully rounded object.
Number of vertices |
These settings are responsible for creating the basic shape of the stone. We can play with the seed, which can be seen as randomness. An approximate number of vertices allows us to play with a number of vertices. I say approximate, because of the nature of how I work with command. It shows a number of all points, but the final shape isn´t made from all the points. Points inside the shape itself aren’t used, so we cannot say, that the number we set is the same as the number of the vertices of the final stone. The last slider is used for subdividing previously created mesh into smaller triangles. Those are then used for adding roughness.
Roughness of stone |
Those settings are for managing the roughness of the stone. Seed is again randomness. With the setting of displacement of vertices, we can choose how “pronounced” the creases will be. I allowed the slider to go as far as 20 mm, but it creates unrealistic shapes, so I would recommend something between 2 to 8 mm. The smoothness of creases takes the created shapes and rounds up the edges and the number of smoothing iterations further smooths the final surface.
Remeshing – triangulation |
Those last settings are used for creating triangulated geometry instead of quadrilateral mesh. We can enter the target edge length and then we can play with iterations of remeshing. For edge length, I recommend something around 10 mm and for iterations, I go for 5 to 6, but it’s up to you, what you find best suitable for your use case.
Bake | Here we can immediately bake the geometry into Rhino without the need to search the end of the script.
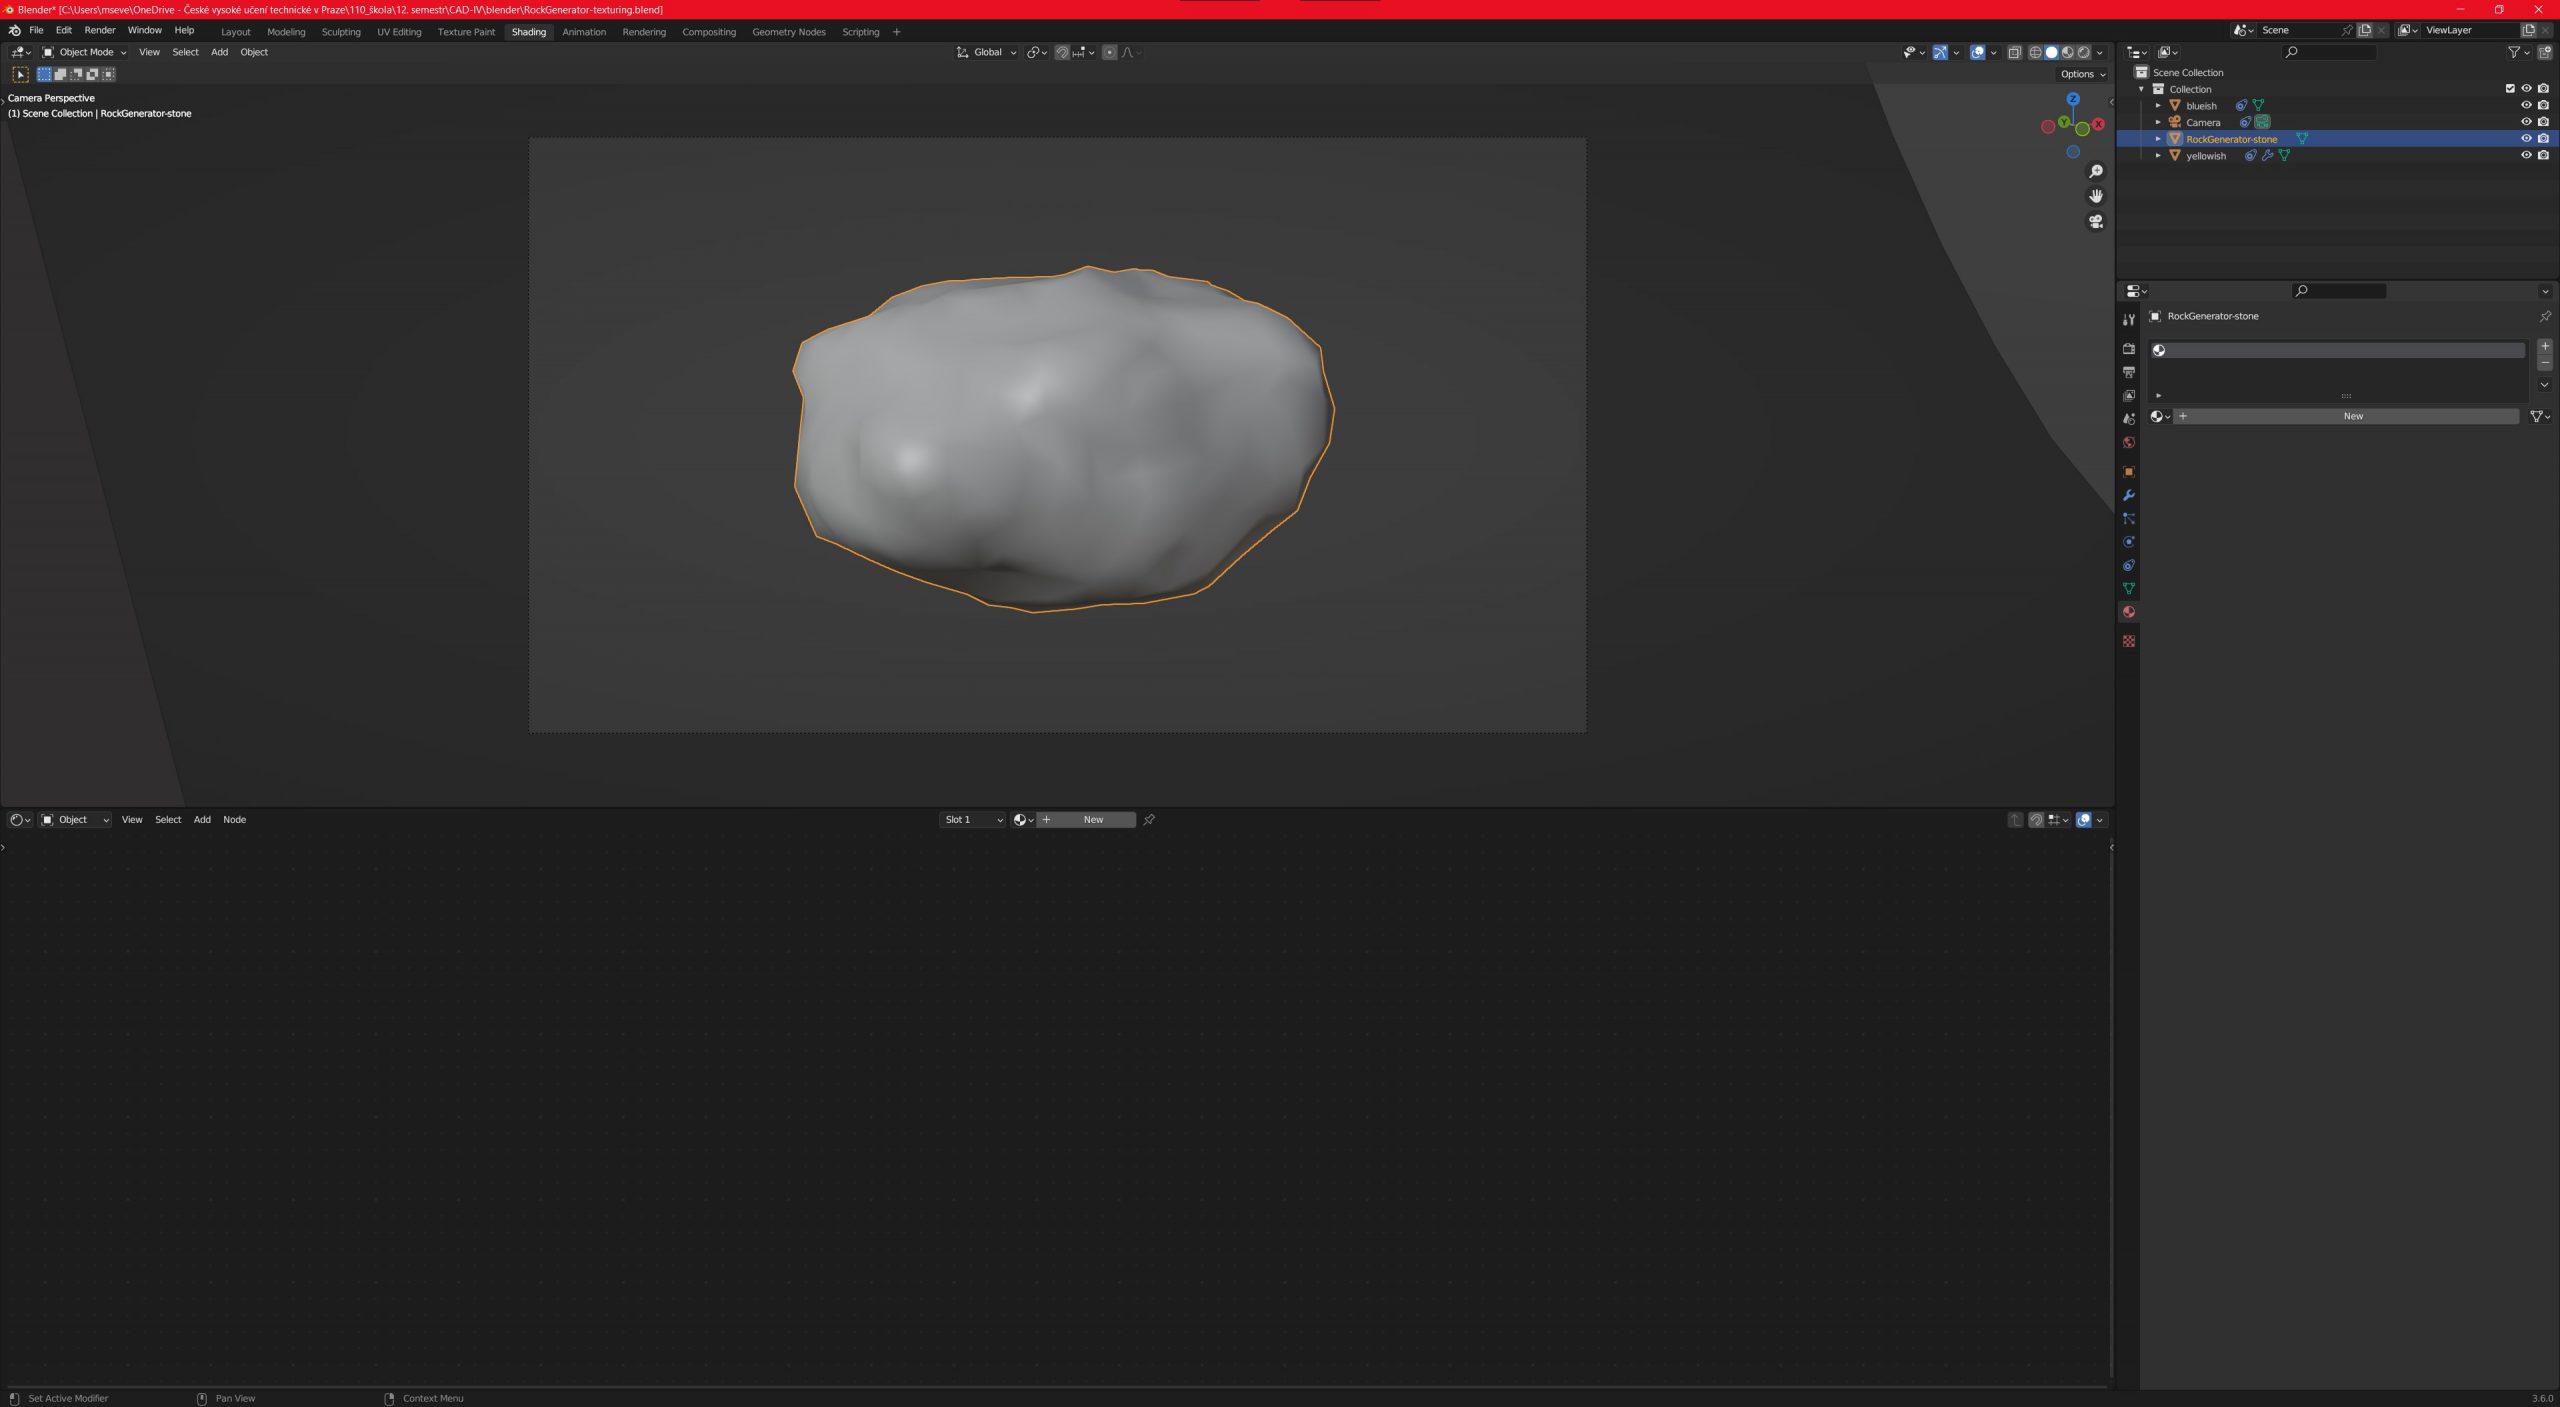
Everything till now, was made in Rhino. As I said earlier, the script itself is pretty basic even though the logic behind it is more complex, but thanks to ready-made plugins it makes work easier.
To bring more useability to this project, I chose to make a script in Blender for texturing the stone geometry that we made in Rhino. The second stage of this tutorial will be the attempt to remake the Rhino script in Blender, so we won’t have to use two separate software.
First try |
This is actually my first time using Blender, so this part can be (and probably will be) a little bit sketchy.
I’m firstly focusing on creating just procedural texture from a simple YouTube tutorial which I then apply to my geometry made in Grasshopper.
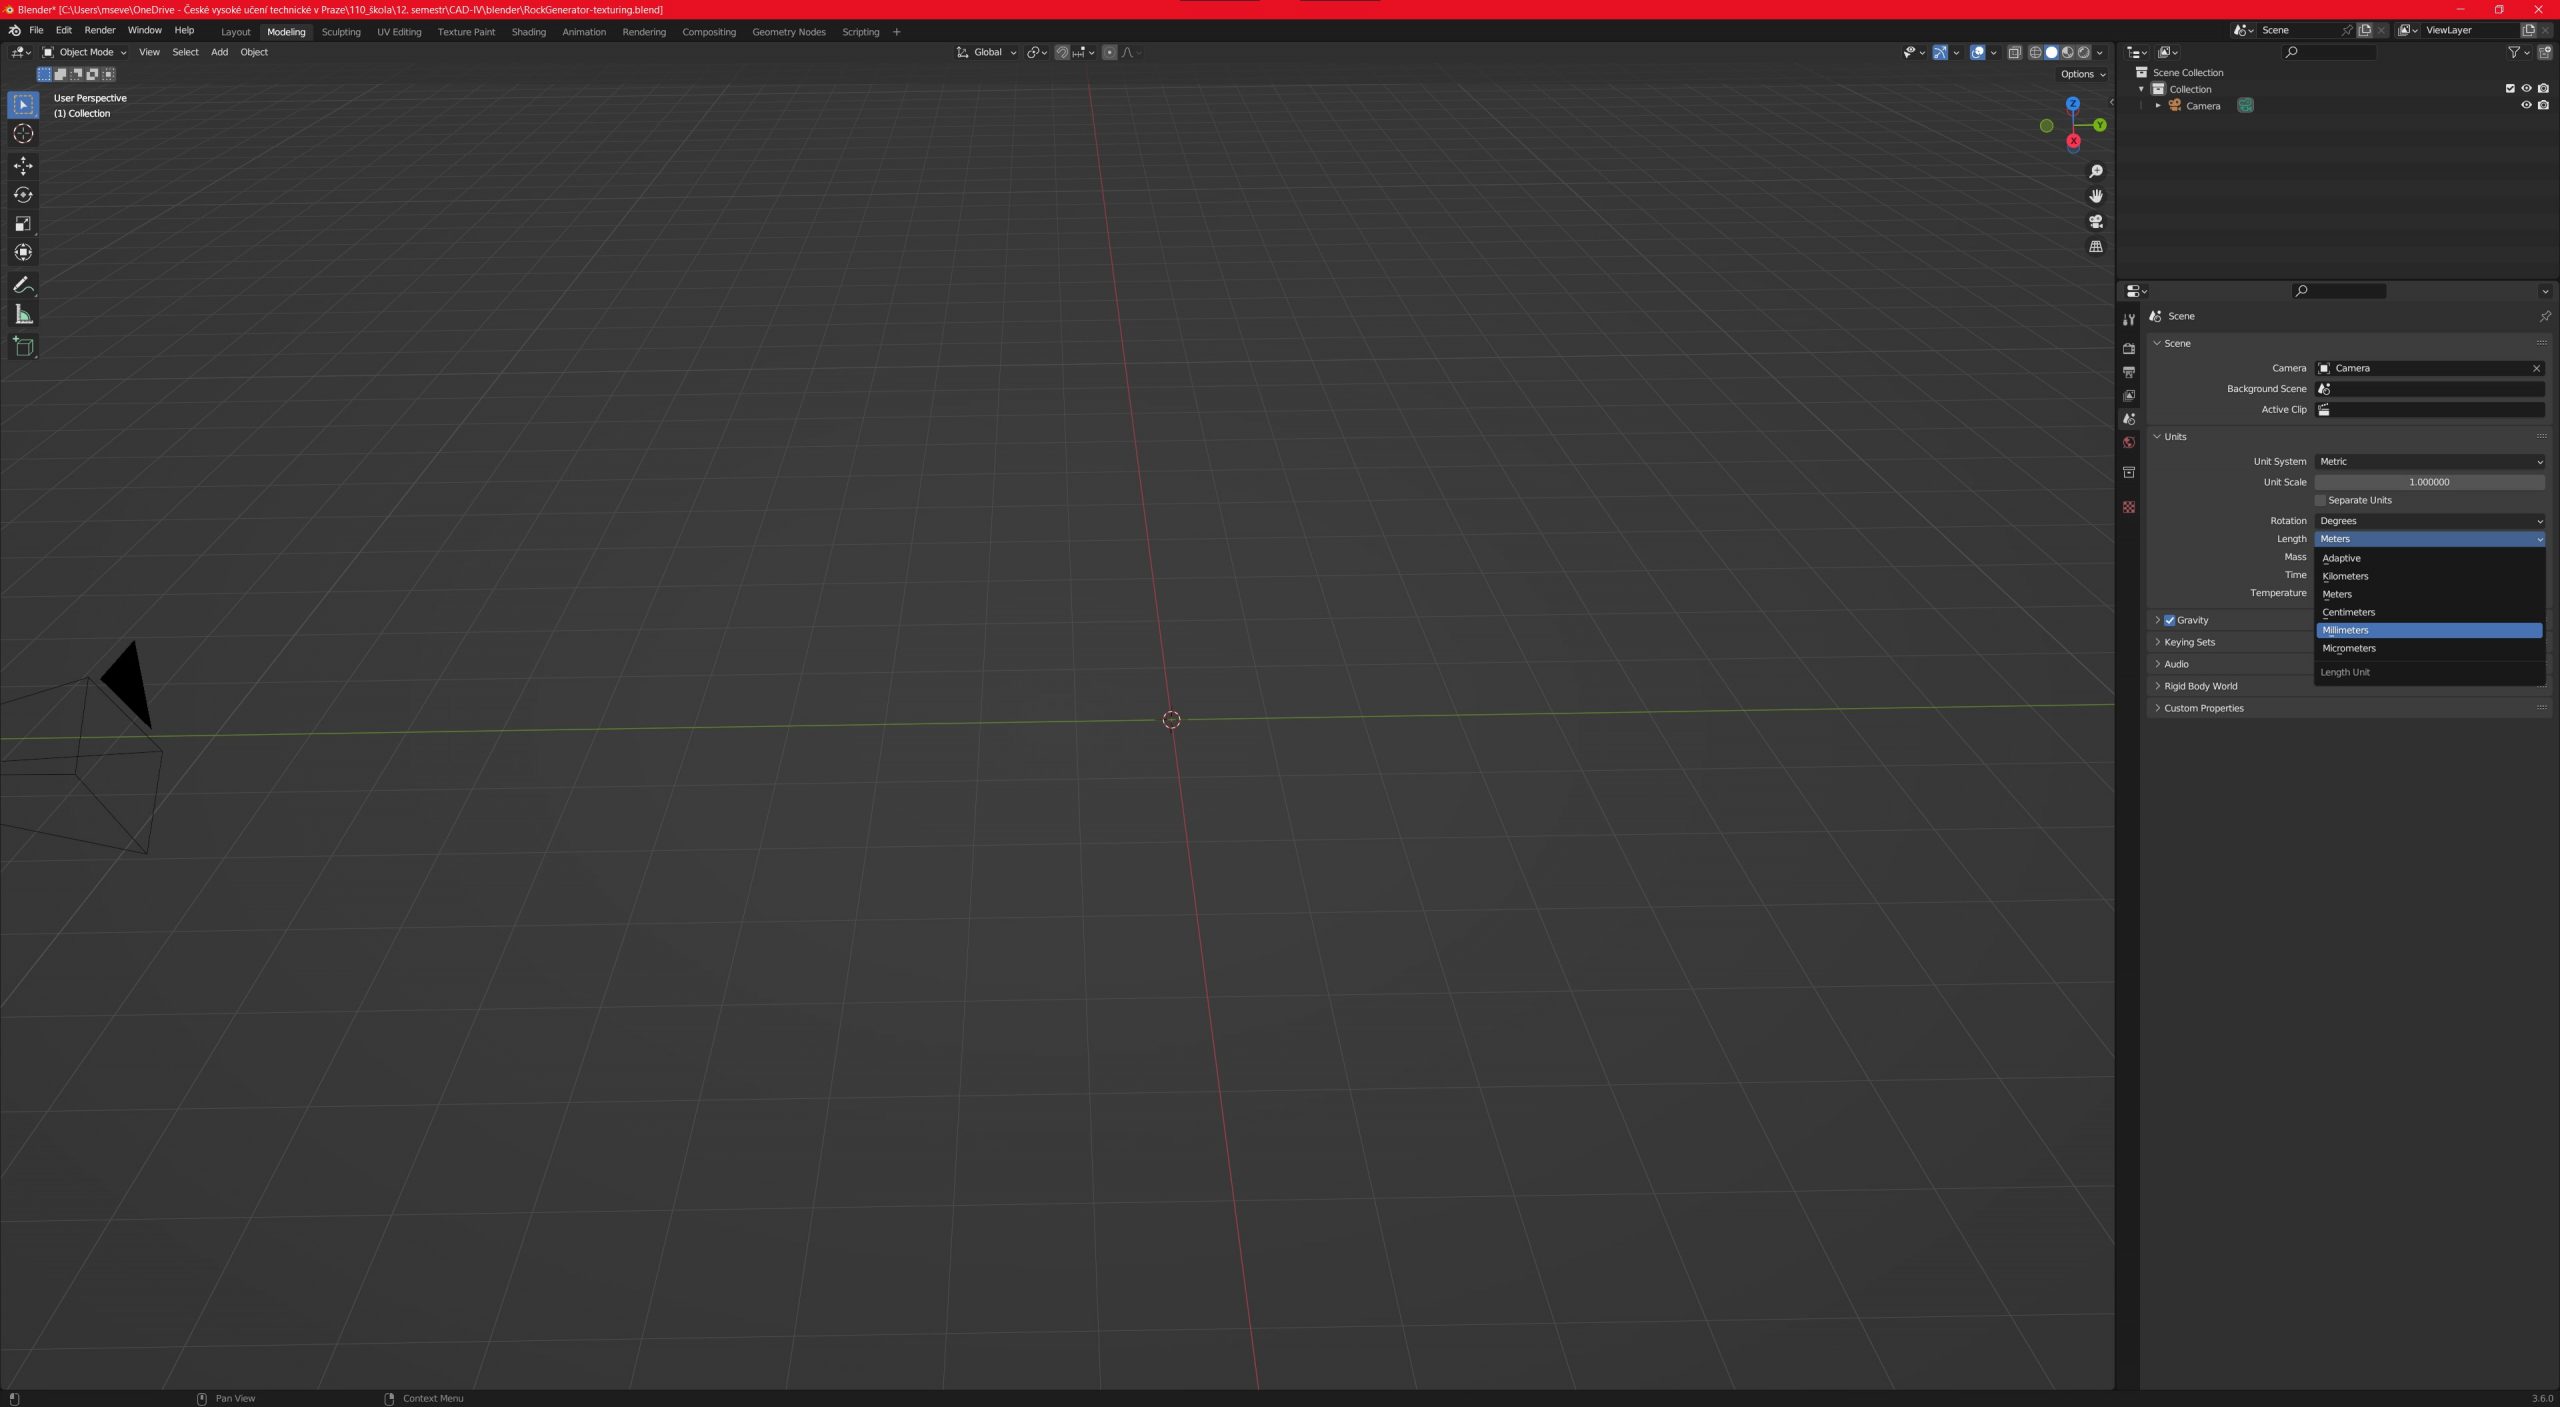
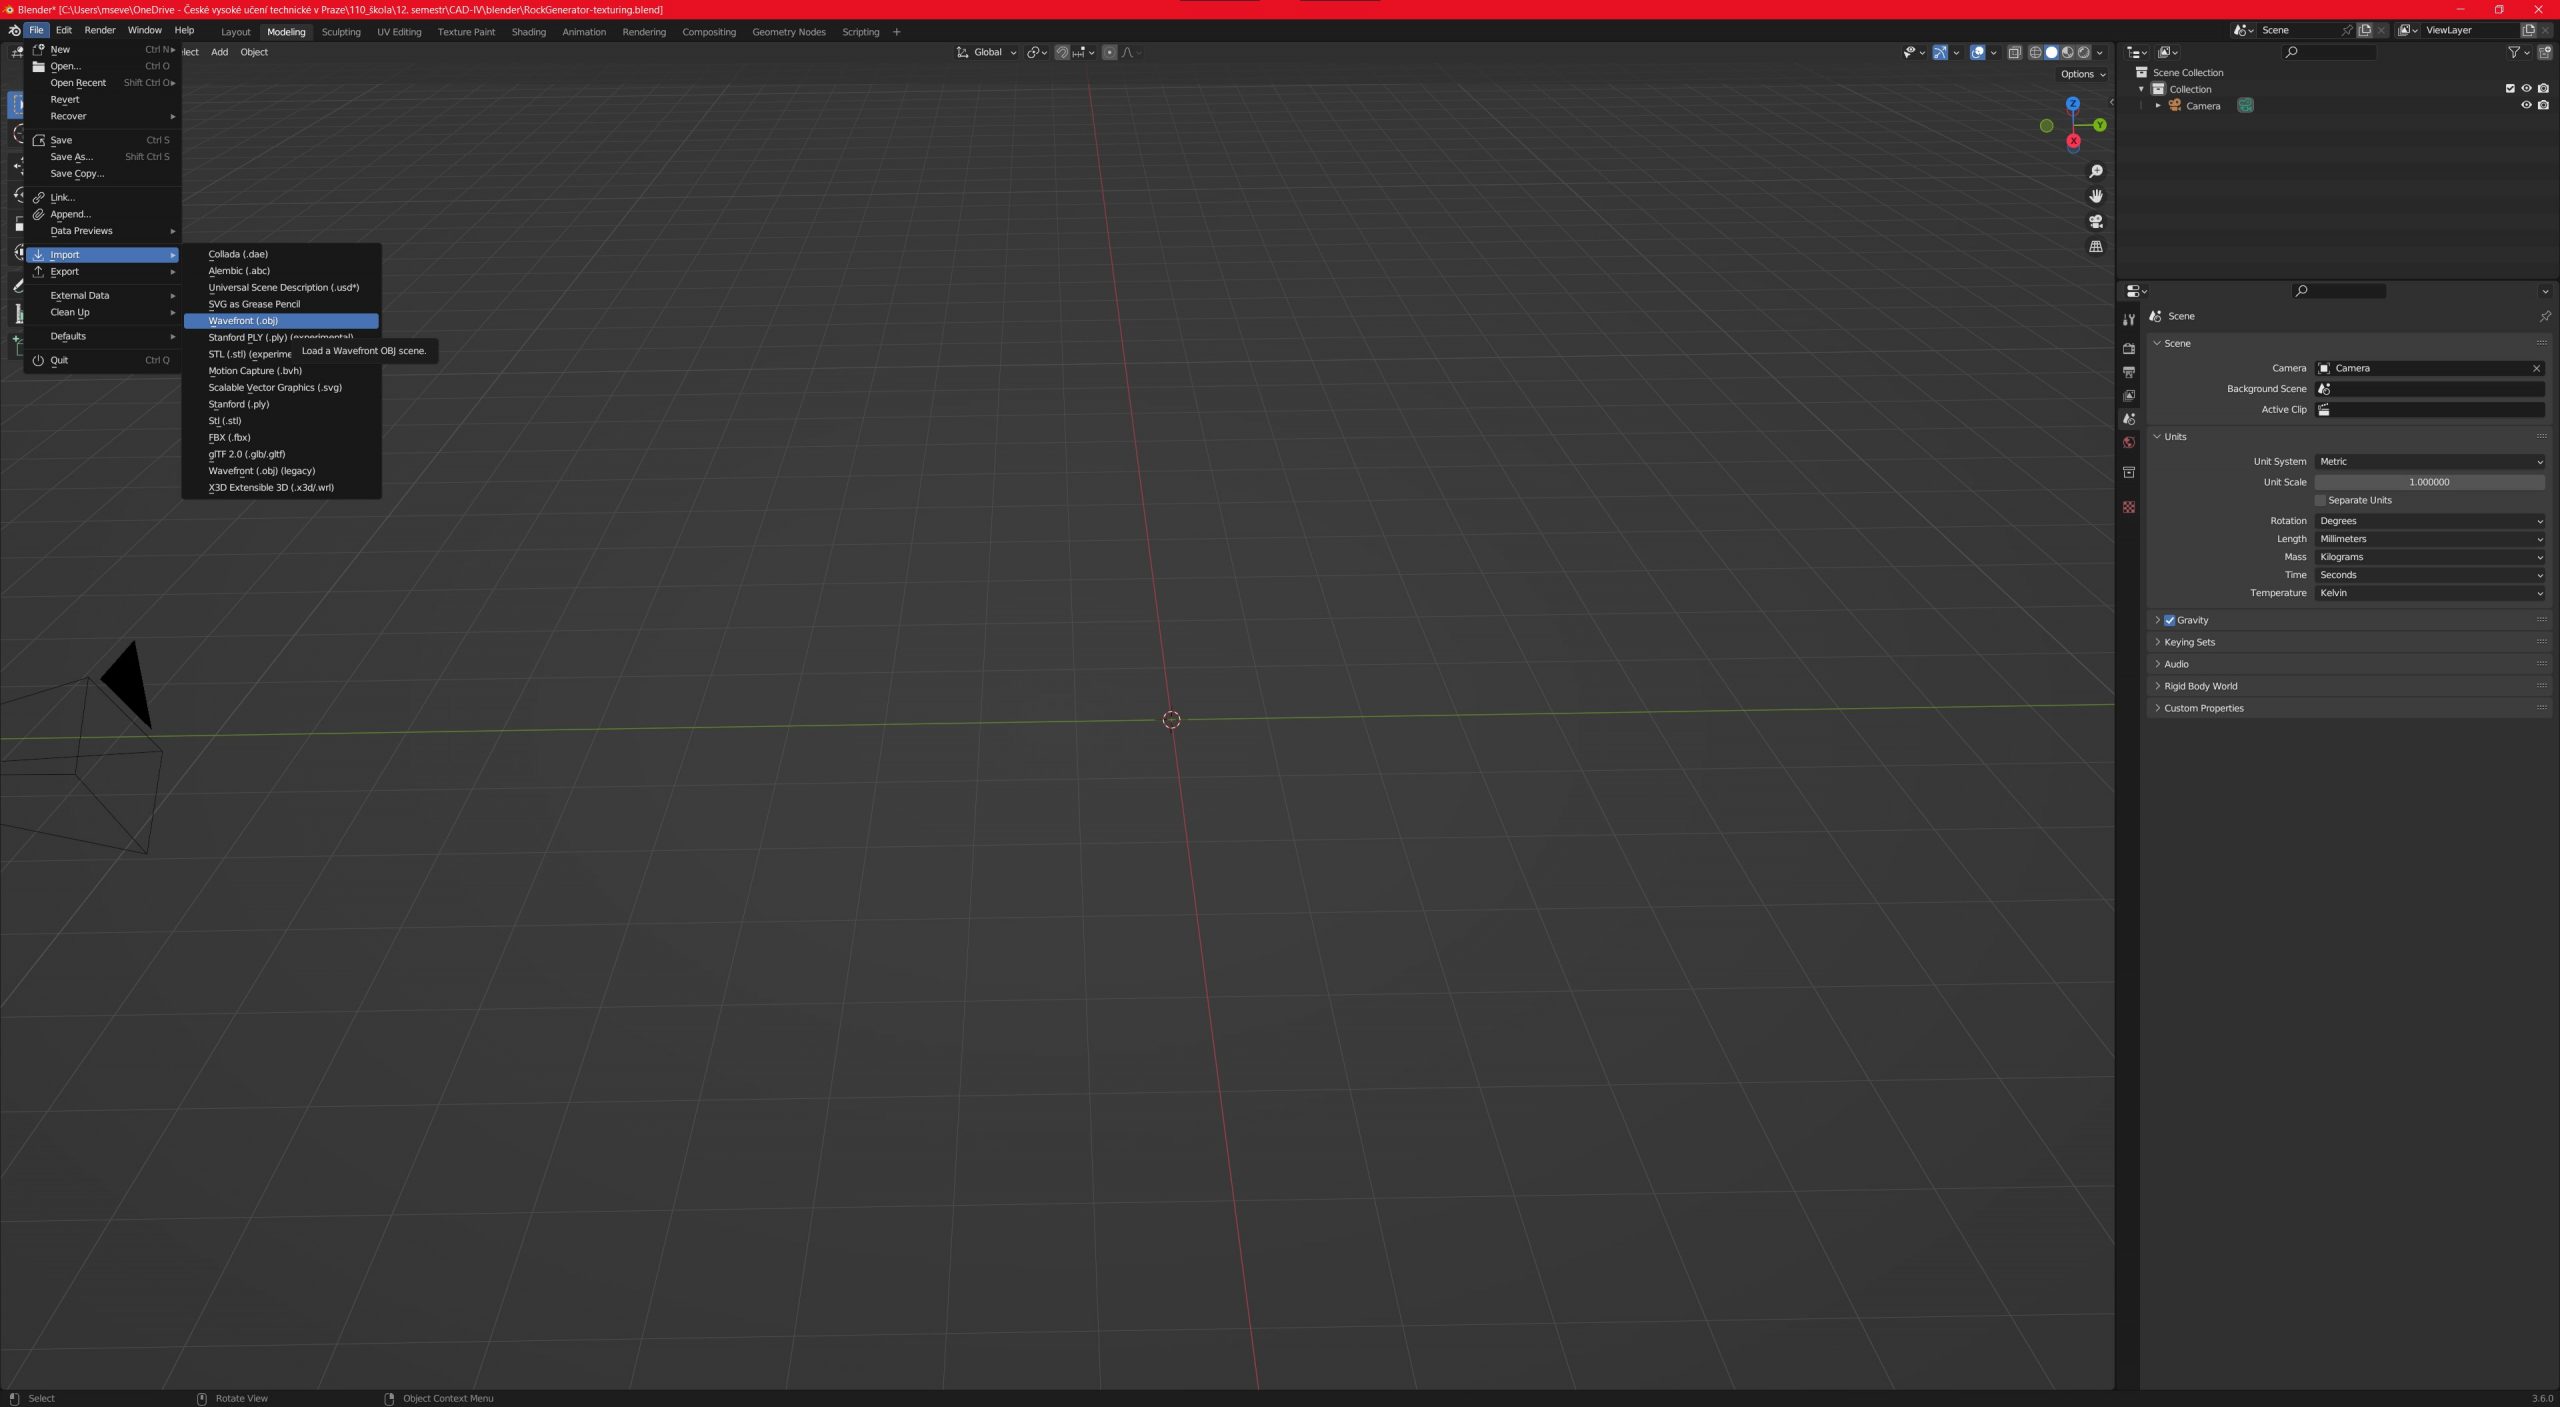
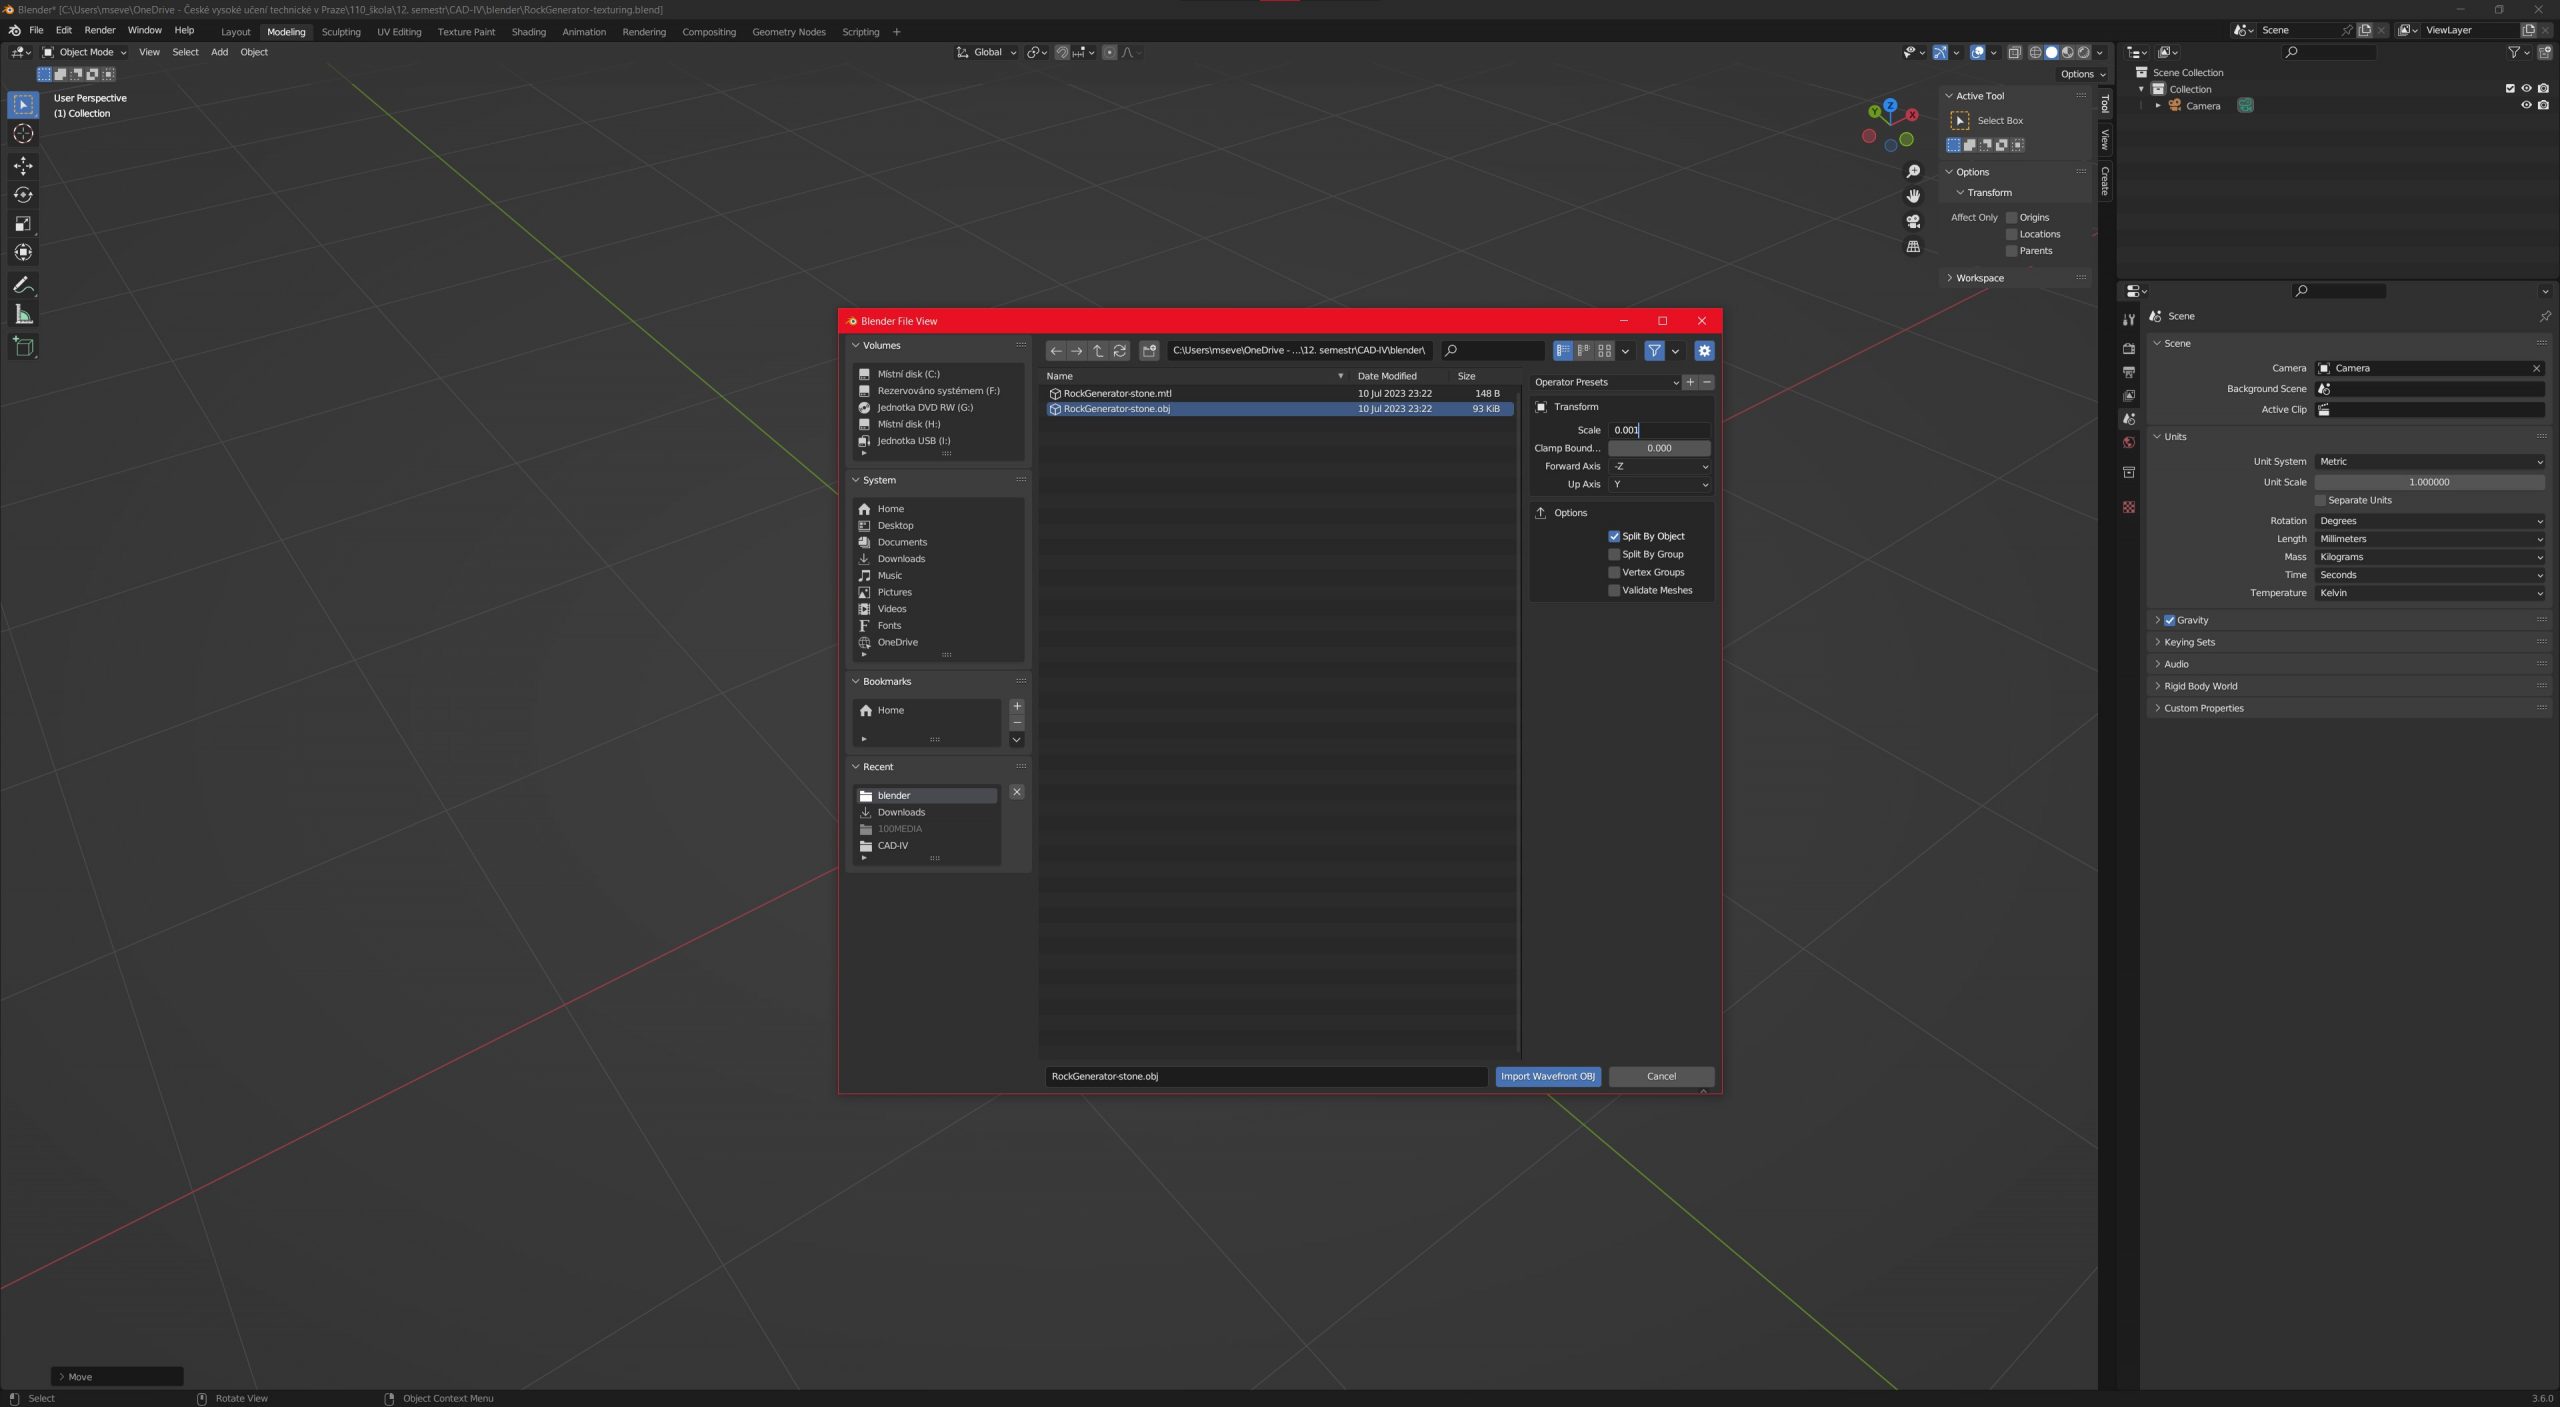
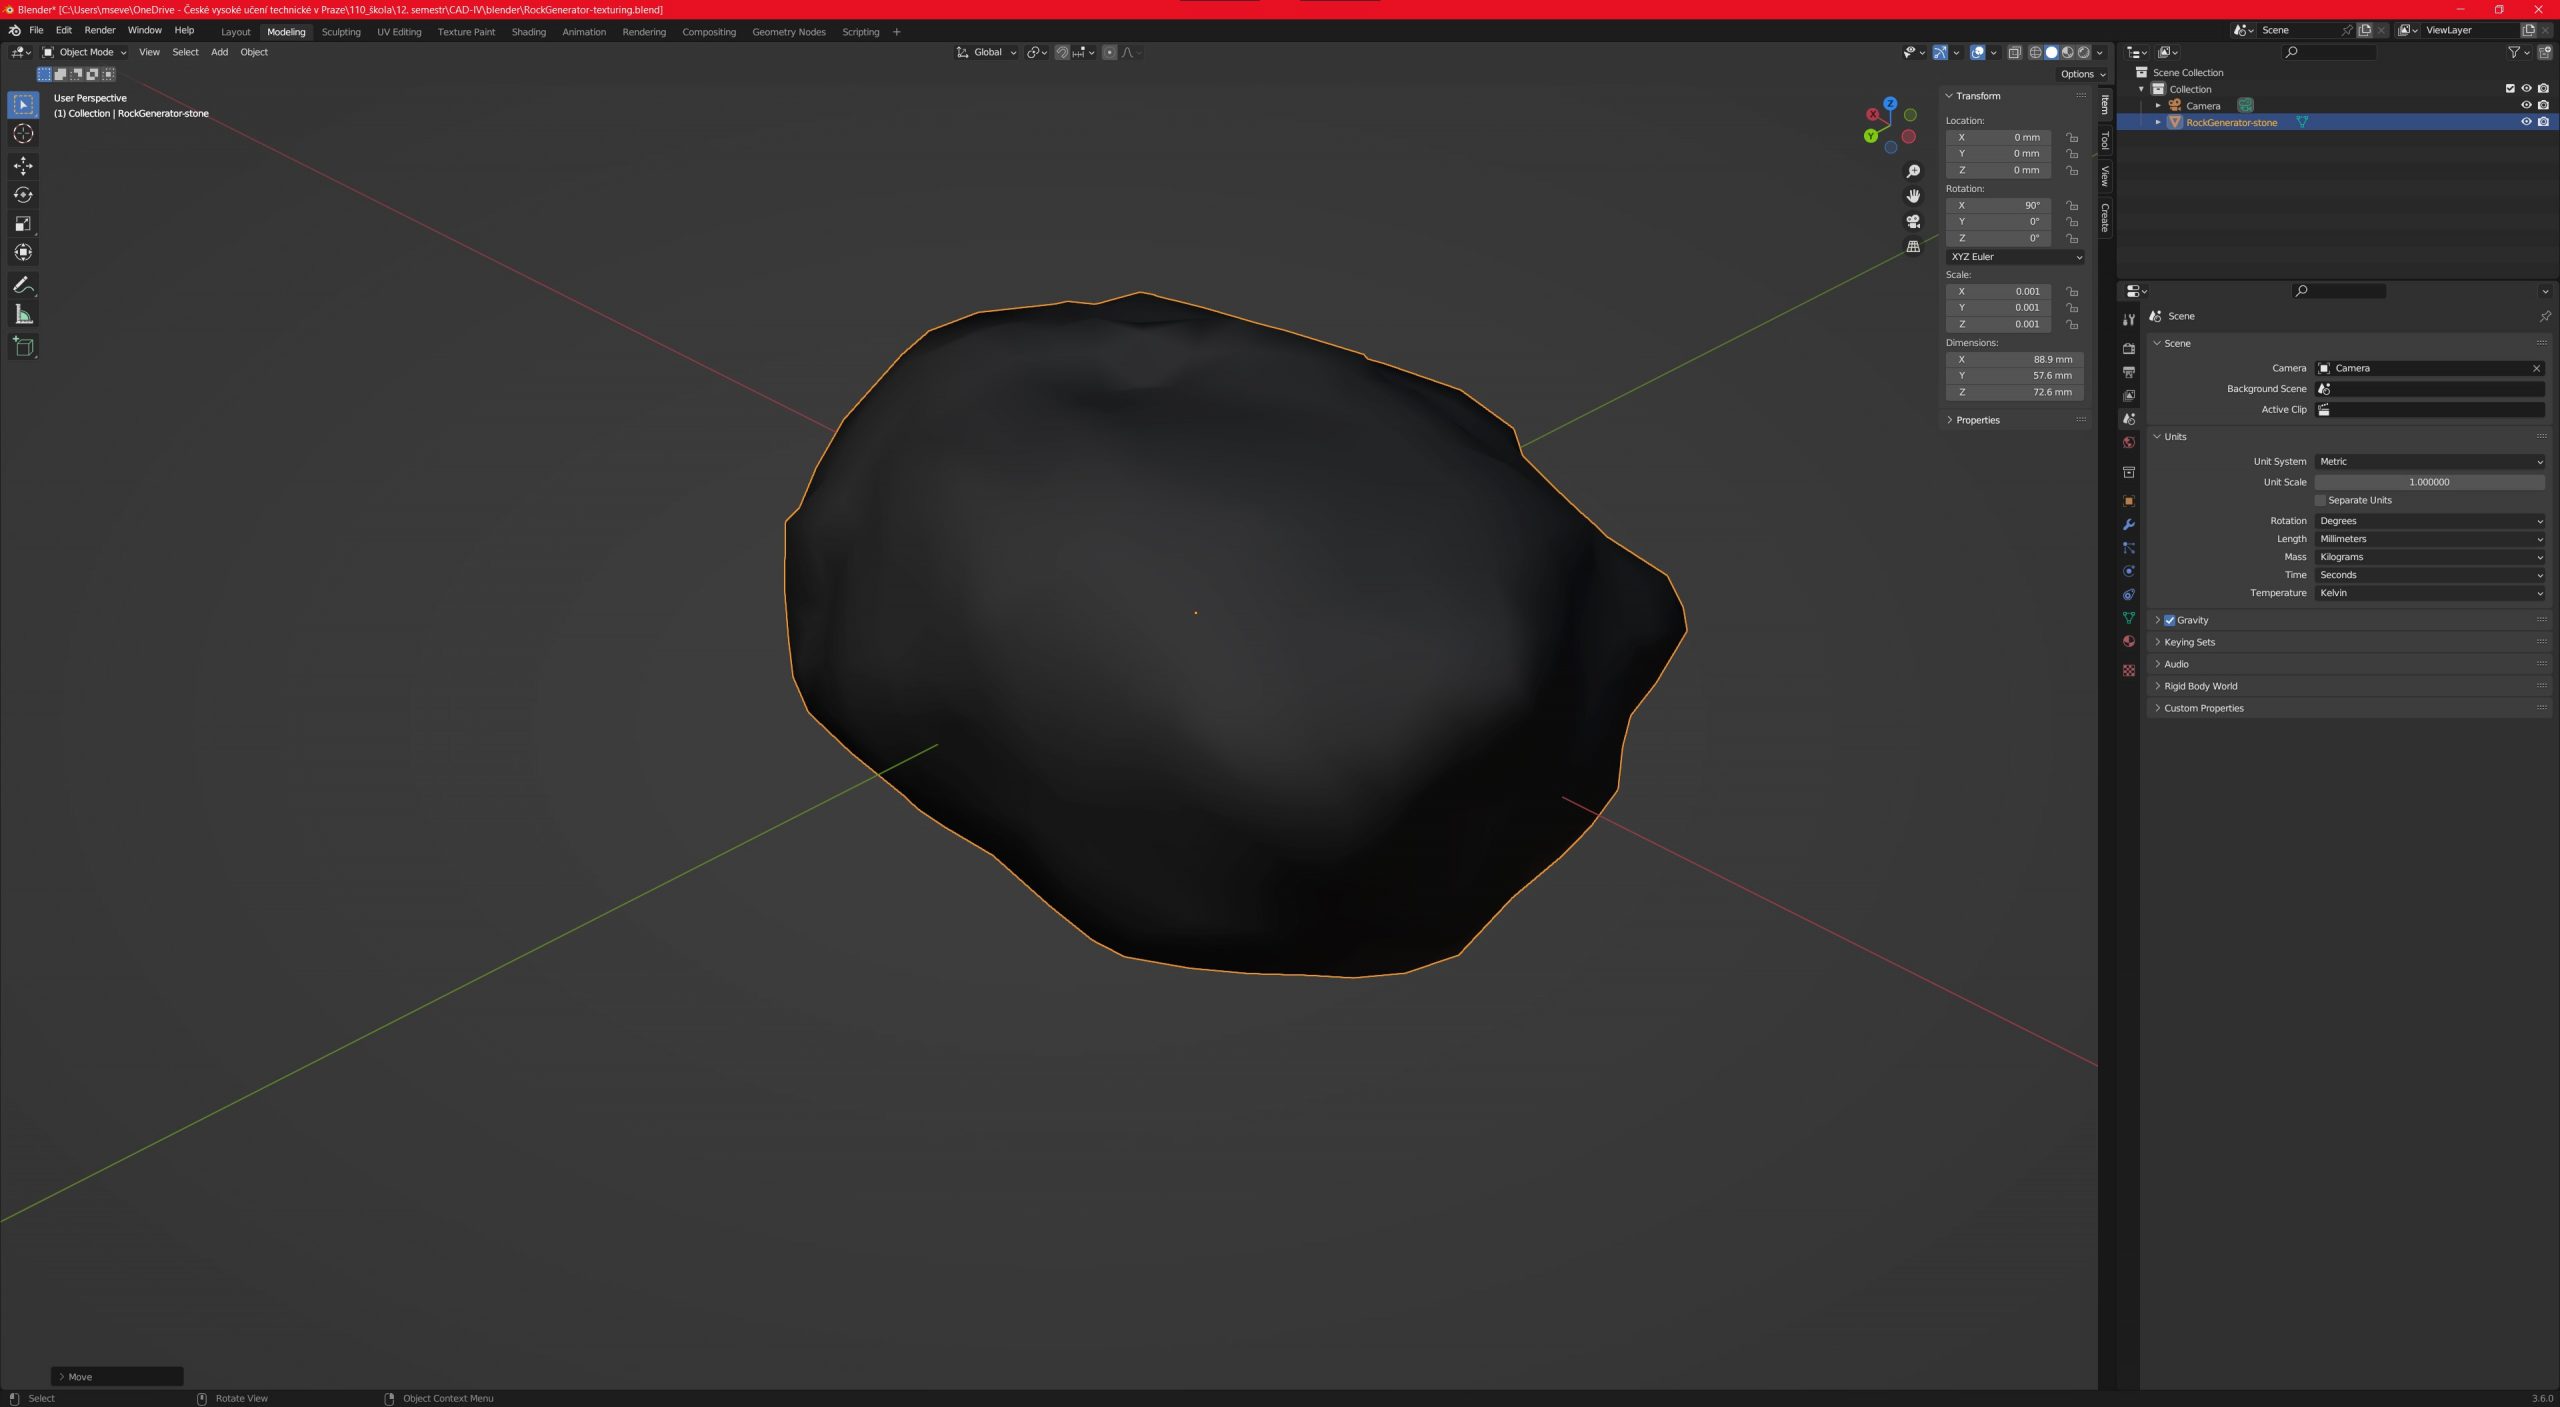
First thing first, we have to bake the geometry from Grasshopper to Rhino. Thanks to the Bake button it is very easy. Then we have to export this geometry so we can open it in Blender. I’ve used obj. file. After that, we import our geometry. File > Import > obj. When importing, we should set the scale to 0.001 so it has the same size as the geometry in Rhino (we are importing geometry which is in mm, but Blender somehow thinks, it is in m, so that is why we need to scale it down by 1000). The stone will be placed in the origin coordinates of Blender.
Procedural texturing |
Procedural texturing means we don’t have to look for and download any texture whatsoever. We will make everything in-house, the same as the geometry itself.
In computer graphics, a procedural texture[1] is a texture created using a mathematical description (i.e. an algorithm) rather than directly stored data. The advantage of this approach is low storage cost, unlimited texture resolution and easy texture mapping.[2] These kinds of textures are often used to model surface or volumetric representations of natural elements such as wood, marble, granite, metal, stone, and others.
“Procedural Texture.” Wikipedia, Wikimedia Foundation, 27 June 2023, en.wikipedia.org/wiki/Procedural_texture.
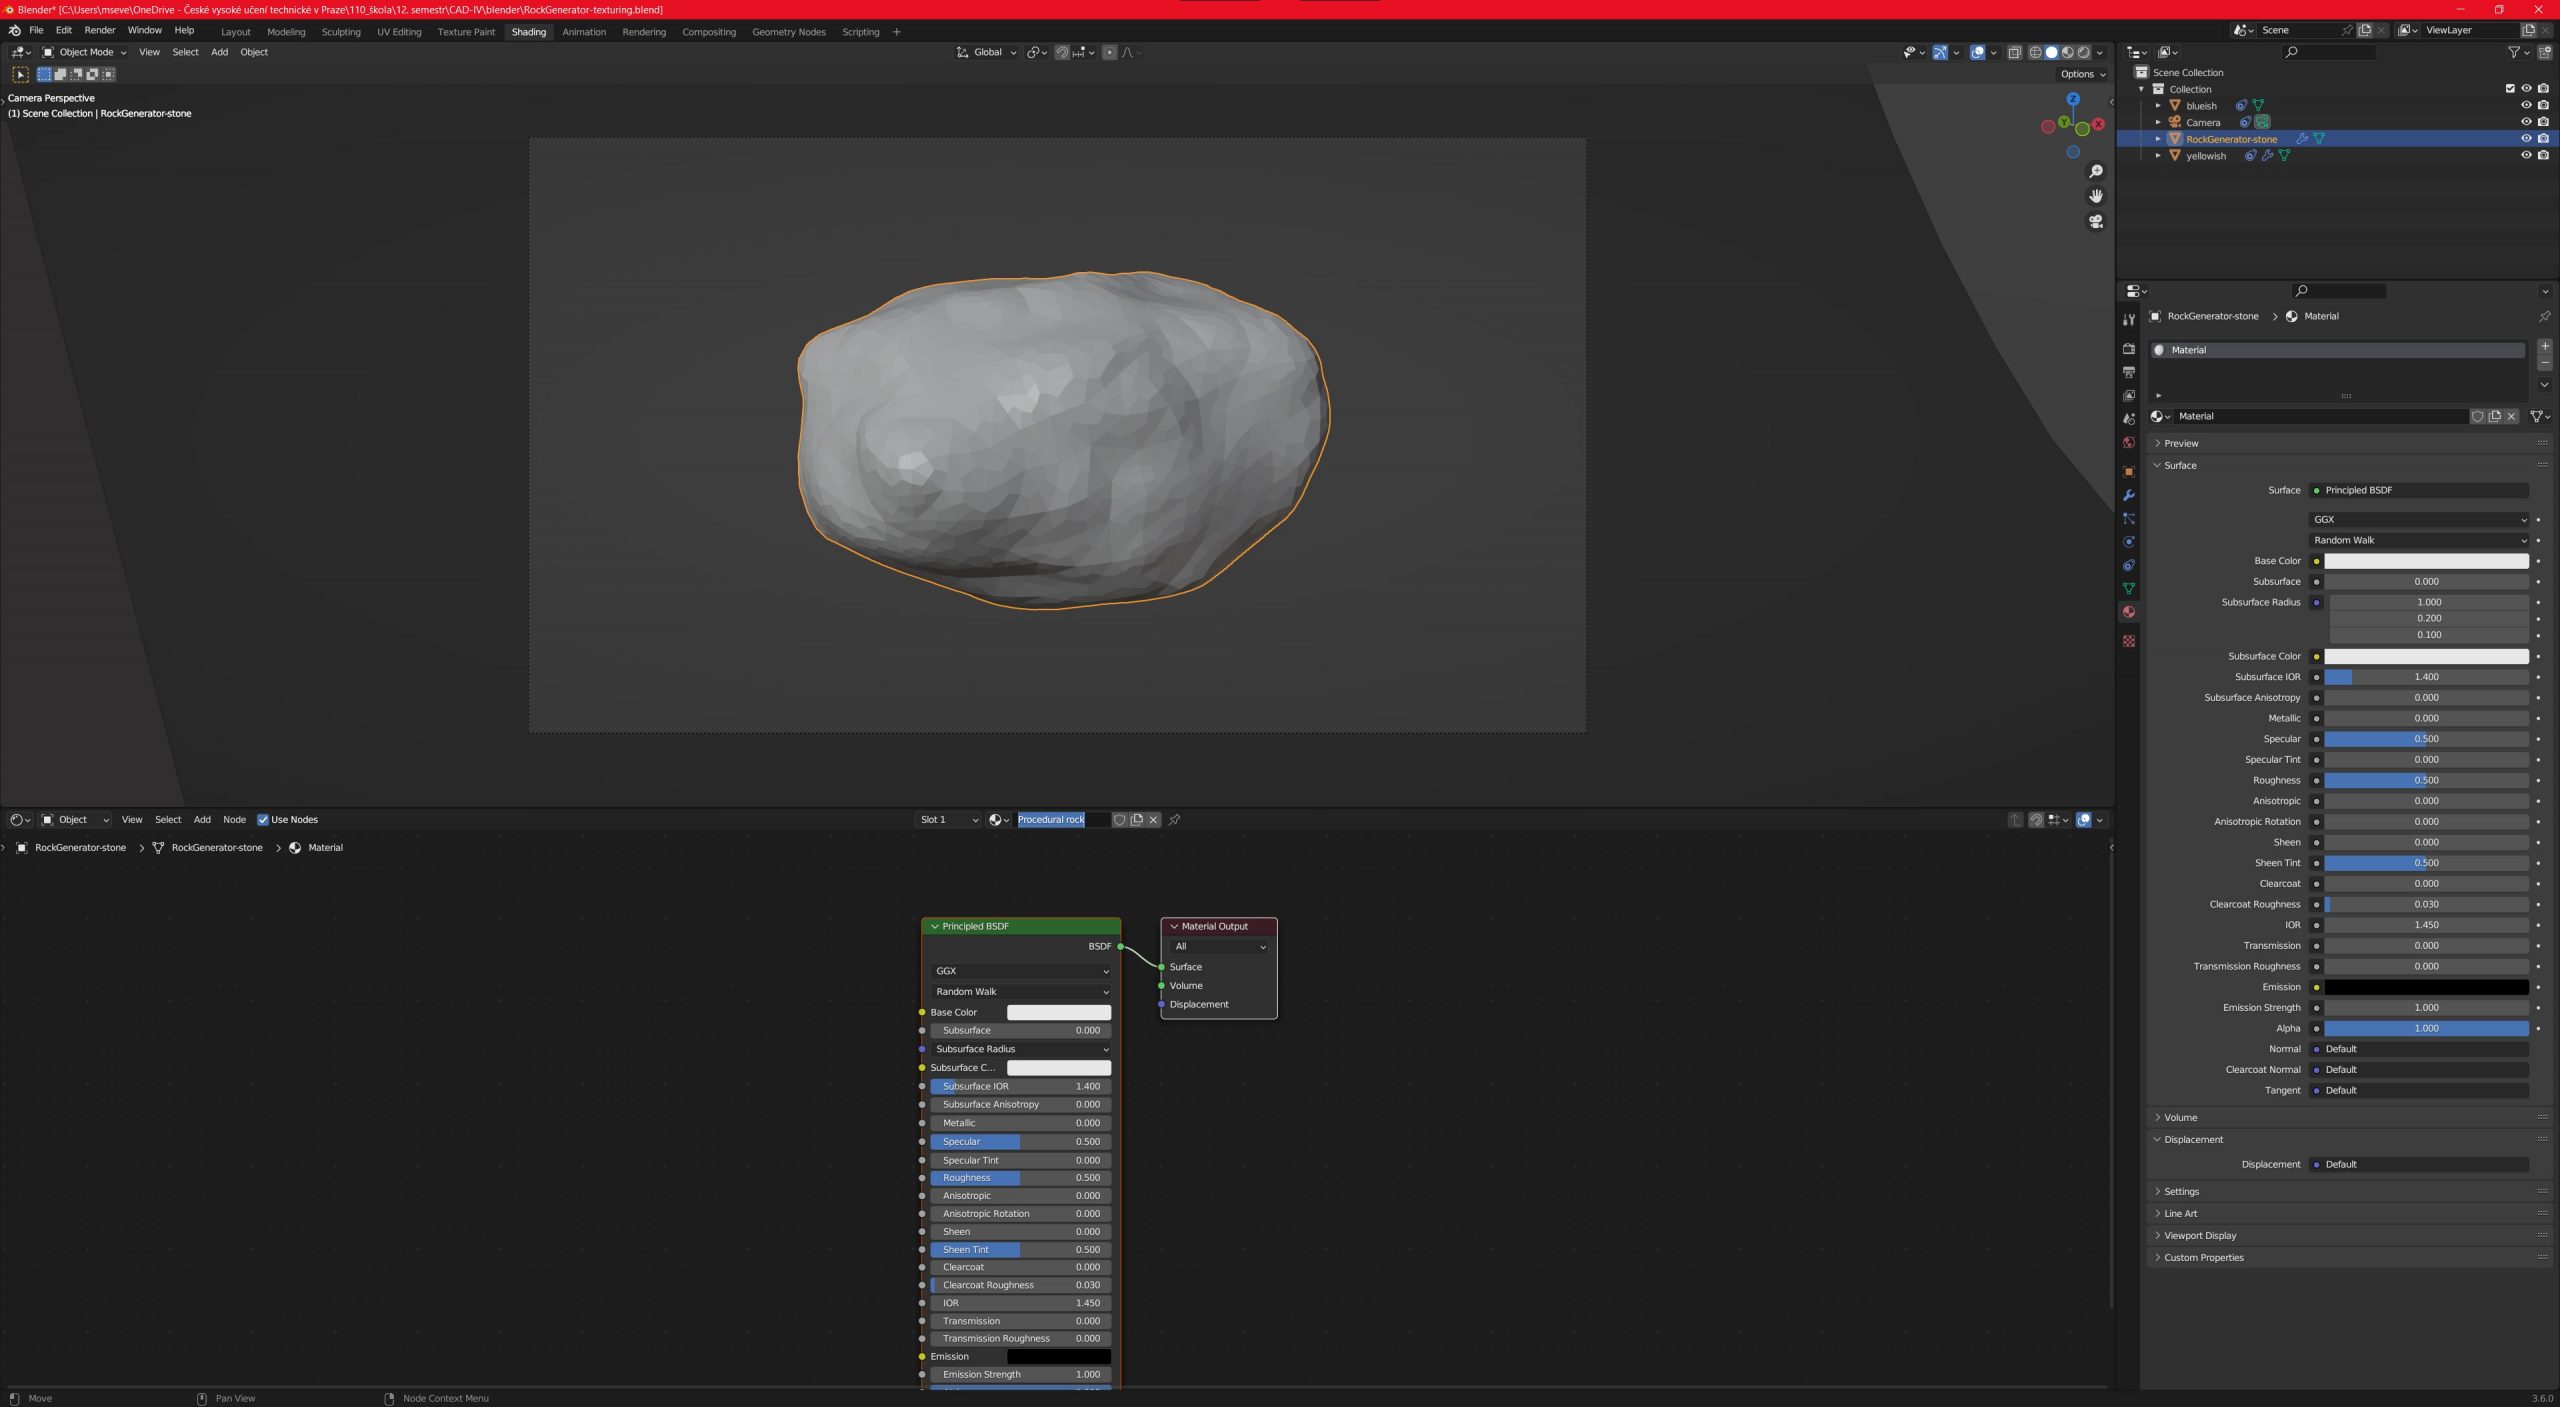
Base Blender settings |
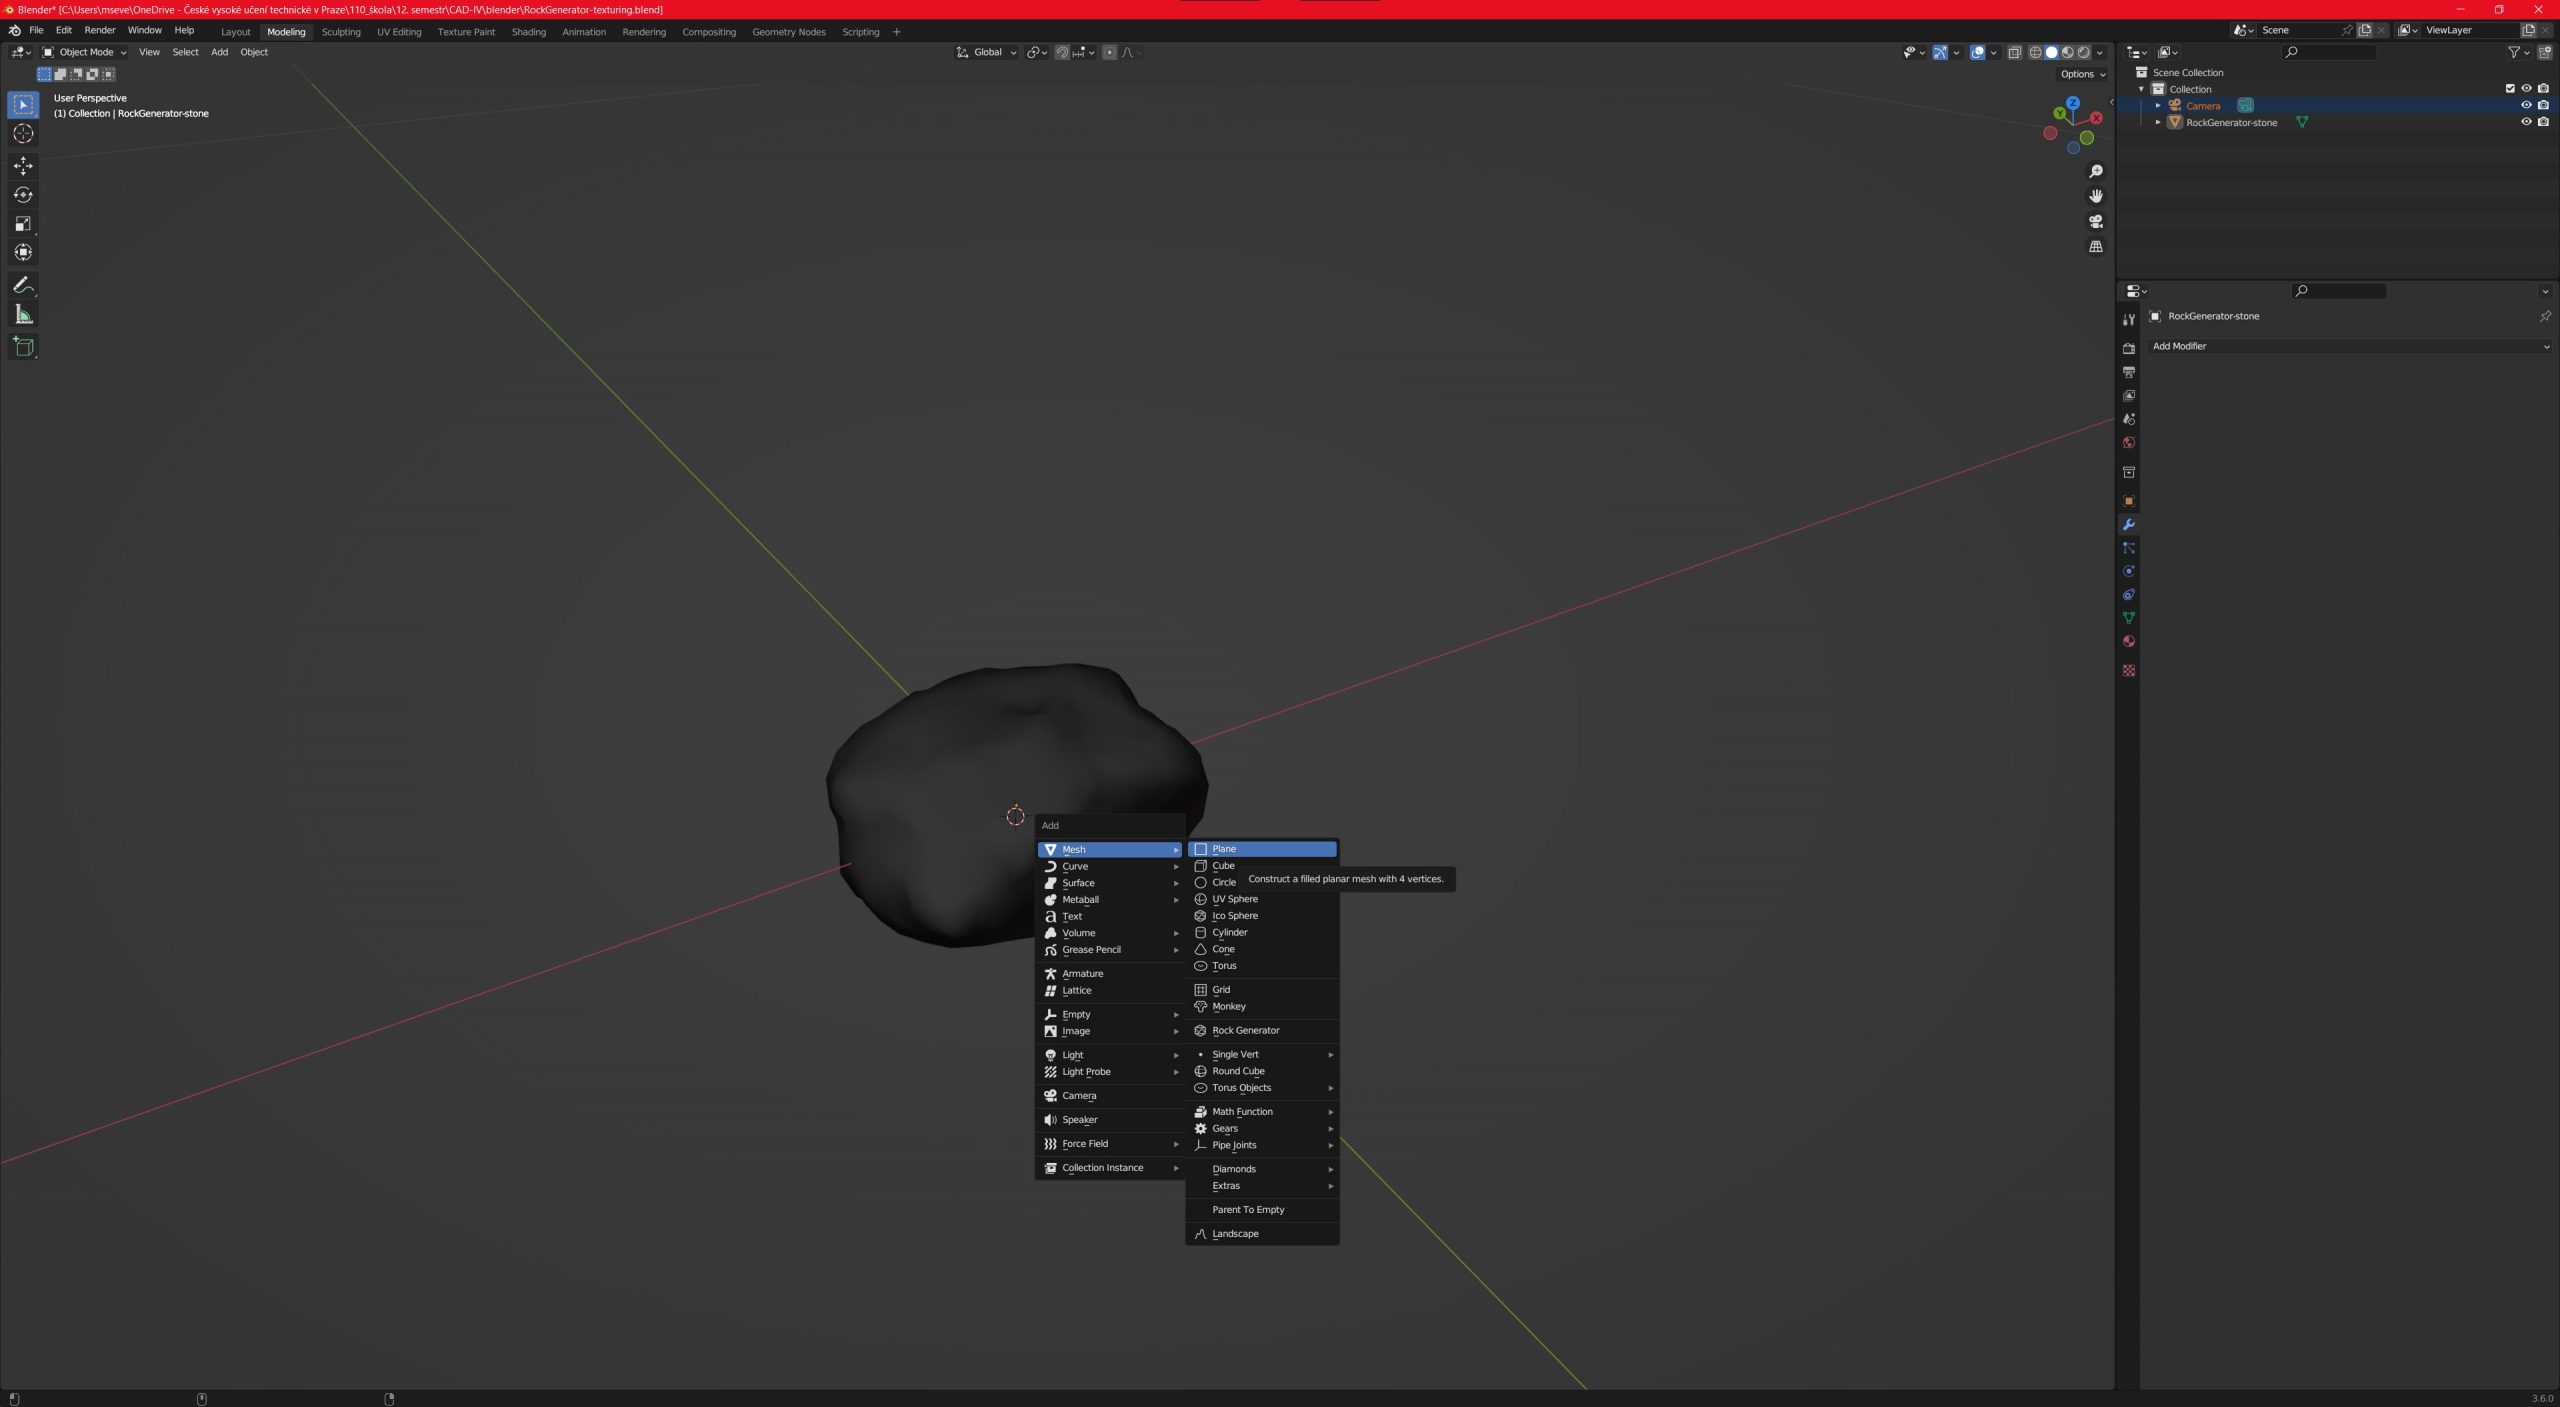
When we import our geometry from Rhino we have to tweak a few settings and add a few things for the best result.
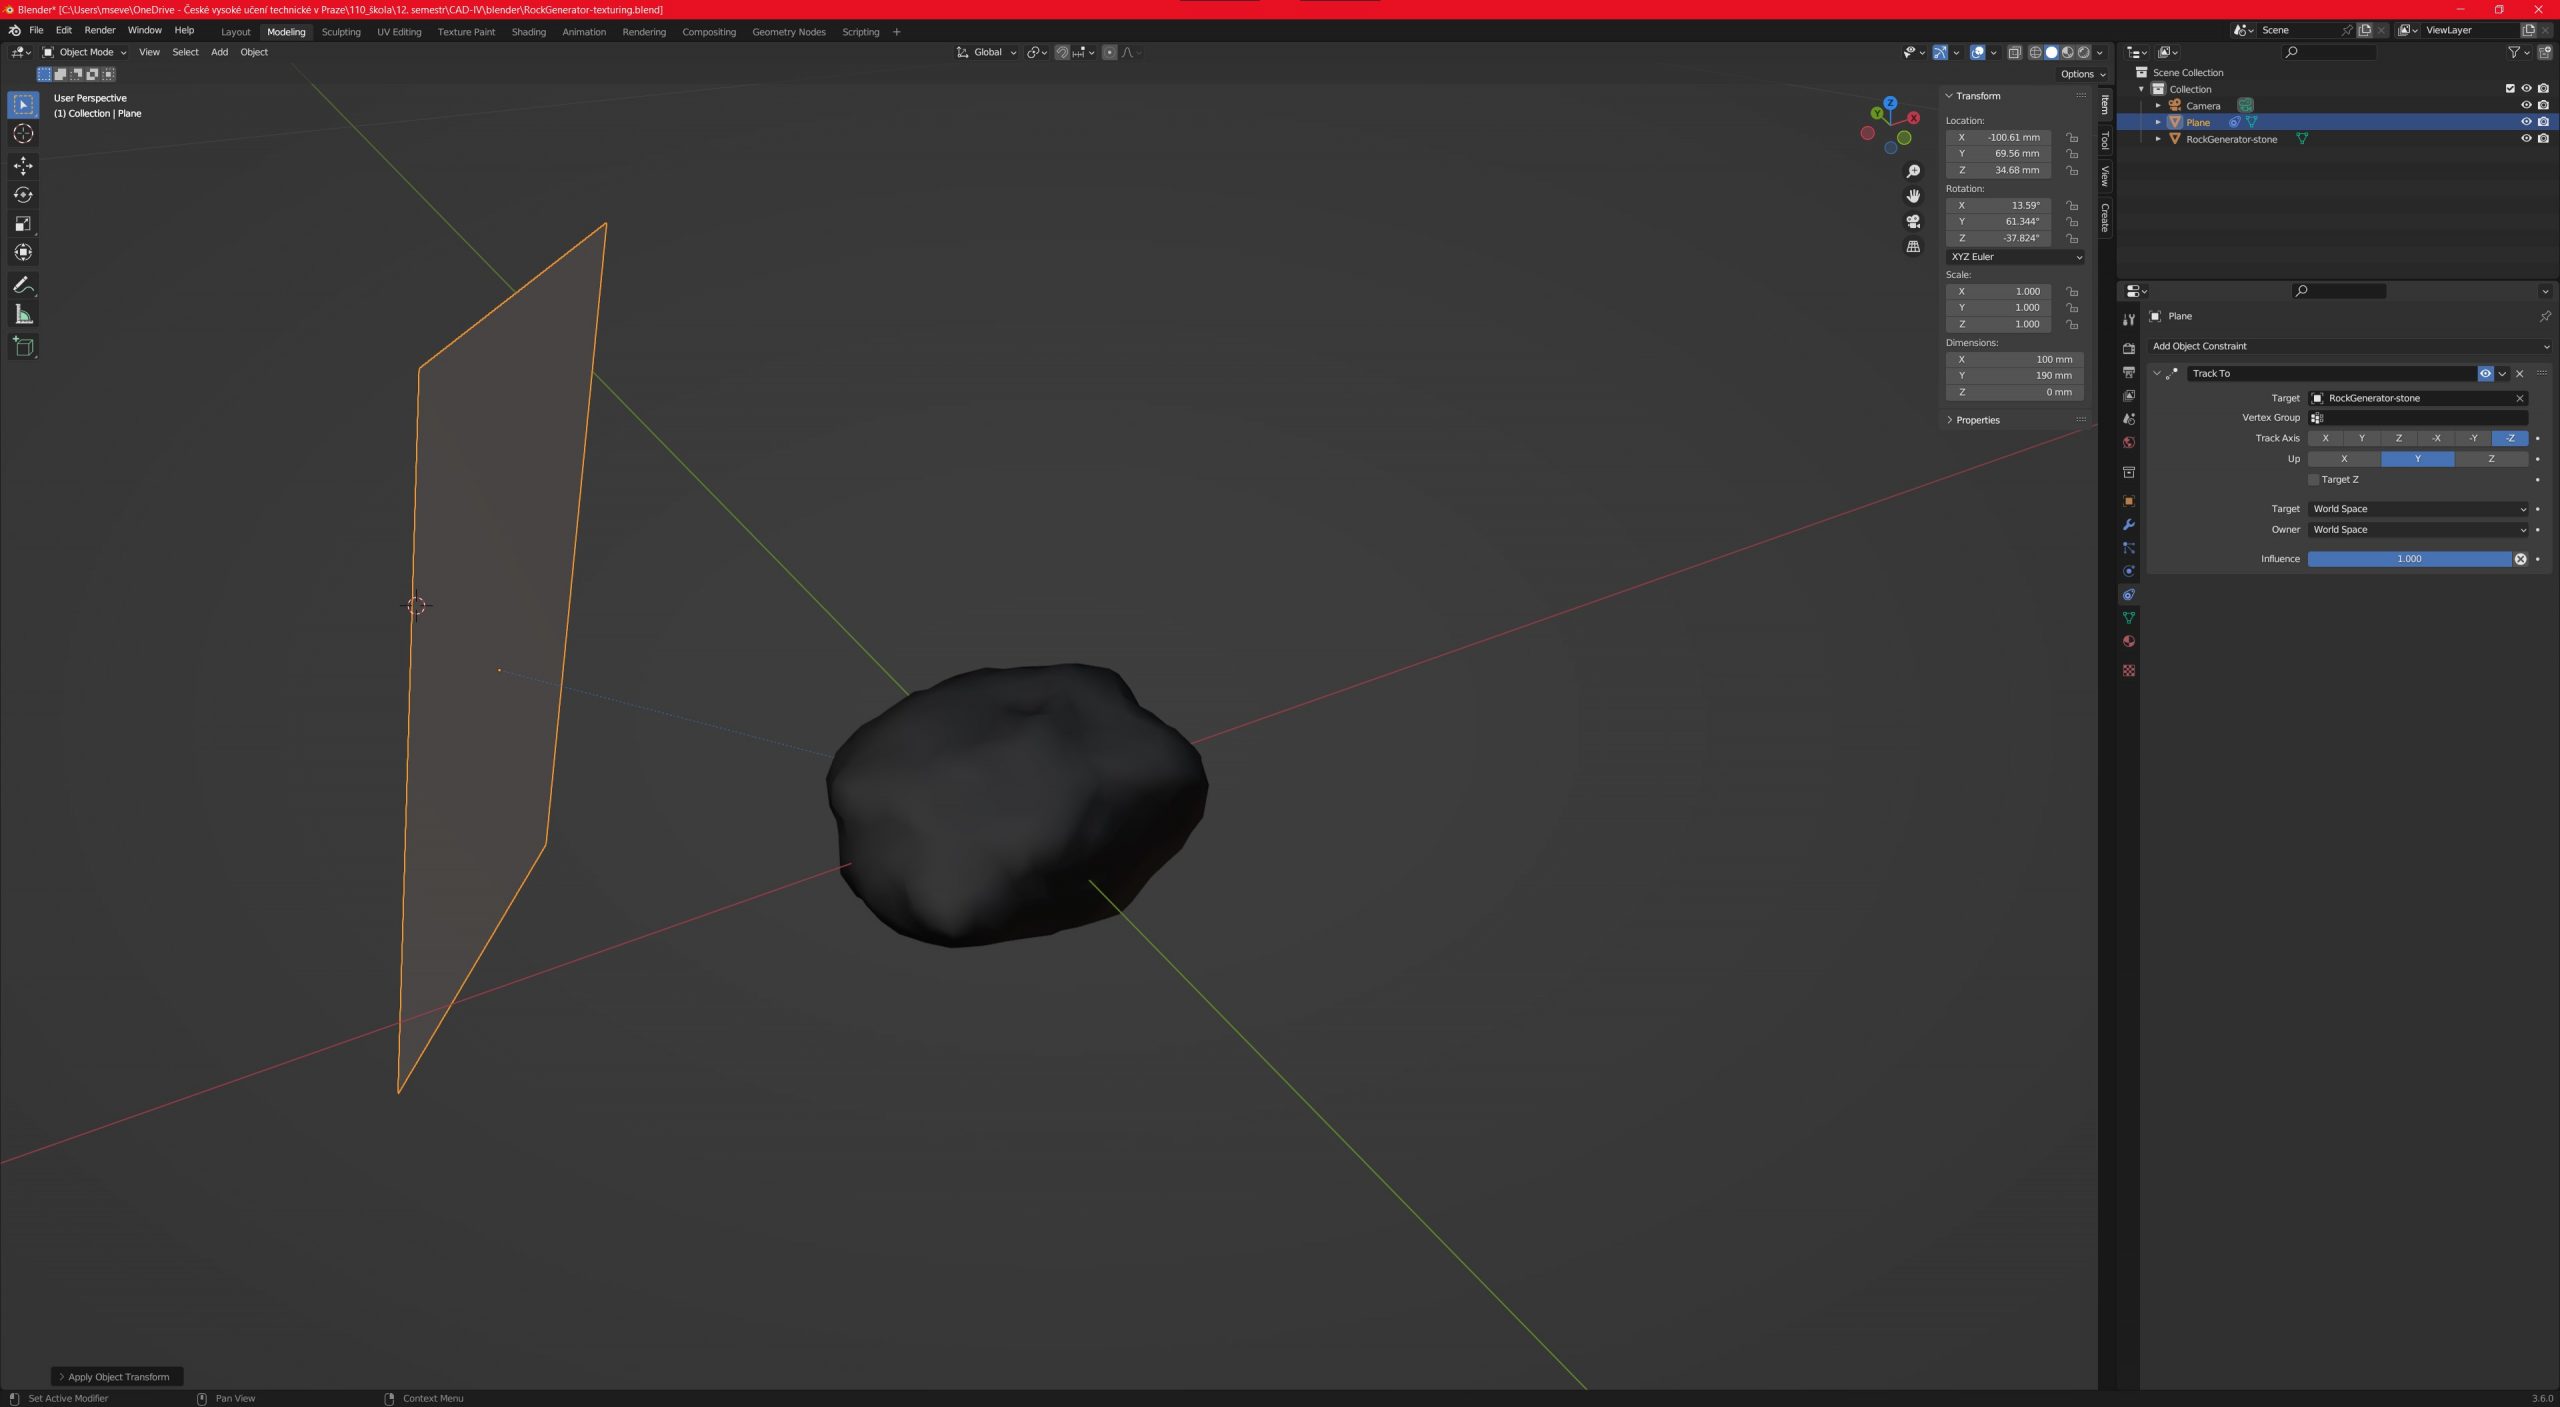
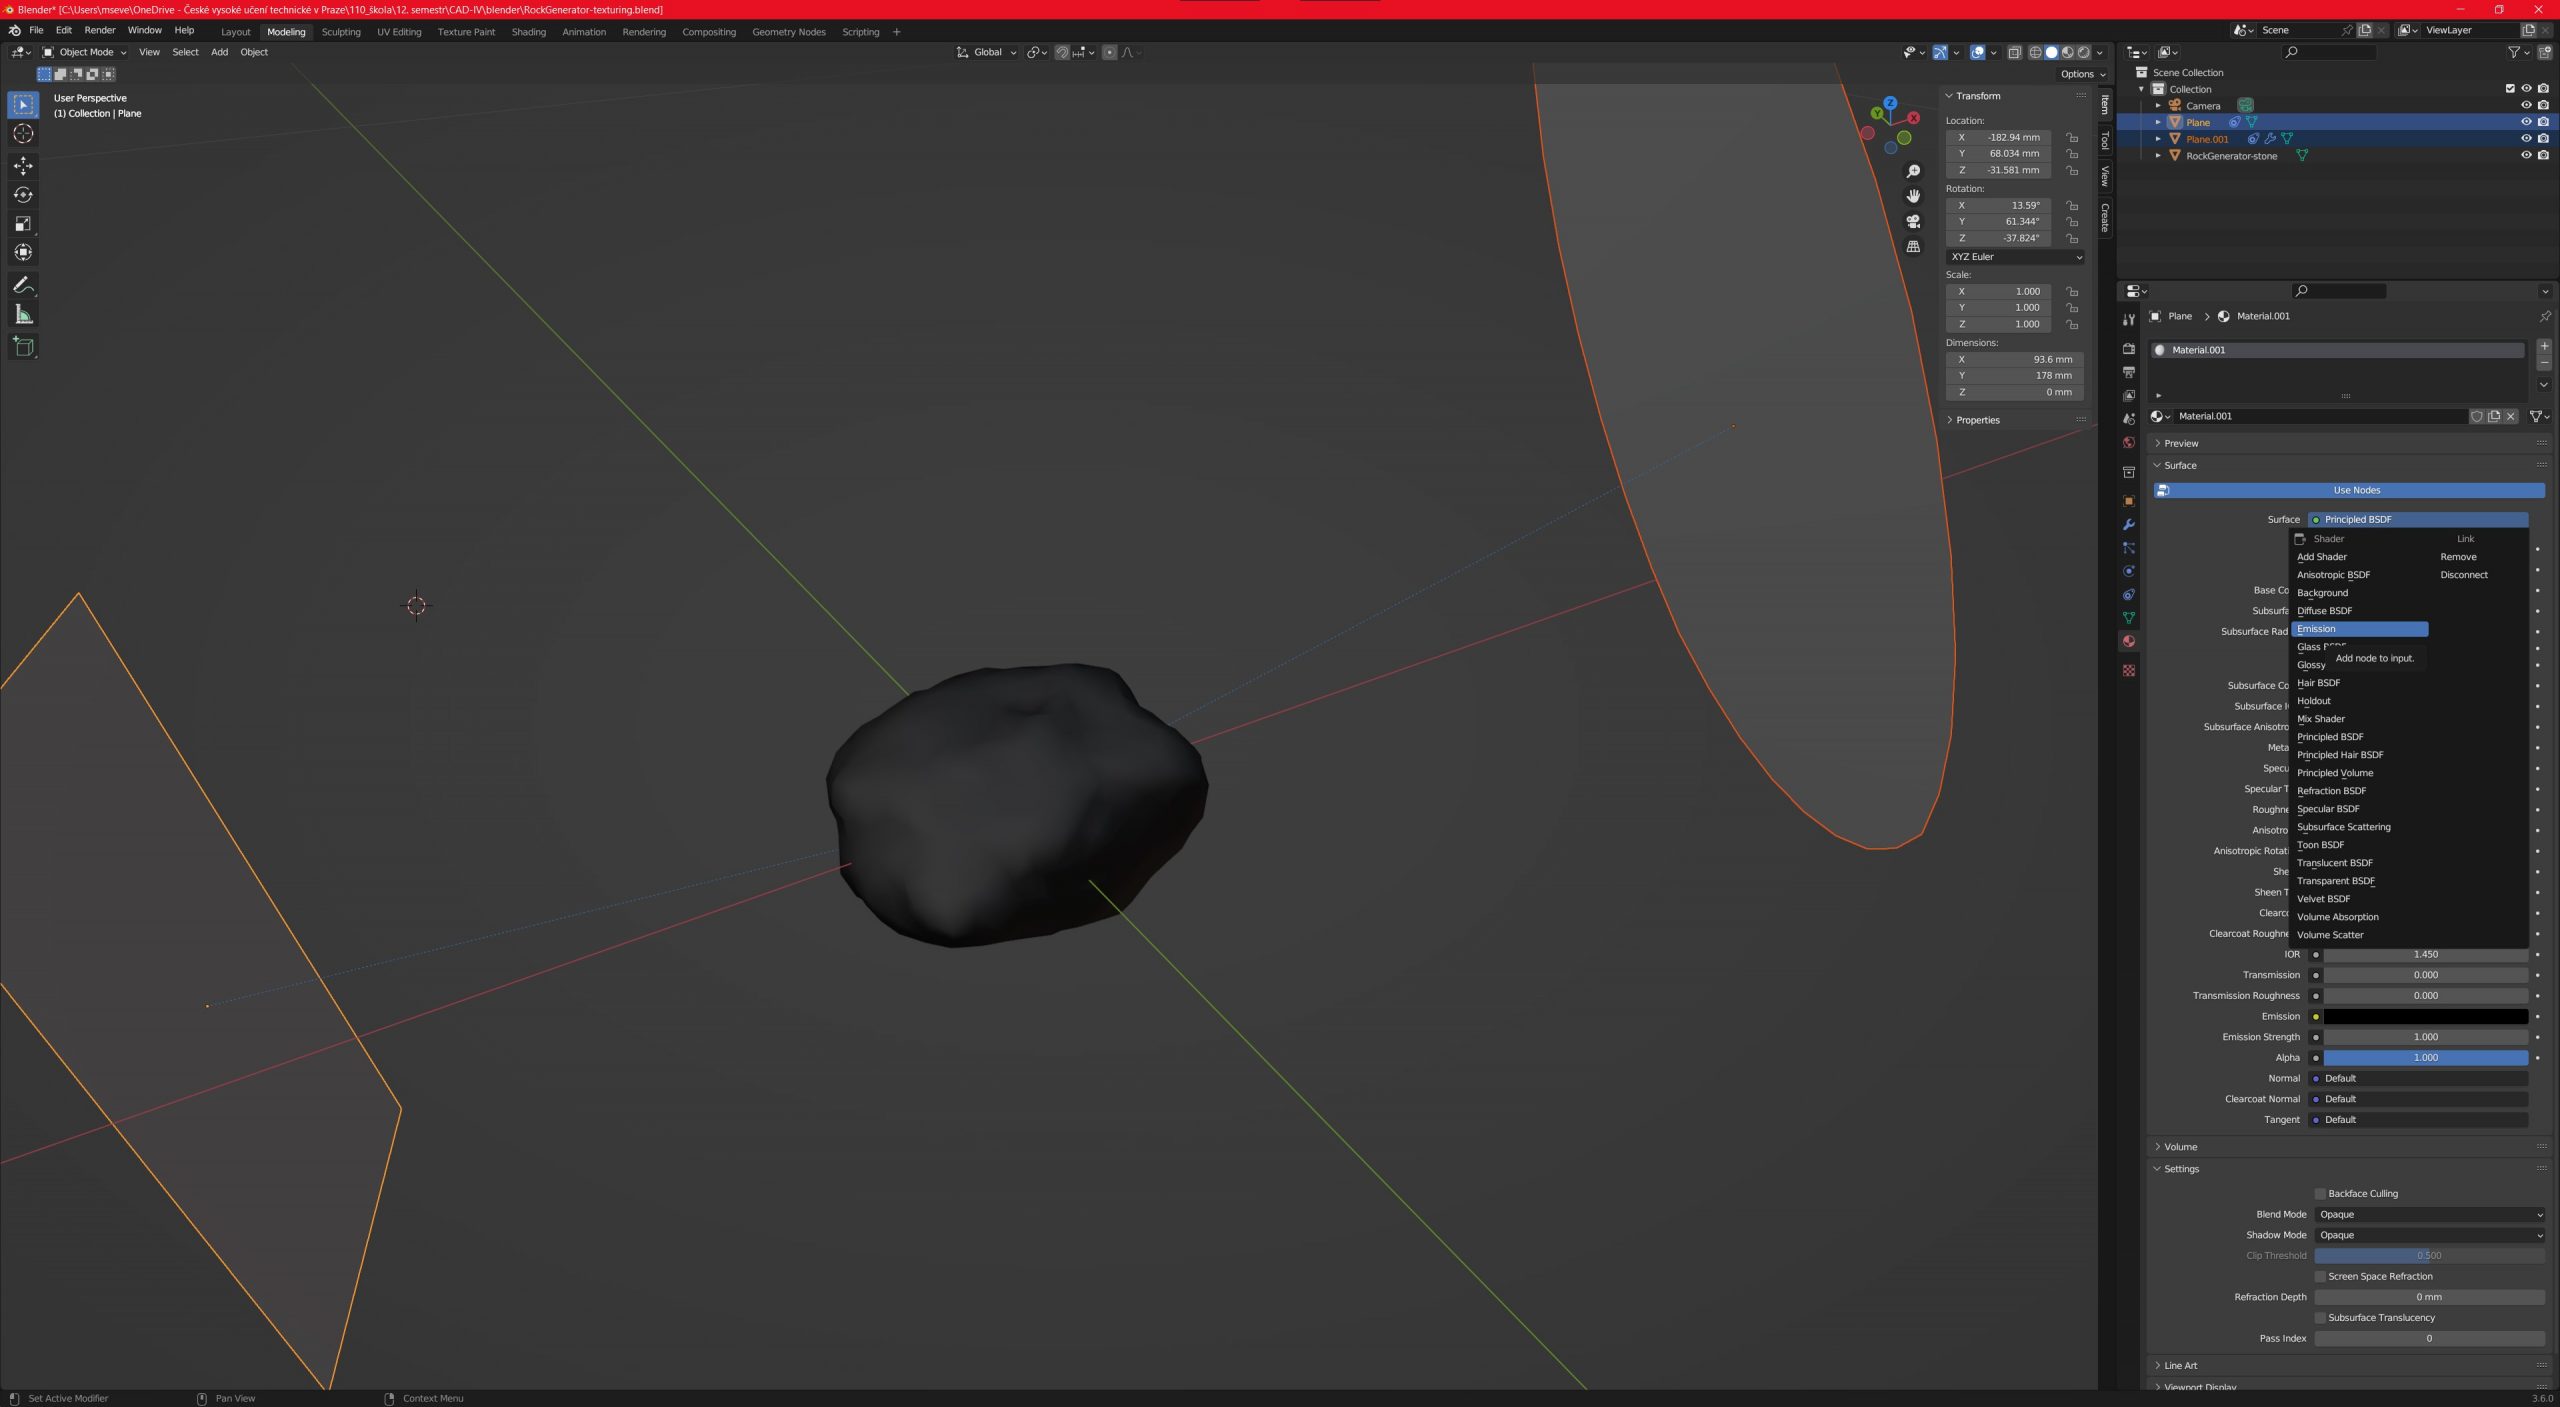
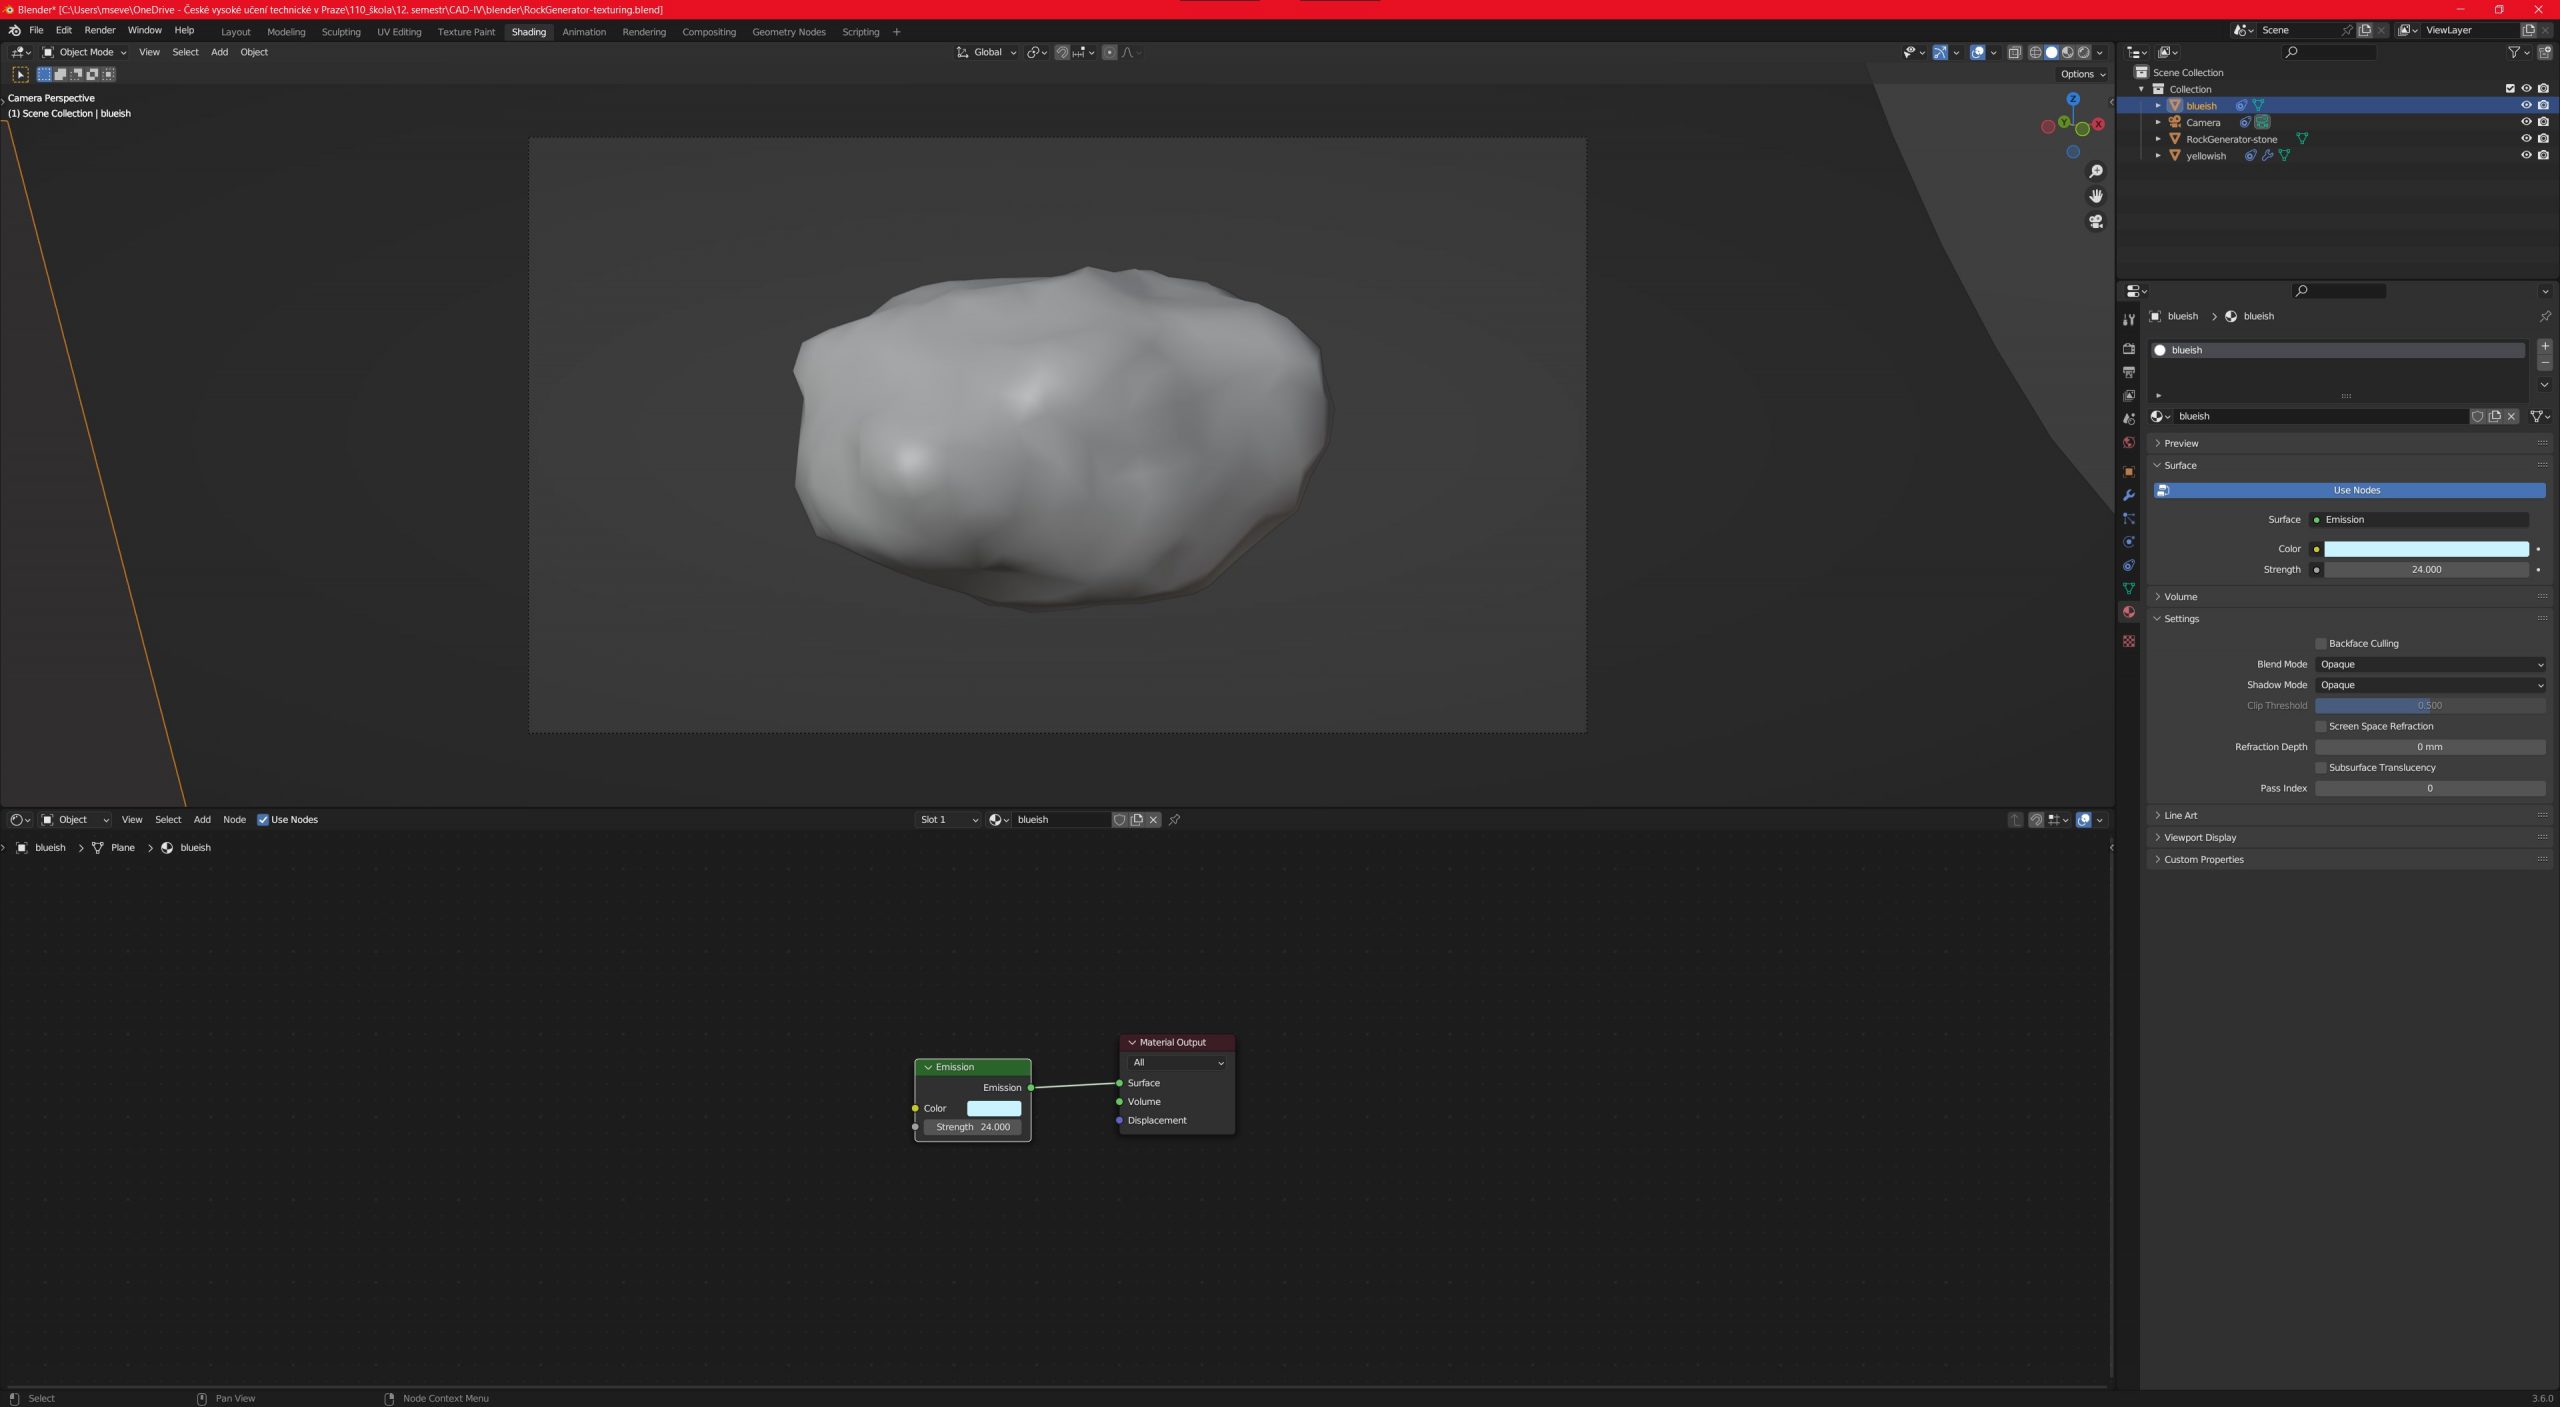
For lightning, I added two planes to the scene. We apply emission texture to them. Then we can slightly tweak the settings. I set one plane to a slightly blueish tone and the second one to a slightly stronger yellowish tone.
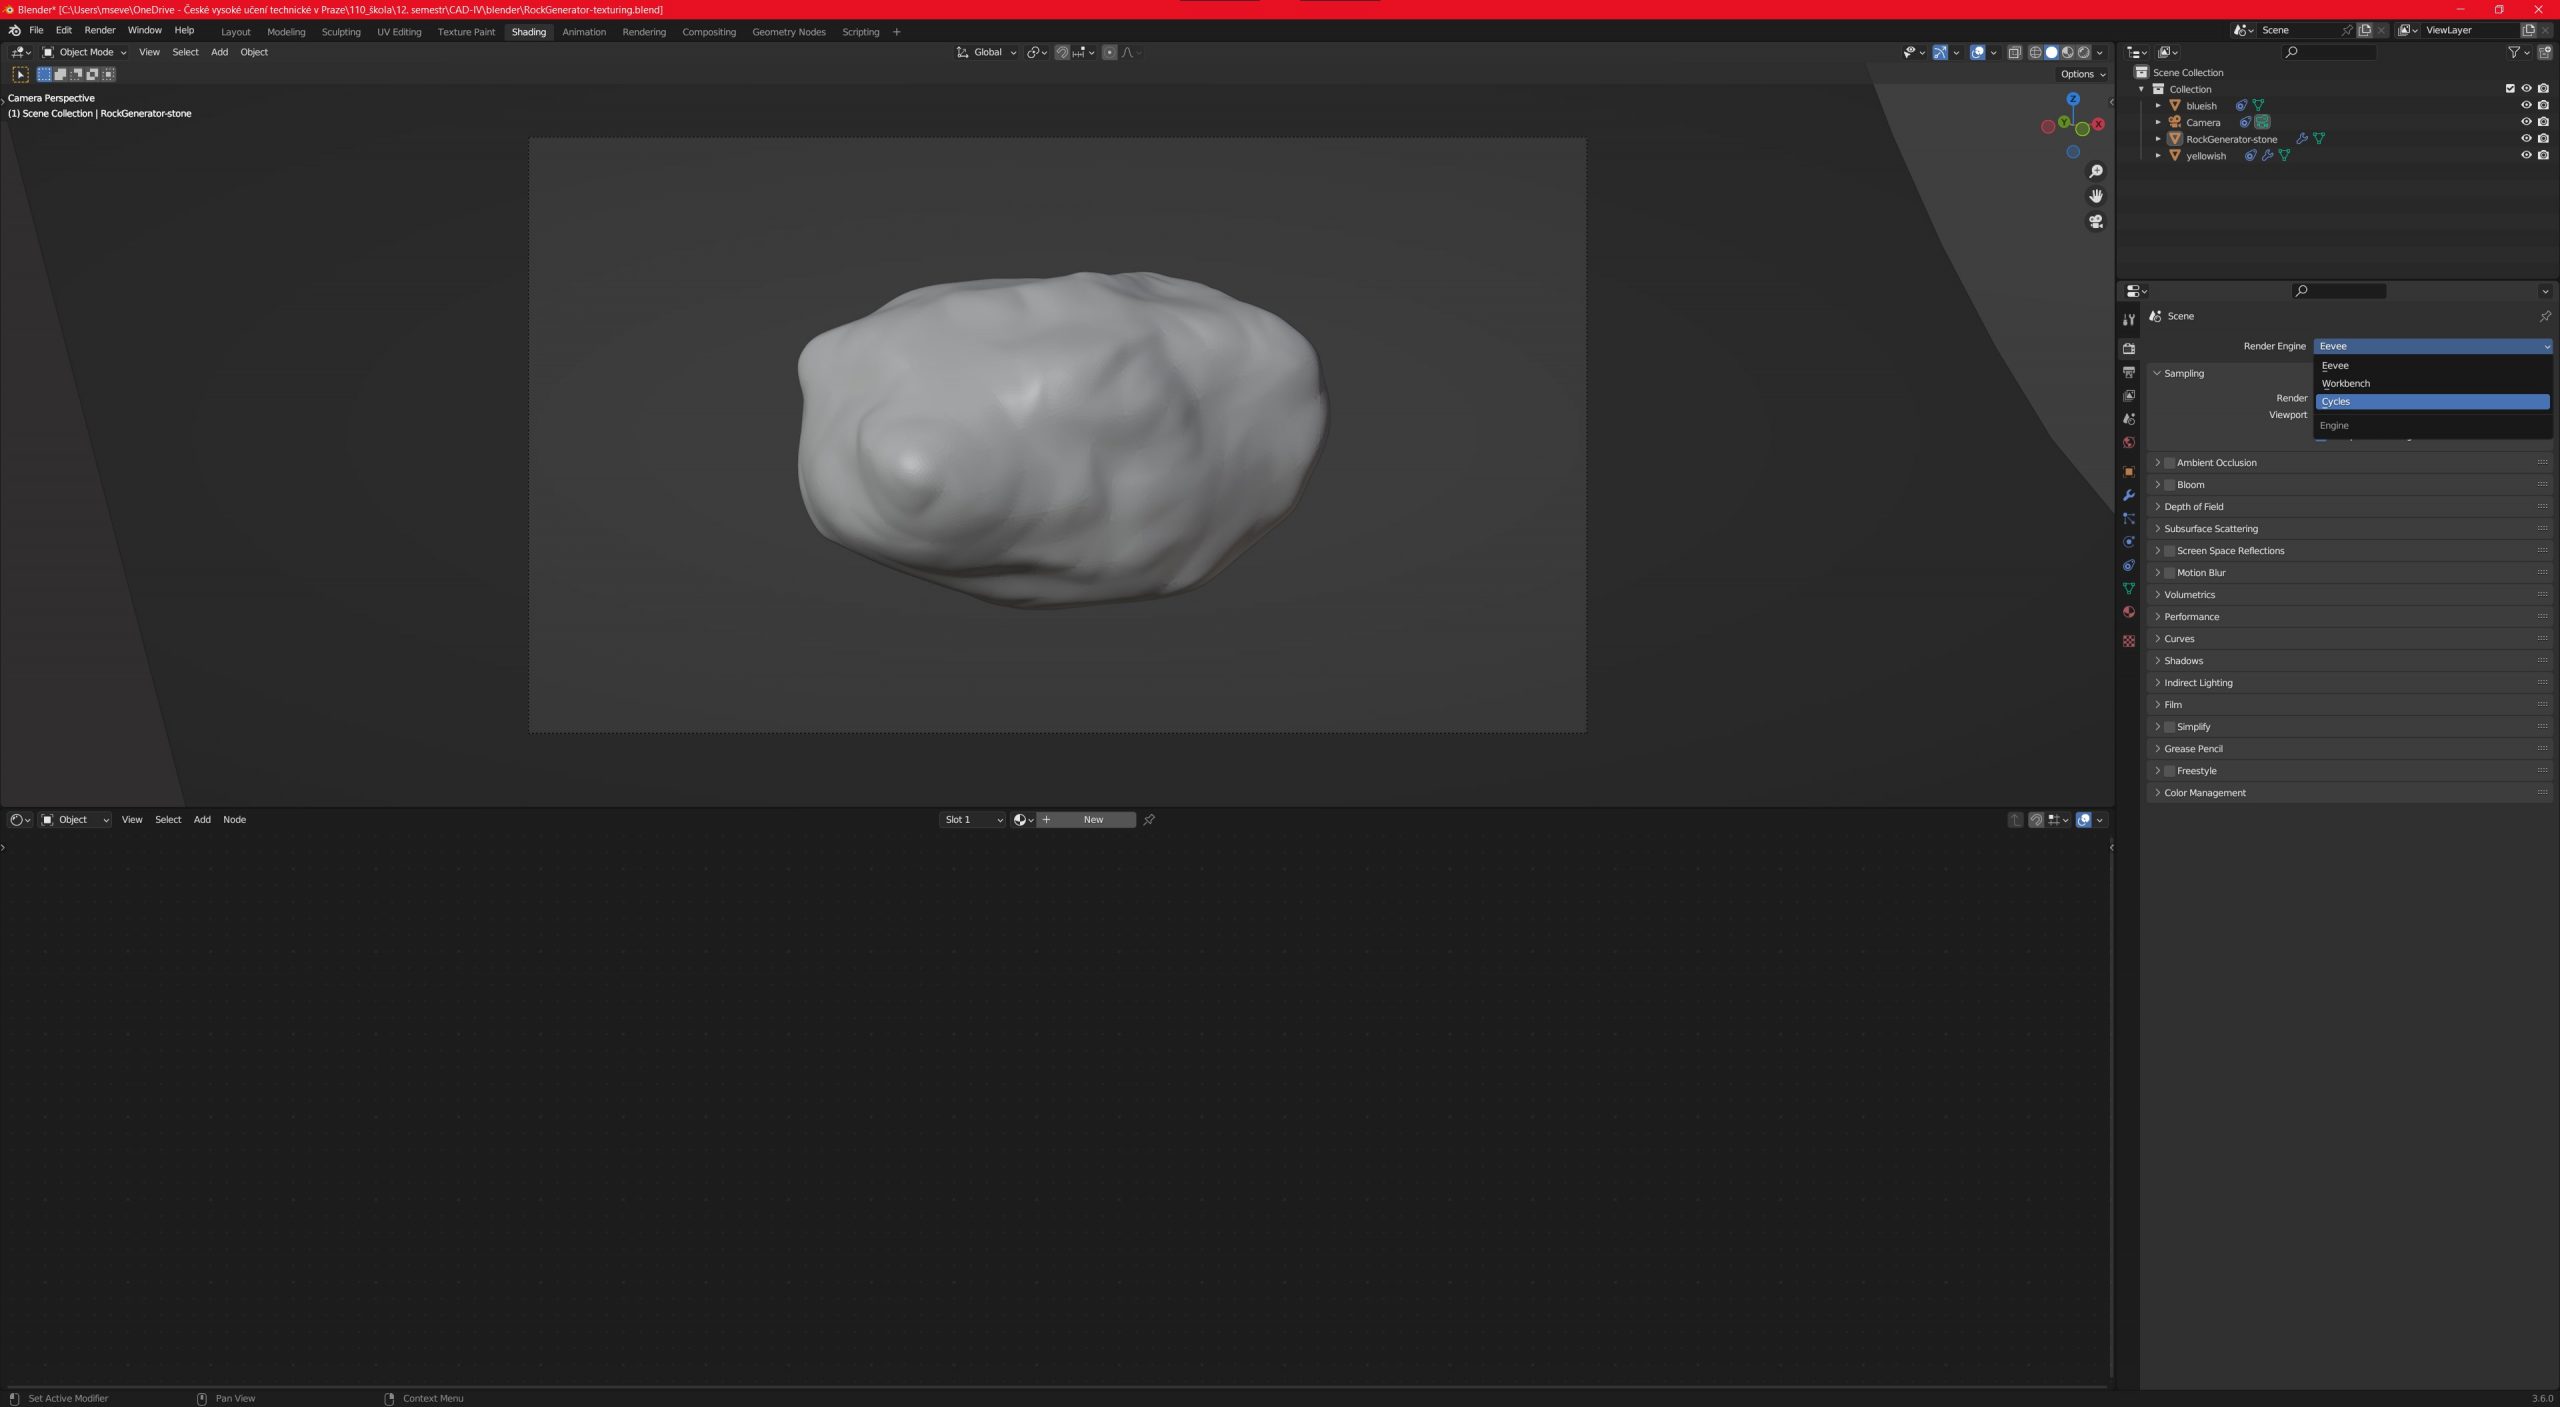
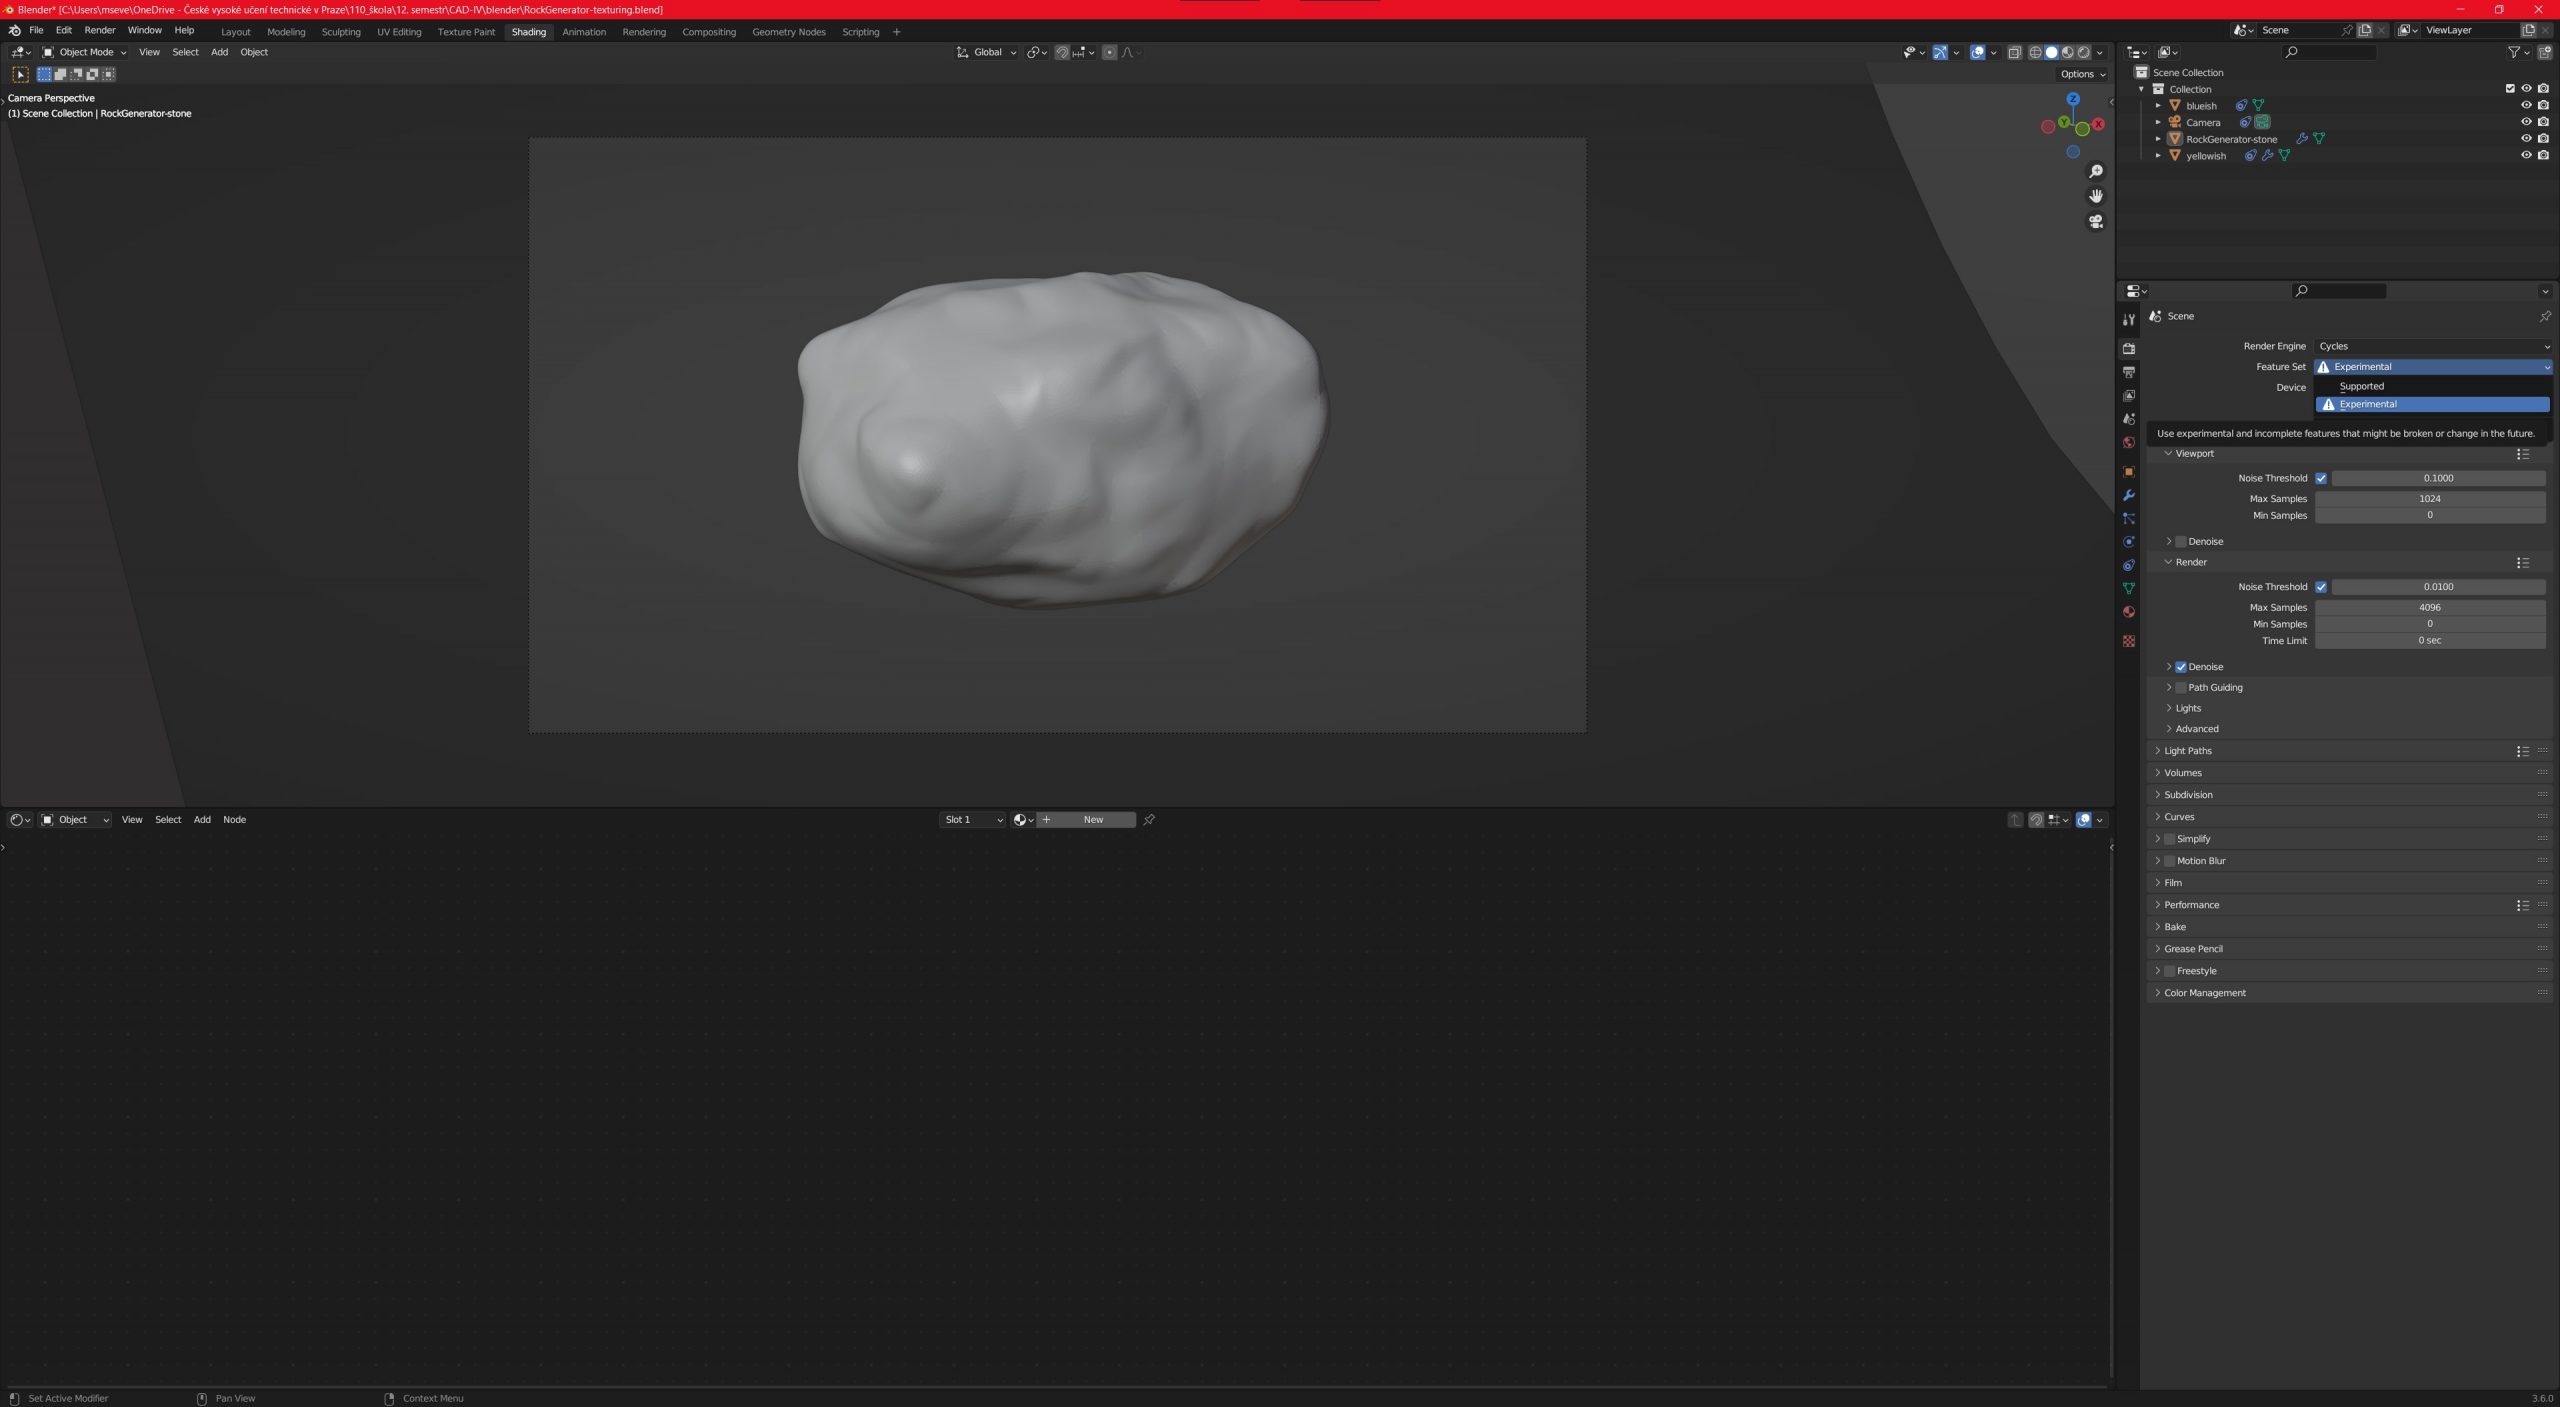
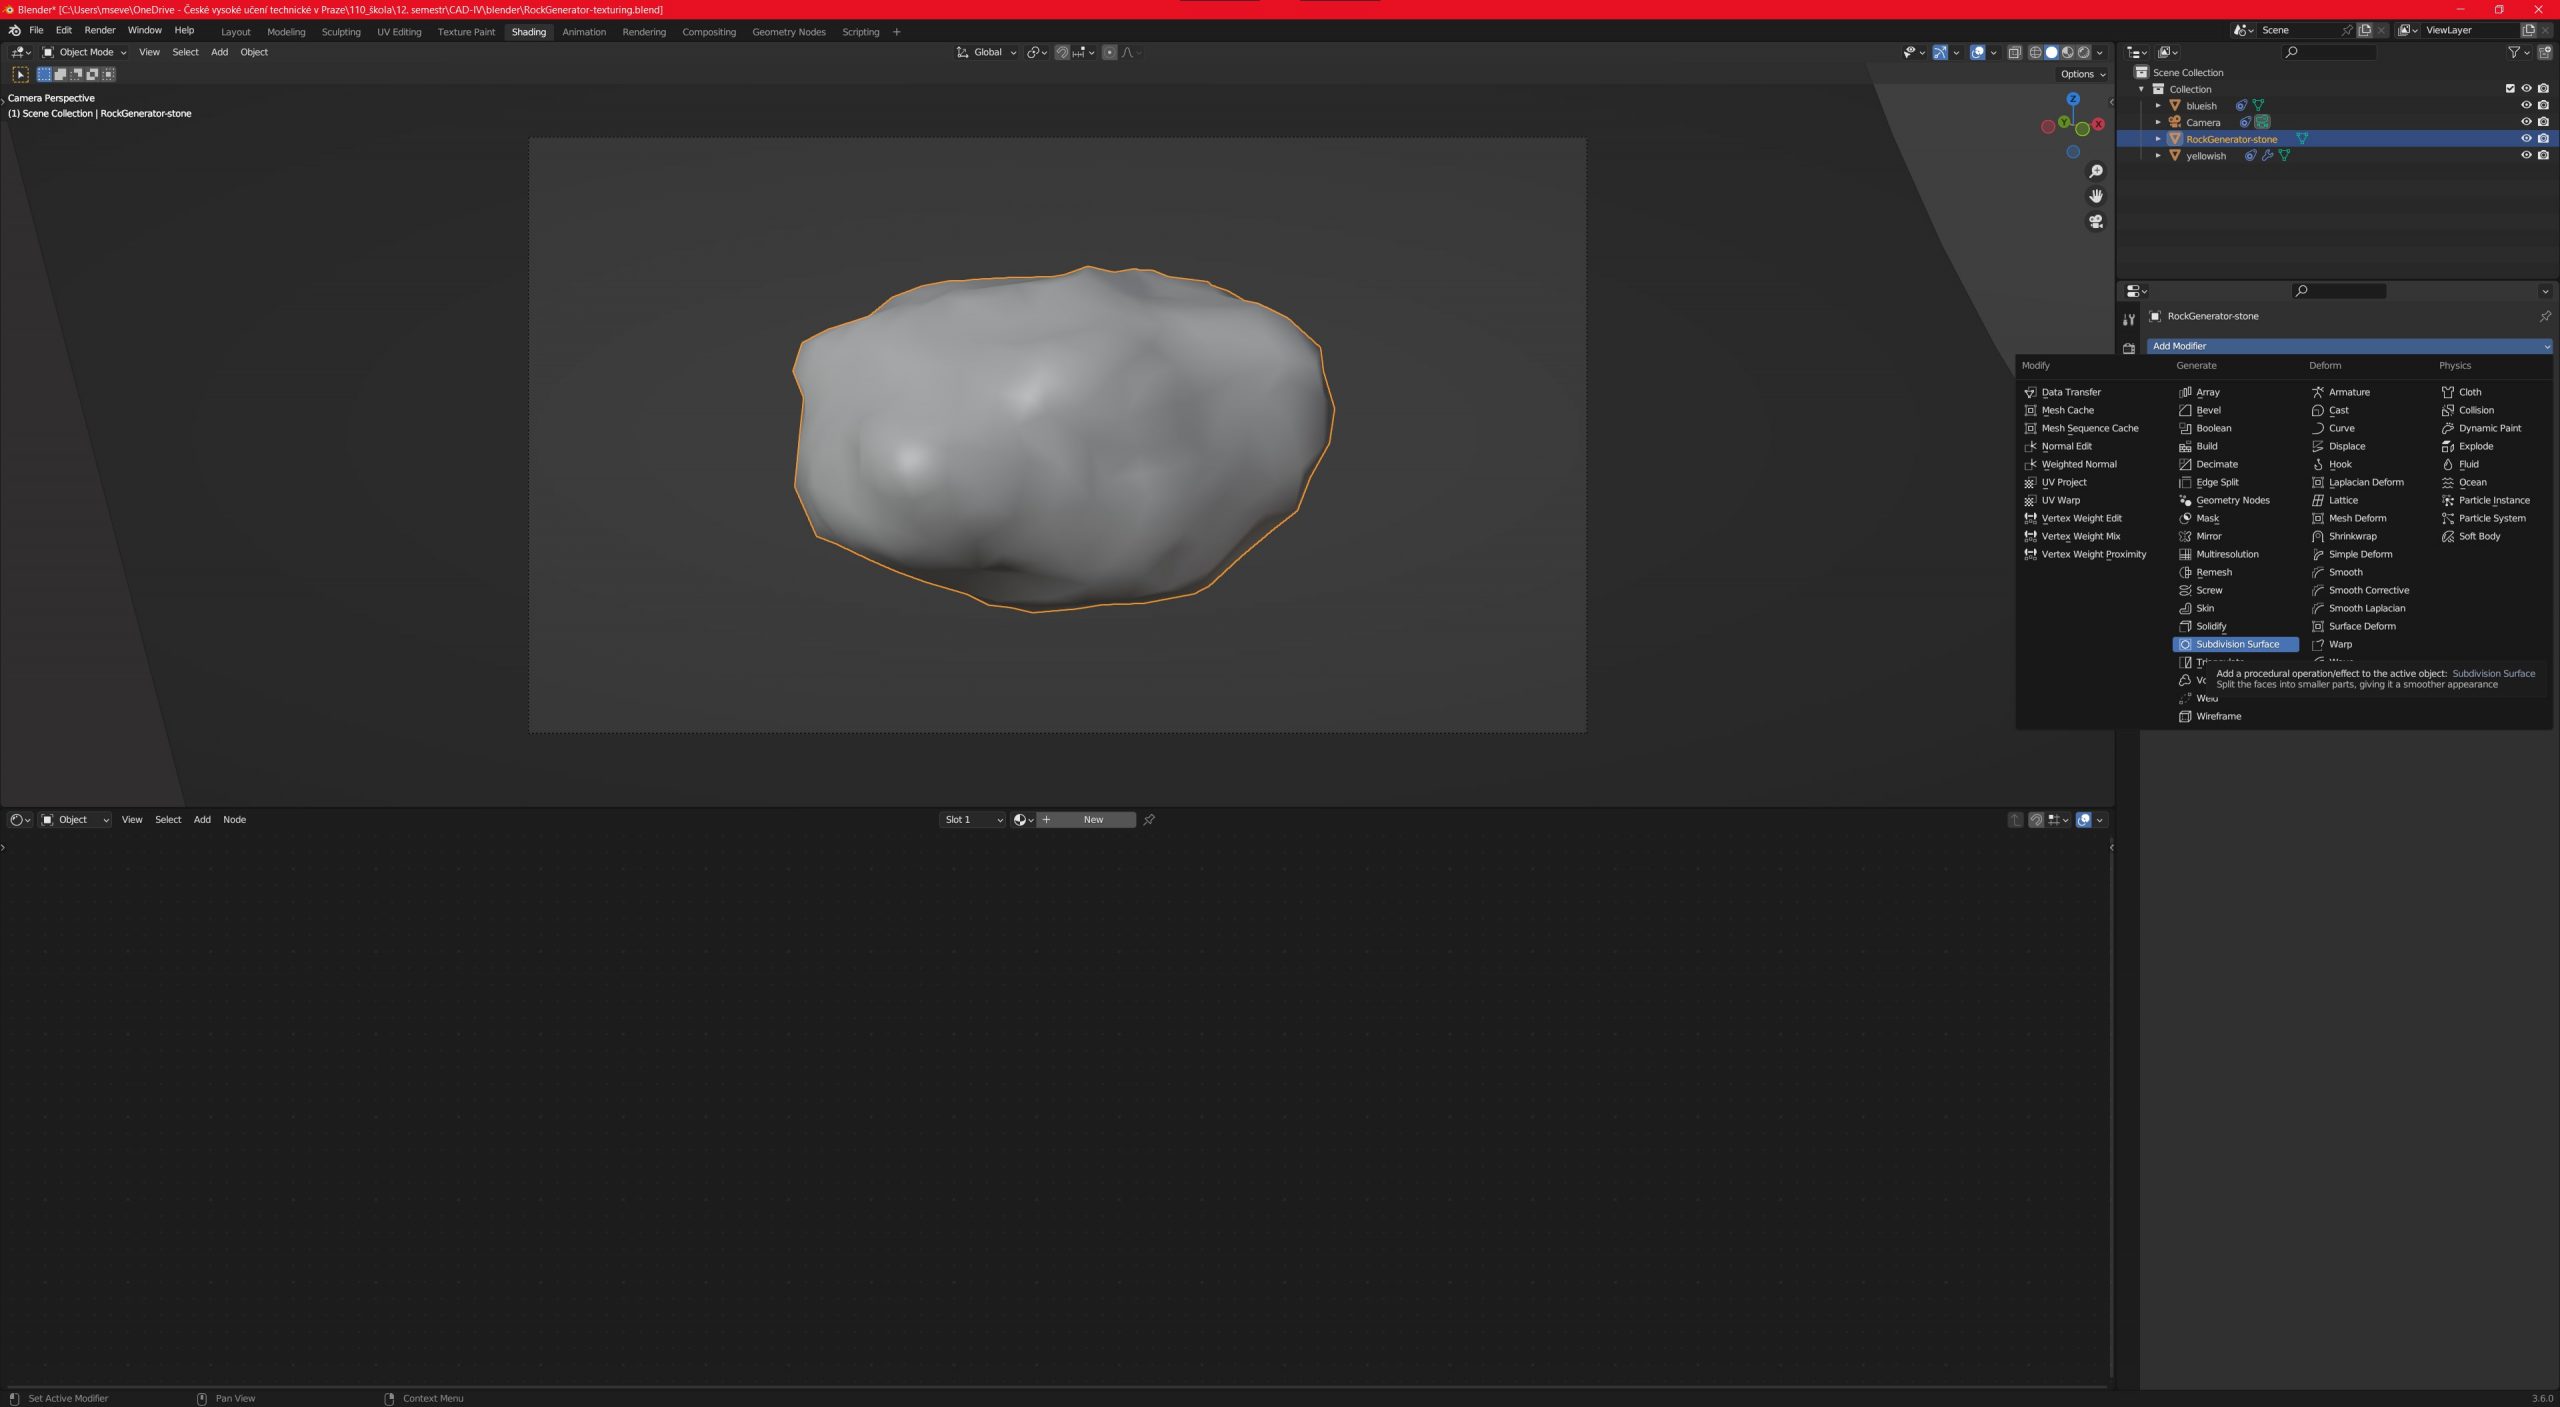
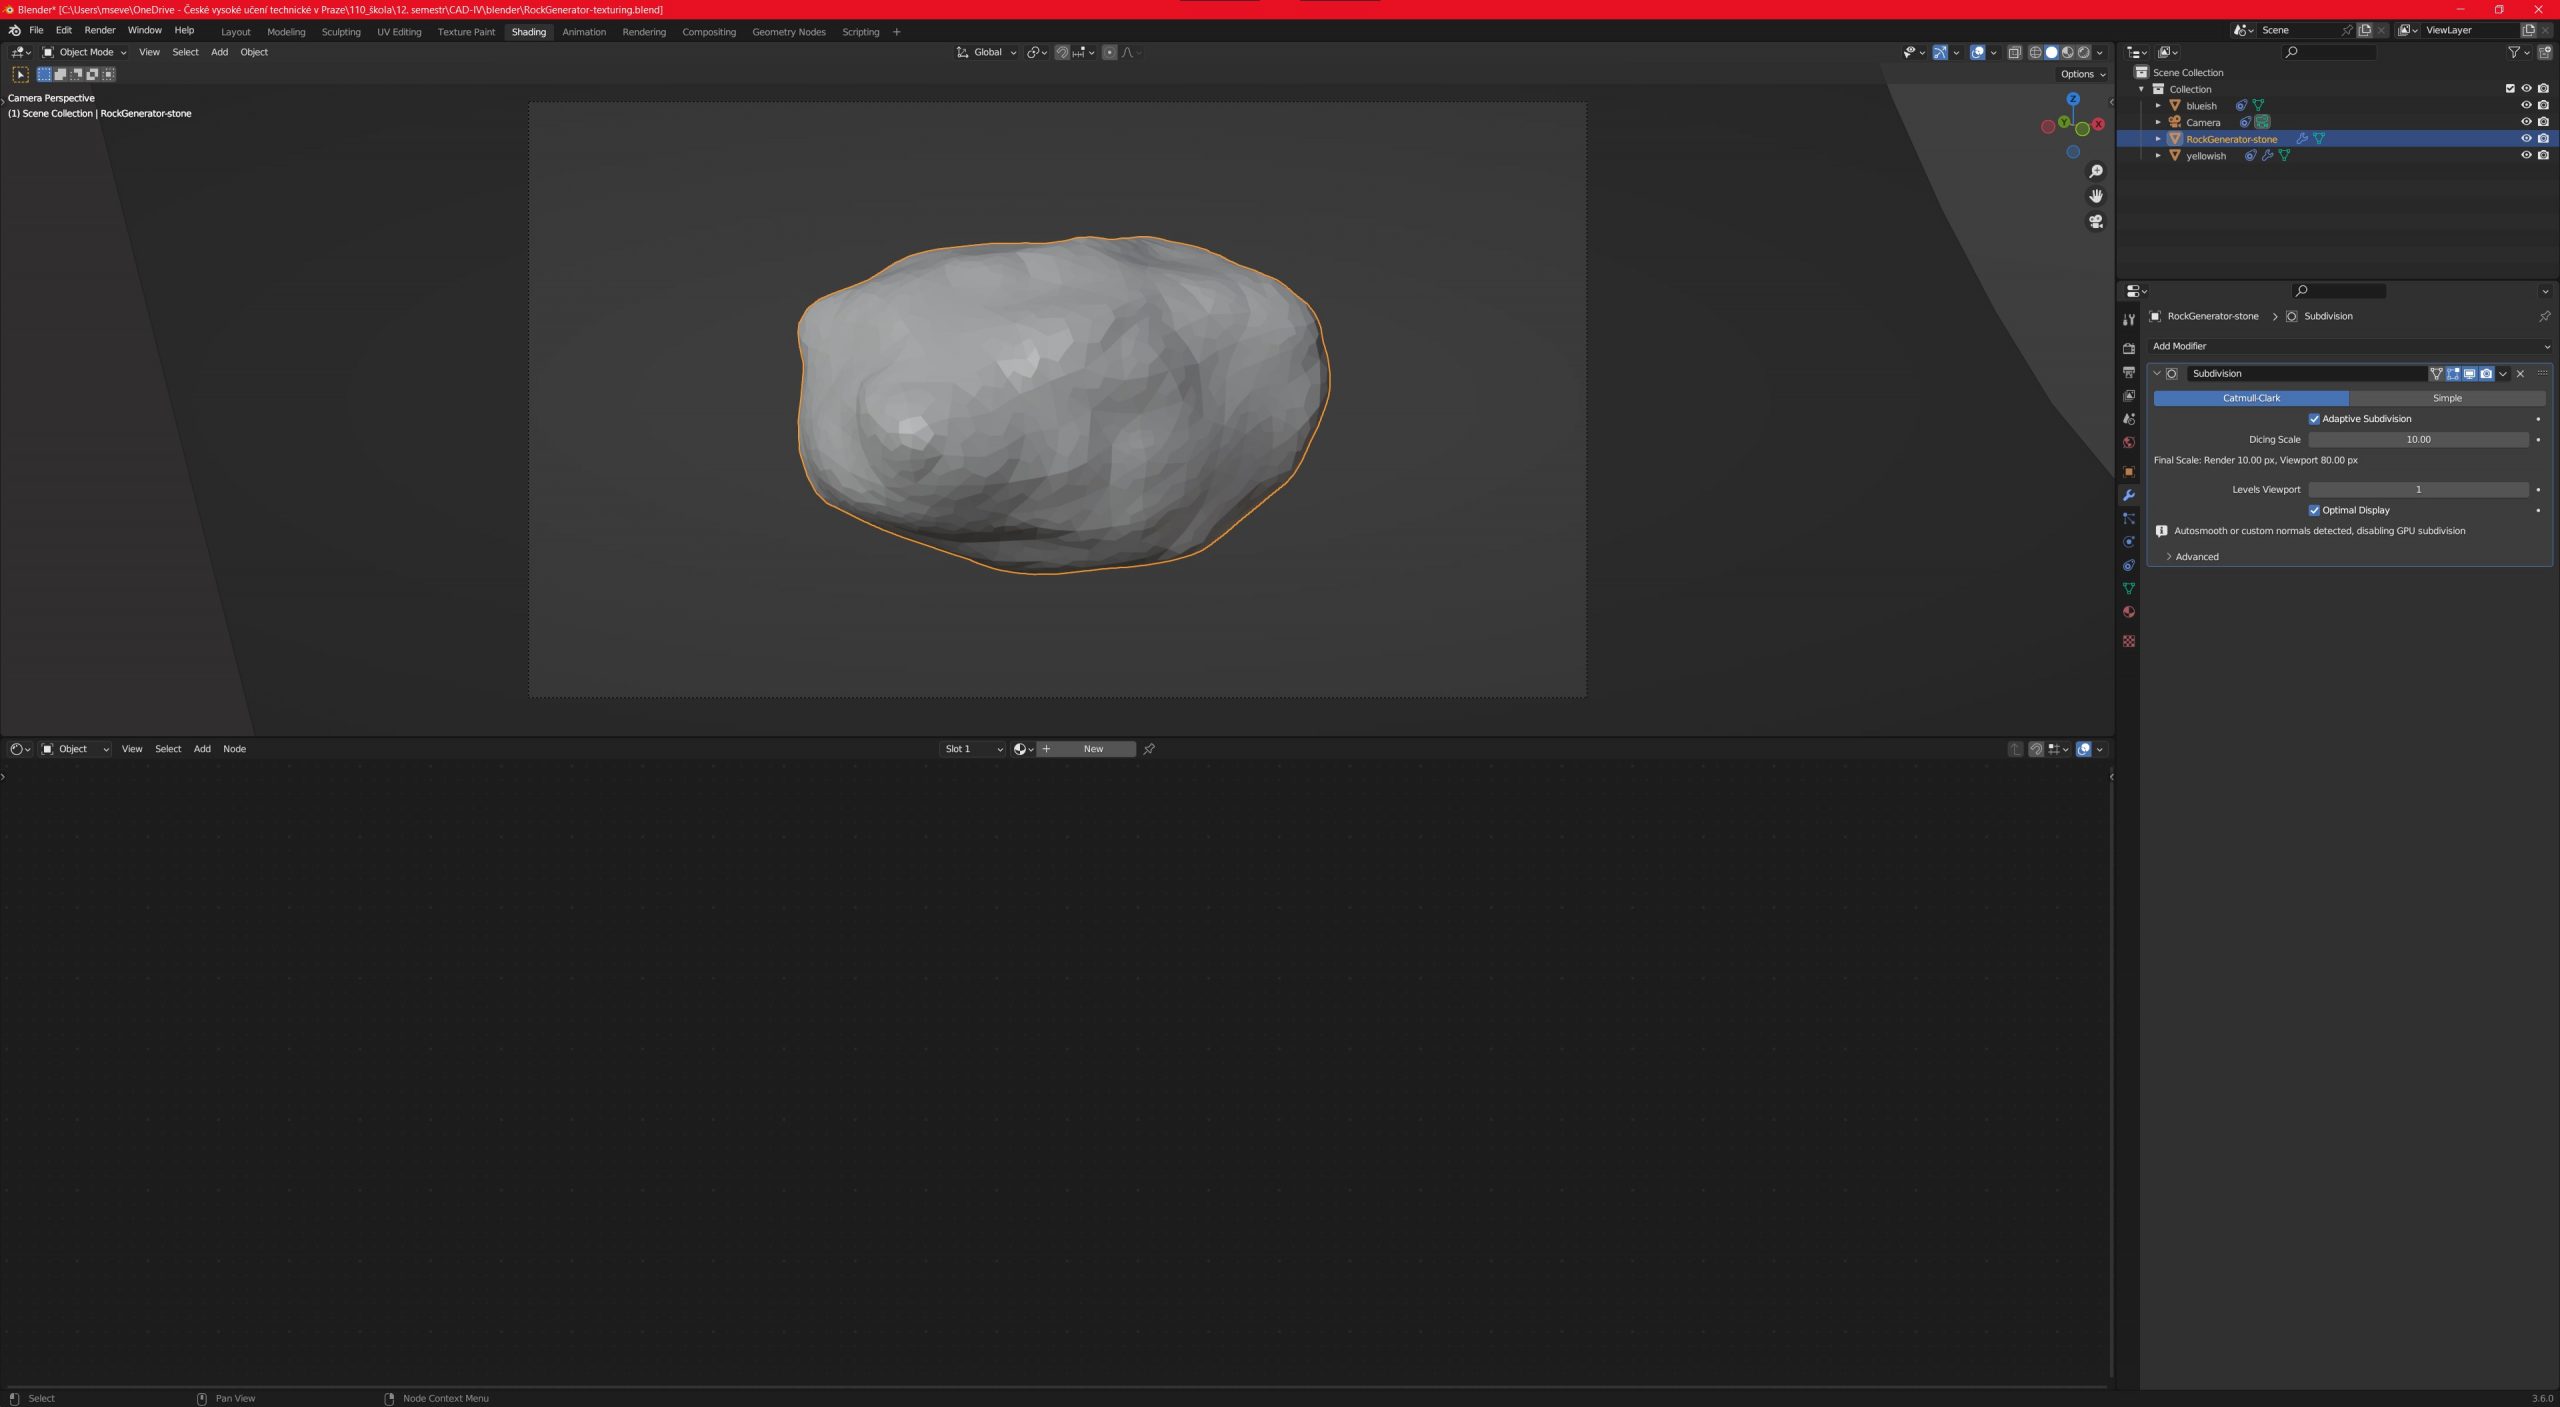
For the render setting, we set our render engine to Cycles, and feature set to Experimental (we do it because of the adaptive subdivision in the next step).
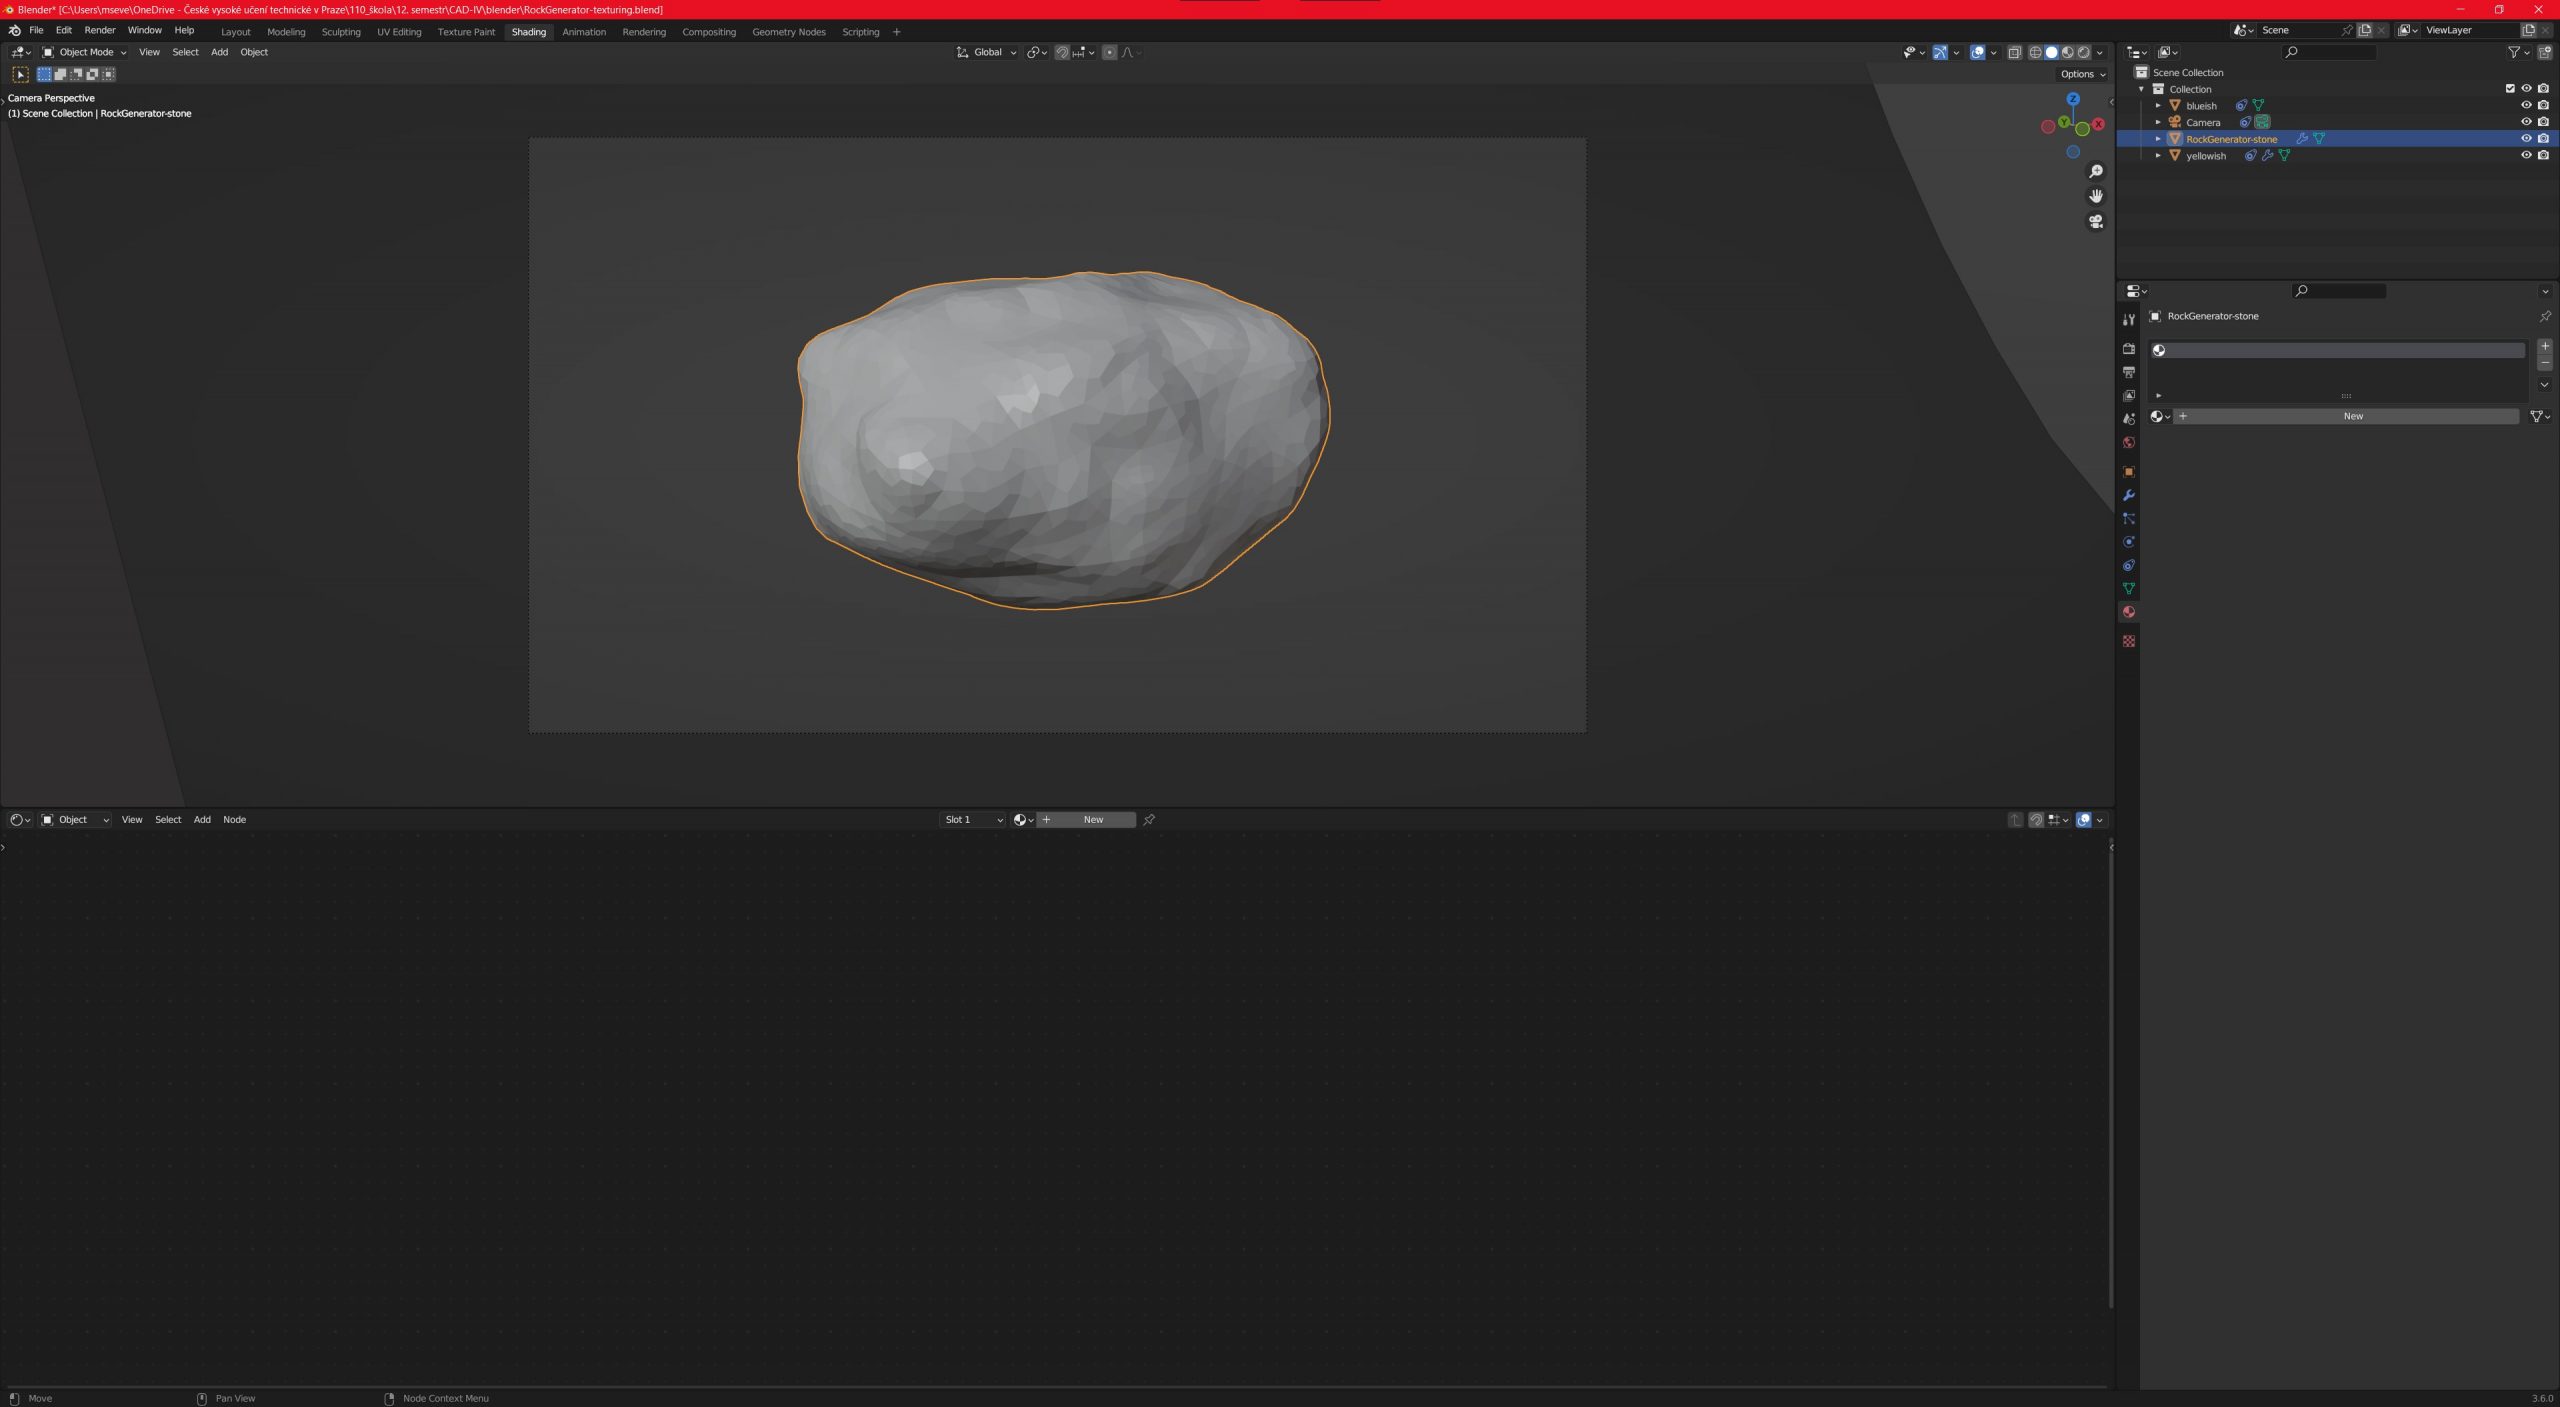
We have to add a subdivision modifier to our geometry. We set it to adaptive subdivision with a scale somewhere around 10, and as already said, we have to play with some of the settings to achieve the look we want.
For setting our camera, it is as easy as pressing Ctrl+Alt+0 and our camera view is set. By pressing 0 we can switch between camera and normal view.
For easier work, we can add position trackers to our light planes aswell as for camera. In Constrains tab we add Track to and then we add the target object which is our stone geometry.
Also, it is useful to turn on Node wrangler, which is an Add-on, which we can access through Edit>Preferences>Add-ons -> we search for Node wrangler and we turn it on.
Now we have done all the small steps before the creation of the texture itself.
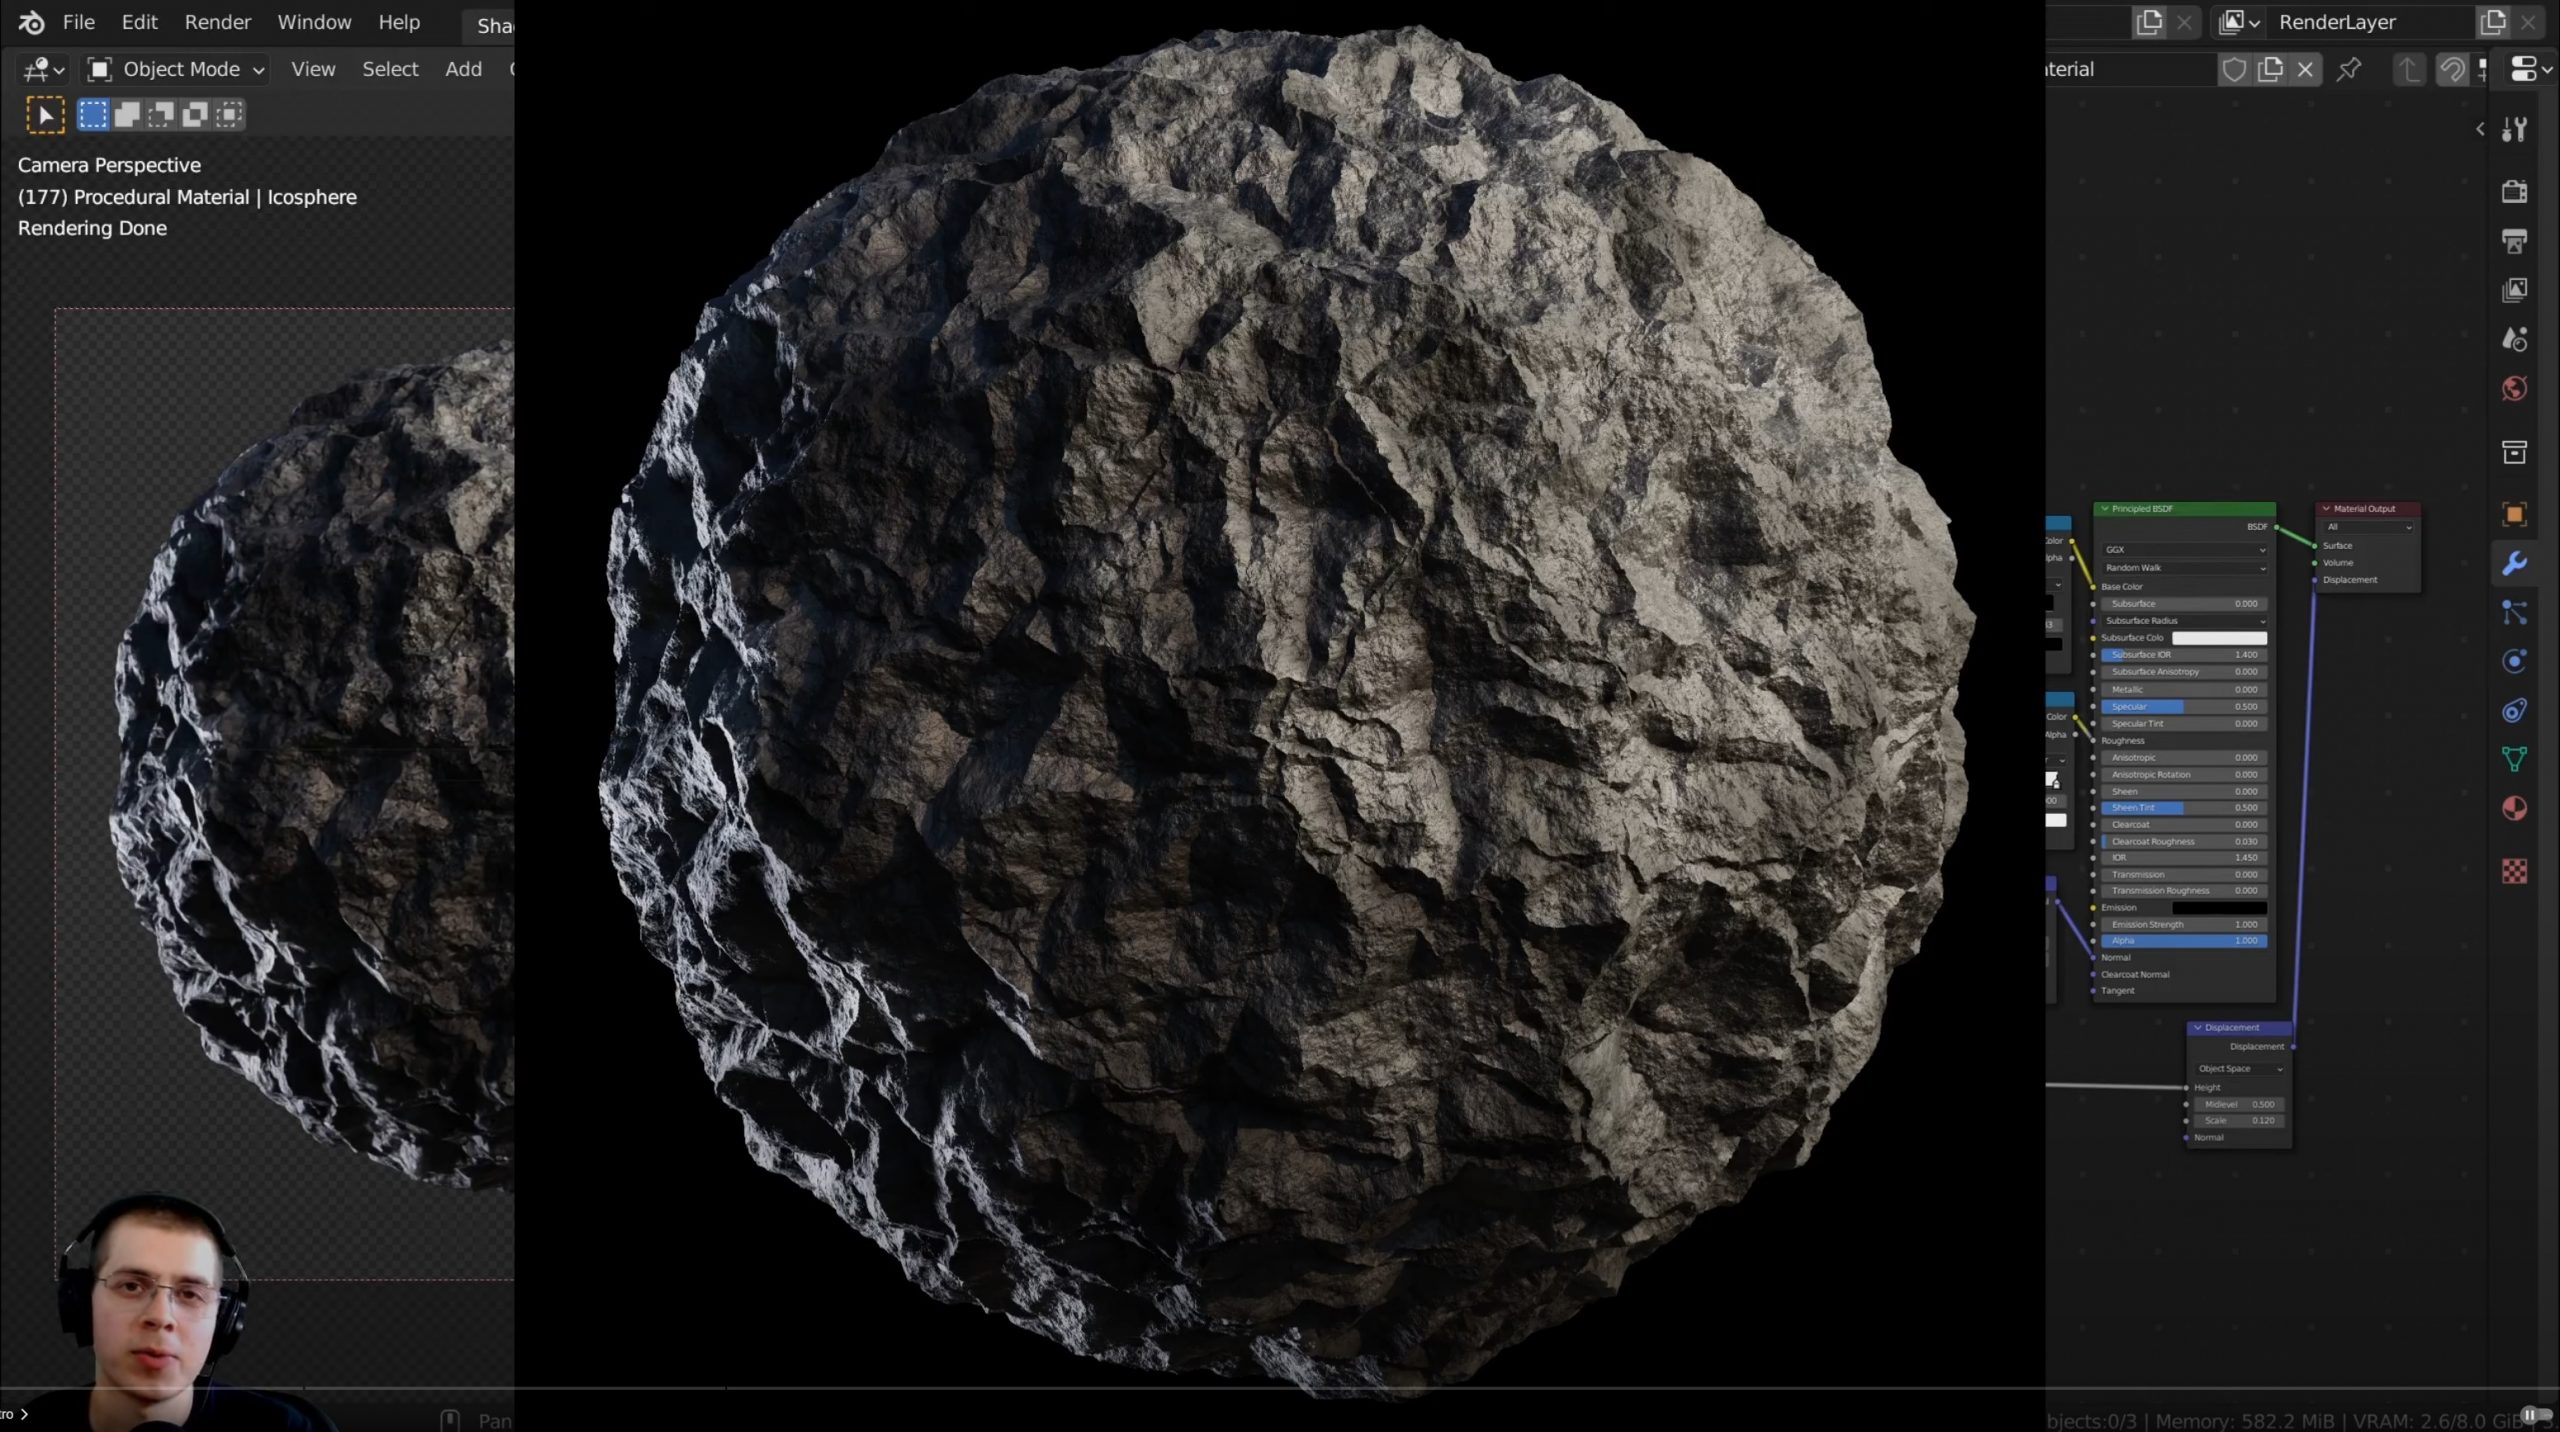
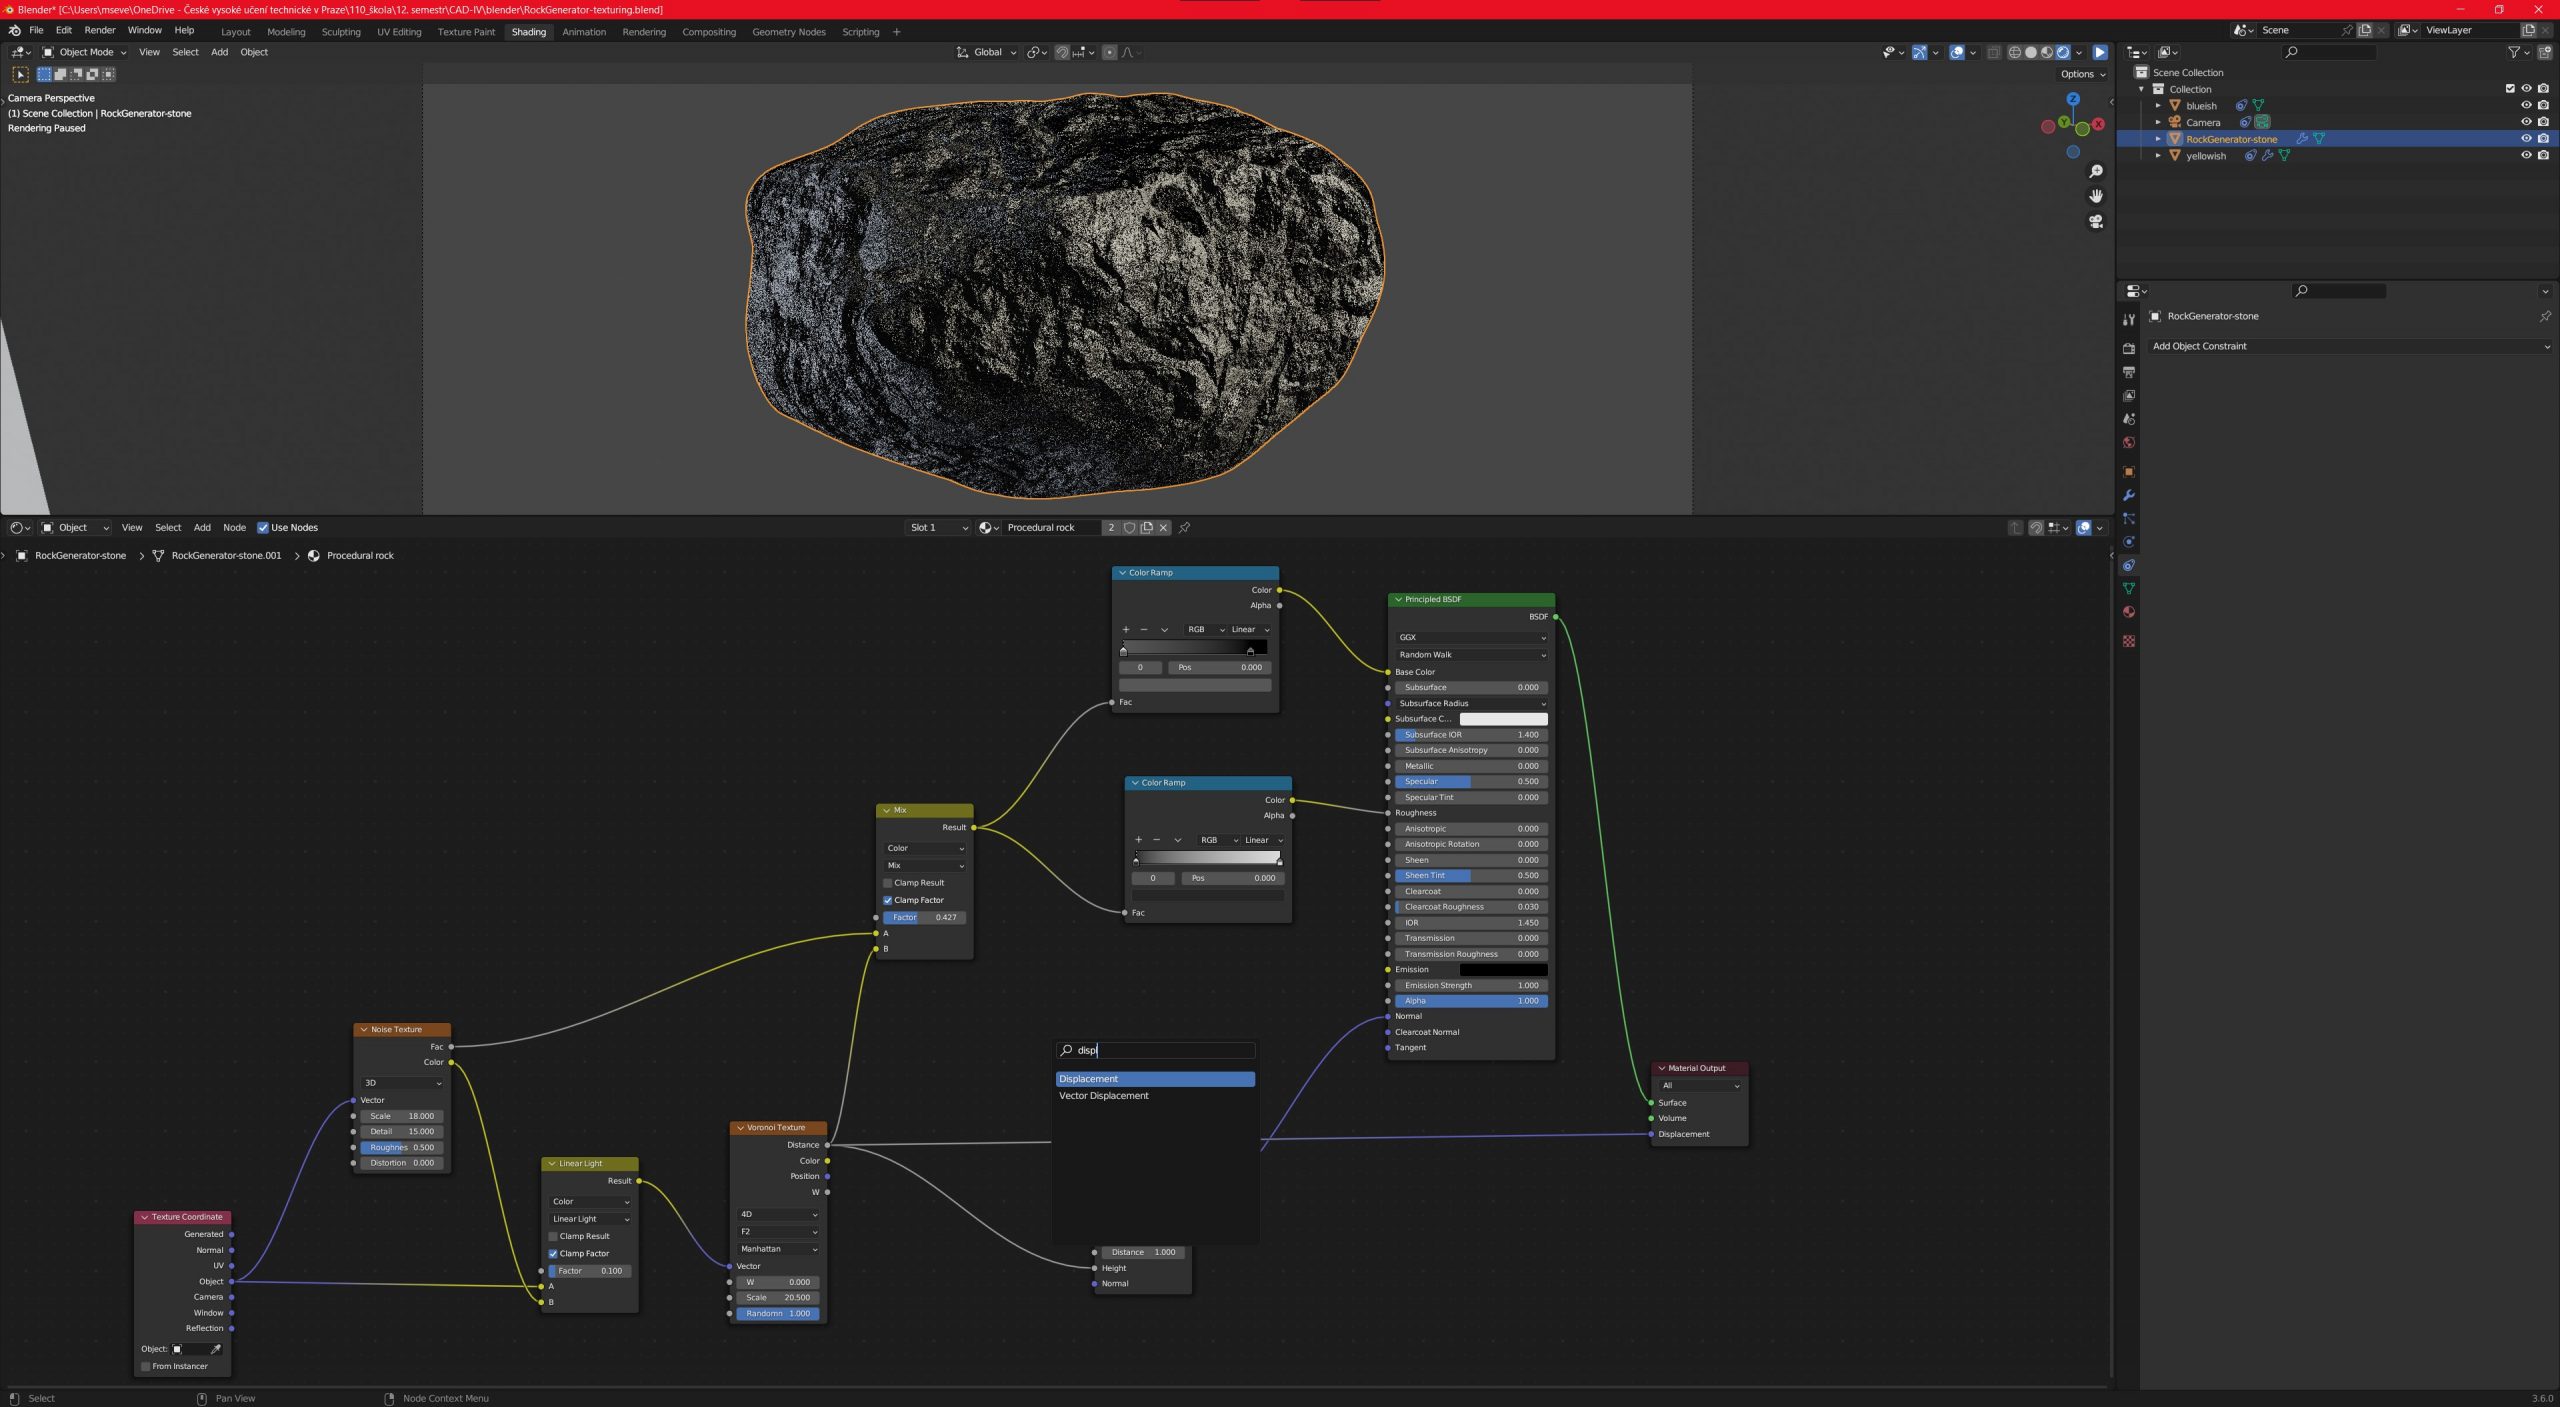
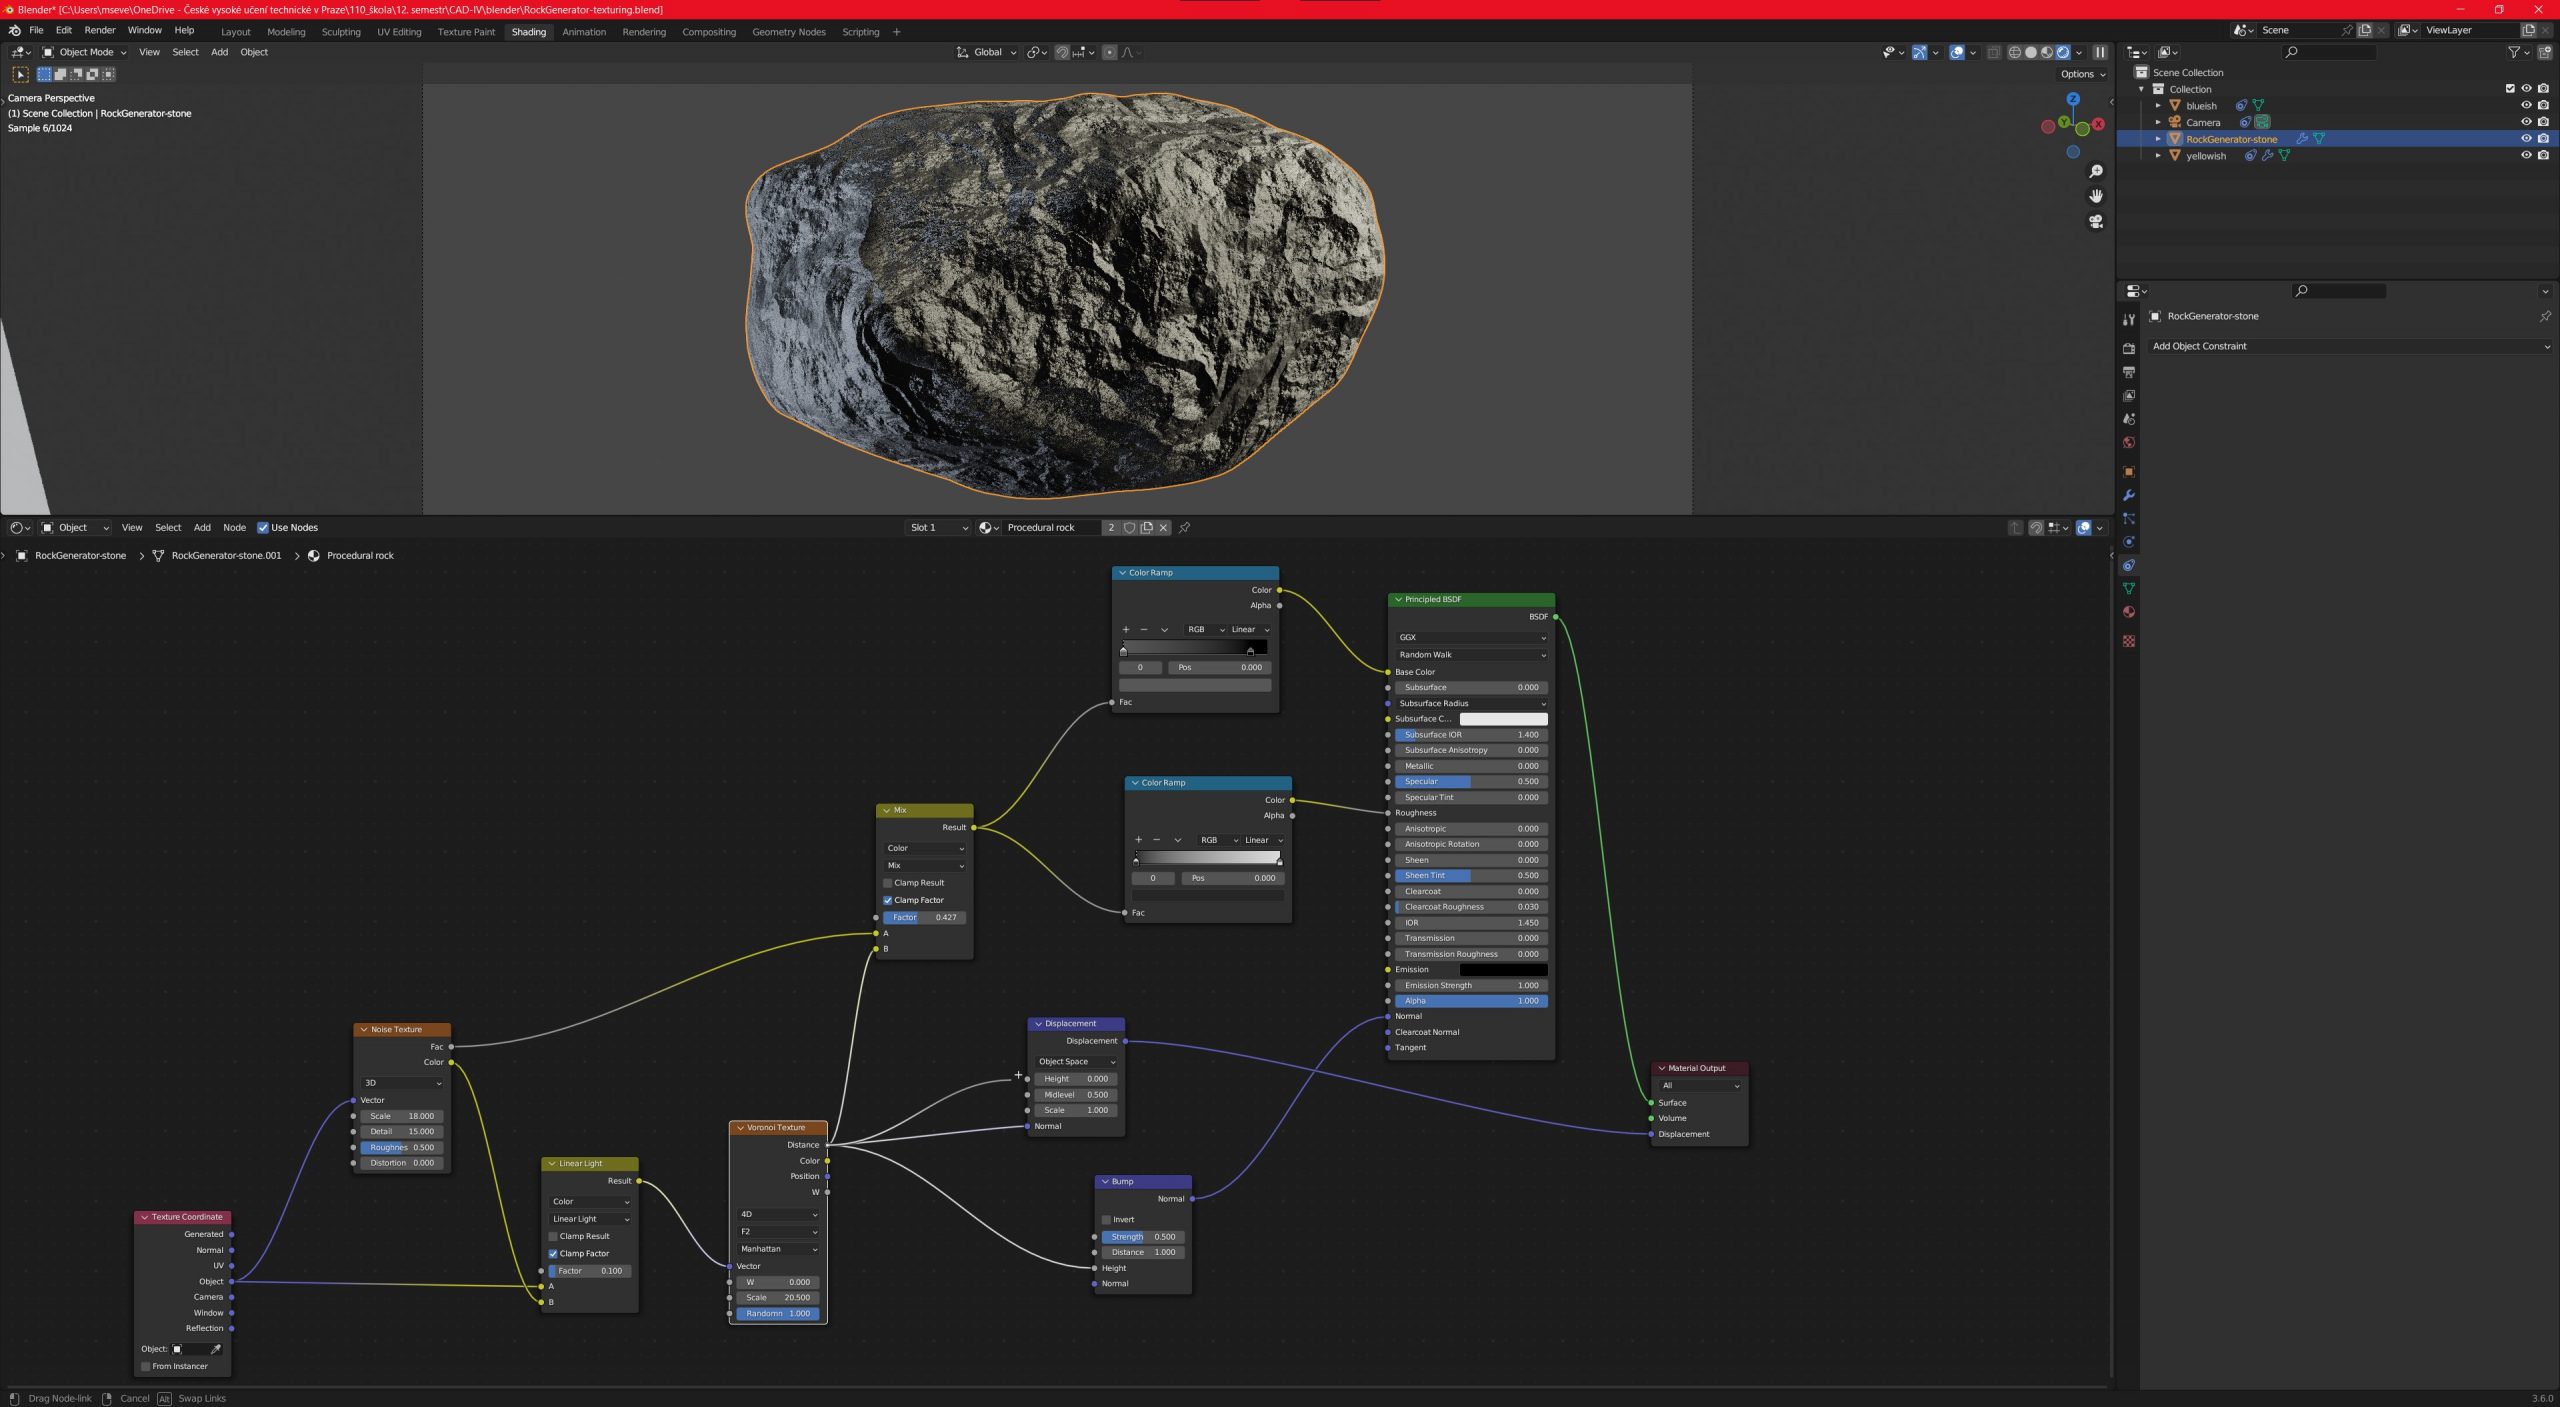
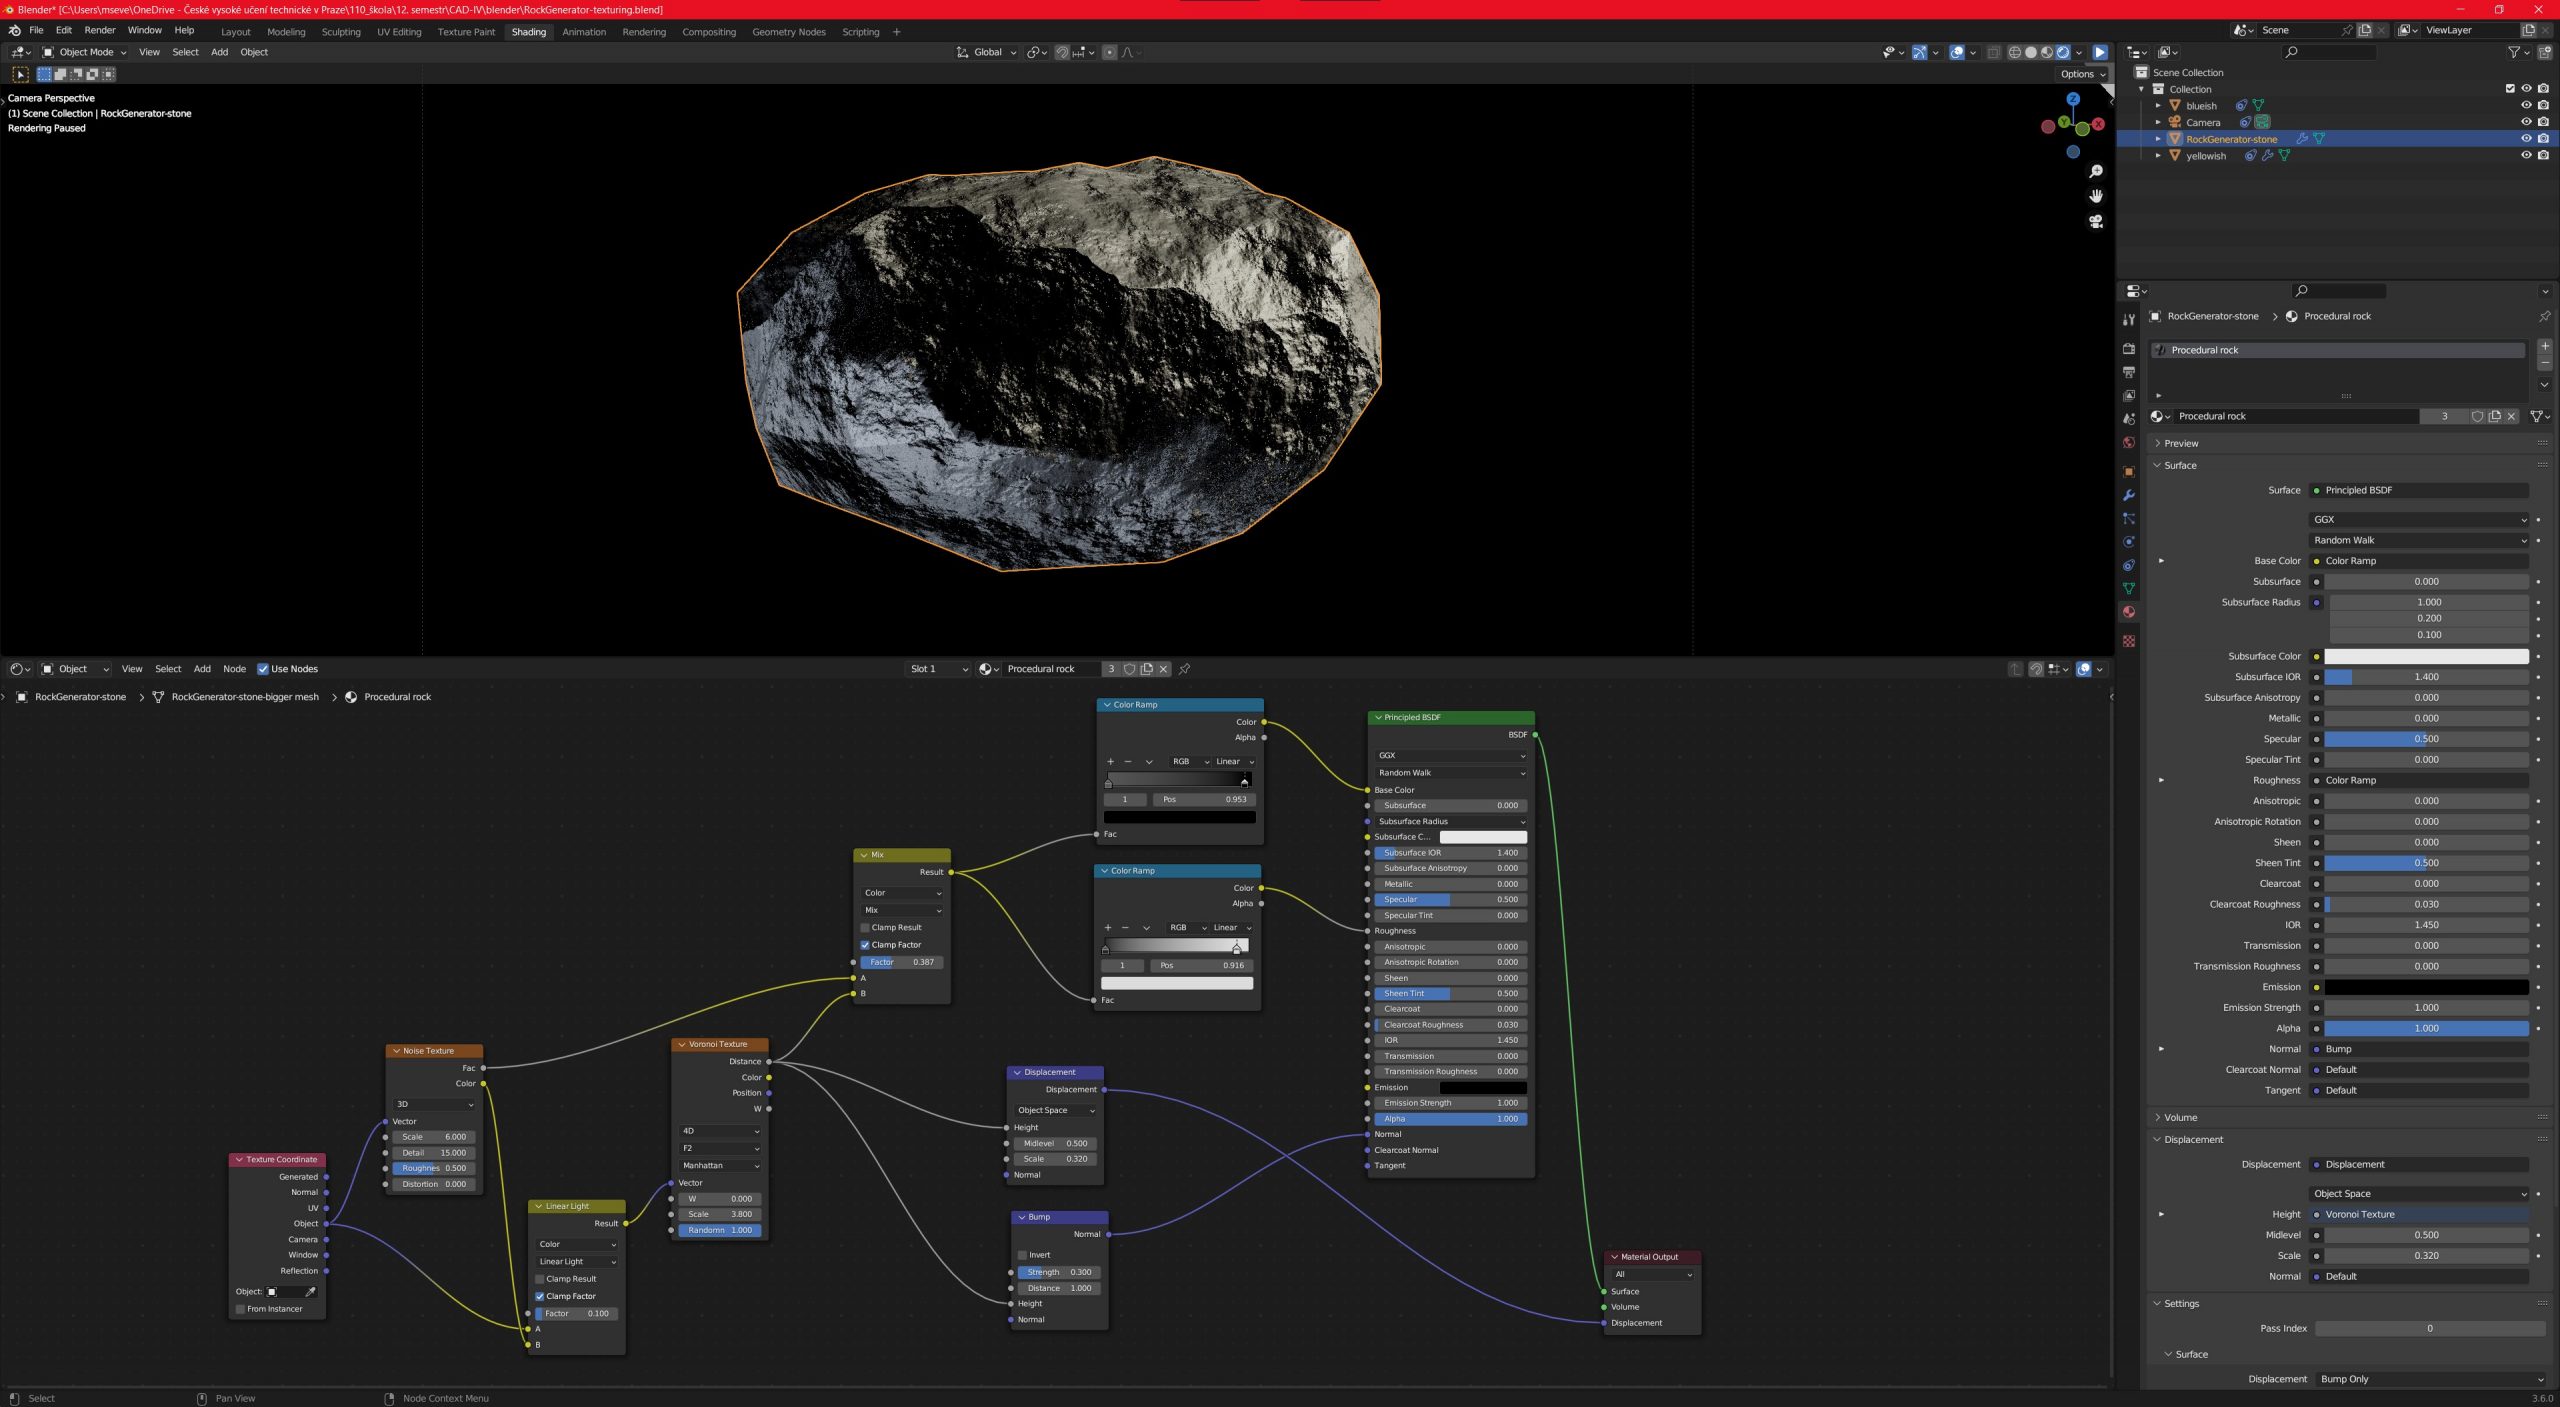
Texturing |
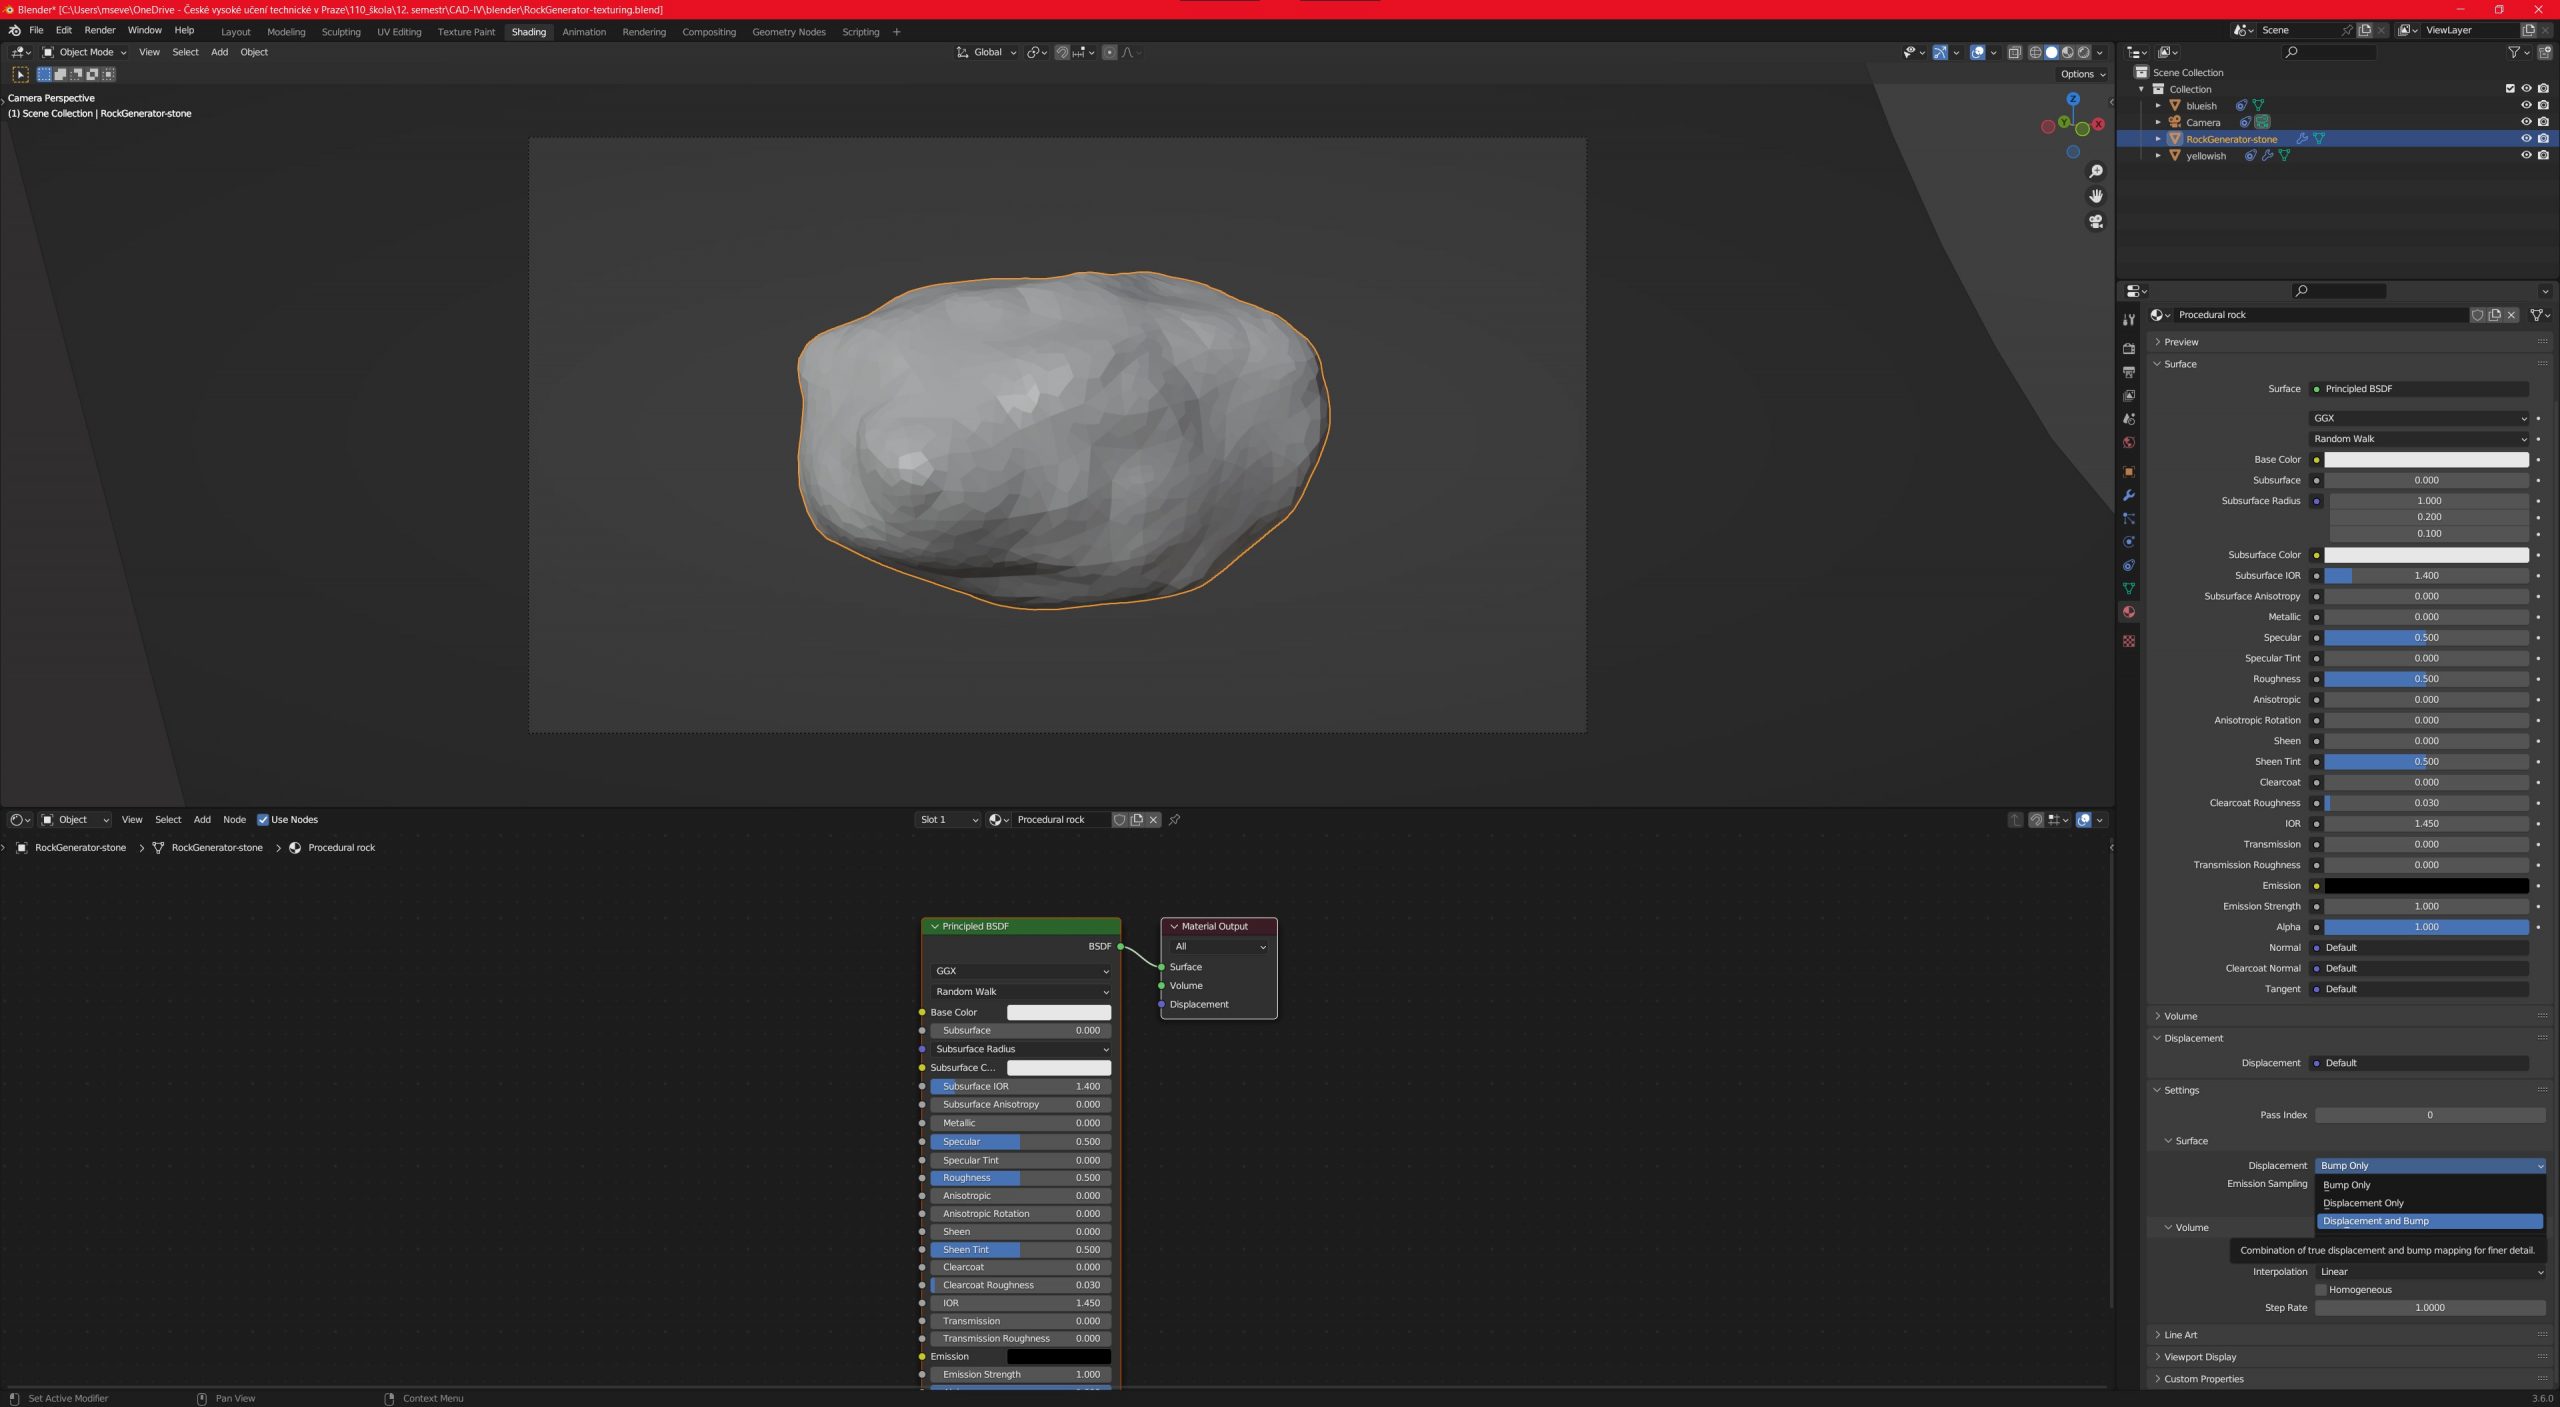
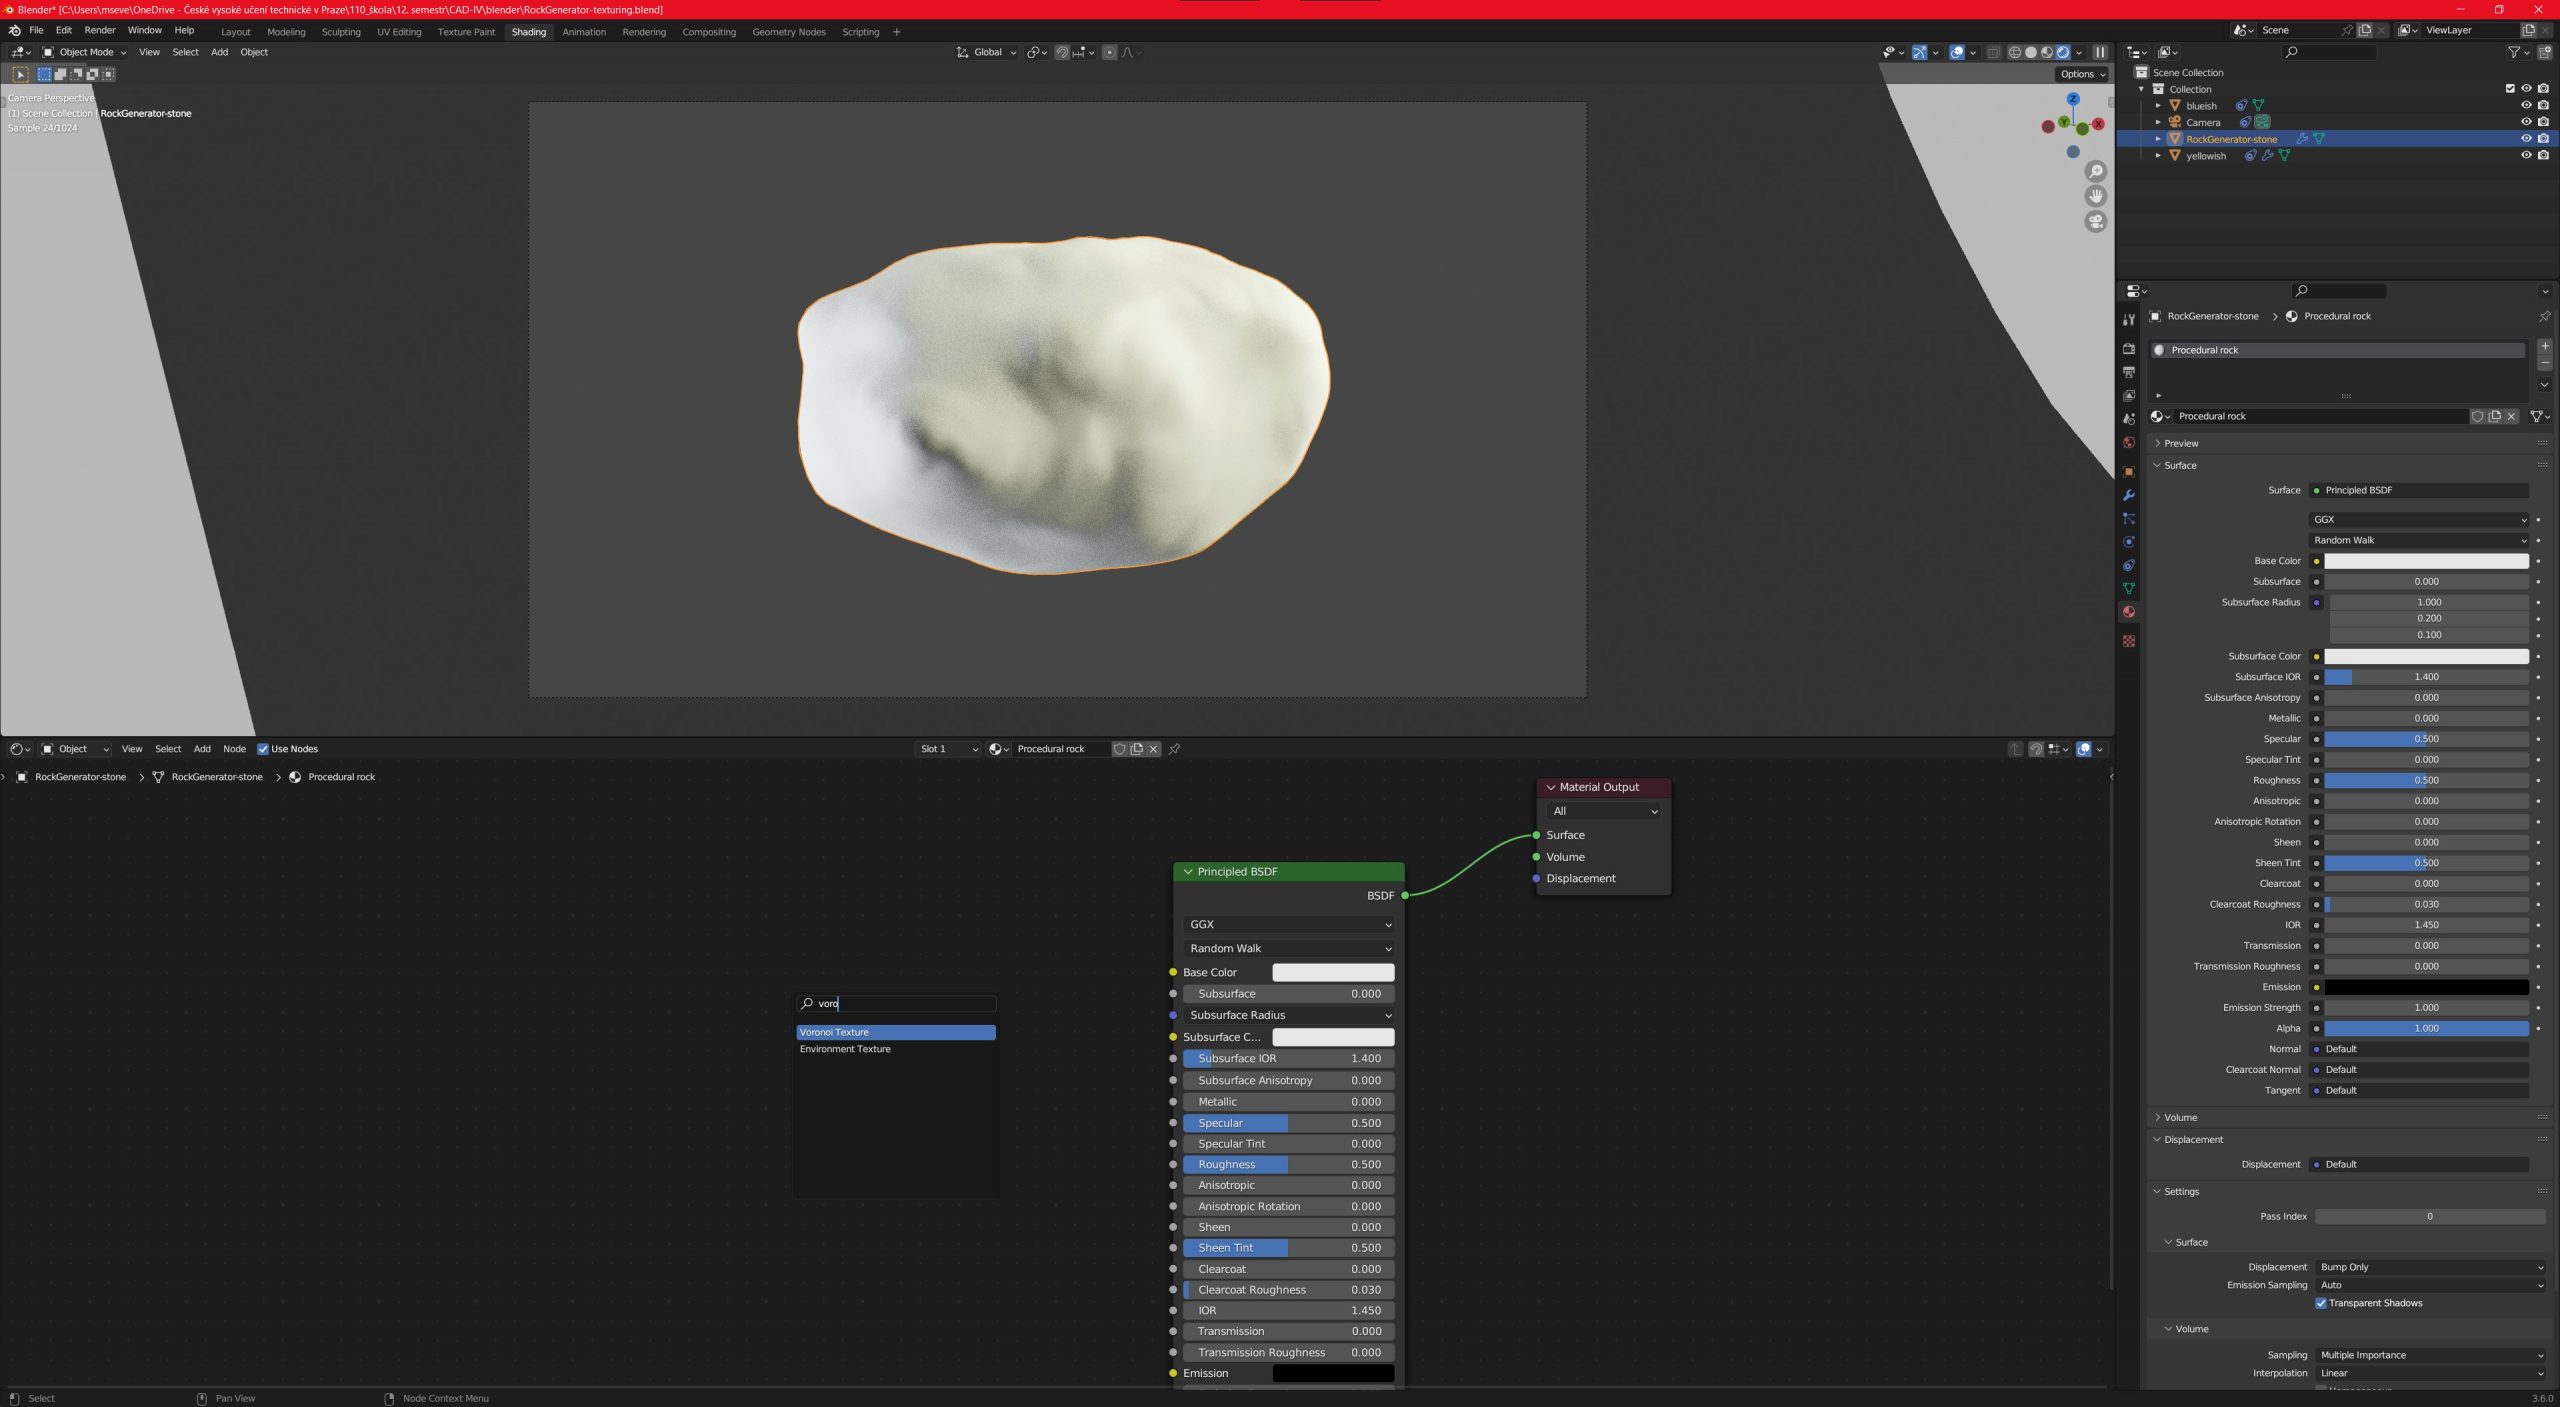
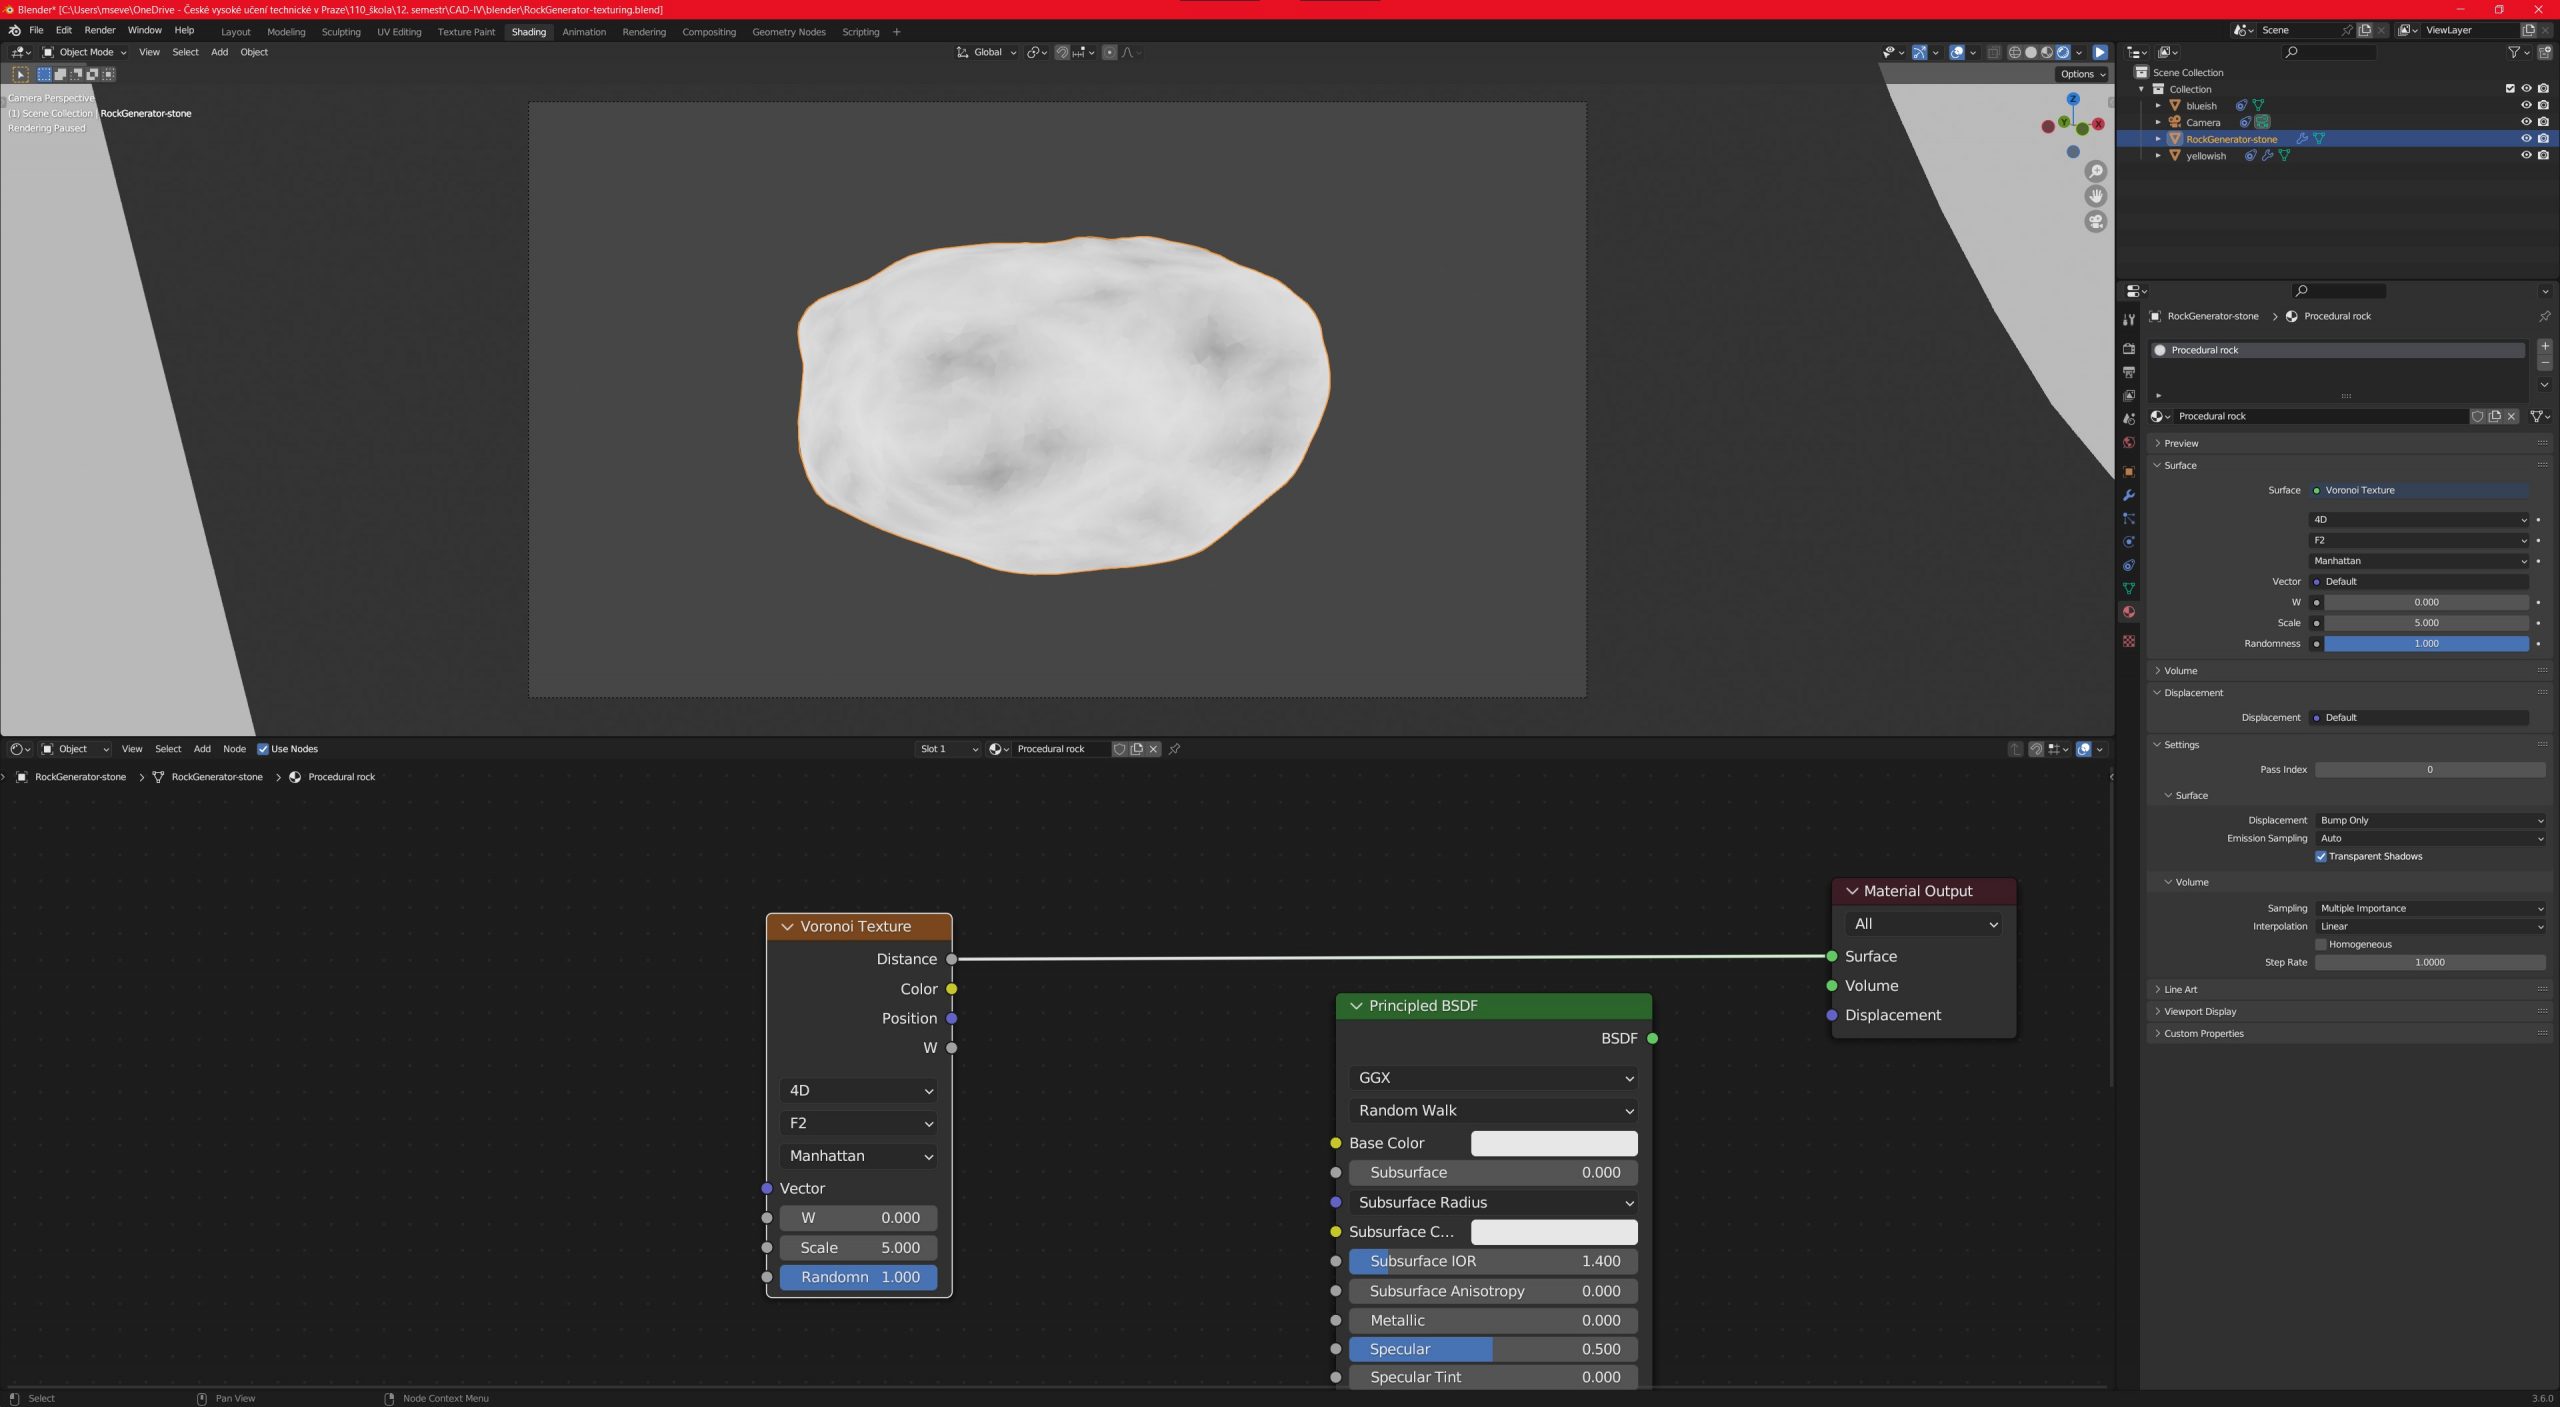
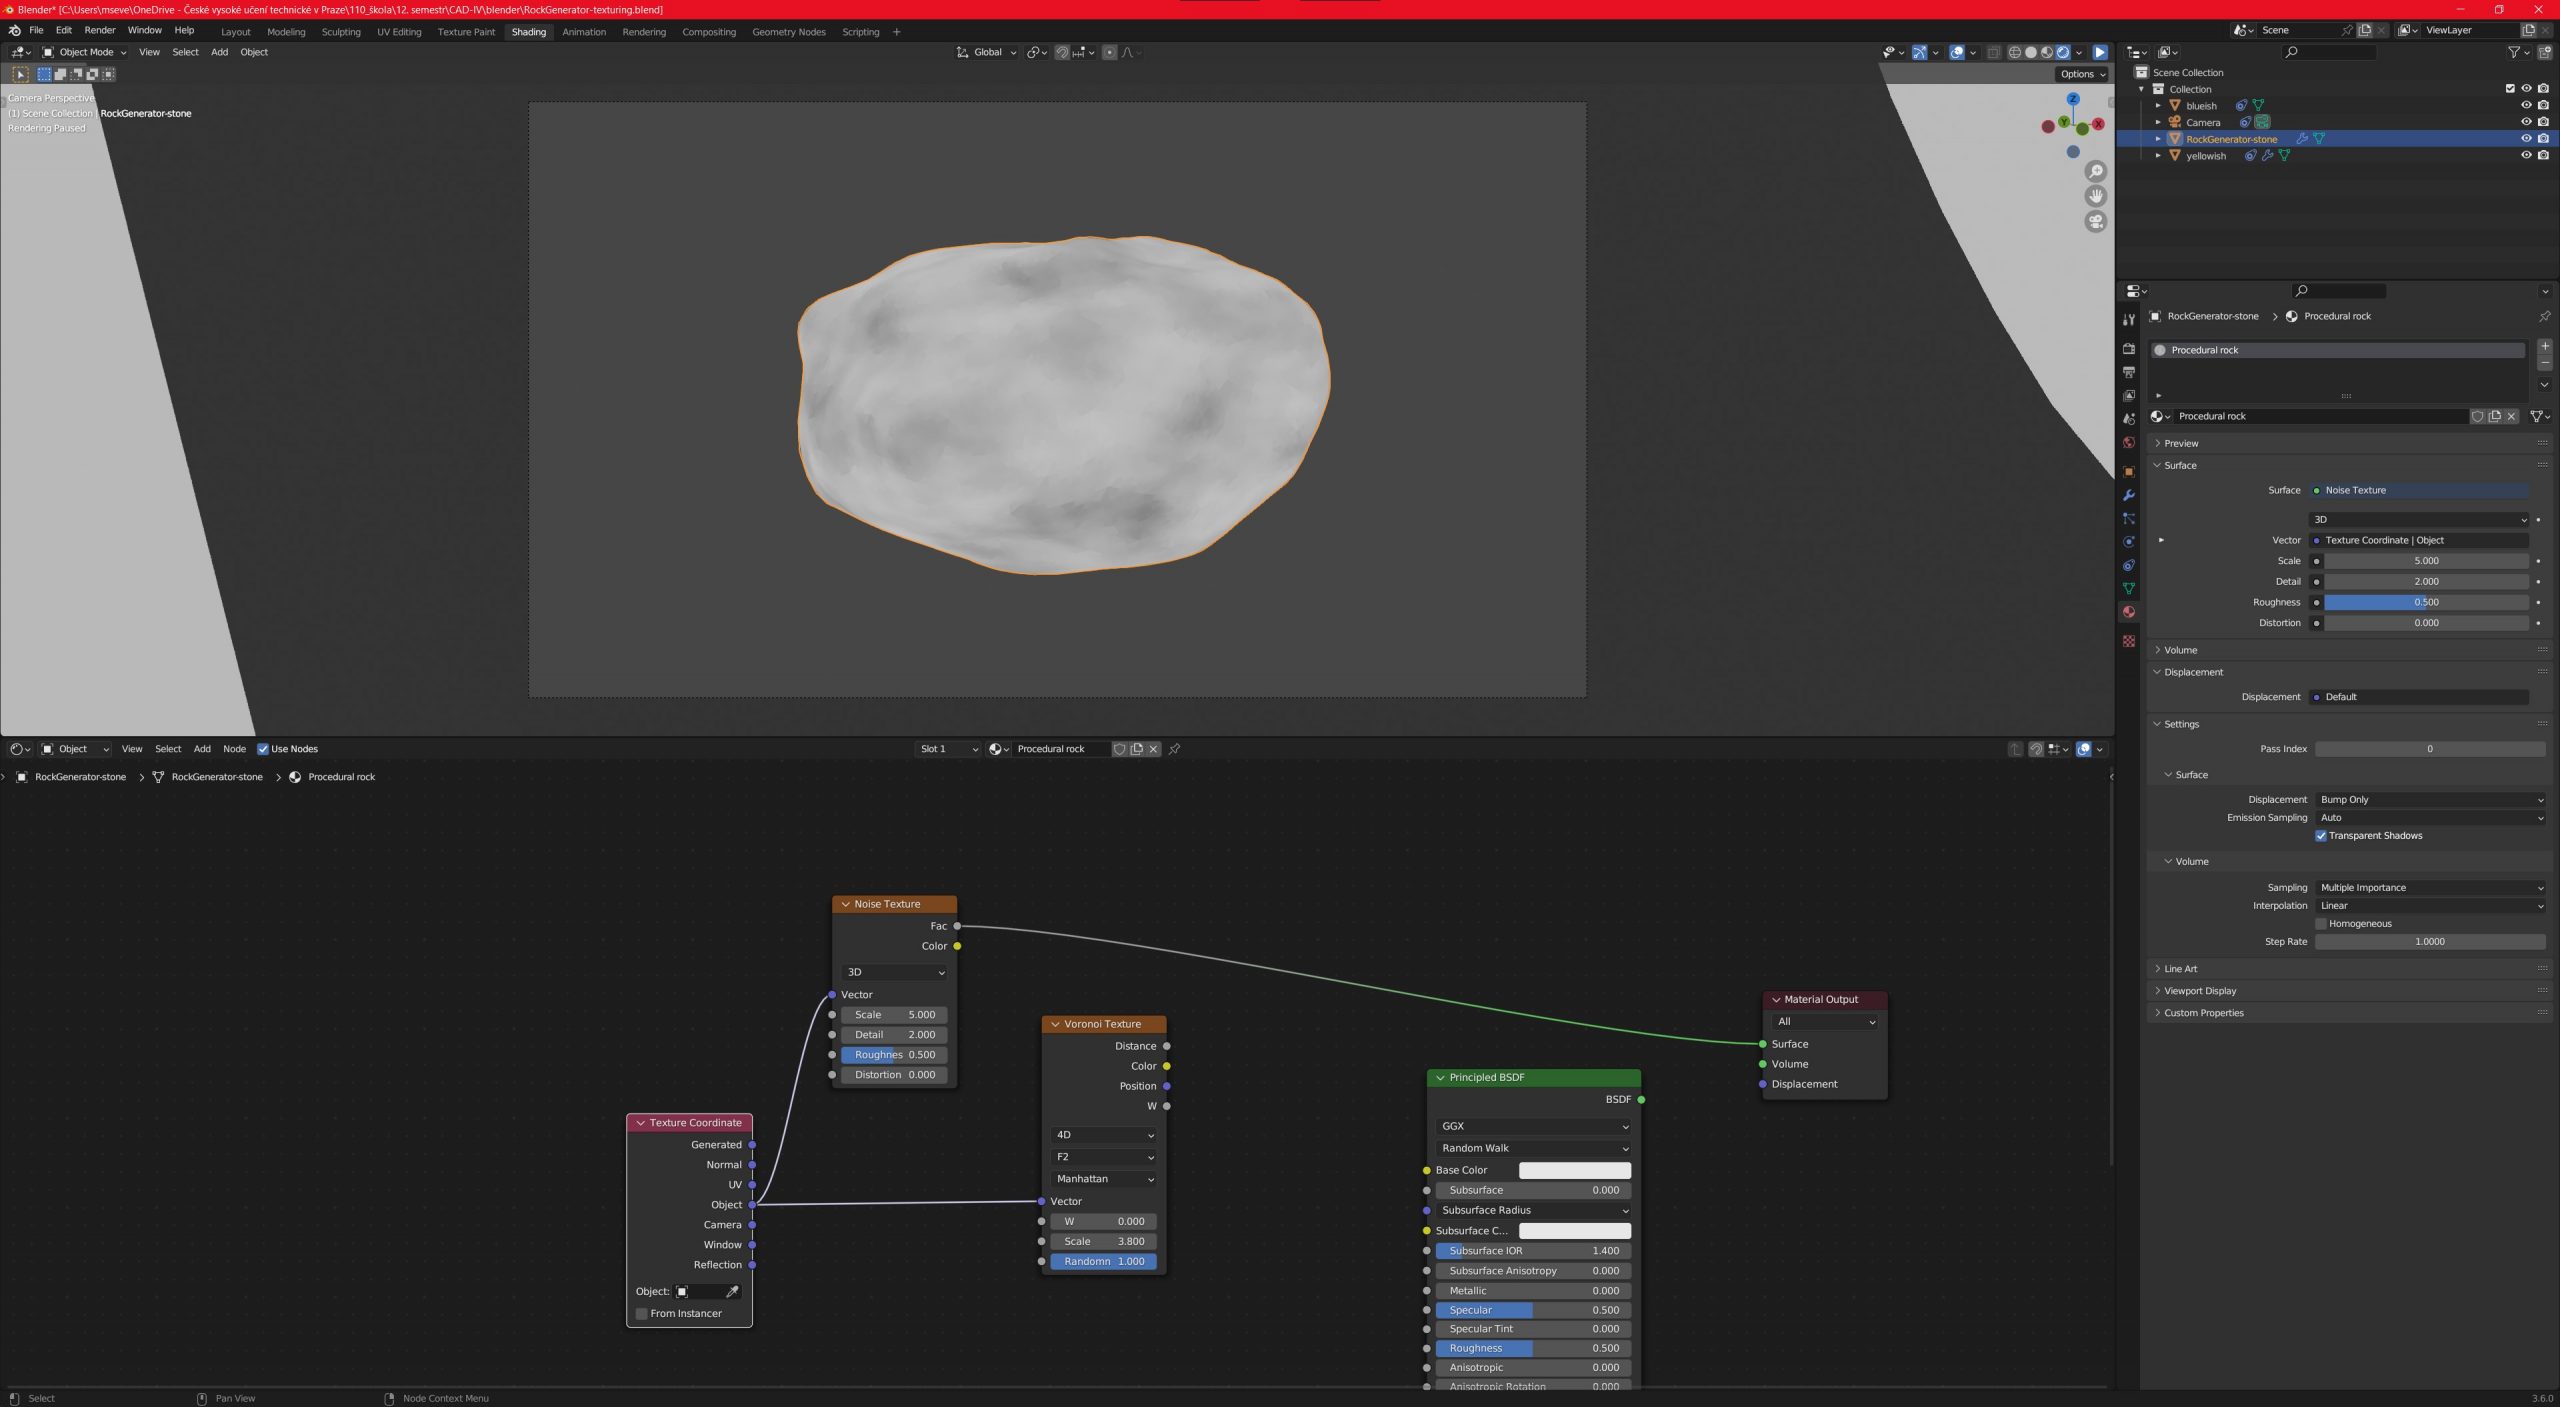
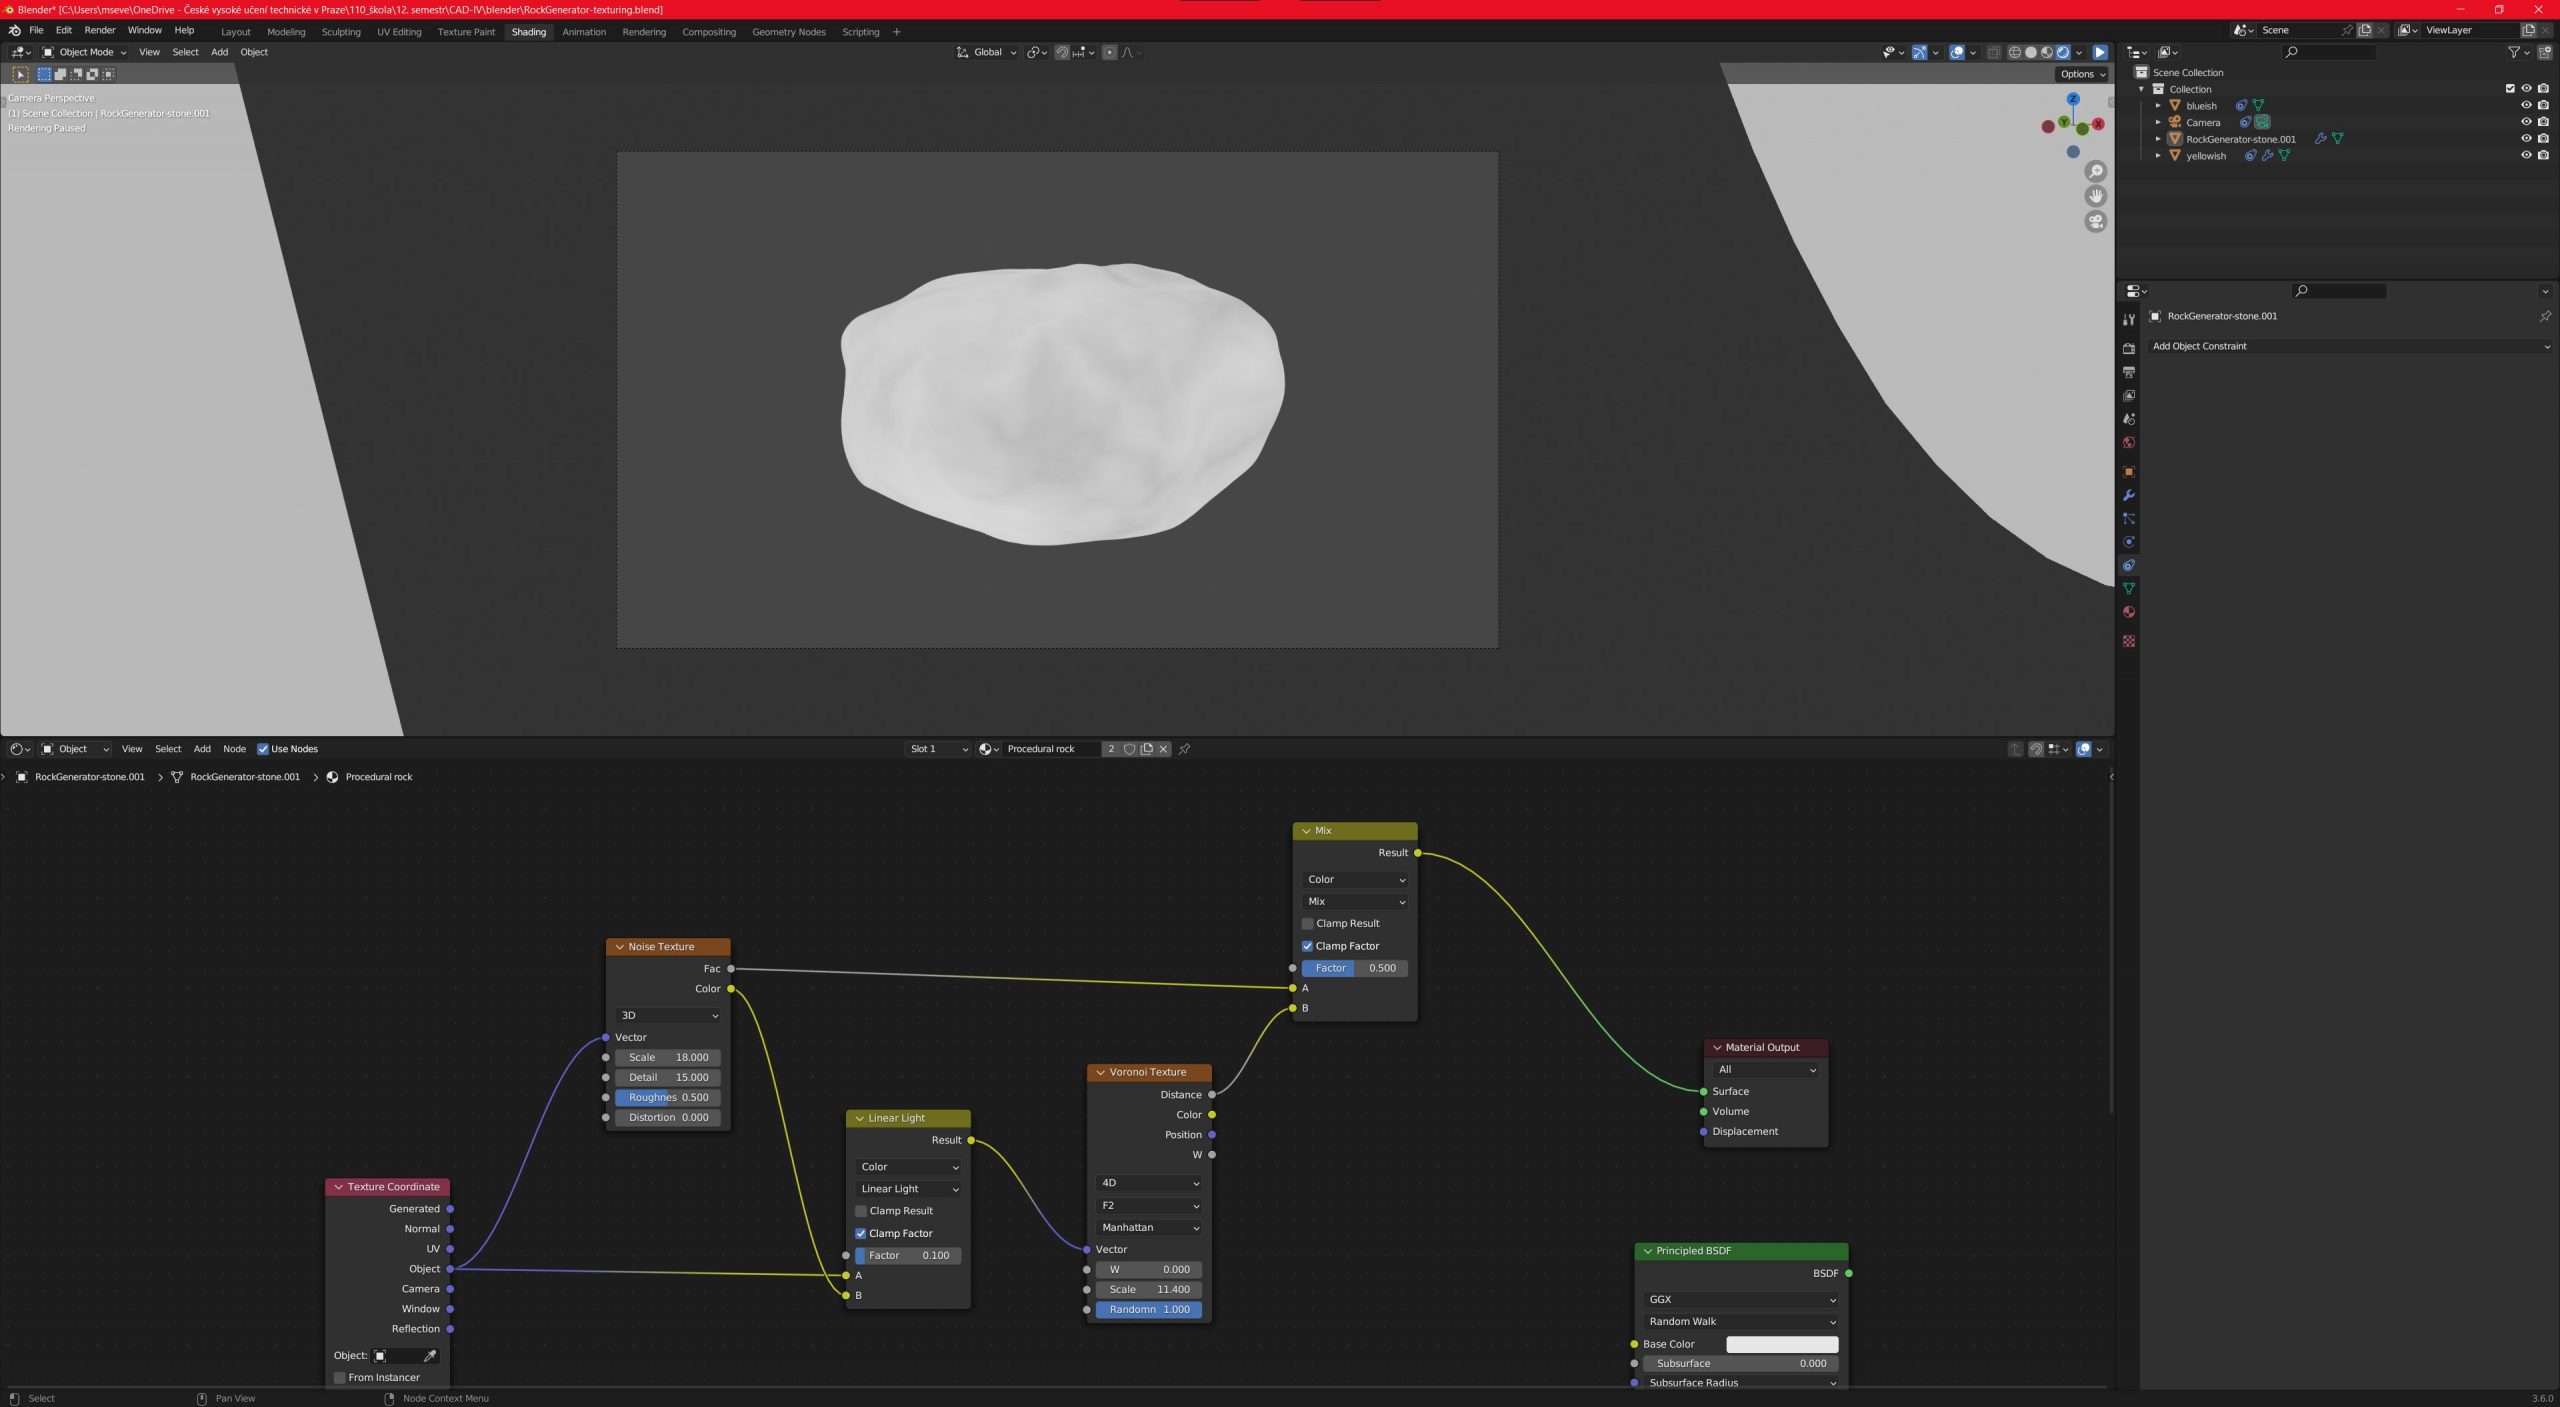
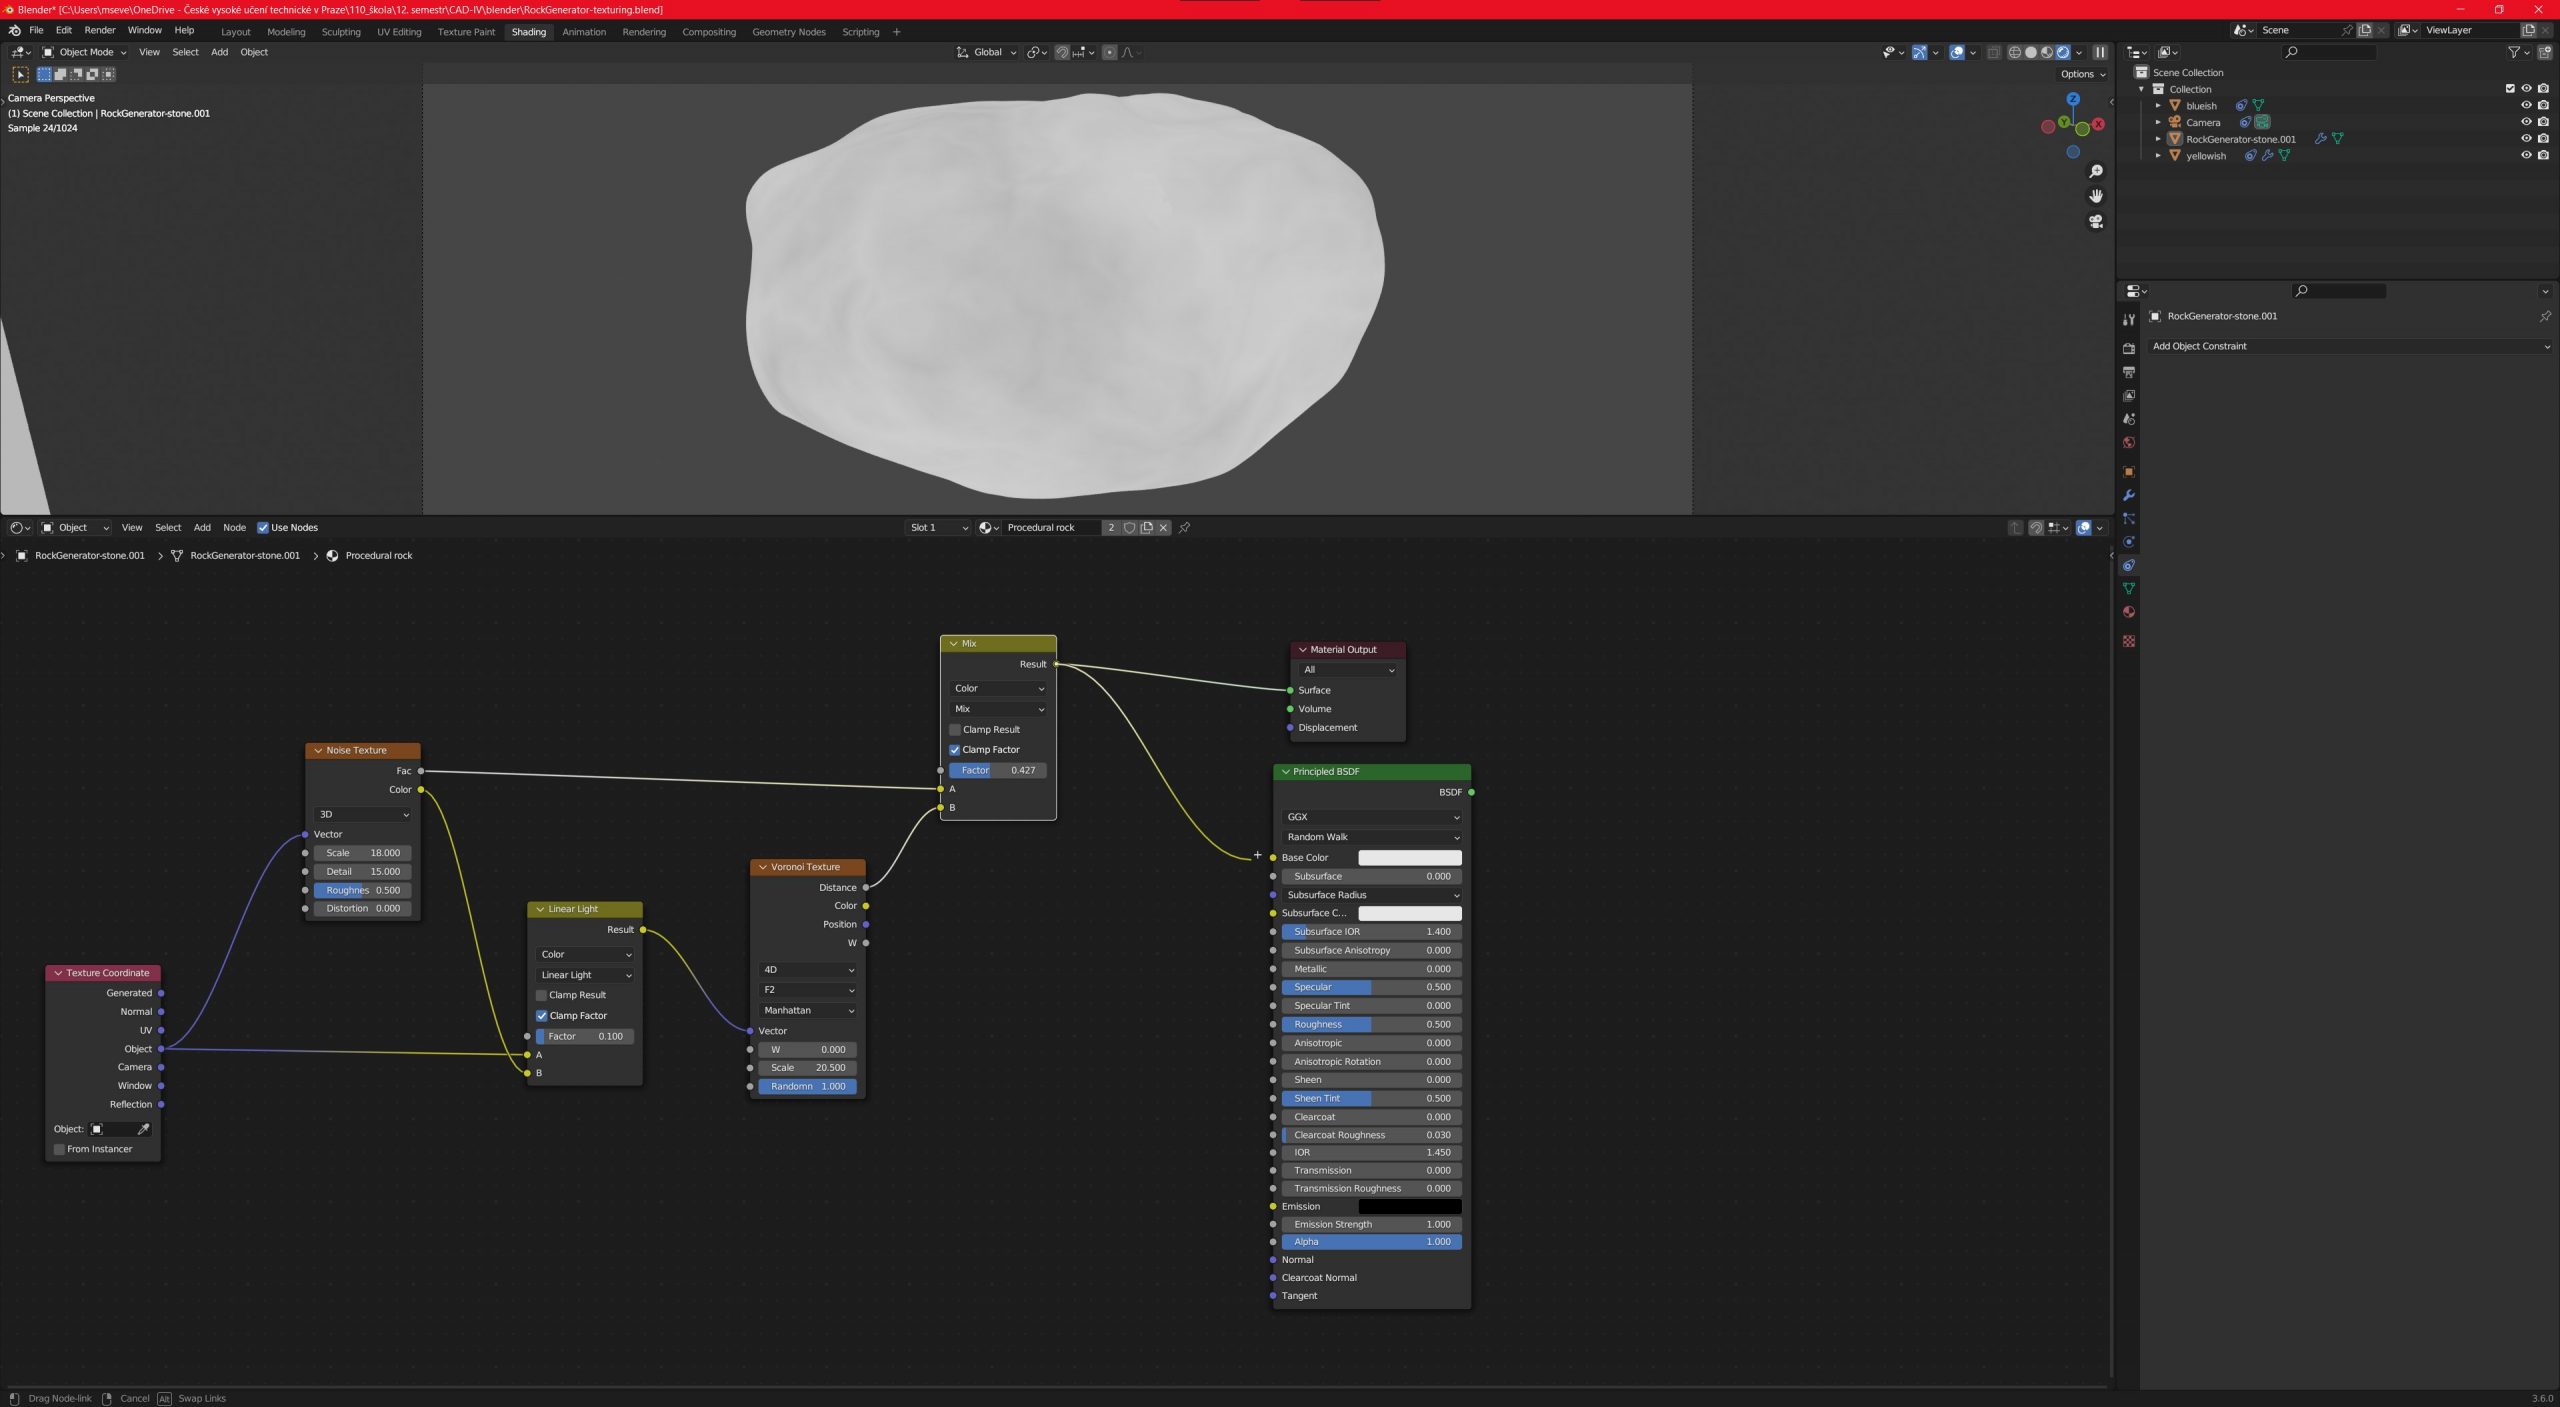
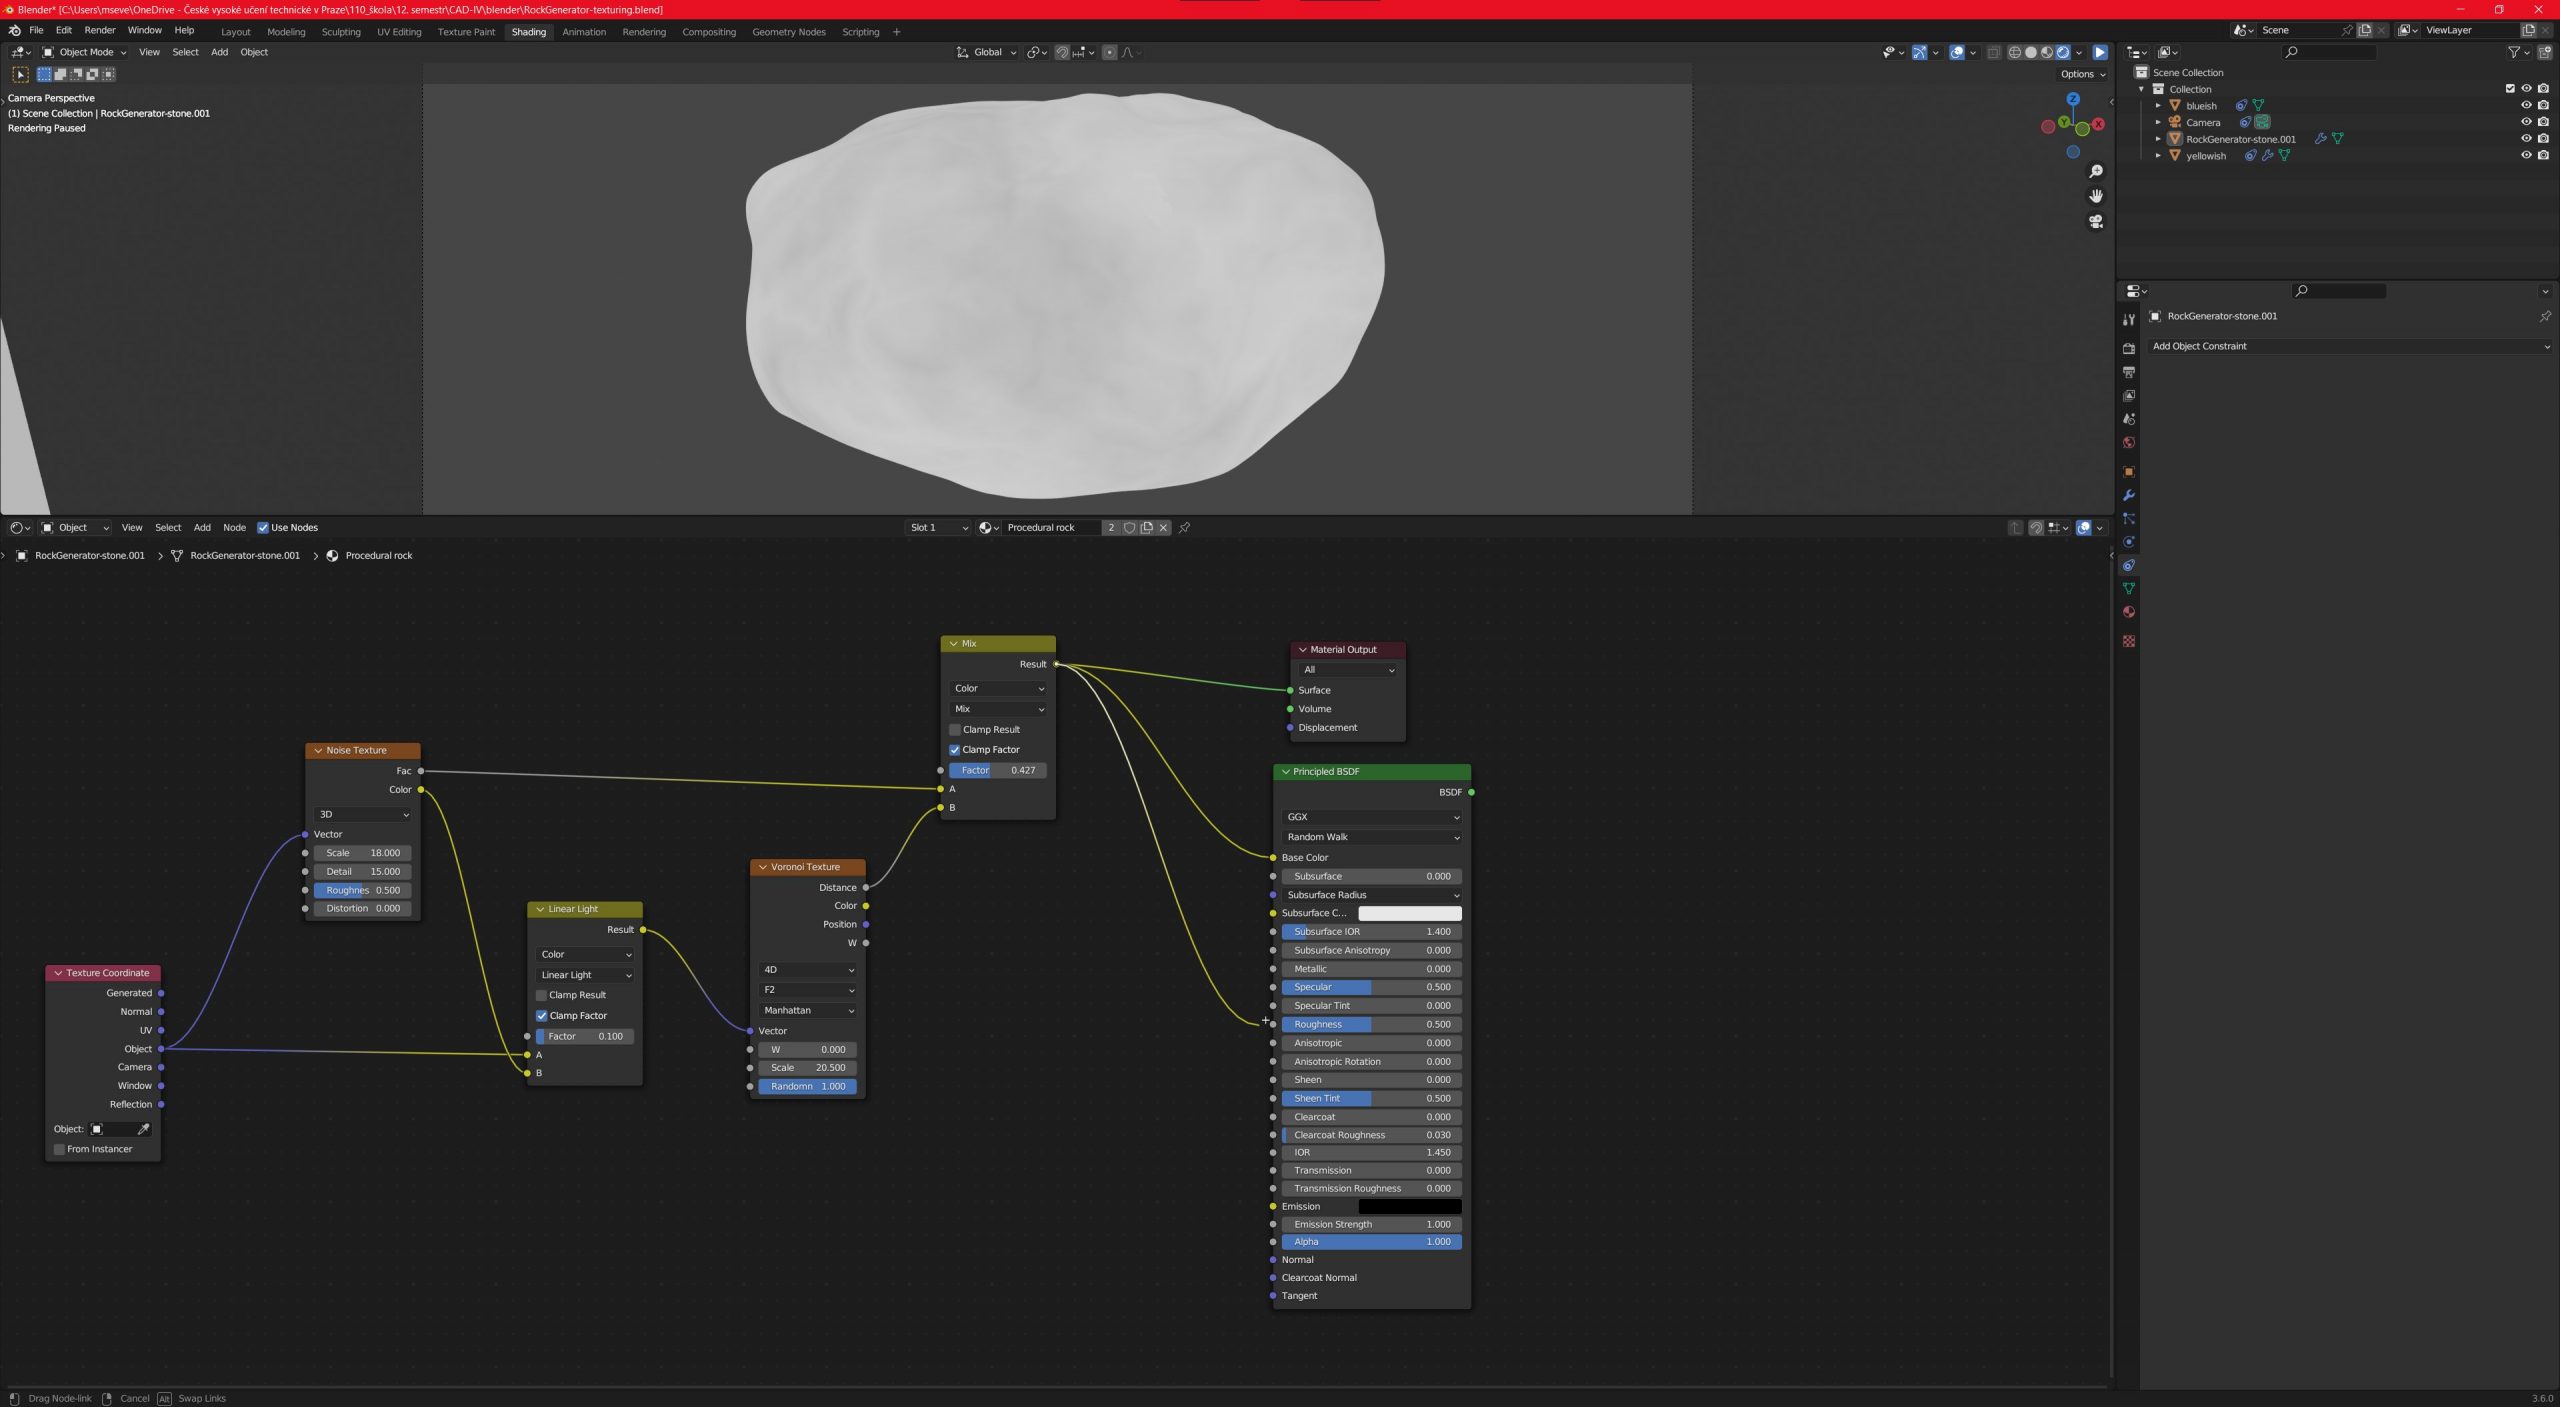
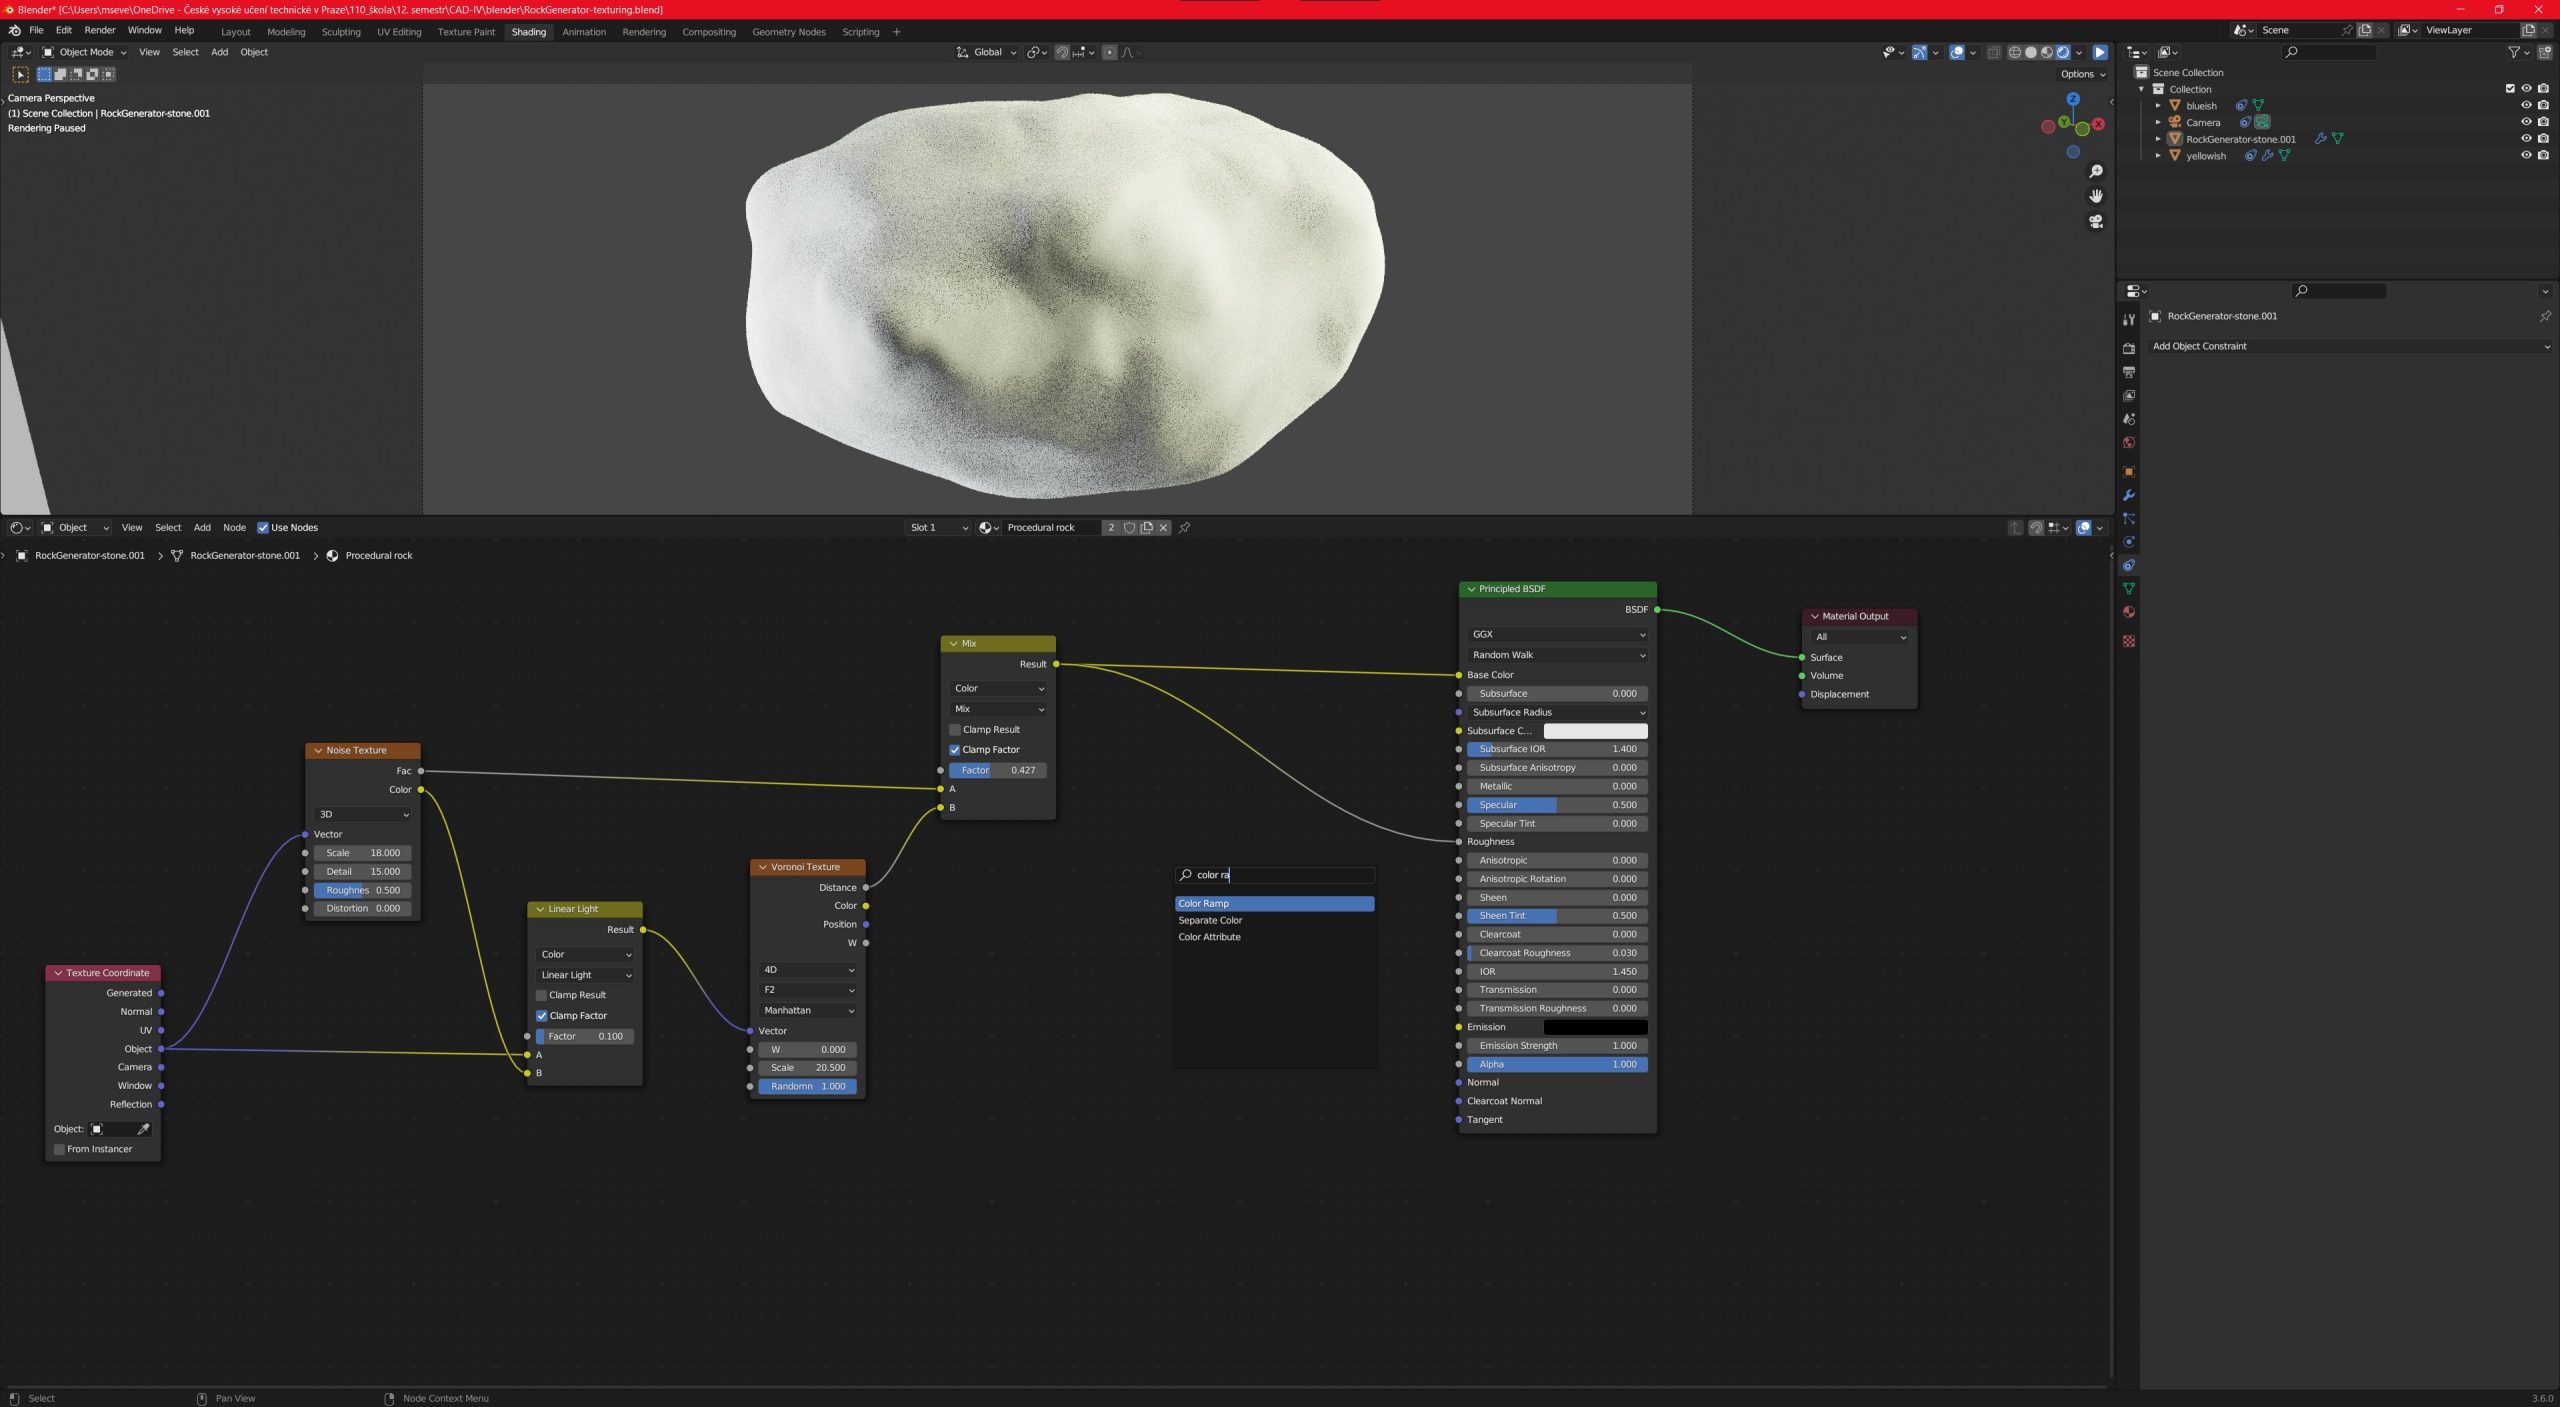
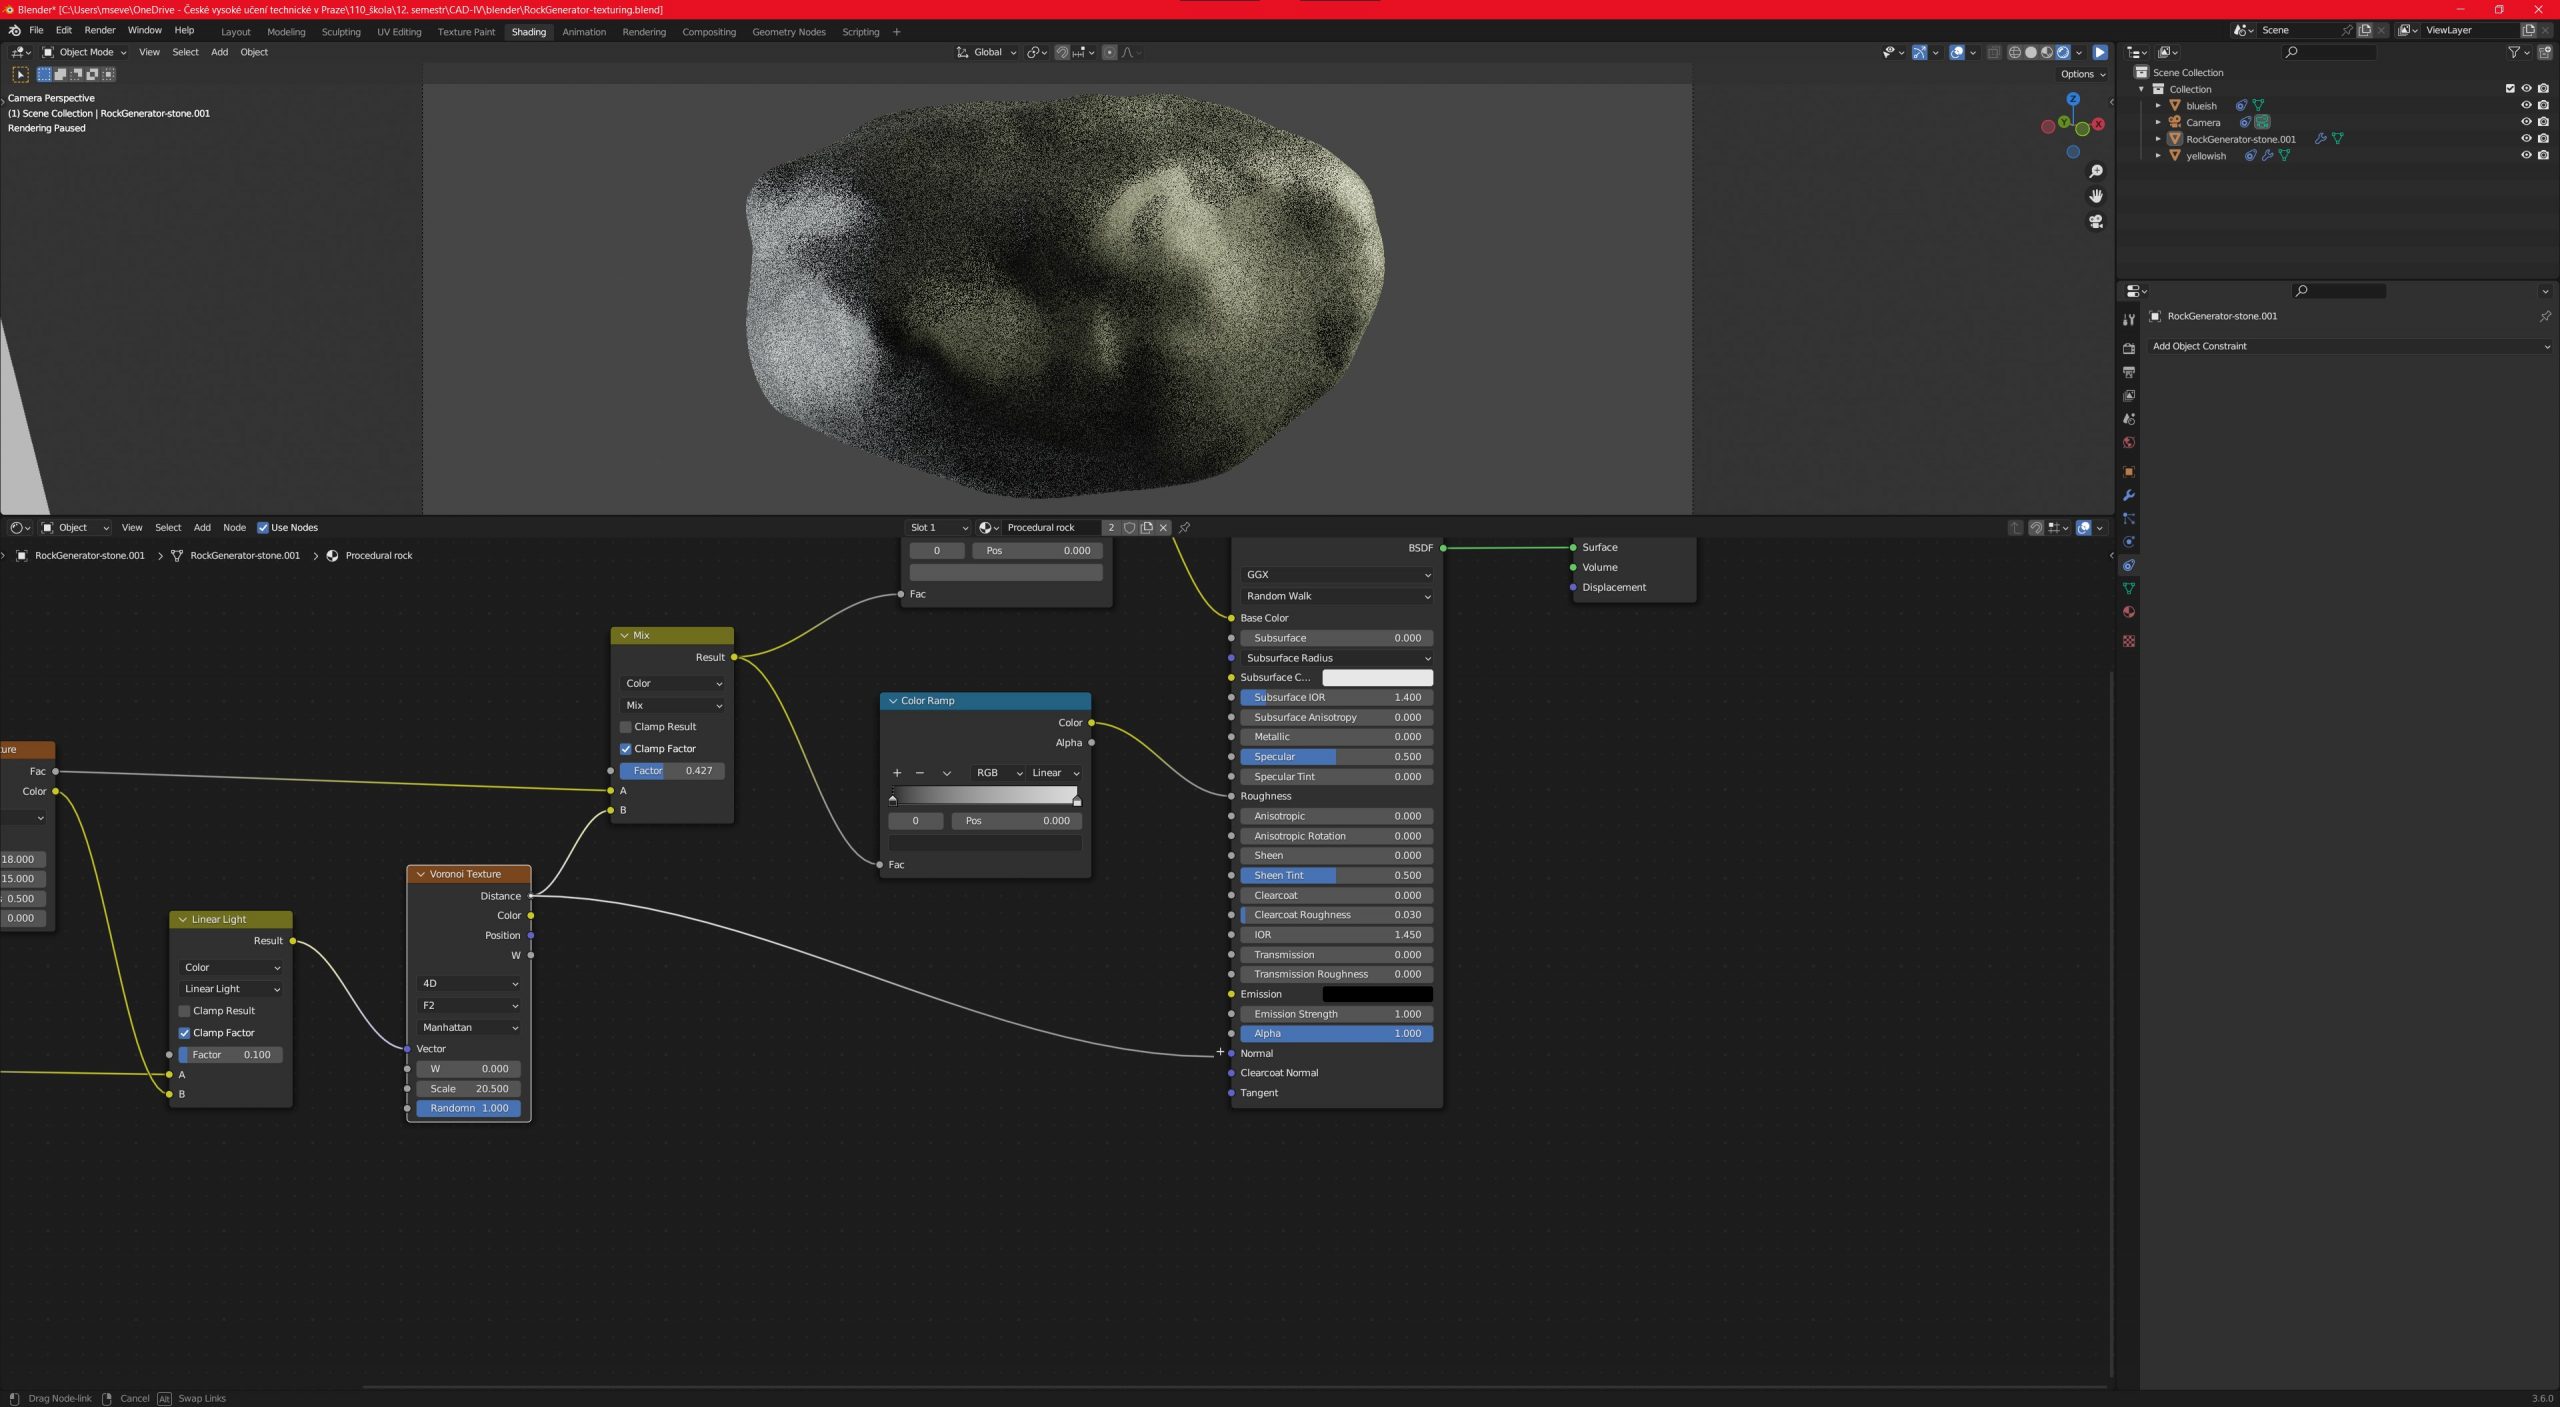
Displacement settings We add new textures to our geometry. Now the texture doesn’t displace the geometry, so we have to go to the material properties and in Settings > Surface > Displacement > Displacement and bump.
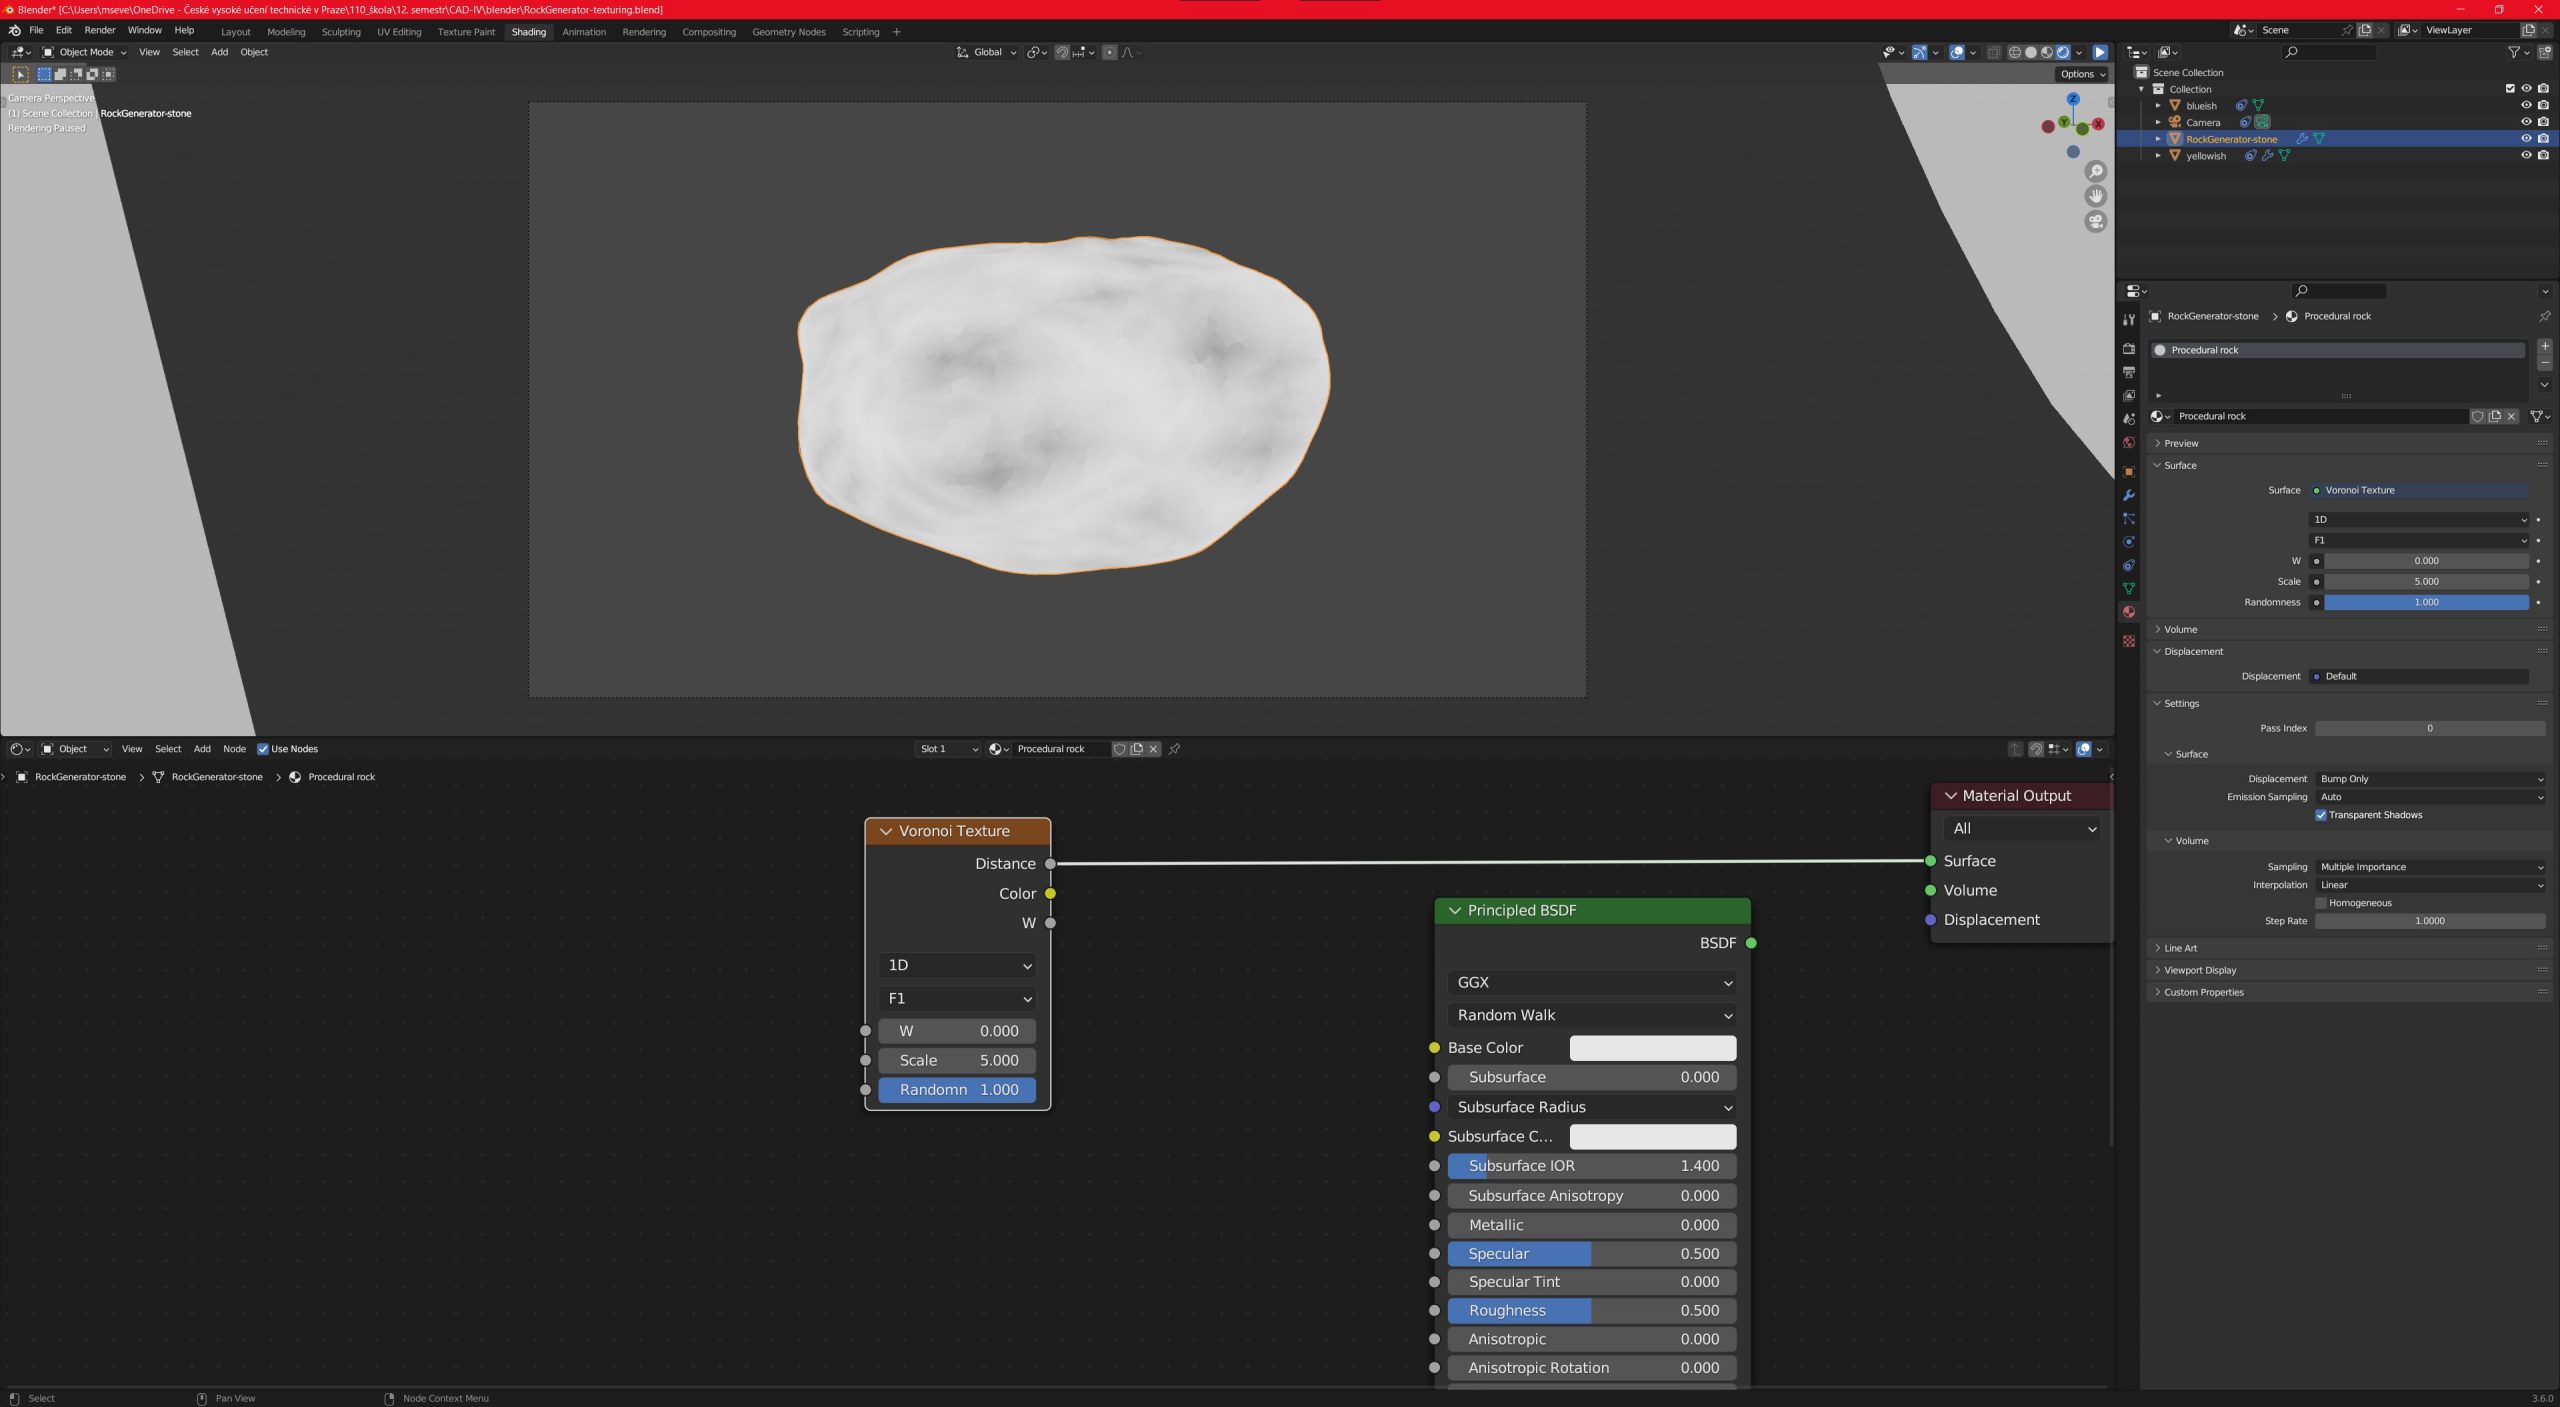
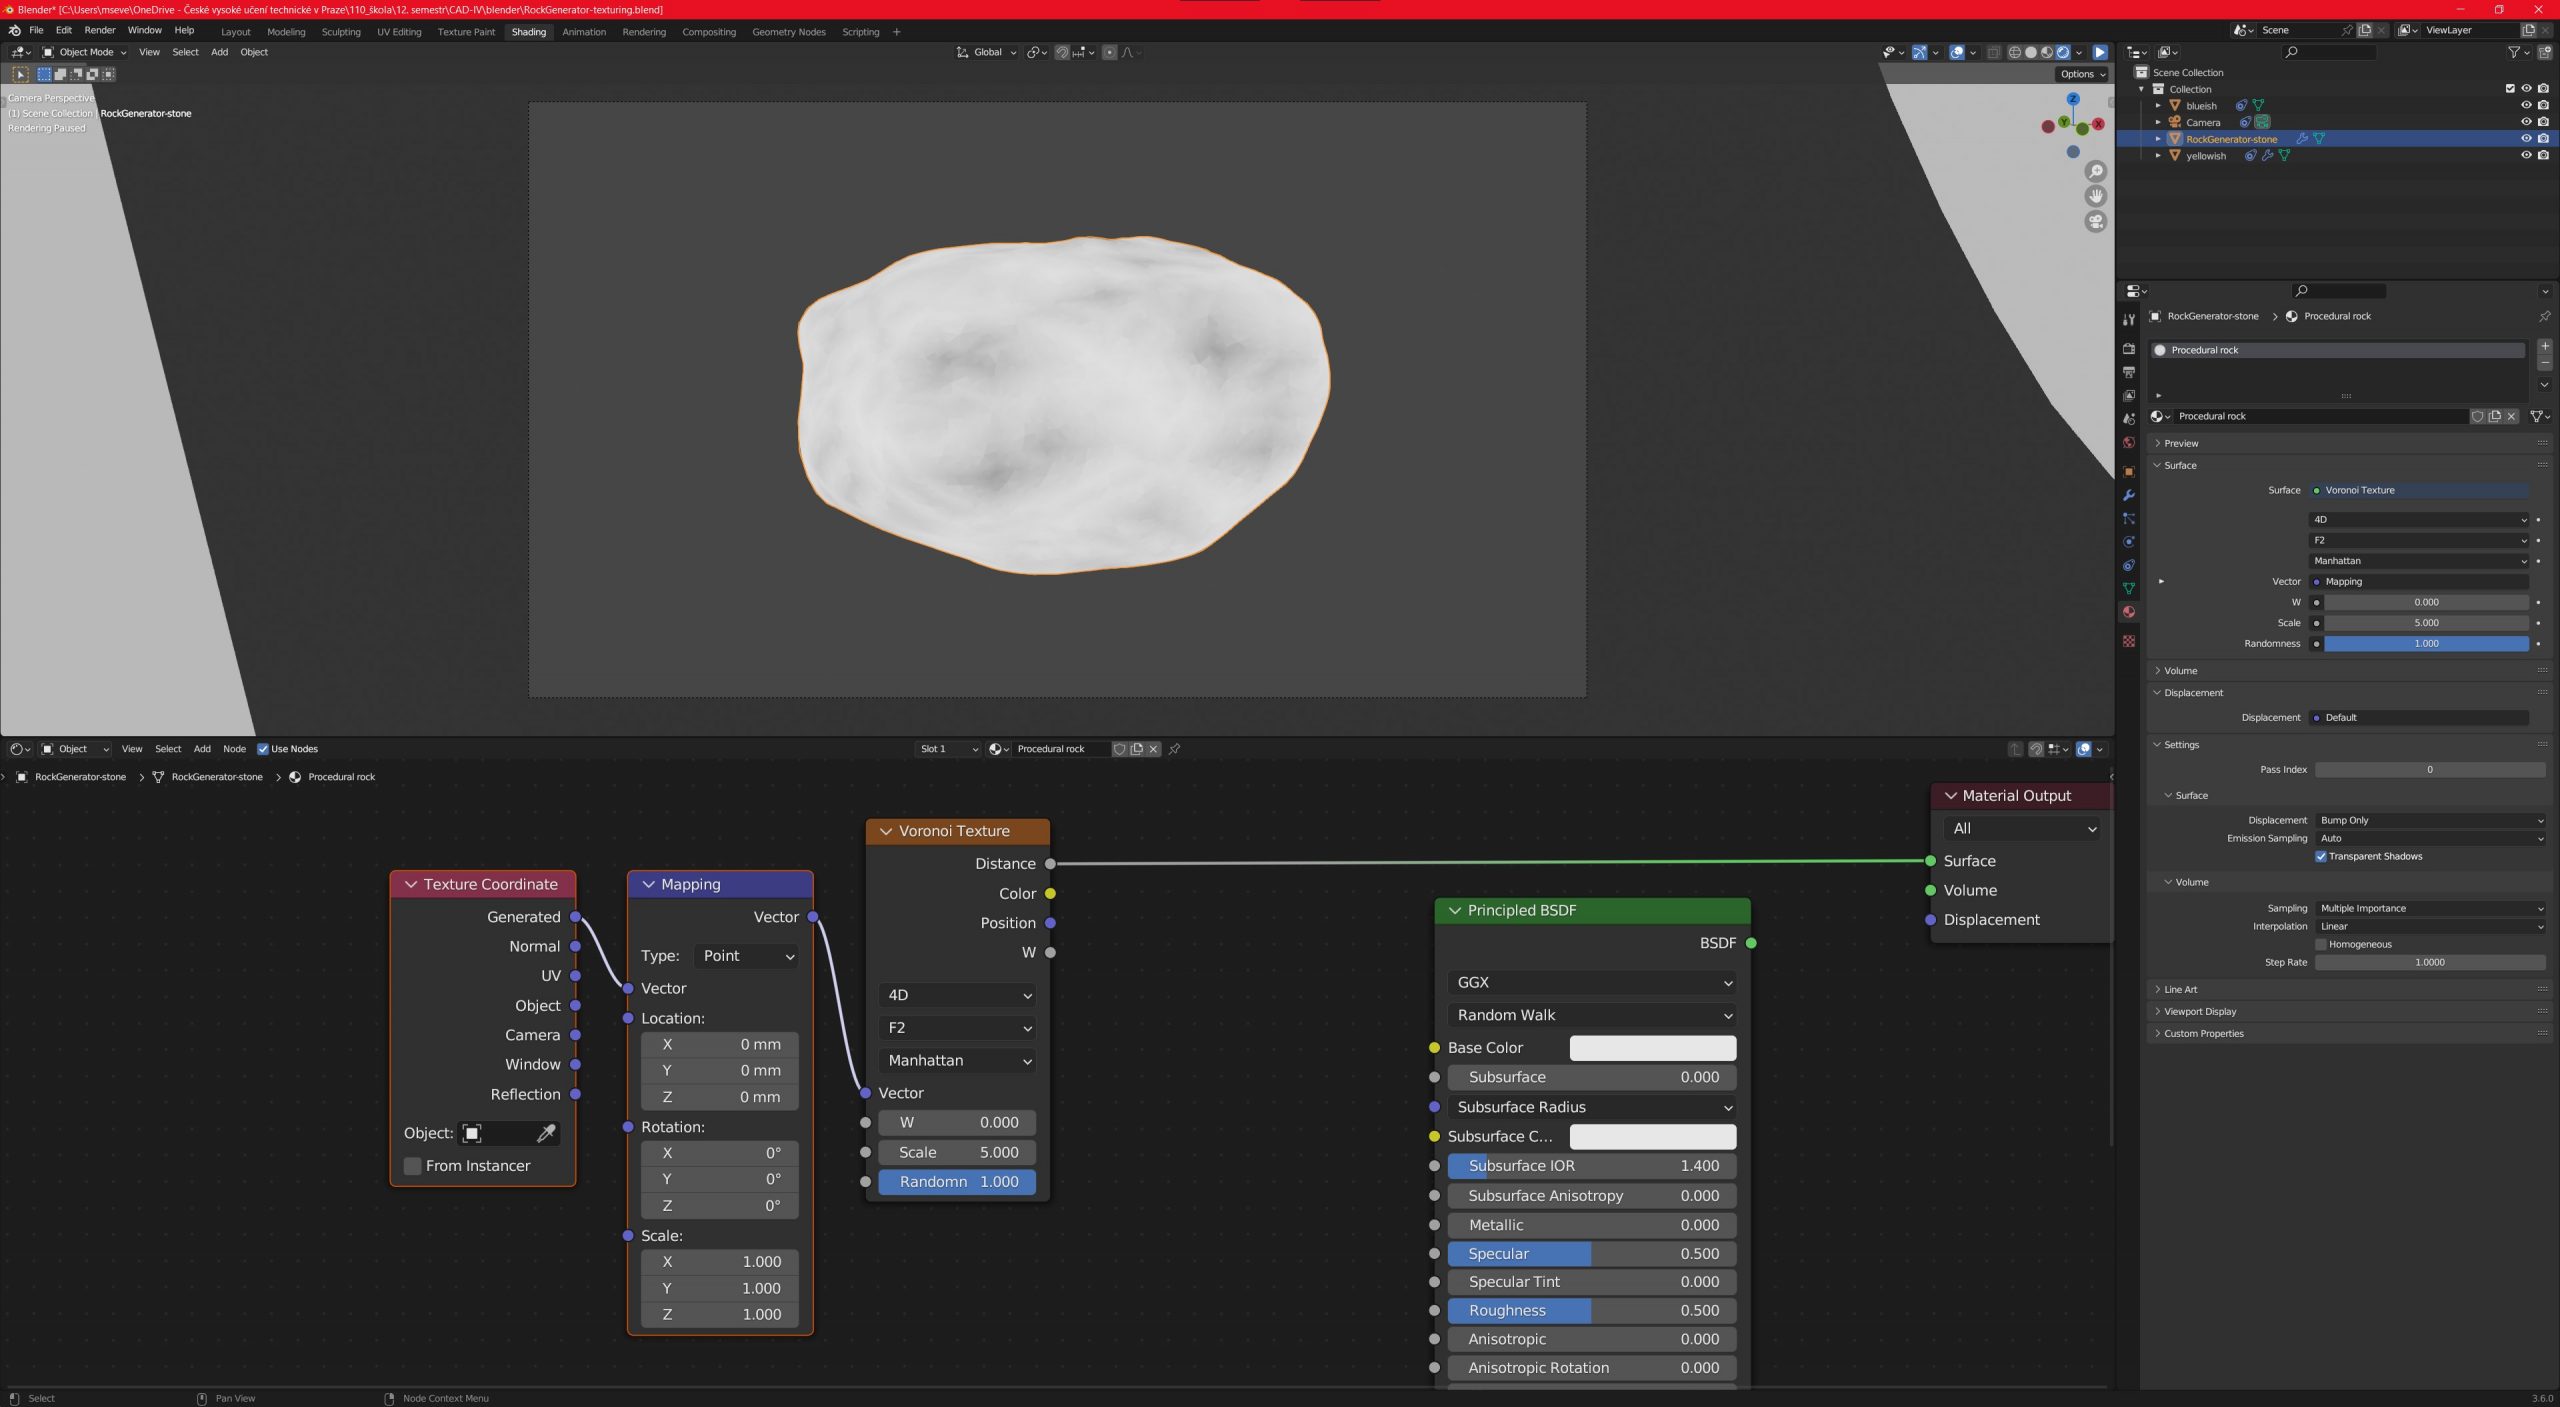
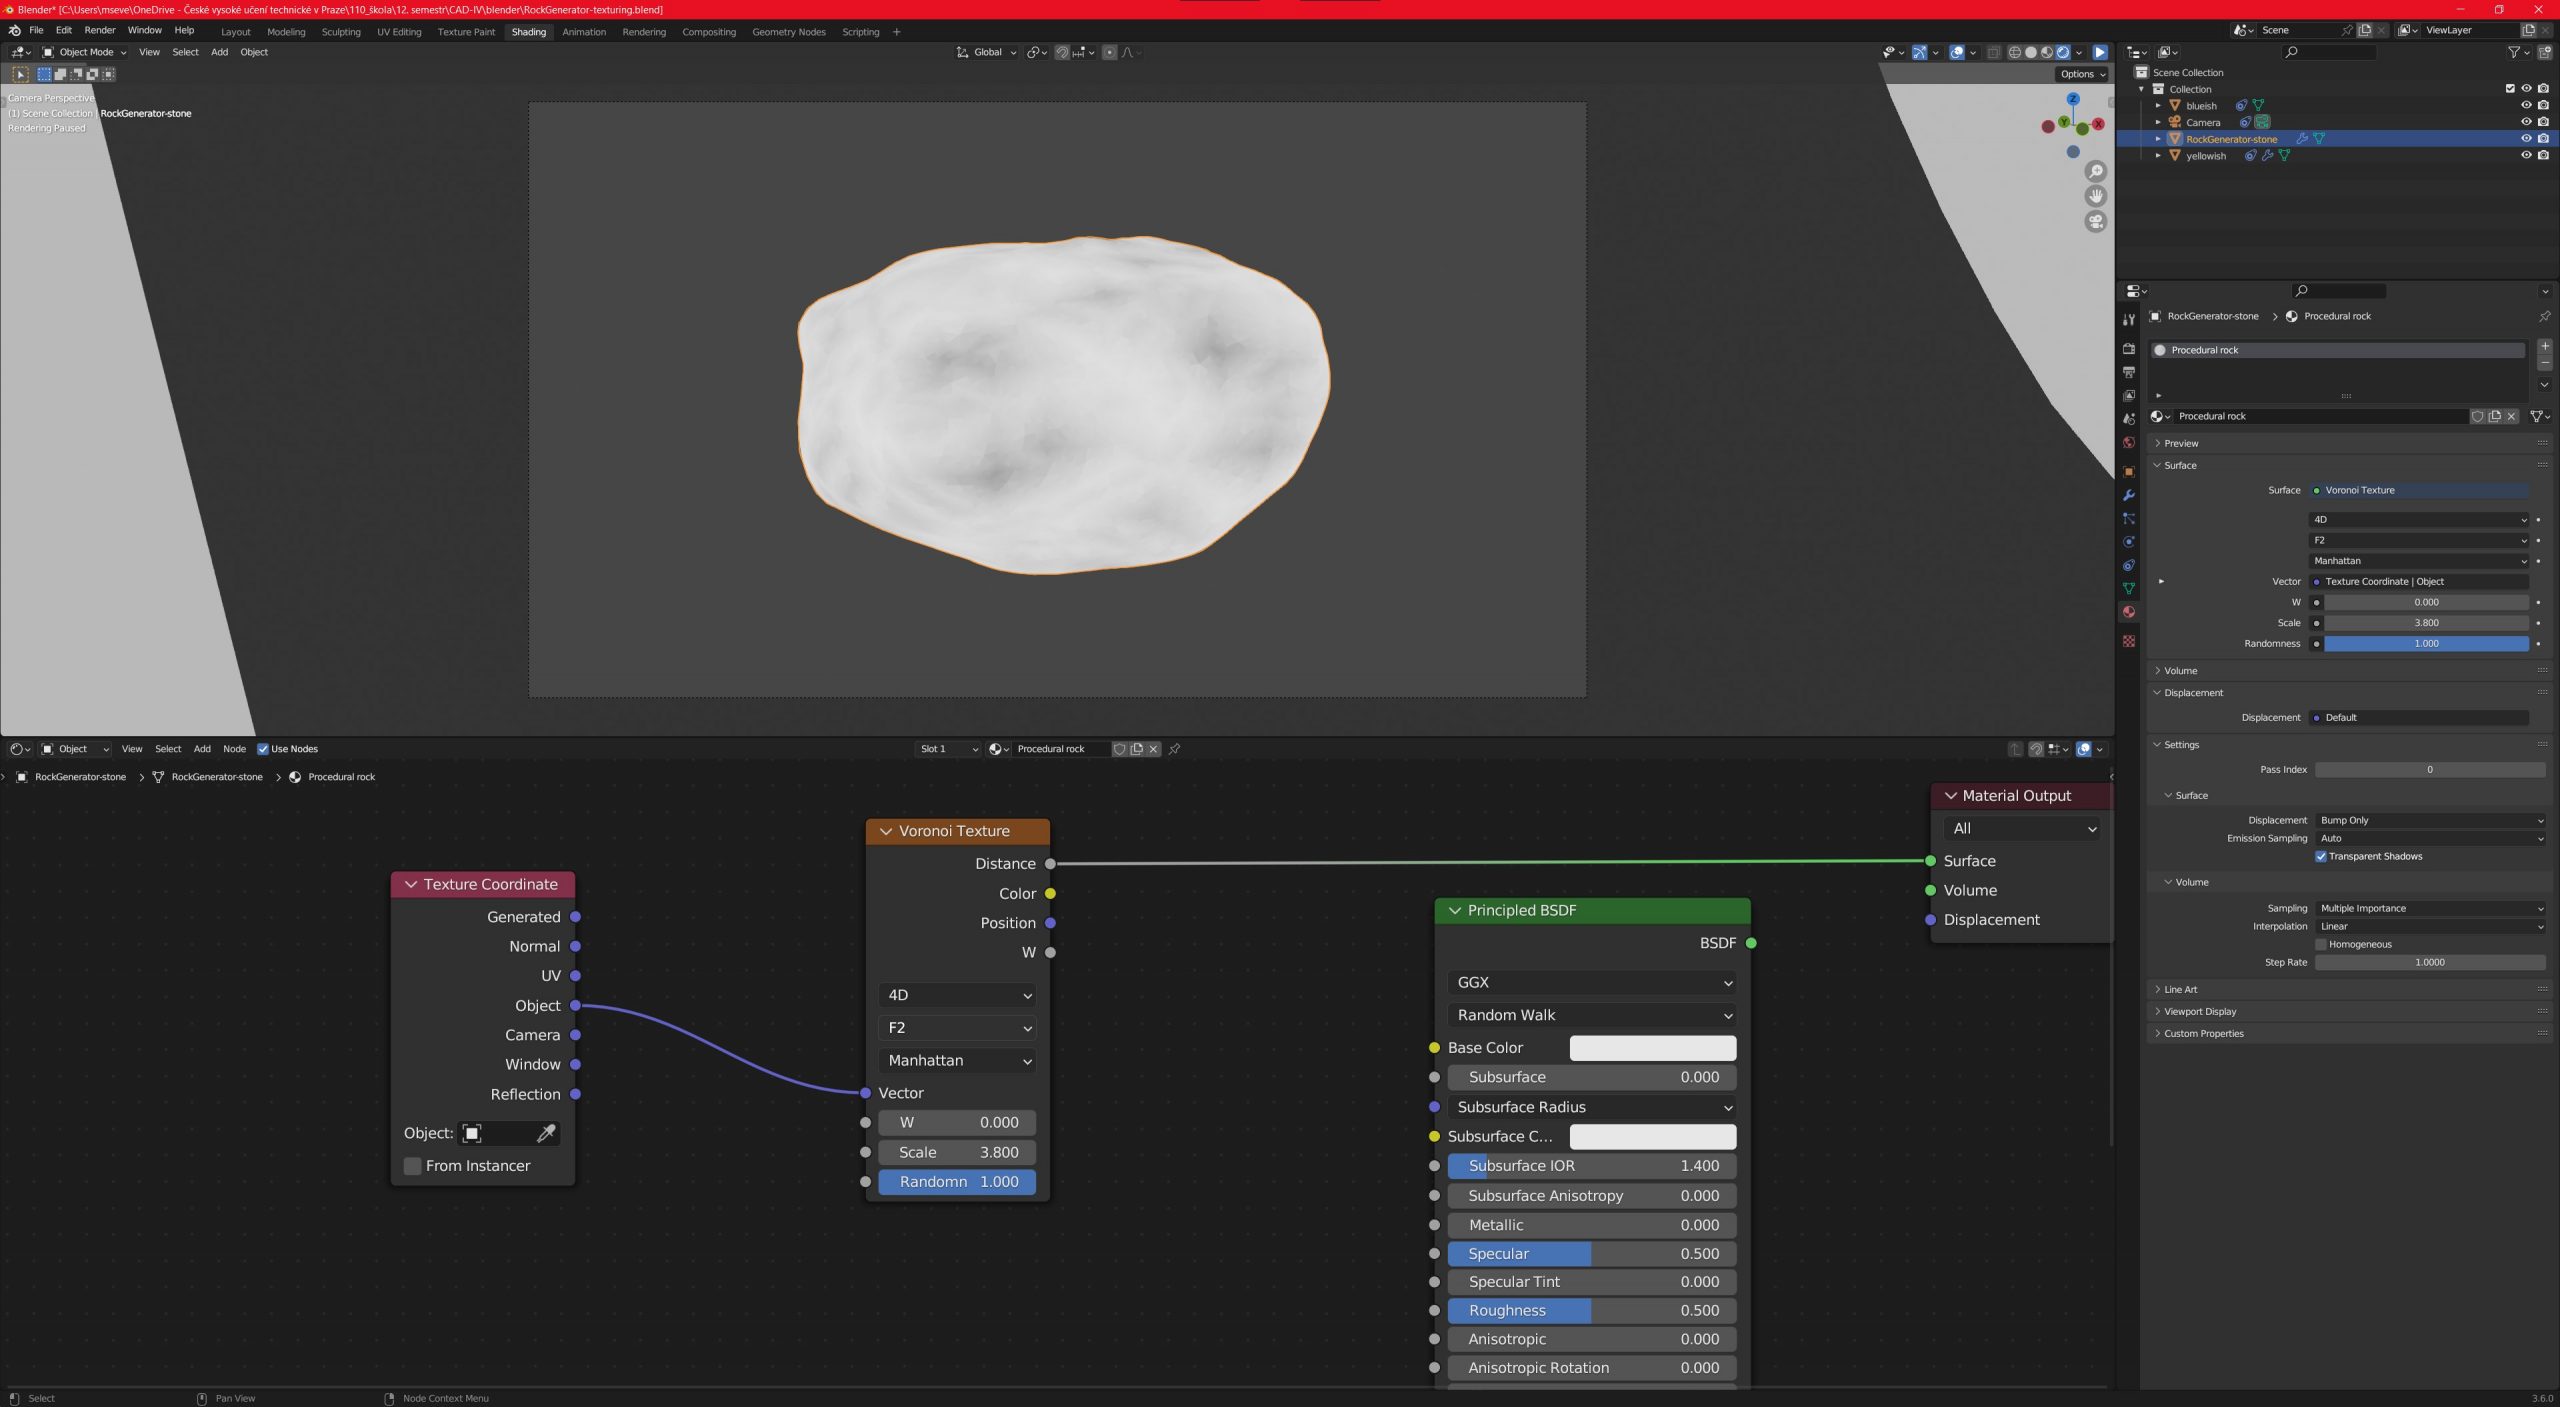
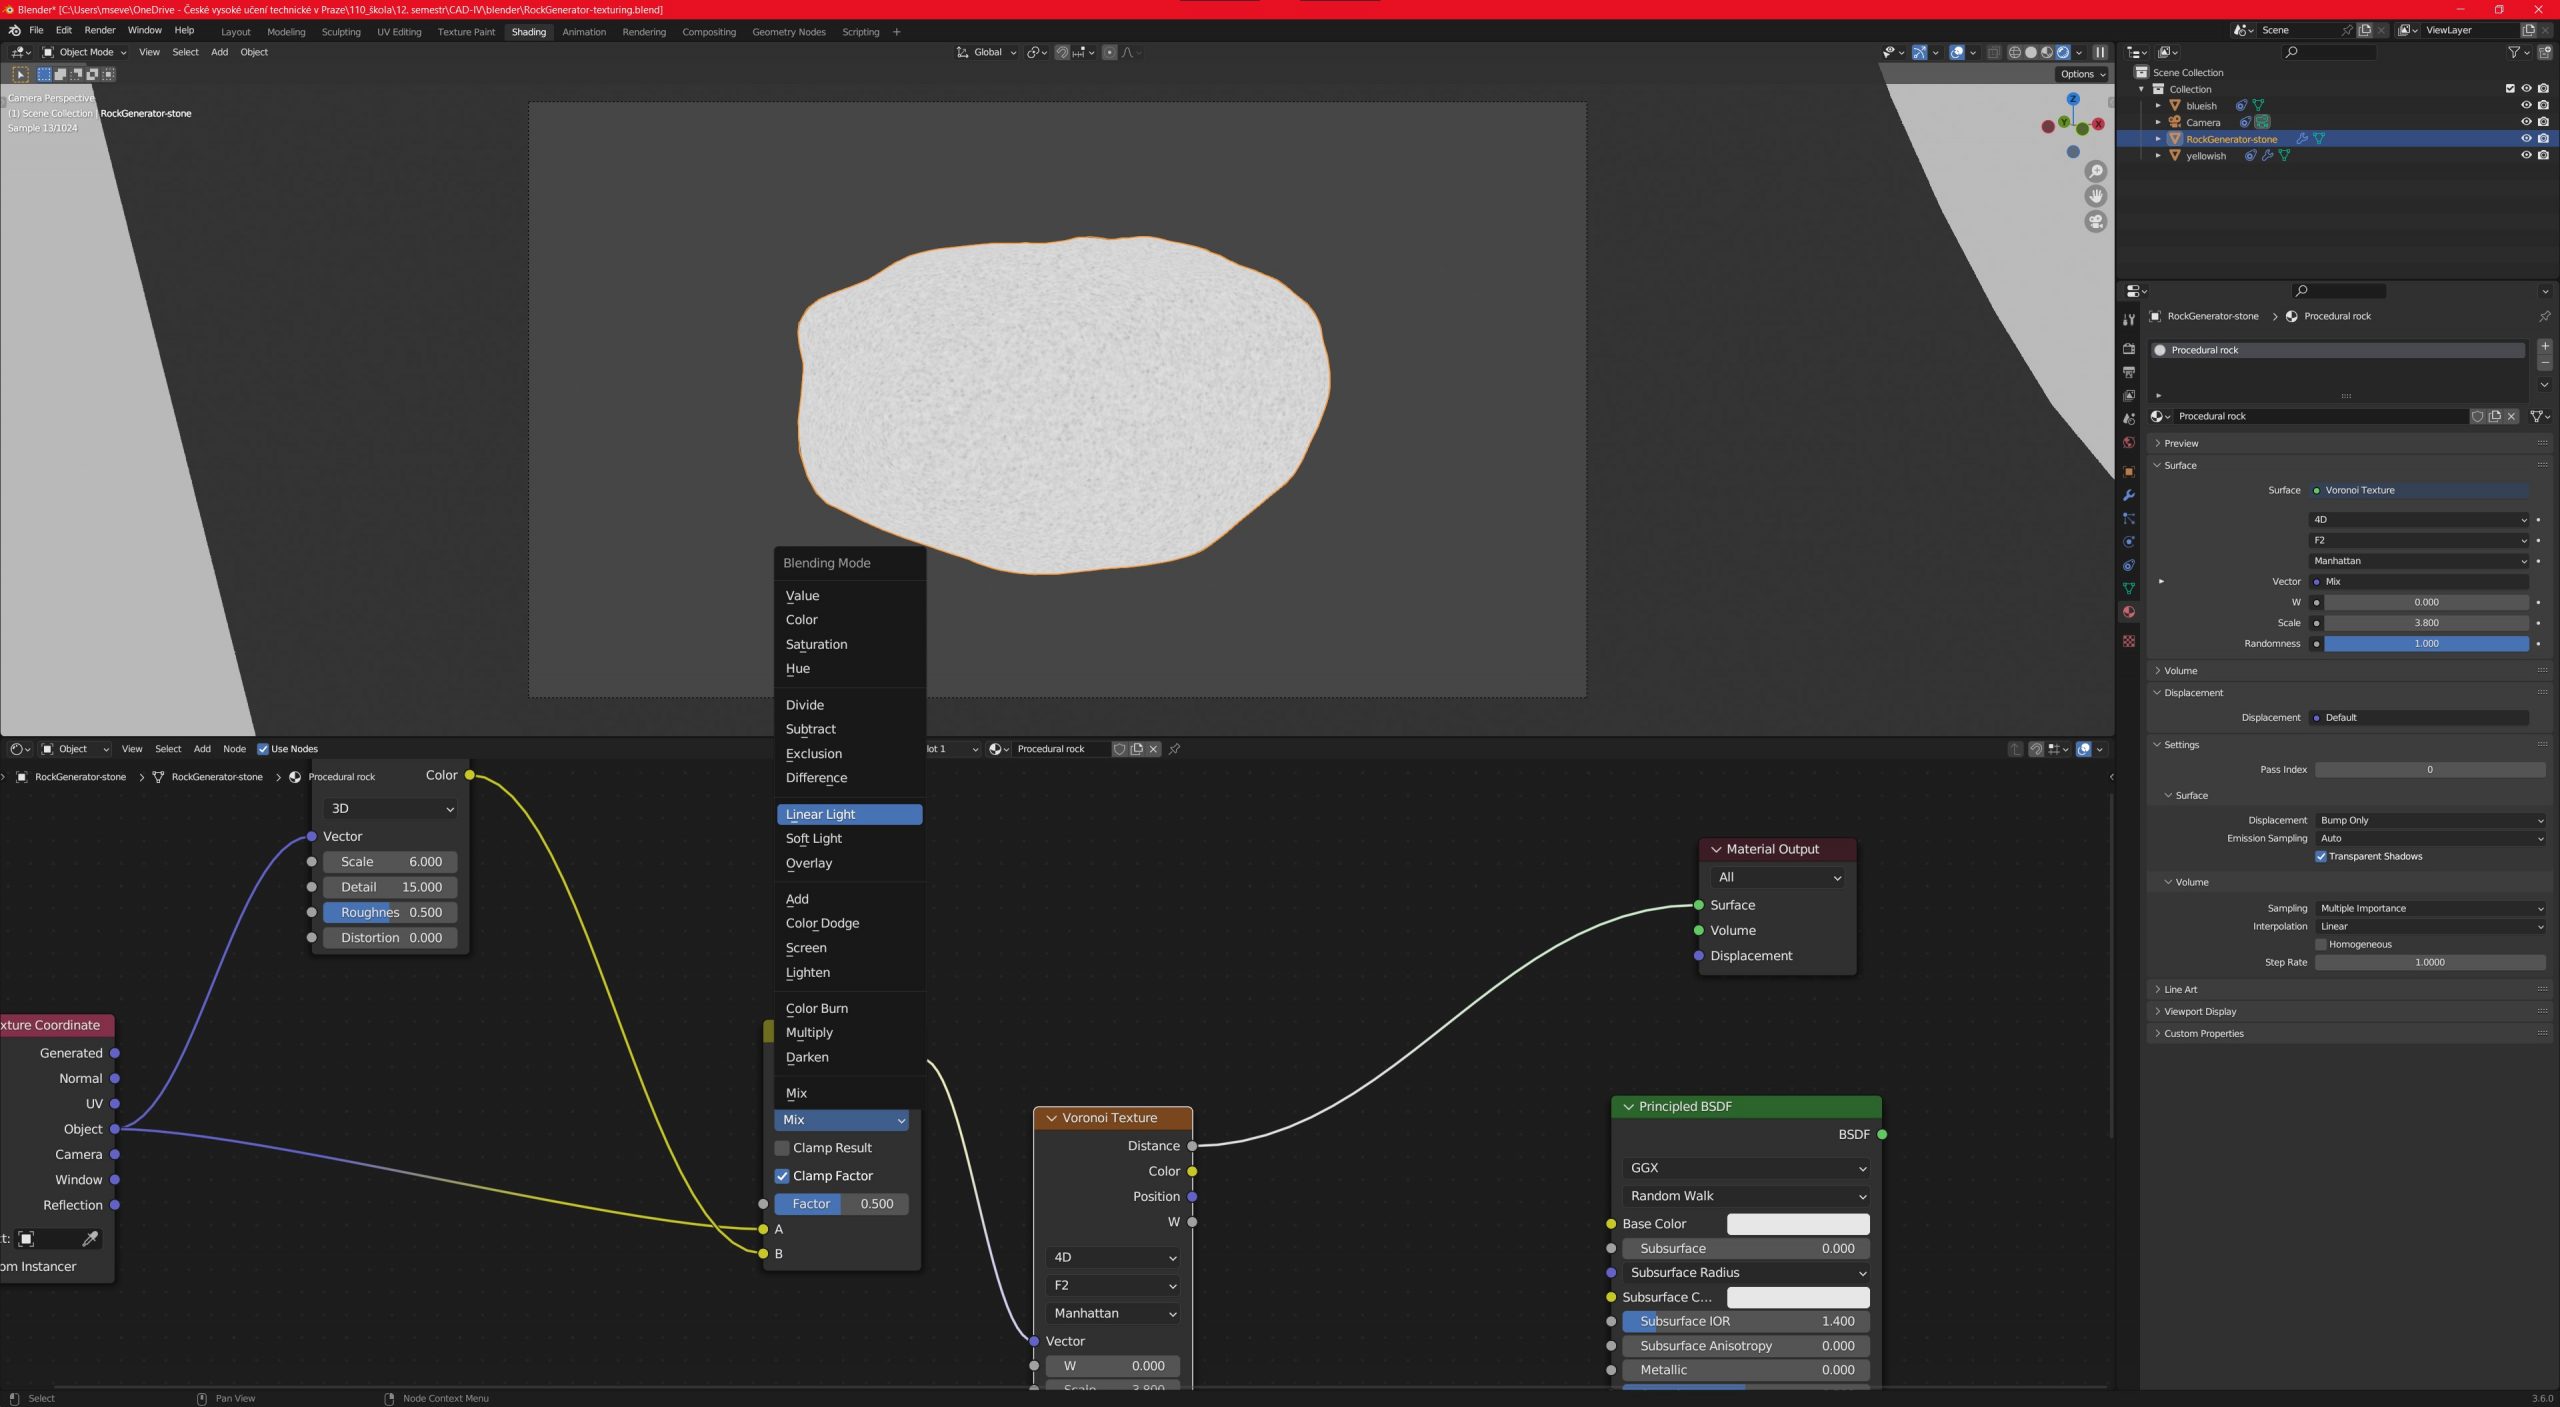
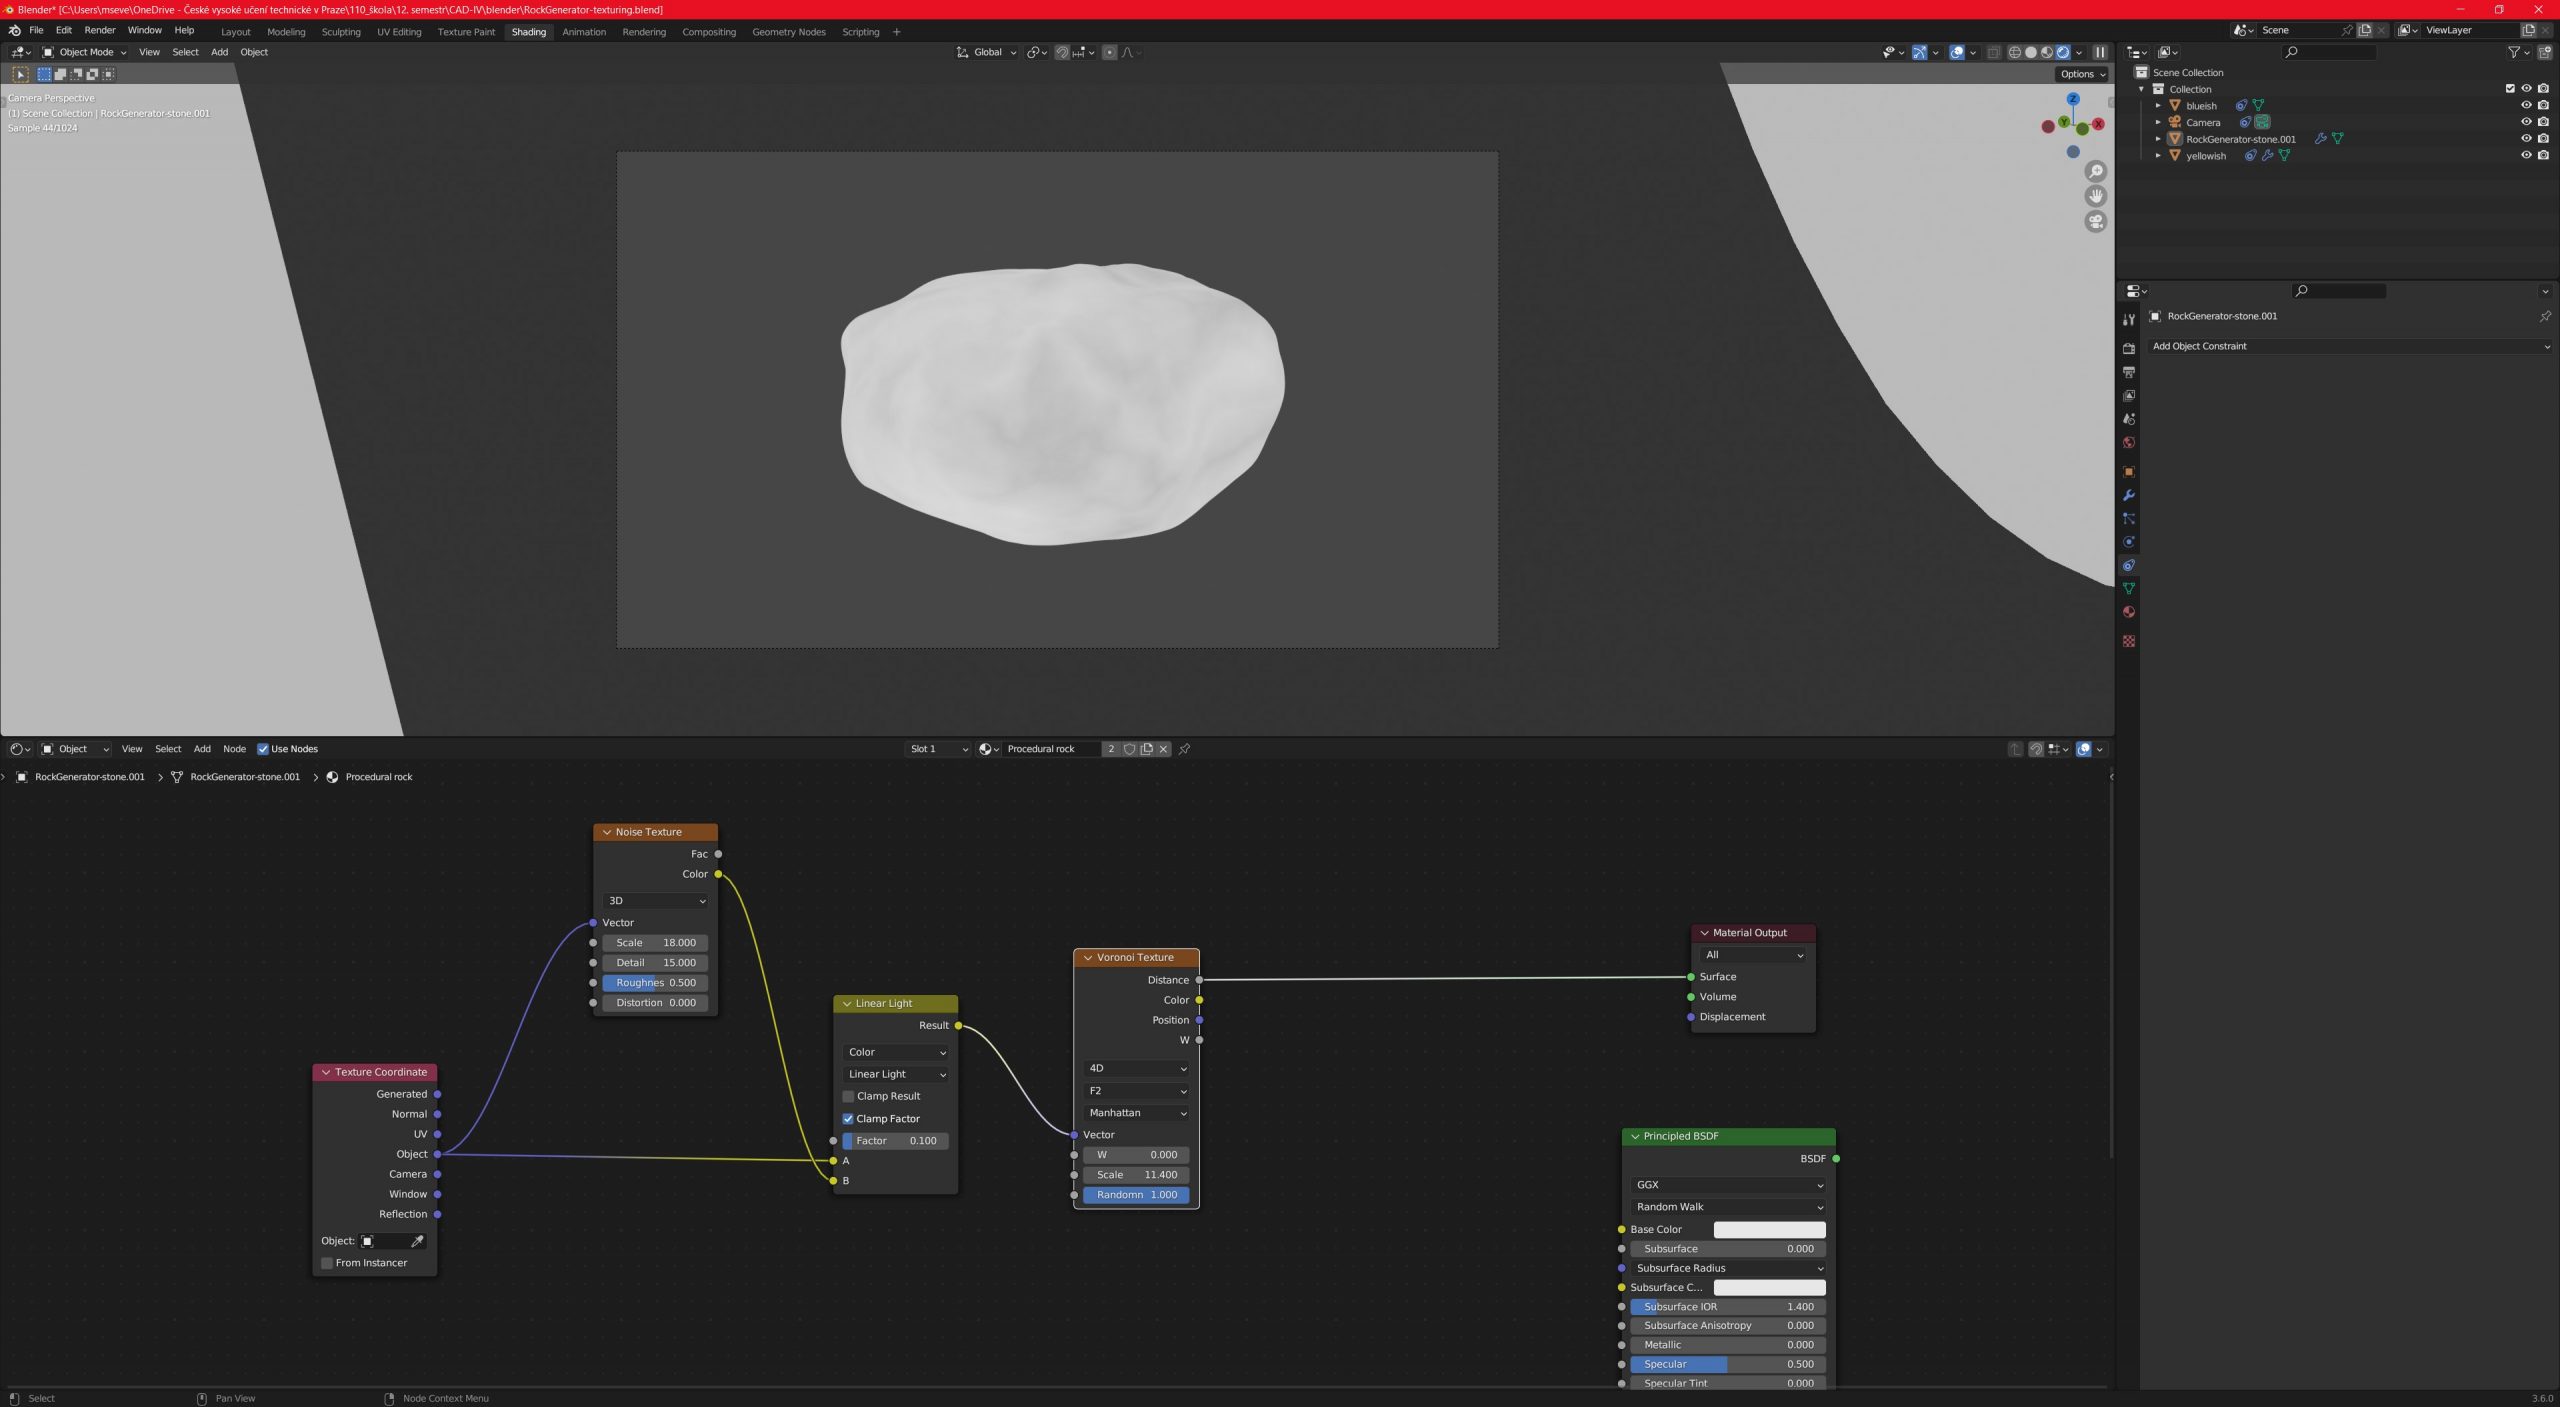
Voronoi texture We start by adding Voronoi texture to the nodes. We set it to 4D, F2 and Manhattan. Scale can be somewhere around 3,8. We need to know the object coordinates, so we press CTRL+Shift+T. We don’t need mapping node, delete it. We then connect objects with vector nodes.
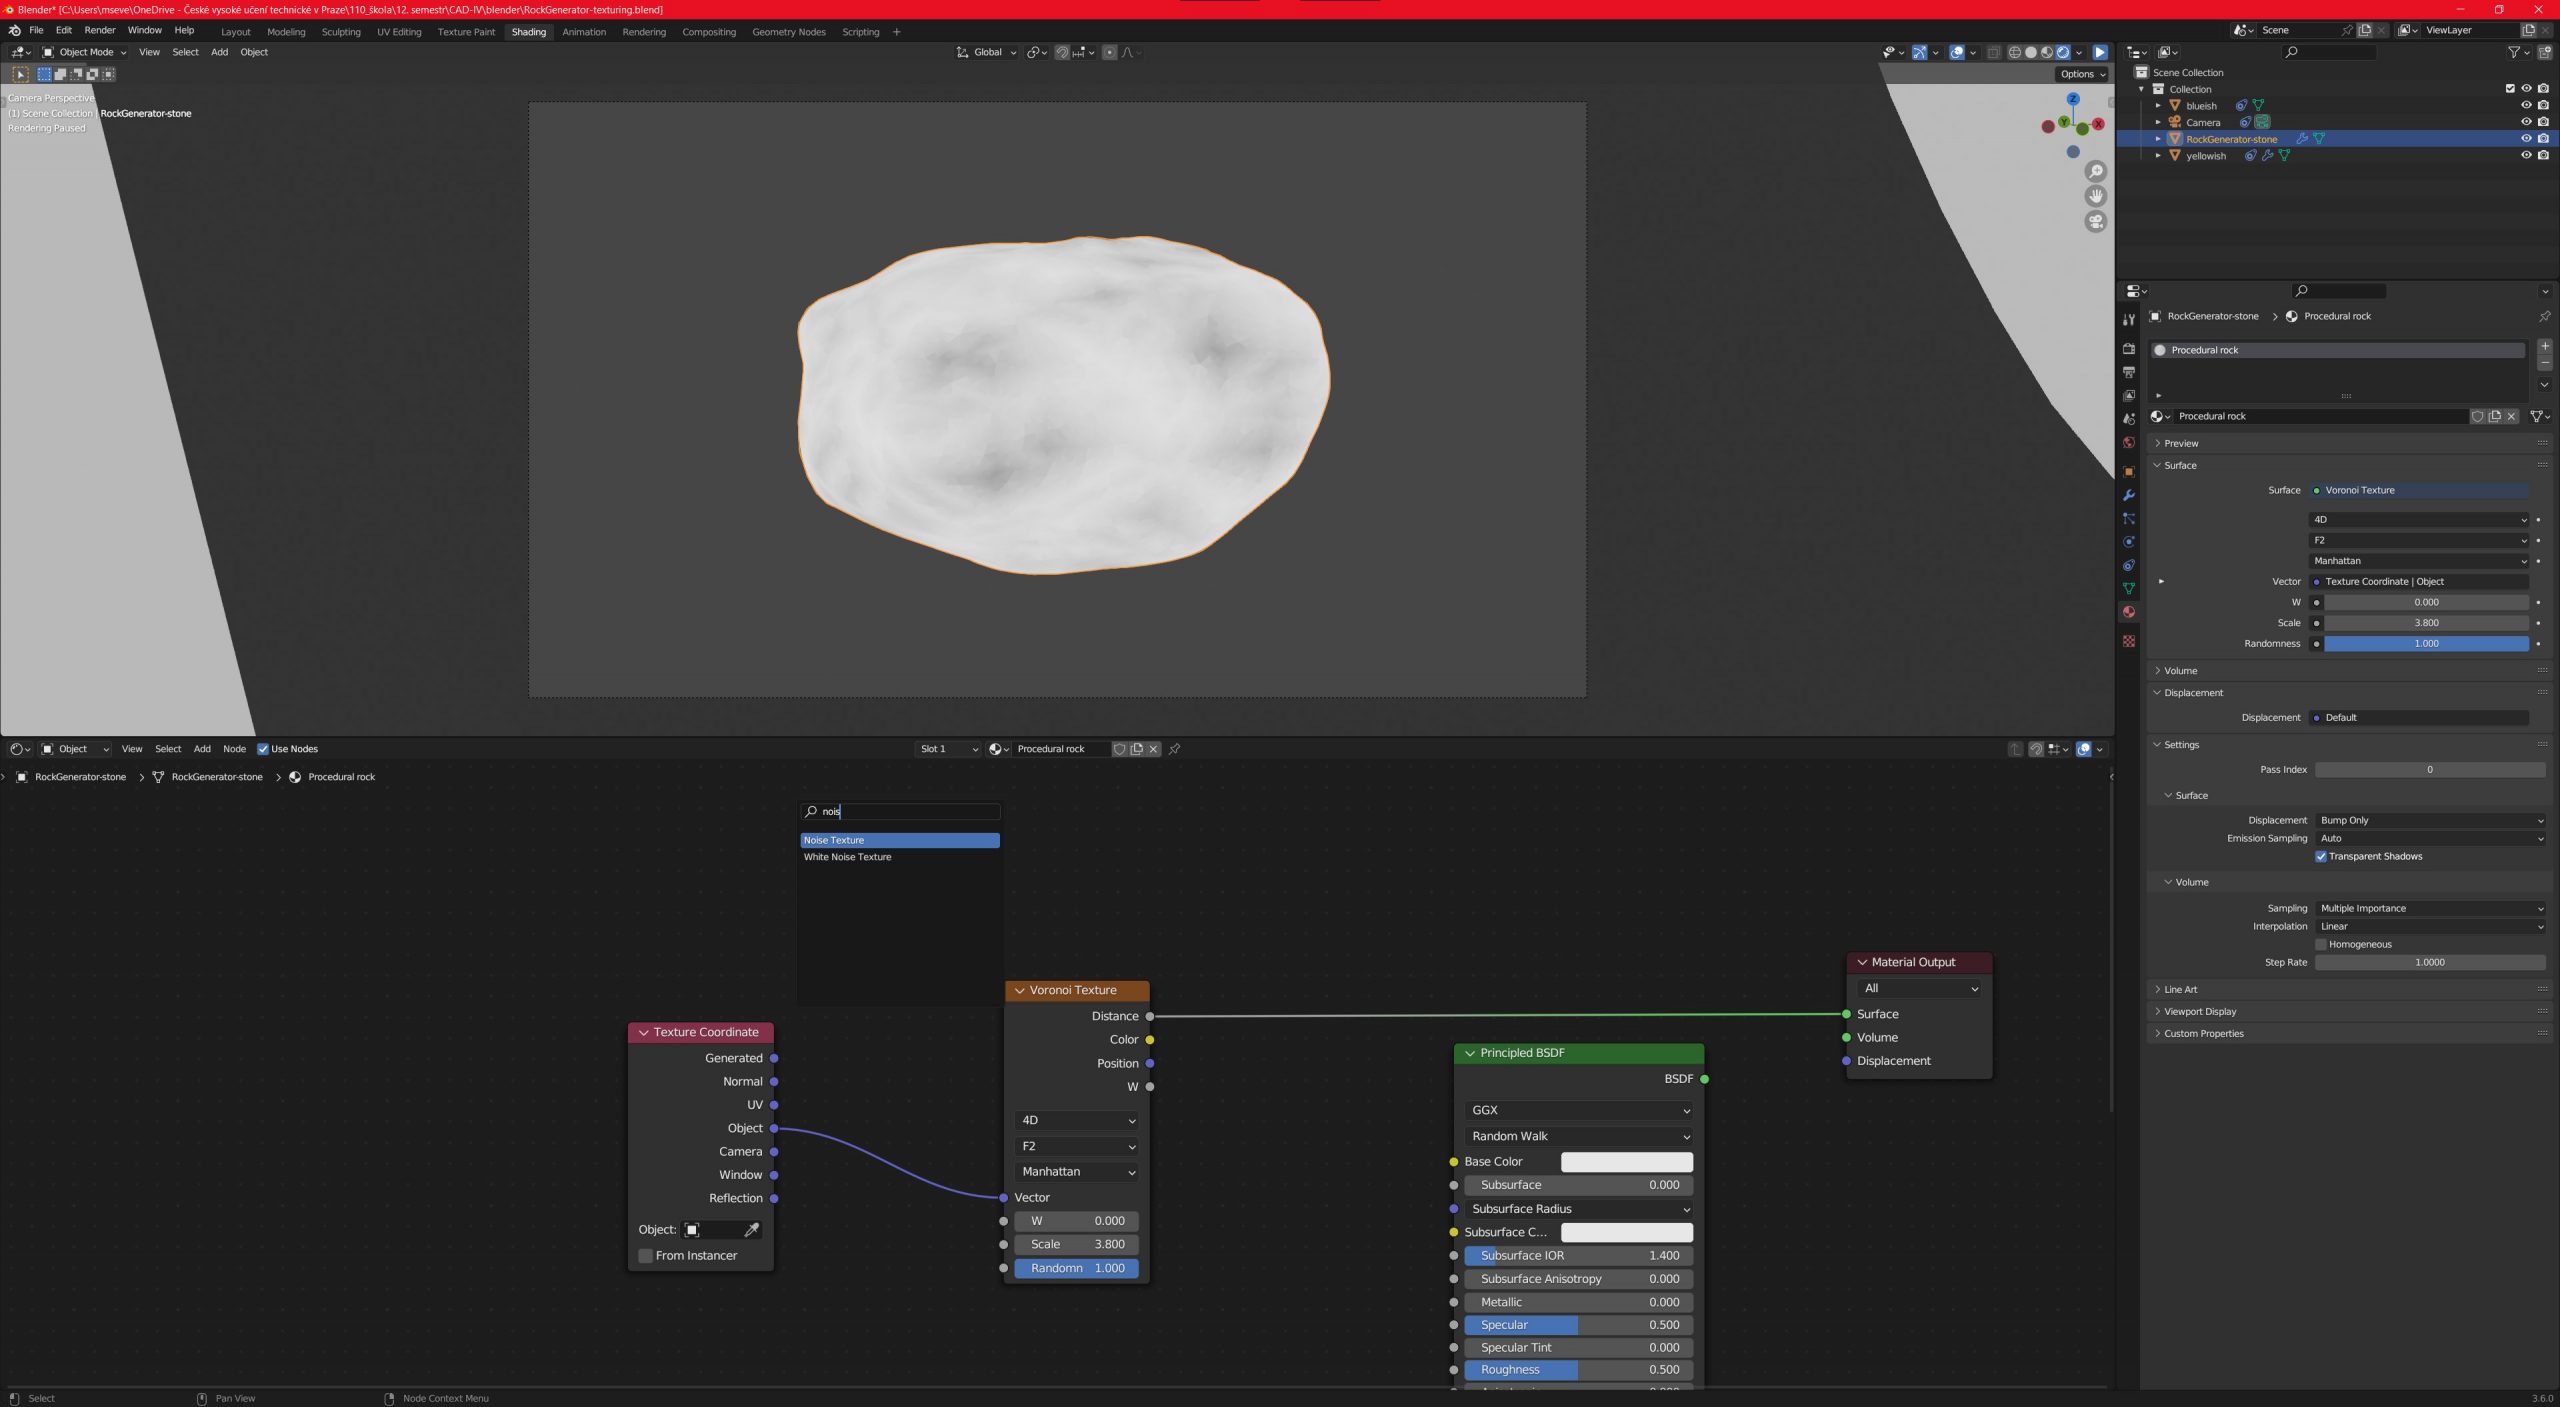
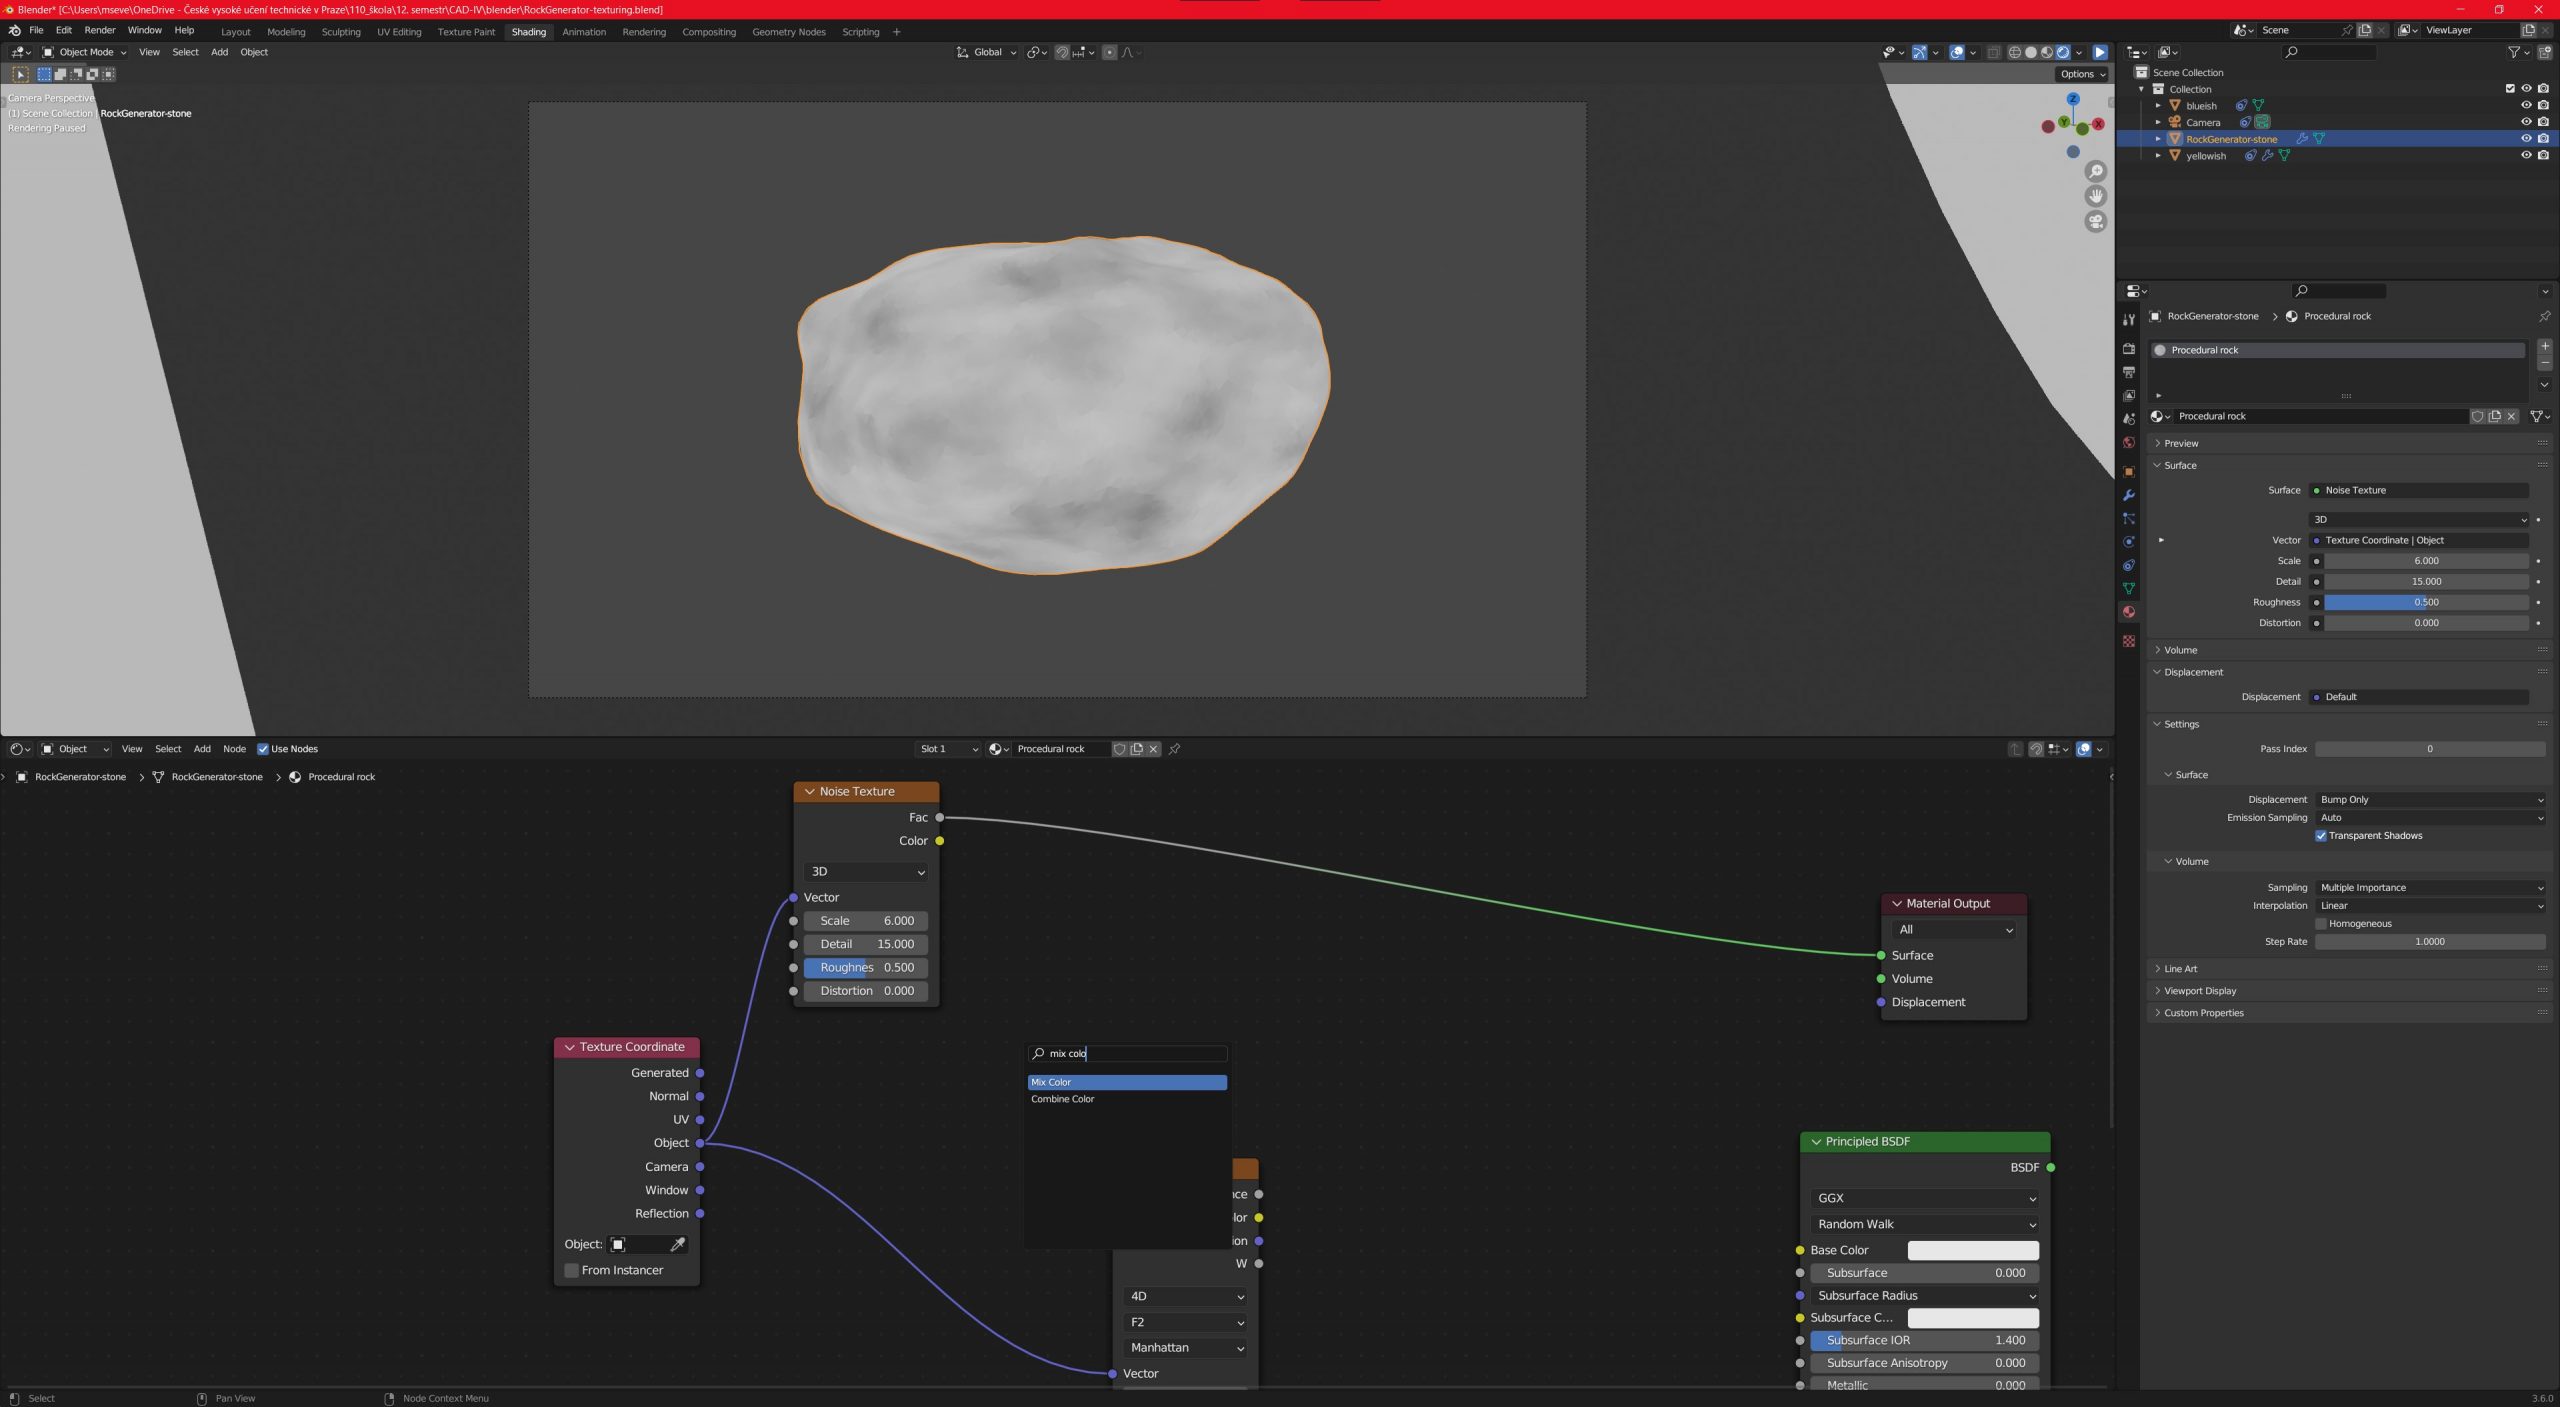
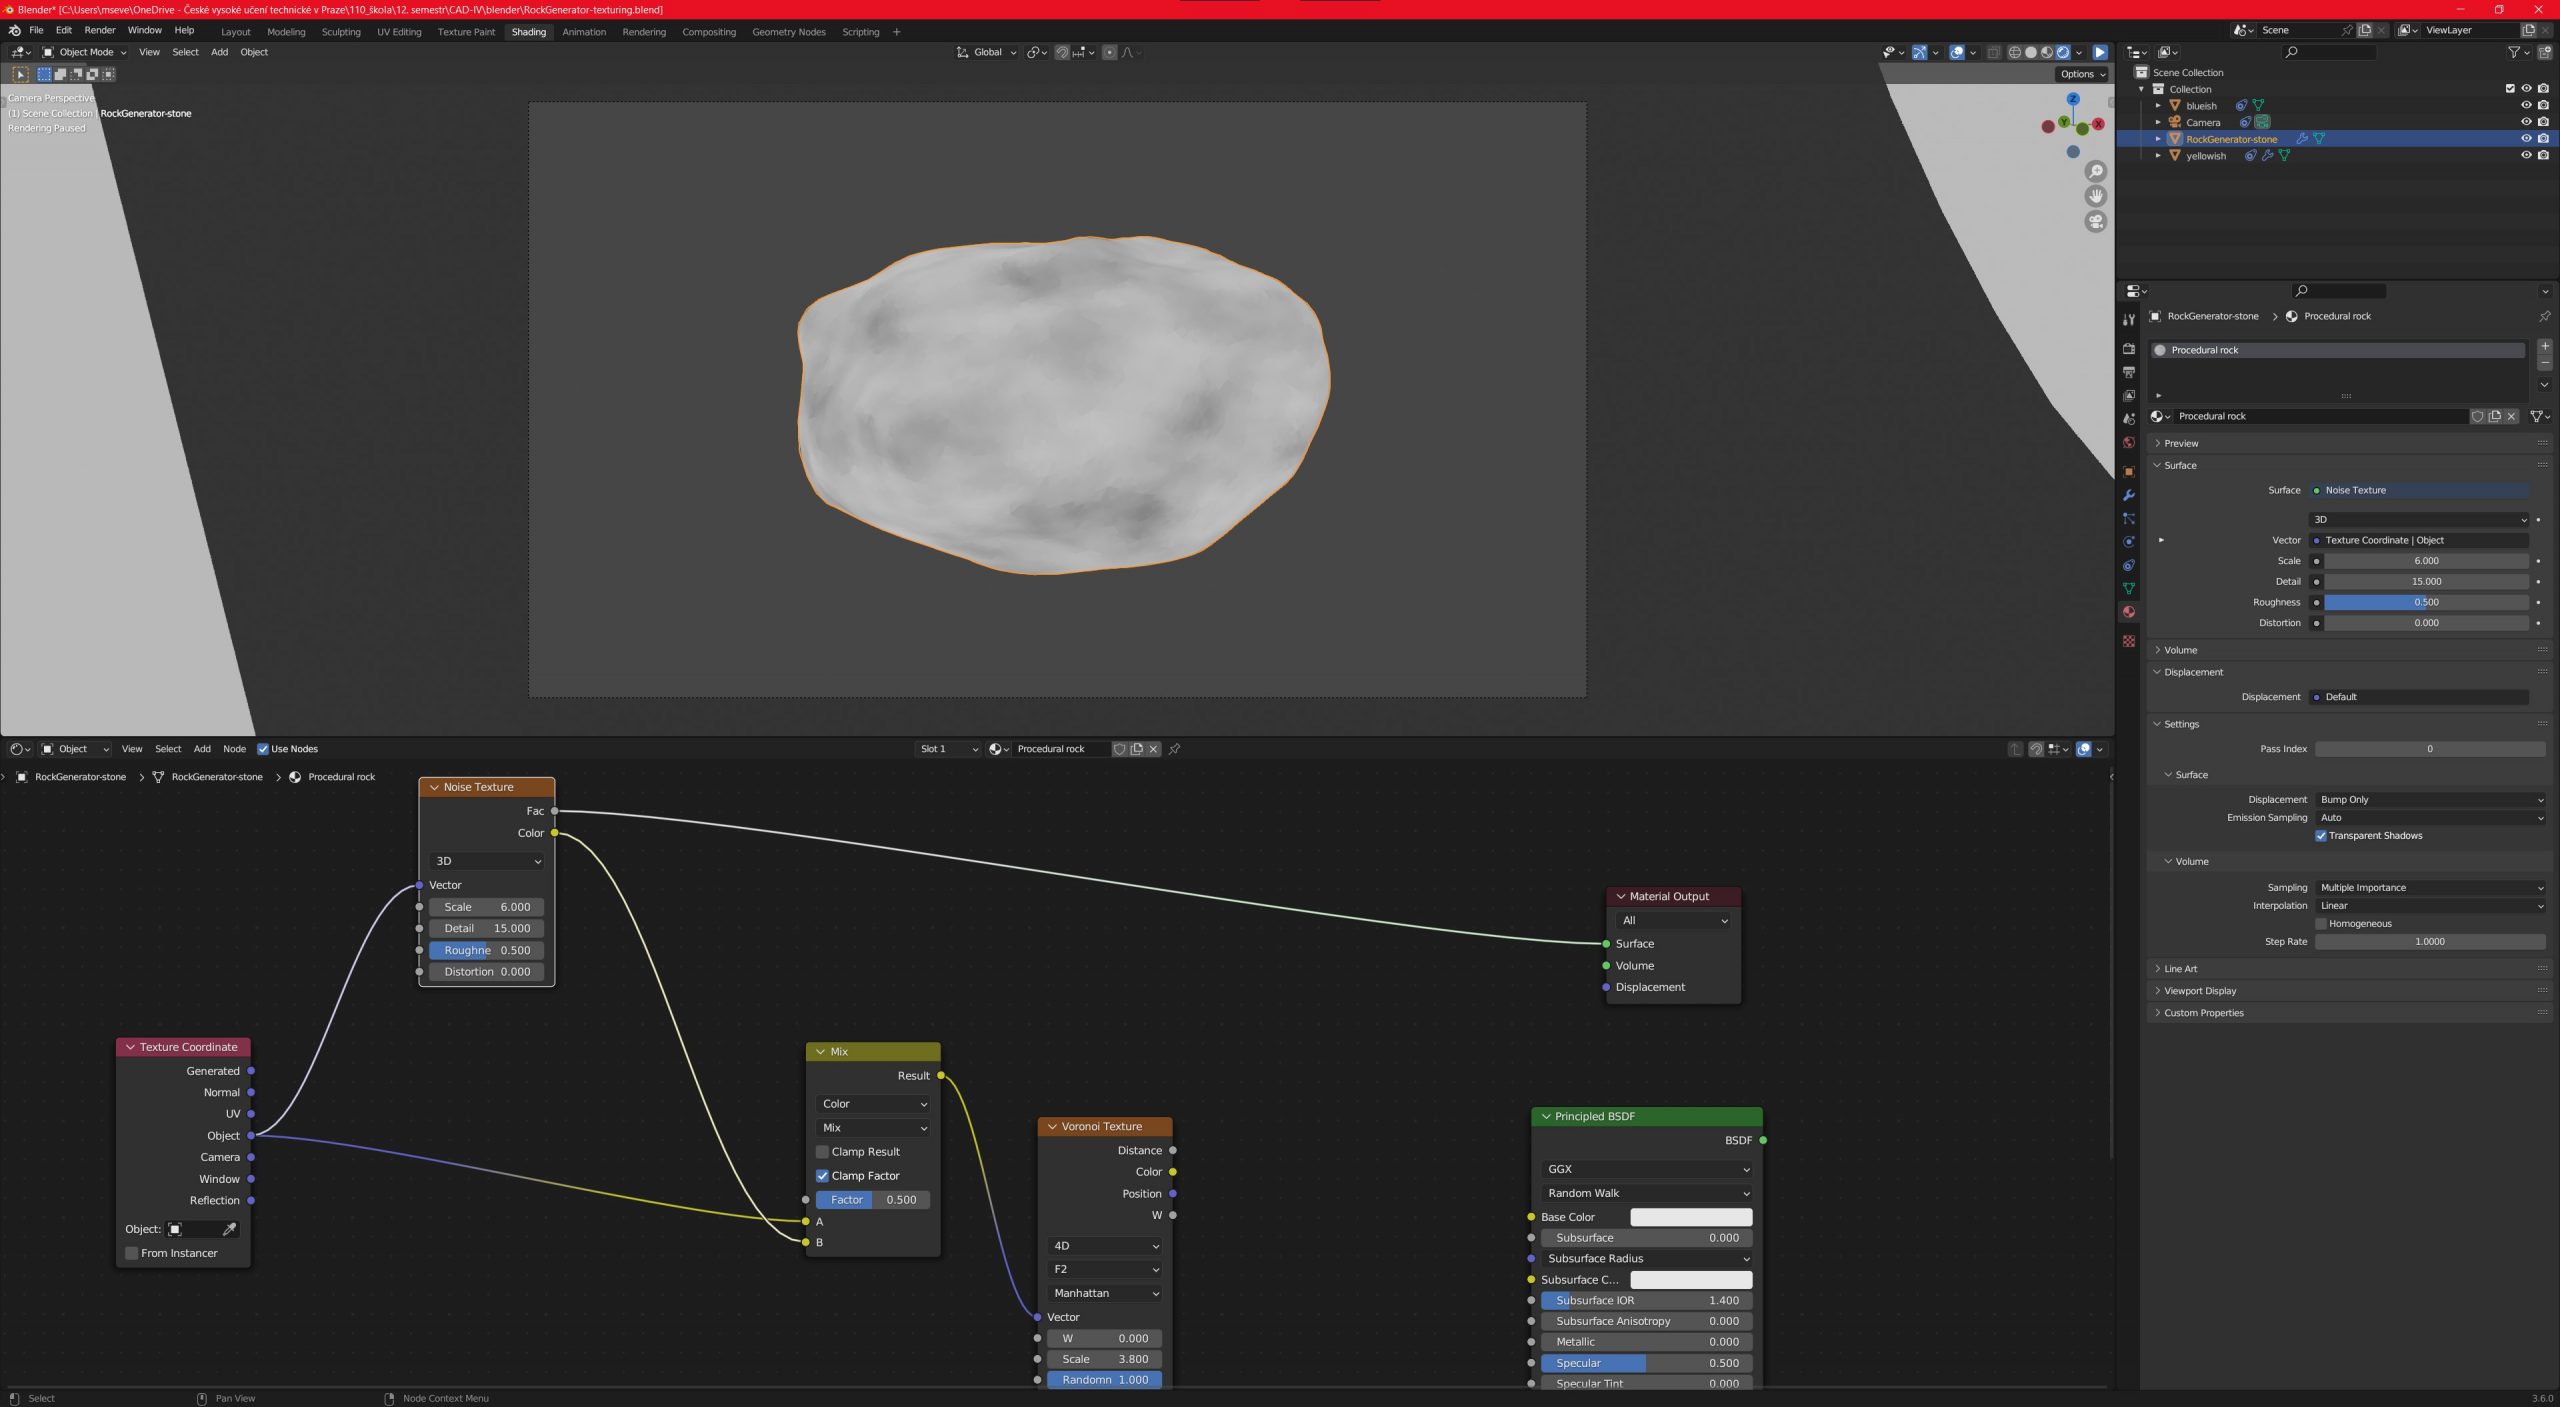
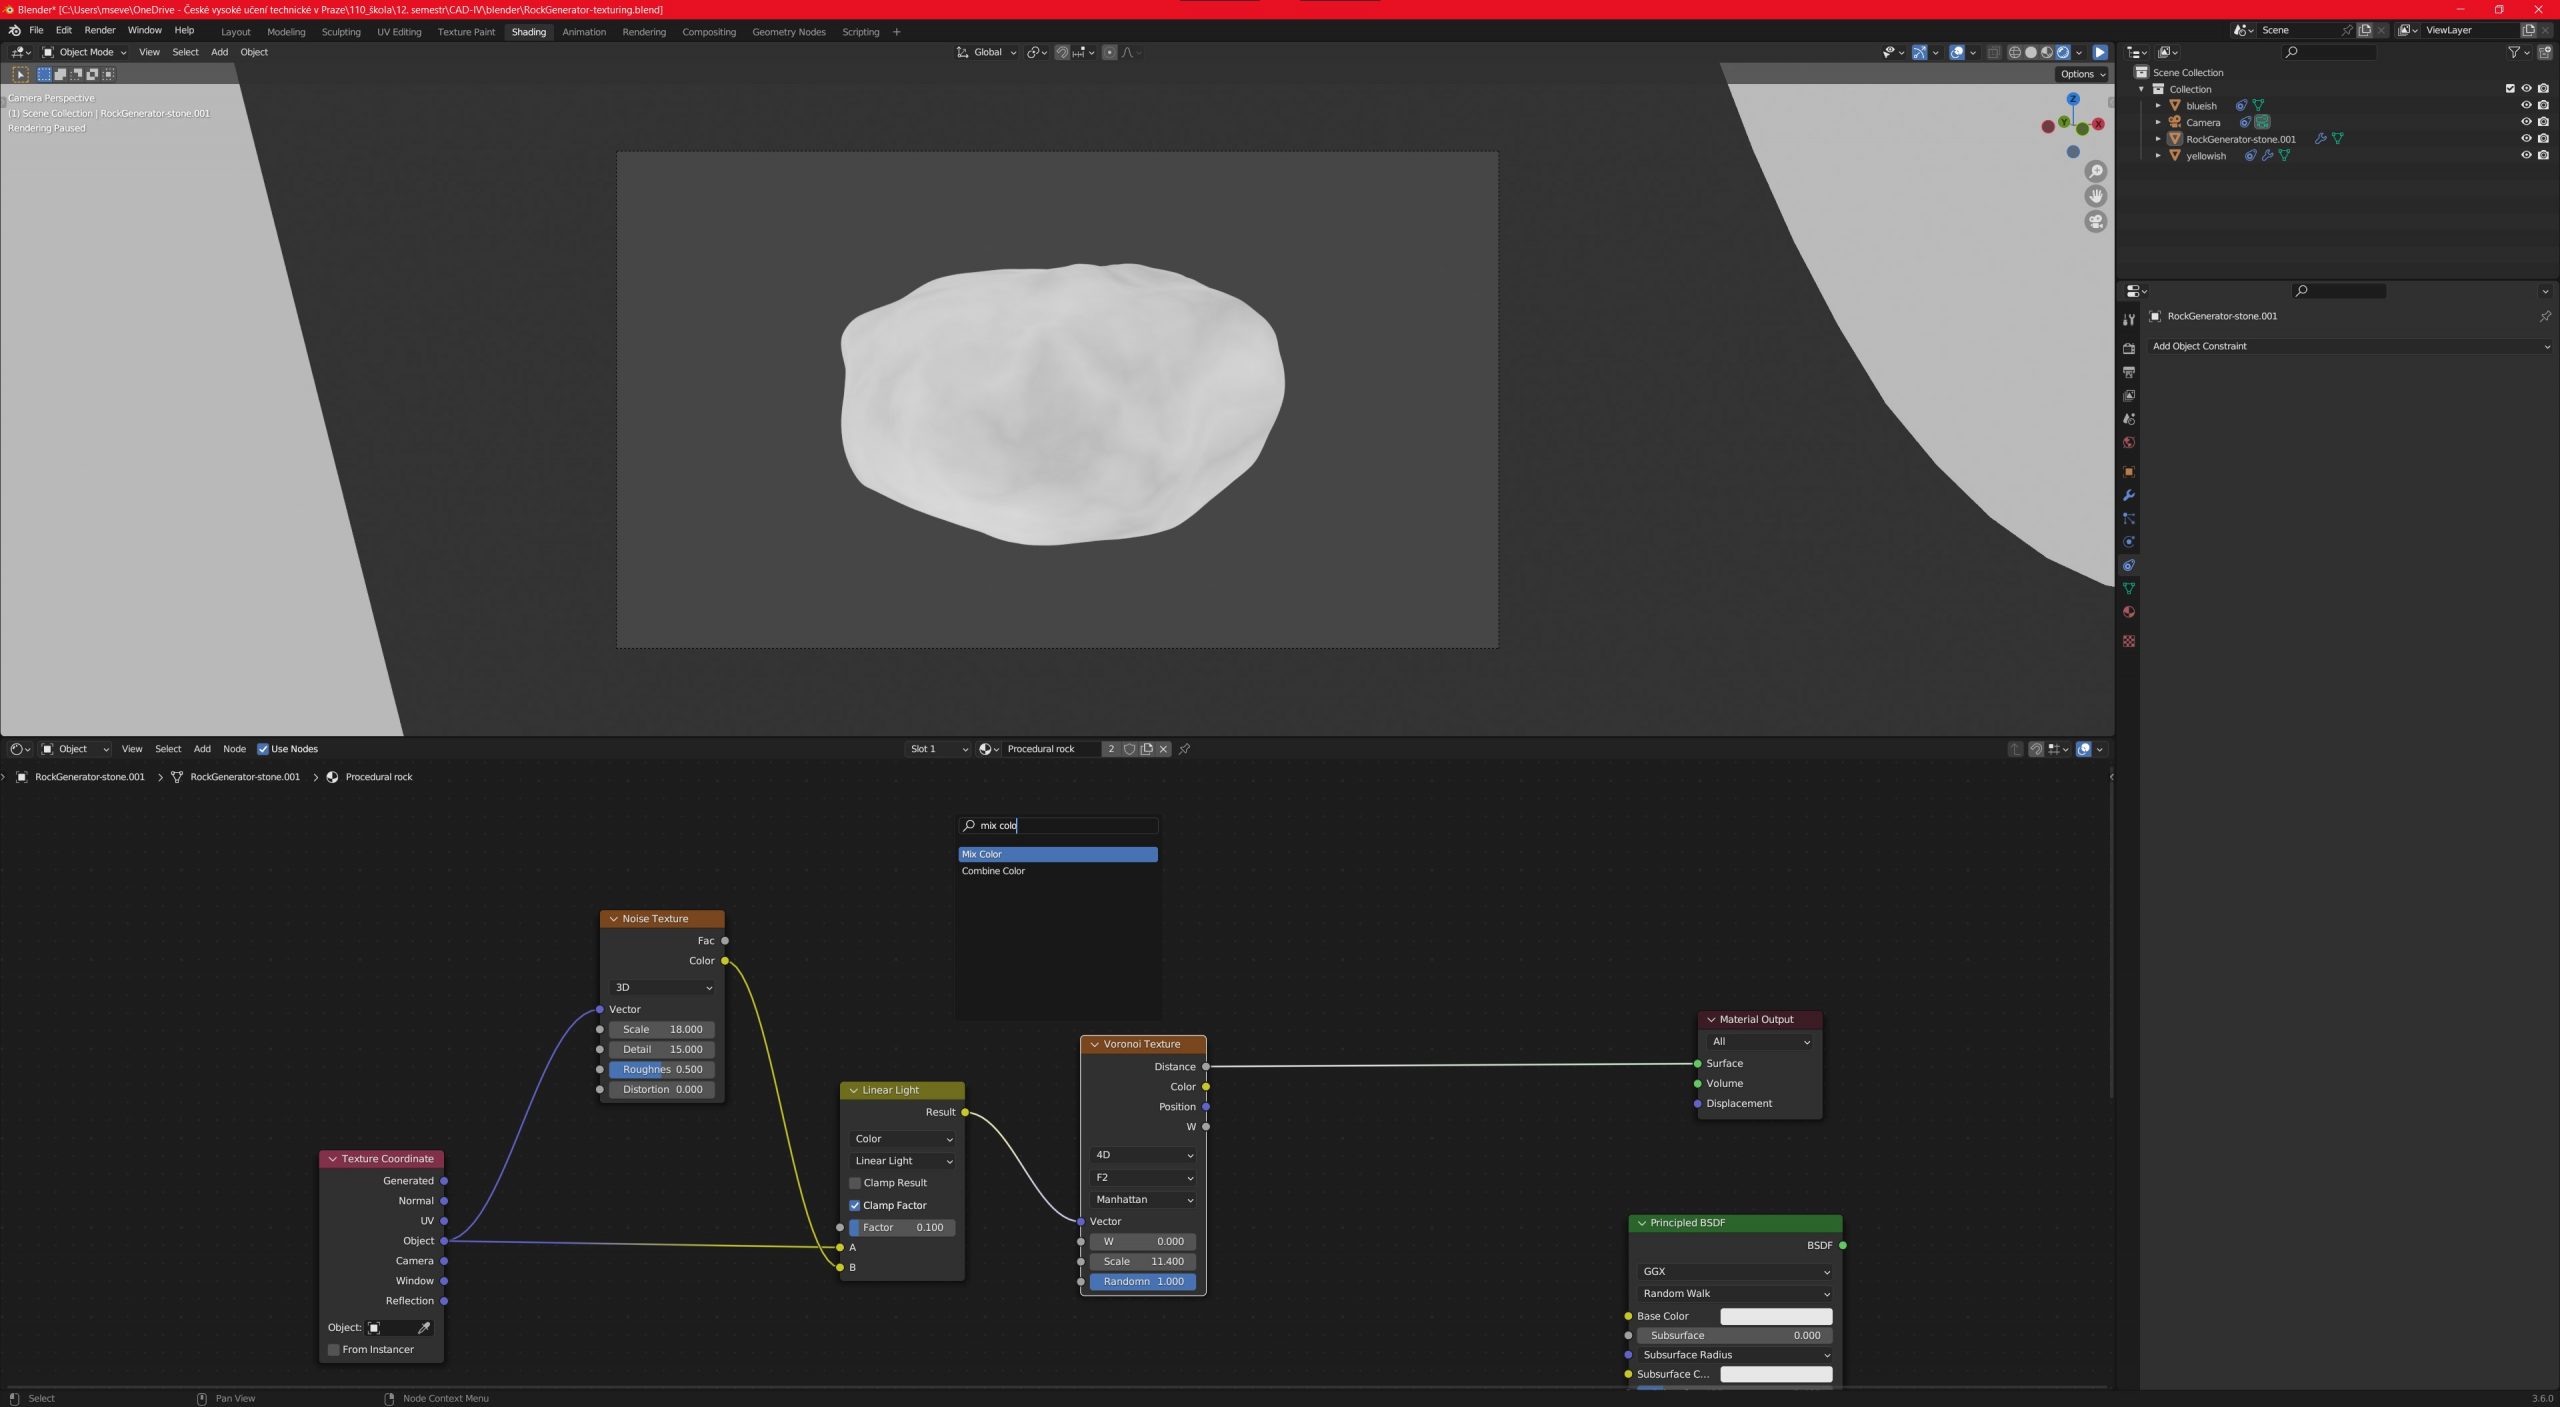
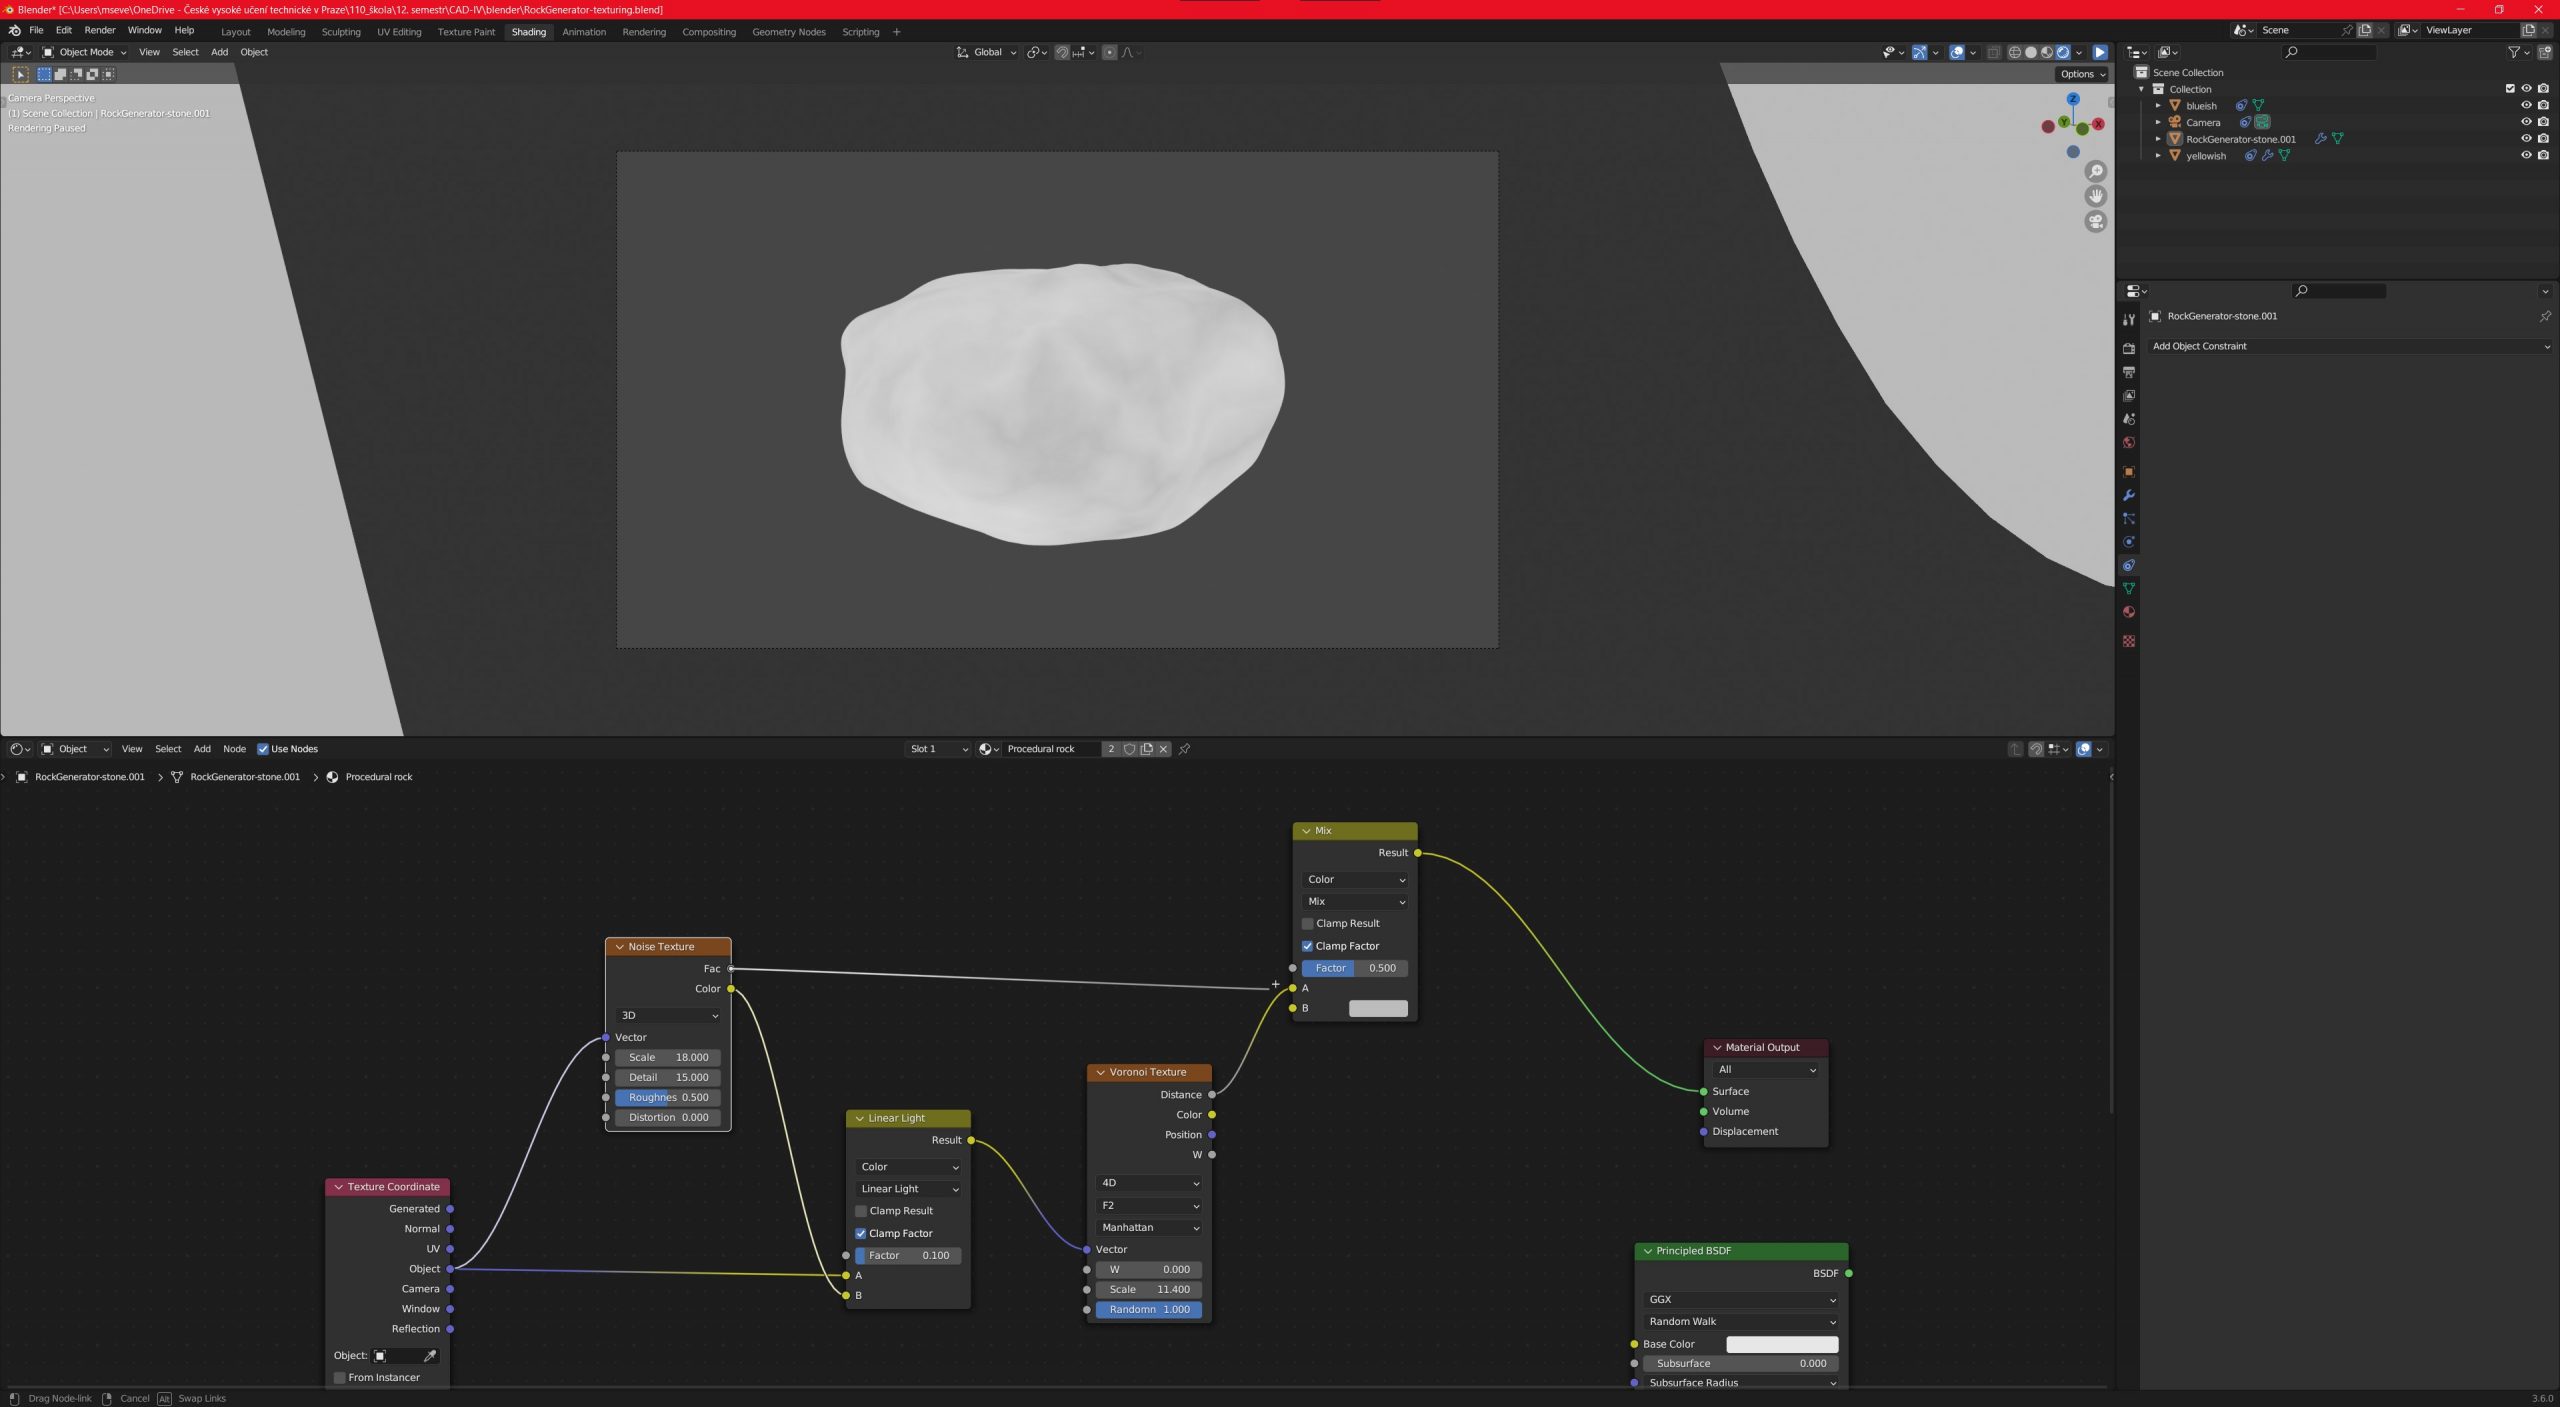
Noise texture Next up is Noise texture. We proceed to Color mix. That will ensure the combination of Object and Noise textures. For the first one, we set it to Linear light with a factor around 0,1. Second Color mix is used for mixing Noise and Voronoi textures. Factor is set to something around 0,35.
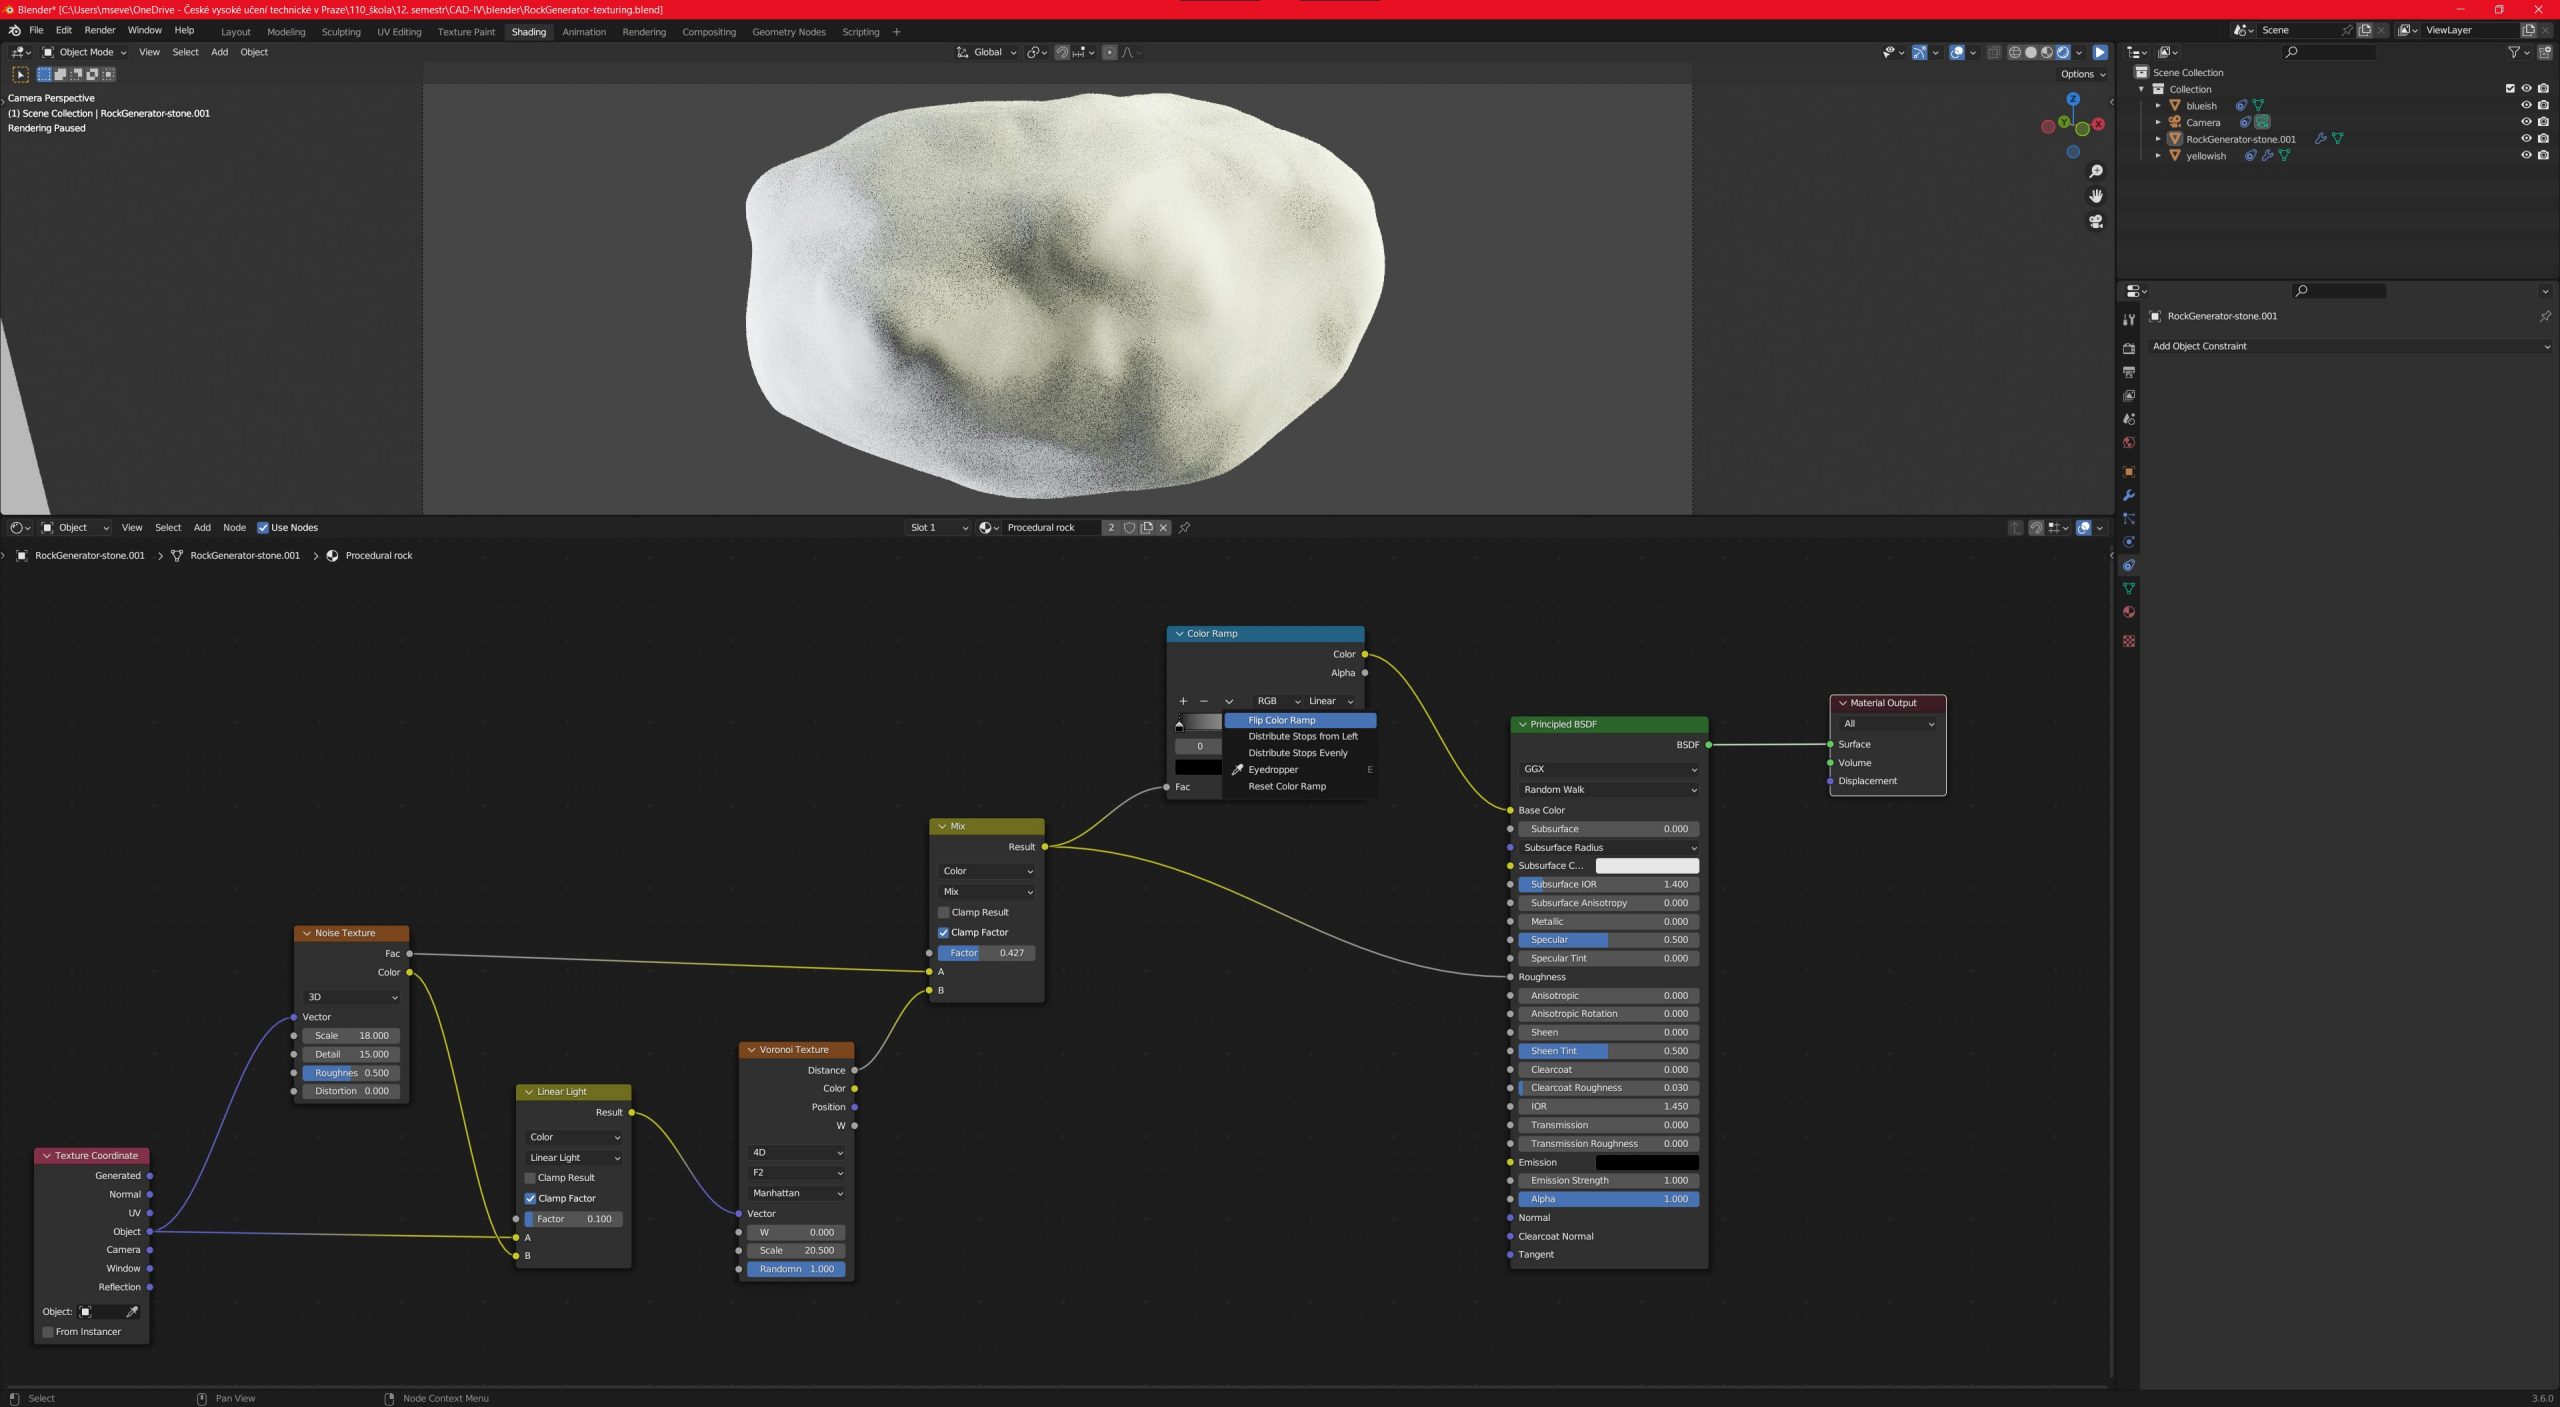
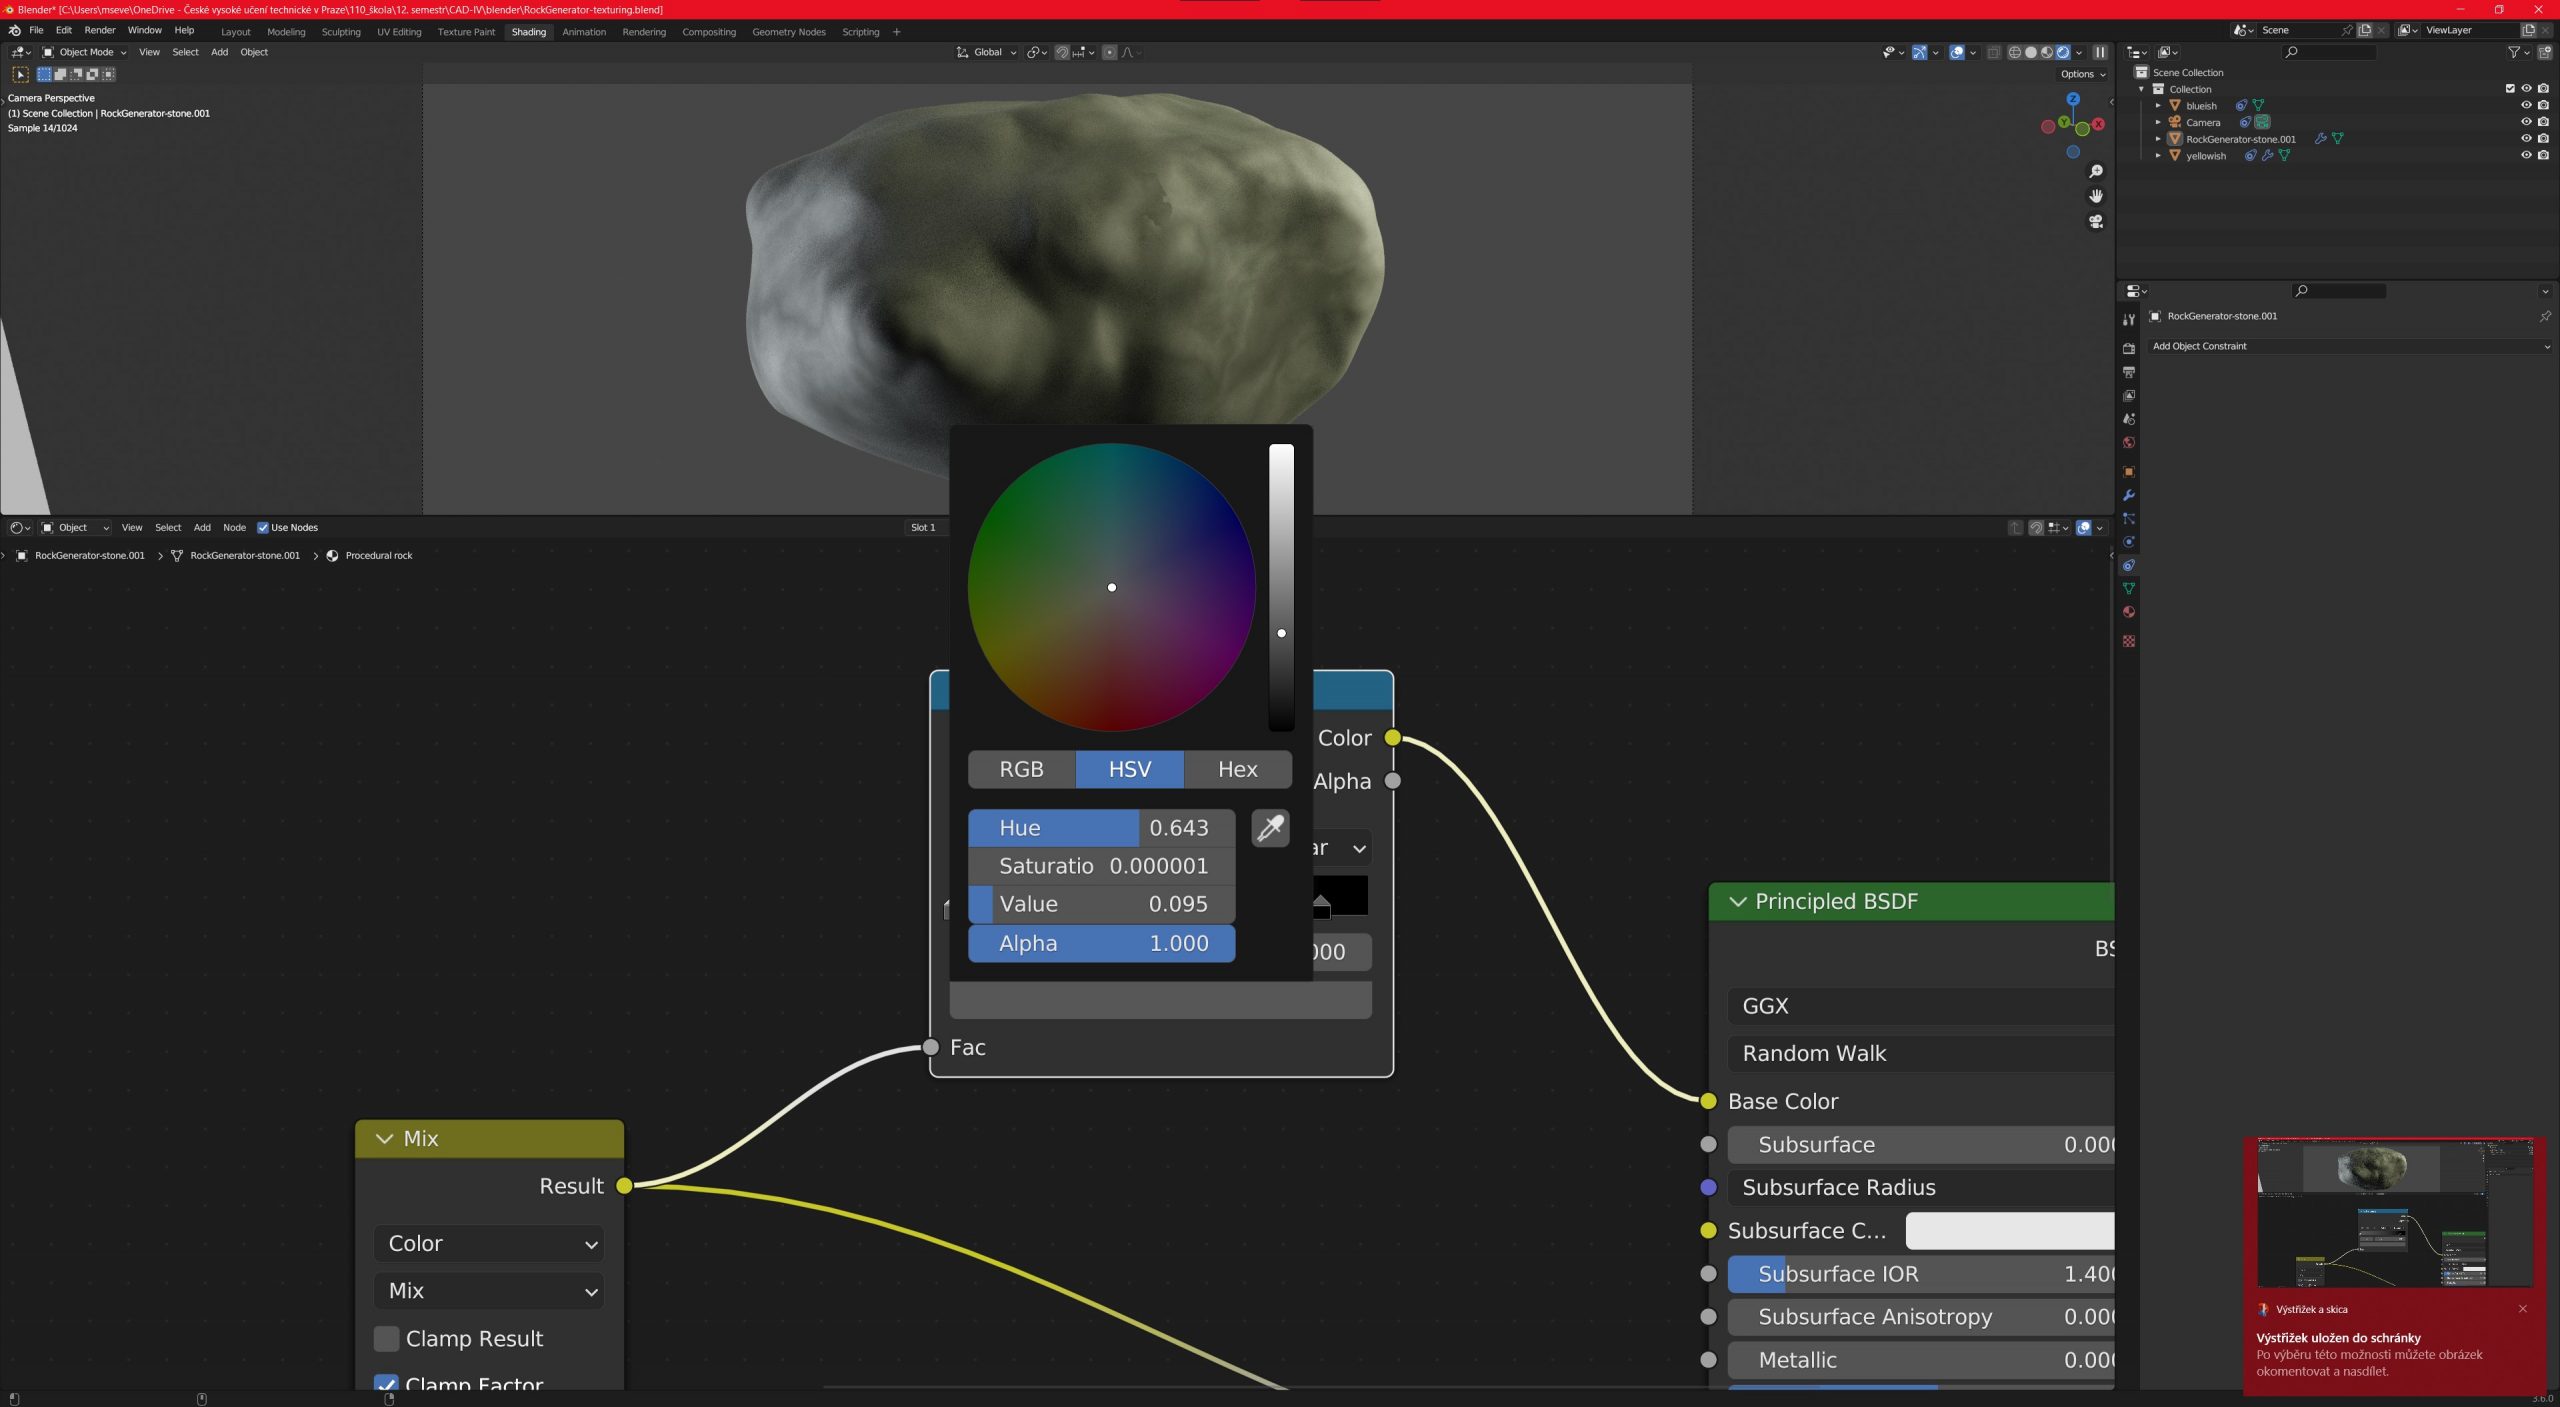
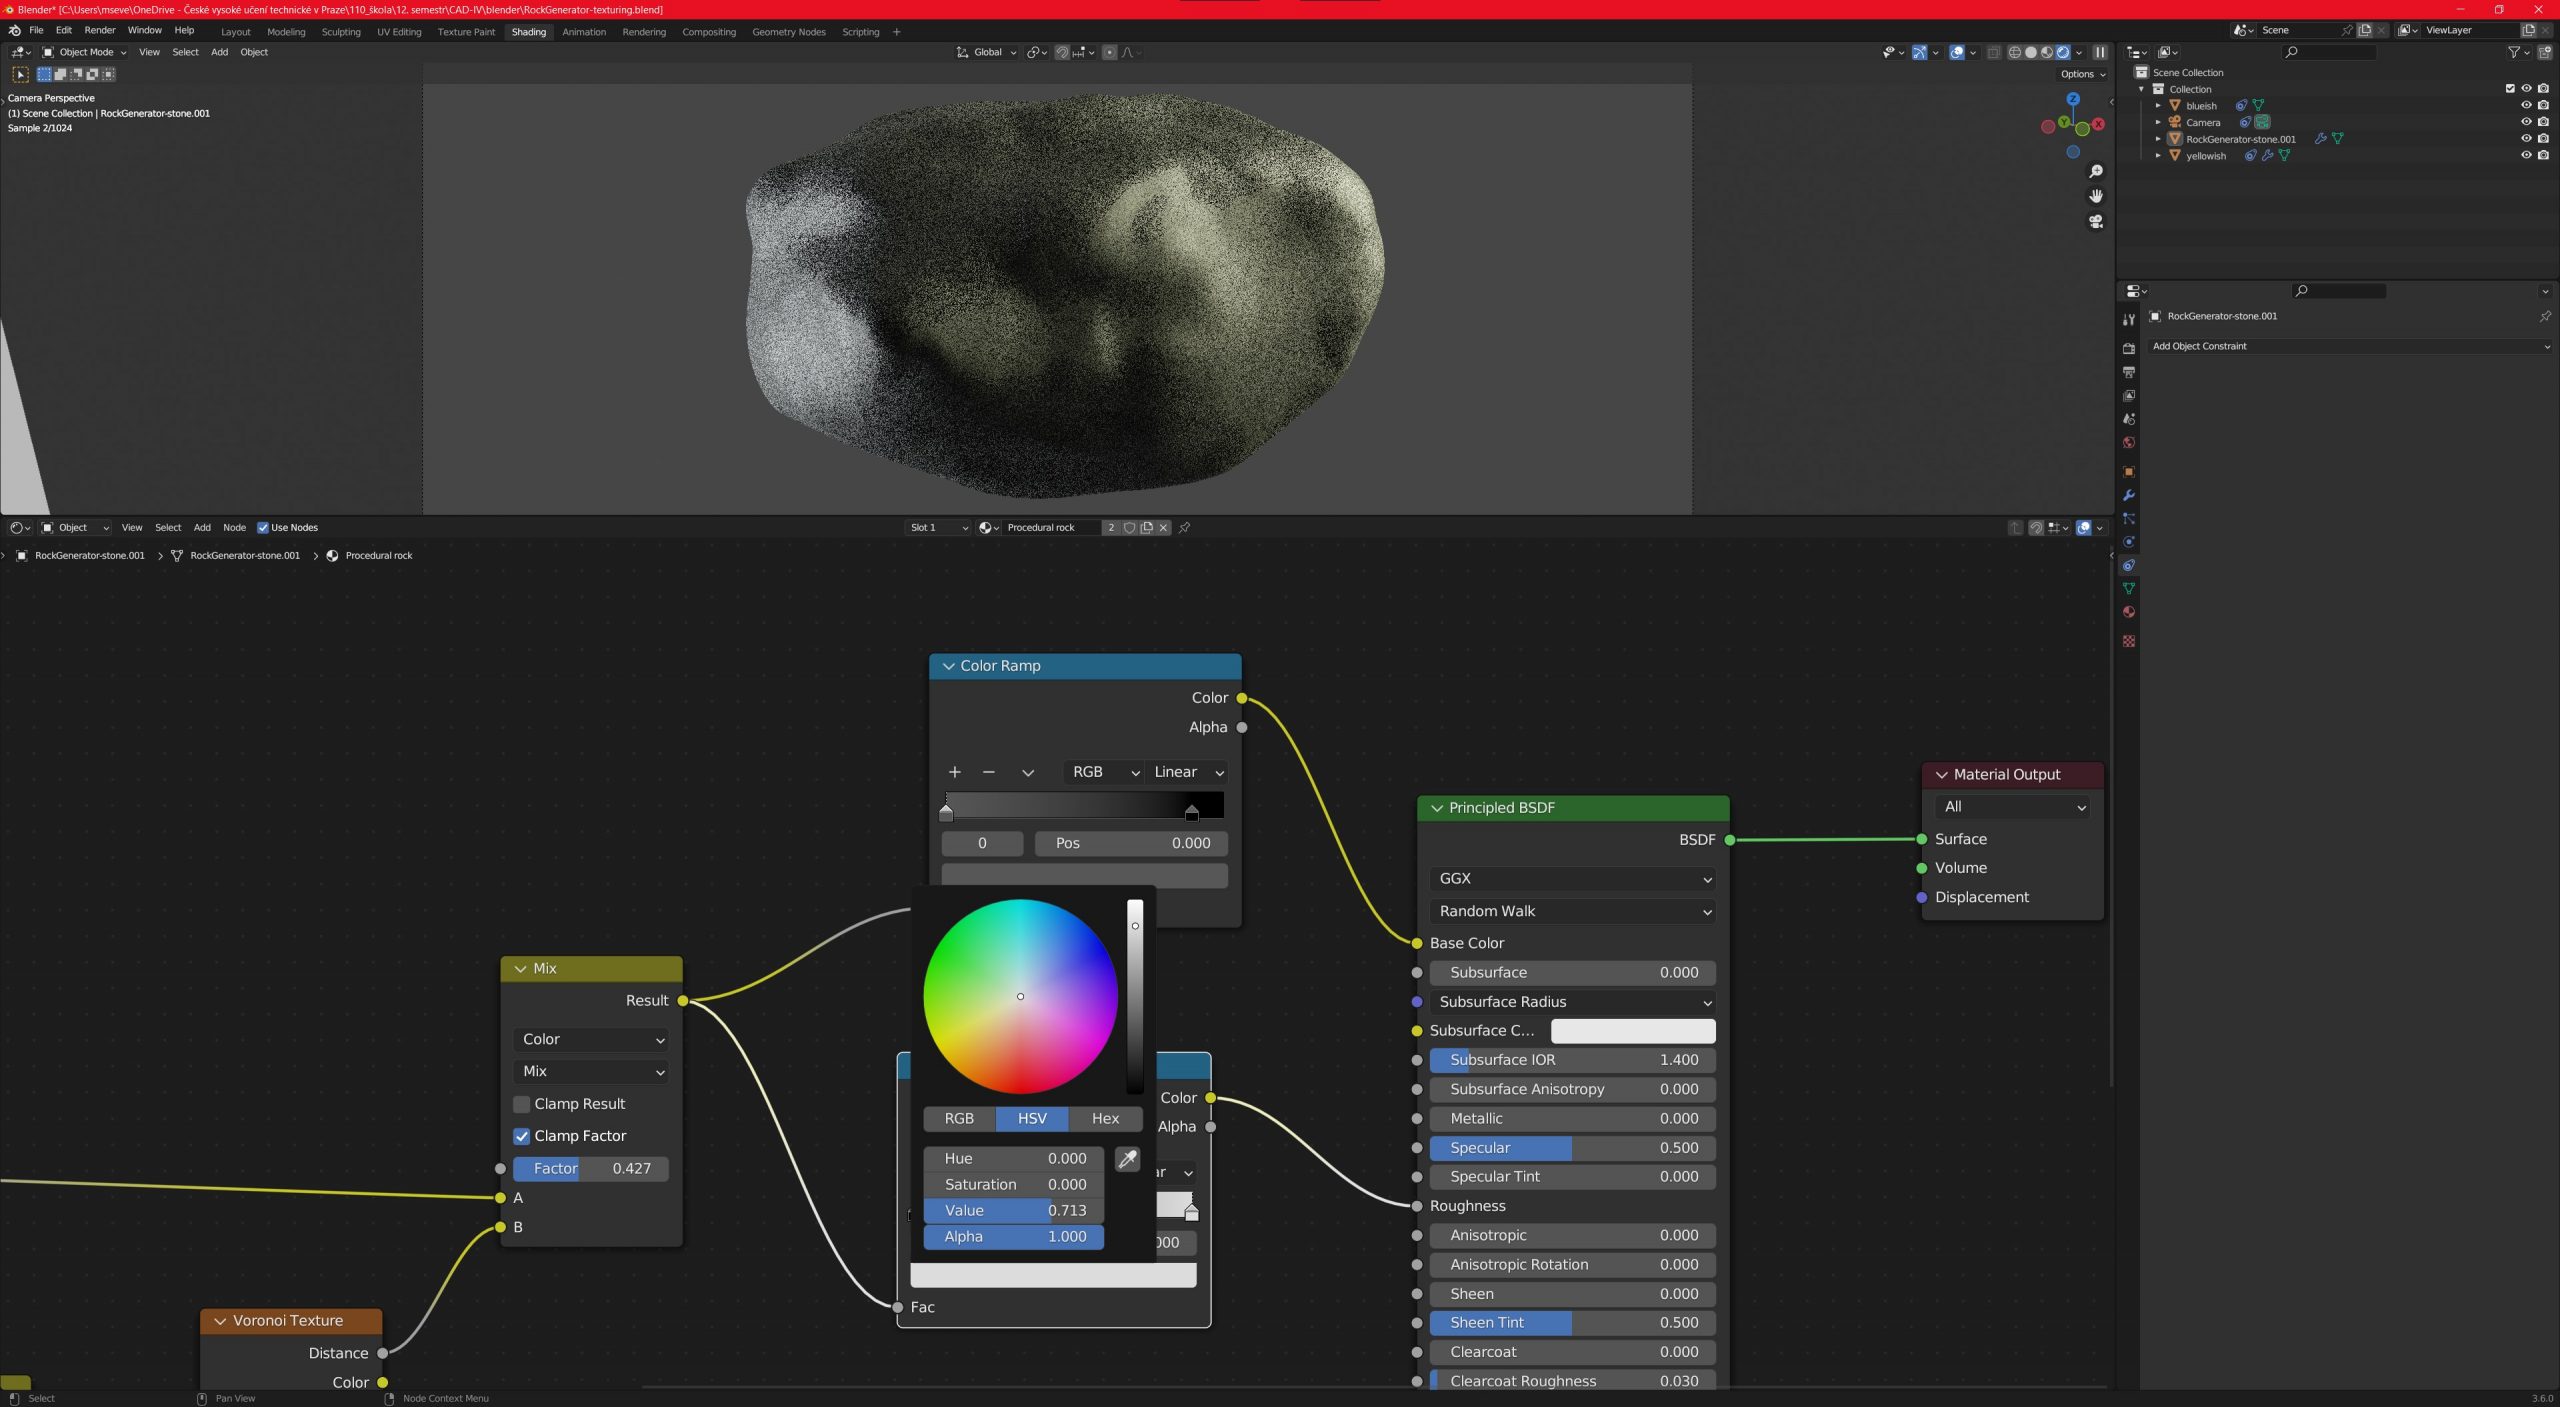
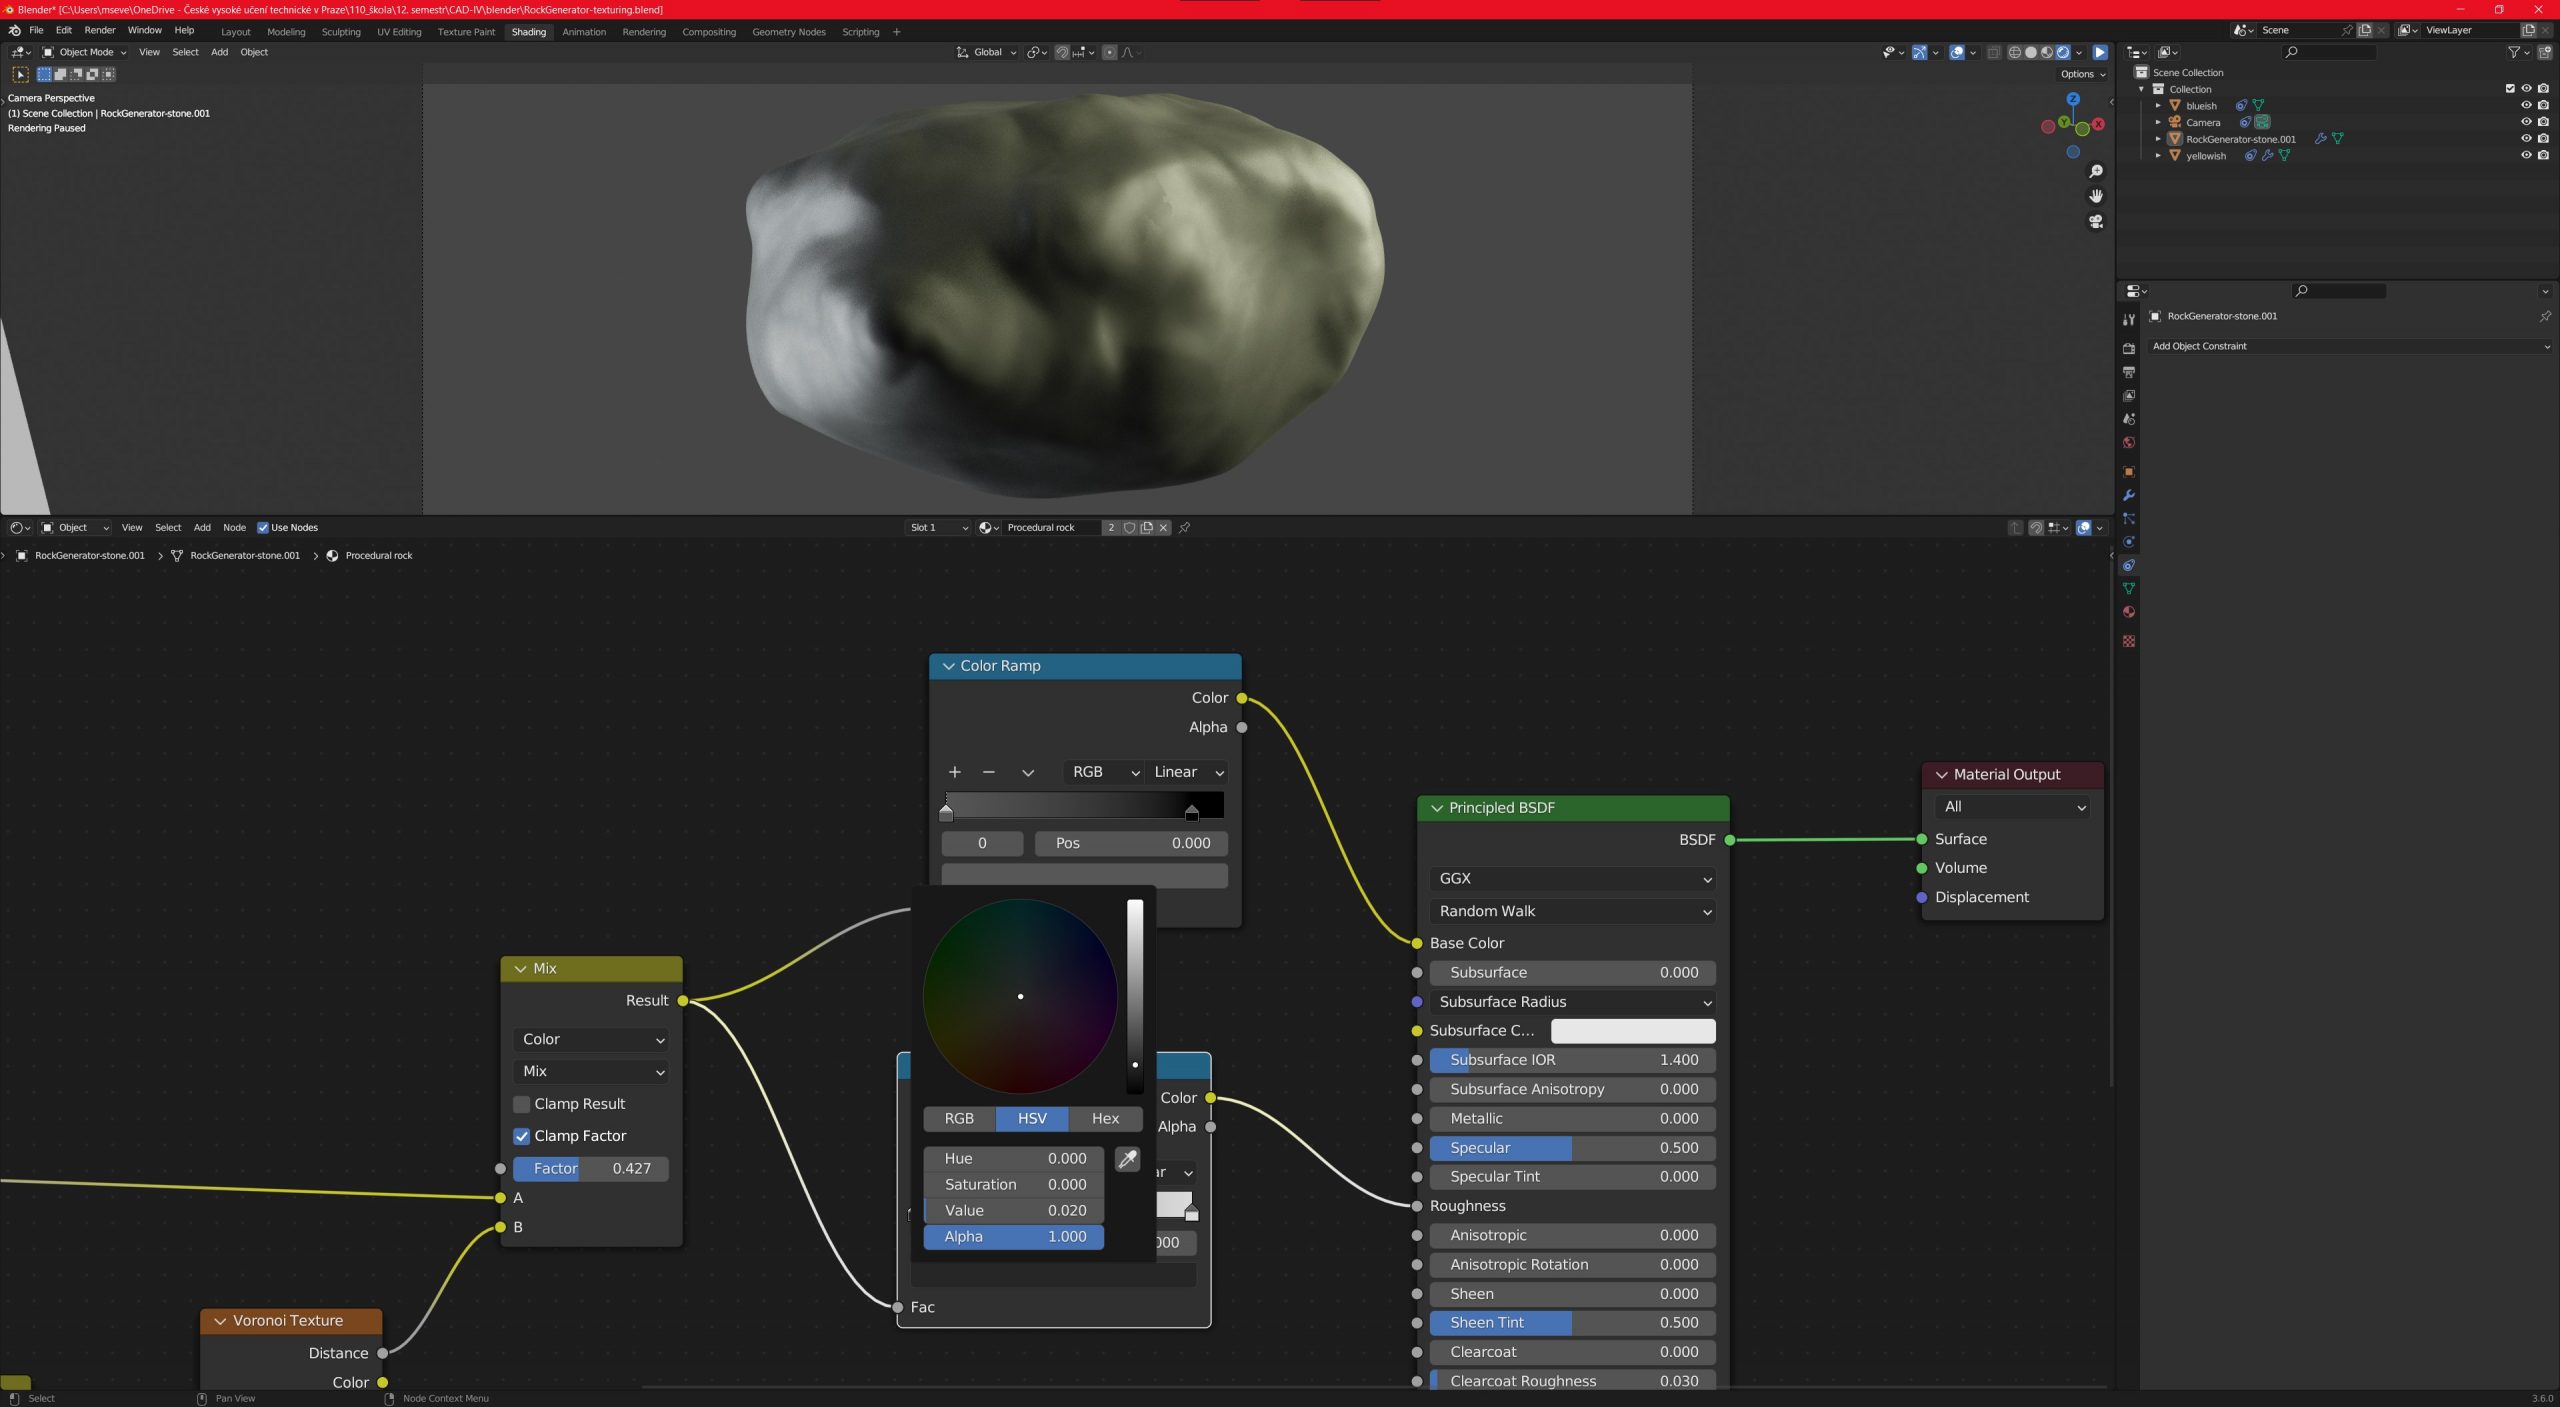
Color mixand color ramp We have to connect Color mix result with Color ramps. For the first one, we have to flip color ramp and make the white grey. Then connect it to Base color. Second Color ramp is tweaked on the white side a little bit. Black side is grey. This one connects to Roughness.
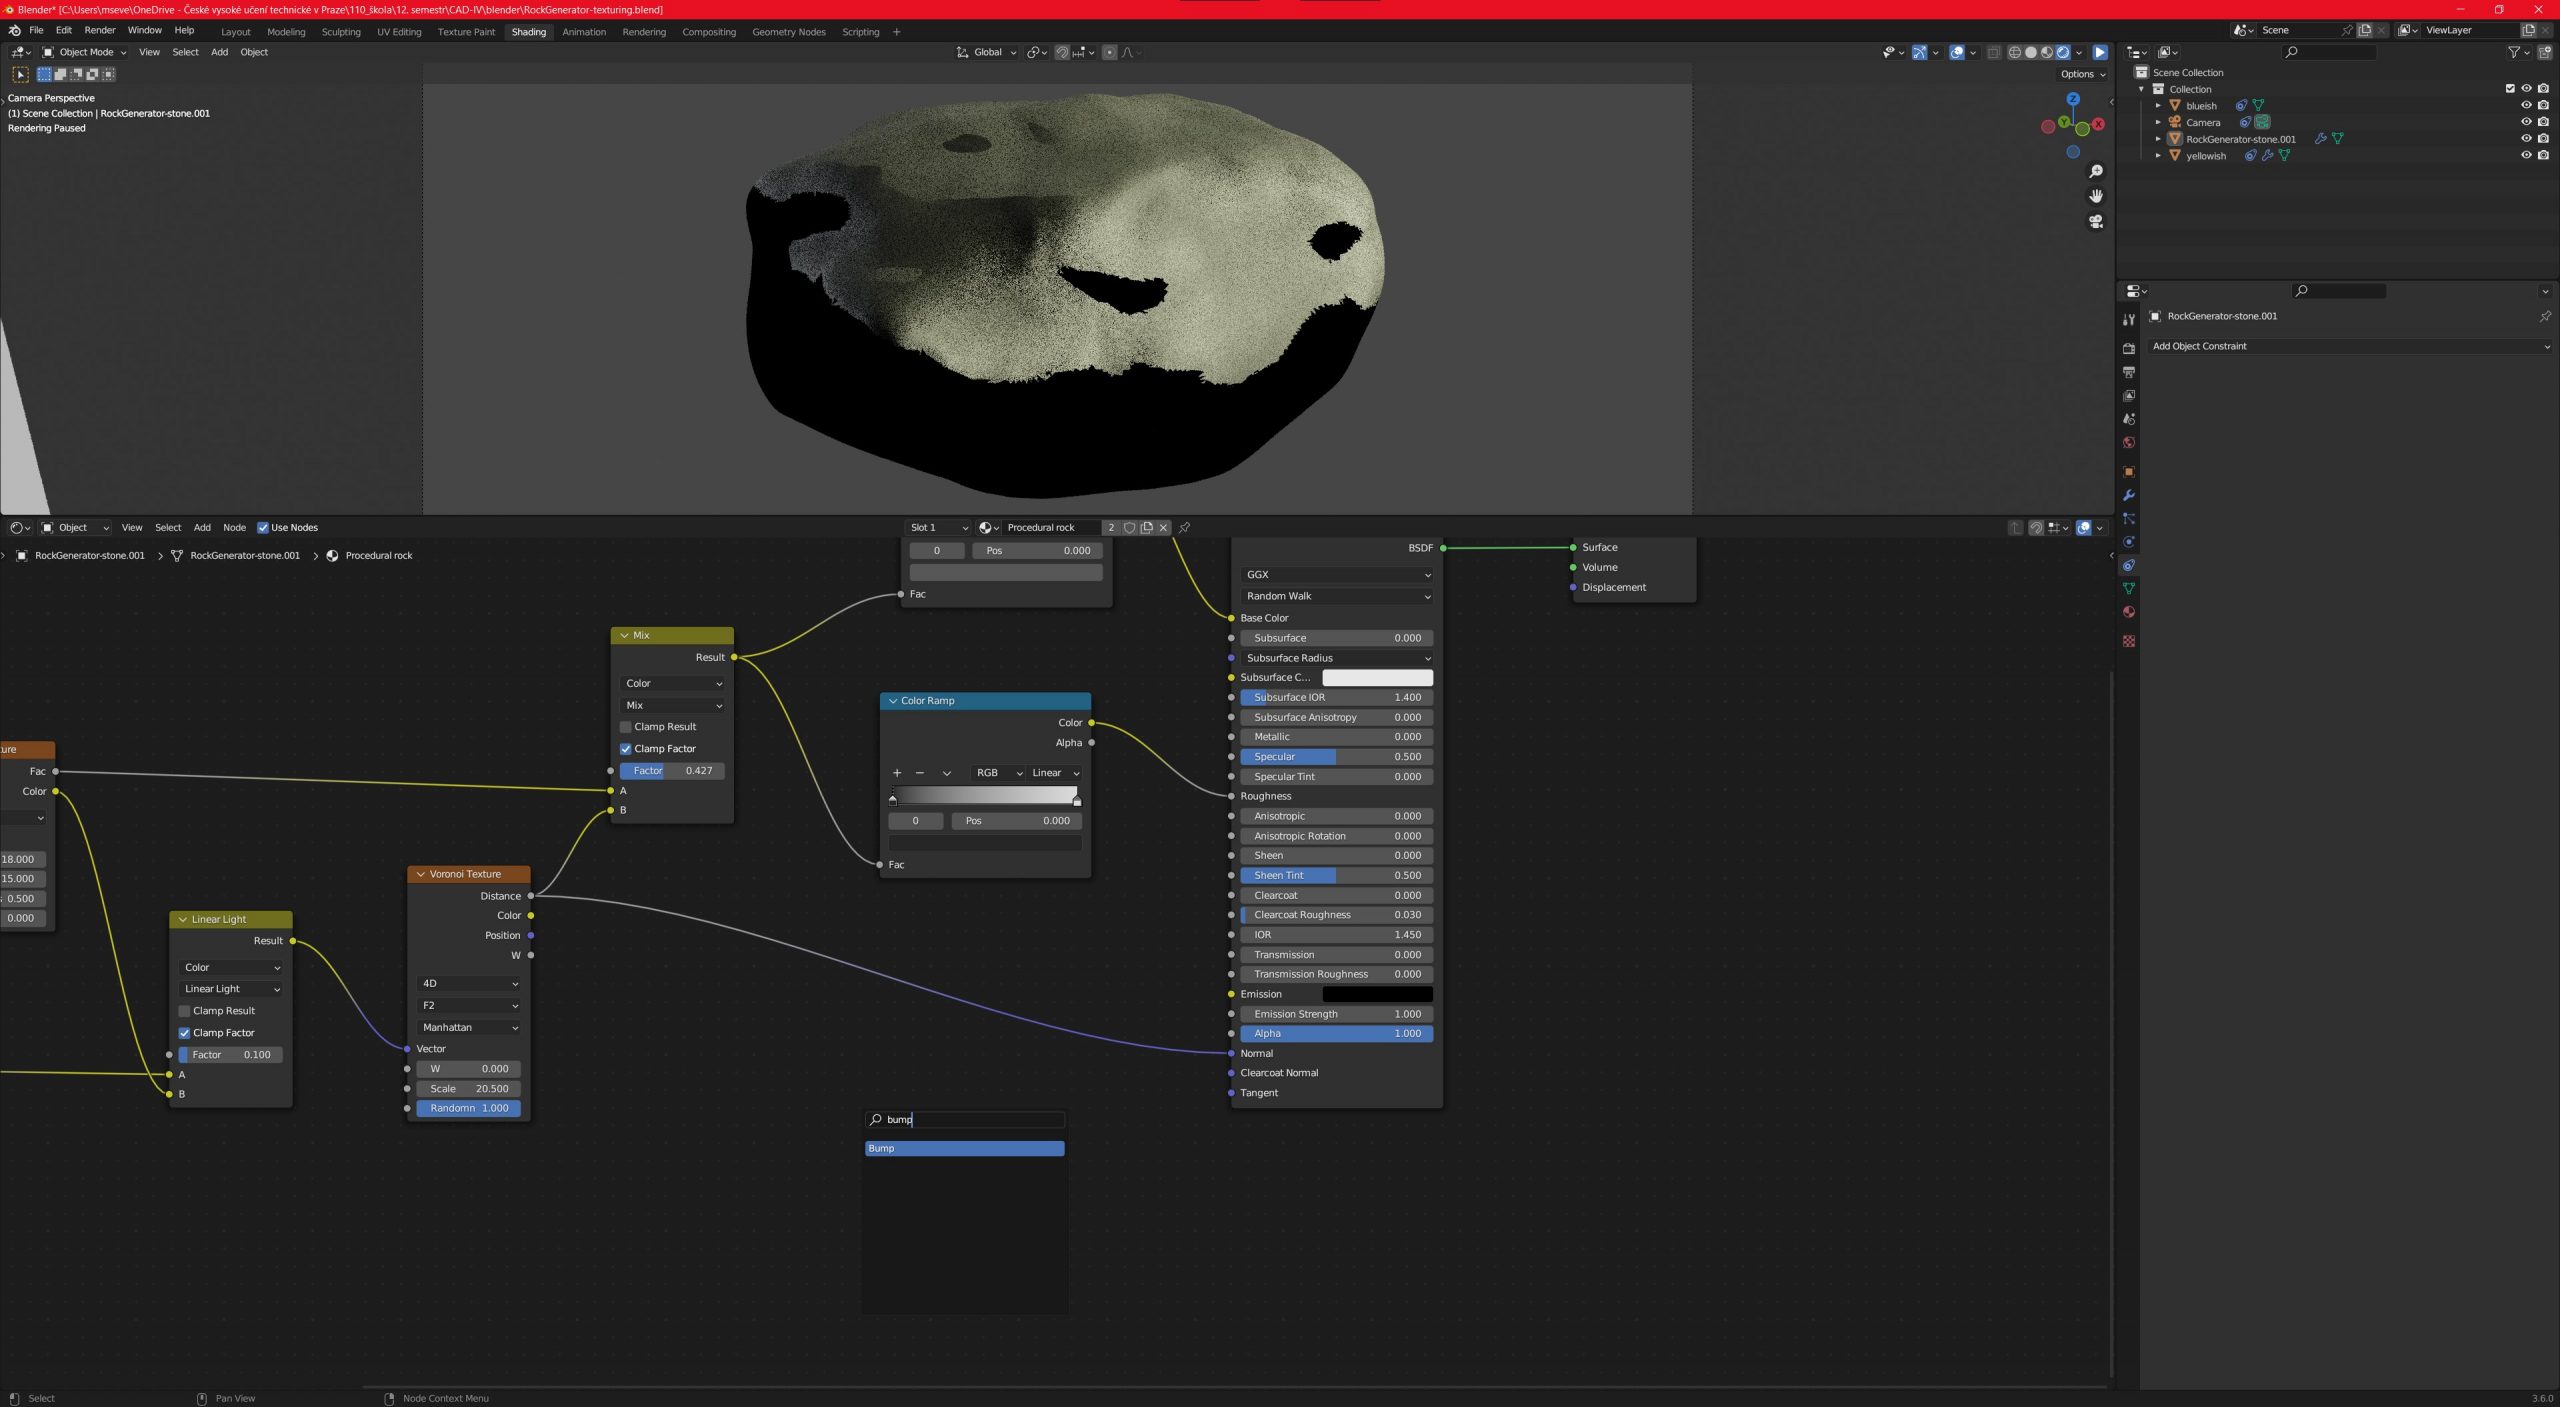
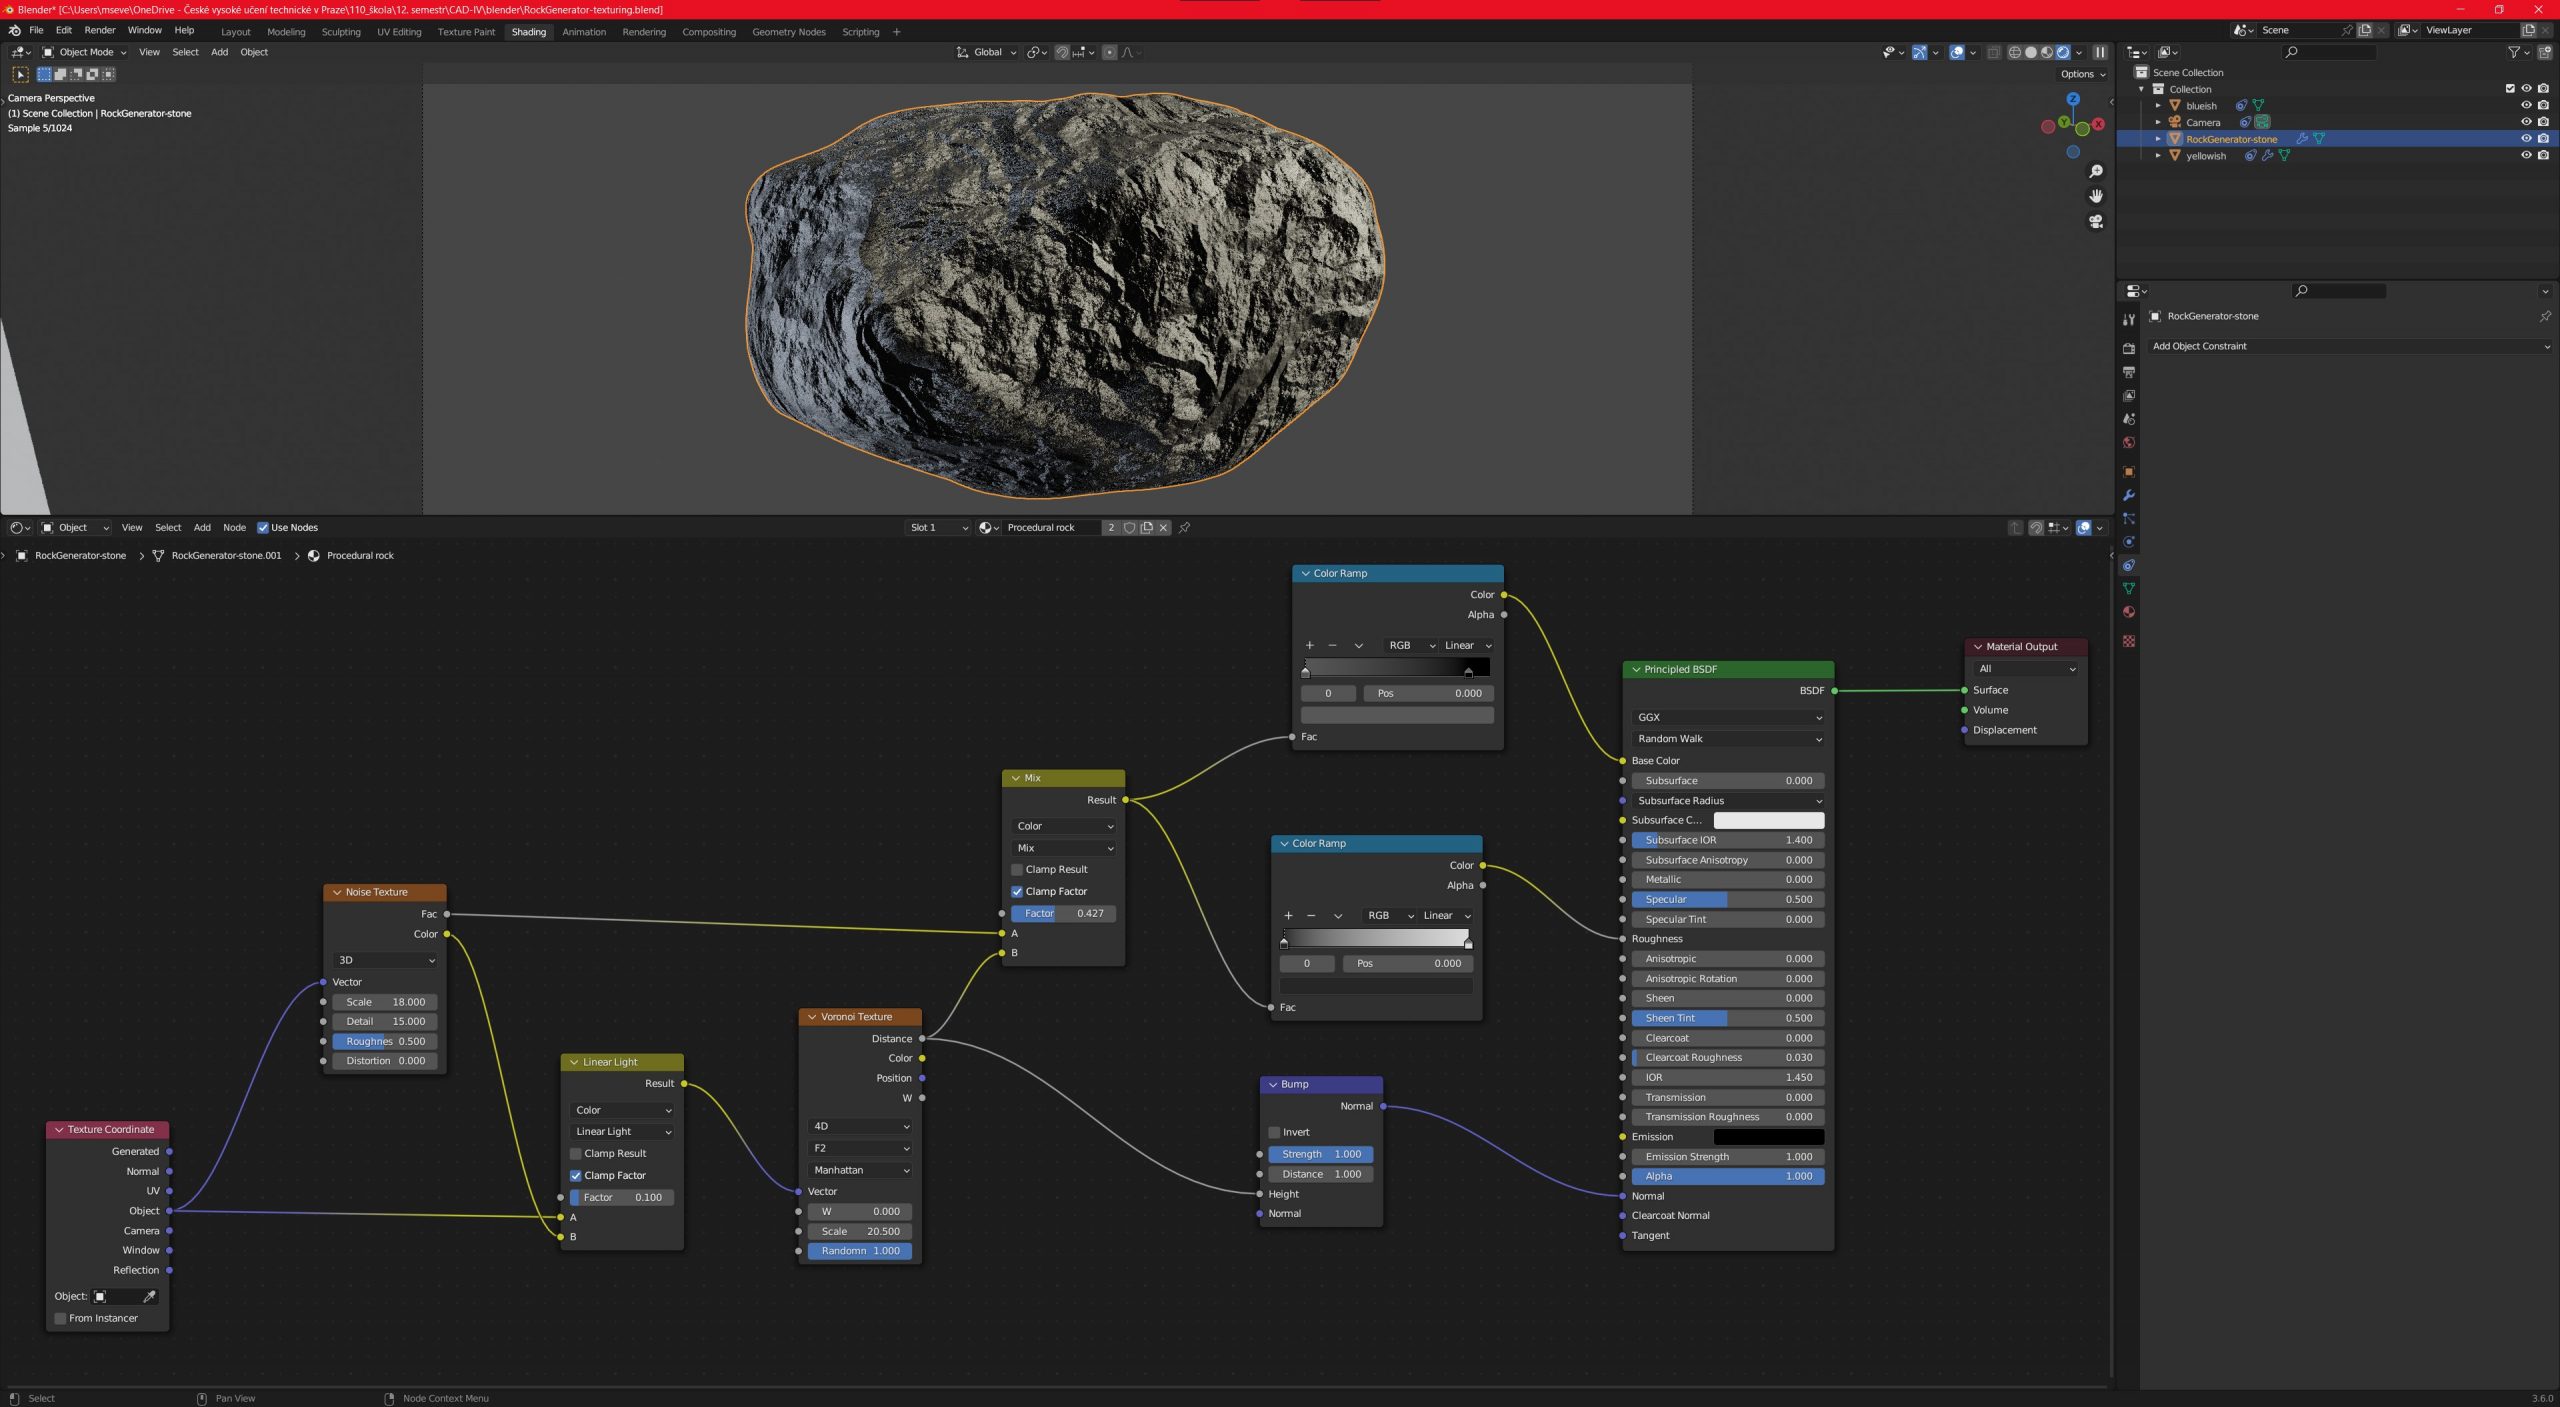
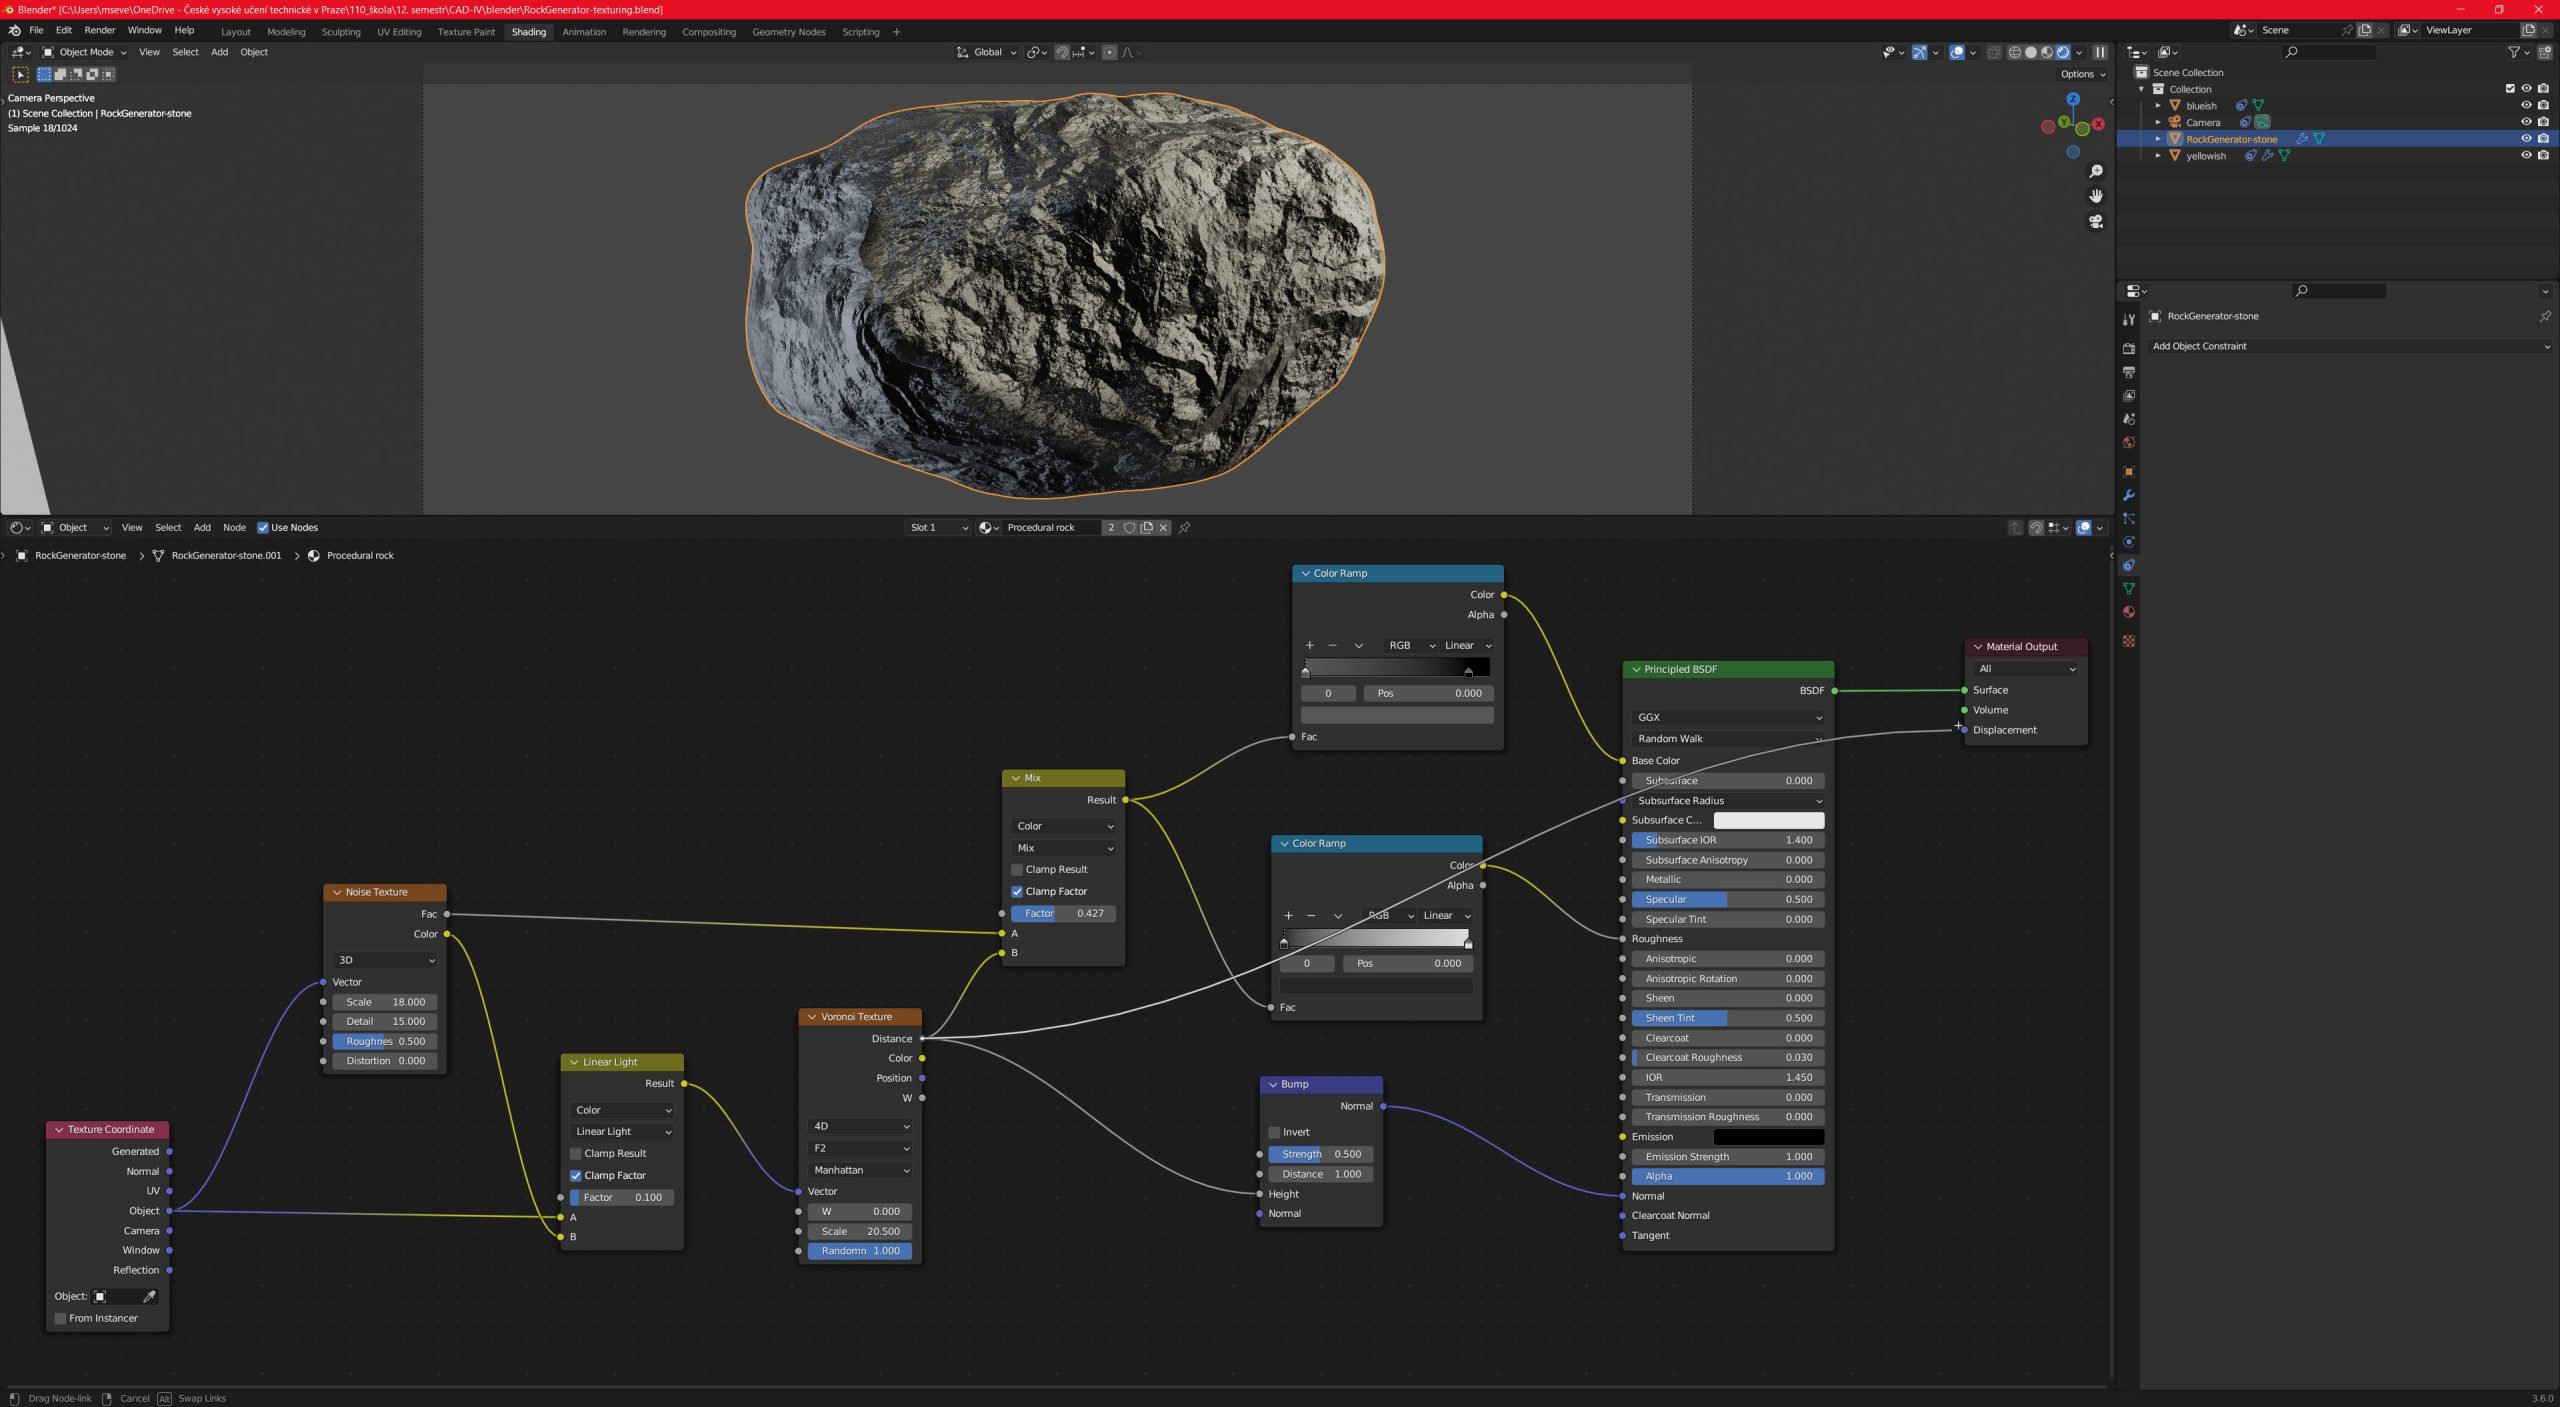
Bump map To show some depth in the texture, we add Bump map. It is placed between Voronoi texture and Normal.Strength is set to 0,3.
Displacement map To properly Displace the texture and show plasticity we have to work with Displacement. It is placed between Voronoi texture and Displacement node of Material output. Scale is set to 0,3
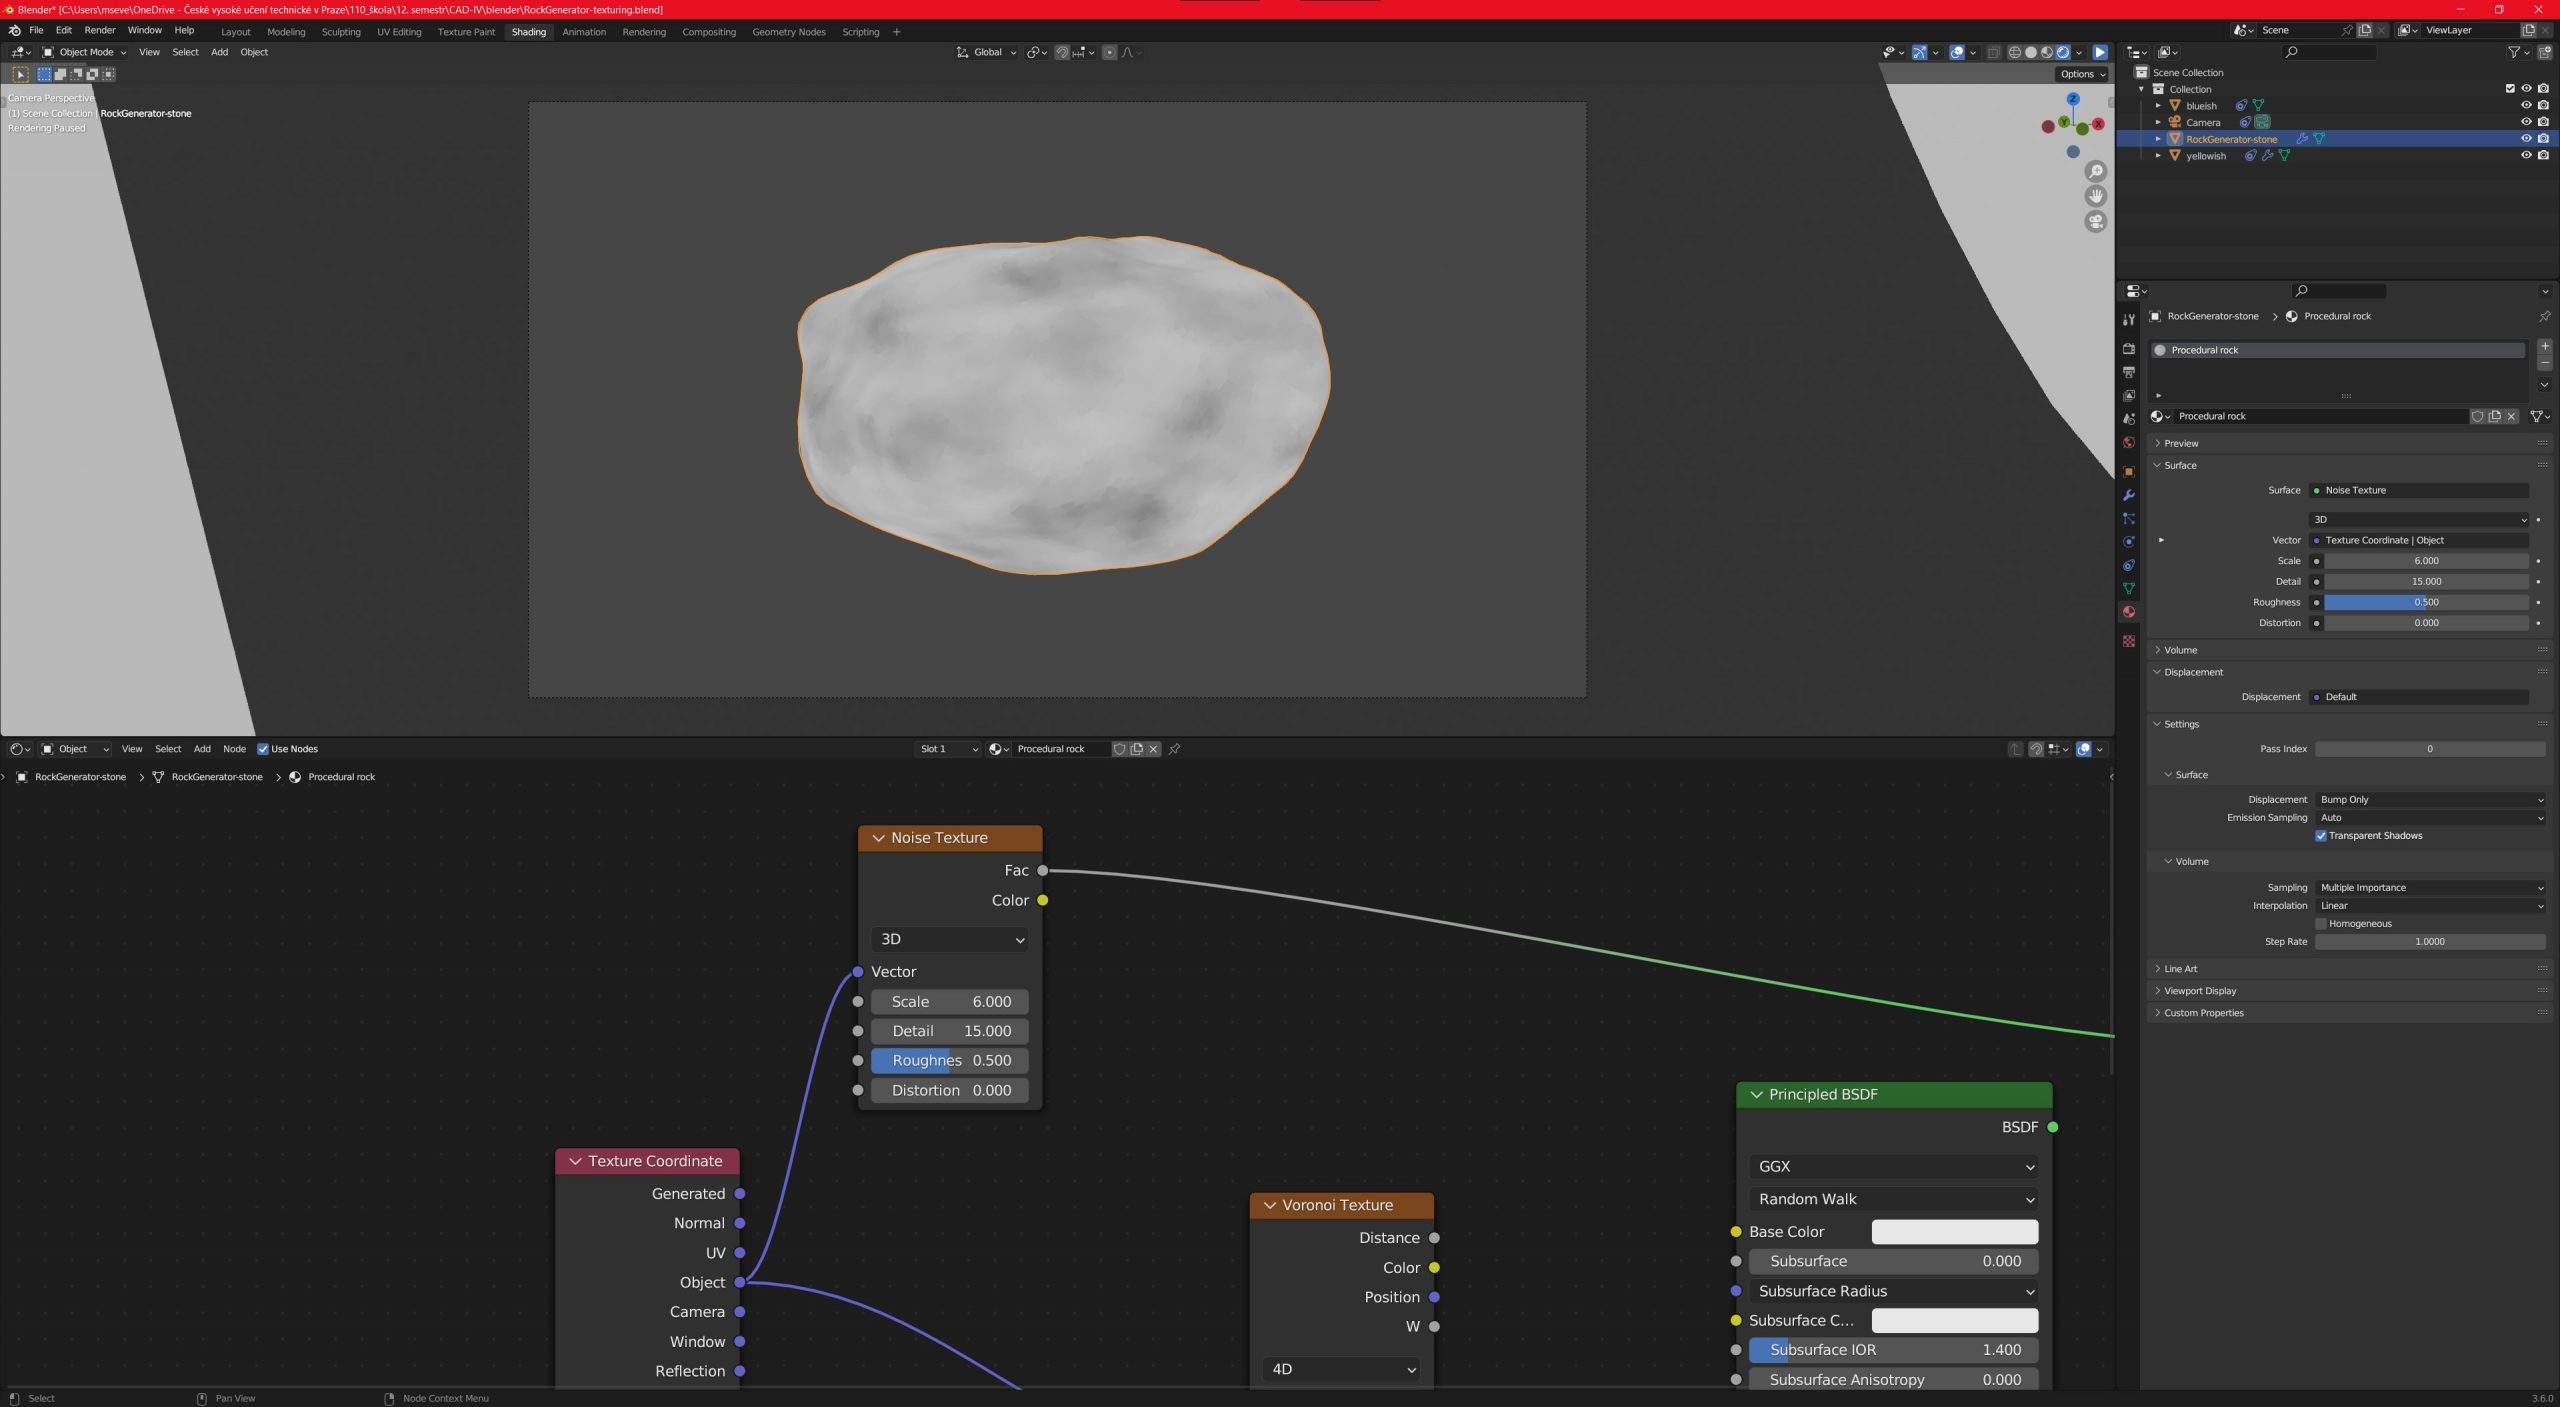
Final touches Final touches consist of tweaking the settings of each node. Scaling Noise and Voronoi texture helps us achieve proper roughness. Color ramp ensure the color of the stone itself. Bump and displacement are standing for depth of the creases.
It takes some time to find the perfect settings for our use case.
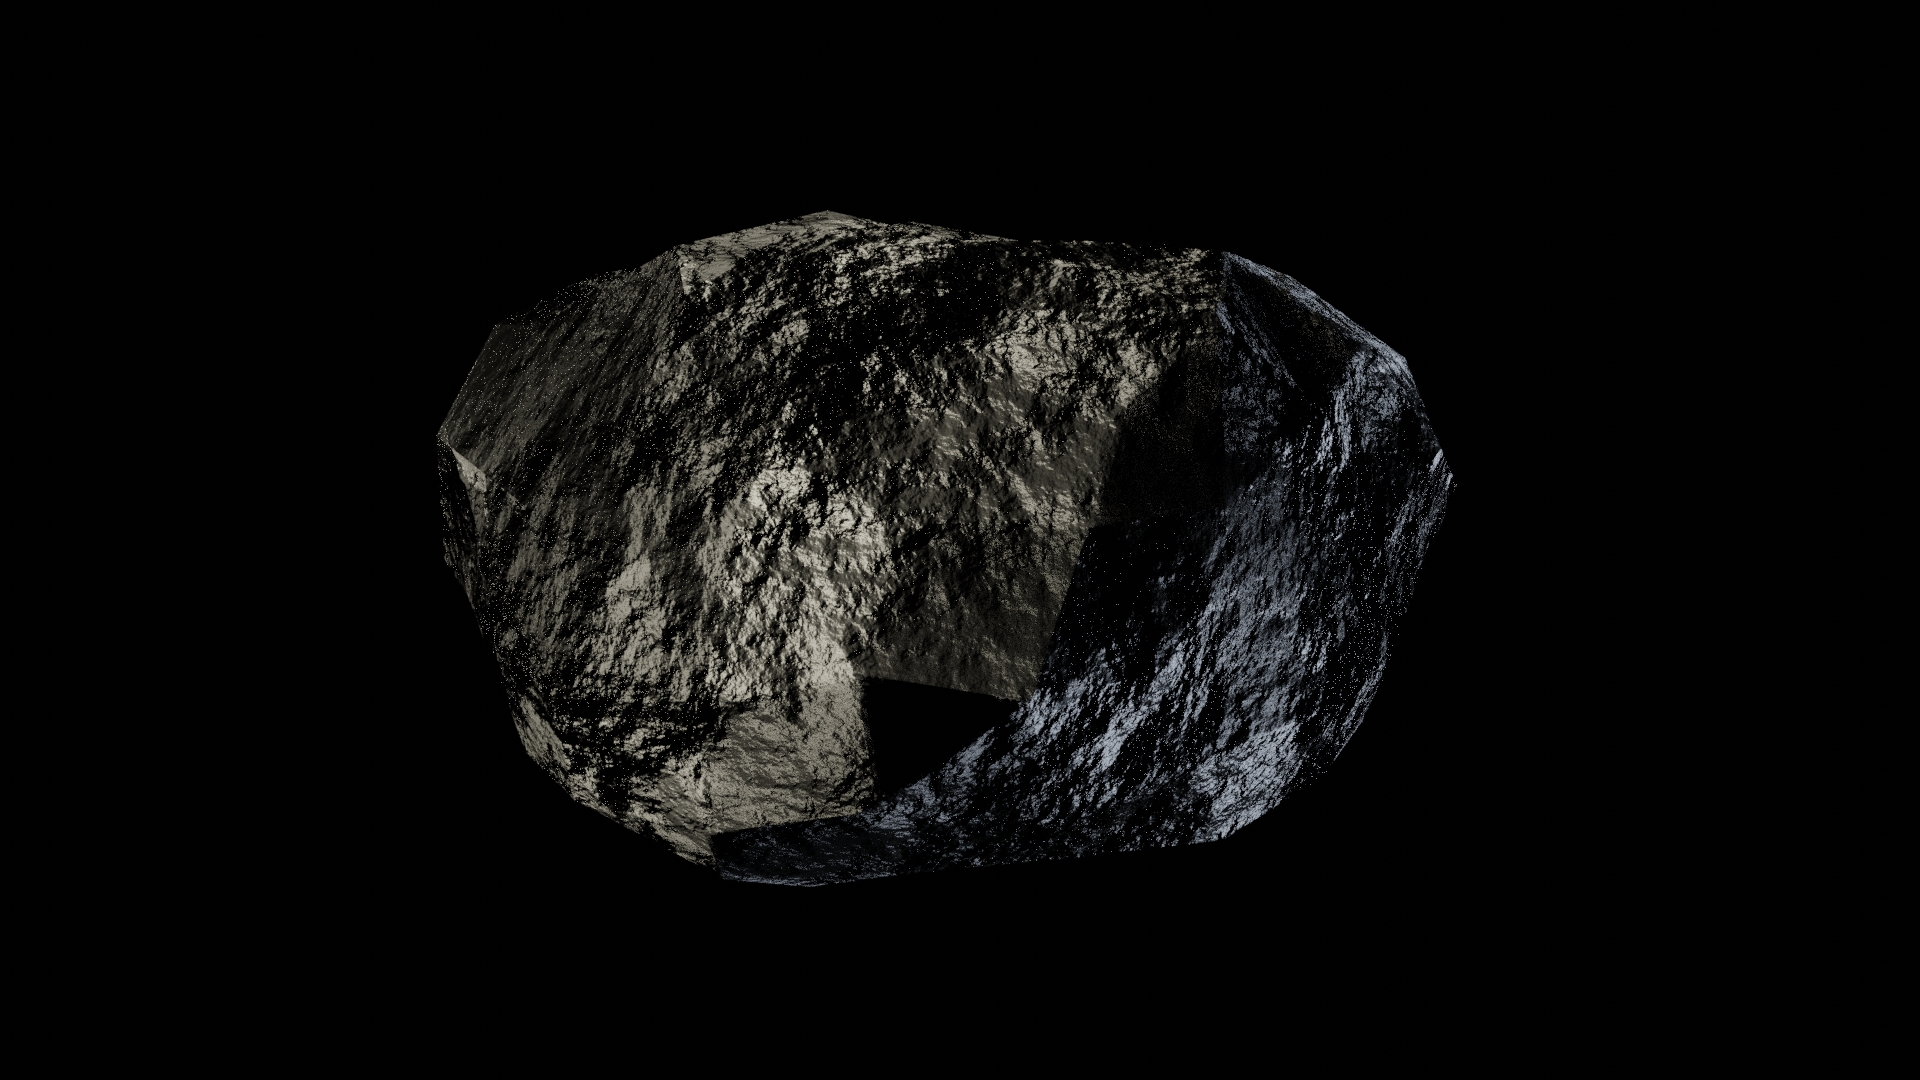
I’m adding a gallery with screenshots of the process of creating the texture and also of the setting of Blender itself.
Final assessment | As a novice user of Blender, I find a big potential in it. Thanks to the fact, that it is open source, the community behind it can make whatever they can think of. Also, all the possibilities with modelling and rendering together seem awesome to me.
As far as my work goes I think there are some things, that can be done better.
Grasshopper script is not complicated, but it can be sluggish so some tweaking could be done, especially with “roundness”. It is the slowest node of the whole script, otherwise, everything seems pretty quick.
I thought about Blender just for rendering the geometry, thinking, that it would be harder to make the geometry inside Blender (because I don’t know how to use it). Oh boy, how wrong I was :D. There is already a built-in rock generator (-: So the next level is to use the built-in rock generator. It uses a different strategy. It takes basic geometry (like a cube) and then shapes it with modifiers into a final look. It’s not making it from scratch how I approached it in Grasshopper.
Setting the right amount of triangles of the geometry is crucial for the final look. Too little triangles -> rendered stone will be too rough and probably unreal-looking. Too many triangles and the stone will be too smooth and again unreal-looking. So it would be nice to have better knowledge of how many triangles are optimal.
For real-life usage, we could implement some scatter function to grasshopper to scatter random stones around some path or area. For the creation of a decorative rock garden, it would be nice.
Thank you if you read the tutorial this far down, it was nice to try something different than modelling buildings and made me to think a little bit out of the box and to learn a few new tricks.