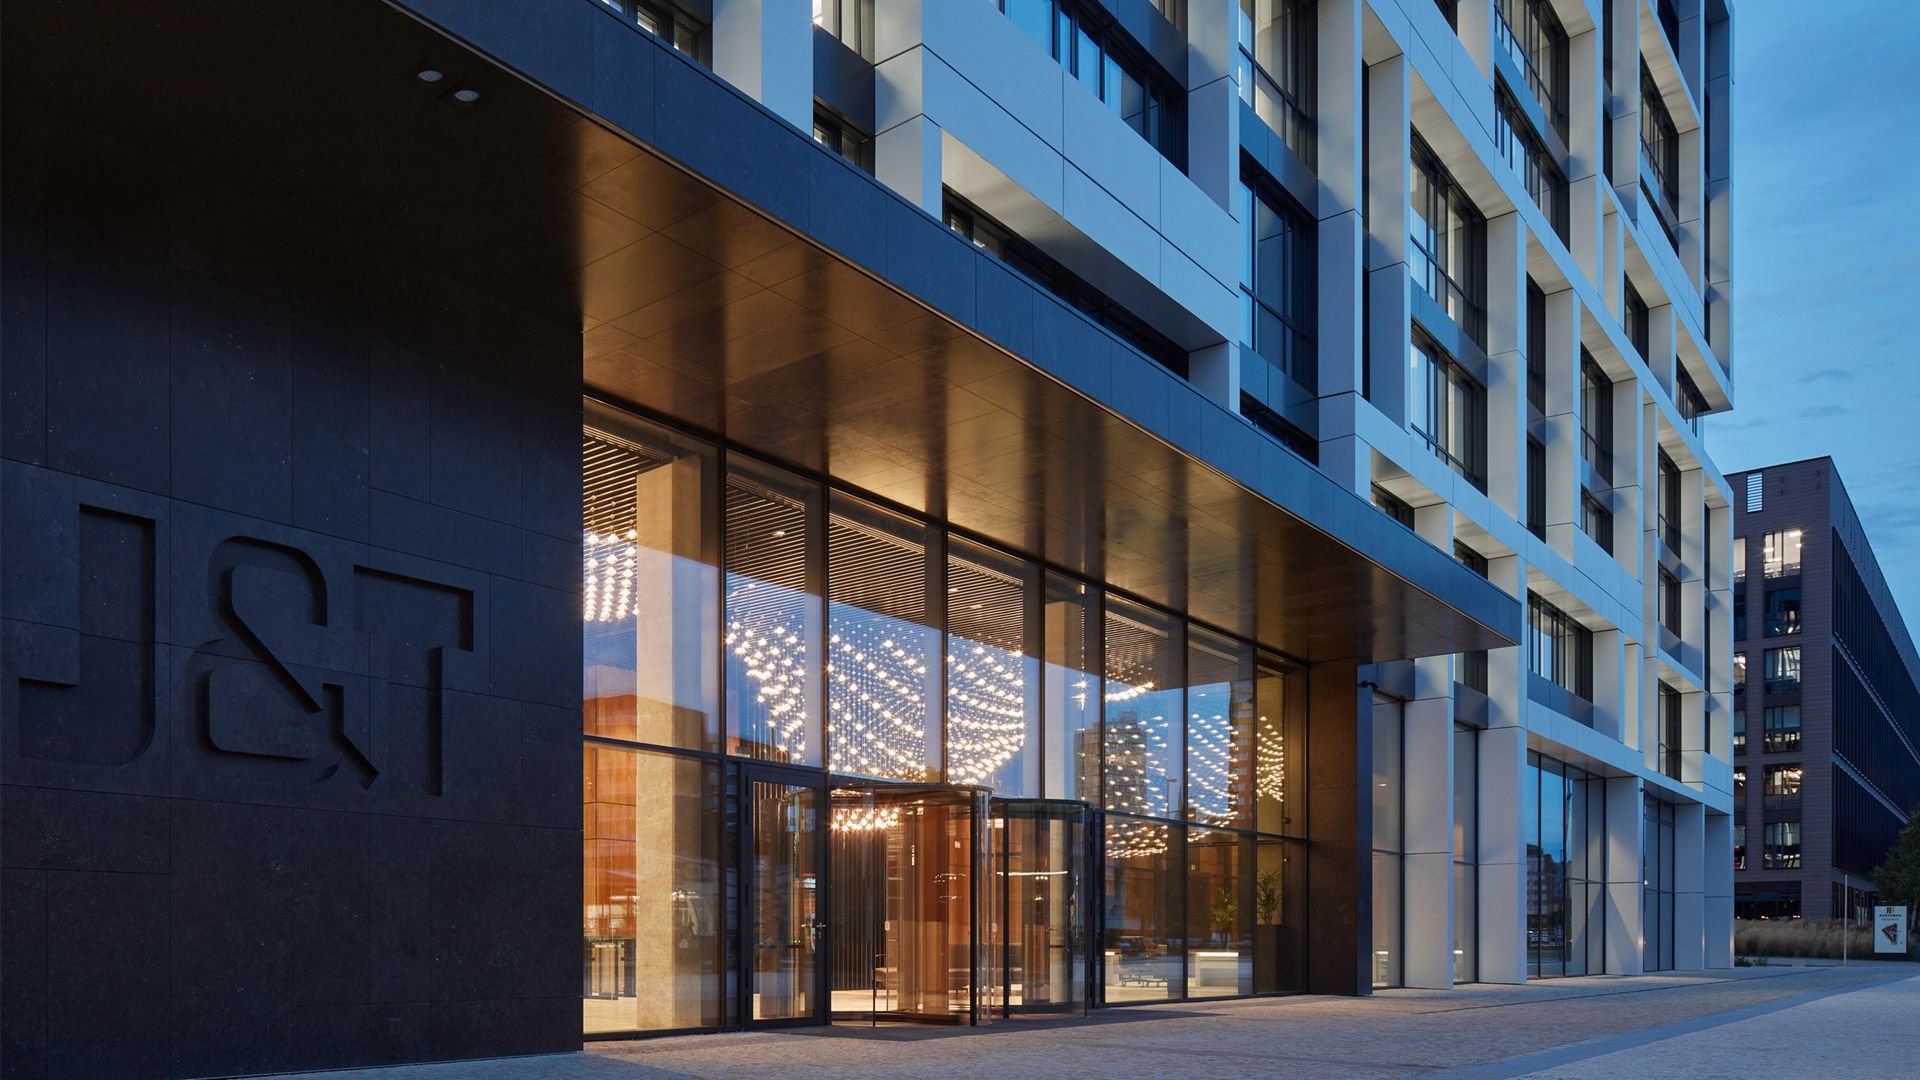
MAIN IDEA
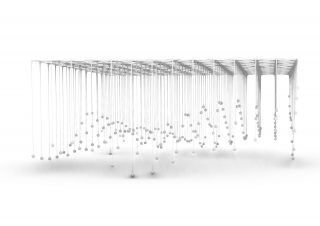
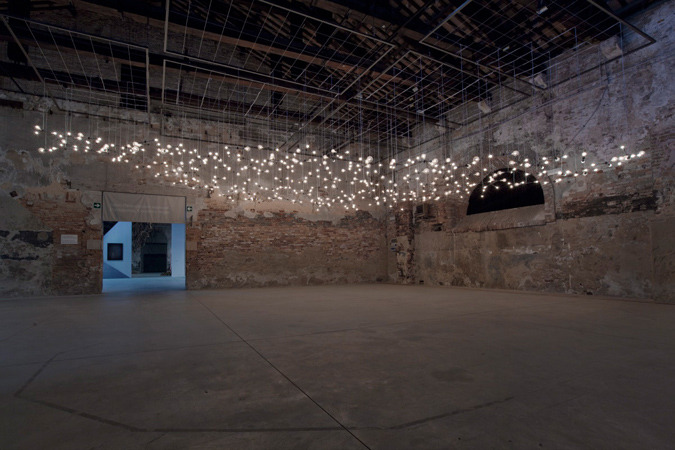
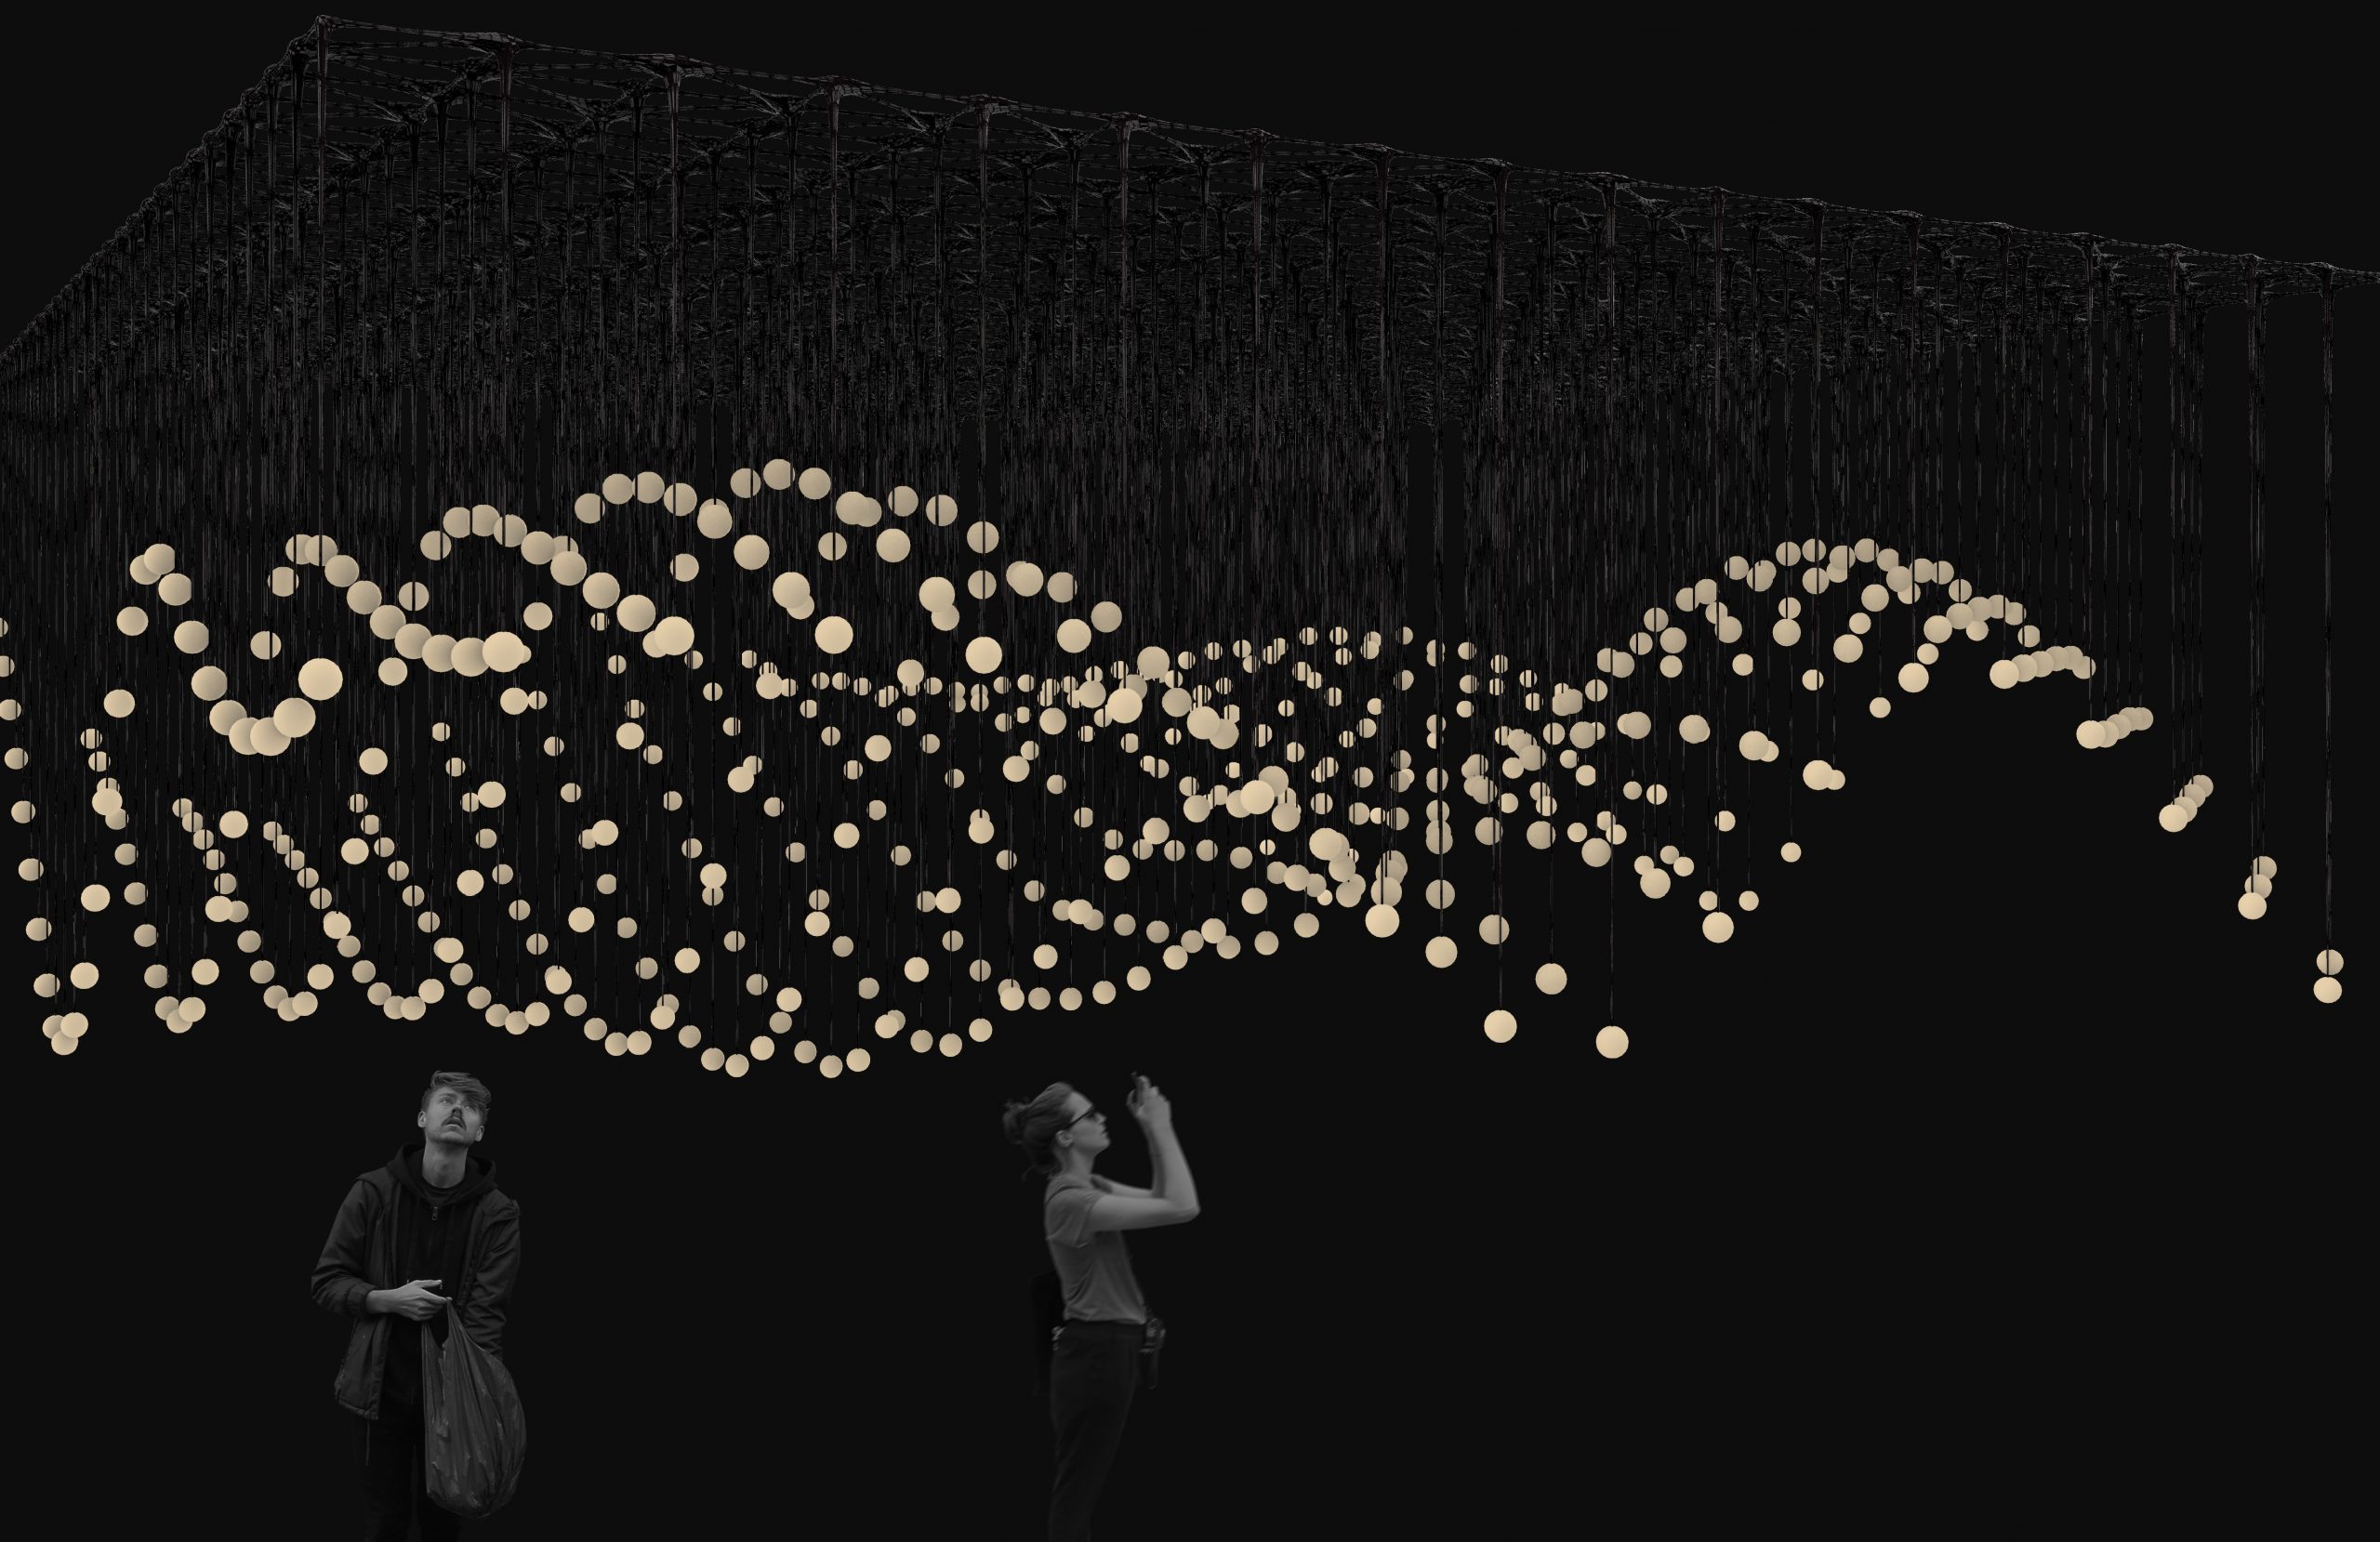
My idea was to create a suspended light system that can be capable of navigating in large halls or galleries, creating unique art installation by adjustable parameters of its soft vaults and arches. These lights not only function as artistic pieces but also contribute to enhancing the overall ambiance of their surroundings. The dynamic moving system is specifically crafted to evoke a feeling of a starry rainfall. The primary inspiration for this project is the hallway light installation at J&T Bank in Invalidovna, Prague.
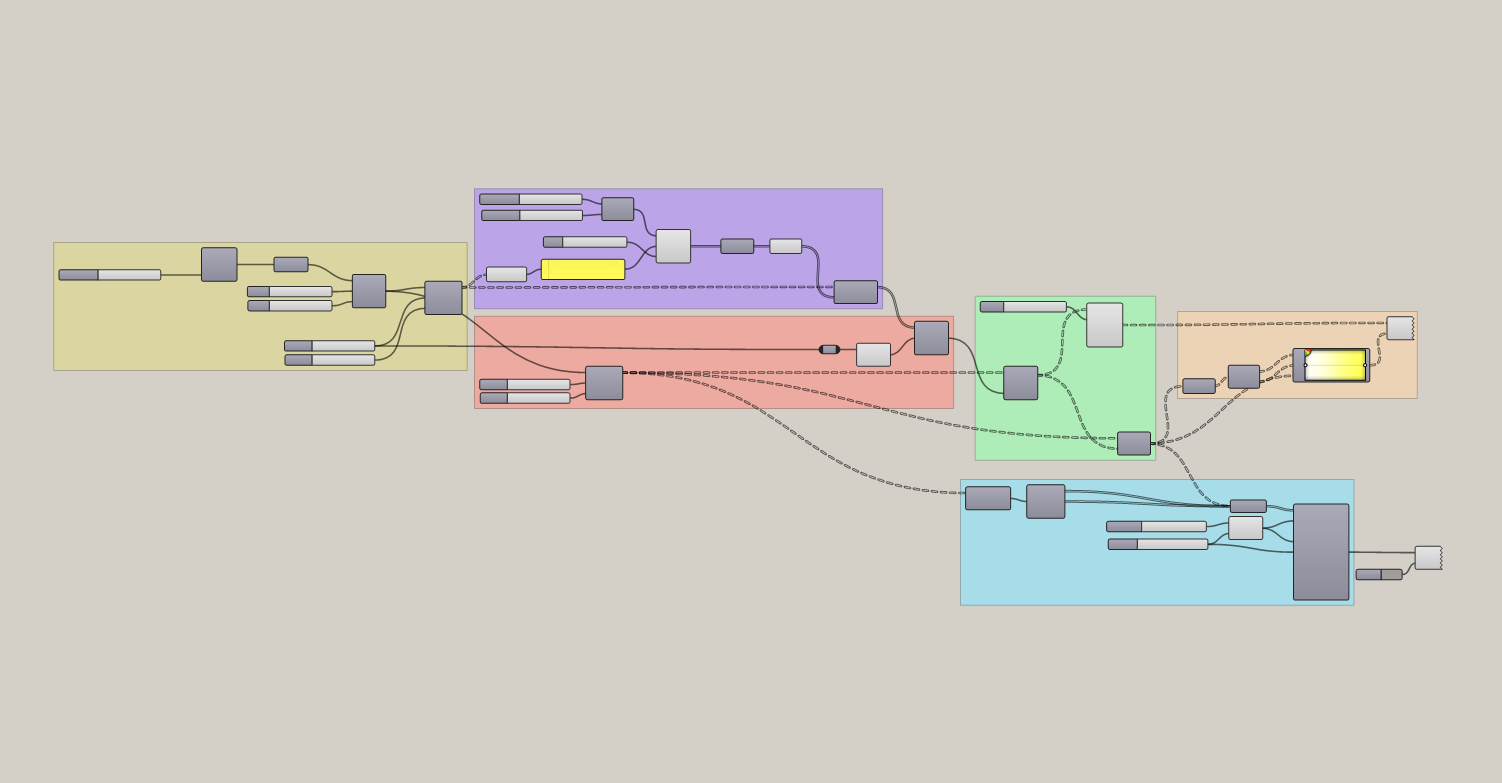
TUTORIAL
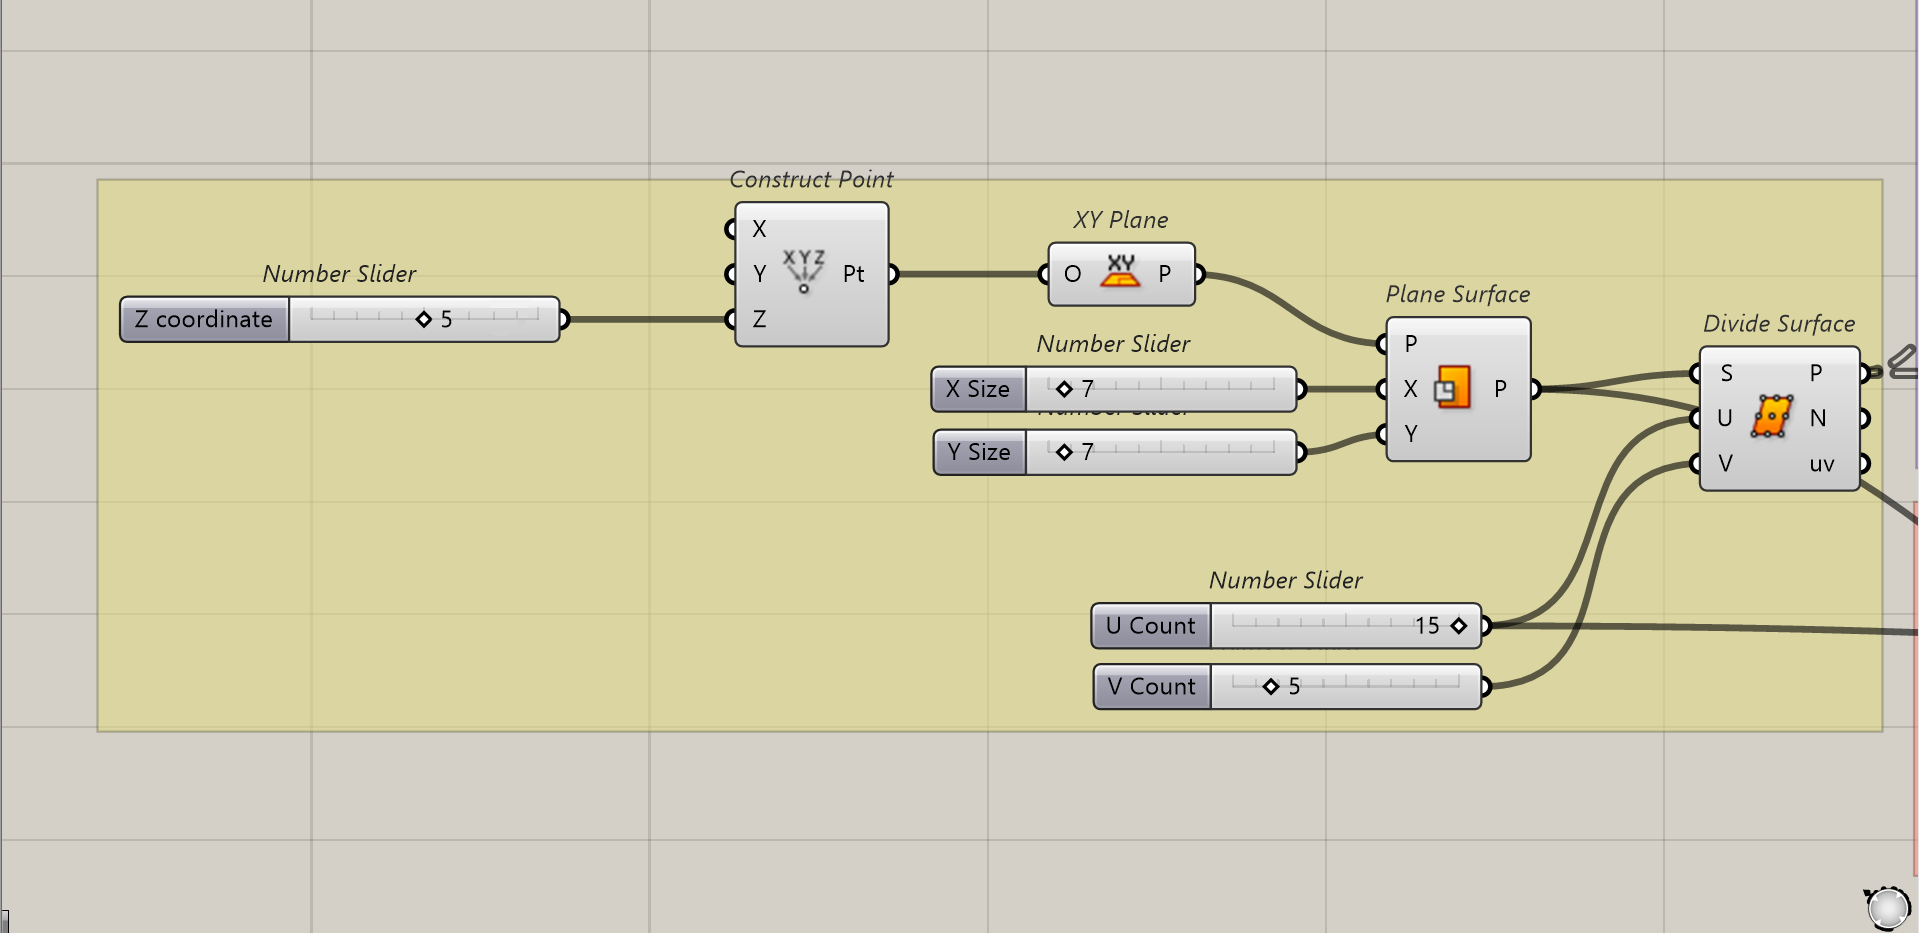
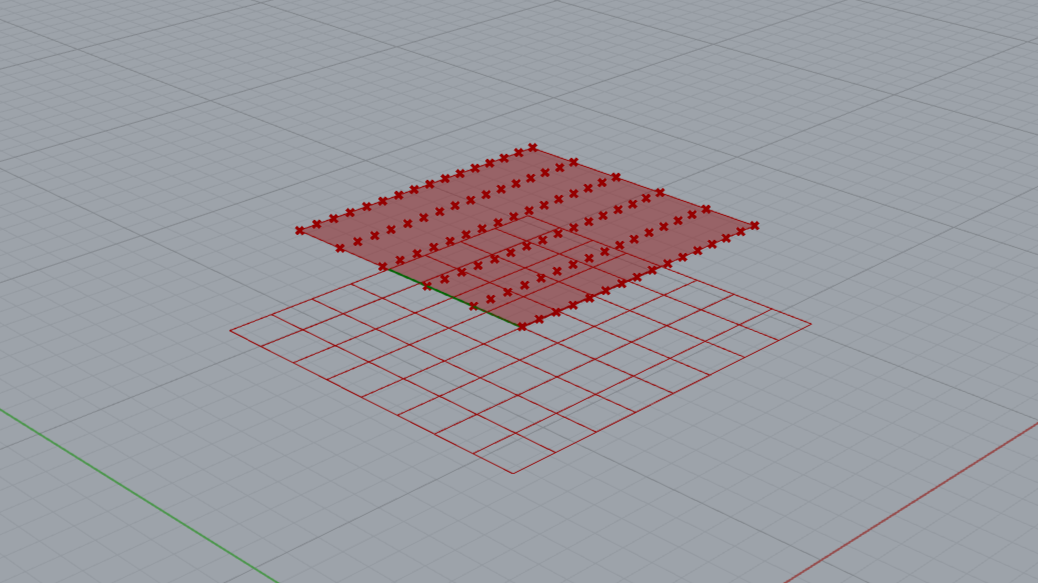
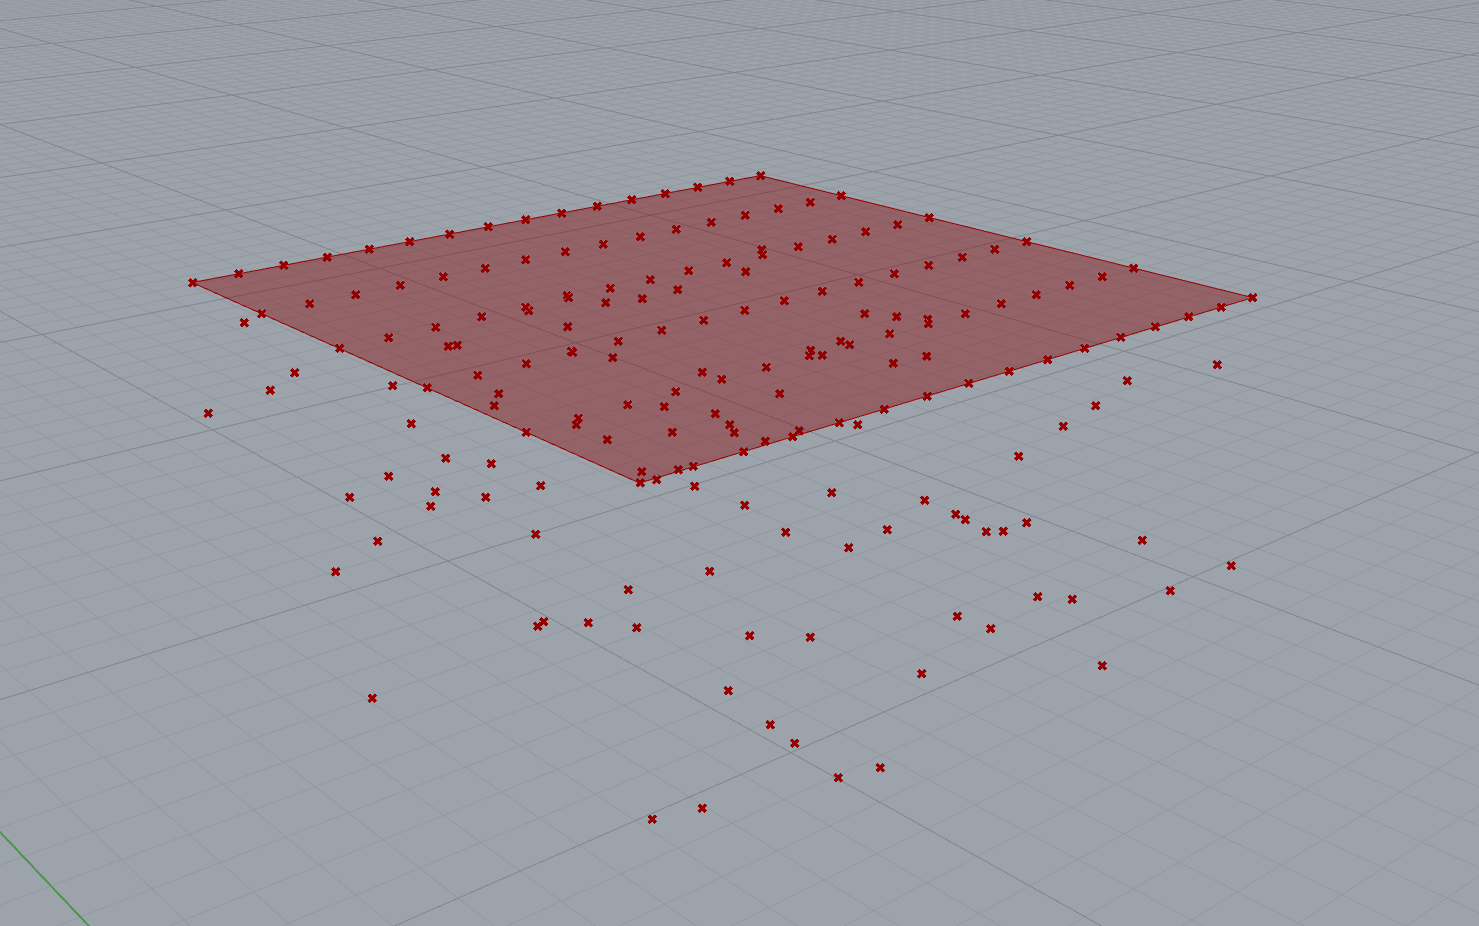
- STEP – Surface Division
First, establish a base surface in the xy-plane, situated at a specified distance from the origin plane. Determine the size of the base surface, which can be modified using two parameters. In my proposal, I have designed a square with equal side lengths of 7 meters, but the size can be adjusted to a rectangle through number sliders. Create divisions on the surface using U and V counts, allowing for the creation of periodic or unconventional light wave rhythms.
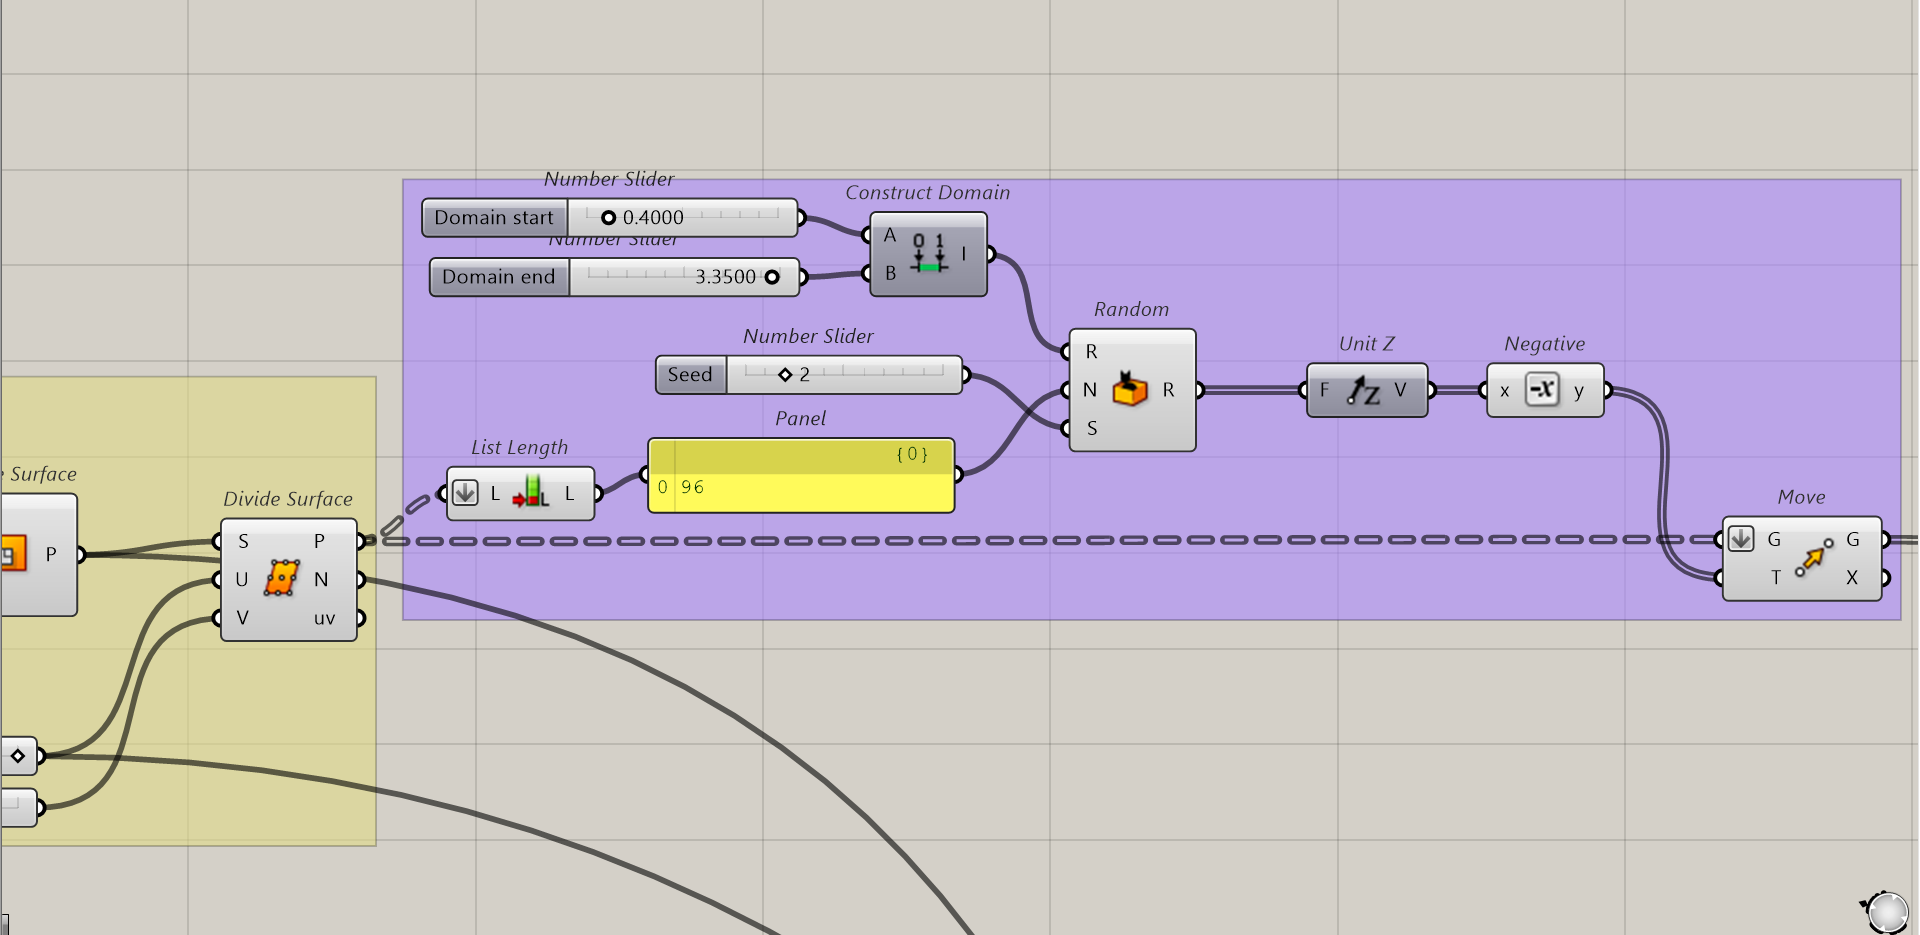
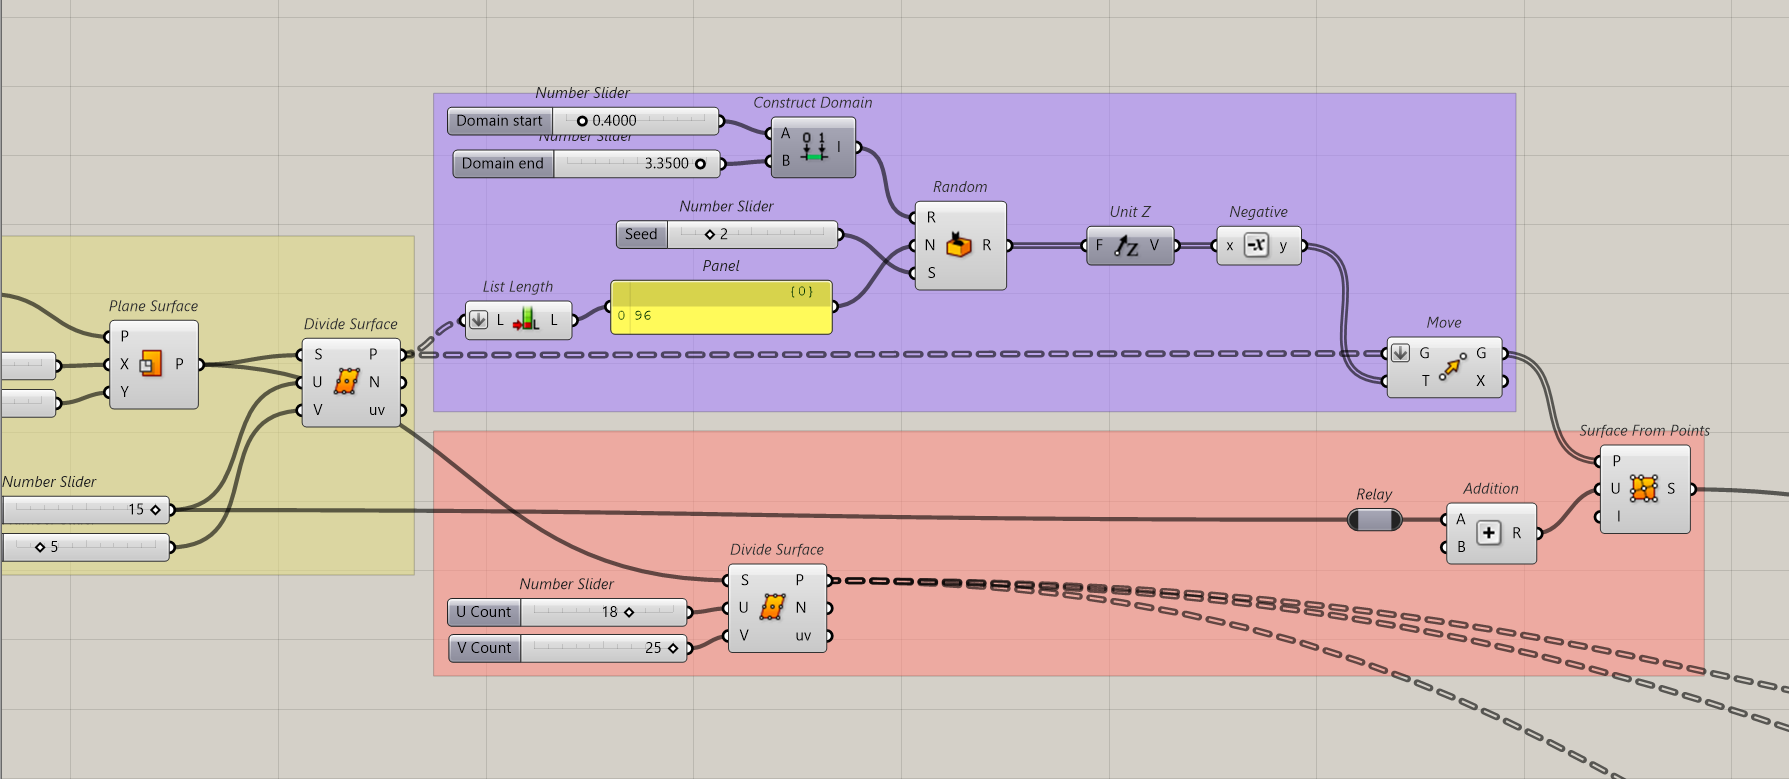
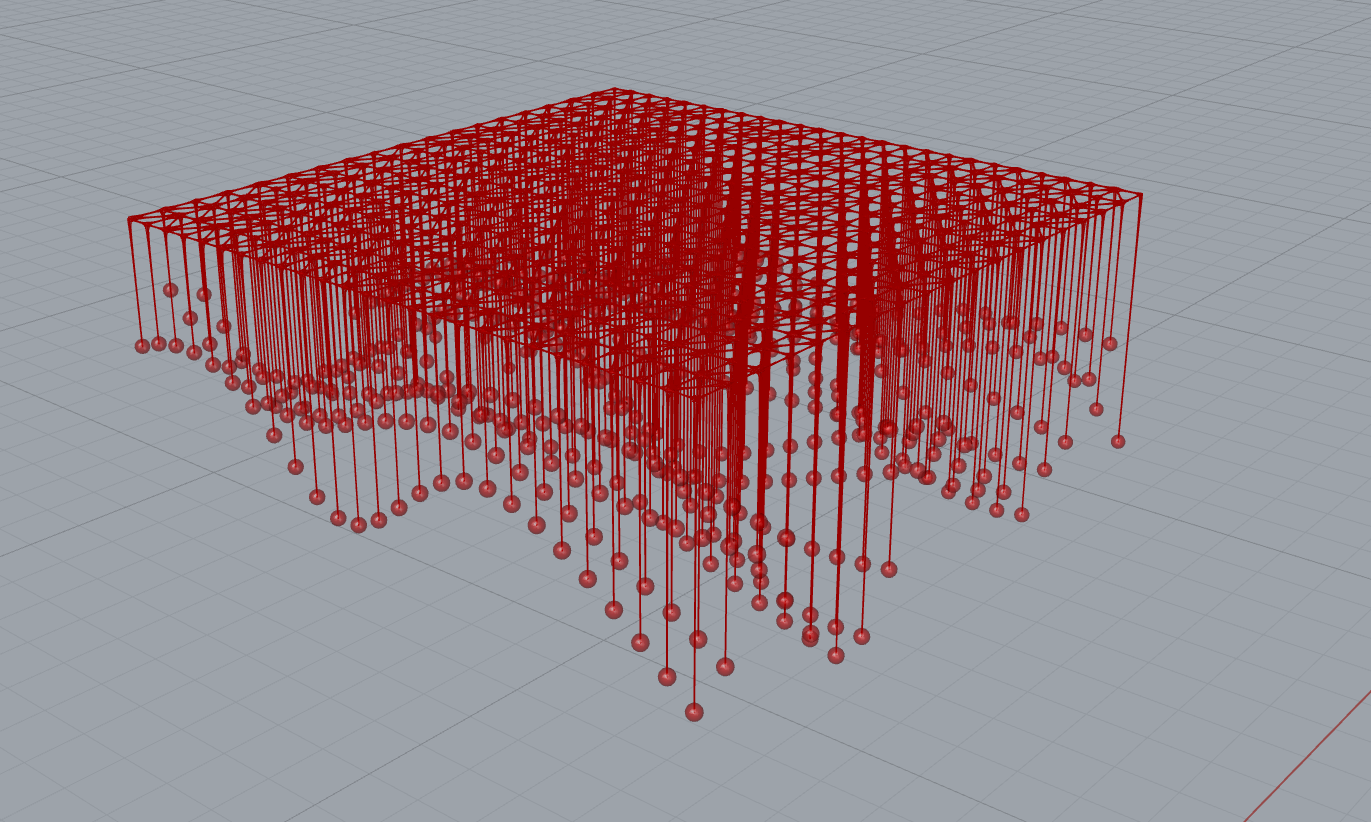
2. STEP – Relocate points
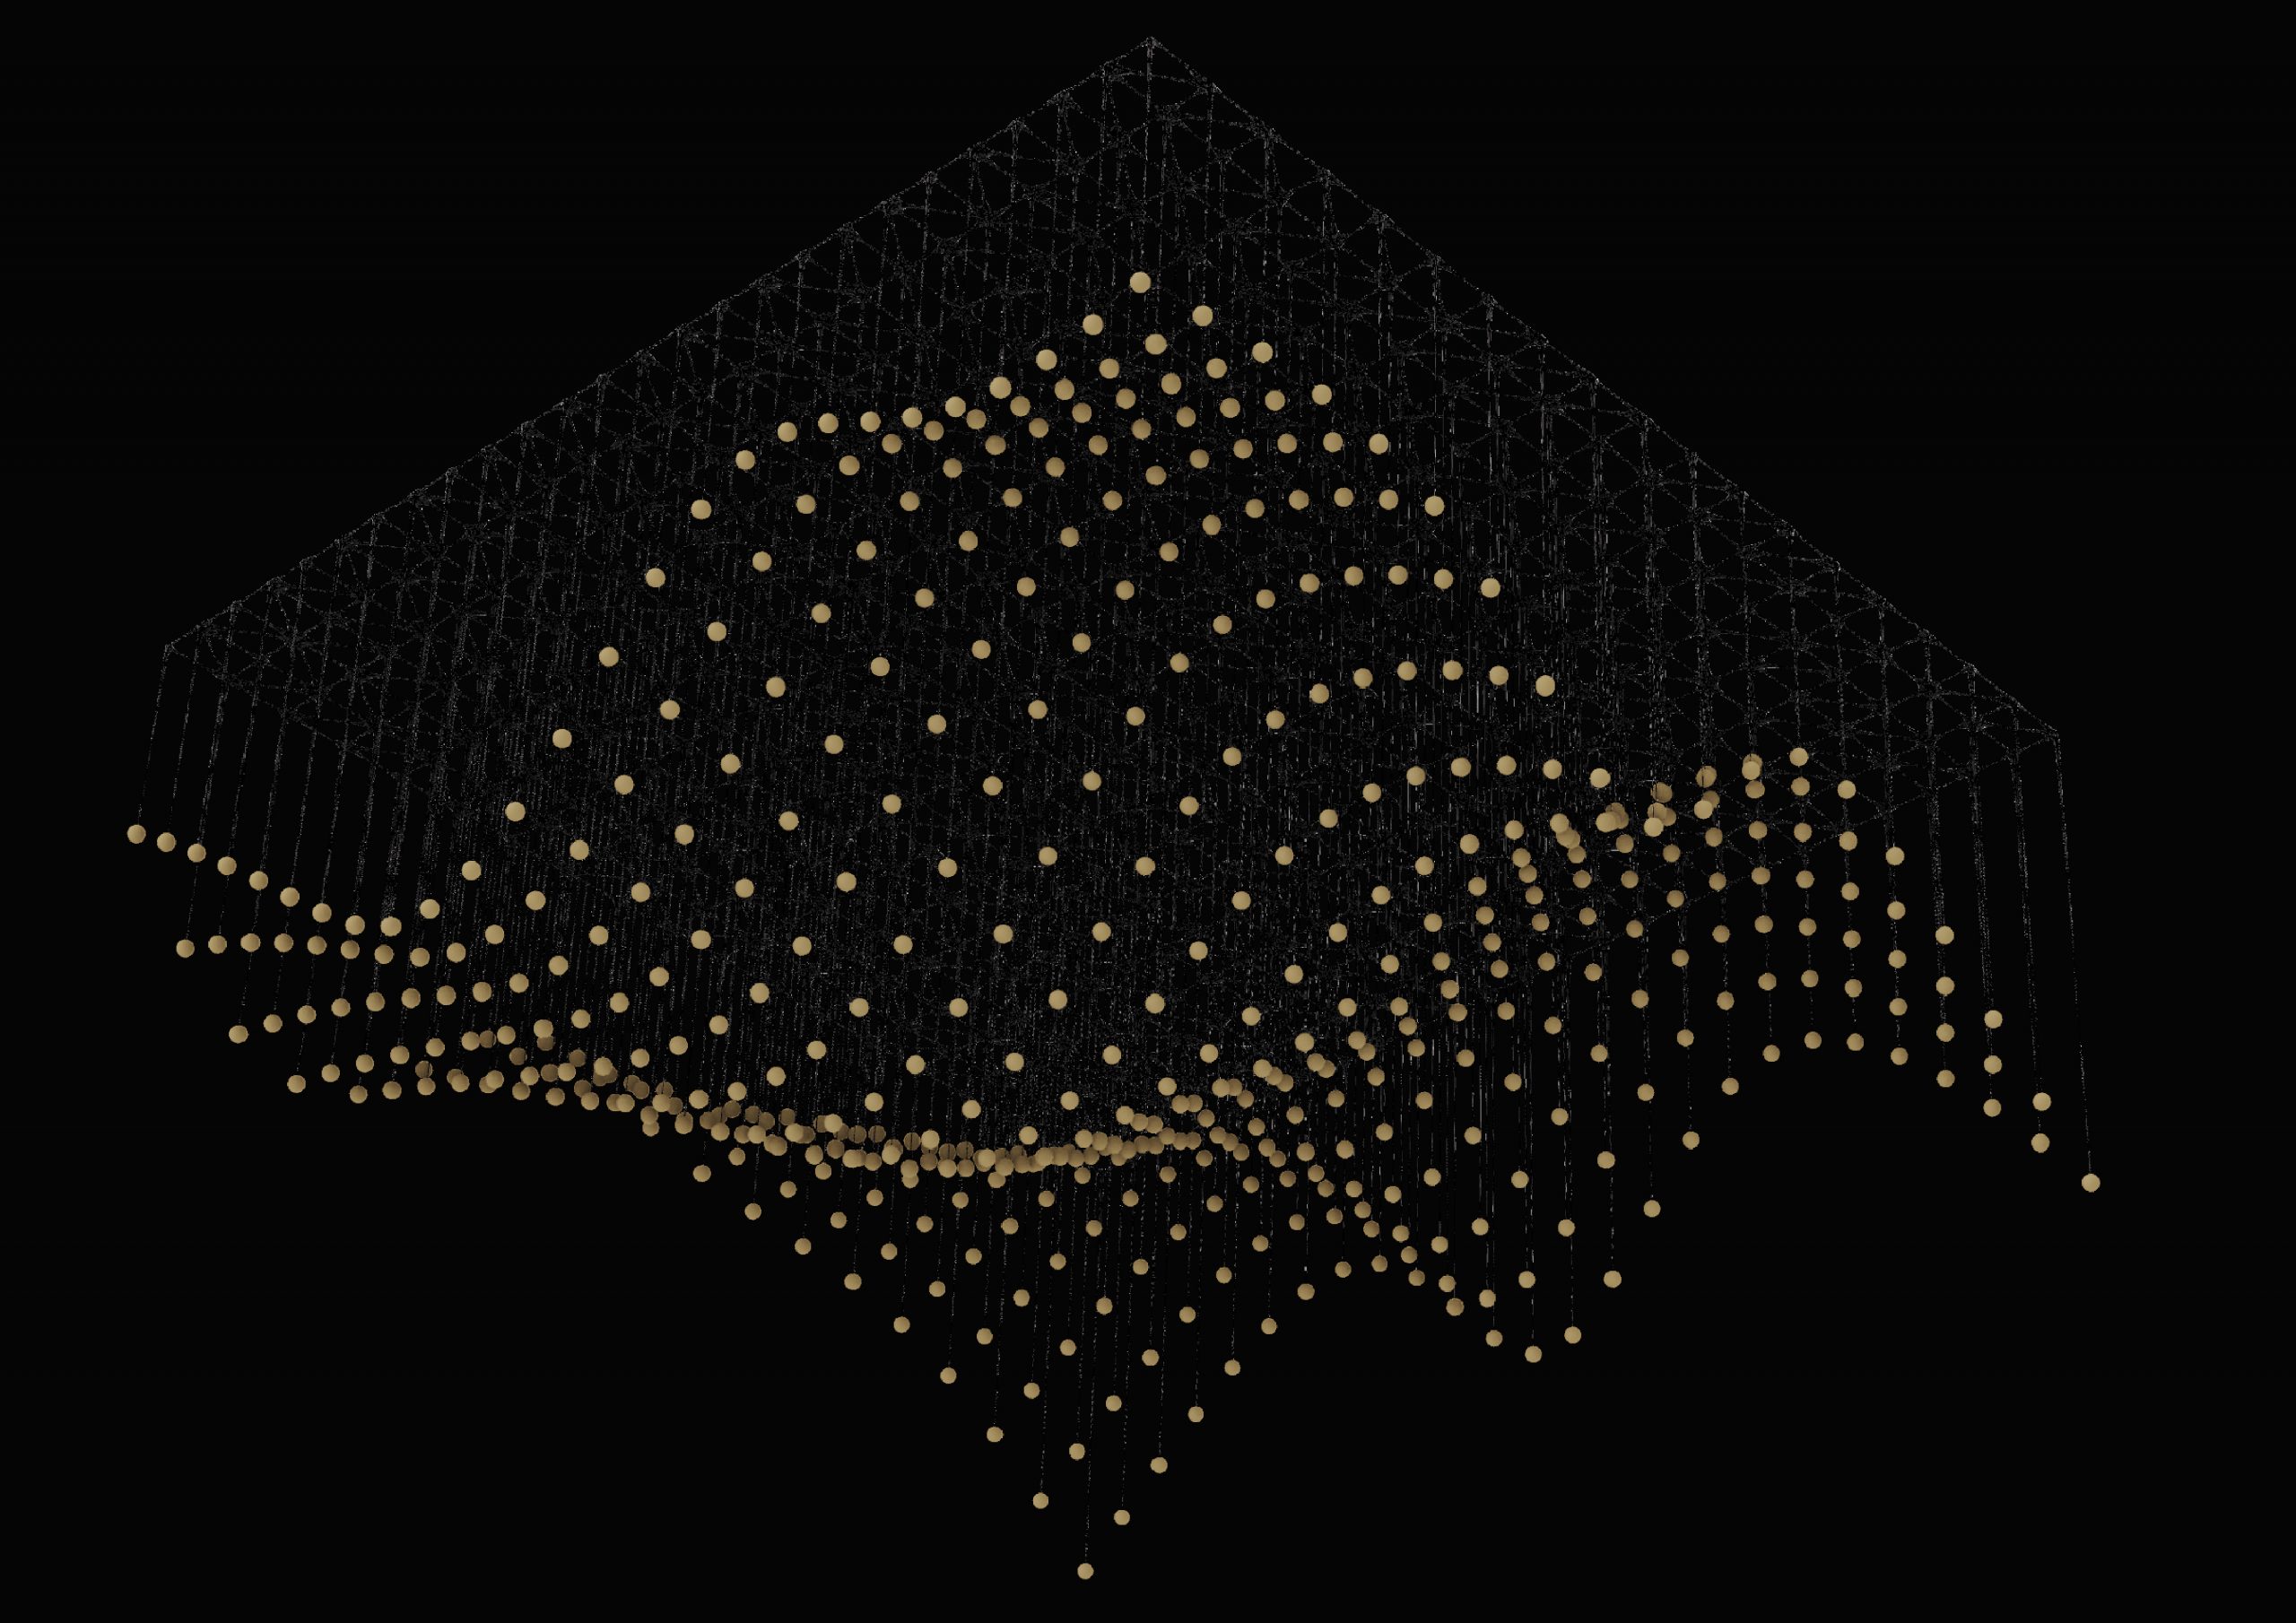
Randomly suspend lights on negative z coordinates by flattening the list of total lights (points) and using sliders to set the range of their length variation. The main changeable parameter in my design is the altering surface from the points of light. Introduce a slider for the seed, providing the flexibility to choose different design solutions, with this parameter subject to change over time or to specific events.
3. STEP – Surface
Generate a surface from the randomly suspended points by incorporating a relay with +1 for one side. Copy the divisions of points on the surface along with the U and V sliders.
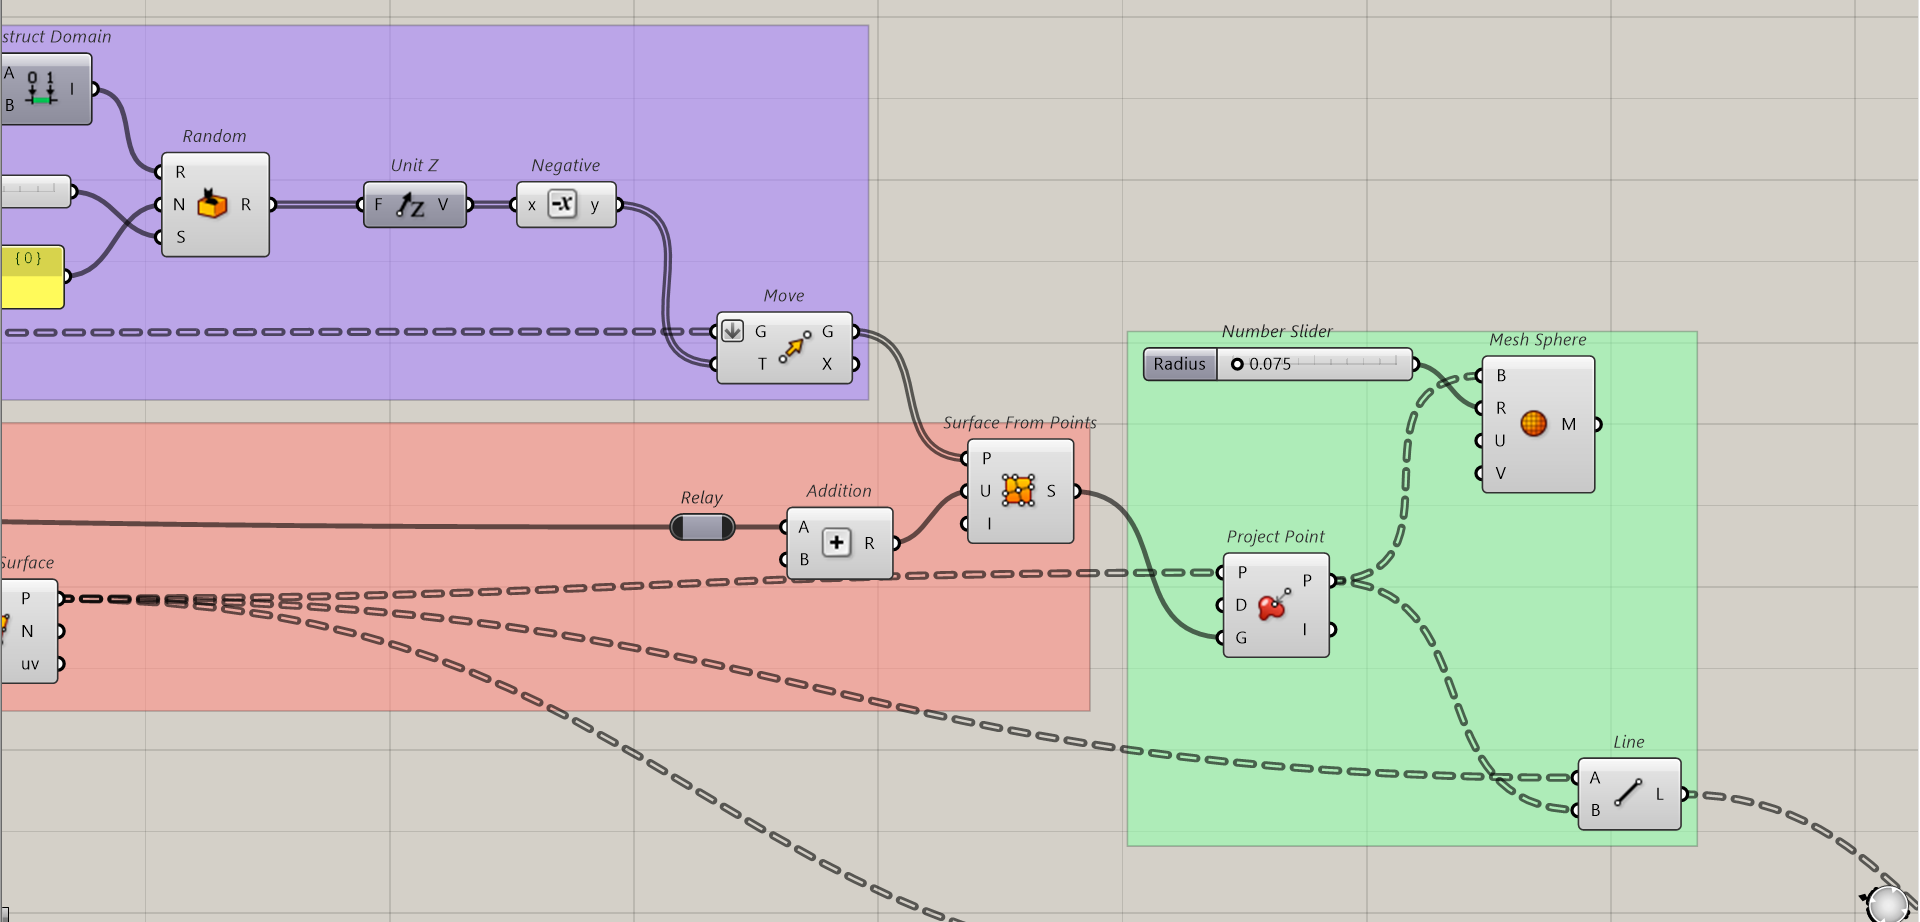
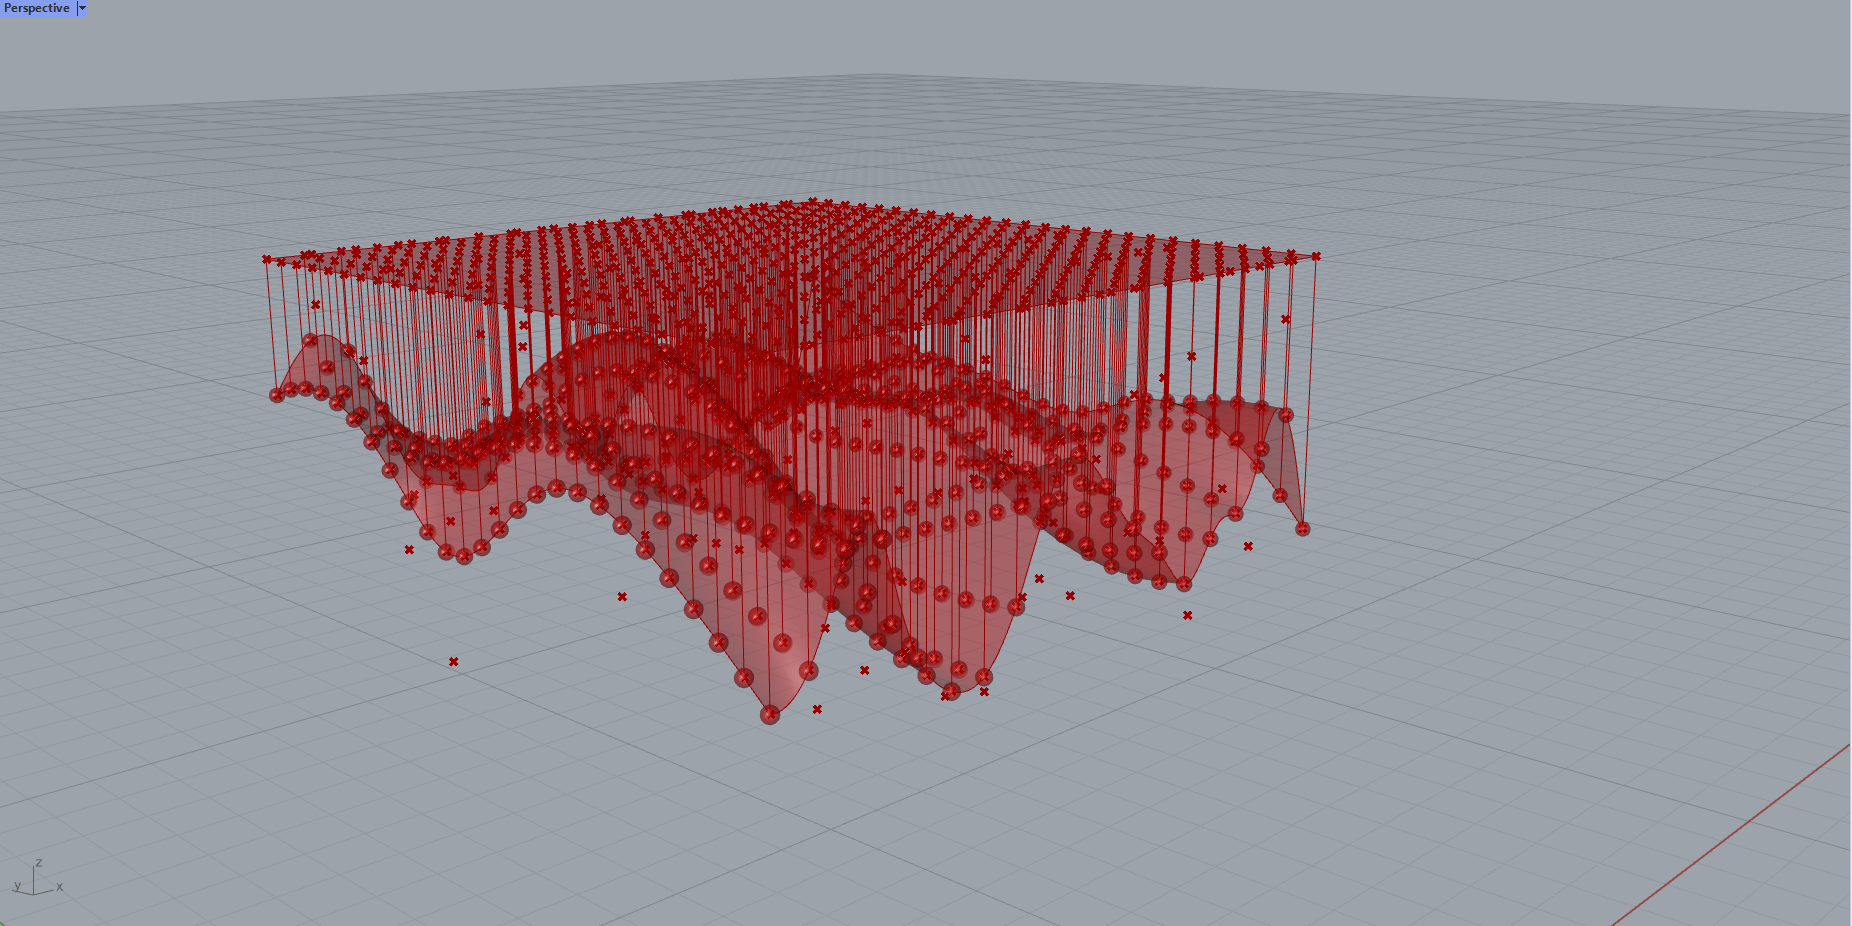
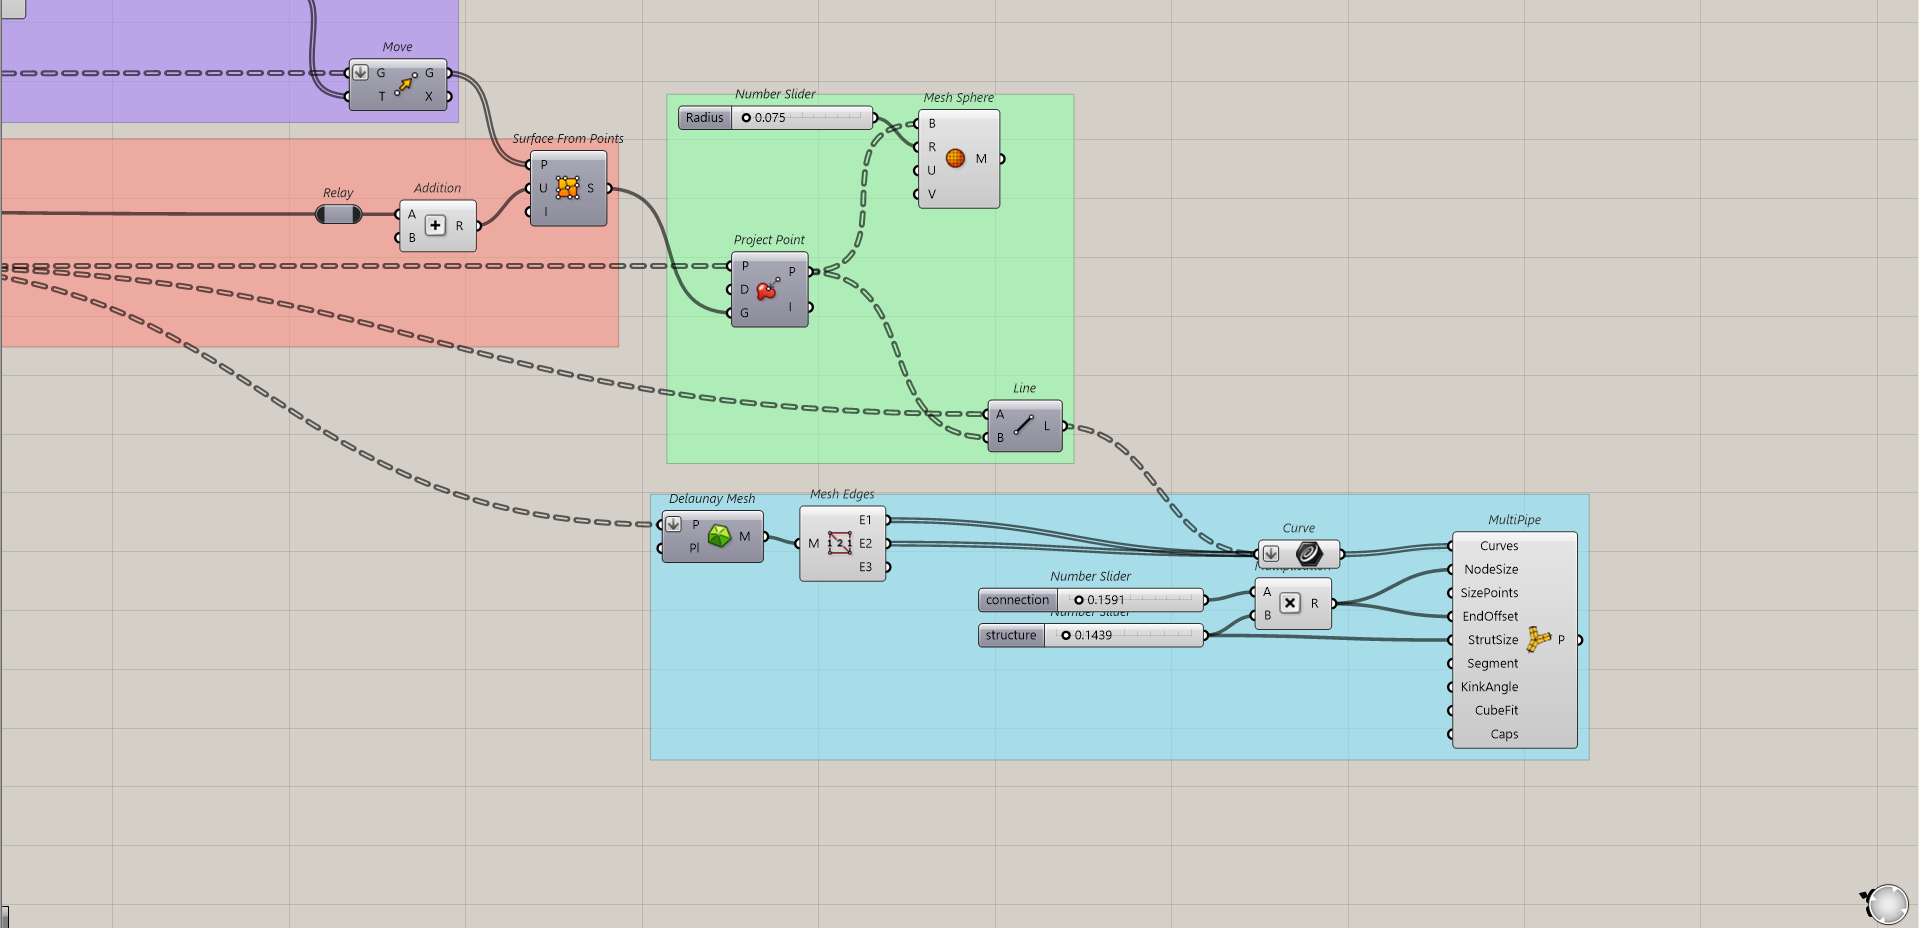
4. STEP – Light bulbs with connections:
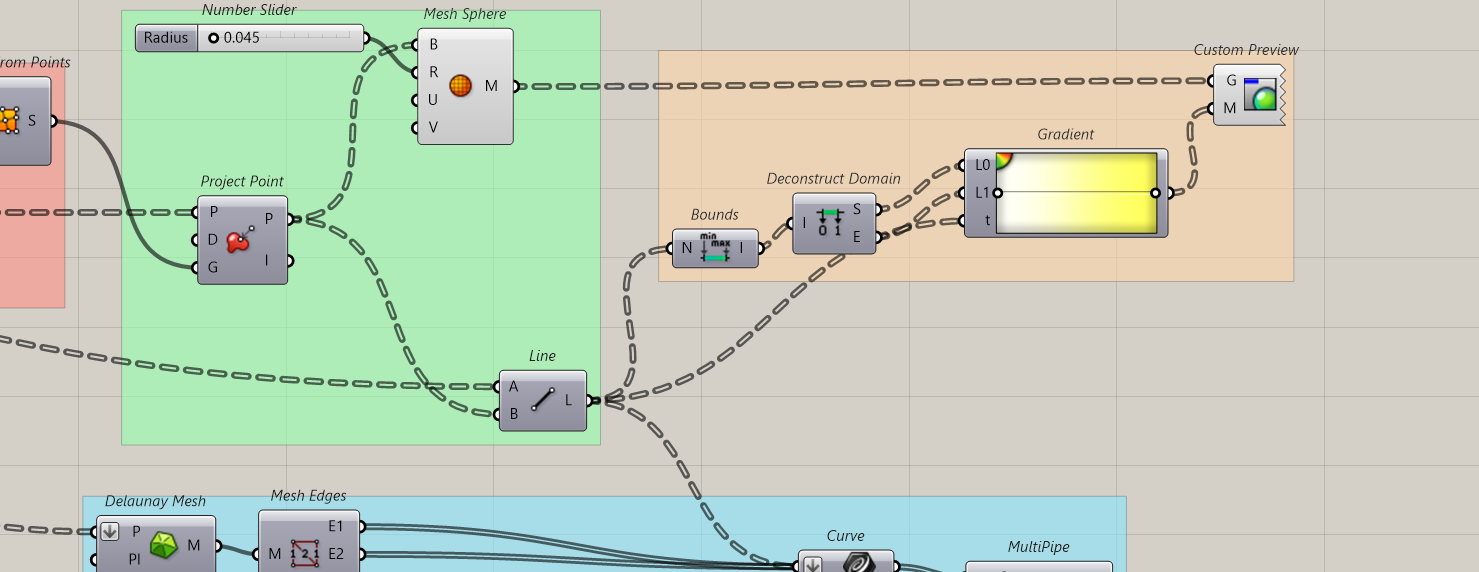
Project the copied divisions onto the surface from the randomly suspended points. Establish line connections from the upper to lower surface and create meshes at the connection ends to represent the light bulbs, complete with adjustable sizes.
5. STEP – Top Frame
Construct a top frame for electrical connections to each suspended light by connecting the copied divisions with Delaunay mesh and extracting mesh edges. Use a flattened curve and multipipe for quick updates, adjusting the preferred thickness with sliders for both connections with light bulbs and the connections in the top frame.
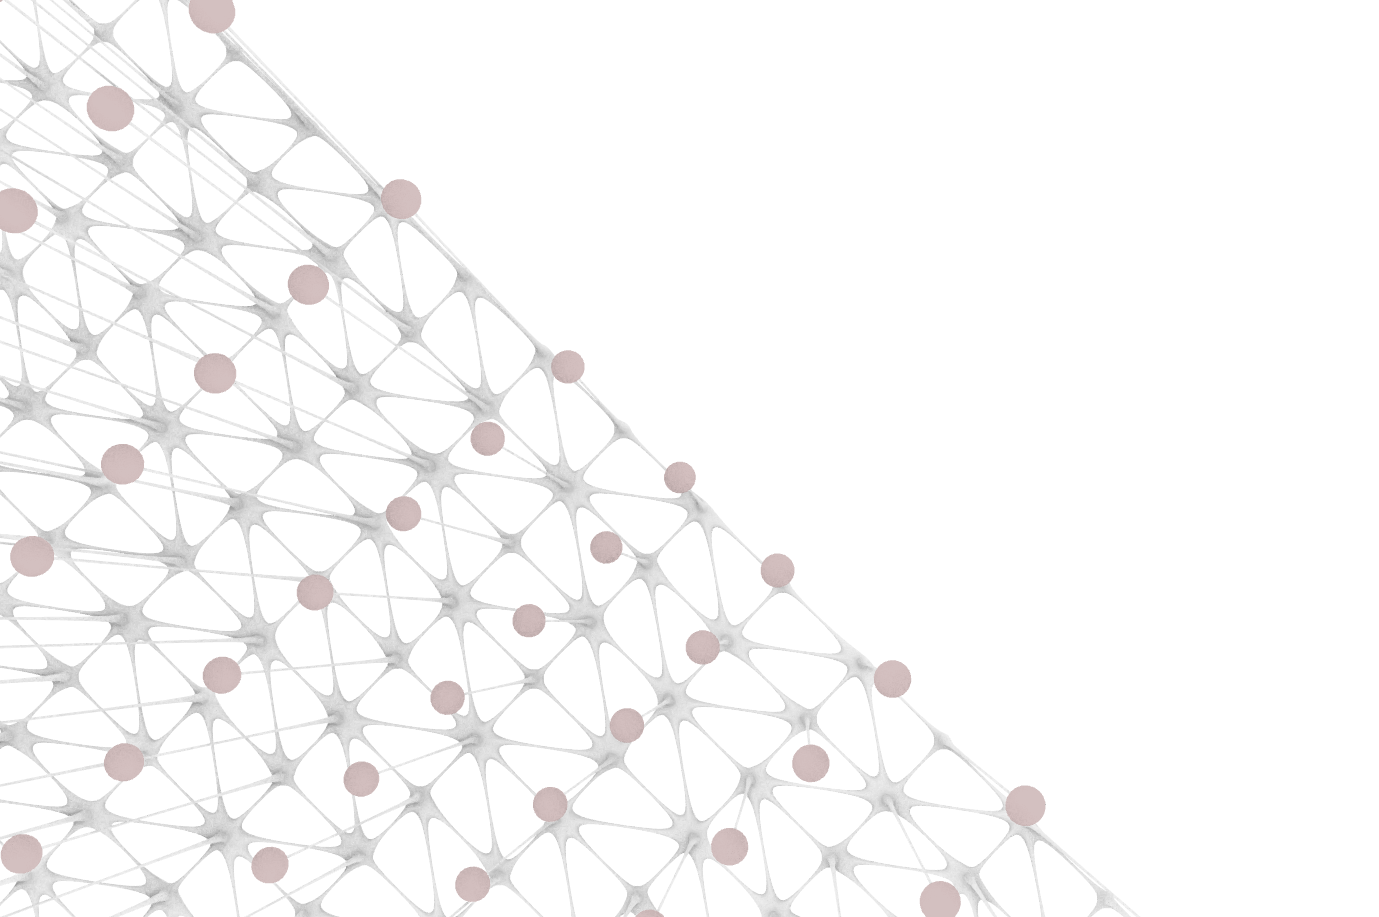

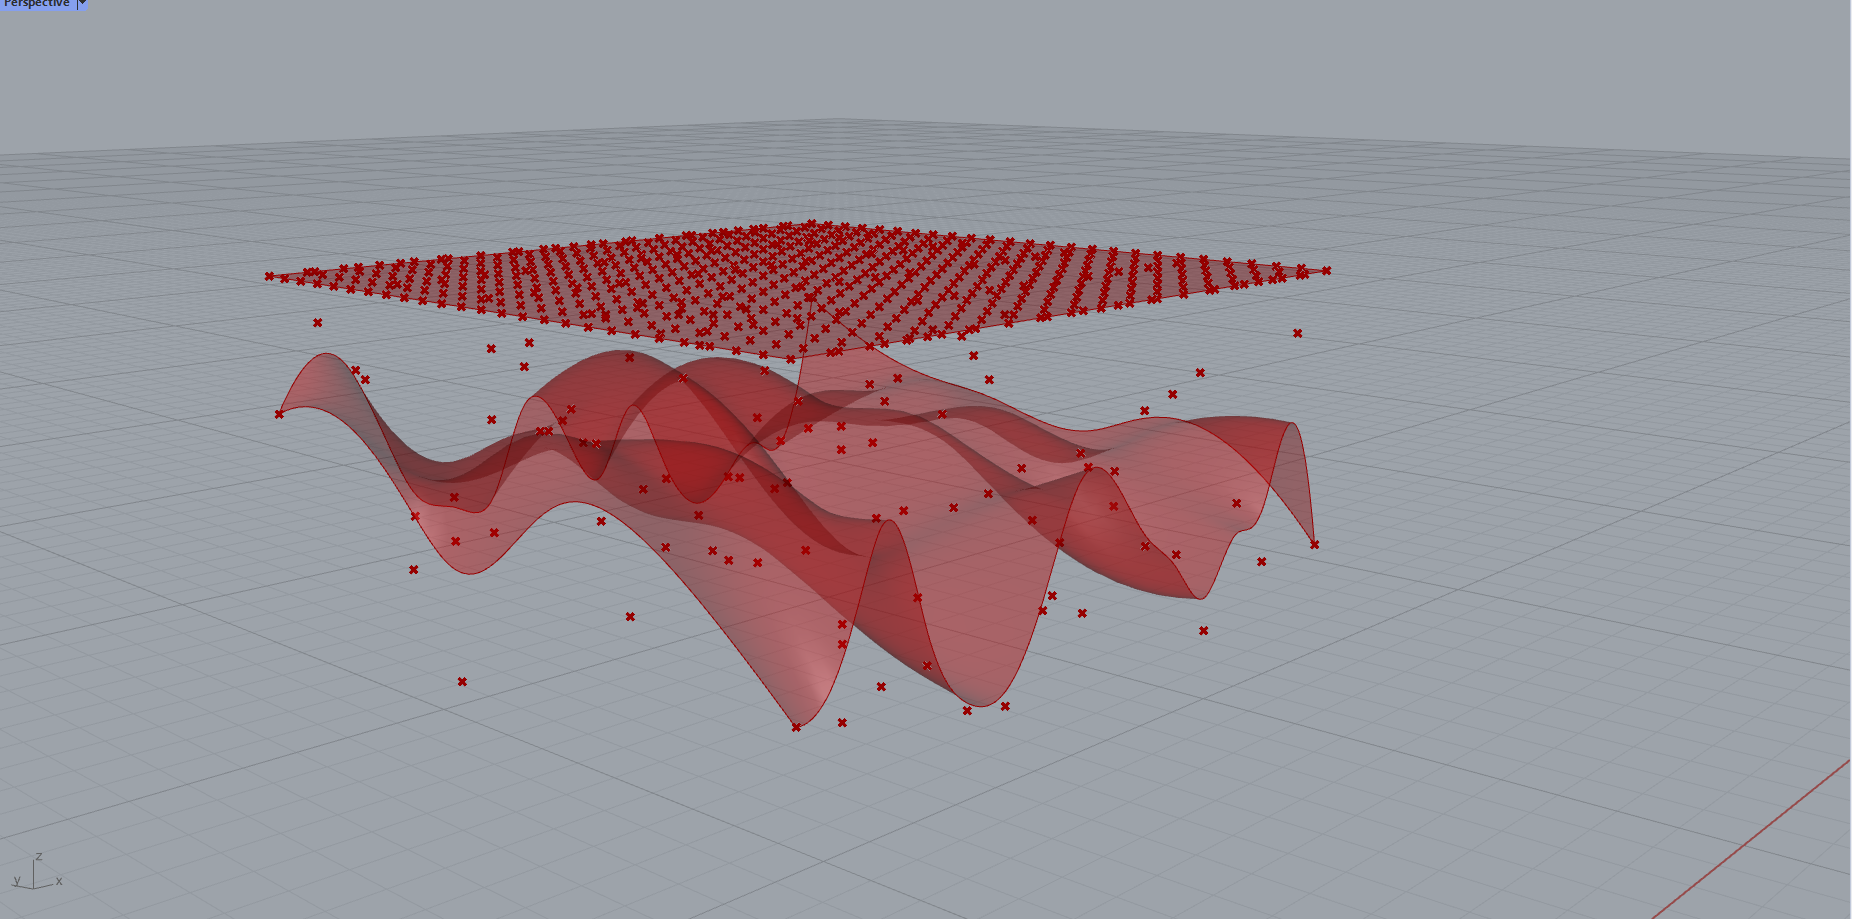
6. STEP – Projection
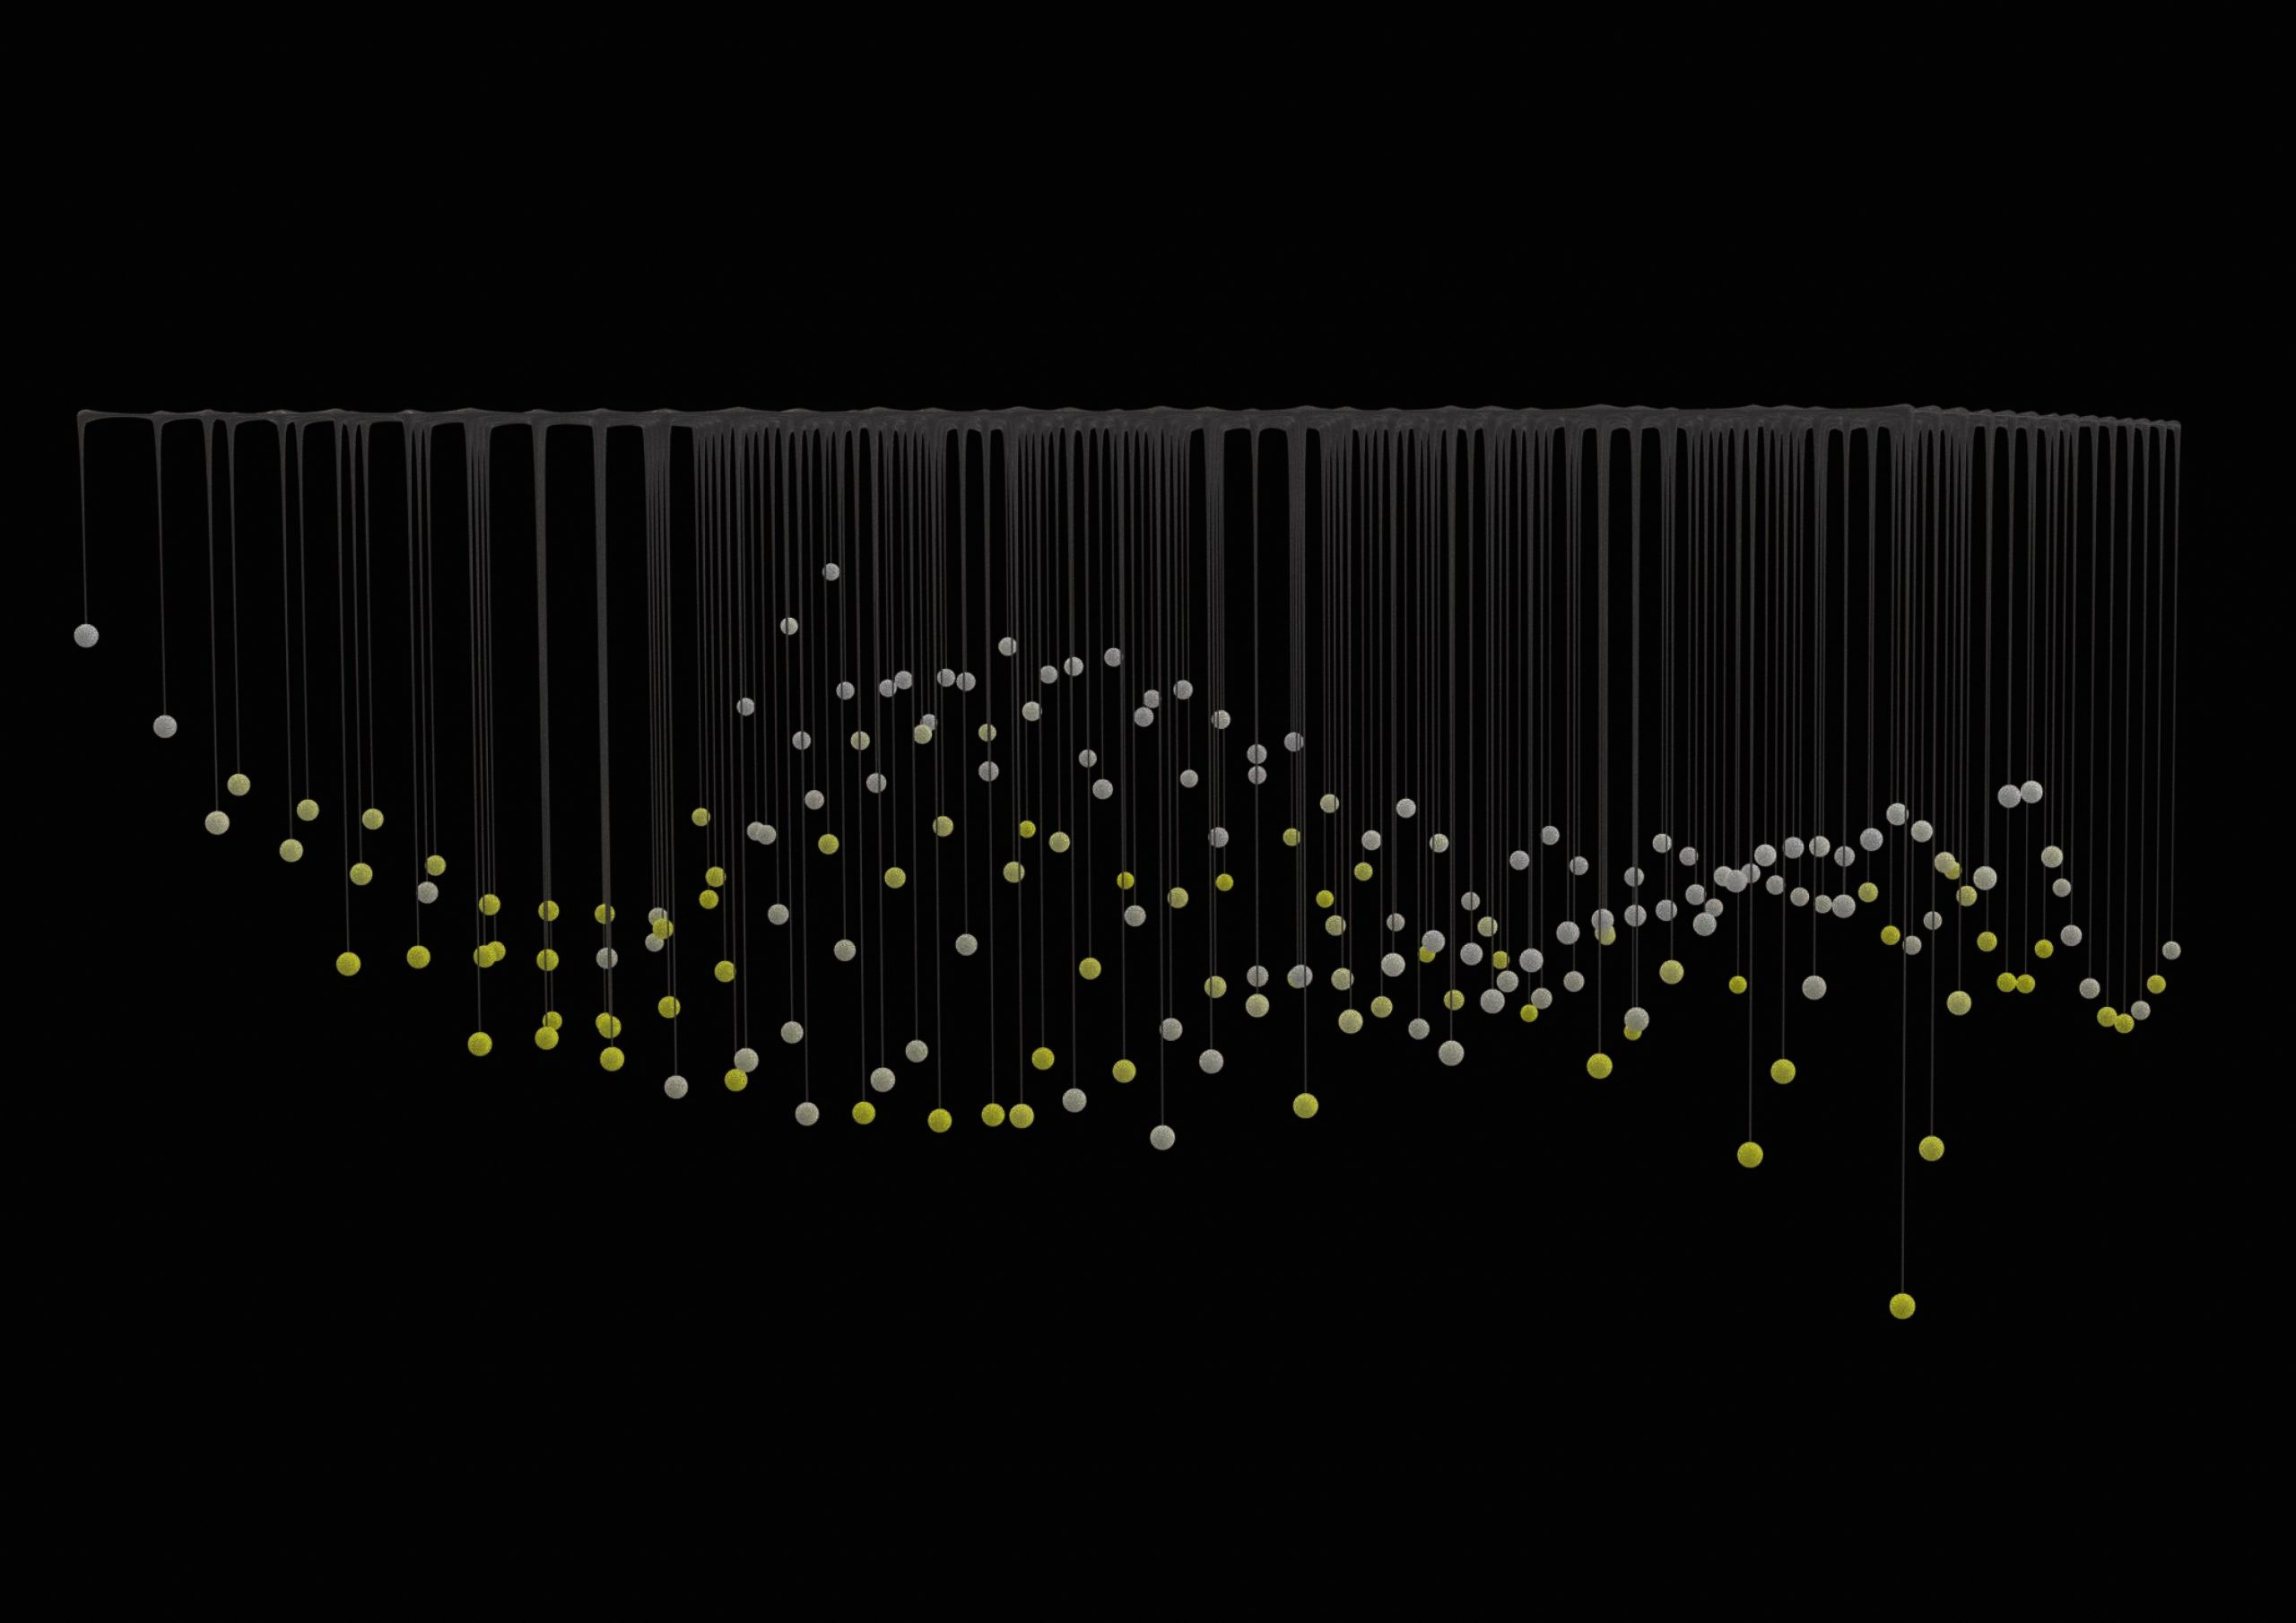
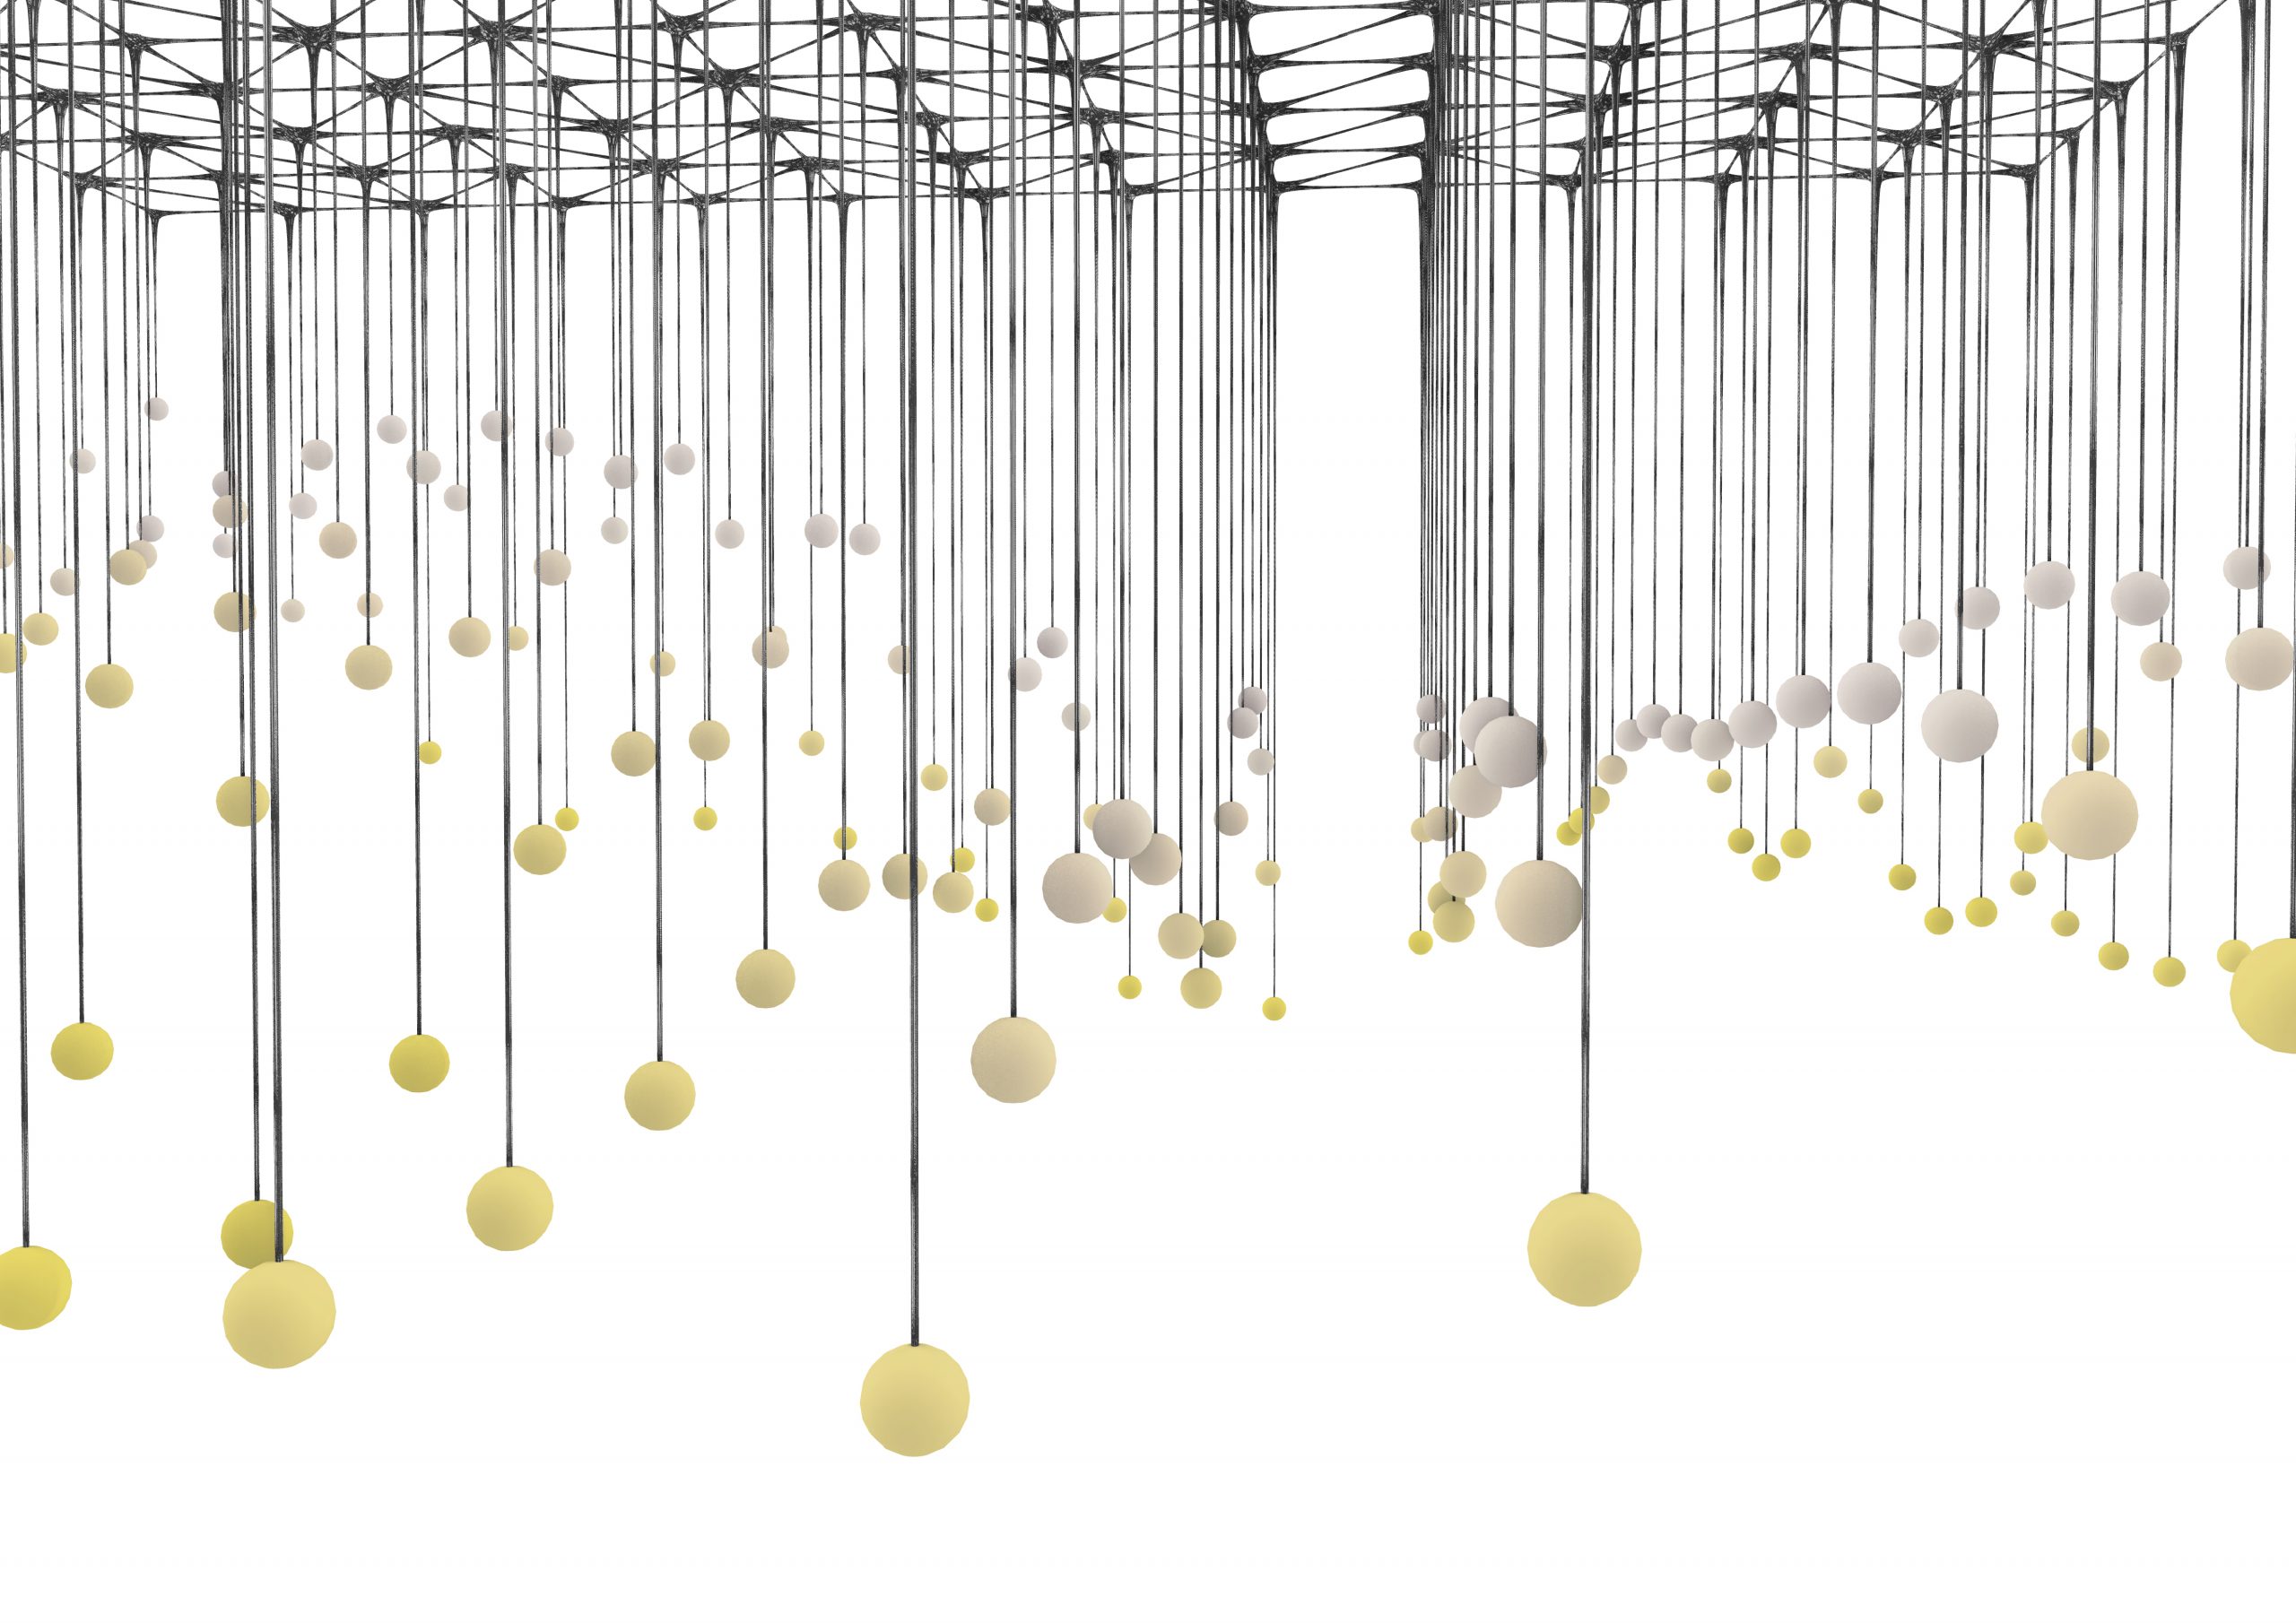
Bake the final two components—the multipipe connections and bulb meshes. Add luminosity as the material for light bulbs and metal for connections. Make parameter changes by sliders as you wish for your design. In the end I decided to have more continuous vaults.
7. STEP – Additional gradient
For even better results I decided to add gradient of light bulbs – lower ones are more intense colour than the higher ones.
Results
This lightning system can be used in variable ways by many changeable parameters. It can create ceiling design element or be used as a type of light navigator in art exhibitions. Another use could be upside down, as standing lamps creating specific surface. It is possible to extend the design to differentiate the sizes, forms of bulbs, use daylight simulation to optimize the intensity of artificial light and many more…