ACT
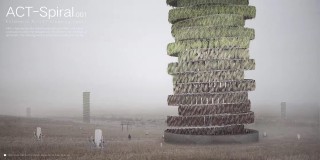
Automatic Cleaning Tower in Fukushima-Contral the parametric spiral
An team work by
YEZICHAO, YEZHOU, ZIHAO JIN.
INTRO
TOWER’S SCRIPT
00: Overview
Click here to download the gh file –> tower_script
Here is a overview of the tower part’s grasshopper script, which is composed with five parts:
Out_Spiral_Prototype.
Out_Spiral_Specify&Units_Orient.
Inter_Spiral.
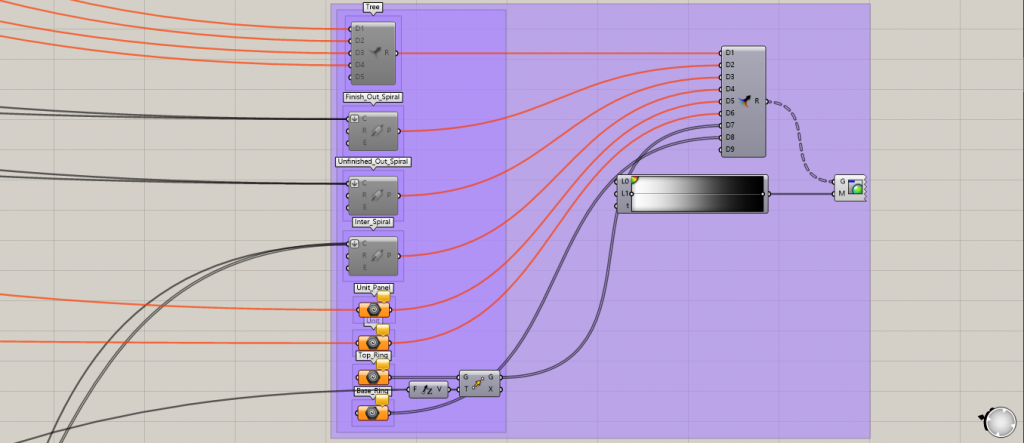
Tree_Structure. (Not used finally)
Visualization.
Out_Spiral_Prototype
01: Out_Spiral_Prototype
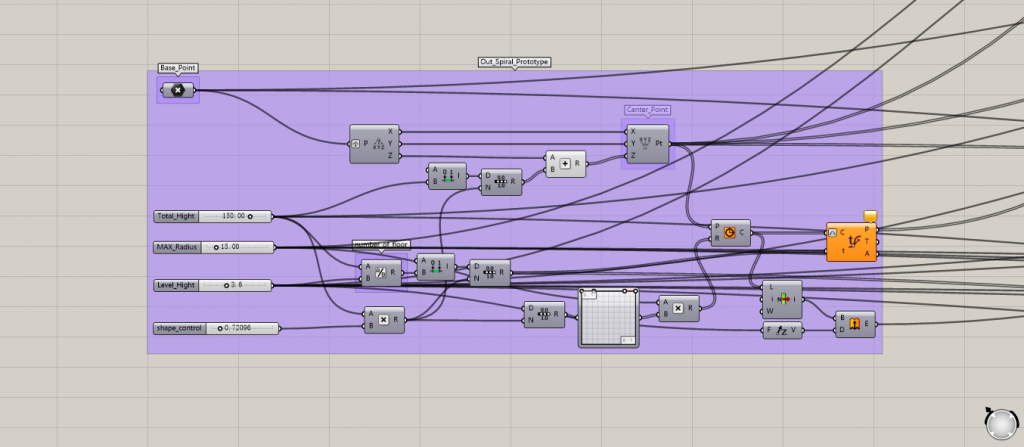
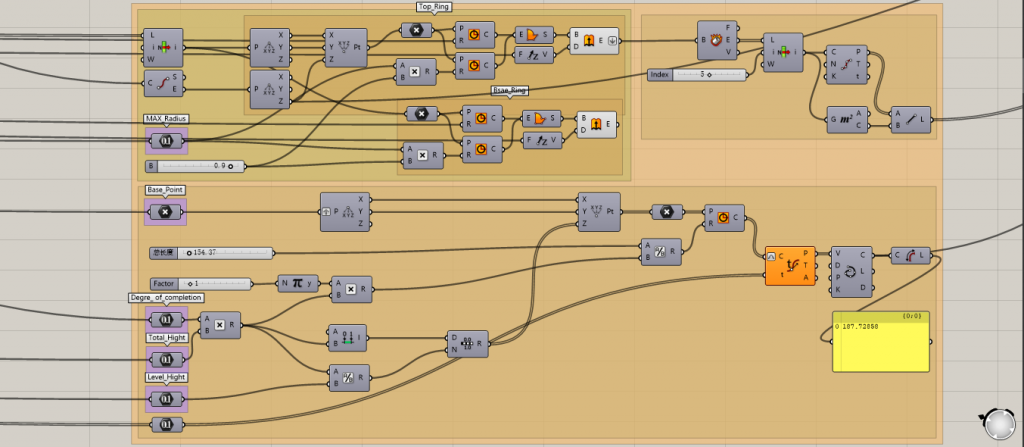
This part is about how to create a spiral involves in several different and independent parameters.
/* The orange component Evaluate is working fine.
Because it’s on a circle, so it doesn’t matter that the t parameter is higher than 1 .*/
Those parameters are listed below.
Base_Point: The point provides x, y and z coordinate value for the tower’s base part, which can help us to put all 37 towers in Fukushima.
Total_Height: The max height one tower can grow to.
MAX_Radius: The max radius of our tower’s plan. At the beginning we want the tower’s shape to be curved, so we set the MAX_Radius and another curve panel to generate string of radius. But however we find it is hard to make sense in later design and give up this idea. Now the MAX_Radius is exactly the radius of the Out_Spiral.
Level_Height: This parameter will decide the size of our unit and number of levels.
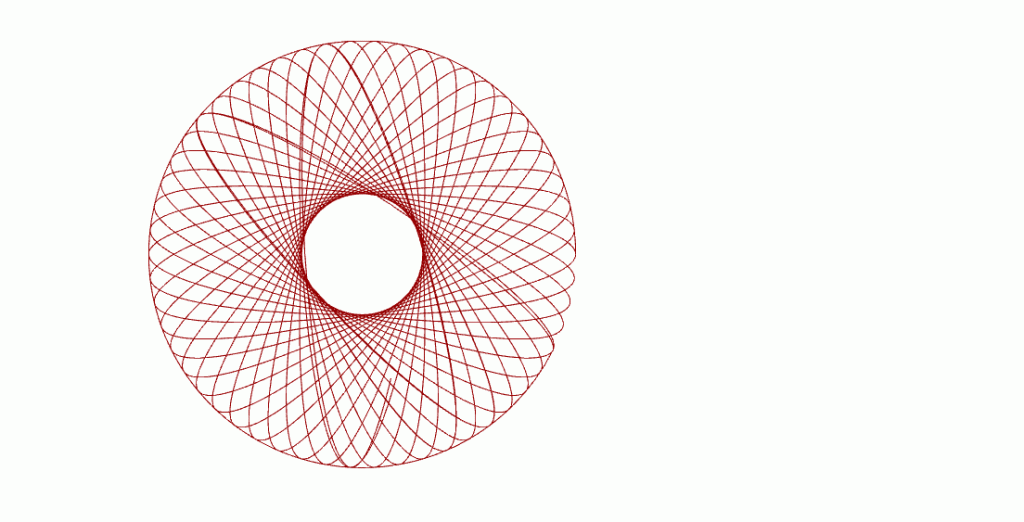
Shape_Control: This is actually a additional parameter, which do great influence to the shape of our tower, or the Out_Spiral_Prototype.
The spiral is changing with the parameter Shape_Control.
This process is trivial but important because, later, almost all parameters and geometry-objects will be calculated based on these parameters.
Out_Spiral_Specify&Units_Orient
02_a: Out_Spiral_Specify
After preparing, we get a Point_List on our target Out_Spiral.
But the problem is how to fix it on the ground, in other words, how to connect the tower’s middle part to the basement and roof which are named as Base_Ring and Top_Ring in this project. In this part there is no new parameter.
Take the Base_Ring as an example, we divide the connection part into three segments, an arch, a curve and one part of the spiral created from the Point_List.
After connecting three parts, we need to create another spiral of the same shape but one level higher than the original one. (Because we need two tracks to hold the unit.).
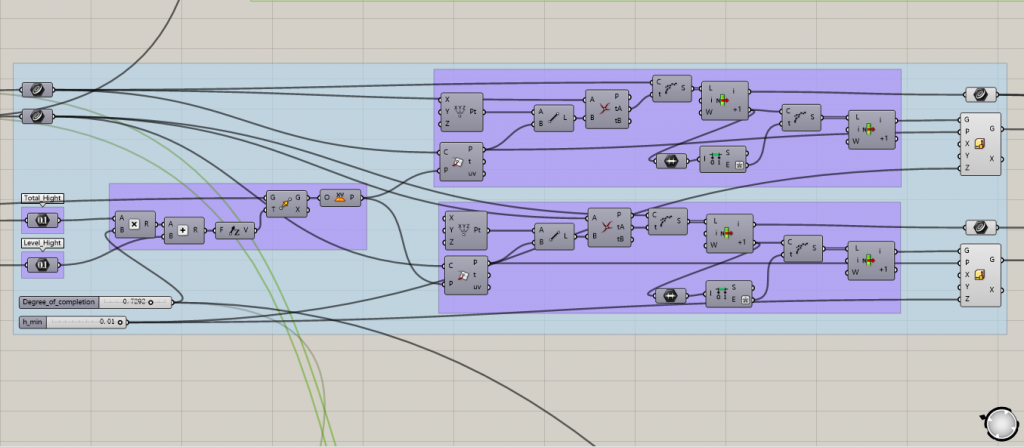
But wait! Till now the tower is still stable but not dynamic. How can we make it a growing tower?
Here we need two more parameter.
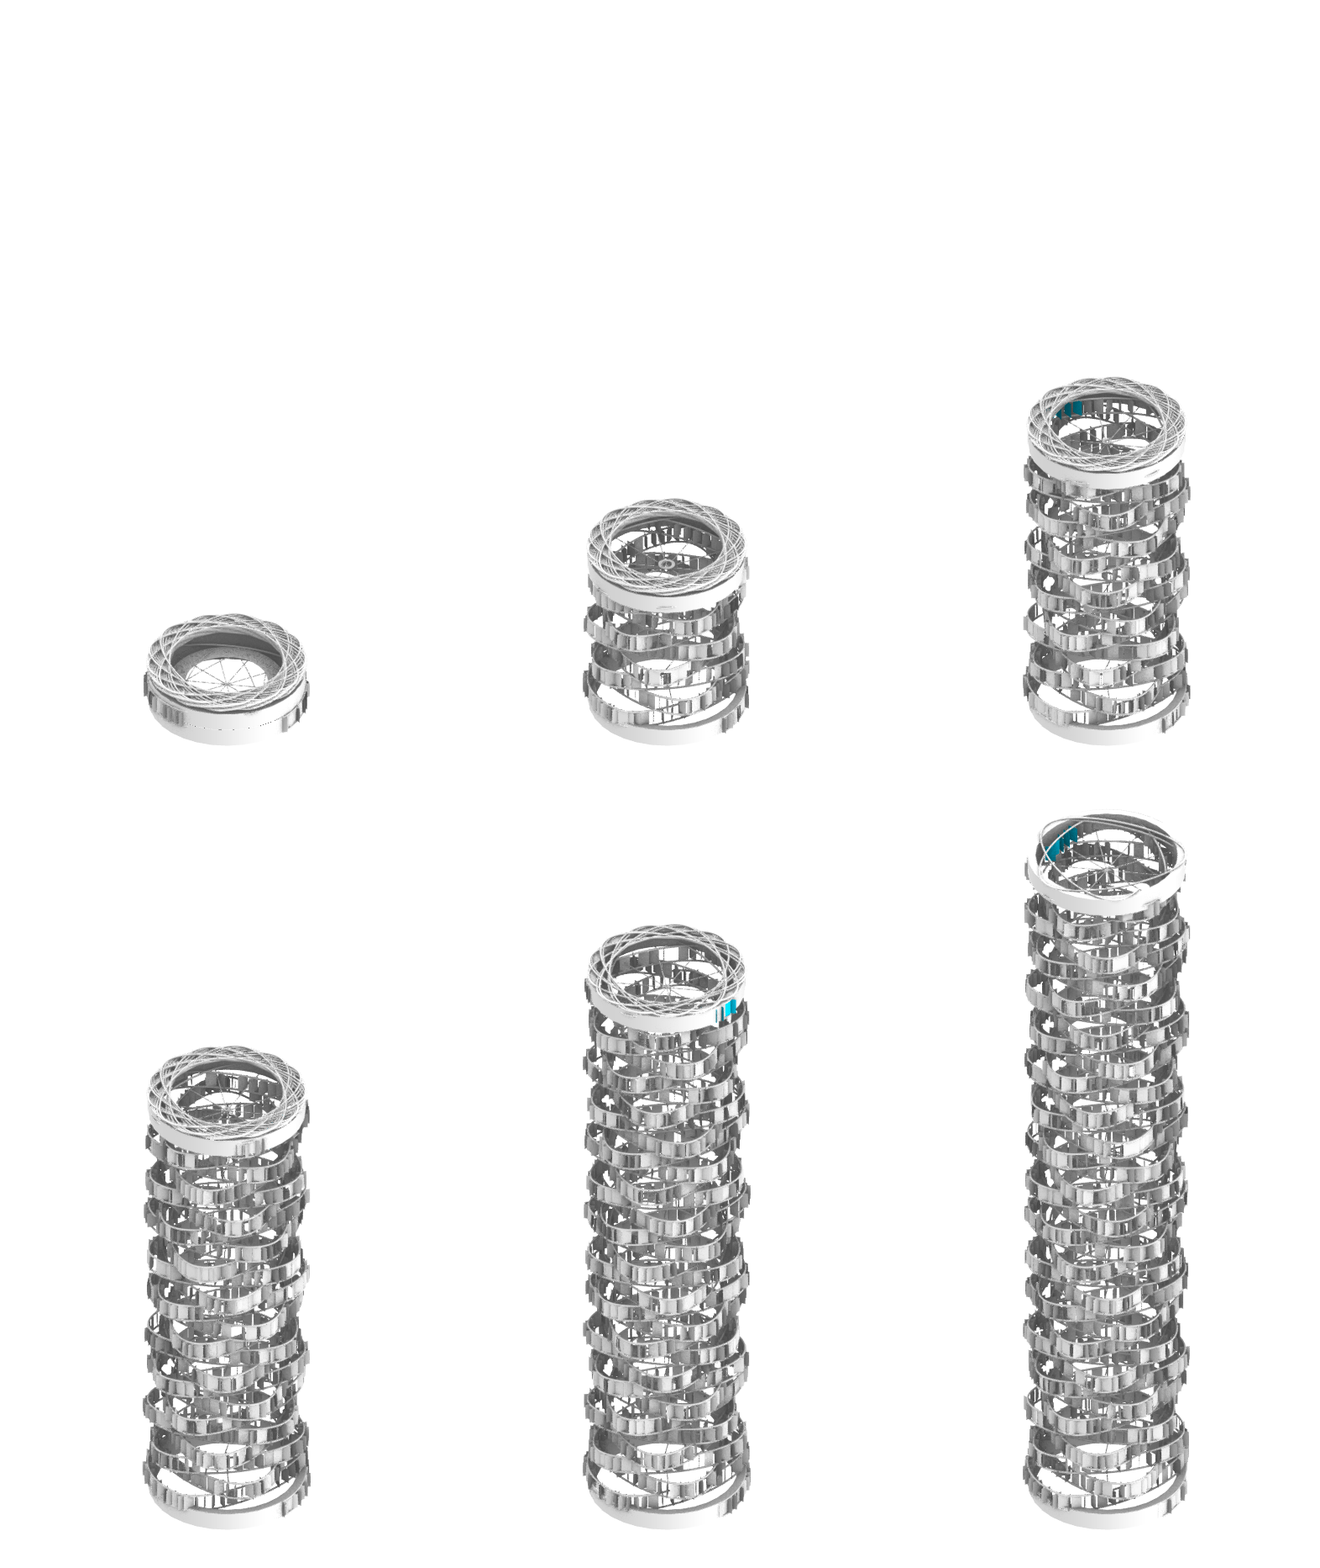
Degree_of_Complement: A number vary from 0.000-1.000, stand for the relatively height compared with Total_Height.
And to model a growing tower, we need to divide the Out_Spiral into two parts, expanded and compressed.
h: It is also not an necessary number. It means the height of the compressed spiral.
02_b: Units_Orient
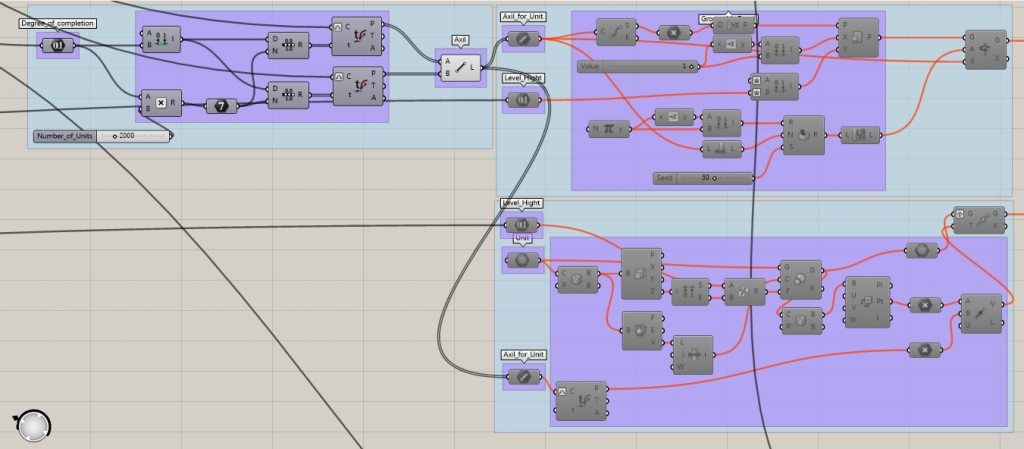
Now we have two expanded tracks for every moment. What we need is one more slider to define the number of units on the track.
Number_of_Units: Notice! It stands for the total number or MAX number one tower can hold. It should work together with Degree_of_Complement to calculate for every moment.
Axis are created to make the orientation process easier.
Here you can see two blocks of script about Unit_Orient on the right, the upper one uses panel as simplified unit and lower one use full detail unit model. (Both of them are disabled now because the calculation takes too much time and they should not work together)
The full detail model’s calculation takes a lot of time, so use the simplified model for animation is more efficient.
Here is the animation of growing with panel model, which is created with slider-right click-animate… in grasshopper and Photoshop.
Inter_Spiral
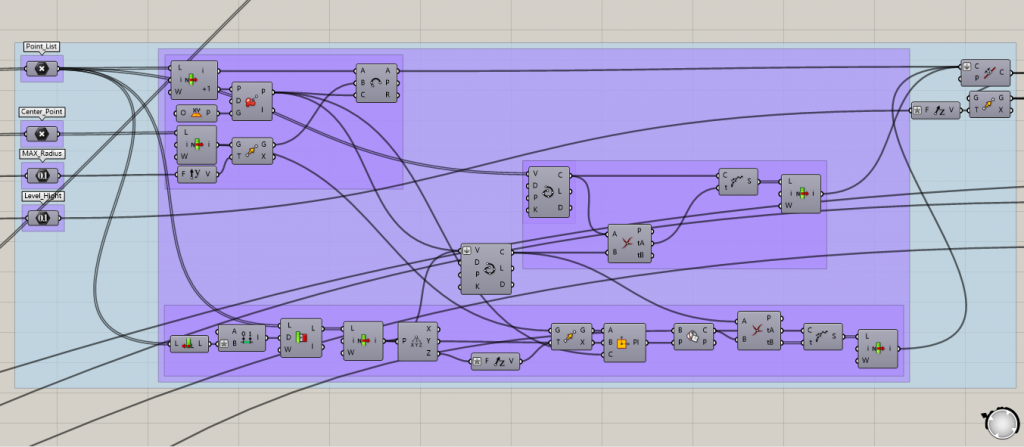
03: Inter_Spiral
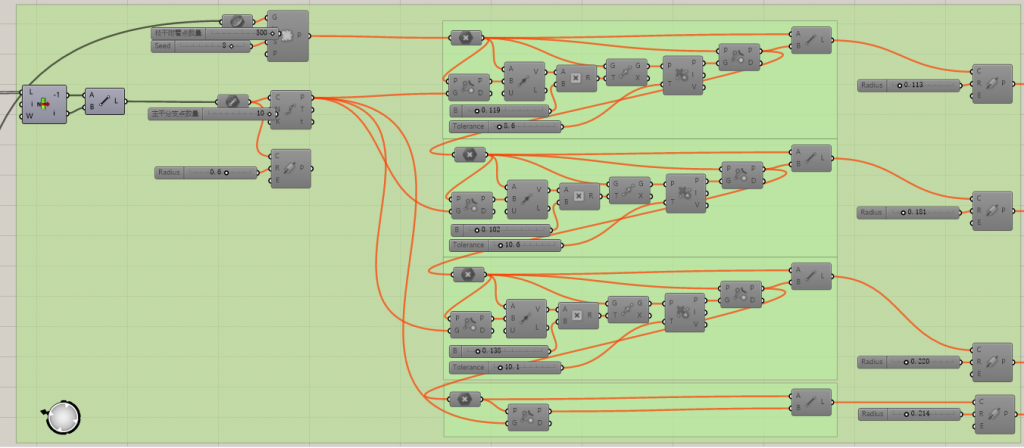
This part is basically the same as Out_Spiral_Prototype and they share some parameters.
Tree Structure
04: Tree_Structure
This is a part that not used in the final project. It is a tree like structure inside the Out_Spiral but now is replaced by the Inter_Spiral.
Visualization
05: Visualization
To get a better visual output, we pipe all tracks and tried different customs.
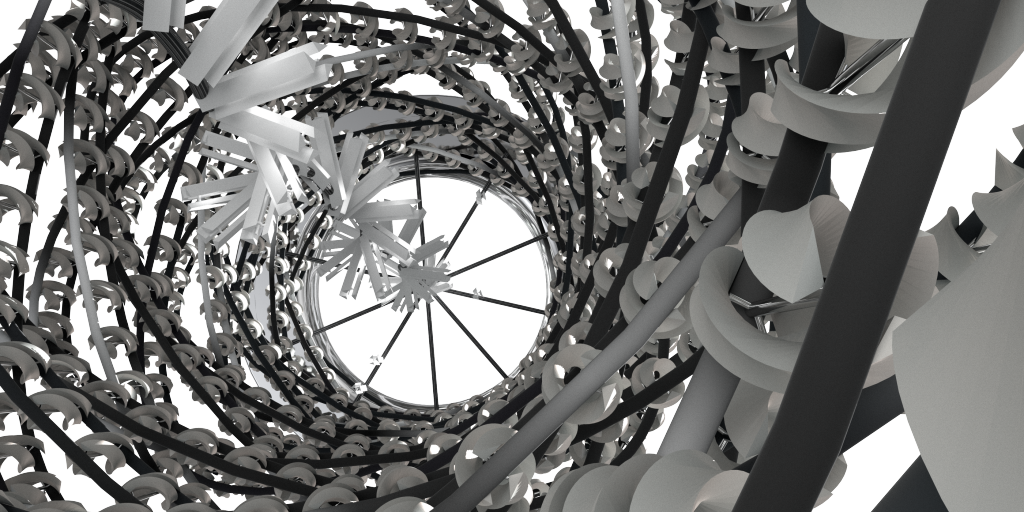
06: Render from the inside with full detail units.
ABOUT THE LOCATION
07: Overview
Click here to download the Rhino&gh file –> tower_location tower_location
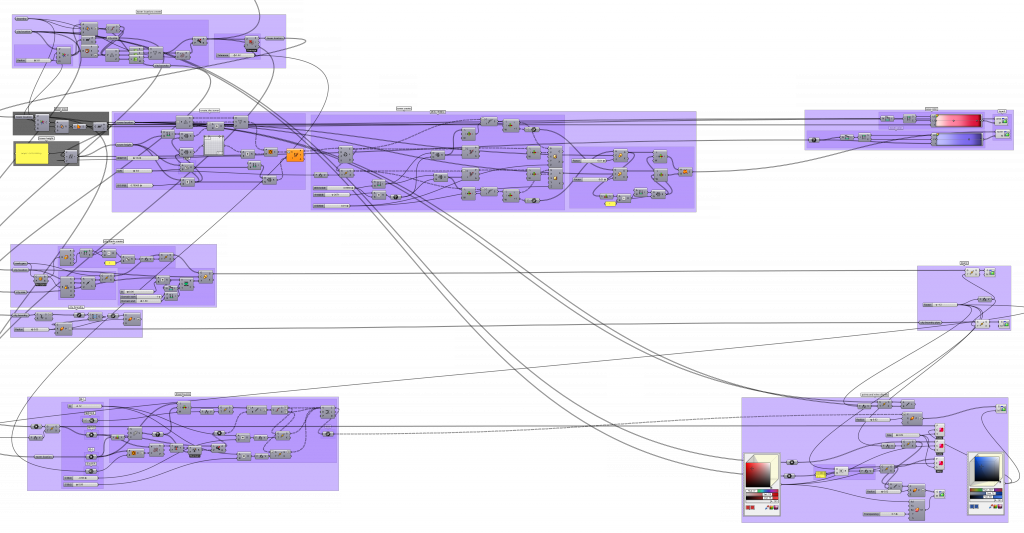
Now here is a general intro for this part’s script.
In the picture, the left part is about modeling while the right part is about visualization.
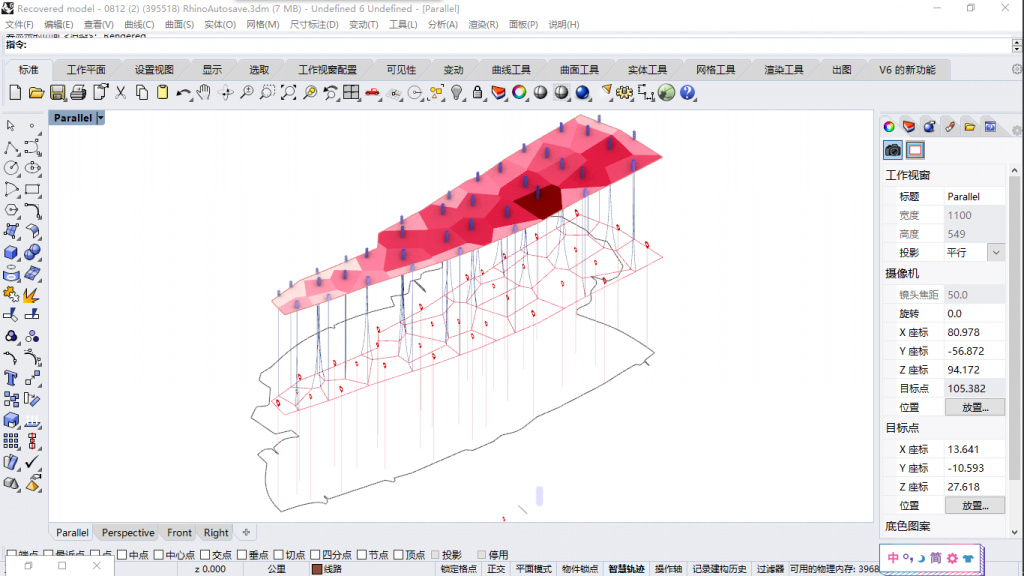
08: Diagram Prototype
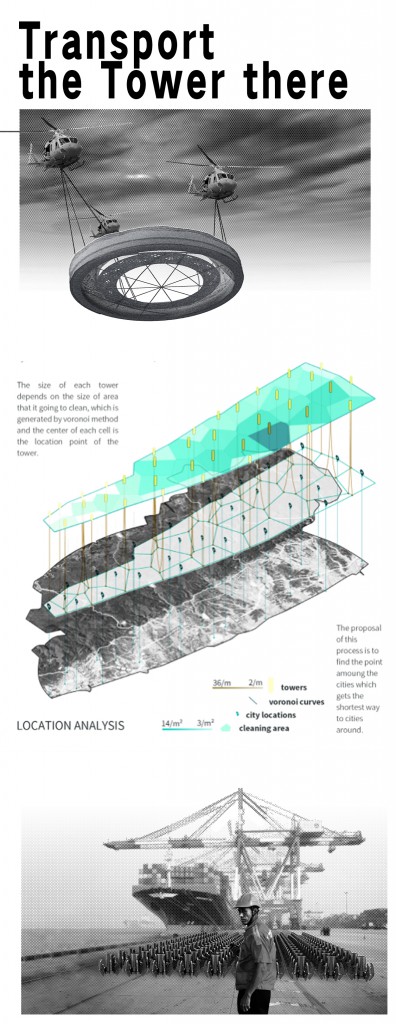
In this diagram, we want to show how we defined the location of every tower and give it a good visualization.
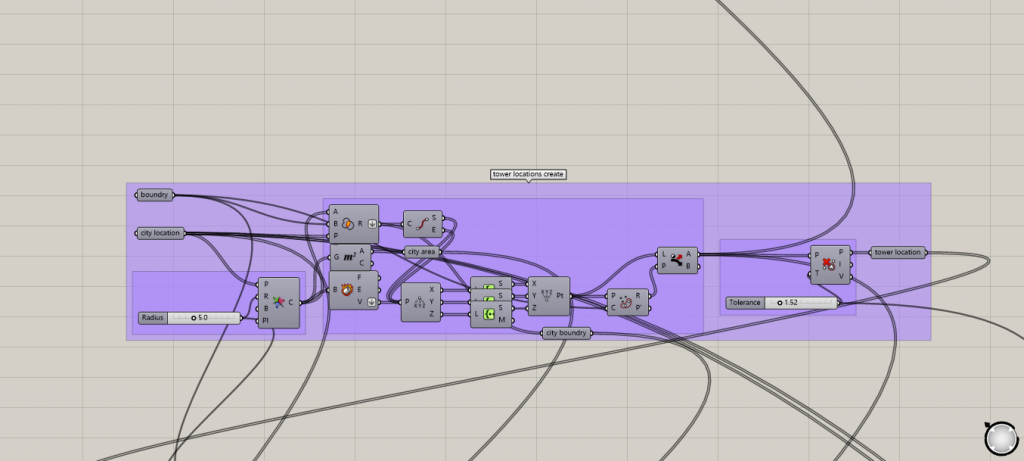
Define the location
09: Define the location of every tower.
This part’s most important input is the boundary and city_location .
We firstly mark out all cities and towns inside the polluted area.
Then Voronoi is used to divide the area into a grid of cell, notice that every vertex will be reasonable location for our tower because they are not inside big city and also very close to cities around them.
But the last thing is also important to delete those points that are too near to each other.
After all those process the location is reasonable theoretically.
Create towers
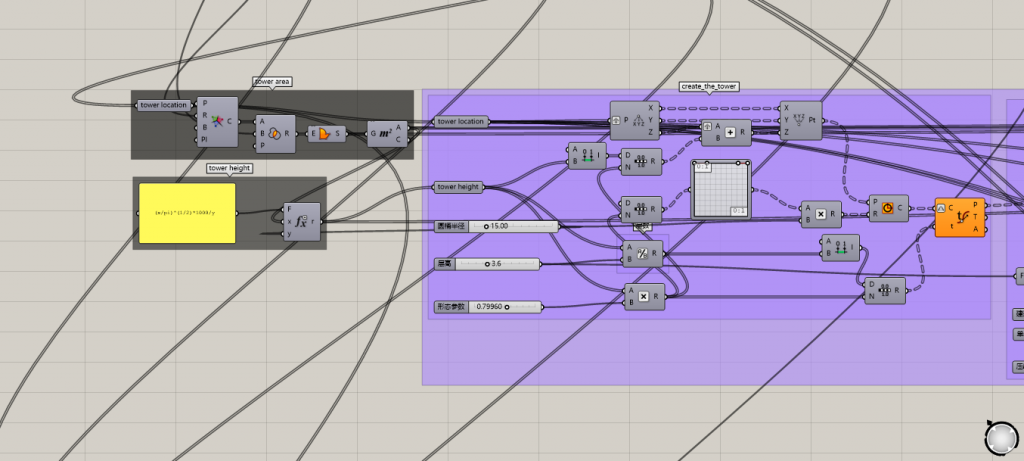
10: Create towers of different heights according to the size of cleaning area.
Inside the black block is two parameters input we get from last process.
Tower_Area: This is the size of every area that a tower will clean, which is use to decide the height of tower.
Tower_location: The point we define in last part will be the base point for tower to grow from.
Visualization
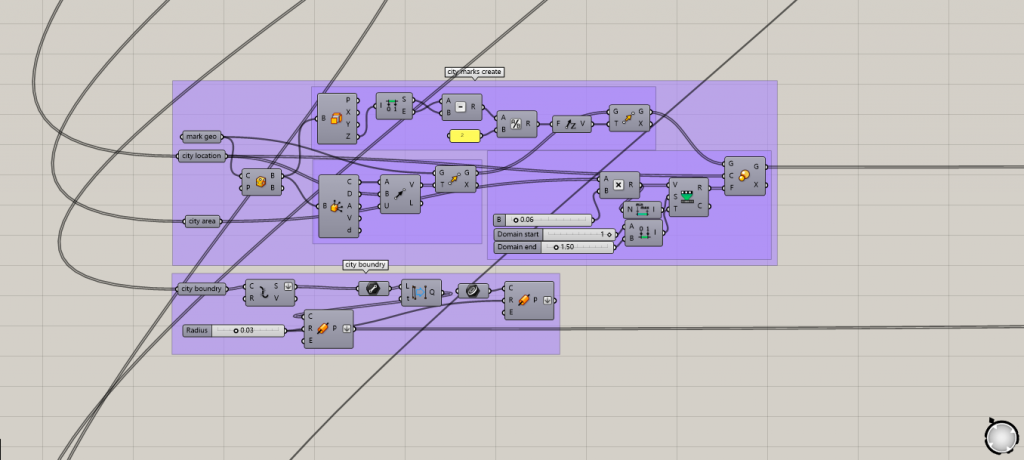
11: Mark out cities on the diagram.
To make those cities point marked, we add a label for everyone.
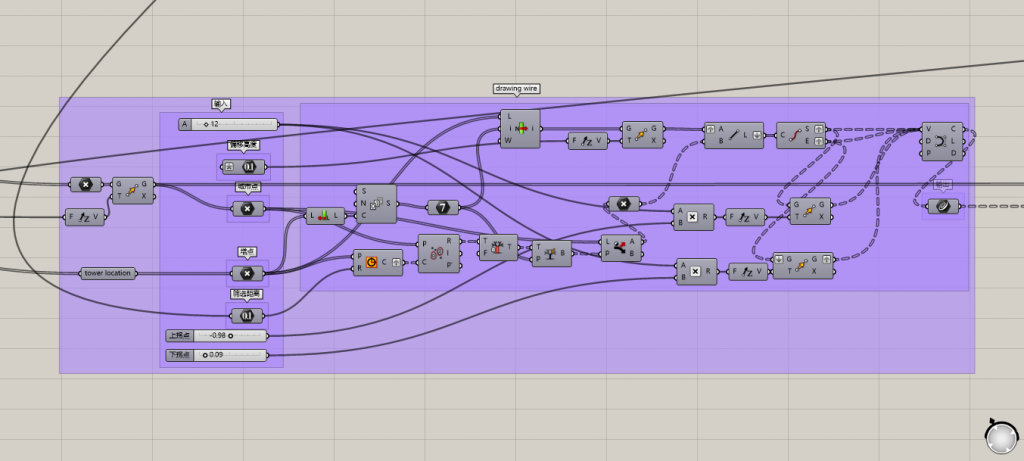
12: The connection
Our final diagram contains mainly three layers:
Layer 01-Basemap from google earth
Layer 02-City label and the first generation of voronoi cell
Layer 03-Tower and the second generation of voronoi cell
A nice connection is necessary to illustrate the logic behind them.
This part is important for showing the process of merging some near towers to be one higher tower.
Since it is slightly difficult to deal with the data, we do learn a lot when trying.
13: Post_02
This is the final post, which aims to show the method and logic how towers are transported and released.
(We adapted the color of whole image to keep it consistent with other posts so it is different with the prototype. )
