
Grasshopper File: Final Tutorial – Grasshopper
Rhino File: Final Tutorial – Rhino
Idea:
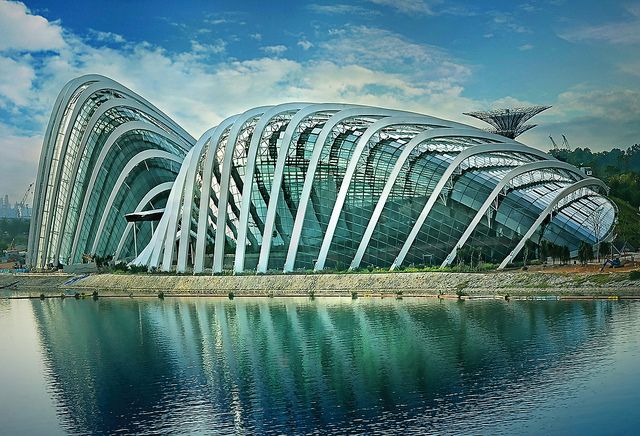
I have always enjoyed outdoor activities such as jogging, cycling and rollerblading. However, in the tropical climate of Singapore where I am from, this is not always possible due to unfavourable weather conditions like heavy rain. Therefore for my final tutorial I would be attempting to create an indoor recreational track that can be utilised in any weather, where users can still enjoy the view and atmosphere of the outdoors while enjoying outdoor activities in the safety and comfort of the indoors. I tried to create an exterior that looks similar to the Flower Domes in Singapore while the indoor tracks are a common amenity found in the communities here.

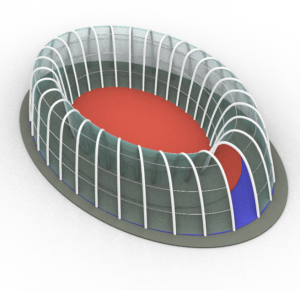
Creating a Base Shape/Layer:
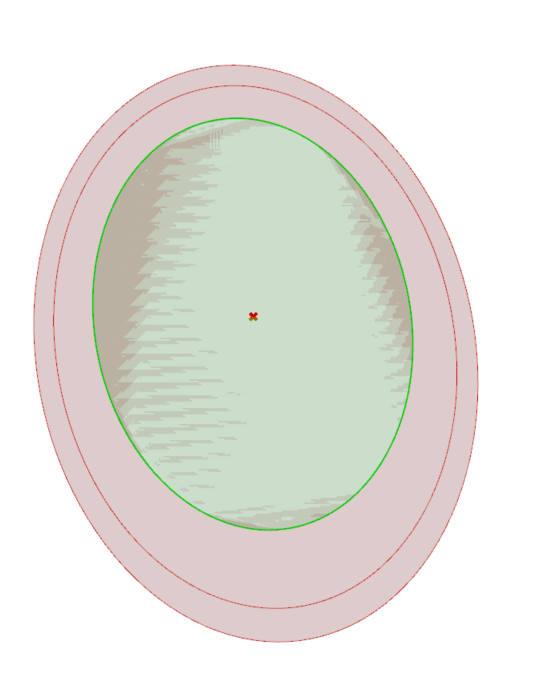
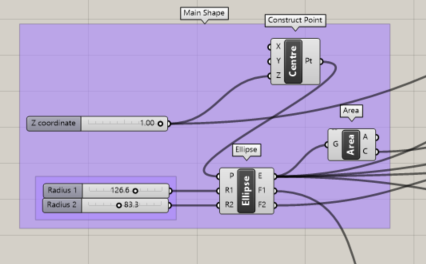
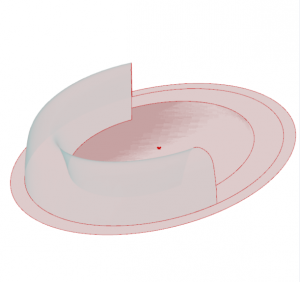
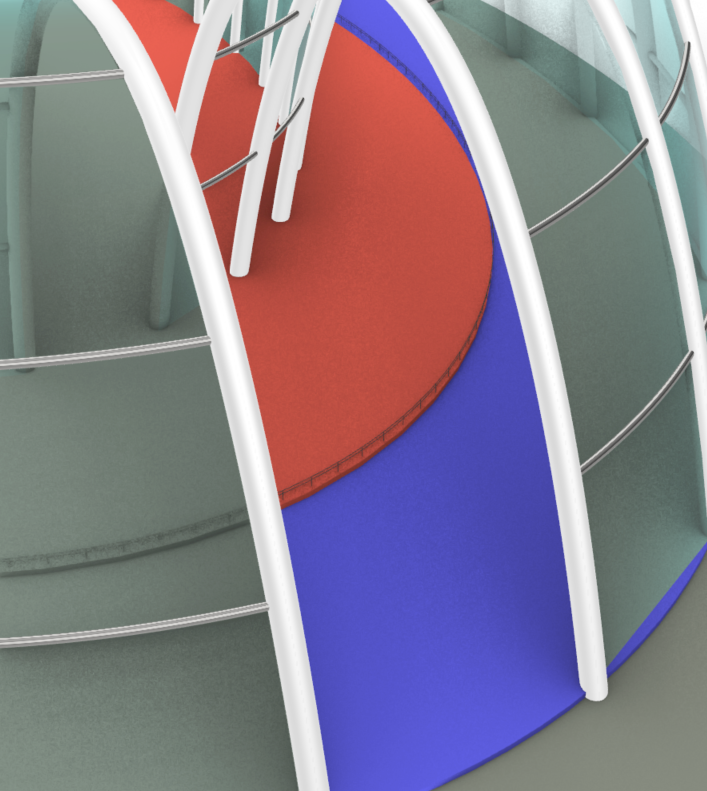
I decided to go with an elliptical shape, using the Ellipse Function in grasshopper to create the base shape, using the Scale function and Evaluate Surface function I then created other base layers like the Secondary Track (In Blue), the Walking/Running Track (In Red) and Base layer (In Grey). Extrude function is then use to separate the layers.

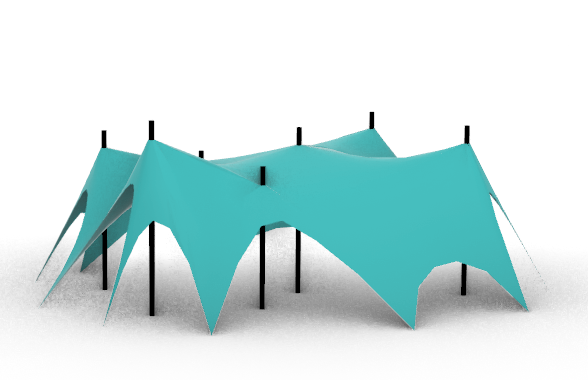
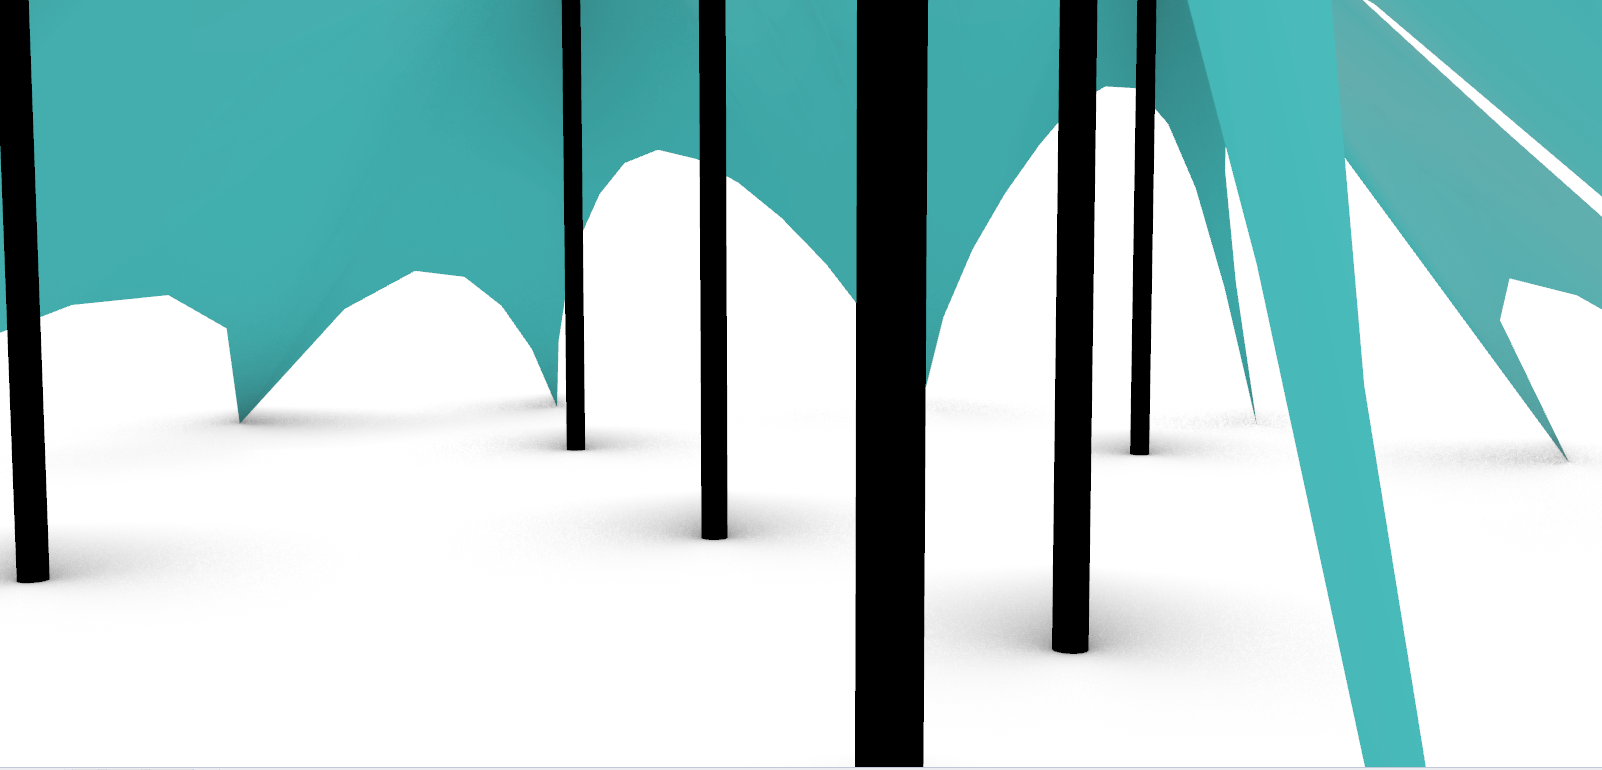
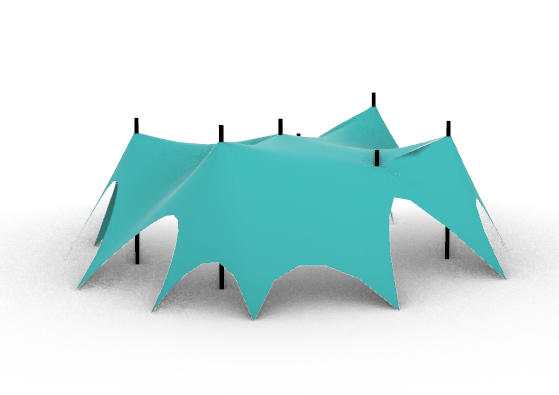
Shelter:
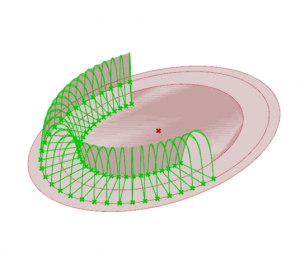
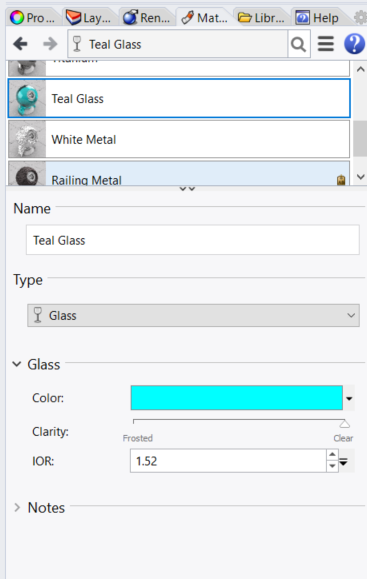
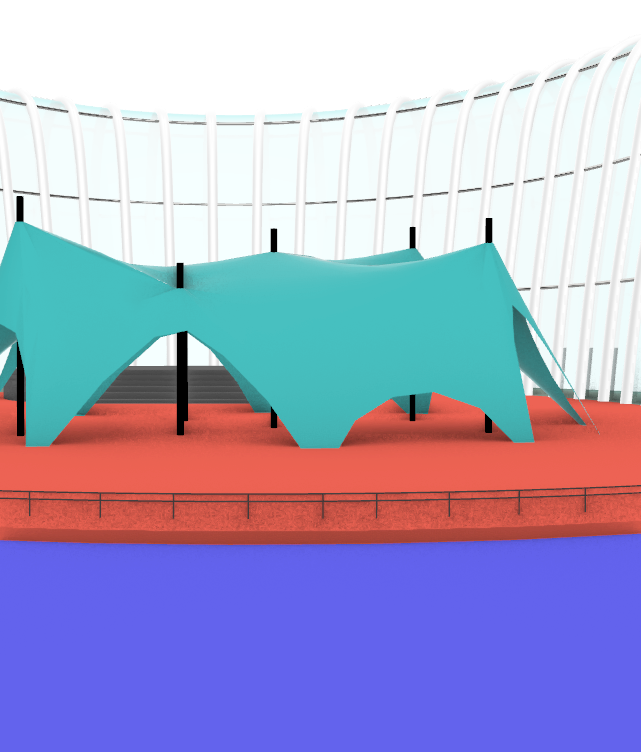
I used Divide Curve function to to create multiple points on two curves, followed by the Line function to link the points. Catenary function, Flip Curve function, Rebuild Curve function and Extend Curve function is then used to create the pattern. The Loft function then connects the curves and create the shelter itself. In the custom preview, a Cyan Glass material is used for the exterior (Material can be defined in Rhino)

Exterior of the Shelter:
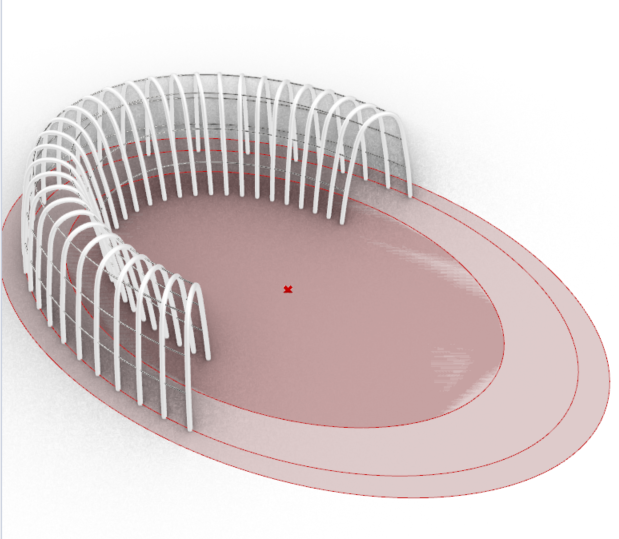
Using Divide Curve function again, together with Interpolate function, I created the points and then the lines for the horizontal and vertical patterns. The Pipe function is then utilised to materialise the exterior and the sizes are determines by the radius parameter.

Using the Custom Preview functions and materials in Rhino, I tried to make it look similar to that of the exterior of the Flower Dome.
Railings:
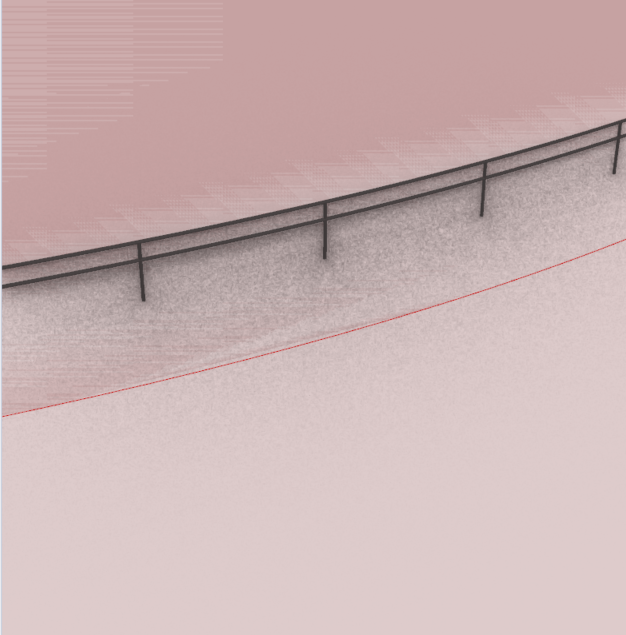
Just like the Recreational Track seen in the picture above, I wanted to add in Railings that separates the two tracks. Railings can be used by the elderly for support on the Walking track and prevent skaters/cyclists from crashing into the Runners/Walkers.
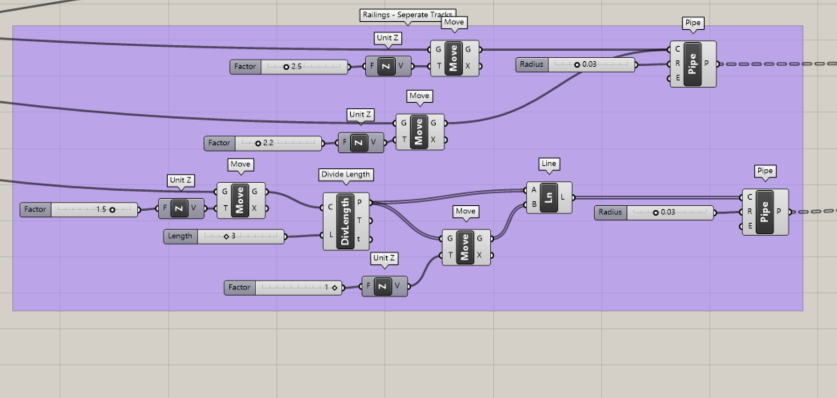
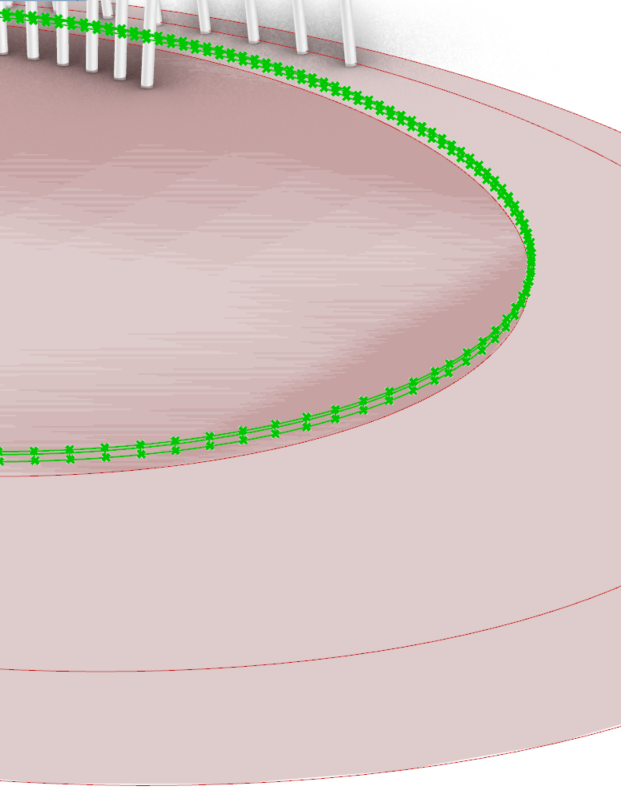
Using the Divide Length function, Move function and the inputing the parameters, I manage to create the railings on the Running/Walking track.
Shelter/Indoor Activity area:
This part of the script is a structure in the middle of the Indoor Recreational Track. Some functions from MeshEdit Plugin is used in this part. Using Mesh Surface, Mesh Explode, to create a base of points, Closest Points and Curve Closest Points Concepts to identify the points to be used and shifted up. Cull Index functions are also utilised multiple times to remove data that is unnecessary, the Panel function was also used to help me visualise the data. This structure is meant to add on to the recreational track, creating an indoor space for users to carry out stationary activities like Line Dancing, Zumba, or Aerobics.

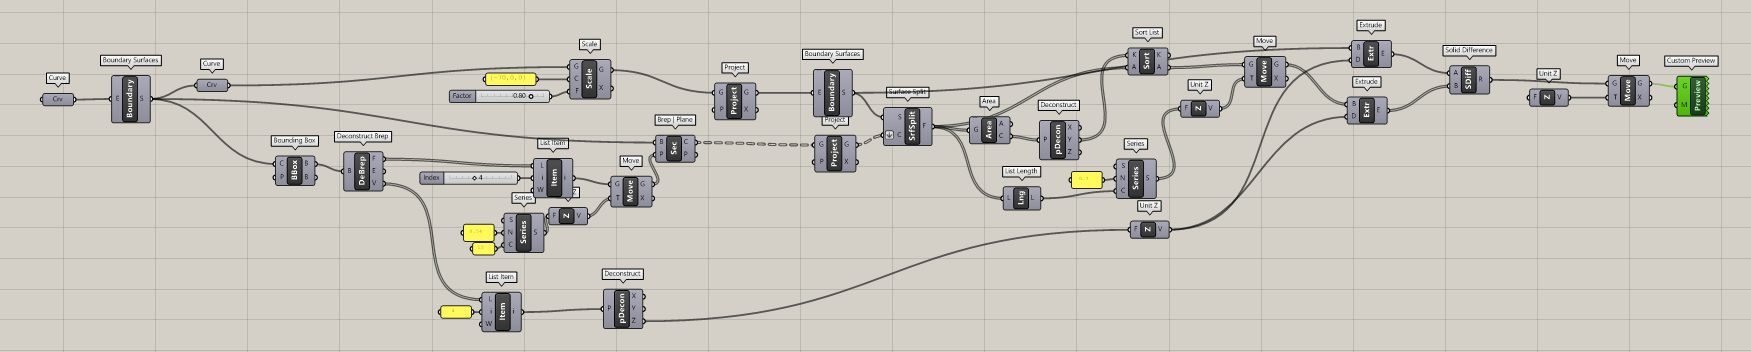
Stage/Resting area:
This is another structure in the middle part of the Indoor Recreational Track. Using Deconstruct Brep, List Item, Project and Surface Split functions to manipulate the surfaces and project shapes onto the planes. Extrude and Solid Difference functions is then used to create the simple structure. The script is found below and also in the grasshopper file. This structure is also an add on to the recreational track, the steps acts as a rest area for users and the Stage area acts as practice space for dancers or for instructors to give out instructions, adding to the functionality of the whole space.

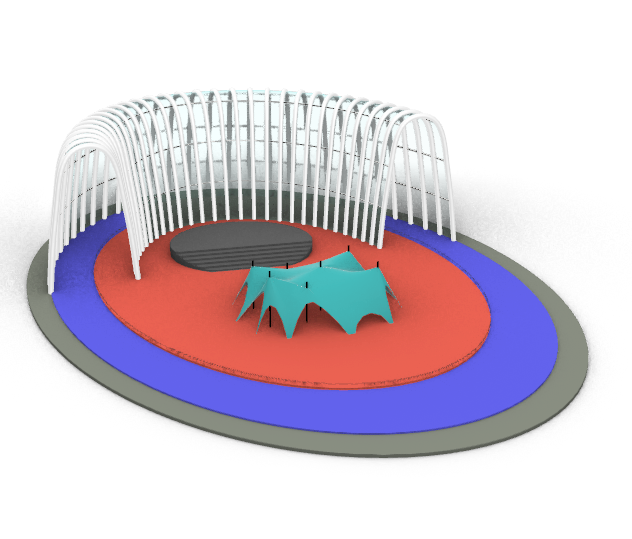
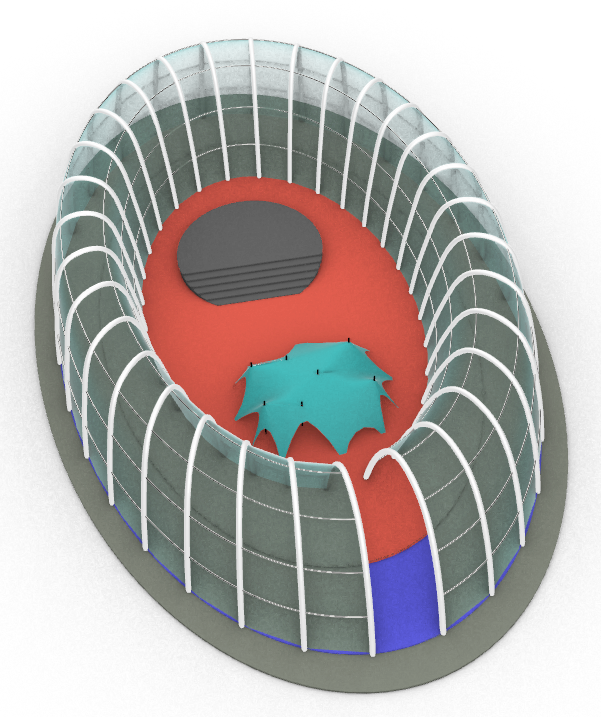
Final Product:
Below is the final product when rendered. Ideally this shelter can be retracted and extended as shown below so that users can fully enjoy the outdoors when the weather is favourable and be protected in the event of rain or otherwise. The scale is such that each round around the running track is around 400 metres. The two additional structures added opens up the functionality as a whole and this can be a venue for any kind of recreational activity.


Credits:
Credits to ekimroyrp for Pufferfish. The Closed Curved function from Pufferfish is used in the grasshopper file. https://www.food4rhino.com/app/pufferfish
Credits to uto for MeshEdit. The Mesh Explode function from MeshEdit is used in the grasshopper file. https://www.food4rhino.com/app/meshedit
Credits to Om. egvo (youtube). He produces a wide range of Grasshopper videos on his channels from which I took inspiration from.
Credits to Tomas Almeida. I made use of the same method he created ‘Guards’ in his final tutorial and adjusted the context to act as railings for my final tutorial.