Tensile structure with Kangaroo 2
Hi everyone, my name is Vitudanish Dara. I am introducing my tutorial to you as part of grasshopper lesson. We will deal with the tensile structure by Kangaroo 2. Kangaroo is a Live Physics engine for interactive simulation, form-finding, optimization and constraint solving. It was created by Daniel Piker.
https://www.food4rhino.com/app/kangaroo-physics
Tensile structure step by step
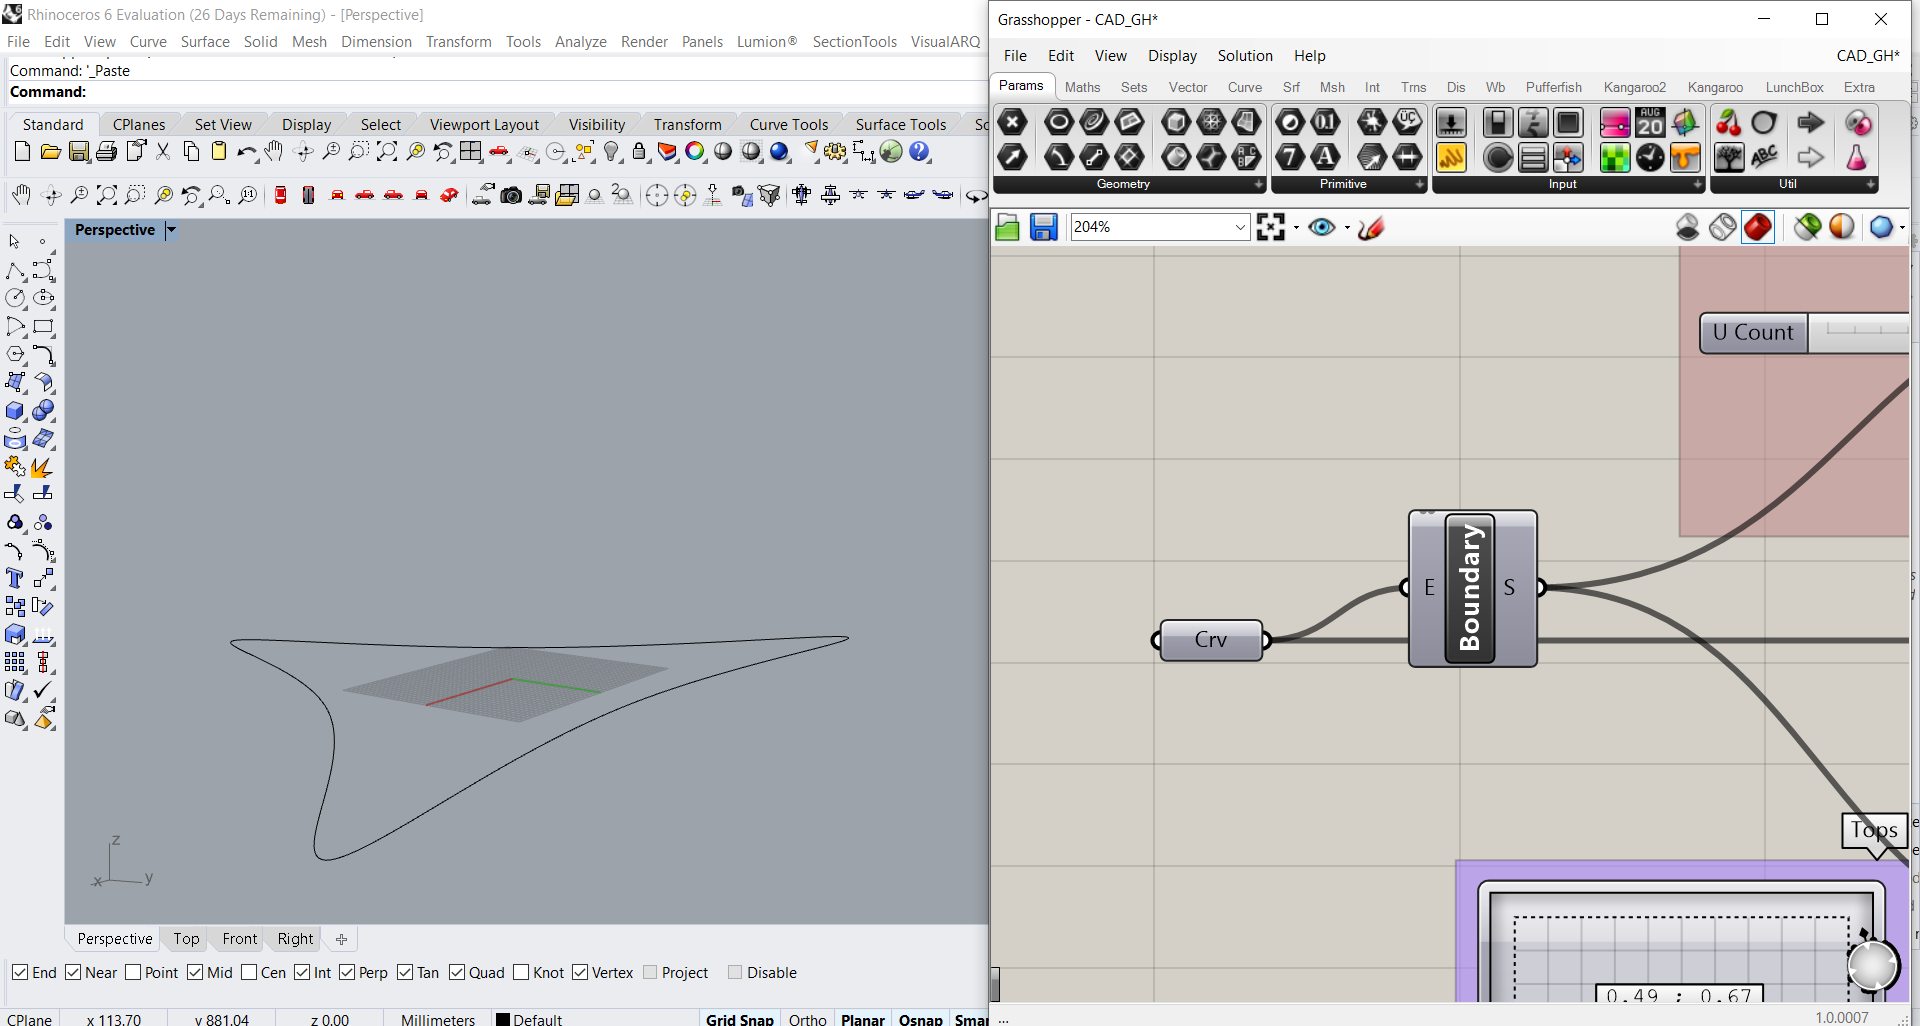
- Let’s start by making any closed curve and set the curve. Create a planar surface from the curve using “Boundary Surfaces”. Offset the curve using “Offset Curve”.

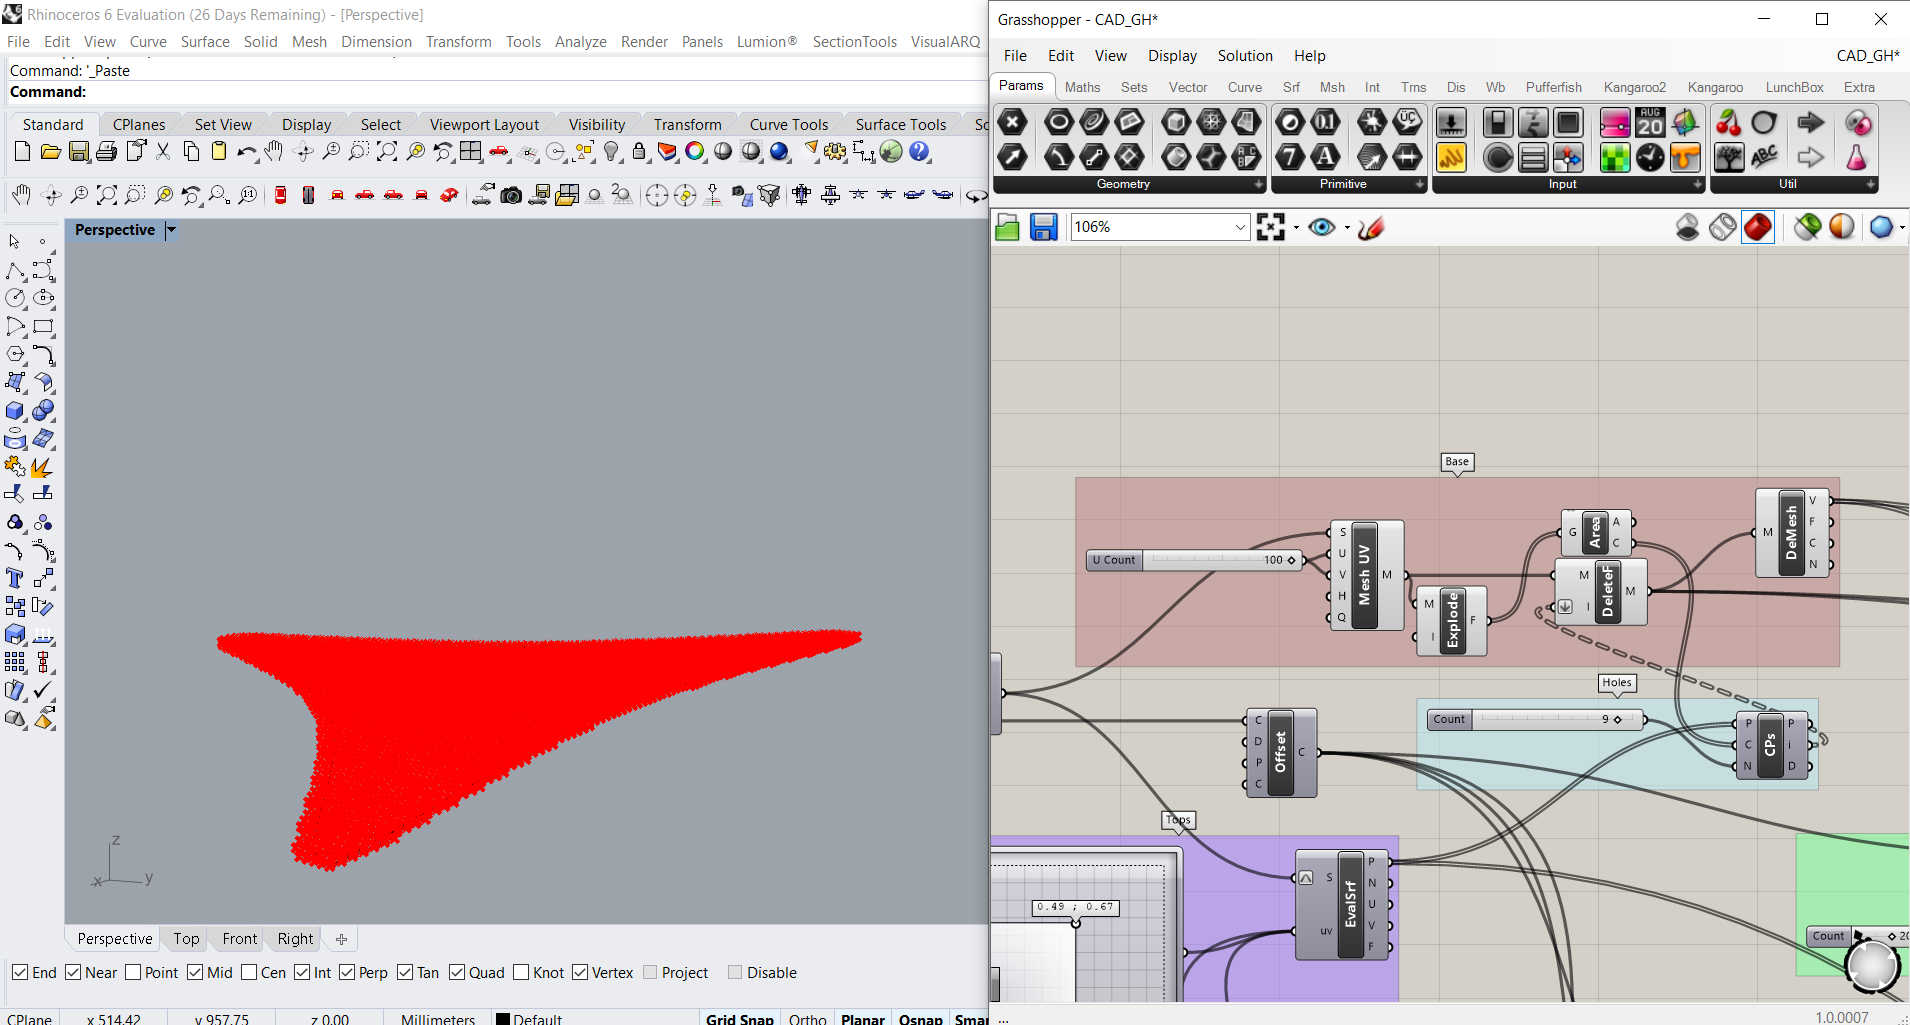
- Let’s prepare a base for our tensile structure:
- create a surface UV mesh using “Mesh Surface”,
- decompose a mesh using “Mesh Explode”,
- solve area properties for the closed curve using “Area”,
- delete faces from the surface UV mesh using “Delete Faces” and flatten indices,
- deconstruct the result mesh using “Deconstruct Mesh”.
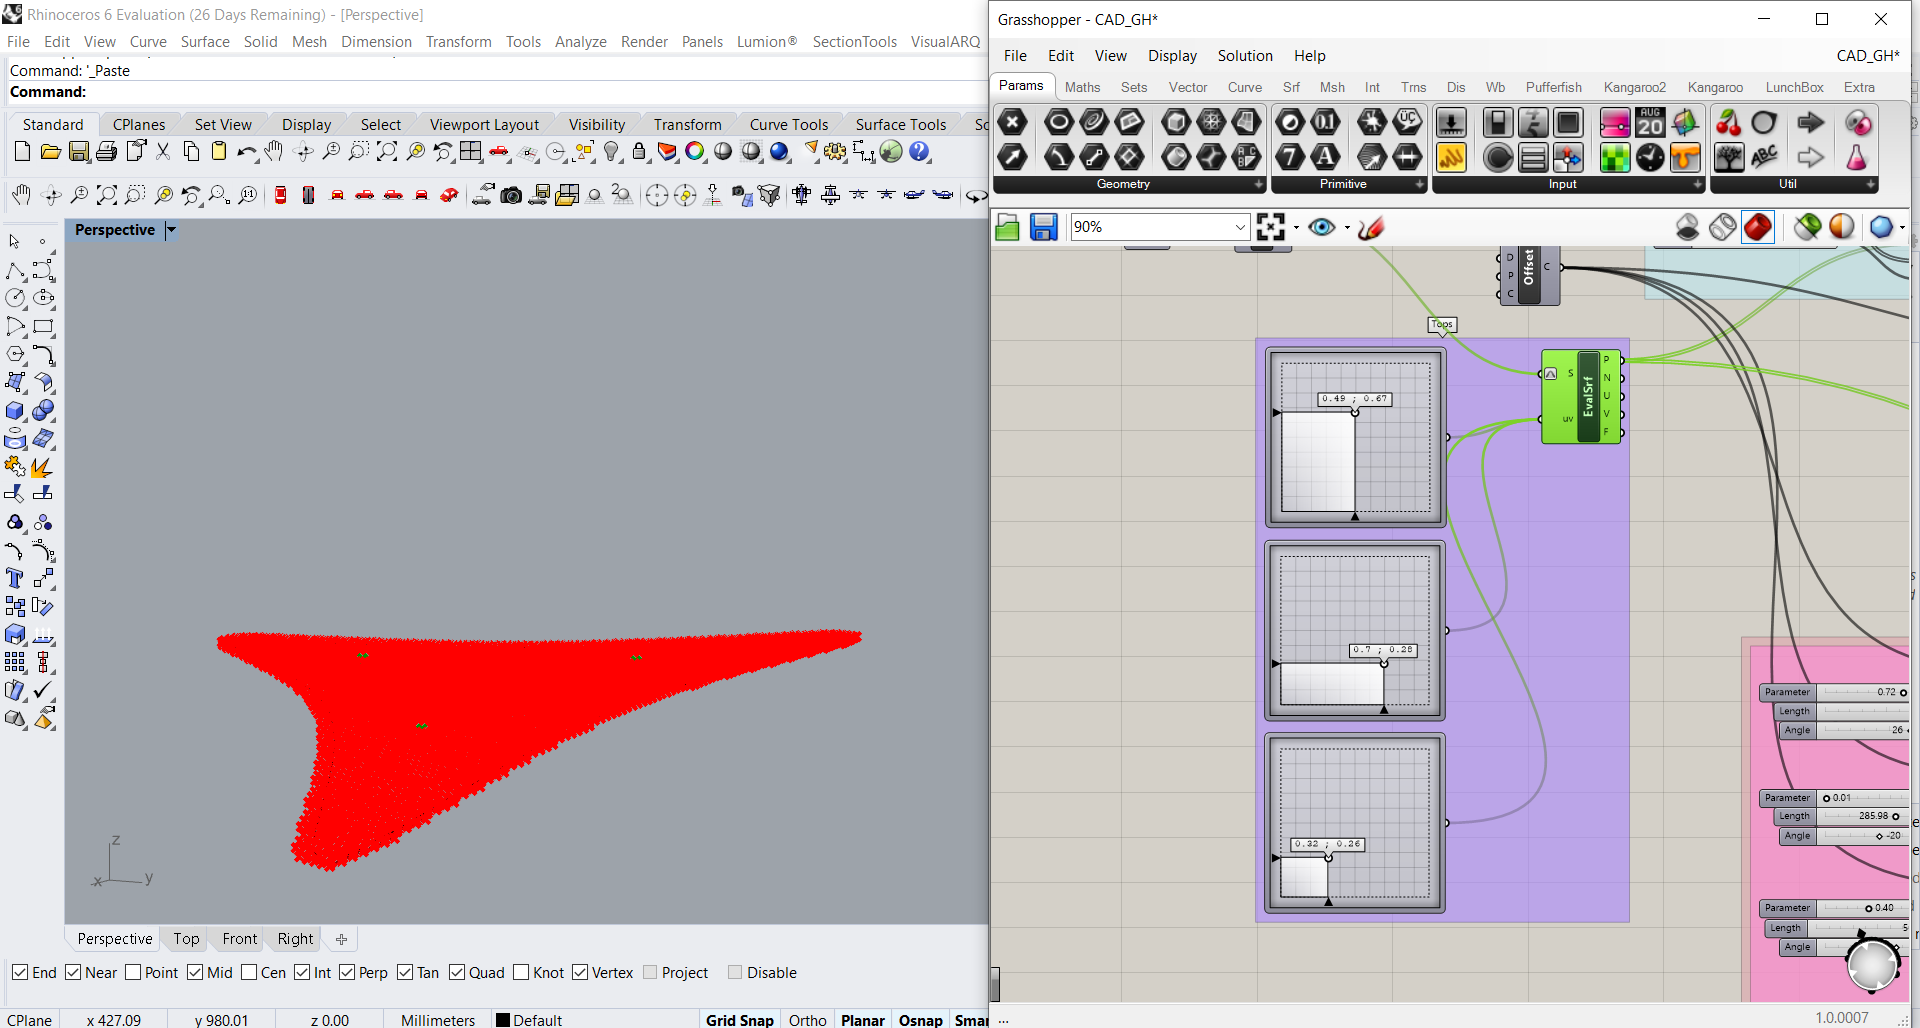
- Now we need to define three places for the tops of the tensile structure: we will use a component “Evaluate Surface”, the location of the top will be defined by a multidimensional slider “MD Slider”. Repeat this step three times. We will check the size of the holes using number of “Closest Points”.
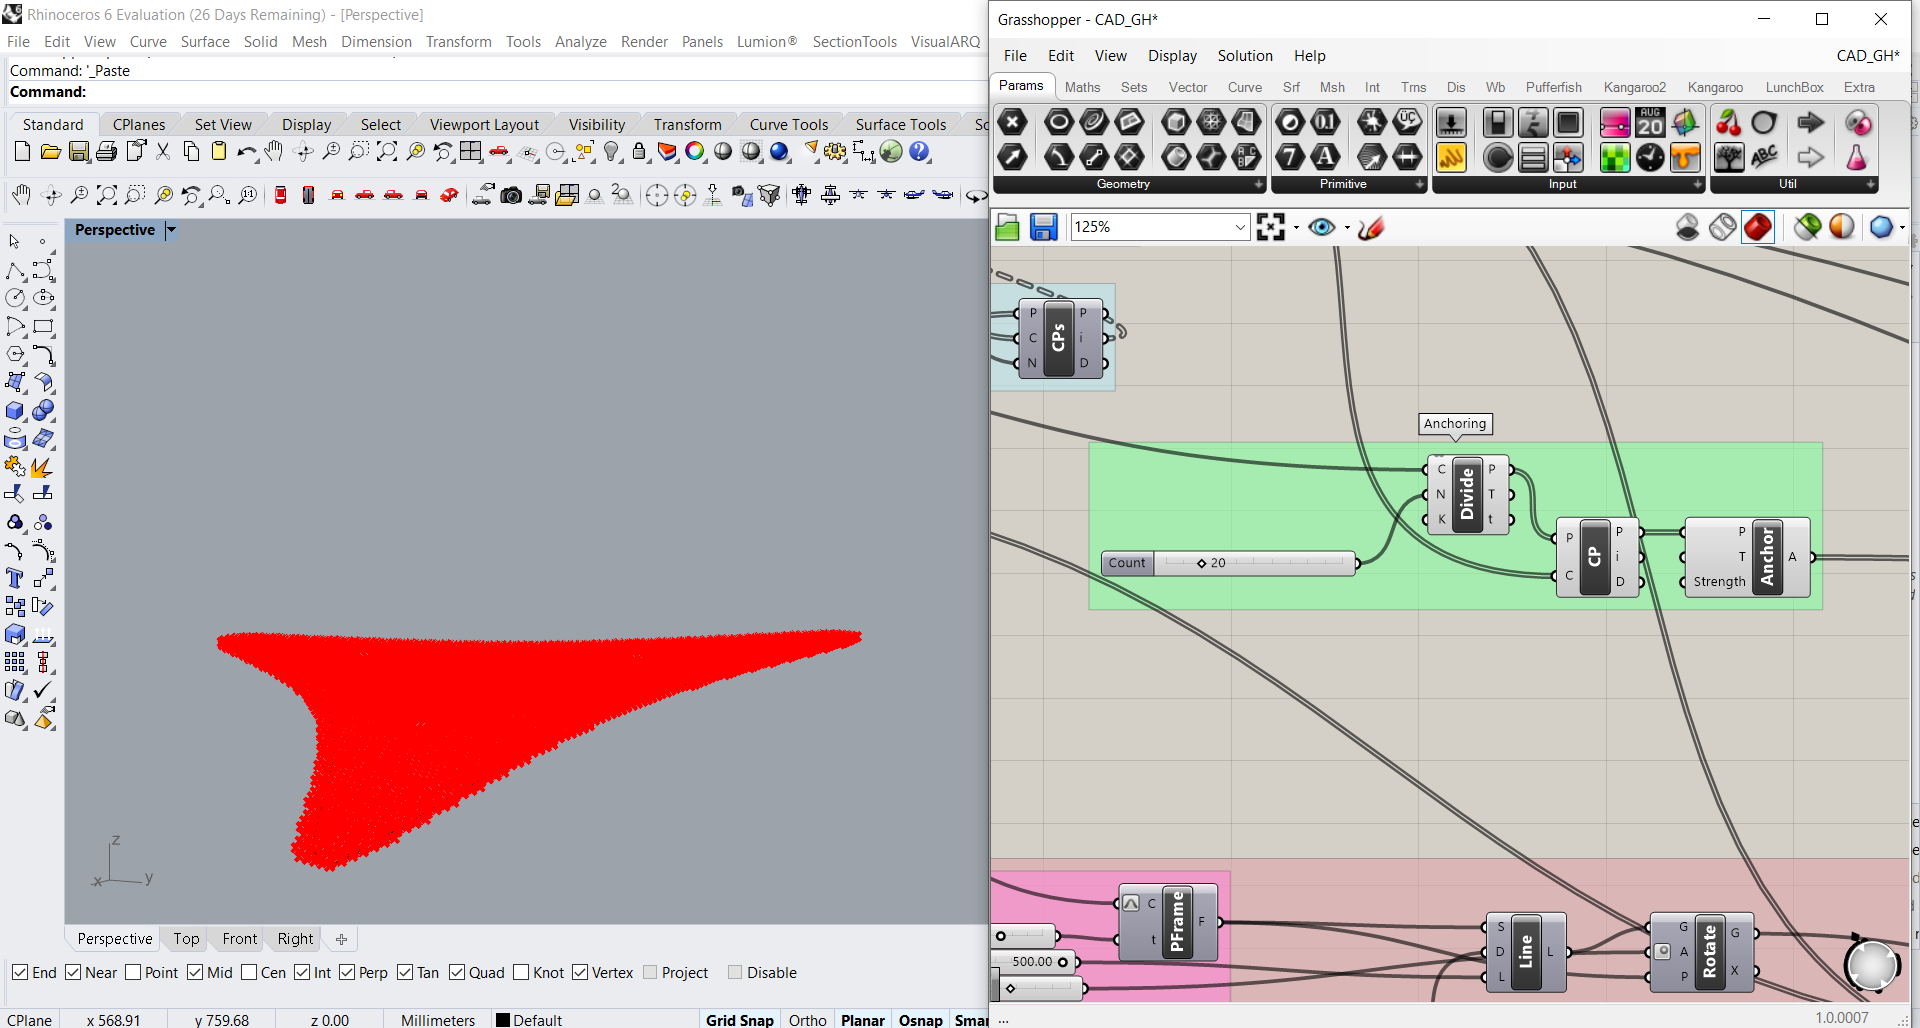
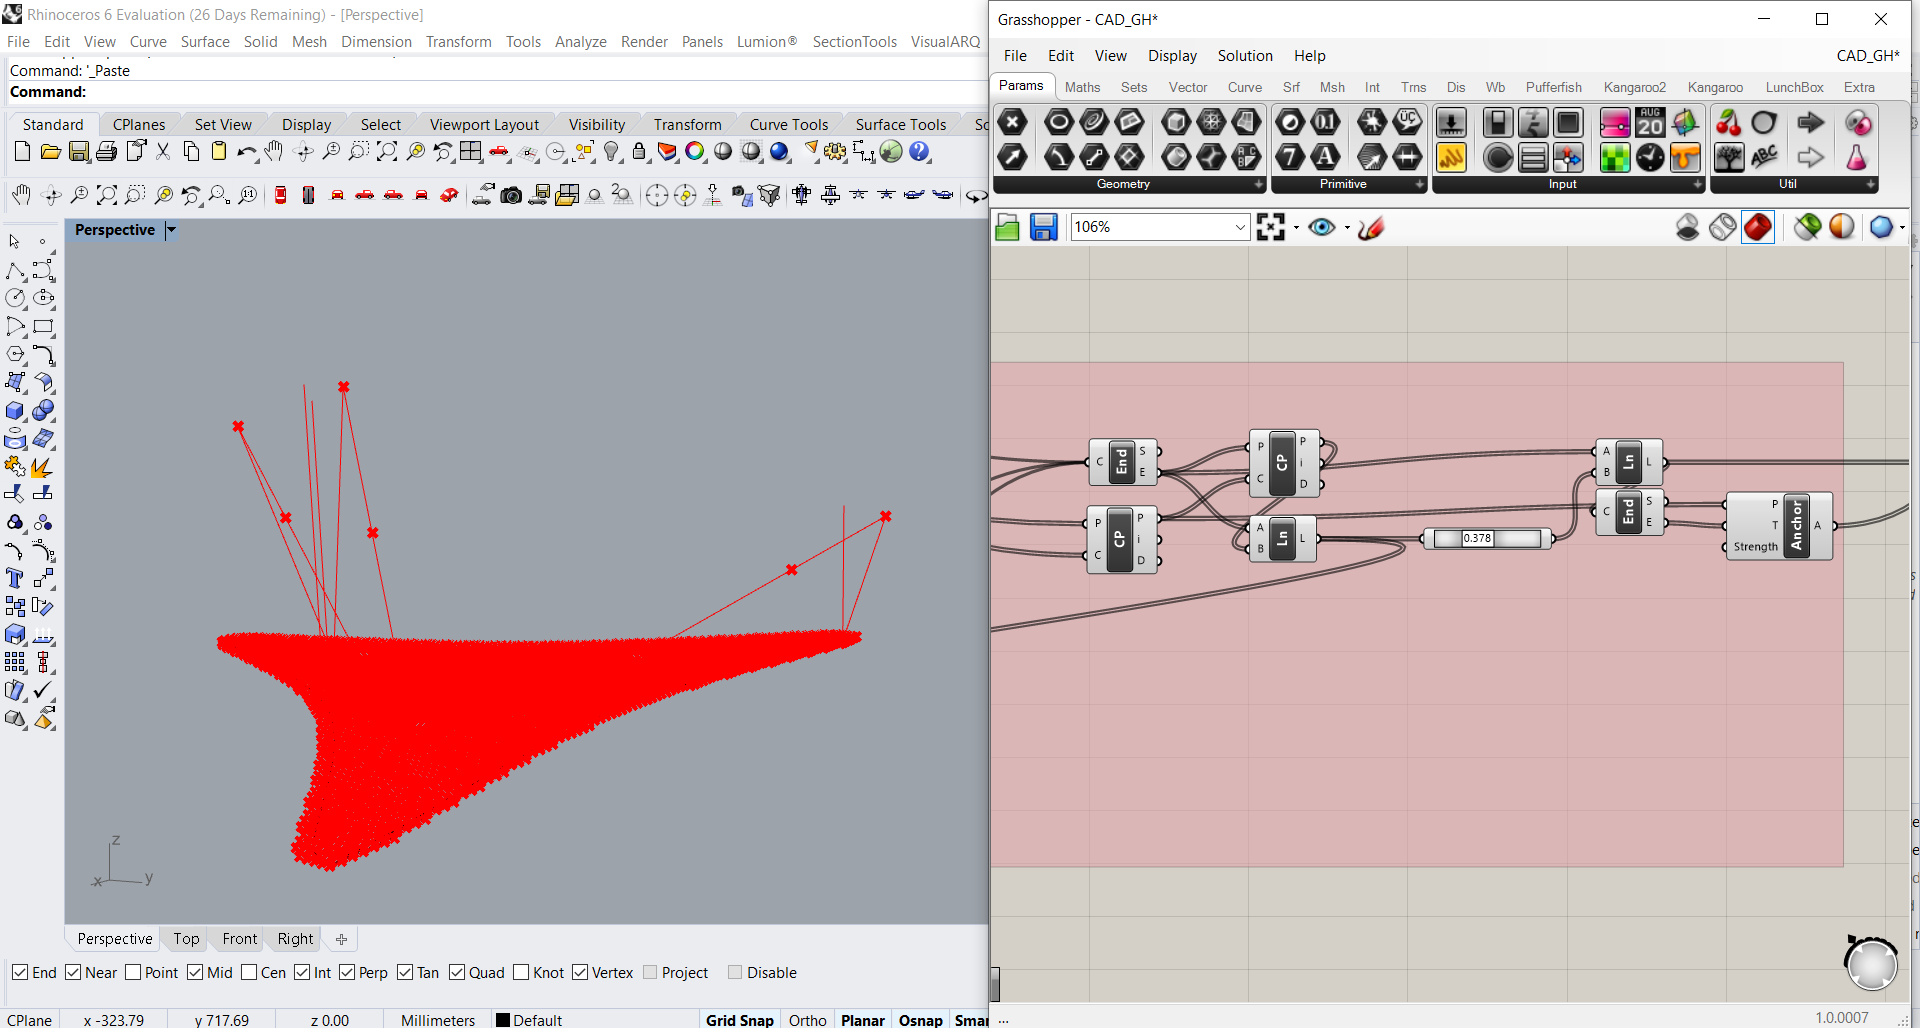
- Ok, so move on and deal with an anchoring of the tensile structure on the offsetted curve:
- divide a curve into equal length segments using “Divide Curve”, set a number of segments,
- fine closest point in a point collection of the deconstructed mesh using “Closest Point”,
- anchor these points using “Anchor”.
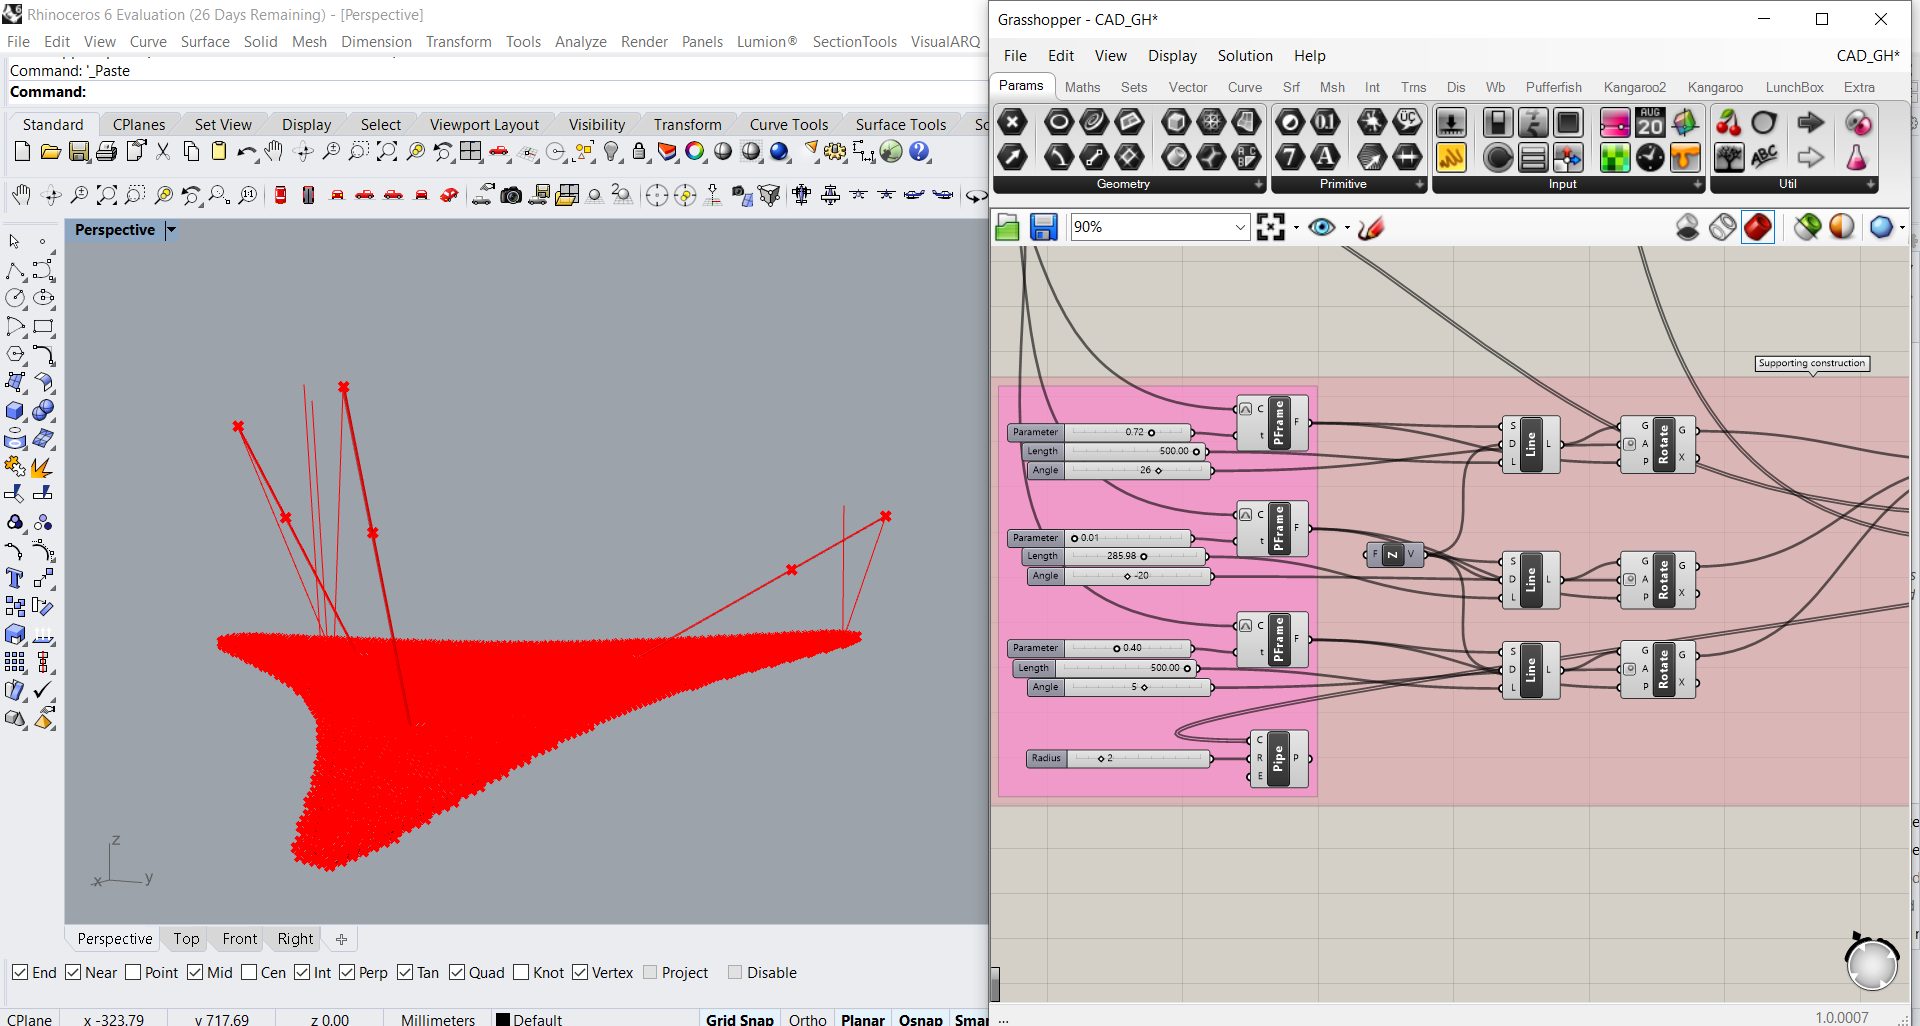
- Let’s create some supporting constructions. We need to define the place of the pillar top, its length and the directions of tension.
- Create a “Perp Frame”, join it to the offset curve and reparameterize the curve input. Enter a parameter on the curve, make sure the value is maximum 1.
- Create a “Line”, its start is our Perp Frame, a direction is defined by the component “Unit Z”. Enter the length of the post.
- The component “Rotate” helps us to rotate angle in degrees. Enter the value of the angle.
- All these steps must be done three times for three pillars.
- Next step works with the geometry of the pillar, no necessary to explain in detail (just follow the picture). Pay attention on the component “Point on Curve”, it helps us to specify a location of the anchoring tensile structure on the pillar.
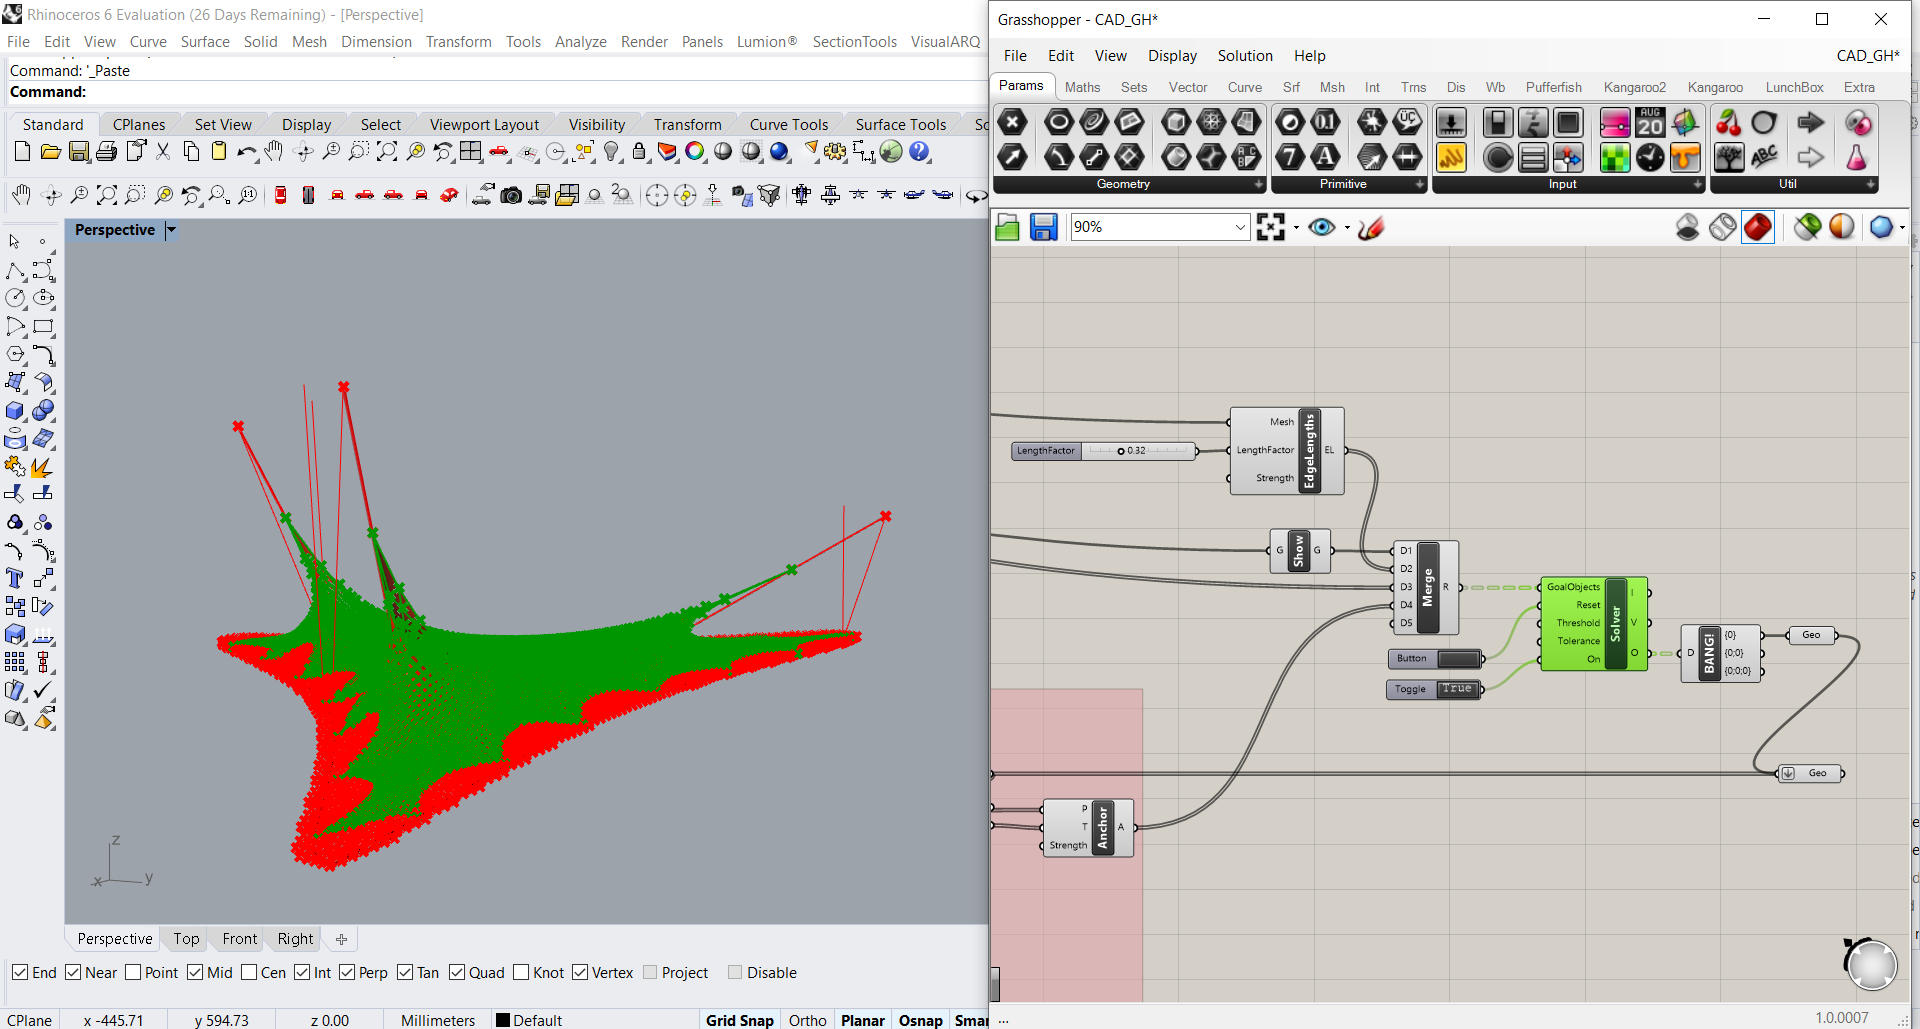
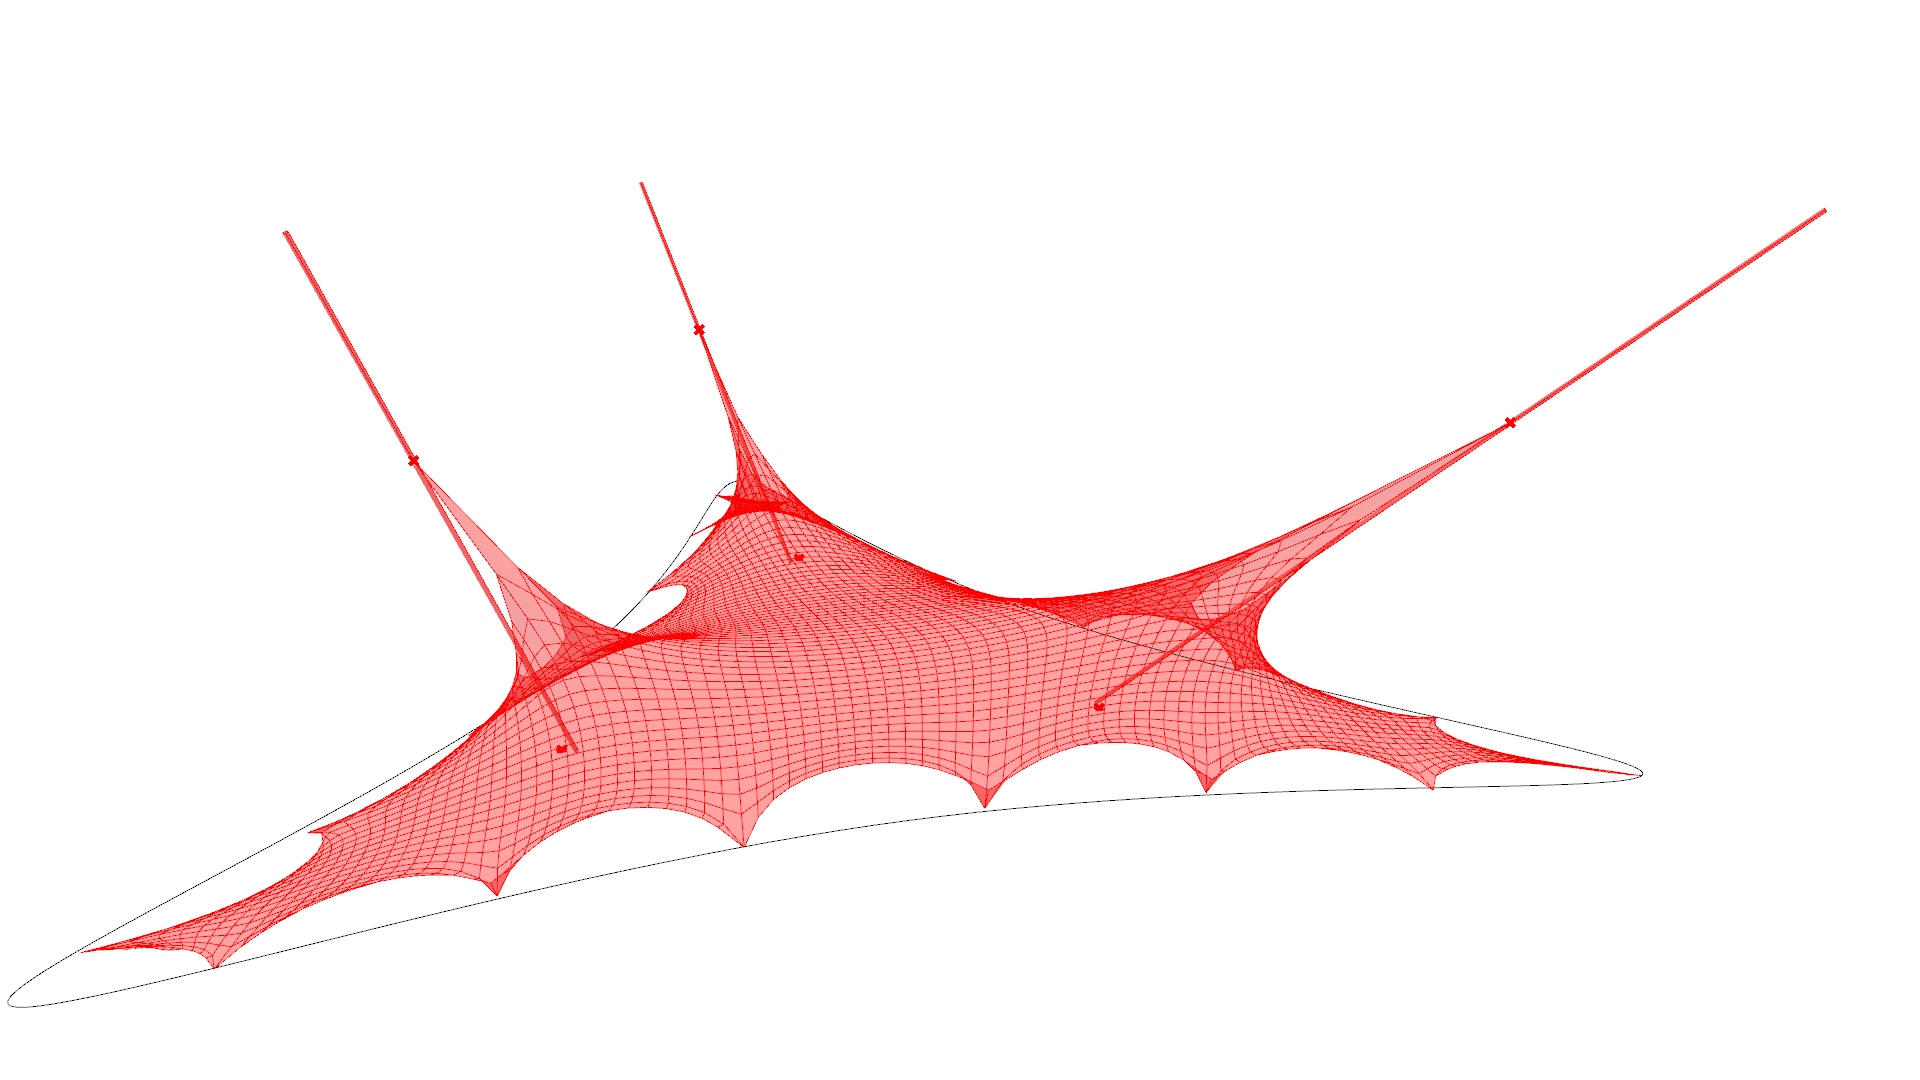
- Now we are getting close to the final. But first, lets specify a mesh of tensile structure using “EdgeLengths”, there we need to set a LengthFactor.
- So now merge components using “Merge” and join it using “Solver”, extract the branches using “Explode Tree” to get the result geometry.
- Play with the parameters until you like it, disable preview of objects what you want to hide.
- That’s it! That was easy, right?
After effects
+ Previous steps led you to a relatively simple structure. After changes in the tensile force of the structure are served in the section: Additional modeling forces. These components are a bit sensitive. Higher stress usually means less deformation at the anchorage points.
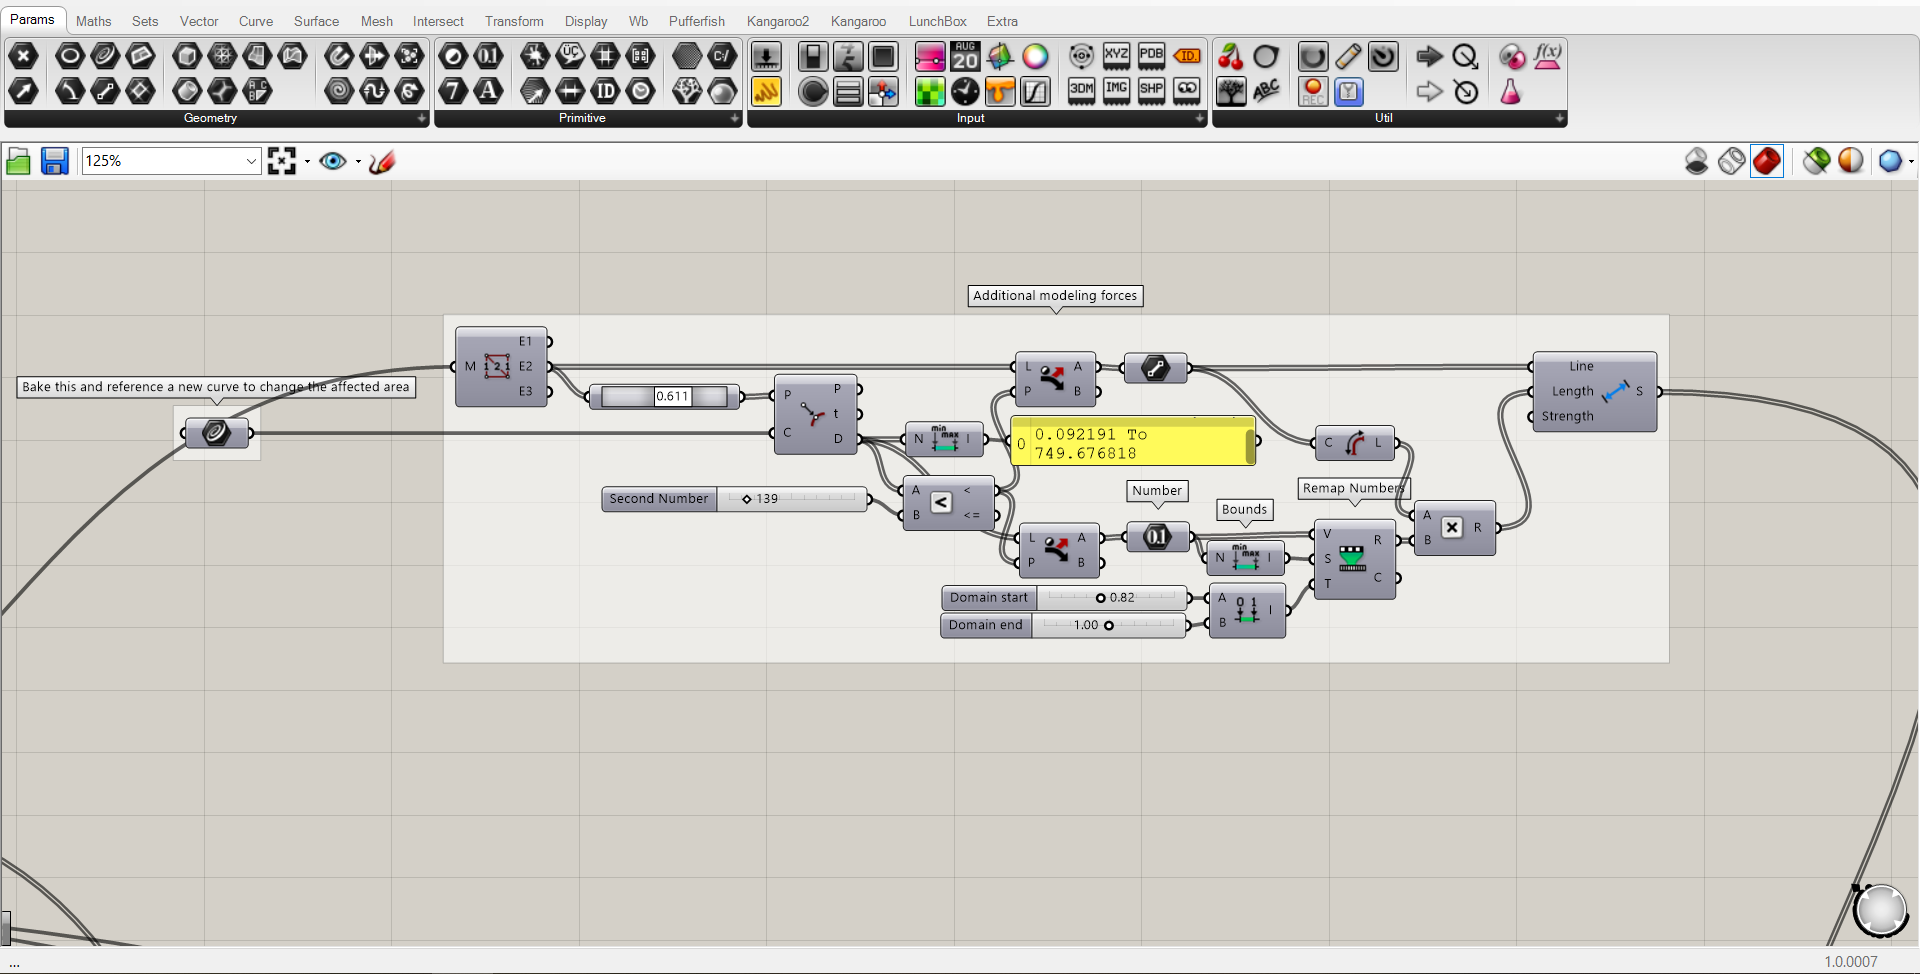
+ There are lots of patterns that you can apply. The file includes four patterns applied to the structure.


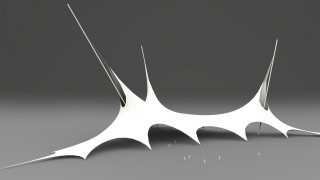
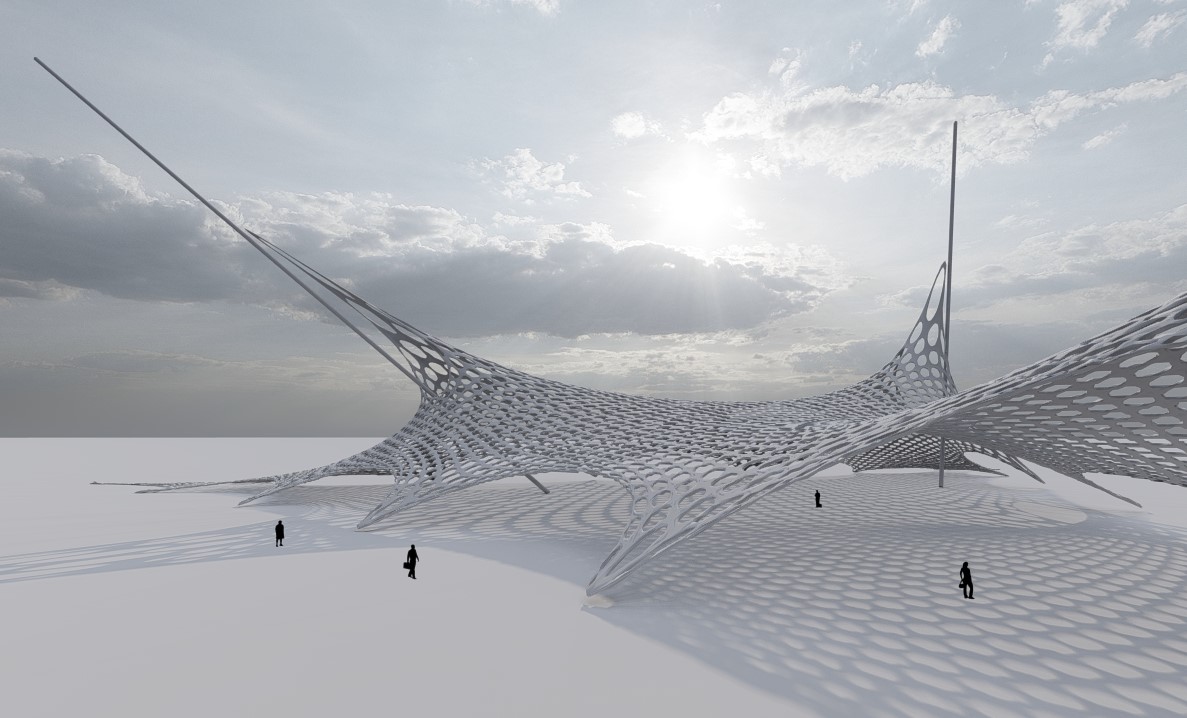
Finally, I add some illustrations, I hope you like this tutorial. Thanks for your attention.

I would like to thank Ing. arch. Šimon Prokop for his observations, comments and guidance of the whole work. Also to Daniel Piker for creating the Kangaroo we worked with.
Download:
Rhino base: Tensile base_Dara
gh: Tensile_Dara2