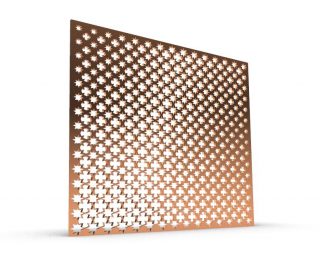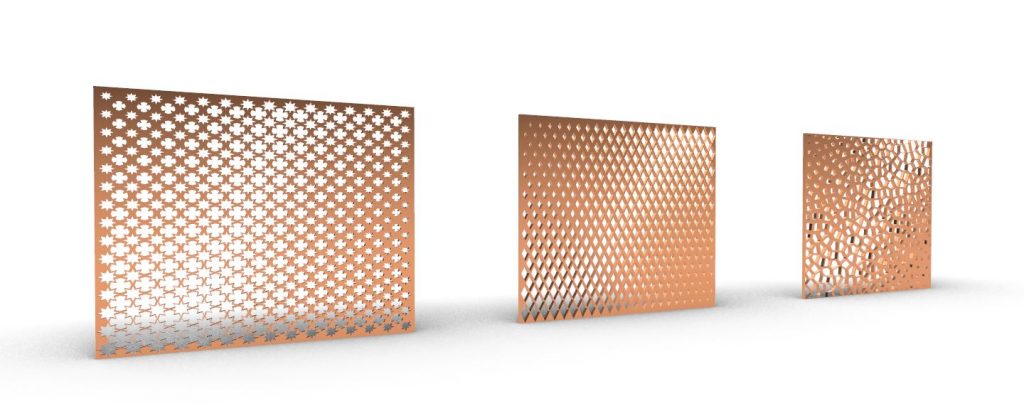
Aim: Panel/ Screen that provides a variation of light and privacy depending on the situation. Can be applied to any surface created in Rhino model.
What you will need in the rhino model:
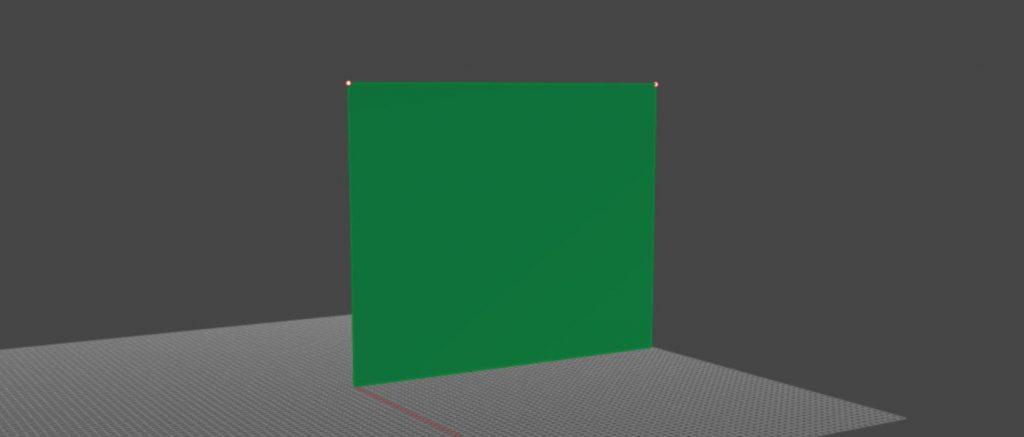
Your surface. It can be flat, curved, any shape that you need.
1 or 2 points on the surface. You can add more if necessary.
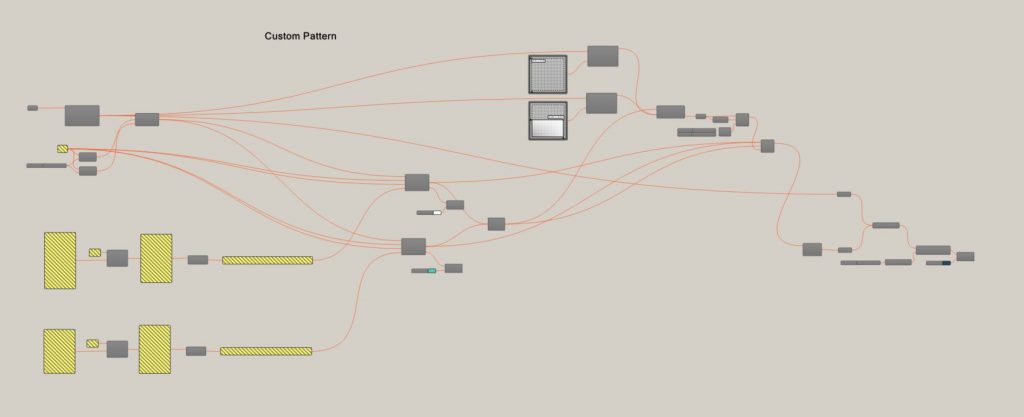
For a customised pattern, first you must set one surface and rebuild it. The U and V number will be based on your custom pattern. My pattern happens to have each shape fit into a 12×12 grid, so my panels will be based on the number 12, which is then multiplied by how many rows and columns of these shapes I want to have appear on my surface. I have it set to 15 rows and 15 columns. You can use separate number slider if you do not want these to be equal.
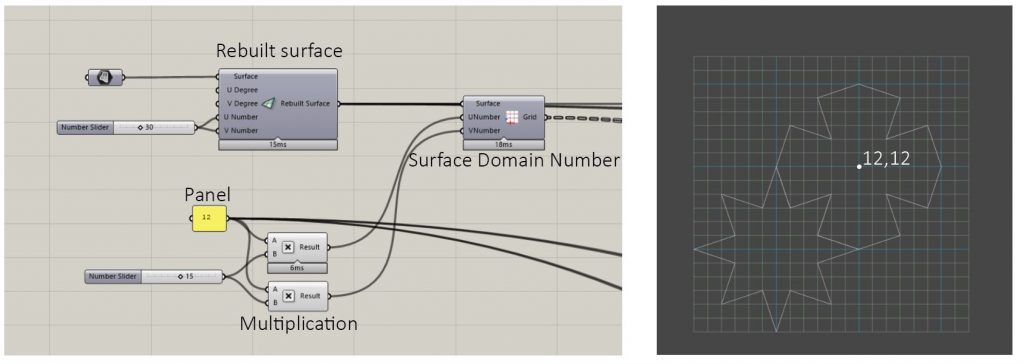
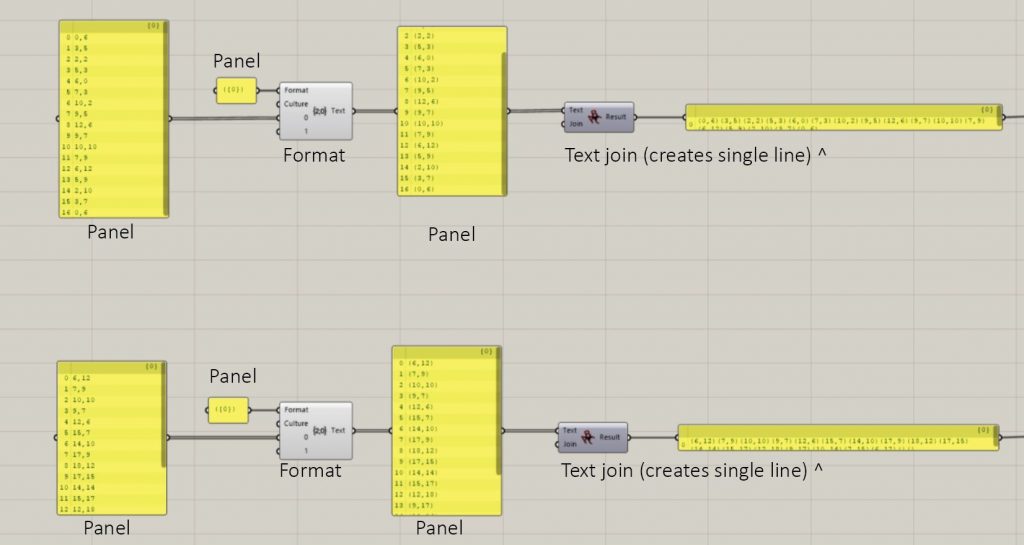
You can see two shapes in the customised pattern. You must find the coordinates of each point of the shape and create lists of these coordinates. Always end list with the first coordinate in the list to join the shape. Both shapes are 12×12.
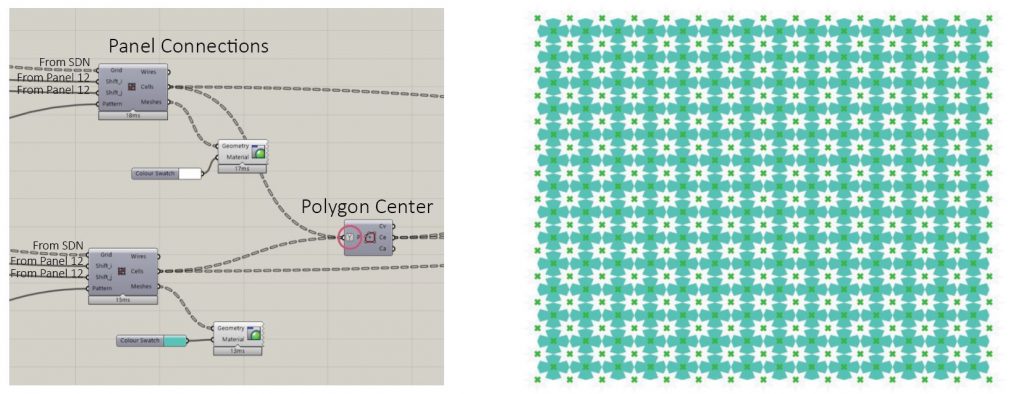
Utilising Paneling Tools – Panel Connections – we place the each pattern shape coordinates into the grid. Each shape is visiable using Custom Preview and assigned color. (Preview then disabled). Both Cell results for each pattern are then plugged into Polygon Center. This will inform the scaling later.
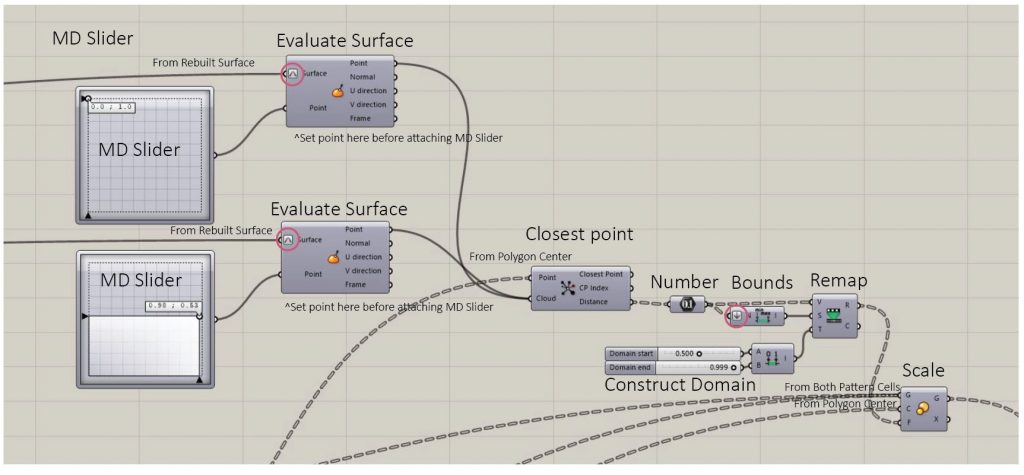
Set Points on surface that will be the location of scaling influence (attractor points). These points are then remapped within bounds and a constructed domain. The constructed domain will influence the max (.999) and min of the pattern shape in relation to the points once connected to scale.
Result at Scale
The size of each pattern shape change in relation to their distance from the attractor points.

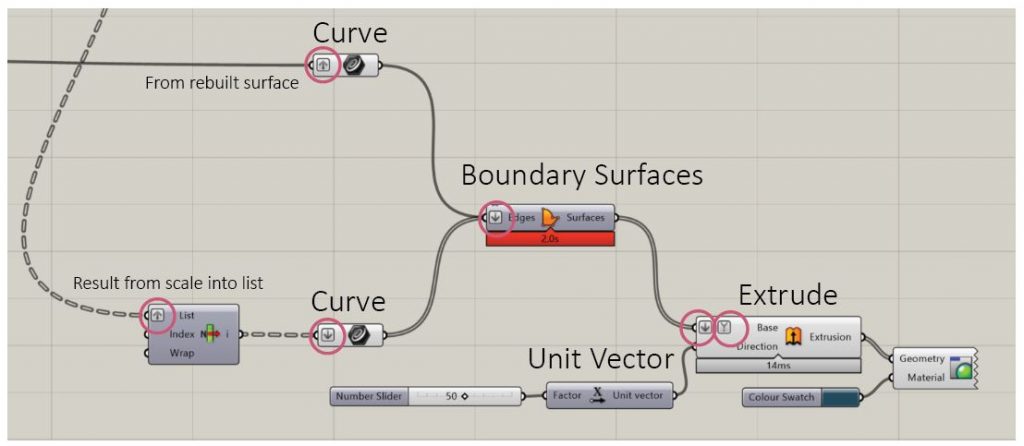
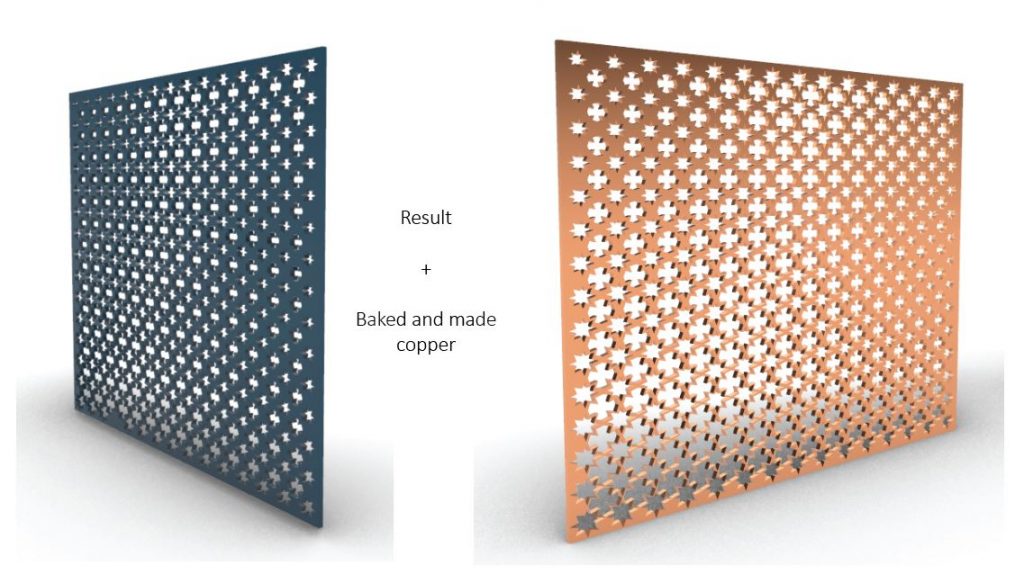
To extrude the shapes into a panel/screen to Bake: The resulting scaled curves are then merged with the curves of the rebuilt surface, creating a perforated surface to extrude. This is then extruded, the thickness of which depends on your preferred depth of designed panel/ screen/ surface. Pay attention to which vector you will be extruding along. You may need to change this to a y, z, or create your own custom direction.

Using Lunchbox

Using Voronoi

