SUSPENDED BRIDGE IN LEIPZIG CANAL DESIGN PROJECT
In my design studio for this semester, one of the main design element is the suspended bridge. In this tutorial, I will take you through the process of designing the bridge using grasshopper.
Step – 1: Terrain
Create terrain on grasshopper to start the process of designing the bridge.
Step – 2: Making the main bridge column support
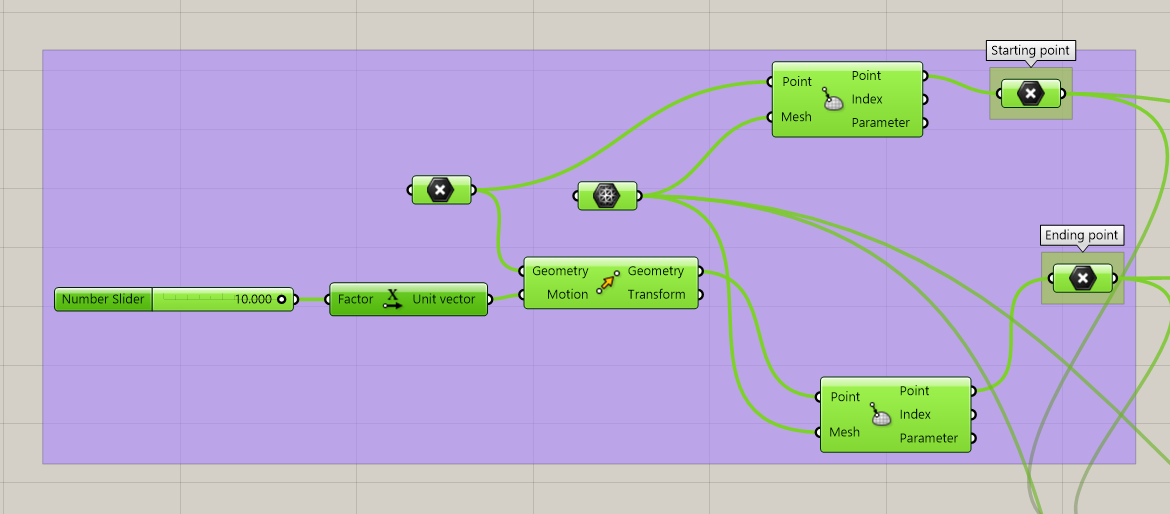
Pick a floating point on the terrain and place it on the mesh of using the closest point command and get the point of reference on the mesh.
Step – 3: Making the main bridge column support
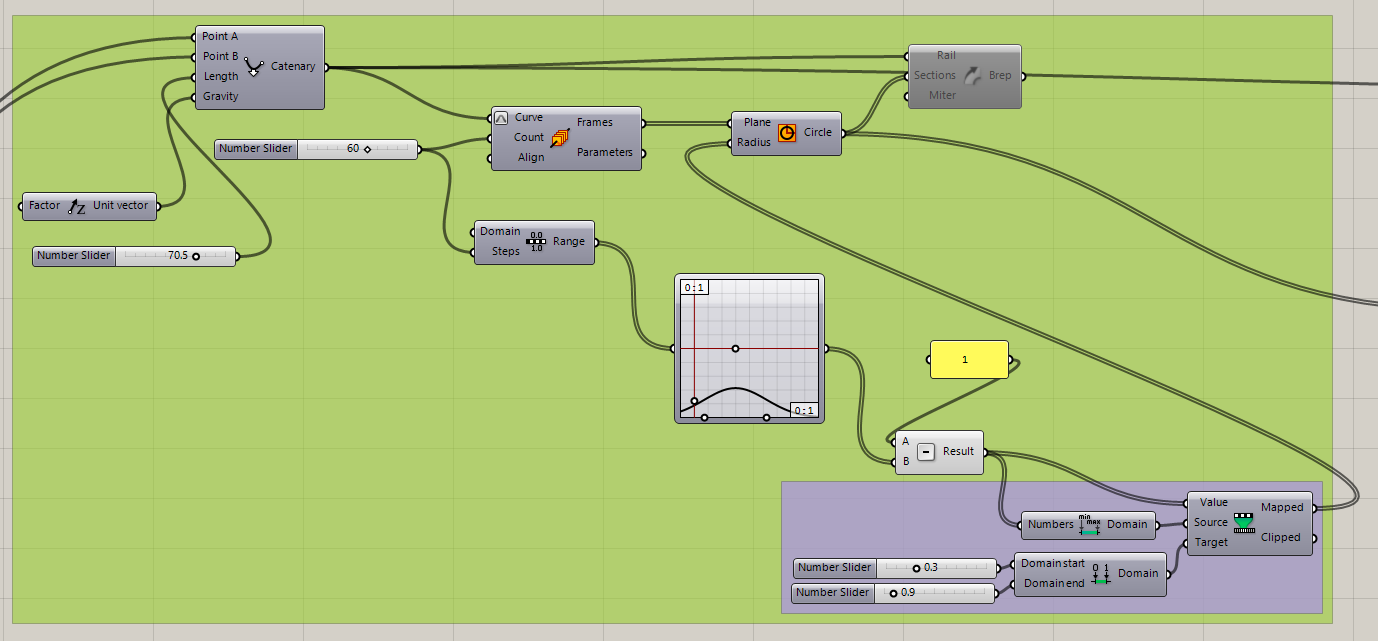
Using the defined point as the starting point and make a catenary arc and move the point to create a closing point and define the height and base length of the curve.
Step – 4: Making the main bridge column support

Create middle point using the starting point and end point and find the closest point on the mesh and move it in y direction and use the negative to create the other side of the curve.
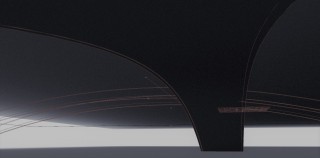
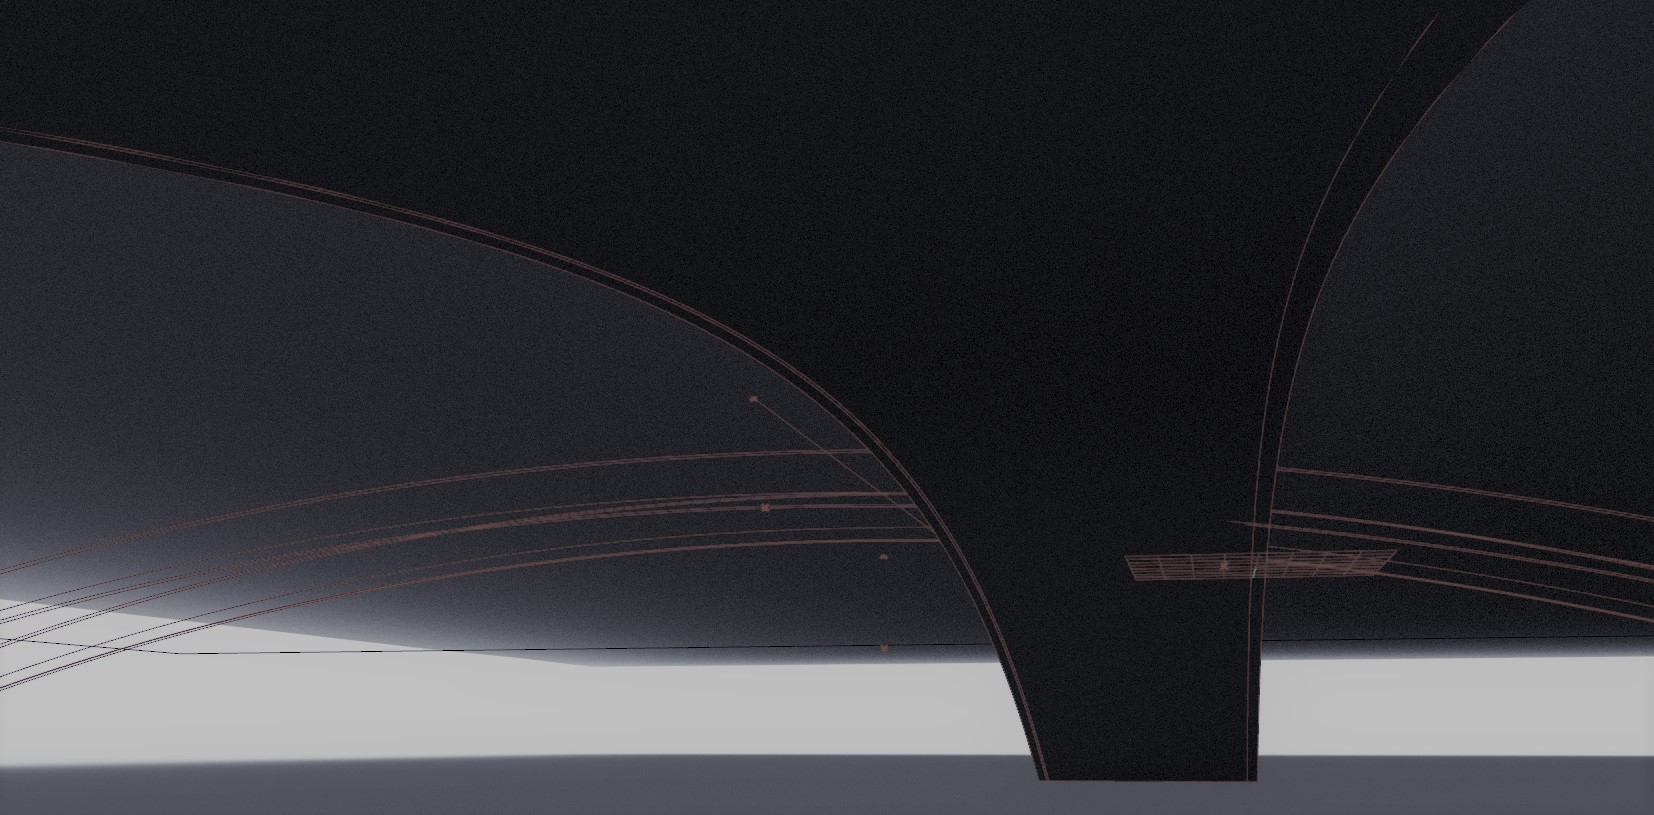
Step – 5: Extrude along the main bridge column support
Using sweep option to create one rail and section curves to give different thicknesses. Using the perpendicular frames option to provide circle or rectangles on the curve and add number slider for radius of the curve to get a smooth parametric curve and extrude.
Step – 6: Providing the suspended wire support on the main bridge column support
Create a nice clean curve using the nurbs curve option and place the points on the rhino and this curve which will act as a base for the main bridge structure.
Step – 7: Providing the suspended wire support on the main bridge column support
Create a portion of a curve to connect to the other portion of the curve using the domain of the curve and re-parametrice the curve to start the curve from 0 to 1. Make a group and copy the curve and divide the curve to get the number of suspended wire.
Step – 8: Providing the suspended wire support on the main bridge column support on the other side
Repeat the previous step and reverse it on the other side to get suspended wire on the other side of the bridge
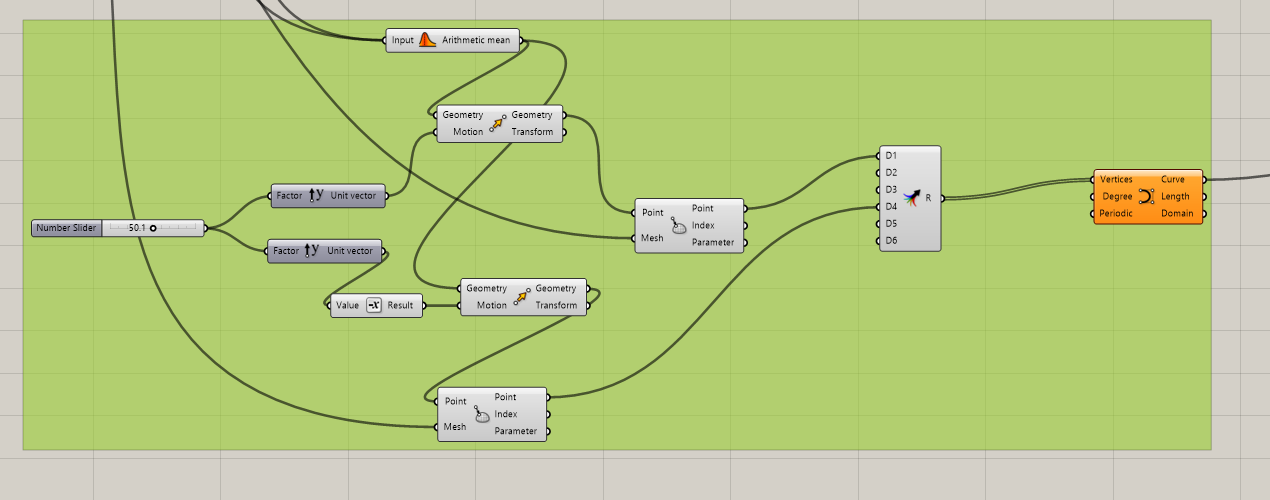
Step – 9 : Creating the main bridge
Place three floating point at equal distance from each other and move one point slightly higher to make a deflection curve with surface and find the closest surface point and get the evaluated surface to check for normal plane to see if its aligned correctly.
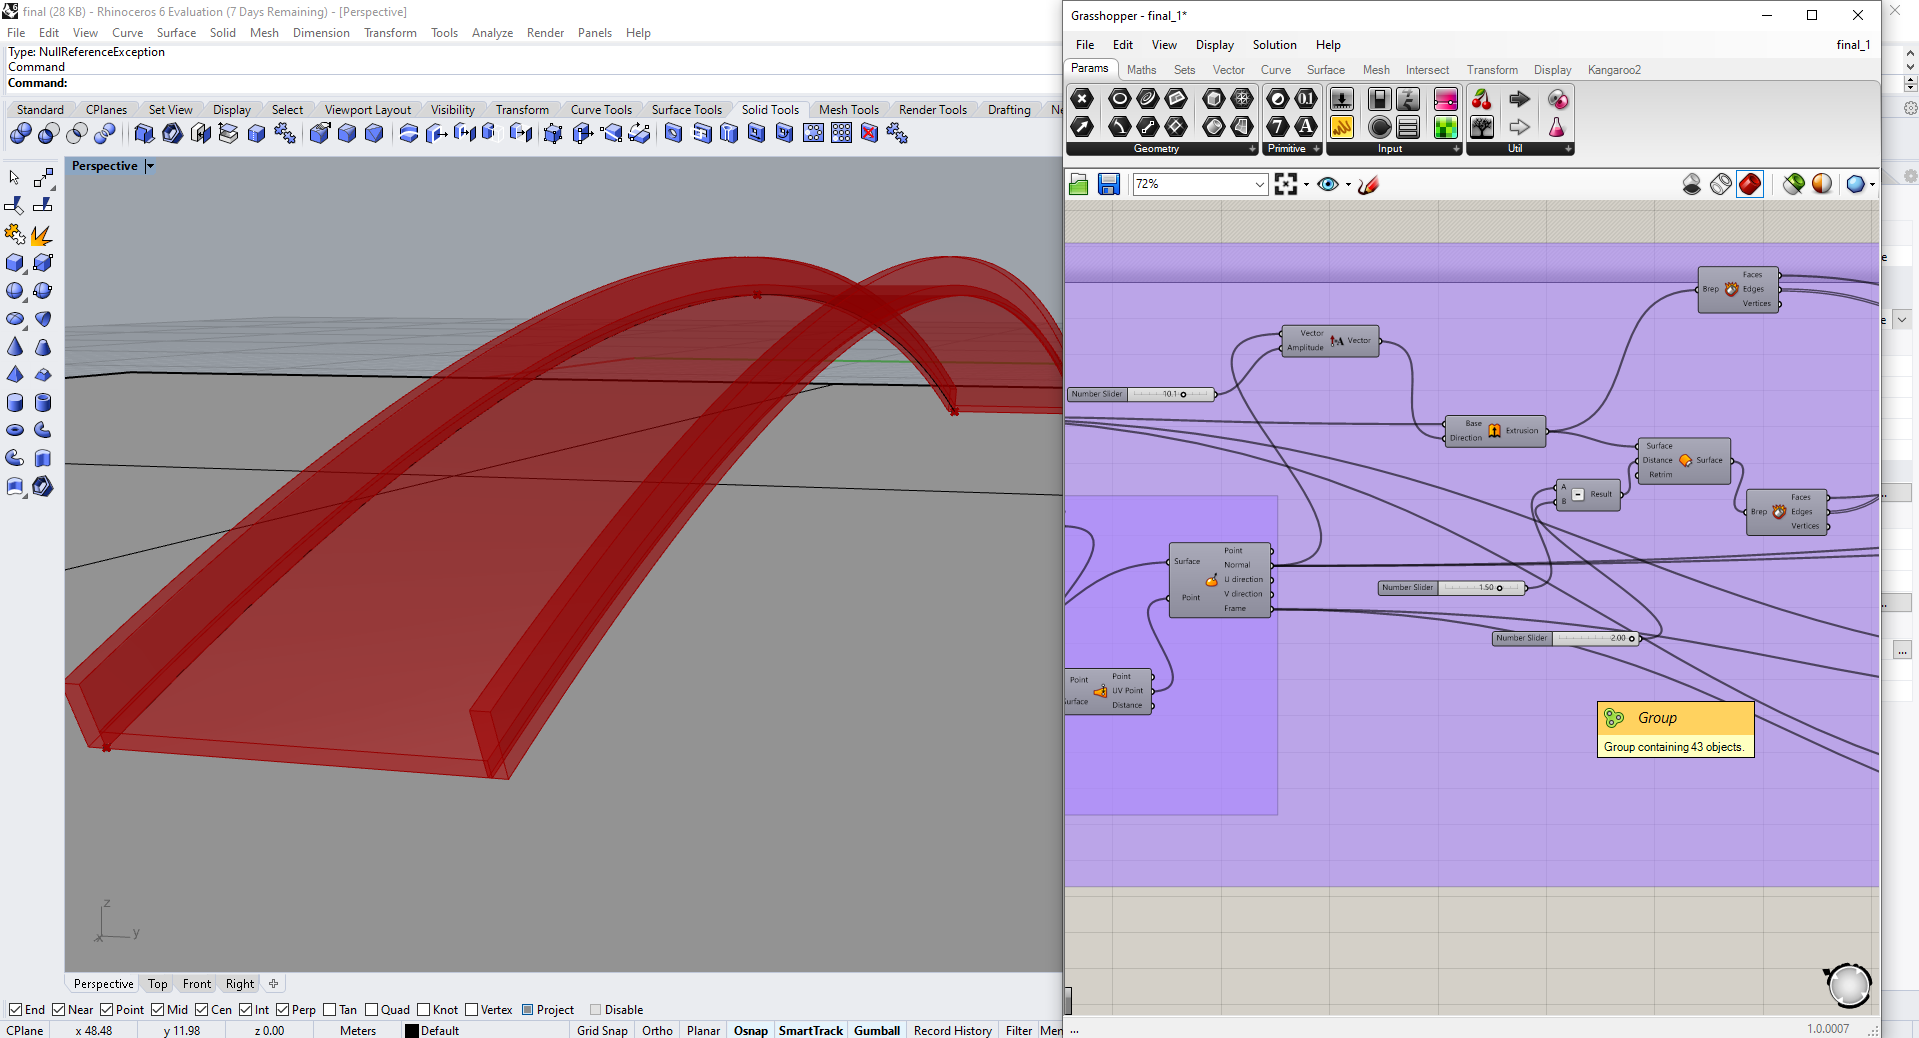
Step – 10: Main bridge – Extrude and make offset surface
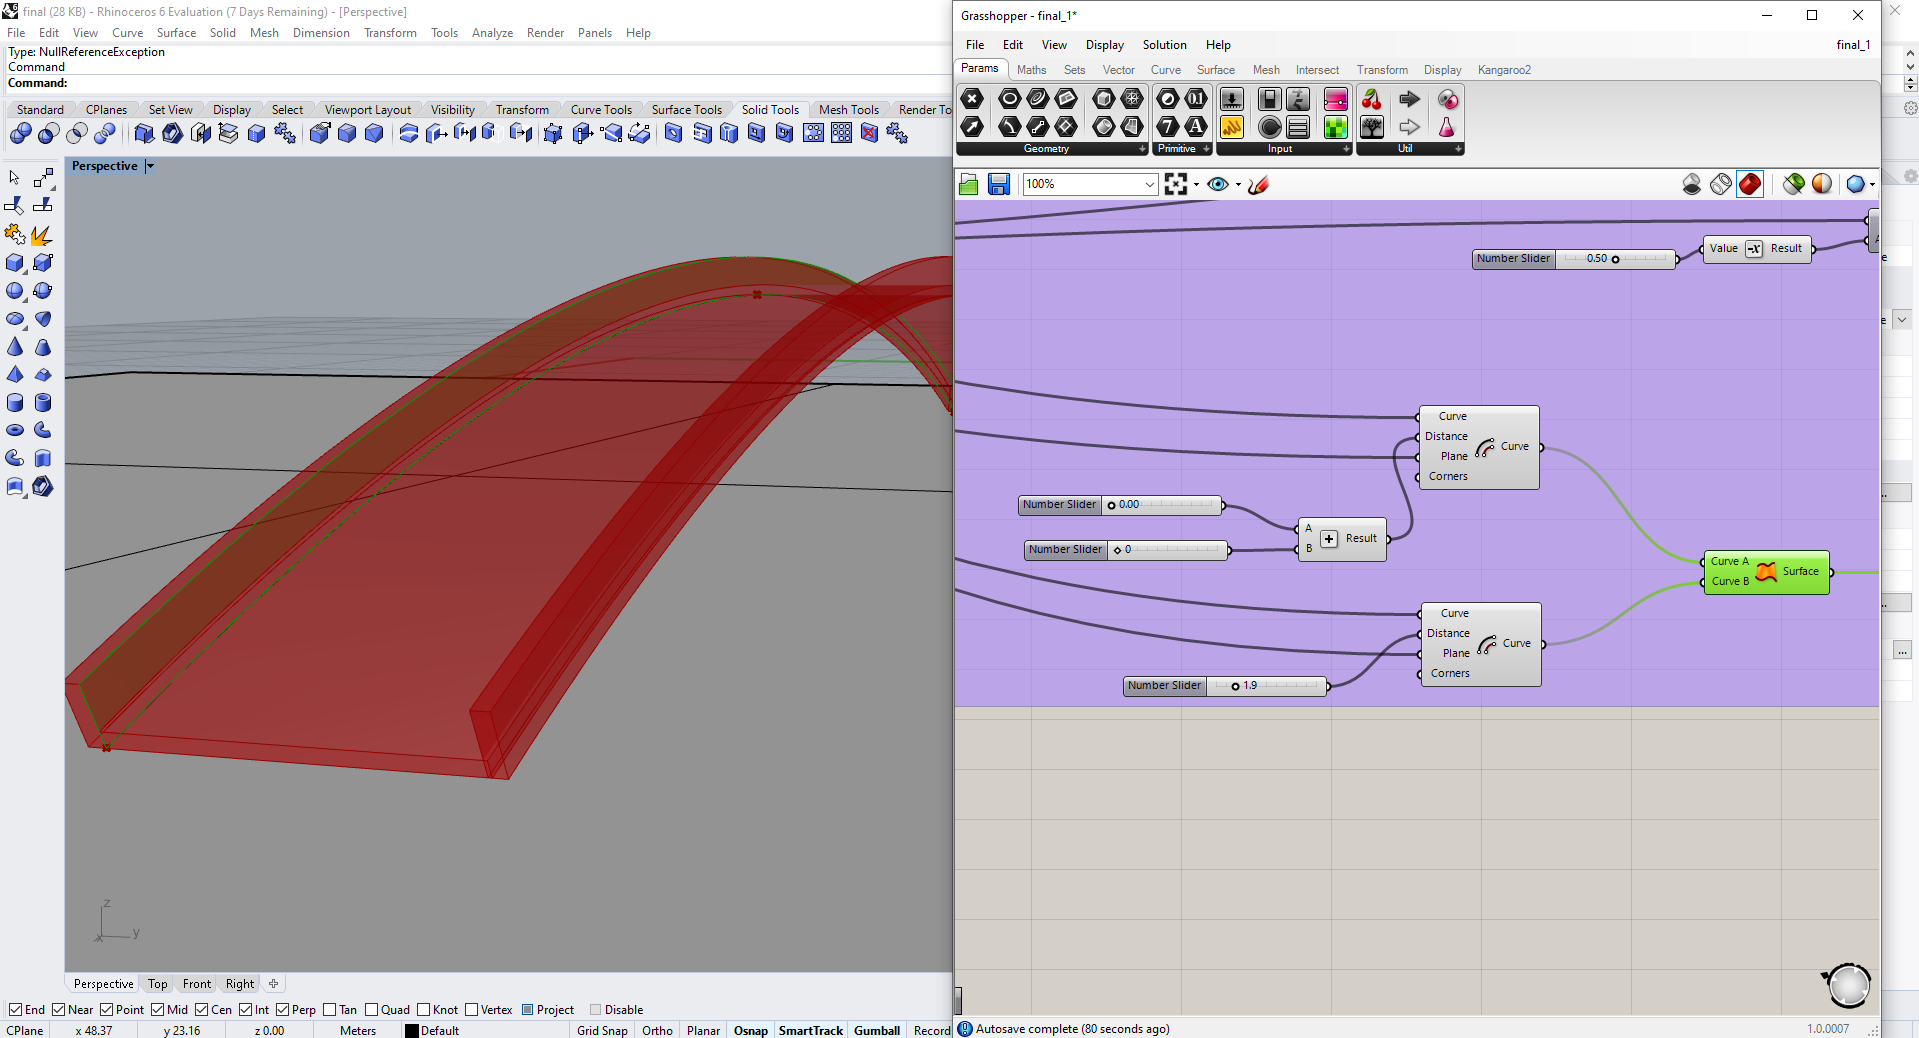
Extrude the geometry after amplifying the length and create an offset surface. Use the deconstruct brep command, ruled surface and boundary volume command to get a solid surface.
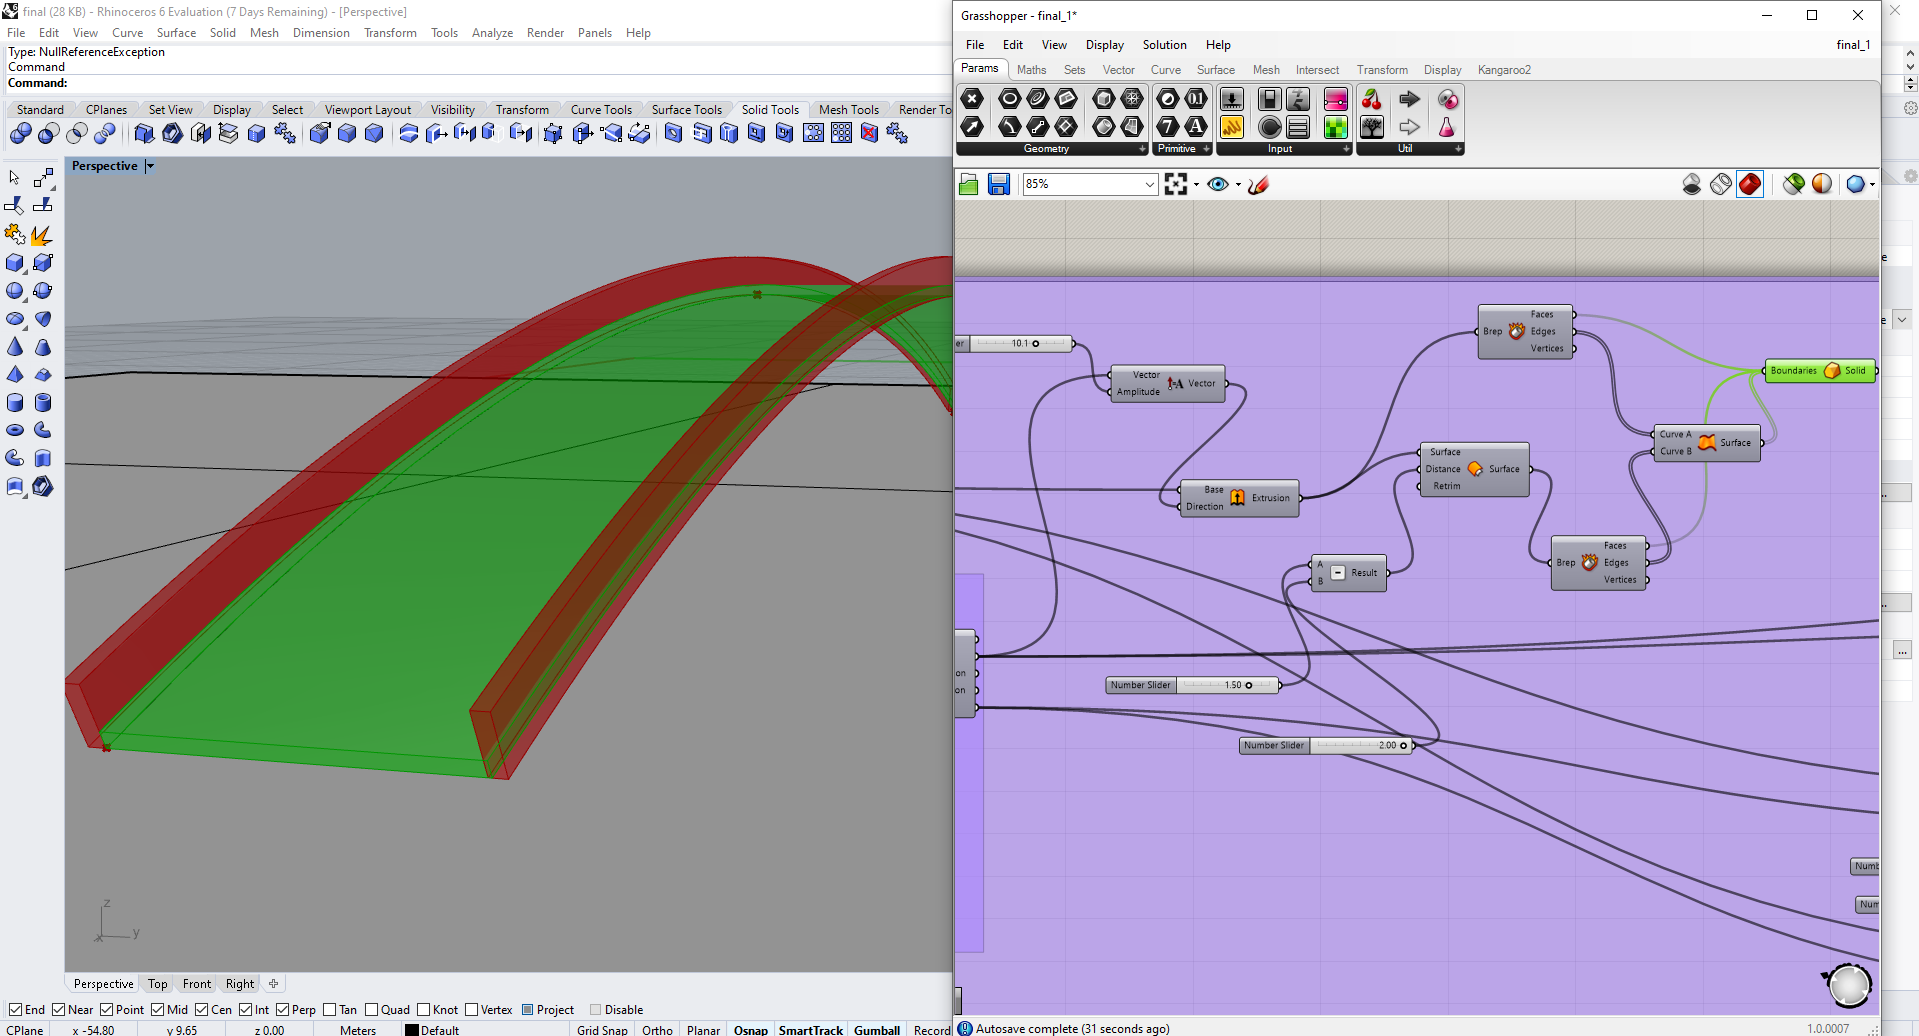
Step – 10: Main bridge – Extrude and make offset surface
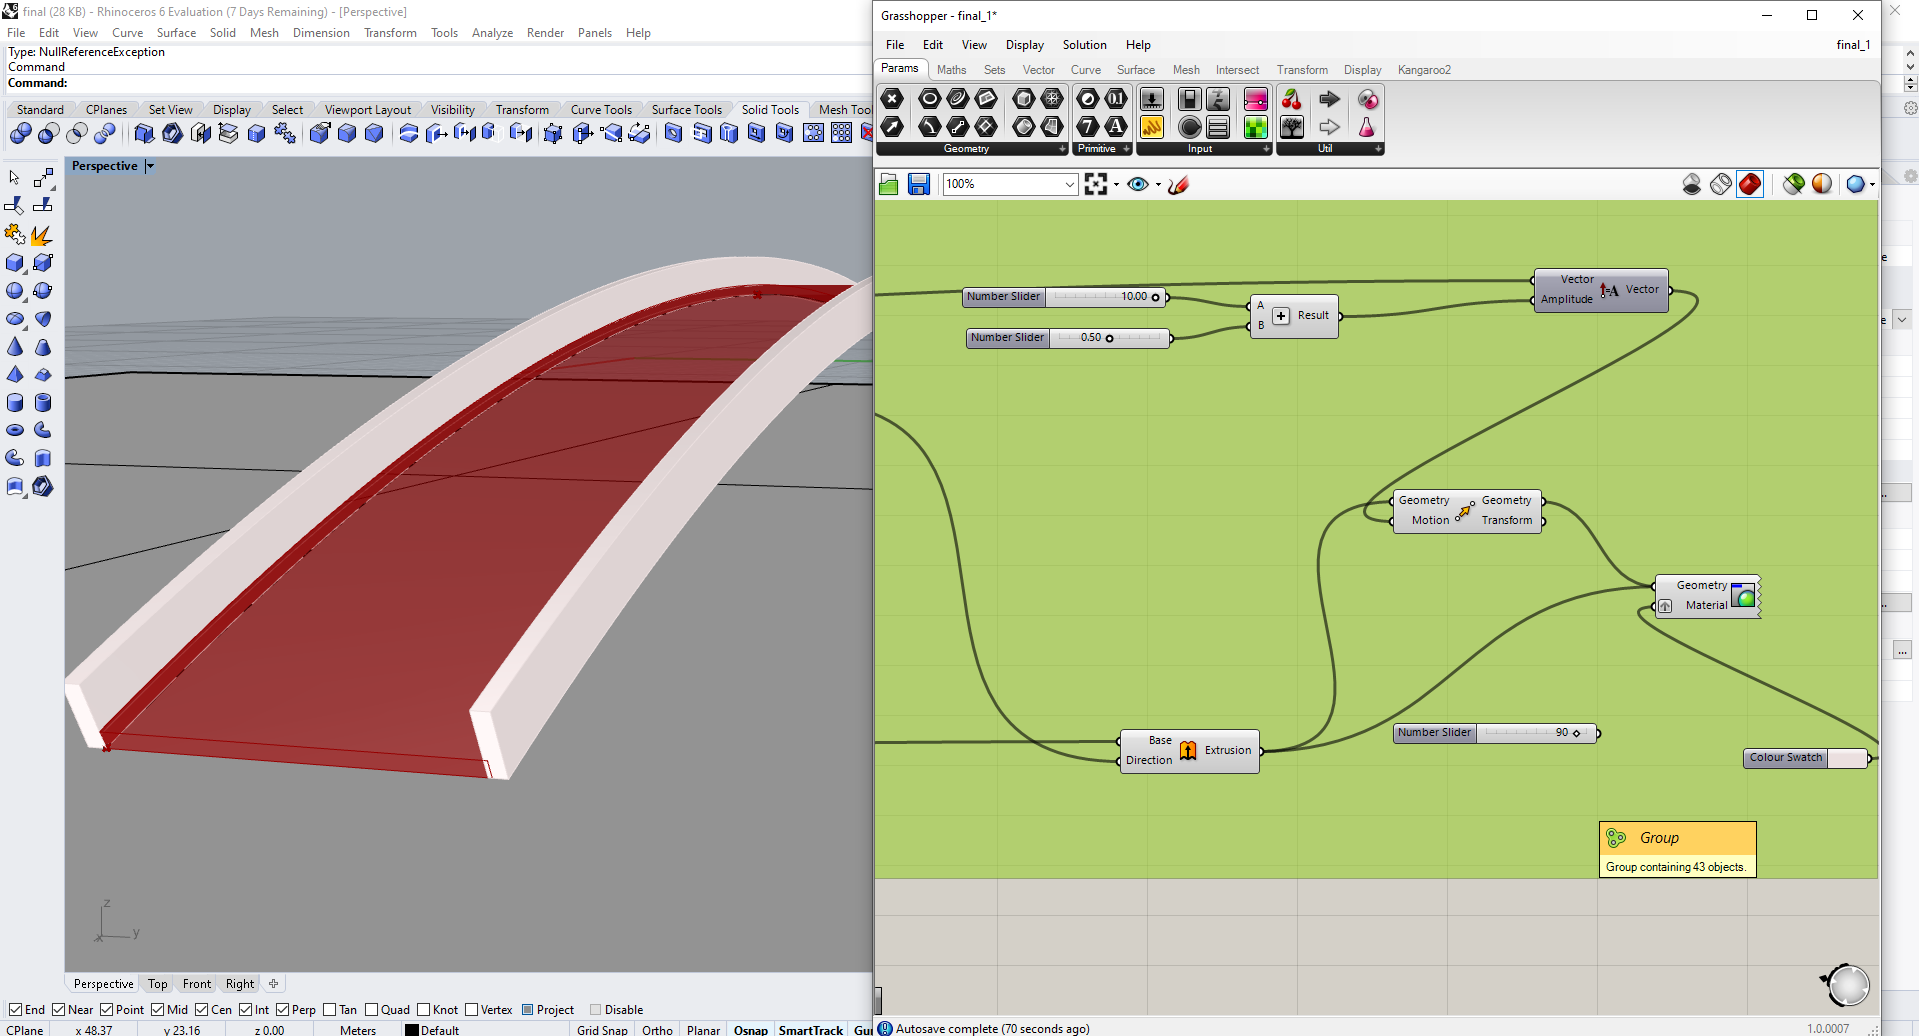
Create another set of offset curves after extruding and amplifying the geometry to create a solid surface and use the preview command to finish the bridge and bake it to take the grasshopper script to Rhino.
I hope this tutorial is helpful. Thank you!
Grasshopper – finall
Rhino – finall